 Setvir
The 2 selector knobs are replaced by one rotary/push switch and a 5110 screen.
Selections are displayed on the screen and can be selected using a rotary push switch.
There are 3 wash type selections, Strong, Normal and Gentle.
The original timer only ran for maximum of 15 minutes, I decided on allowing selecting up to 60 minutes of wash time in 5 minute increments.
As an added bonus I added a soak timer that can be set for up to 10 hours of soak time before the washing cycle starts.
The soak and wash timer are displayed showing time left once the selections are made.
Once the soak and/or wash cycle starts the machine can be reset at any time by a long-press.
The Arduino program uses non blocking timing to run all timers and the wash cycle.
I cut out the place where the 2 selectors were and 3d printed a new front panel.
The back of the panel has standoffs for screws that allow the box with the relay, power supply, Arduino and relays to be mounted.
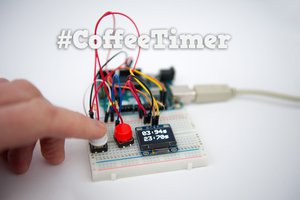
 robives
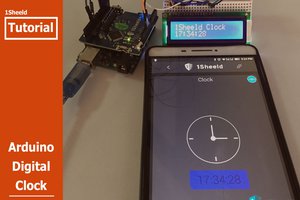
 amr.mostaafaa
 Renze Nicolai
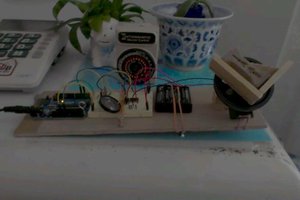
 ameyring