Close
0%
0%

Digital Photo Frame from obsolete laptop

A repurposed laptop disassembled and reassembled into a photo frame for a permanent slideshow.

Public Chat
Similar projects worth following
Instead of recycling this laptop from 2006, I extracted the motherboard and display and mounted in a 12x18" photo frame to slideshow my photographs. I'm running debian MX Linux live (& persistent) from a USB drive with startup commands to rotate the display, start x11VNC server for maintenance, and Feh for the slideshow.

Project is functionally complete, however there is a ~13khz coil whine that I have been unsuccessful in squelching, that makes this project obnoxious for those of us that can hear it. Any suggestions would be appreciated. Post below describes the attempts I've made thus far. Interesting note, I did this project with another laptop a decade ago, with a similar noise issue.

Software Details:

OS: MX Linux 21 Debian (32-bit)

Installed to USB drive per instructions

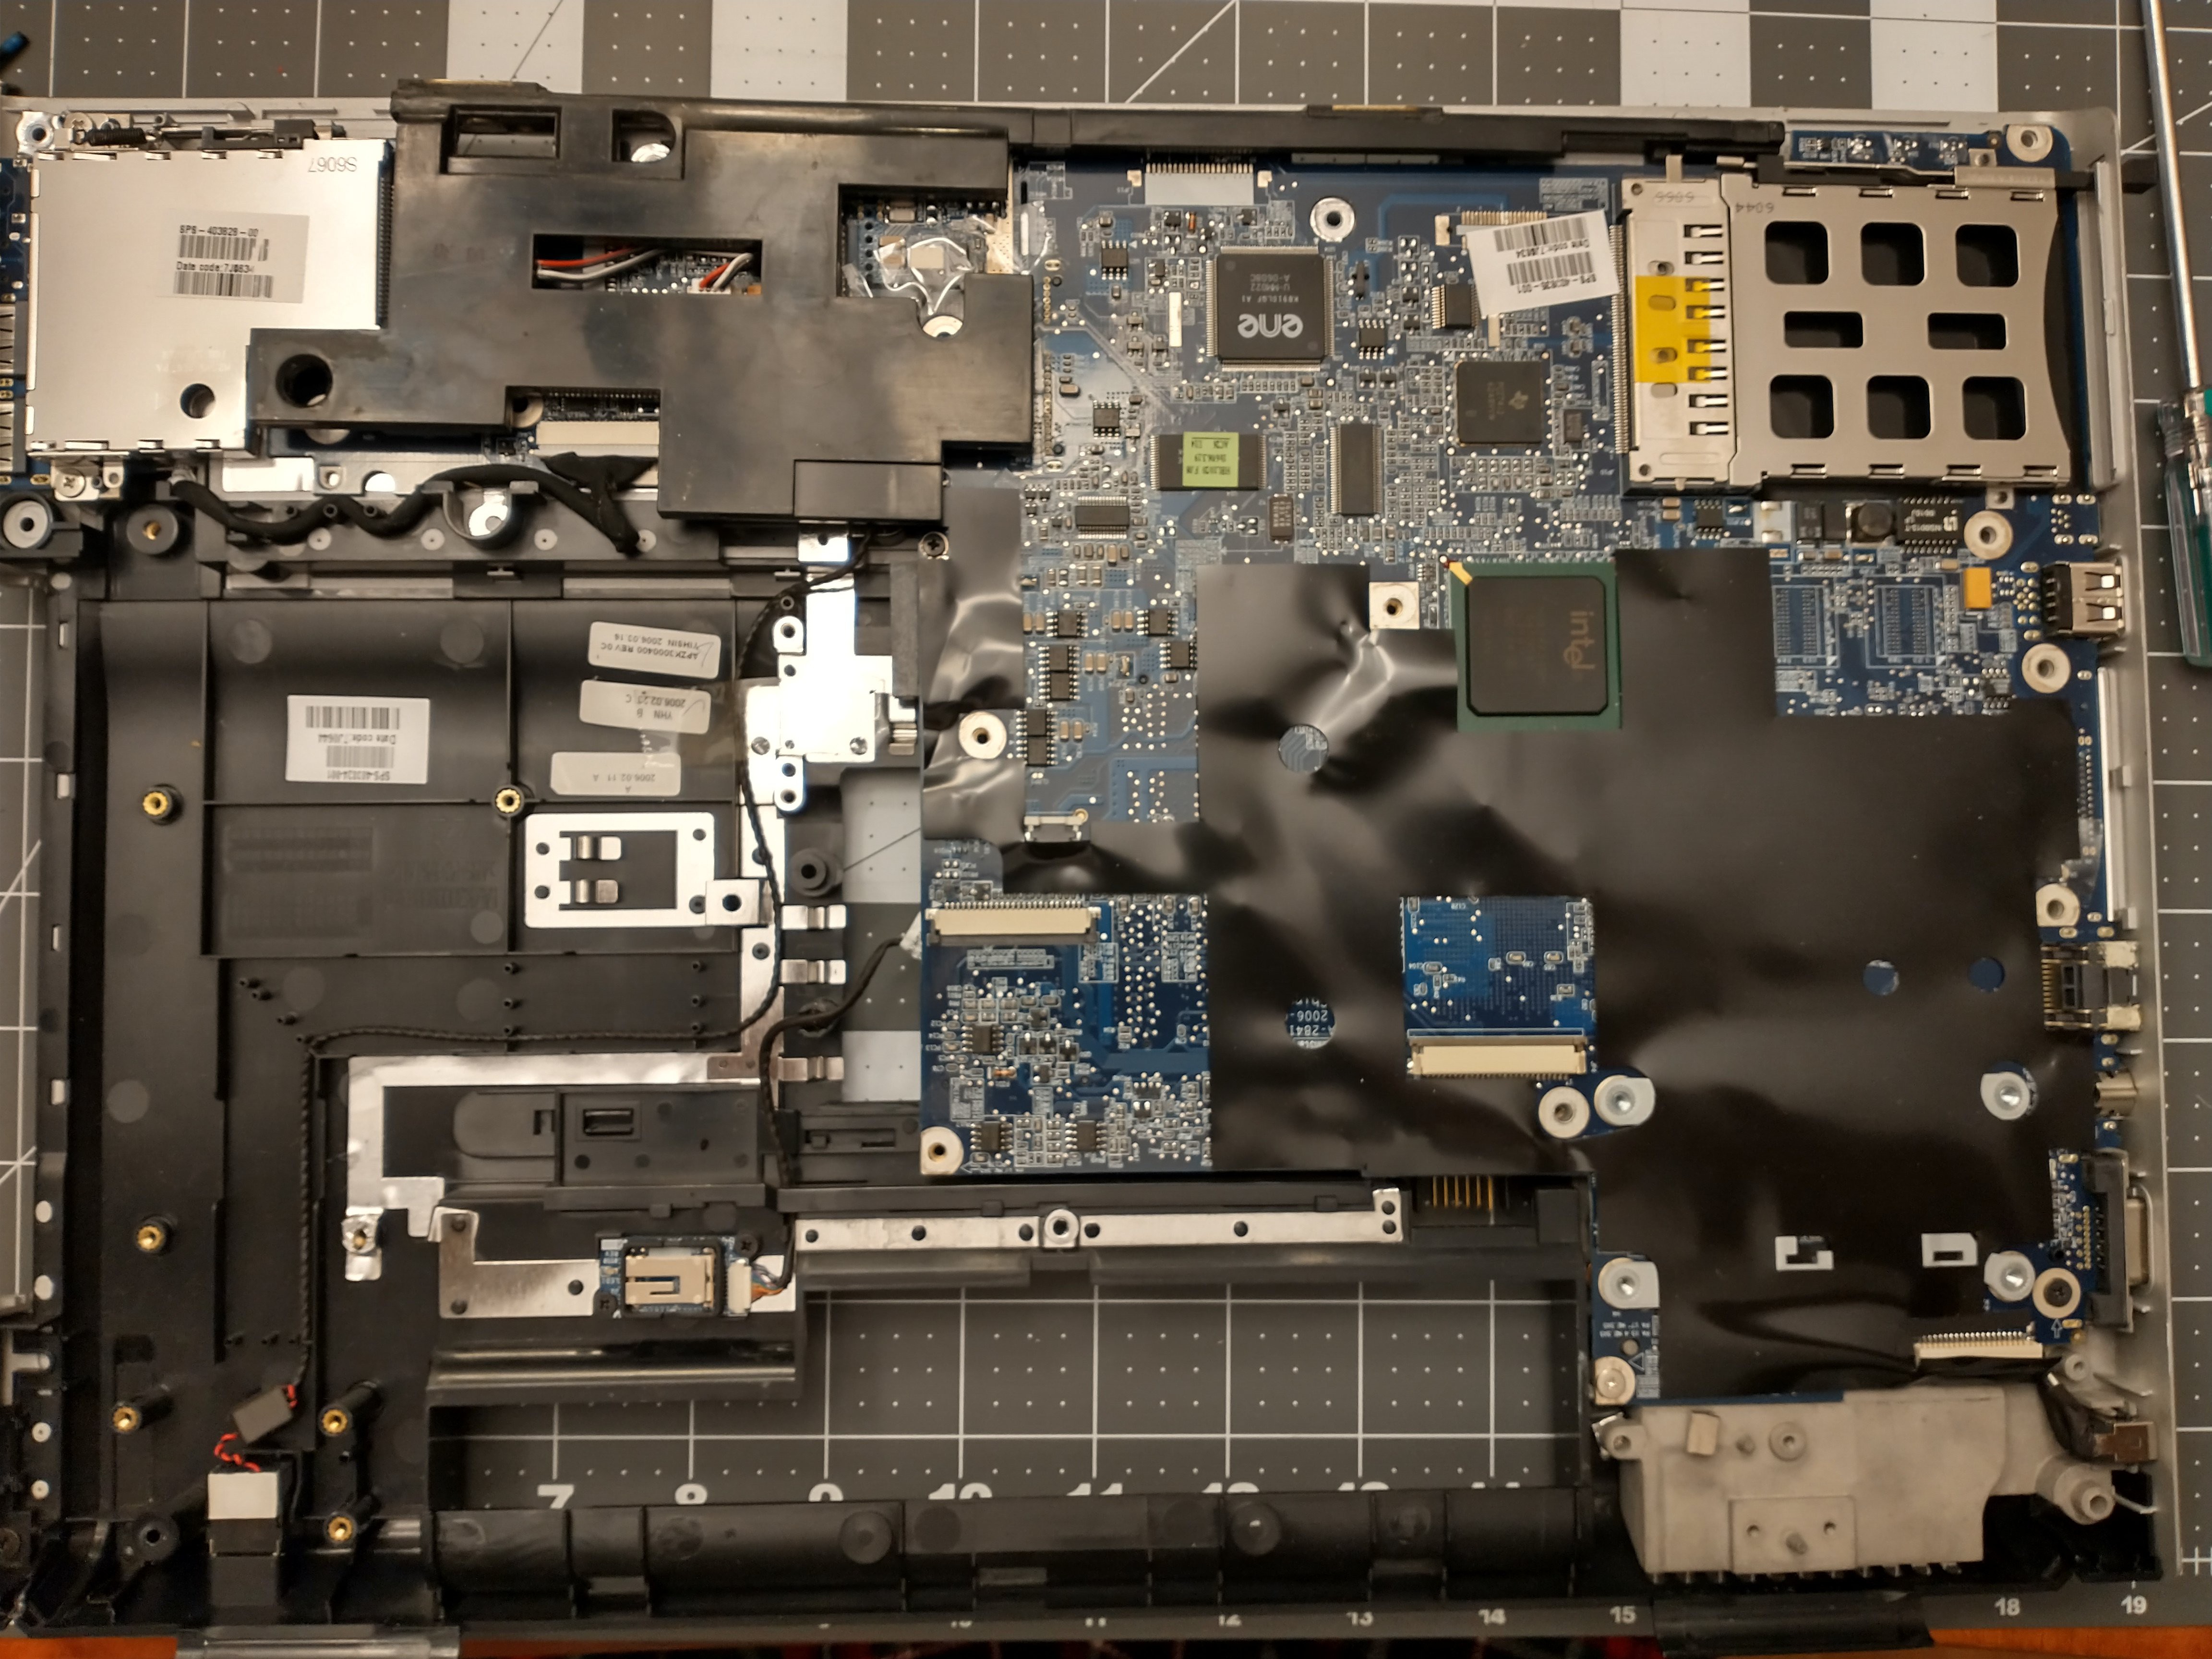
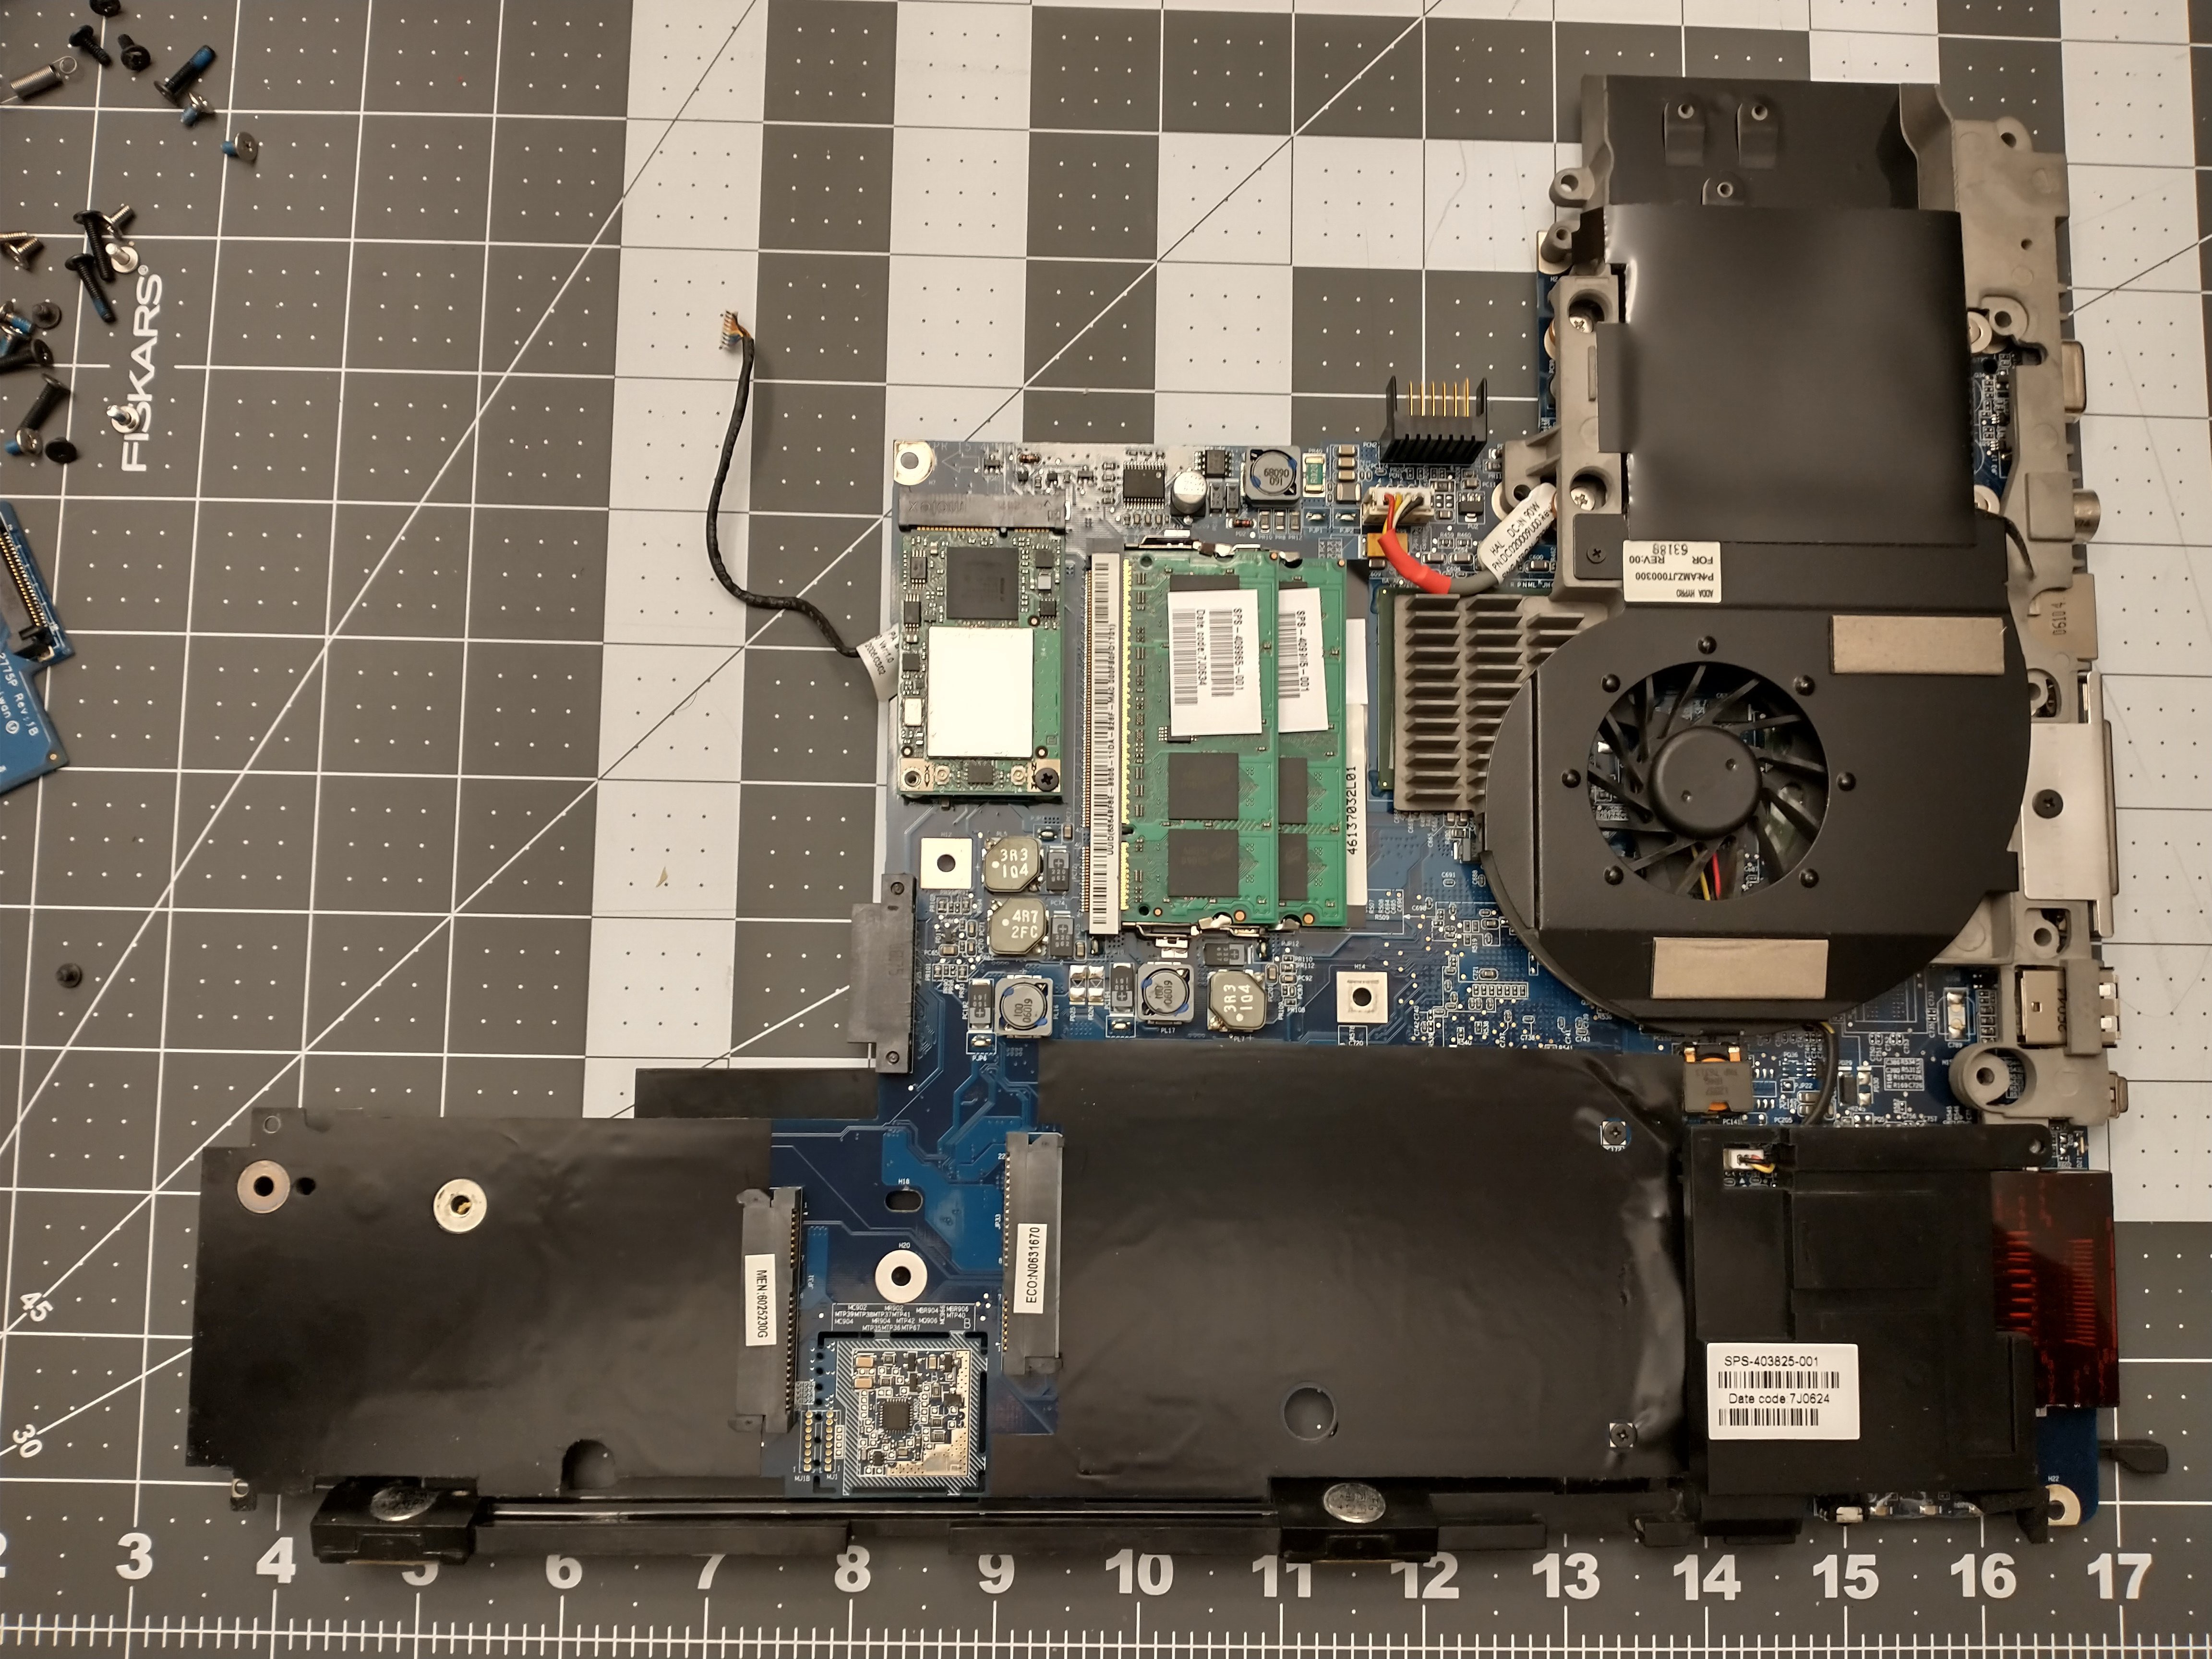
Prior to disassembly of laptop: Set BIOS to boot from USB drive. Installed all software and configured before I removed the keyboard, HDD, mouse, etc during disassembly.

Uses feh for slideshow, and x11vnc for remote viewing. I disabled all the autostart commands I thought I could to preserve memory.

Autostart commands added to MXLinux:

rotate display to portrait: 

xrandr -o left 

wait a bit then start VNC:

bash -c "sleep 10 && x11vnc -passwd [my-password] -forever -display :0 >/dev/null 2>&1 &"

wait longer then start slideshow: 

bash -c "sleep 20 && feh -F -s -D 240 -z -Y --on-last-slide resume /home/demo/Pictures/photo_frame/"

Hardware summary:

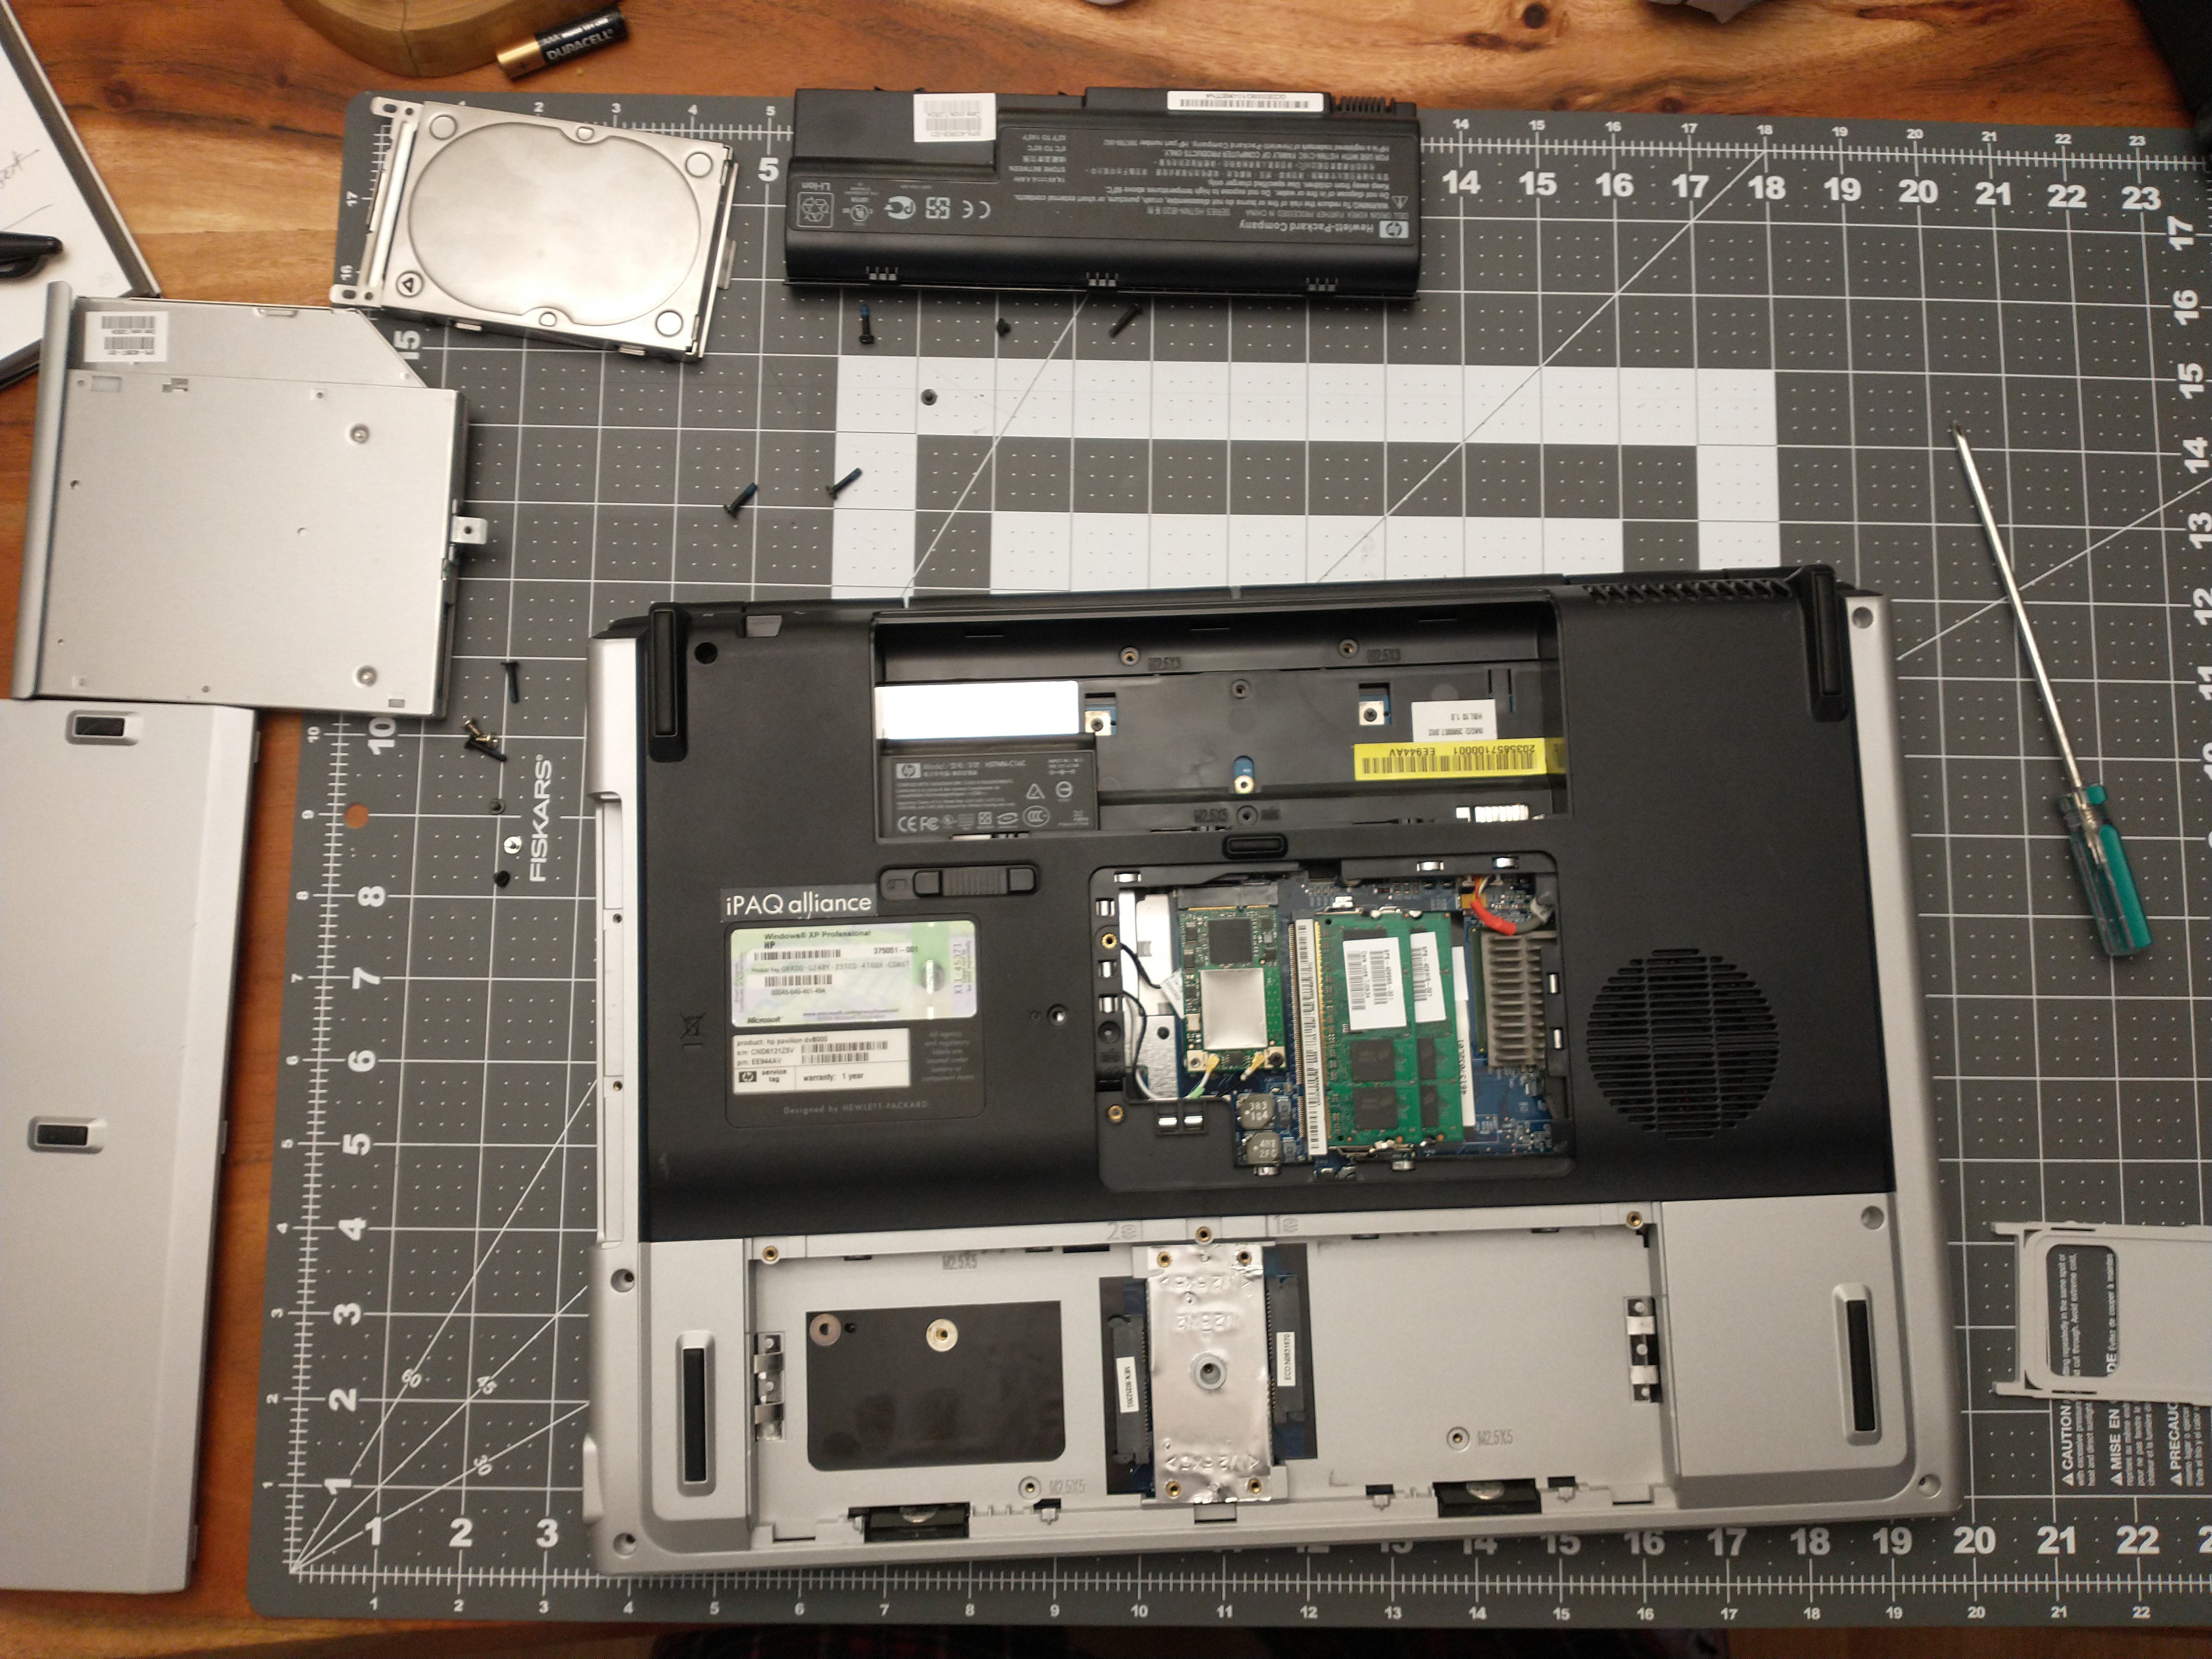
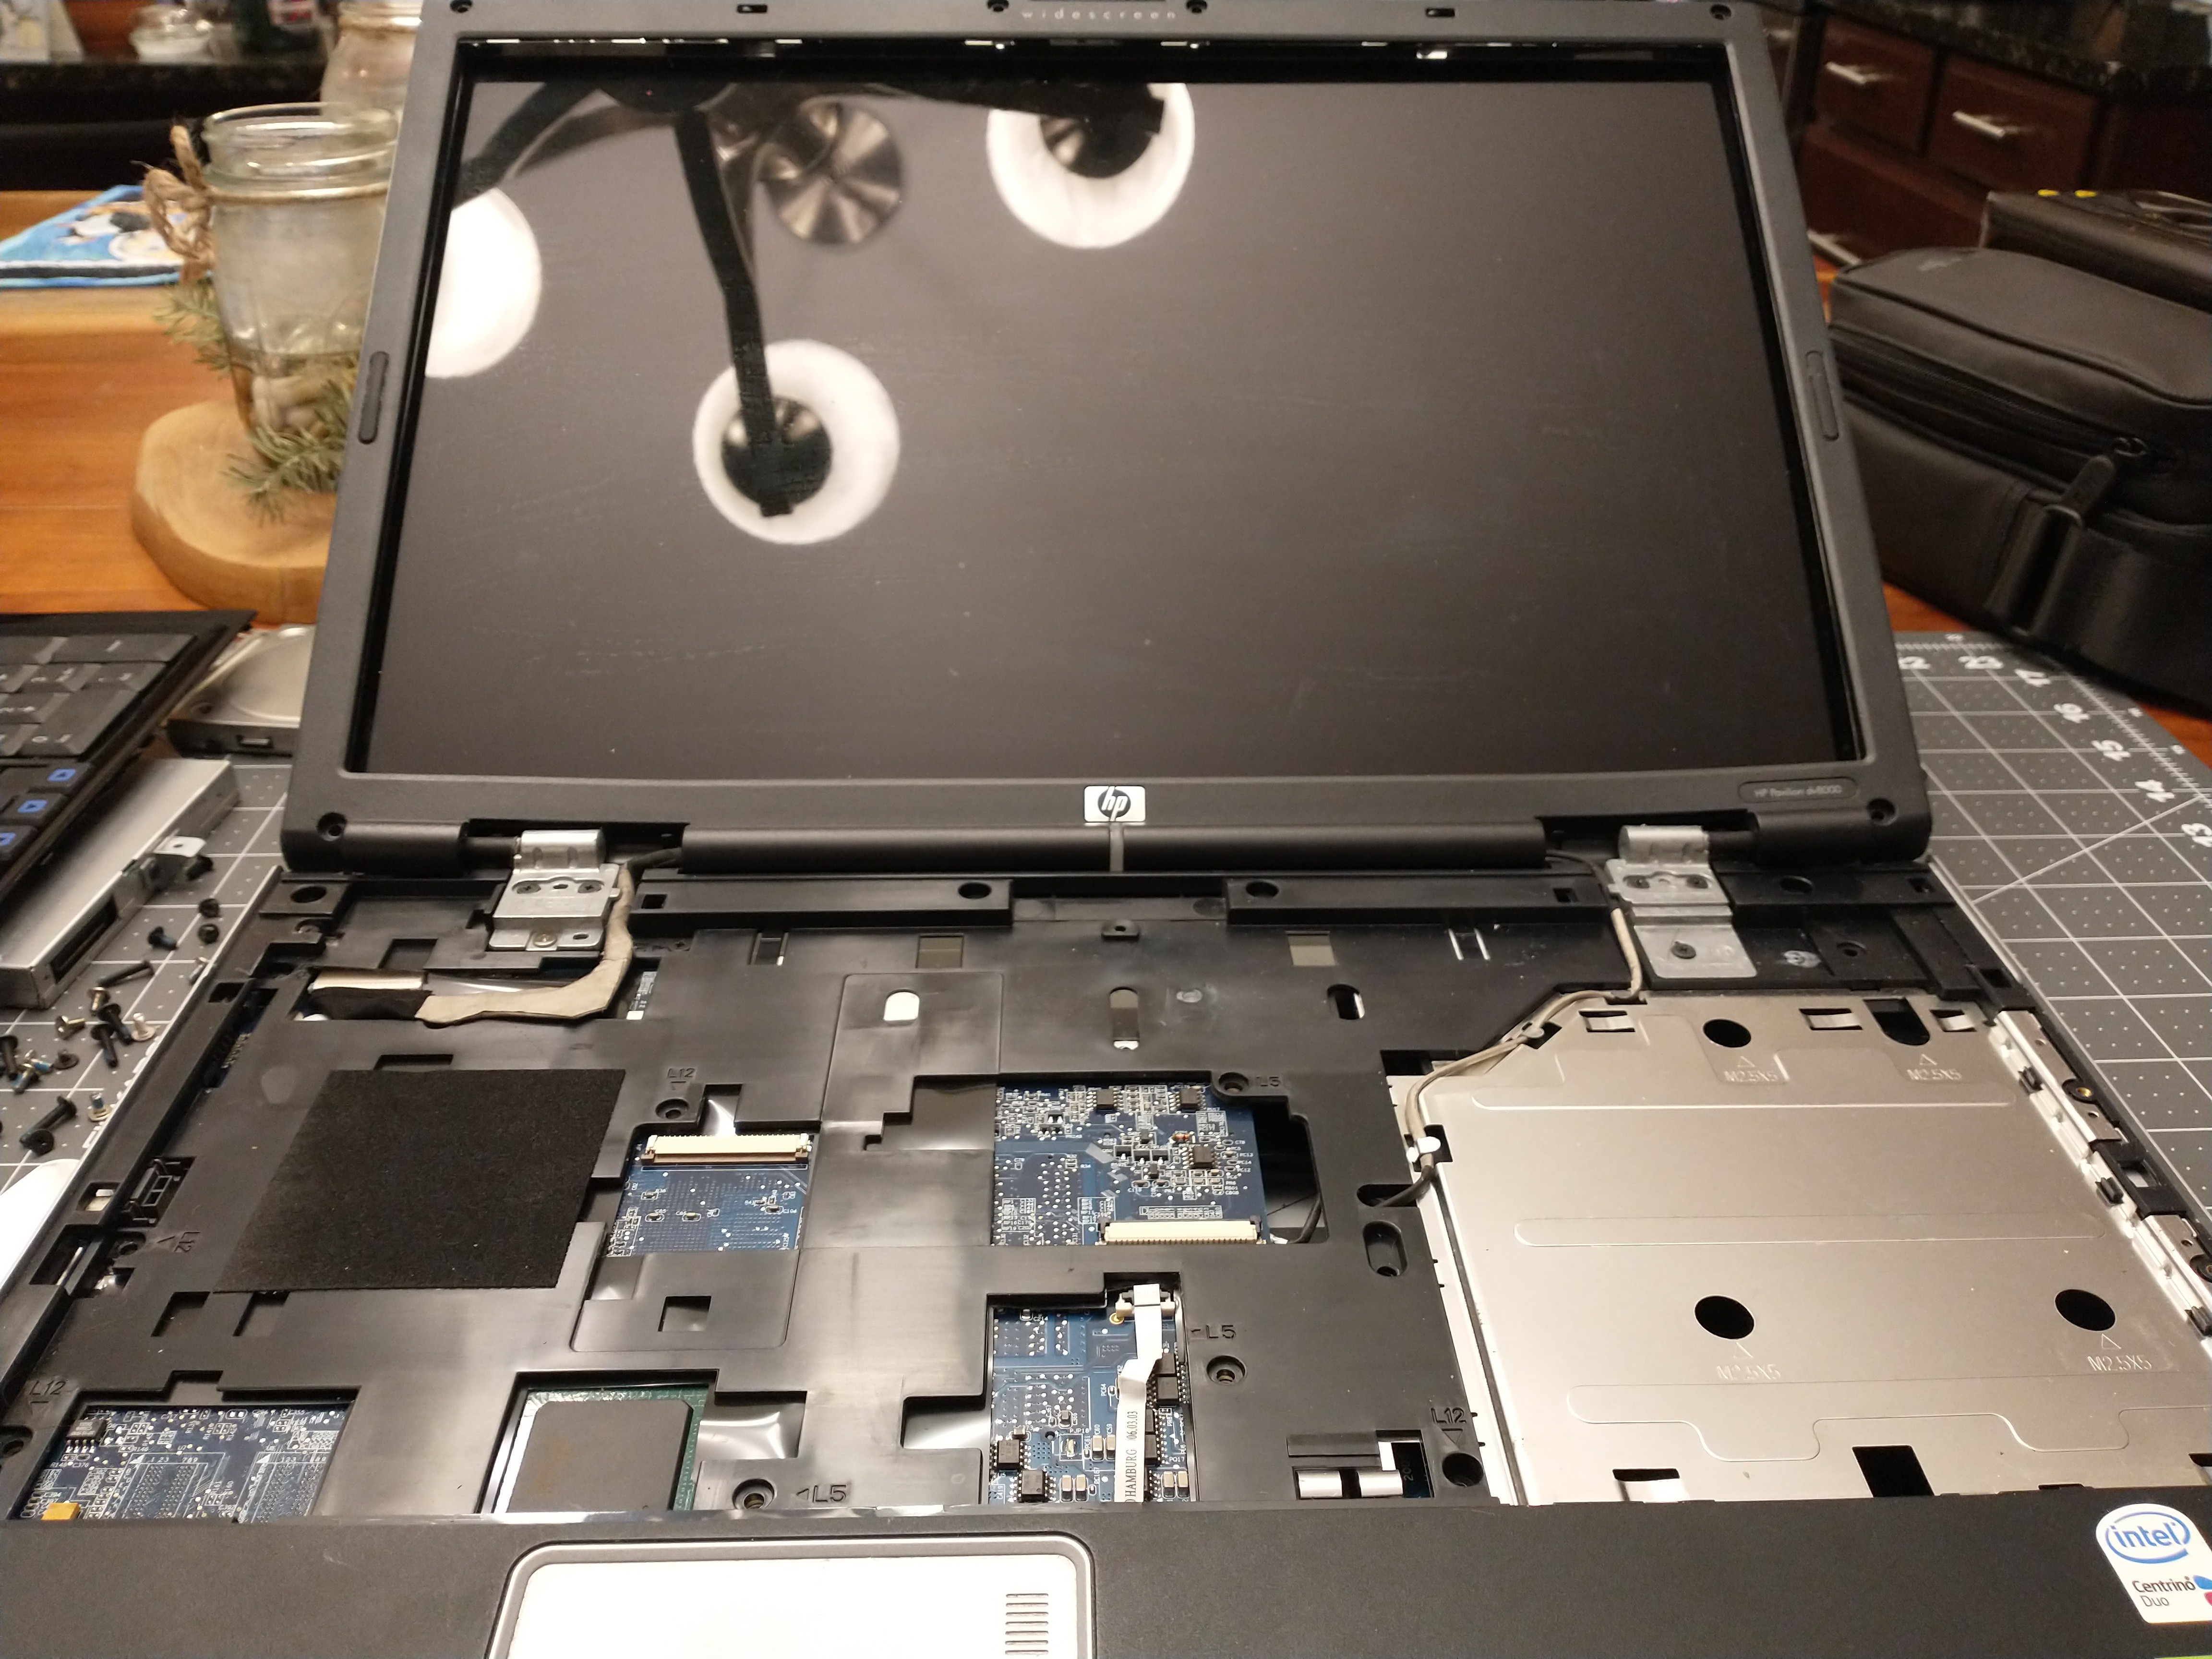
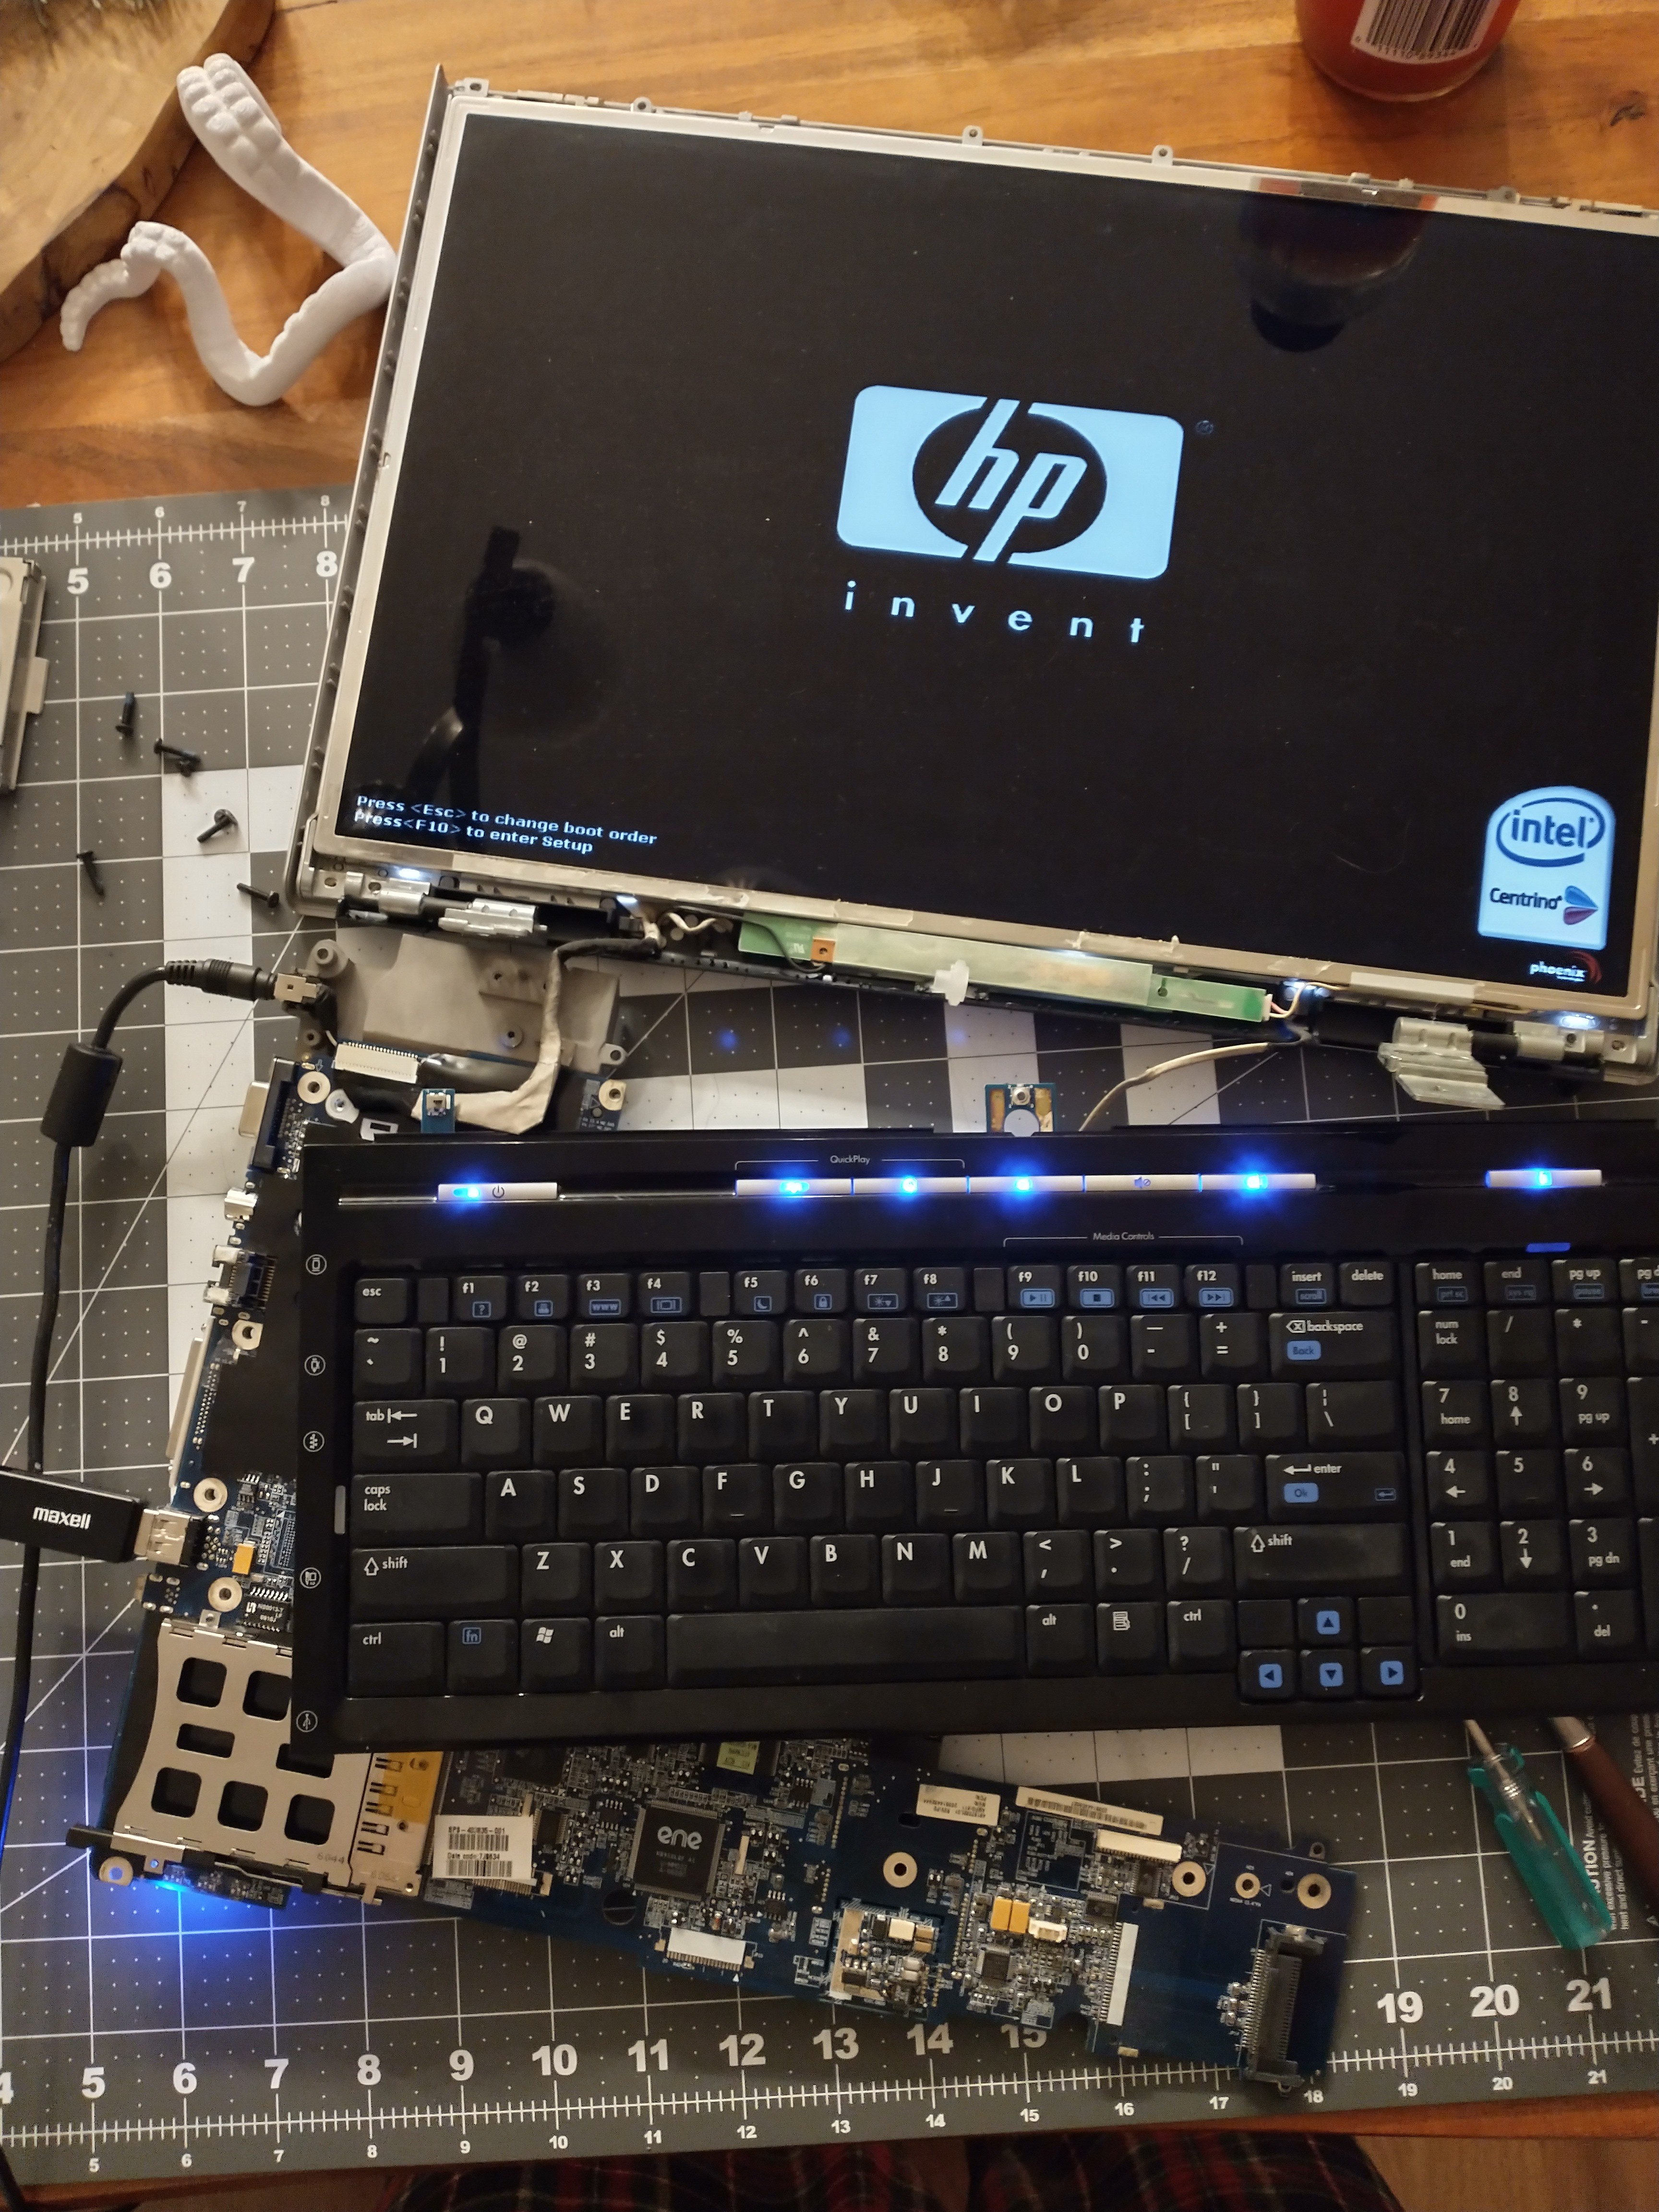
Bought a photo frame large enough for motherboard and laptop display to fit inside. Mounted the display and the motherboard using 3M double sided foam tape to the frame back. Cut out matting to match the display in the frame. Relocate the power button to allow use from back of frame. Added some metal reinforcement to the cheap frame, and a metal hanger bracket from bar stock aluminum.

  • 1 × Old laptop Must be slowww
  • 1 × USB drive Cheap and small
  • 1 × Photo frame
  • 1 × Hanging hardware Spacer, screws, aluminum bar
  • 1 × Custom mat Have cut to size

  • 95% complete, a problem remains

    otterpopjunkie01/19/2022 at 19:49 0 comments

    Computer is framed, software is all configured, but one annoyance remains: a 13.5khz whine that I have isolated to the CFL backlight driver (I thought). I need to quiet that down or it'll drive me mad!

    I tried foam insulation around the frame - didn't do enough. I super glued a bar of aluminum to the high voltage transformer - no change. I covered the entire driver board in putty... minor improvement? I tried grounding the board to the chassis, no change. After all this it appeared the sound might also be occurring on the motherboard itself.. at this point I've a bit deflated and moving on to other projects for the time being. Open to suggestions!

View project log

  • 1
    Make bootable USB and set up software

    Test everything before you take it apart - then make backup of the USB or config files.

  • 2
    Find old laptop and take it apart.

    (take out the battery first)

  • 3
    Verify it still works

View all 5 instructions

Enjoy this project?

Share

Discussions

RubyNolte wrote 11/22/2023 at 09:00 point

Photography has become an integral part of my life. So is travel. For me, this is an opportunity to create interesting content in the most original locations. I'm currently planning a trip to England and this source is helping with route planning https://www.historic-cornwall.org.uk/historic-landmarks-of-cornwall-a-guide-to-must-visit-sites/ This is a real find for me and saves a lot of my time.

  Are you sure? yes | no

Linda Sutton wrote 11/16/2023 at 07:44 point

Great job

  Are you sure? yes | no

Similar Projects

Does this project spark your interest?

Become a member to follow this project and never miss any updates