 Maria Piecha
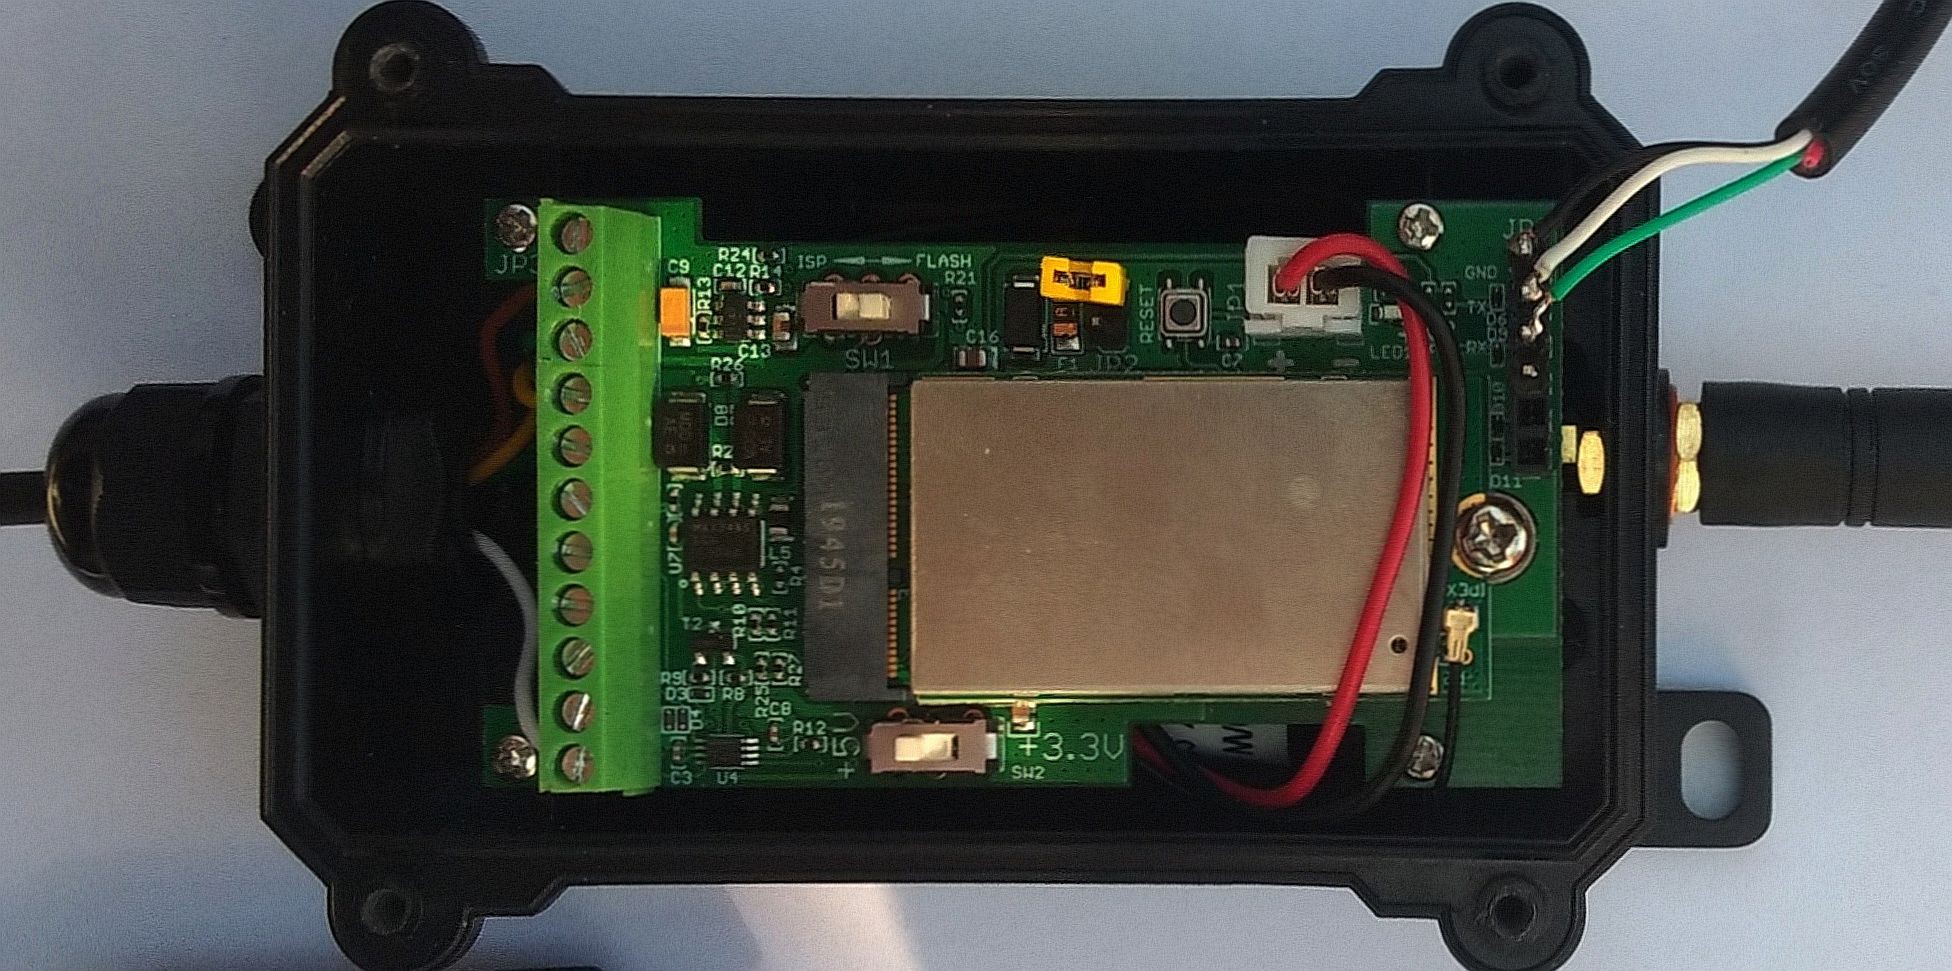
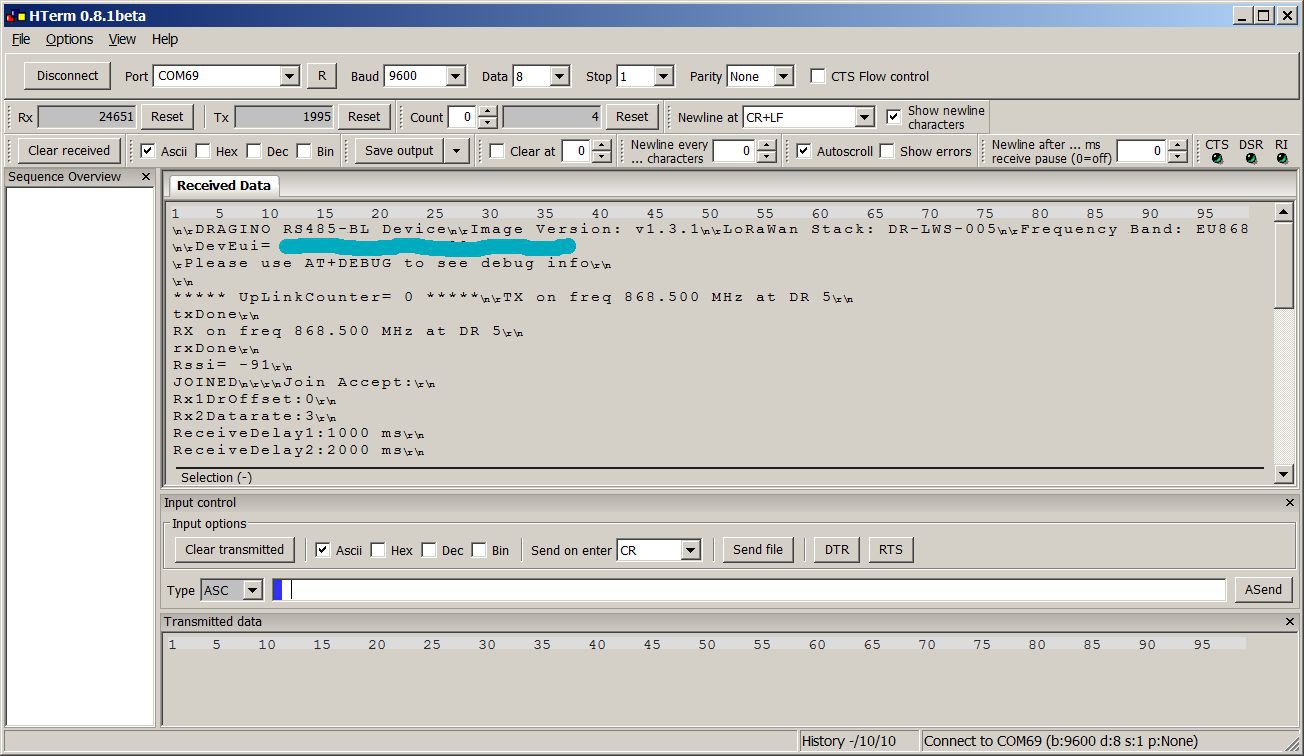
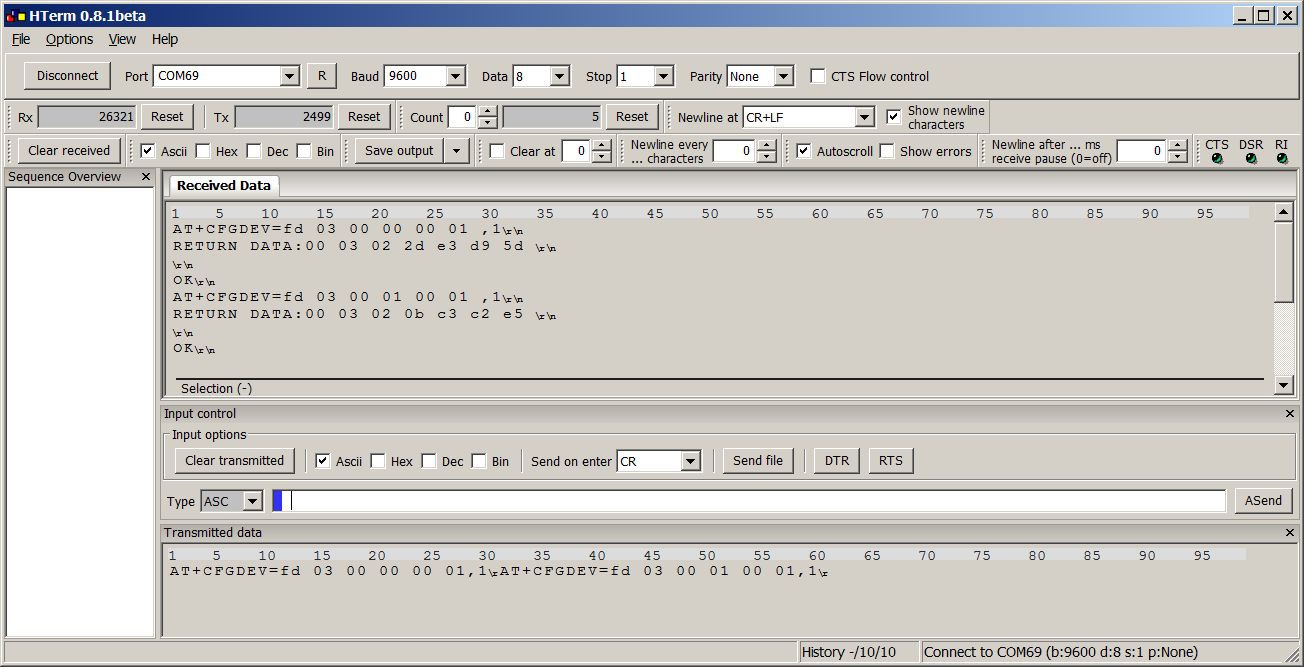
Over the winter, I have been intensively occupied with LoRaWAN and also canvassed the relevant providers. At Dragino I found a very cheap LoRa module, which has a RS-485 interface. The advantage is that you can easily connect a SMT100 soil moisture sensor with Modbus (RS-485). The LoRa module also takes care of the power supply of the SMT100. The Litihium battery is even already supplied by Dragino. It's almost a plug-and-play system except for some minor software configuration work.
0%
0%
Soil moisture sensor with LoRa
This project shows how to connect a SMT100 soil moisture sensor to a Dragino LoRa device and TheThingsNetwork
Become a Hackaday.io member
Already have an account? Log in.
Just one more thing
To make the experience fit your profile, pick a username and tell us what interests you.
Pick an awesome username
hackaday.io/
Your profile's URL: hackaday.io/username. Max 25 alphanumeric characters.
Pick a few interests
Projects that share your interests
People that share your interests
 Andrew Lamchenko

 HYuiii
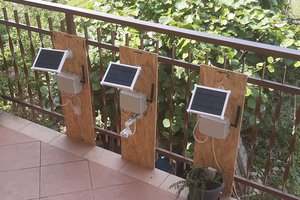
 Sergio Ghirardelli