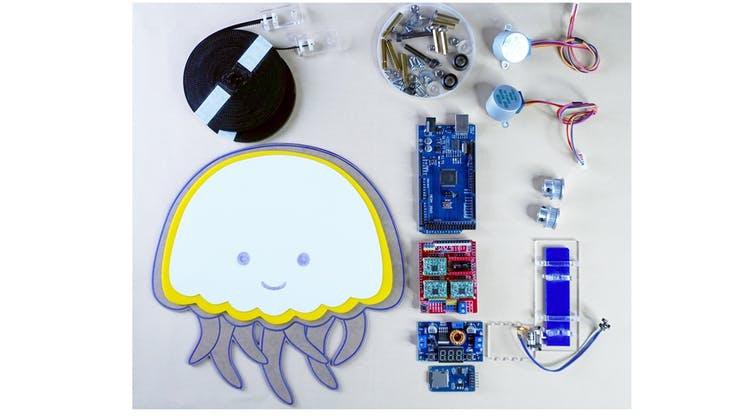
In August 2021, I got an idea to make a robot be able to draw pictures on a wall. After many days researching, designing, and programming, I finally finished a robot that could draw any pattern on a wall.
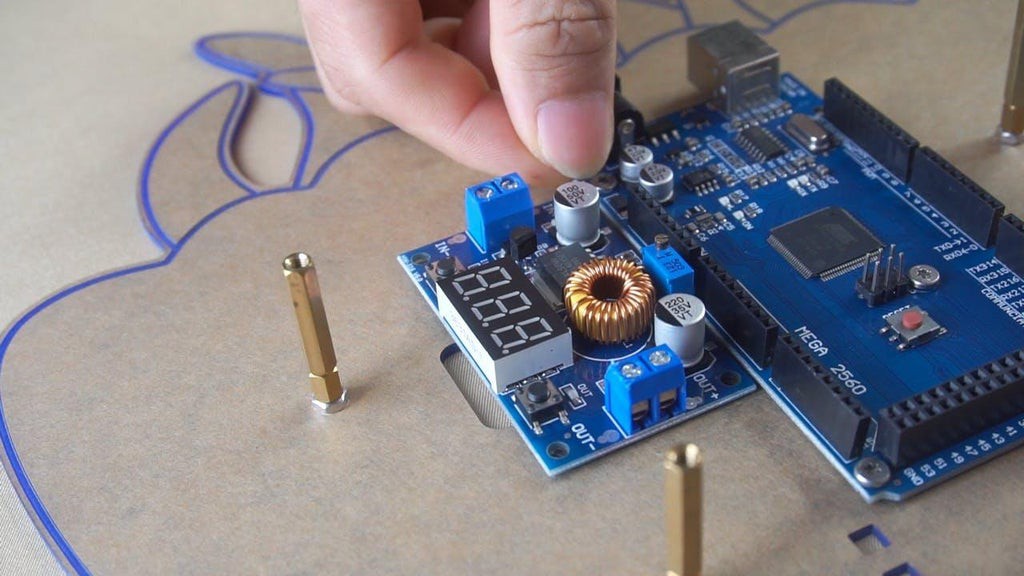
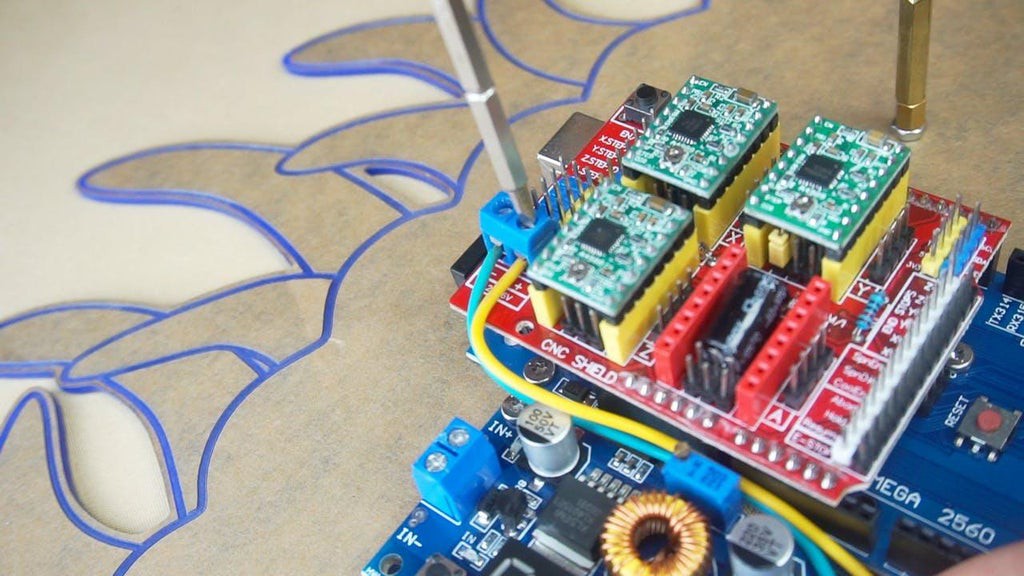
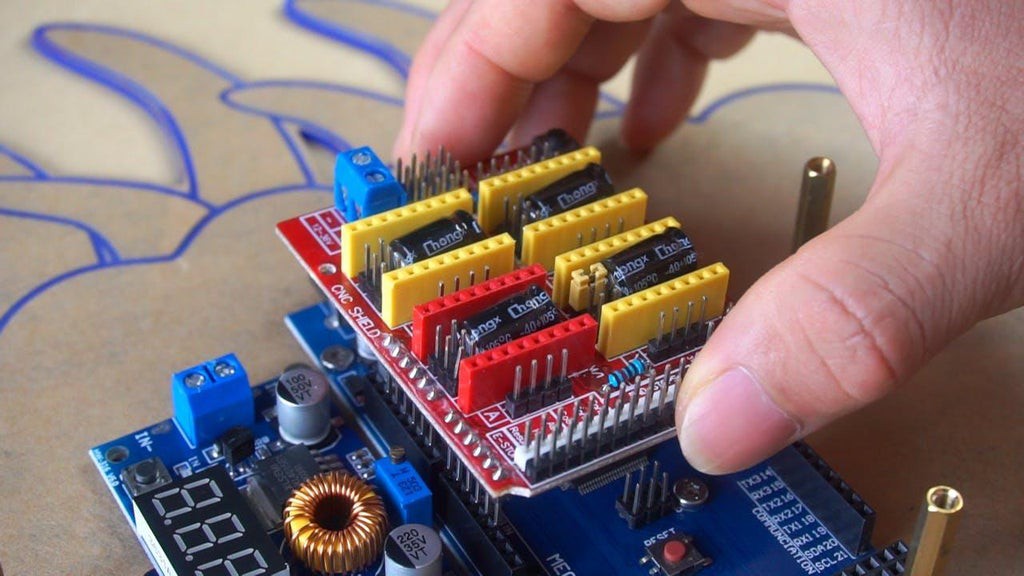
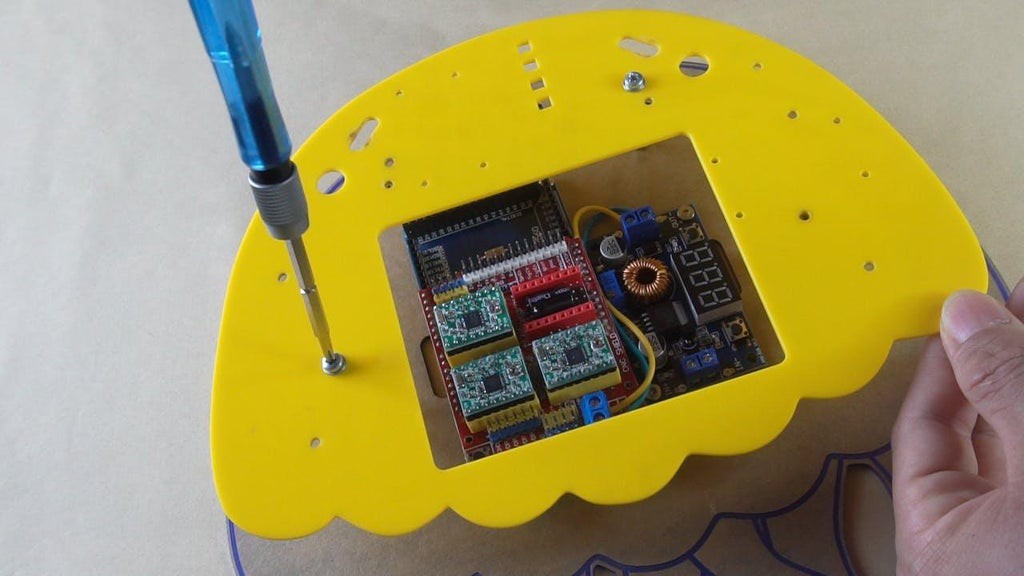
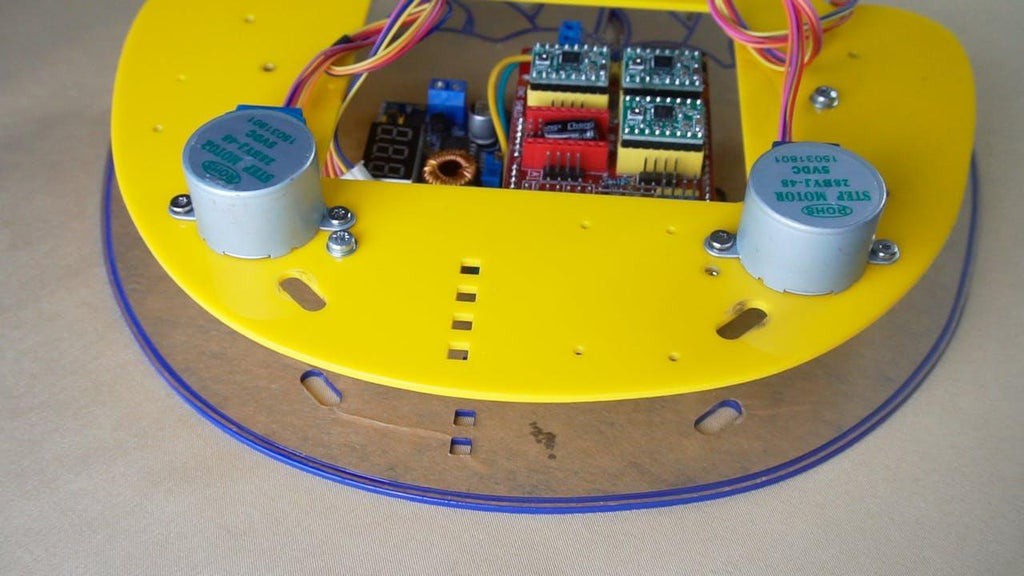
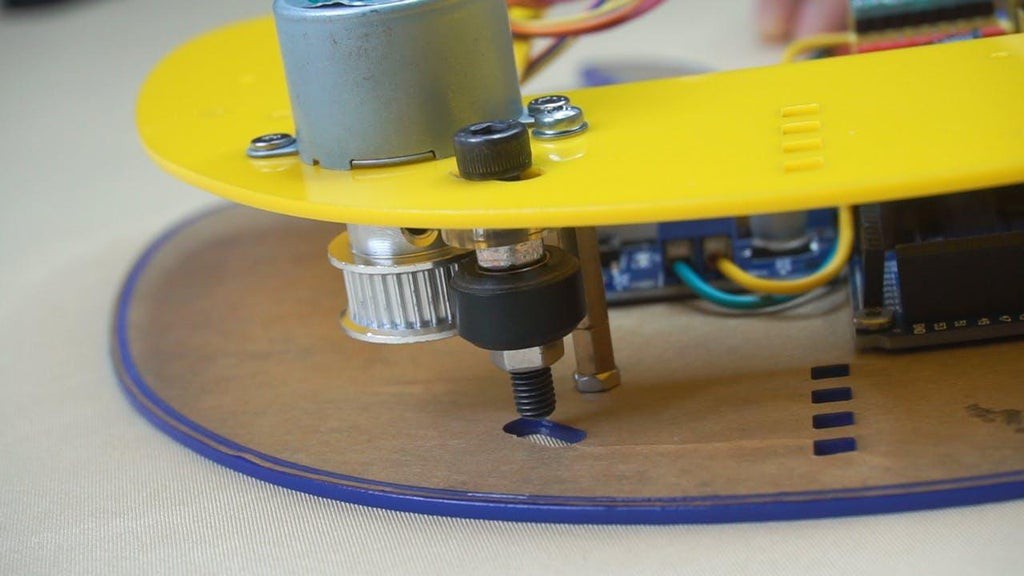
My key-point in design is using general parts to make robot, so end-users can easily renew parts if repairing is needed. Body frame, motor, bolts and nuts, … are all easily found on the market. Main controller is well-known PCB Arduino Mega compatible with CNC Shield to control two stepper motors that allow robot can traverse by belt.


 Ted Huntington
 Carl Bugeja
 Mykolas Juraitis
Creating a wall drawing robot can be an exciting and creative project. There are several open-source resources and platforms available that can help you build your own wall drawing robot. Here are some key steps to get started:
Select the hardware: Choose the necessary hardware components for your wall drawing robot. This typically includes stepper motors, motor drivers, belts or gears for motion control, an Arduino or Raspberry Pi as the controller, and various mechanical parts like pulleys, belts, and brackets. Make sure to select components suitable for your project requirements and budget.
Design the robot: Design the mechanical structure of the robot using CAD software. Determine the size, shape, and dimensions of the robot based on your specific needs. Consider factors such as reach, stability, and ease of movement. Ensure the design accommodates the chosen hardware components.
https://tiktukmoneycalculator.com/