 [zit] Olivier Gade
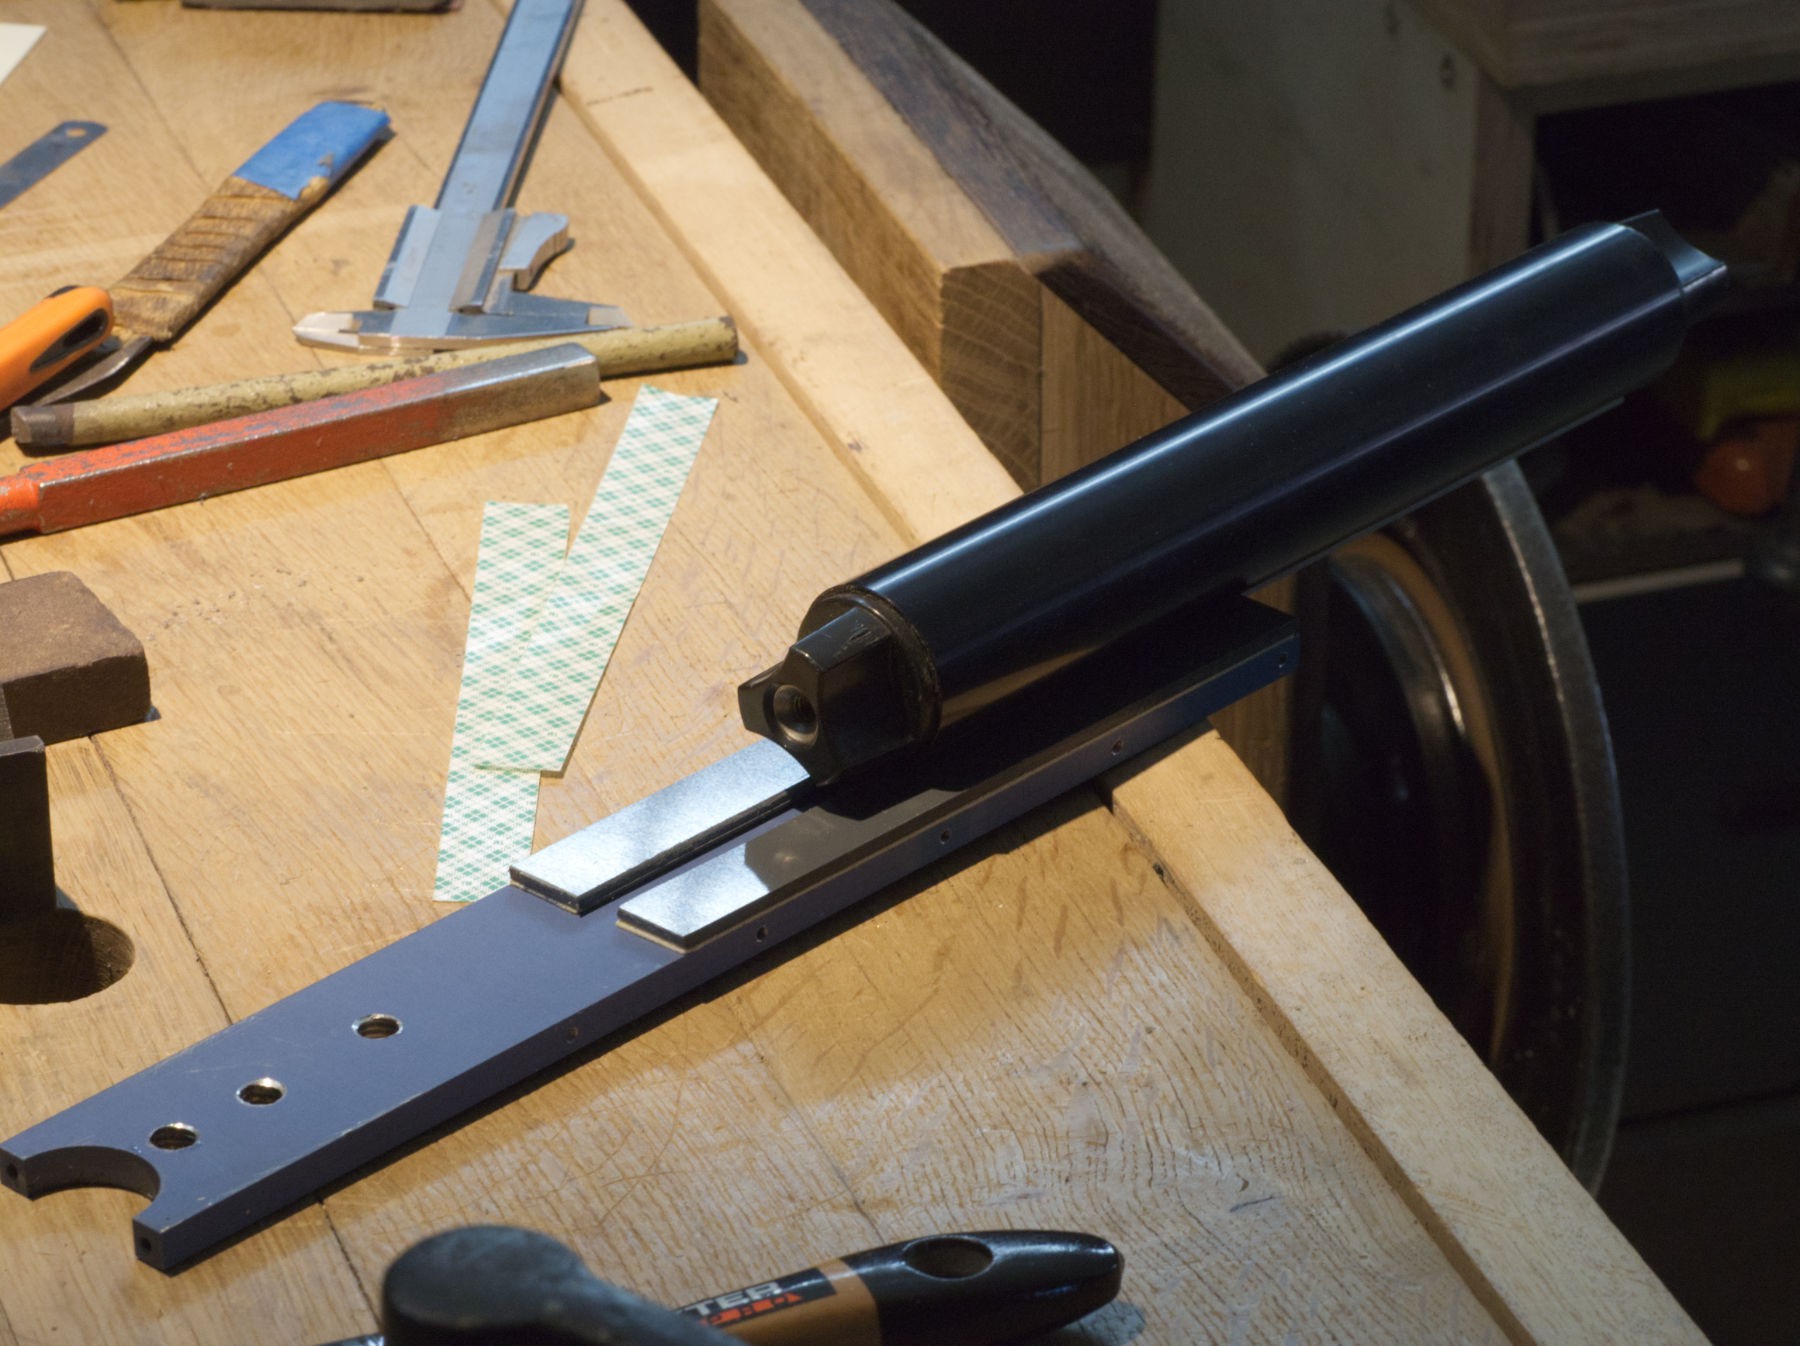
Next I've used one of these fat and hard (not bendable) aluminium things.
The round shape at the end and the sidewalk source make obvious the previous use of the thing : LASER lab high grade stuff.
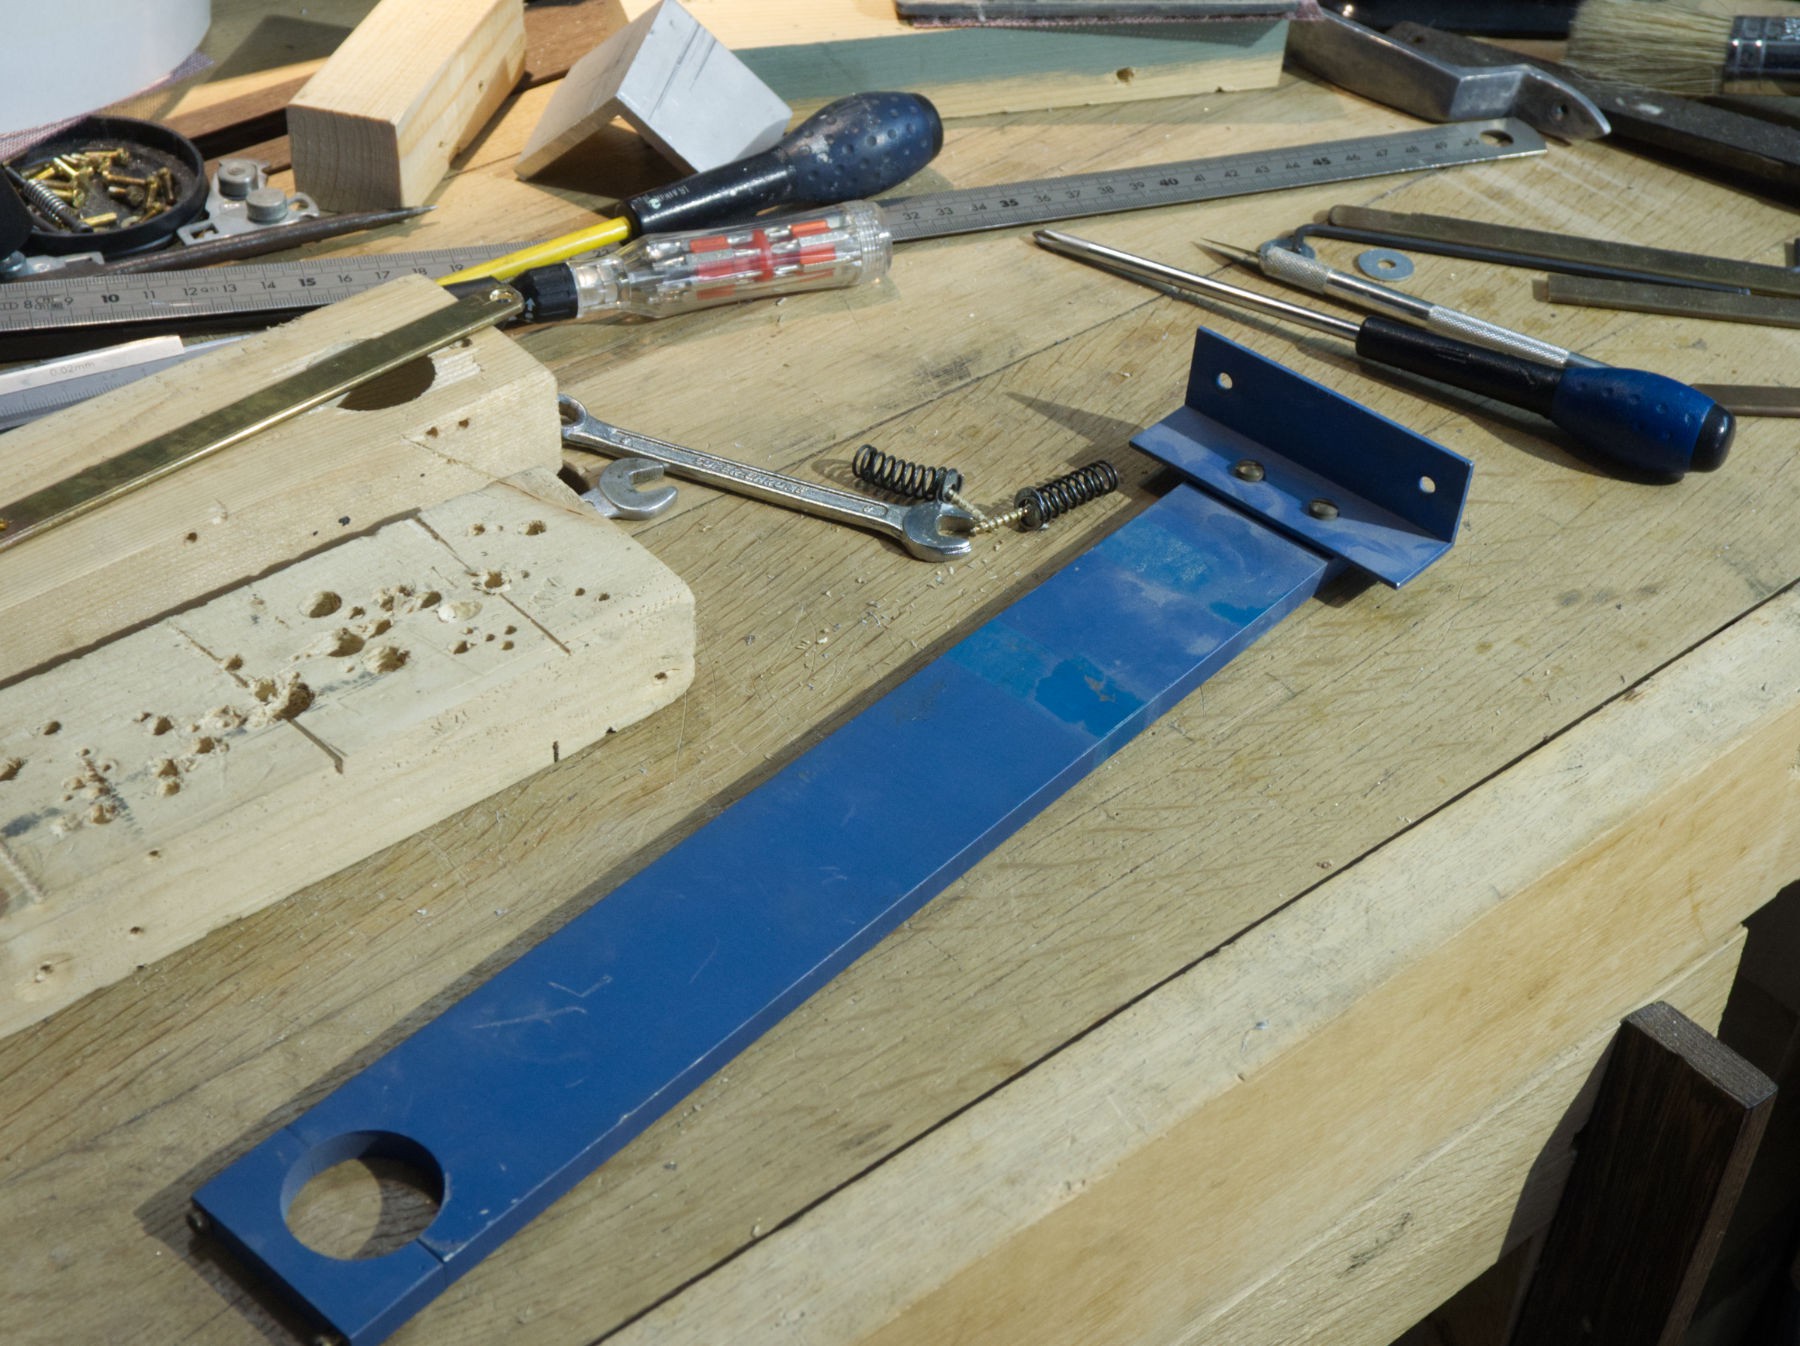
It's going to be that one, 8 mm thick nearly 50 mm wide and... long enough.
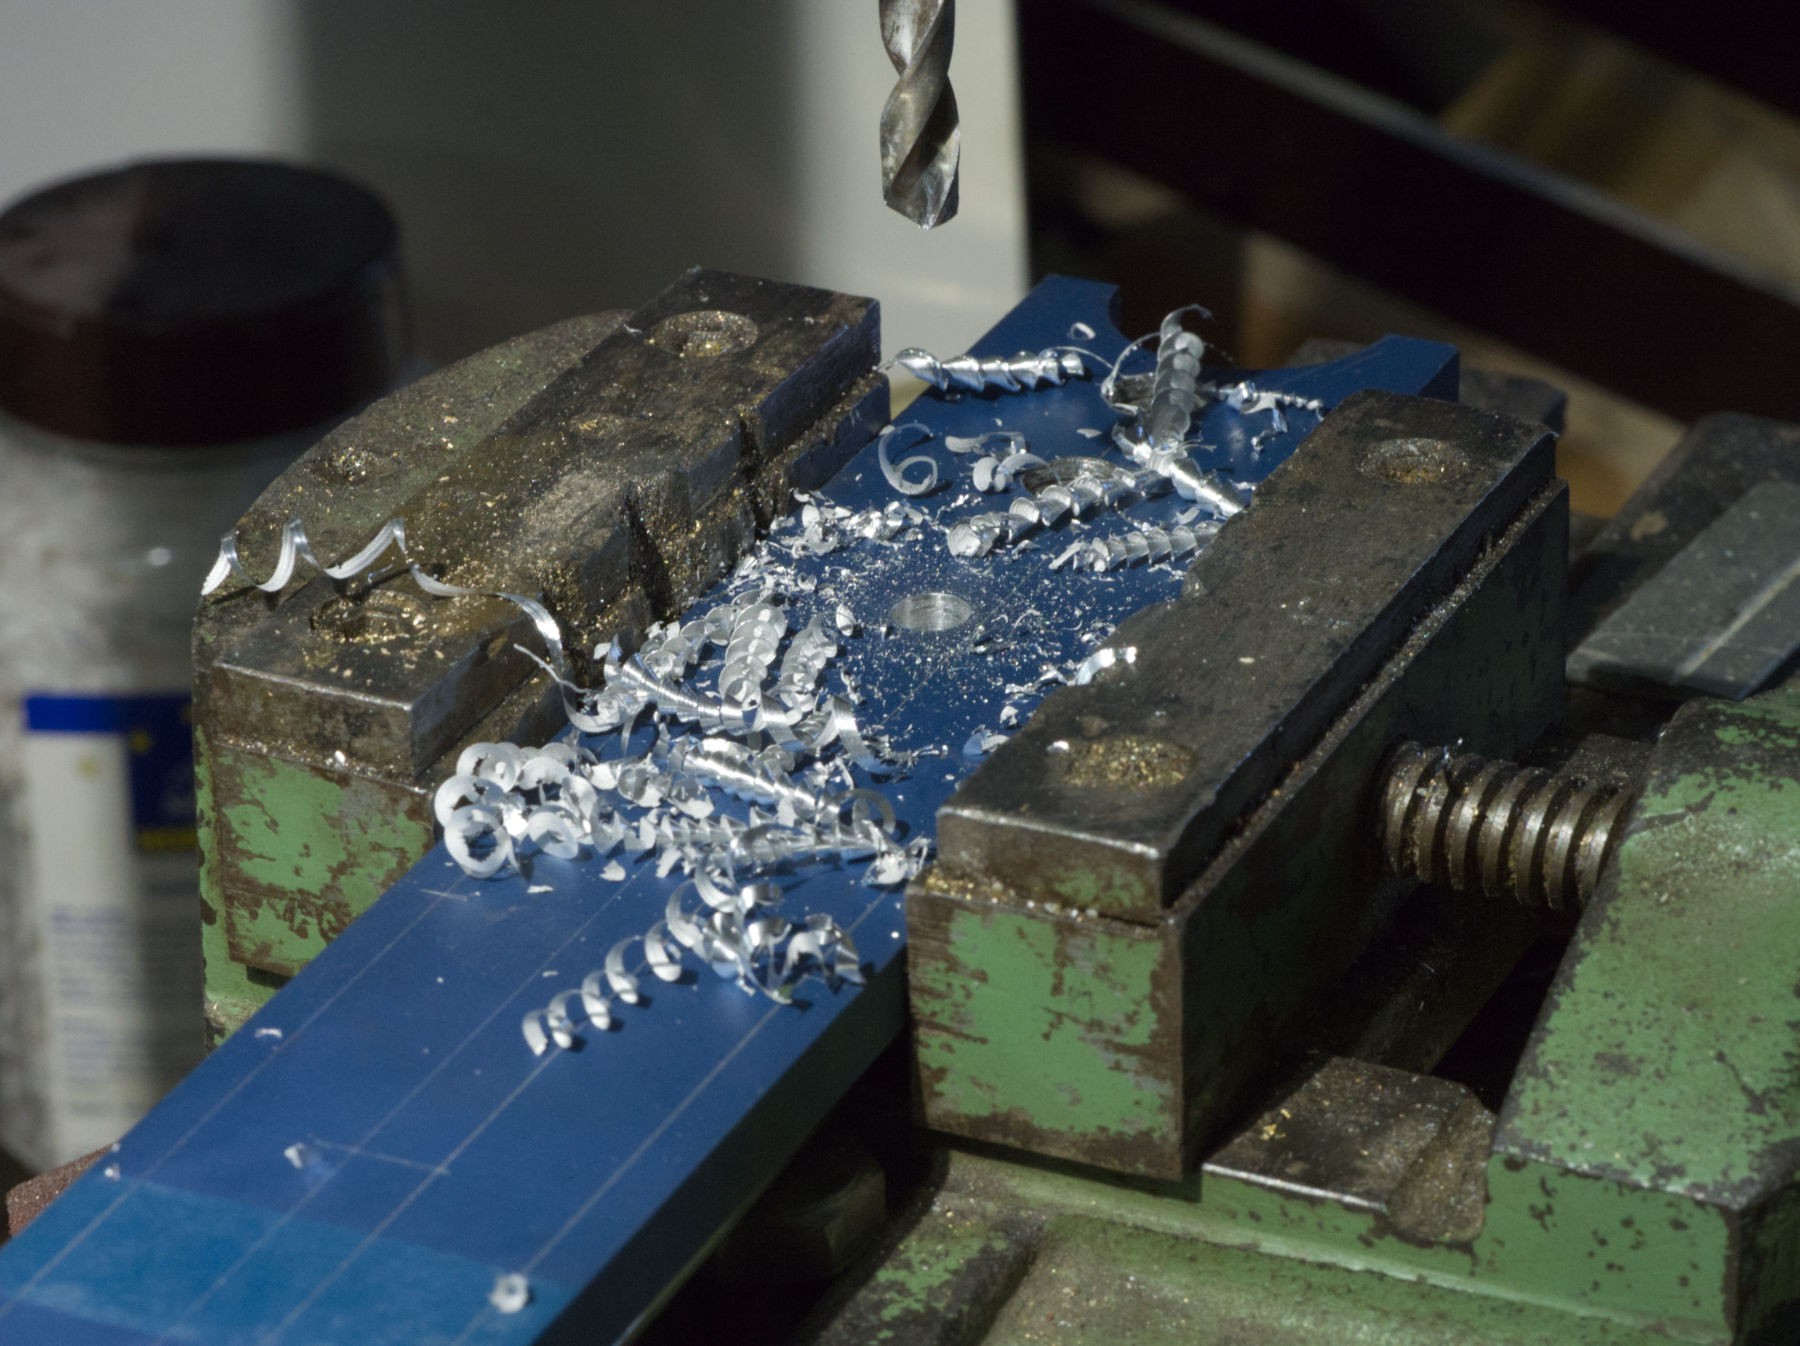
So nice chips, drilling 7,5 mm holes as I don't have the 7,7 mm needed for the 3/8 " threads.
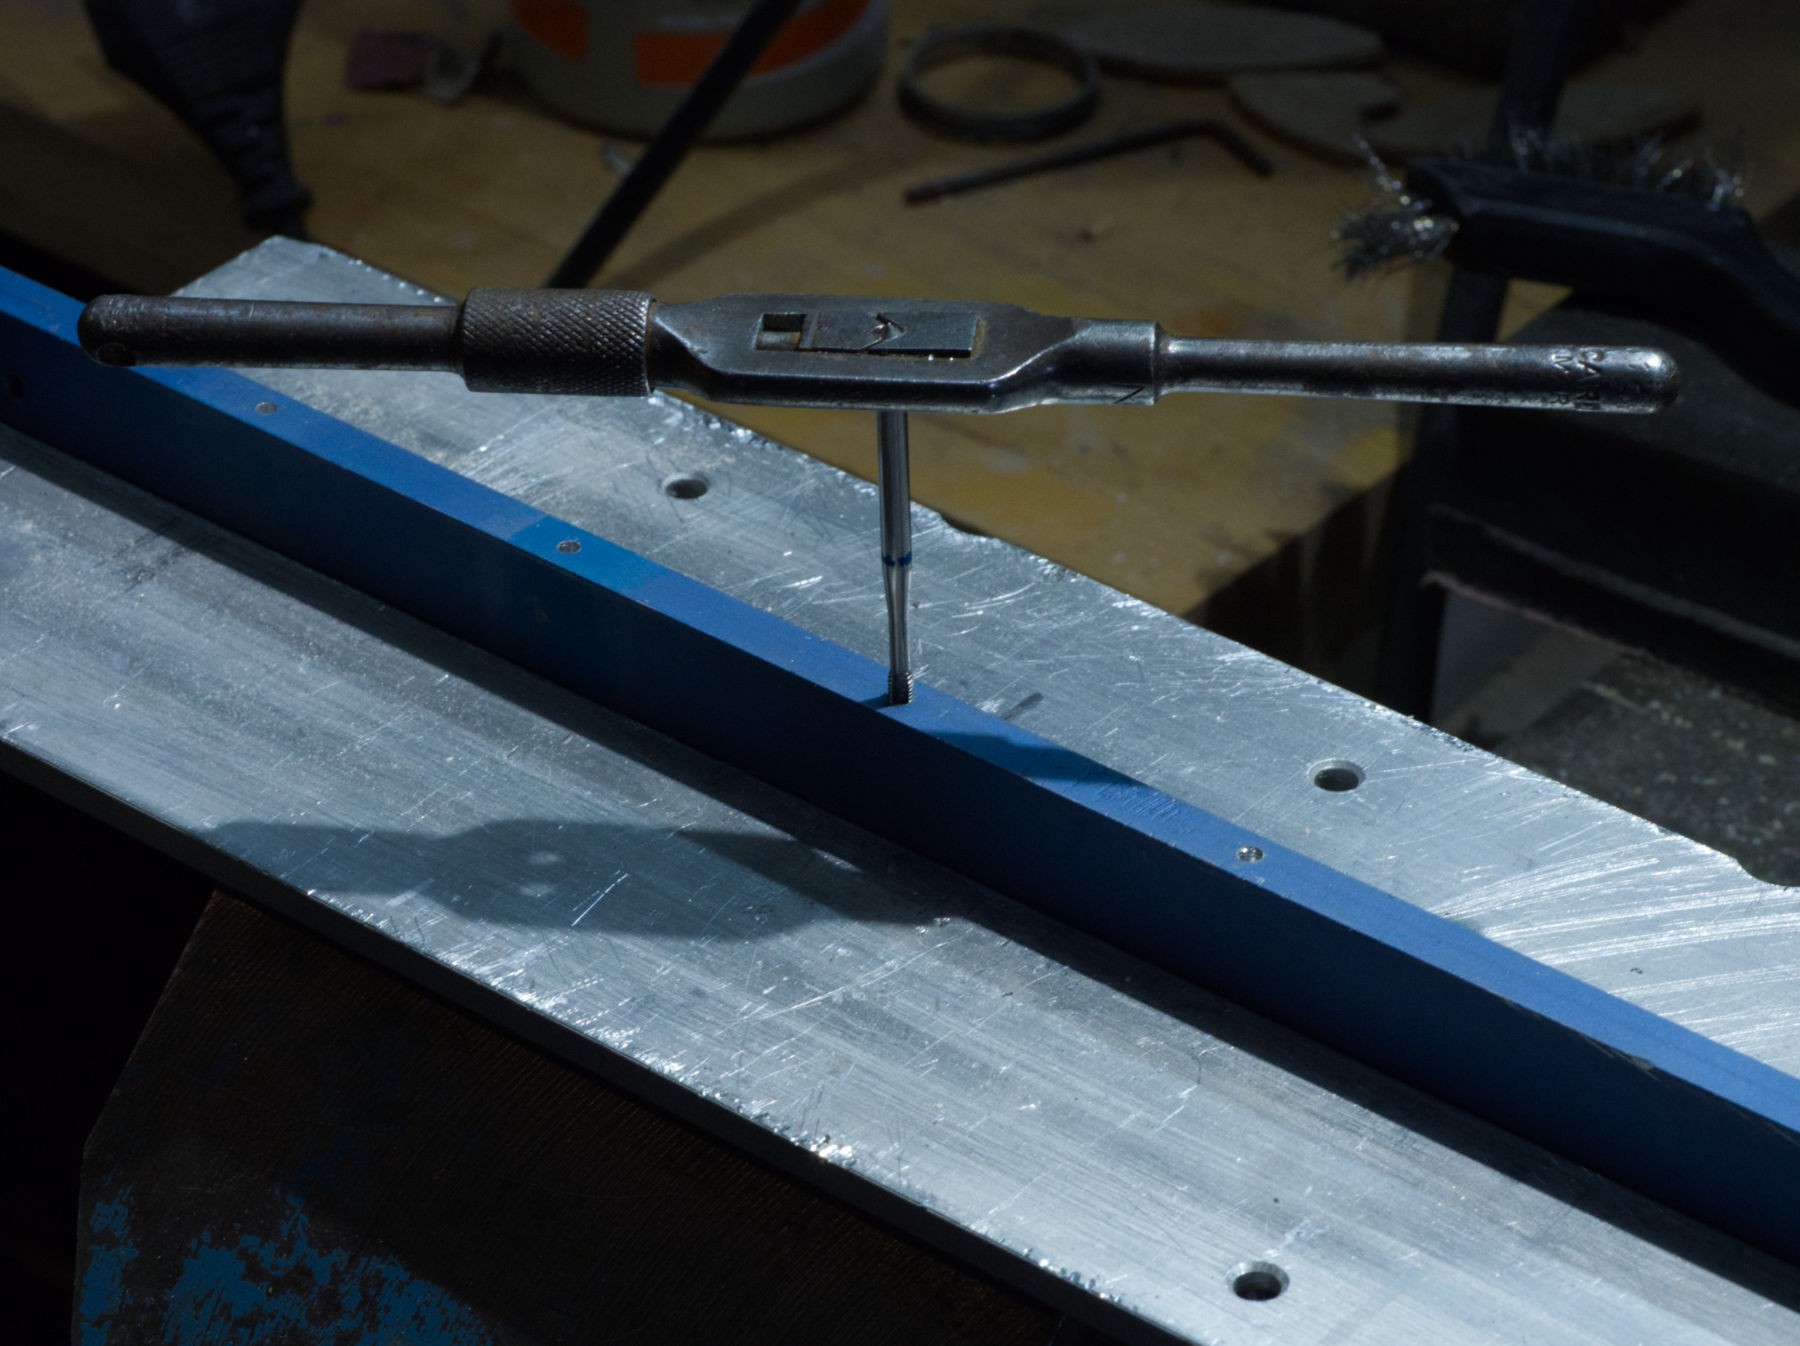
Taping en place, just after drilling, with the help of the drill press tu be sure of the perpendicularity of the taraud (taping tool).
I must use a small enough tourne à gauche (tap wrench) to be able to turn without touching the drill press's column.
Those 3 holes have been very hard to tap, the tool is nearly new and a very good quality one, but I figured out afterwards that the 7,5 mm drill bit used was in fact a 7,1 mm bit ! If 2 mm isn't a lot because aluminium, even the harder one, is a soft metal, 6 mm less...
There are 3 holes because after trying to insert the screws in the first 2 holes, I realized that they where too close : the nut on the photographic screws, which is in charge of the final tightening, is very big, to give fingers a good grip.
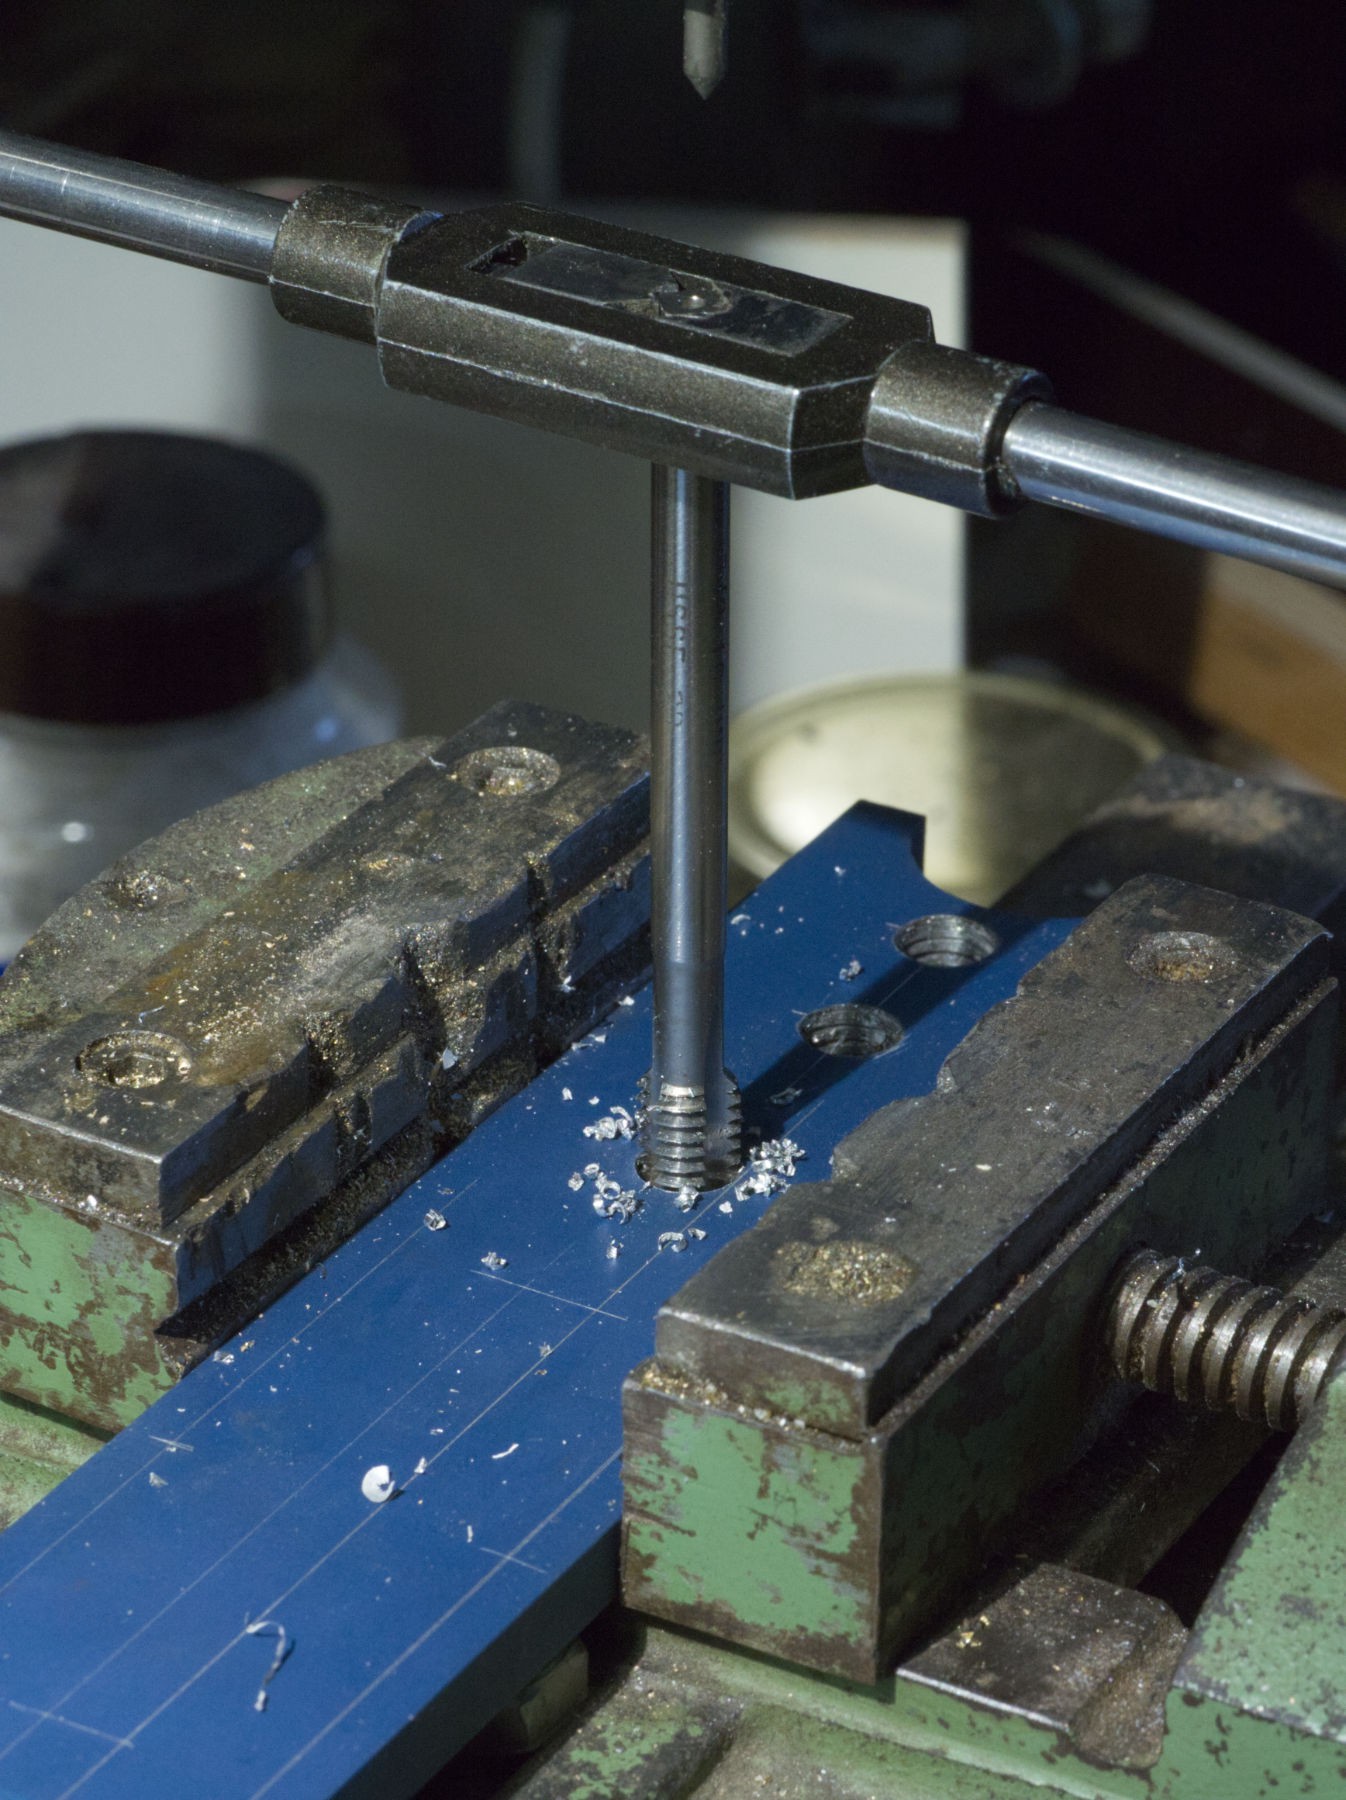
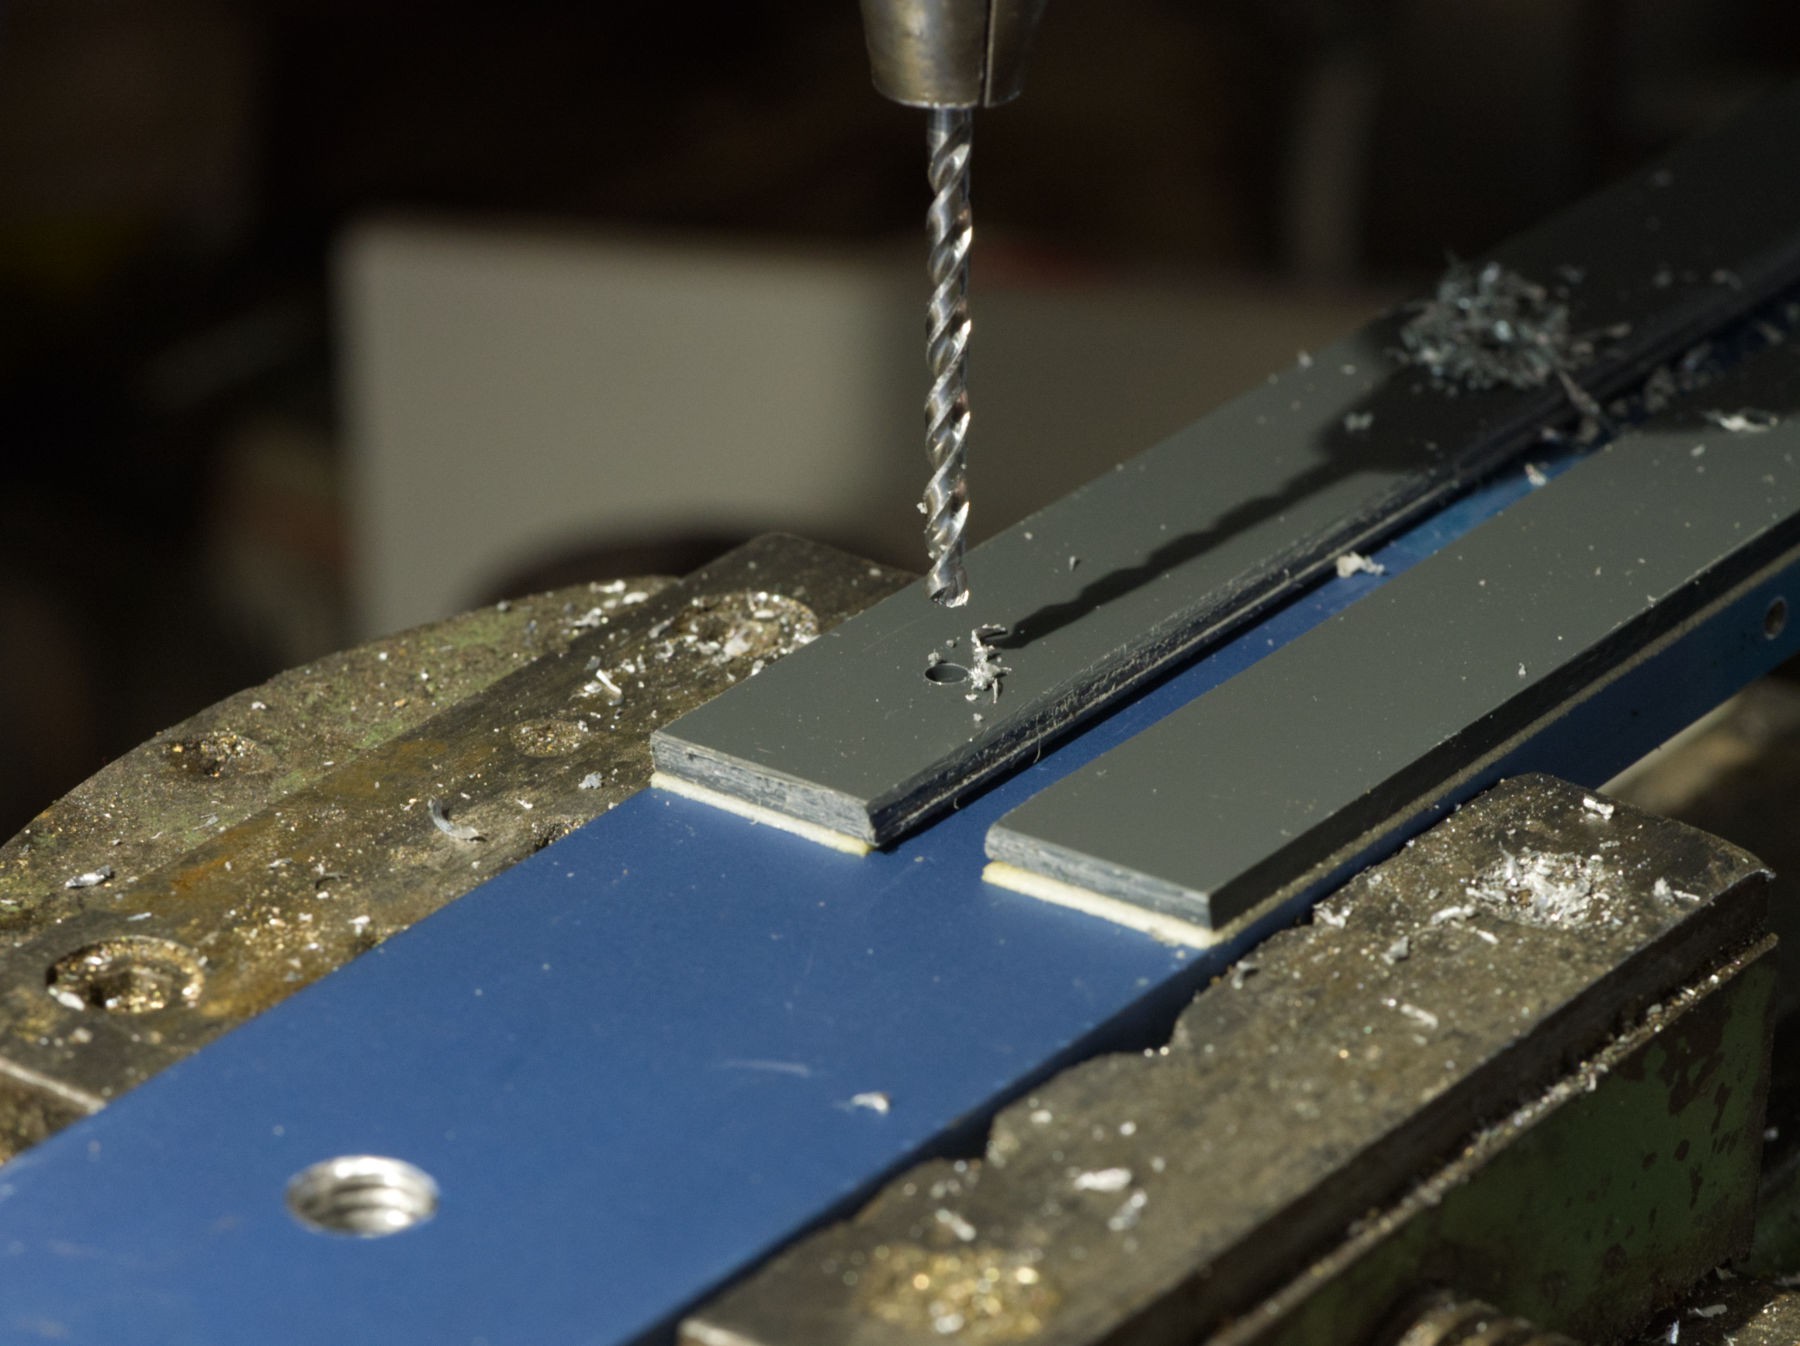
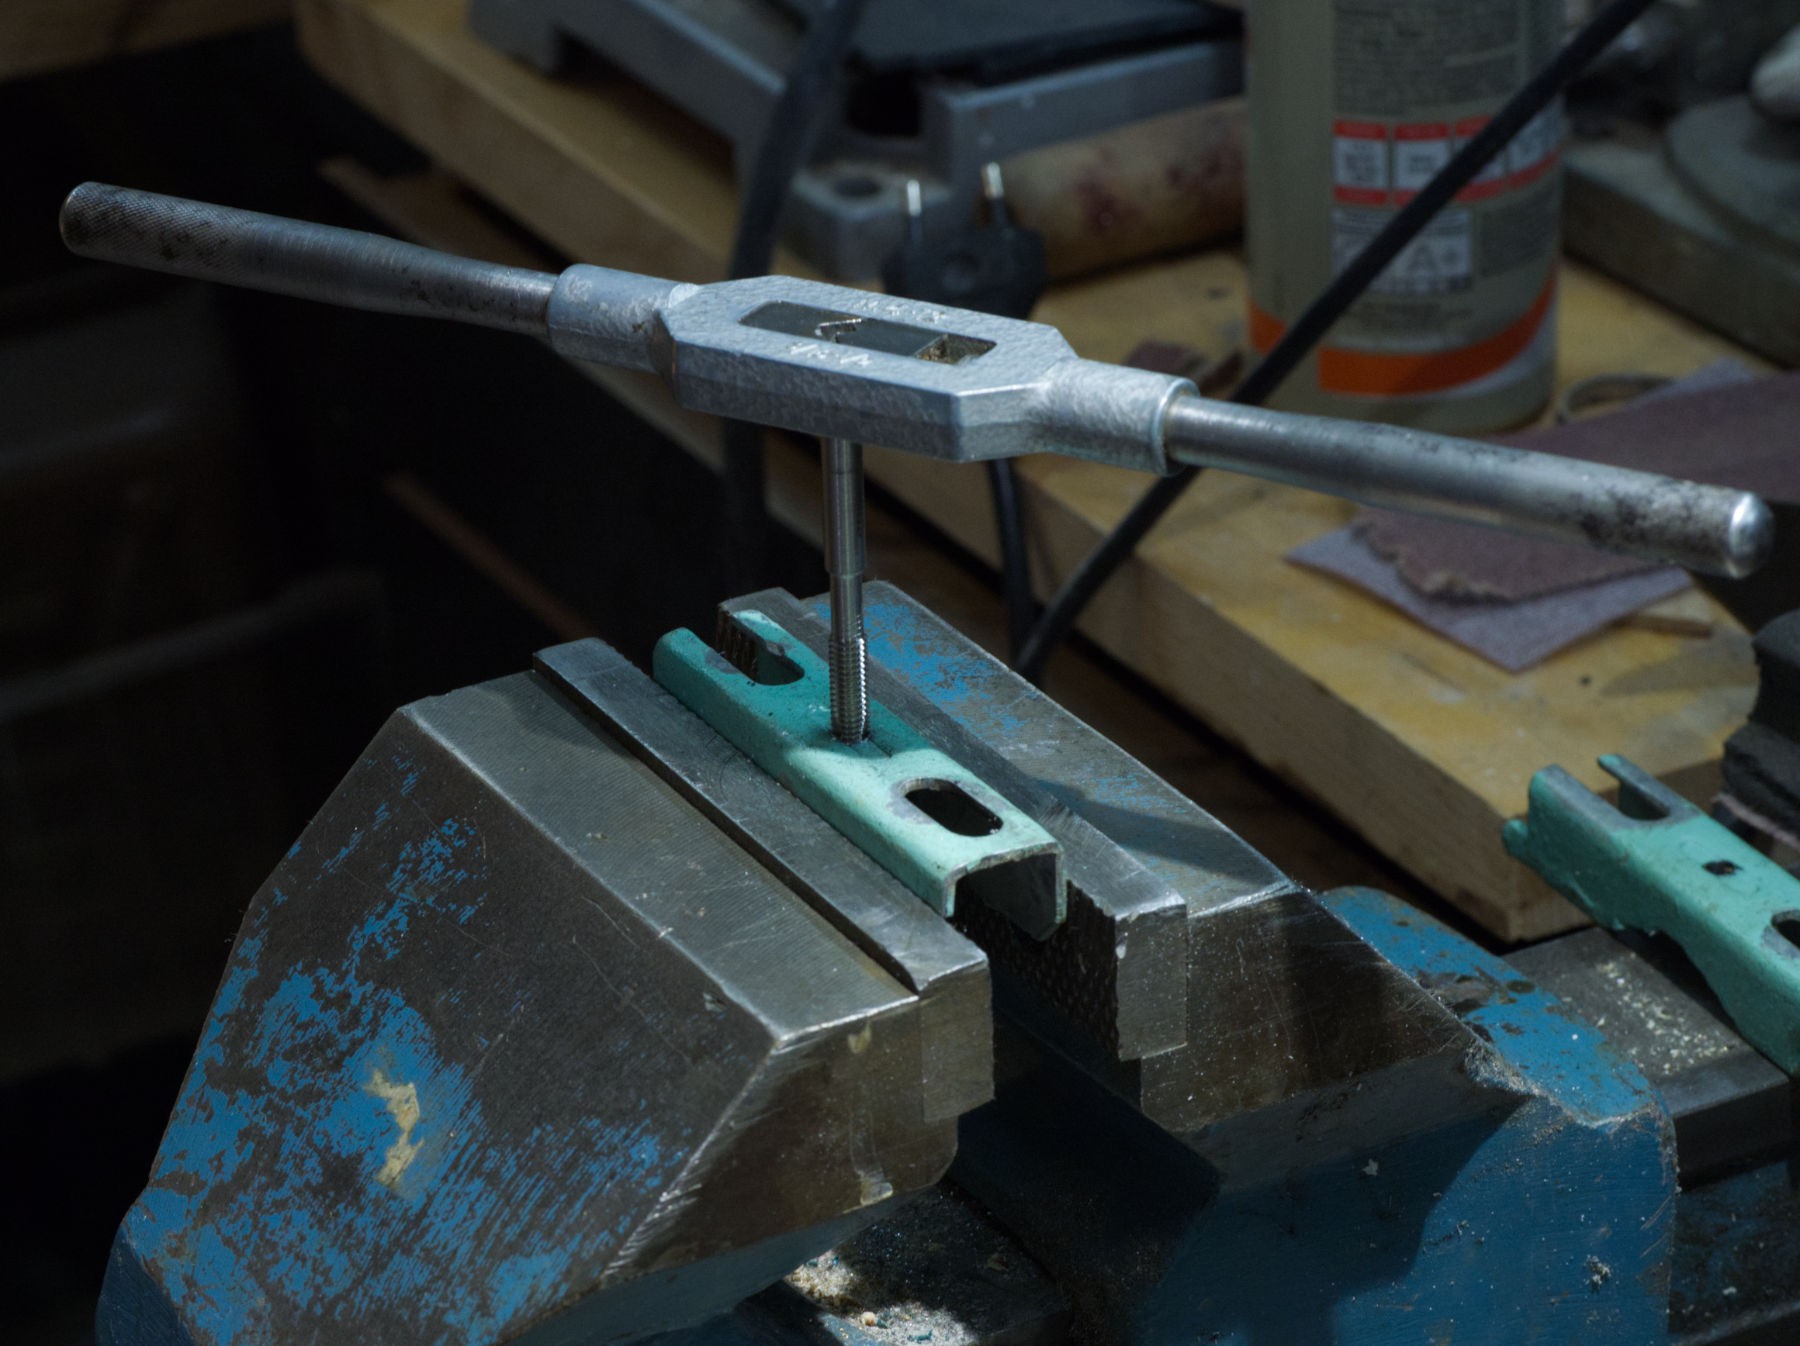
Drilling 2,3 mm holes for M 3 screws en place : there are 5 holes that need to be perfectly aligned, It's close to the edge both parts. It's clamped on the other side.
Taping M 3 threads, for small diameter like that, I prefer use a smaller tourne à gauche (tap wrench) : it has less torque and the taping tools are hard, but sometimes, they tend to brake when too much torque is applied, and a broken tool is not very useful, and when it's broken, the remaining part in the hole is impossible to take away : if it broke, it's stuck inside !
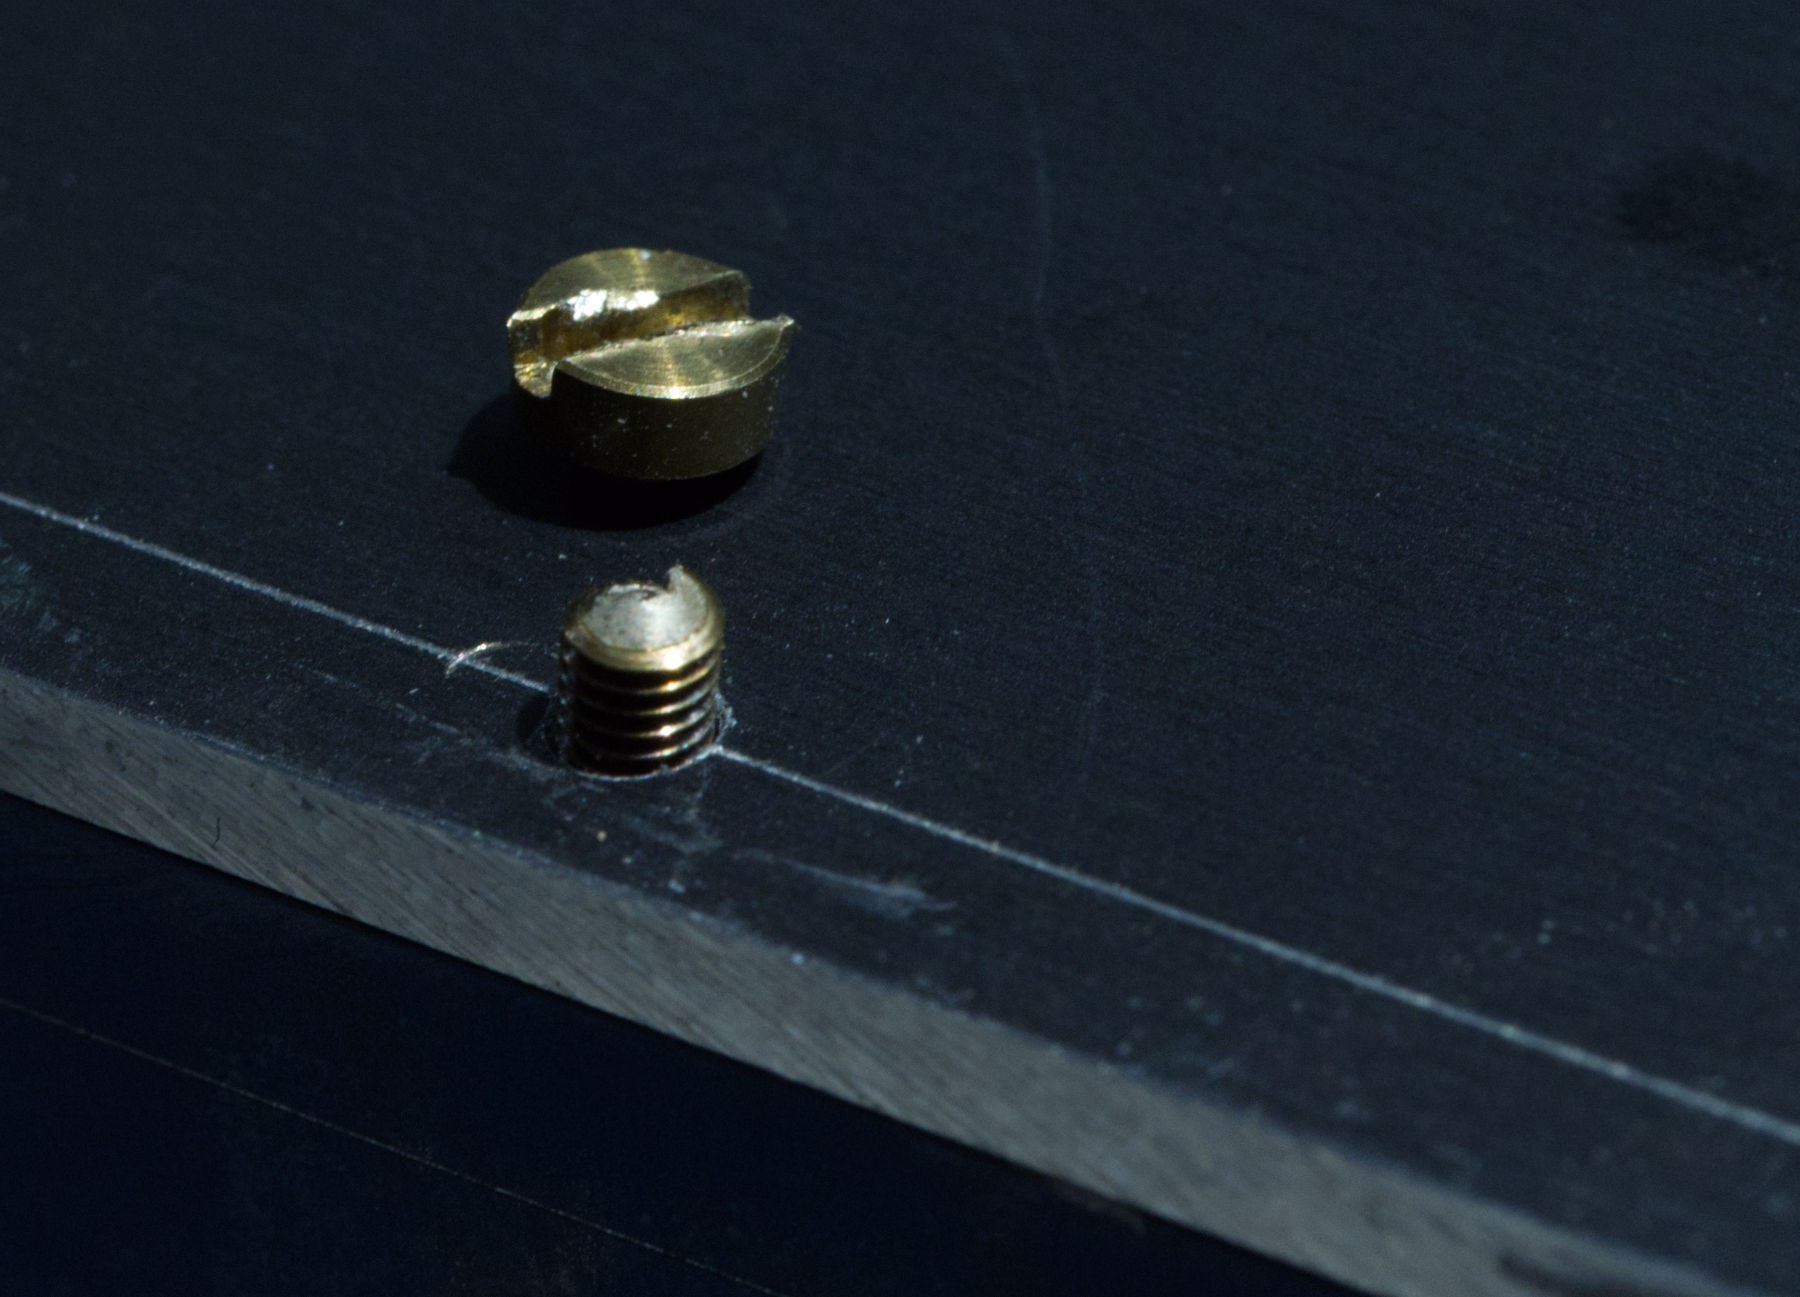
That's a broken M 3 brass screw, the ten holes where nearly perfectly aligned, nearly.
It was easy to take away, and enlarge the hole with a very small round file also, but I coud have done it before : faut pas forcer (do not force), never !
The Sinar bench tube fits alright.
I need 2 pieces of 3 mm thick PVC of the same size, to block the Sinar bench tube in place.
Starting the cutting with an lathe tool, finishing with a metal saw.
Bonded with strong double sided adhesive tape, It fits perfectly, with some little strength needed at inserting.
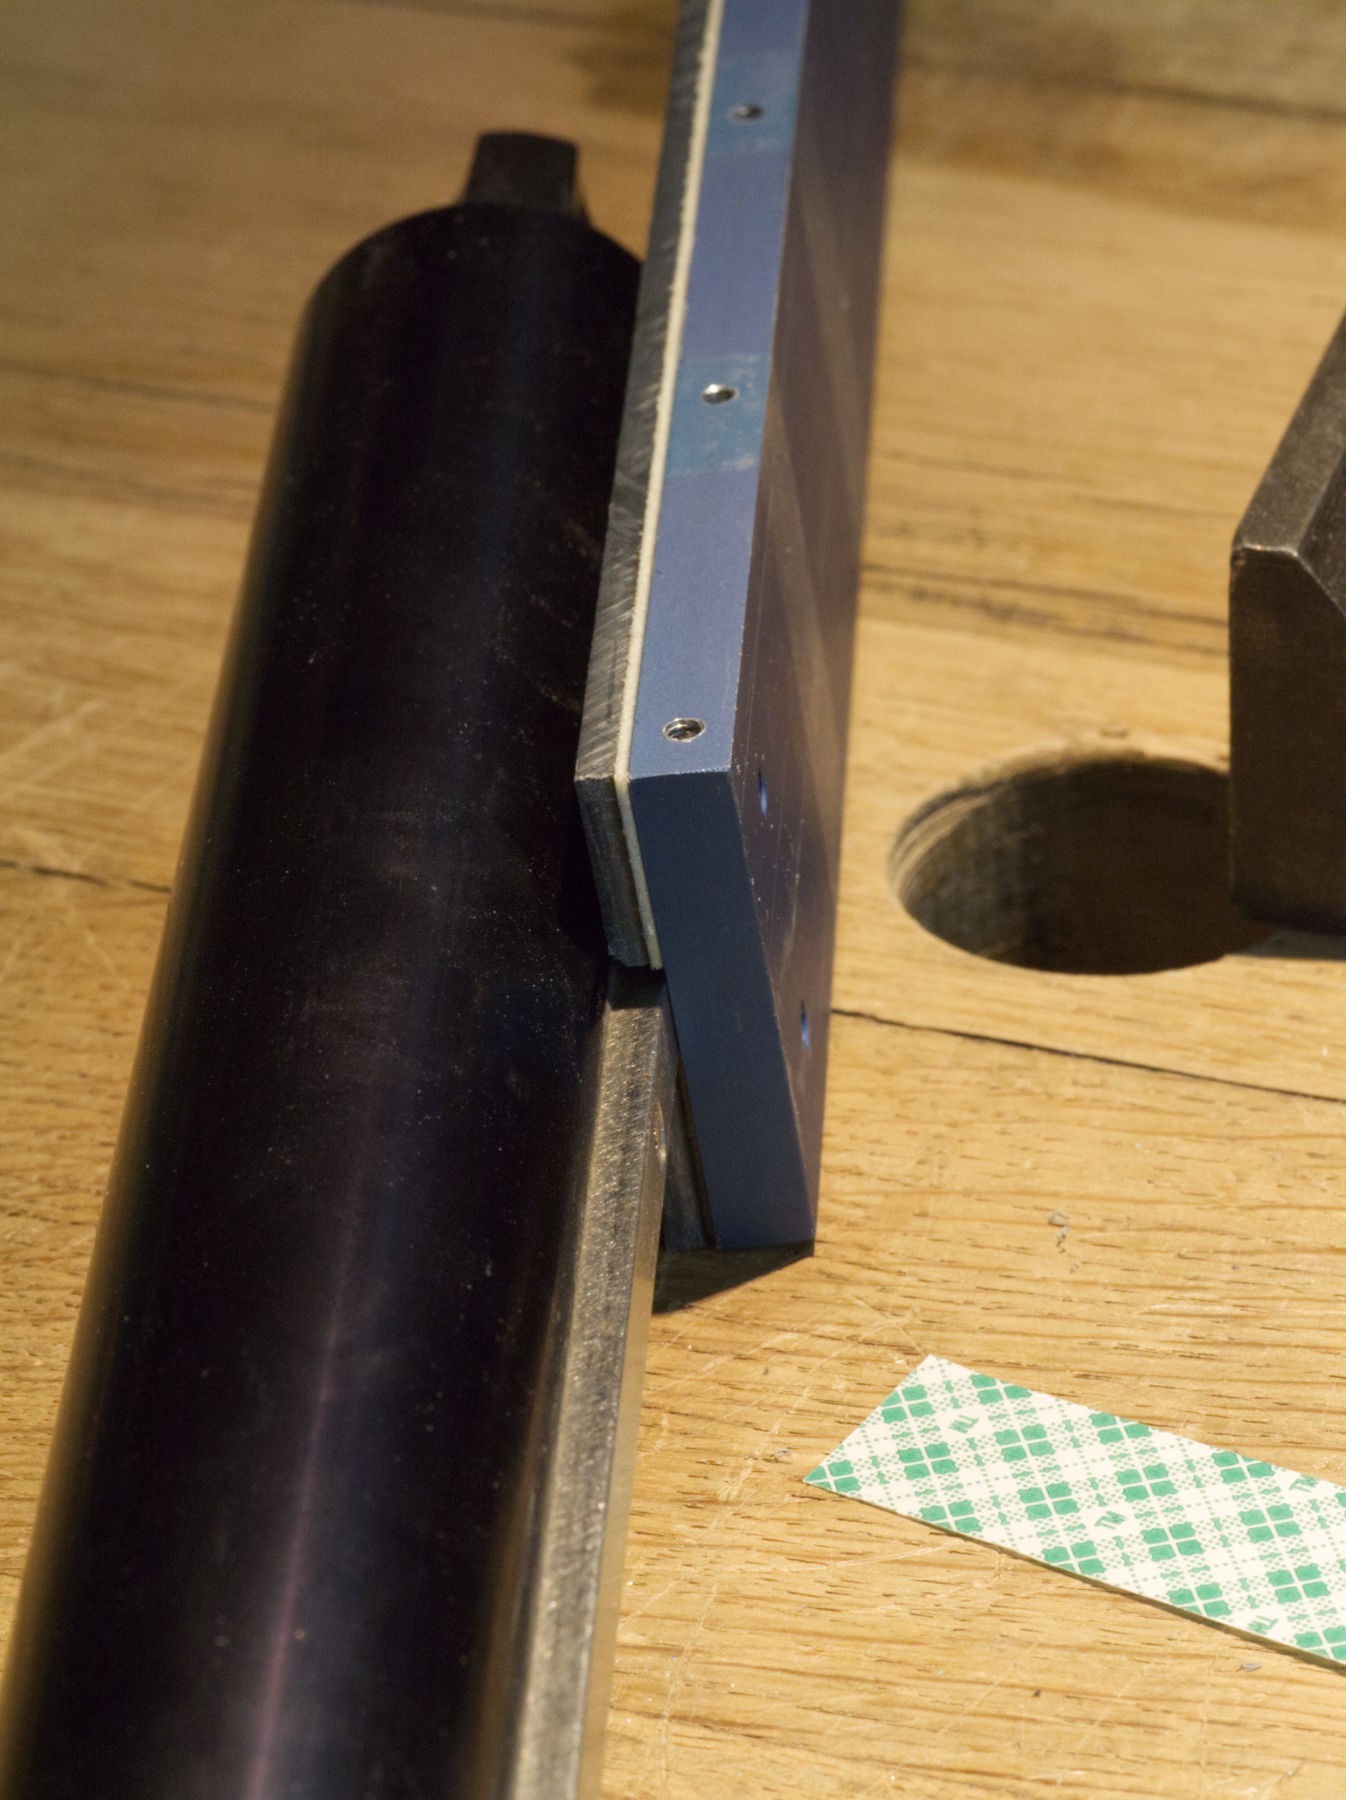
It's that stainless steel rod on the Sinar bench tube that's tightly held in between the 2 PVC parts.
Drilling to have no more possible movement, with 3 screws on each side.
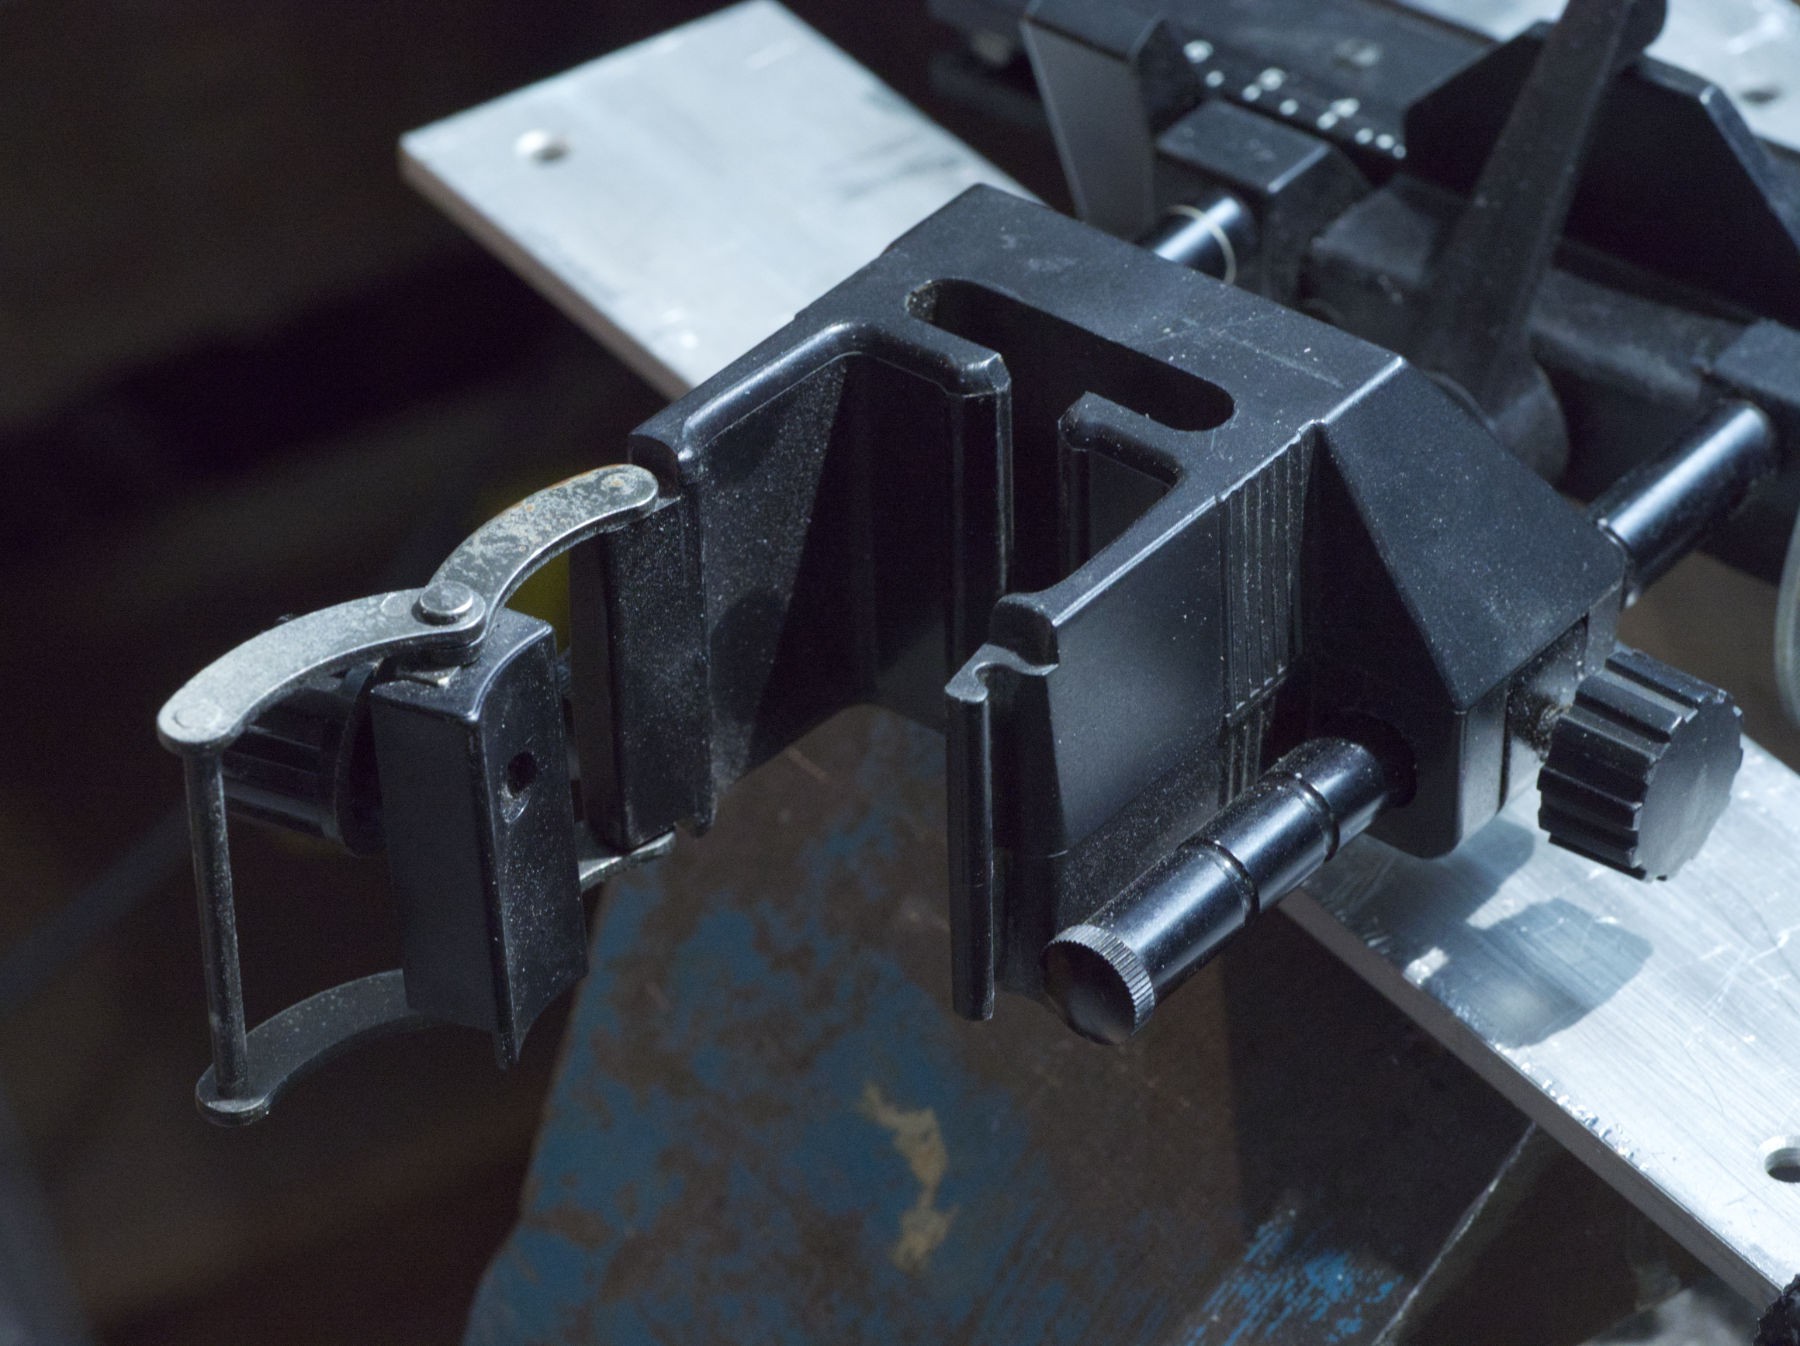
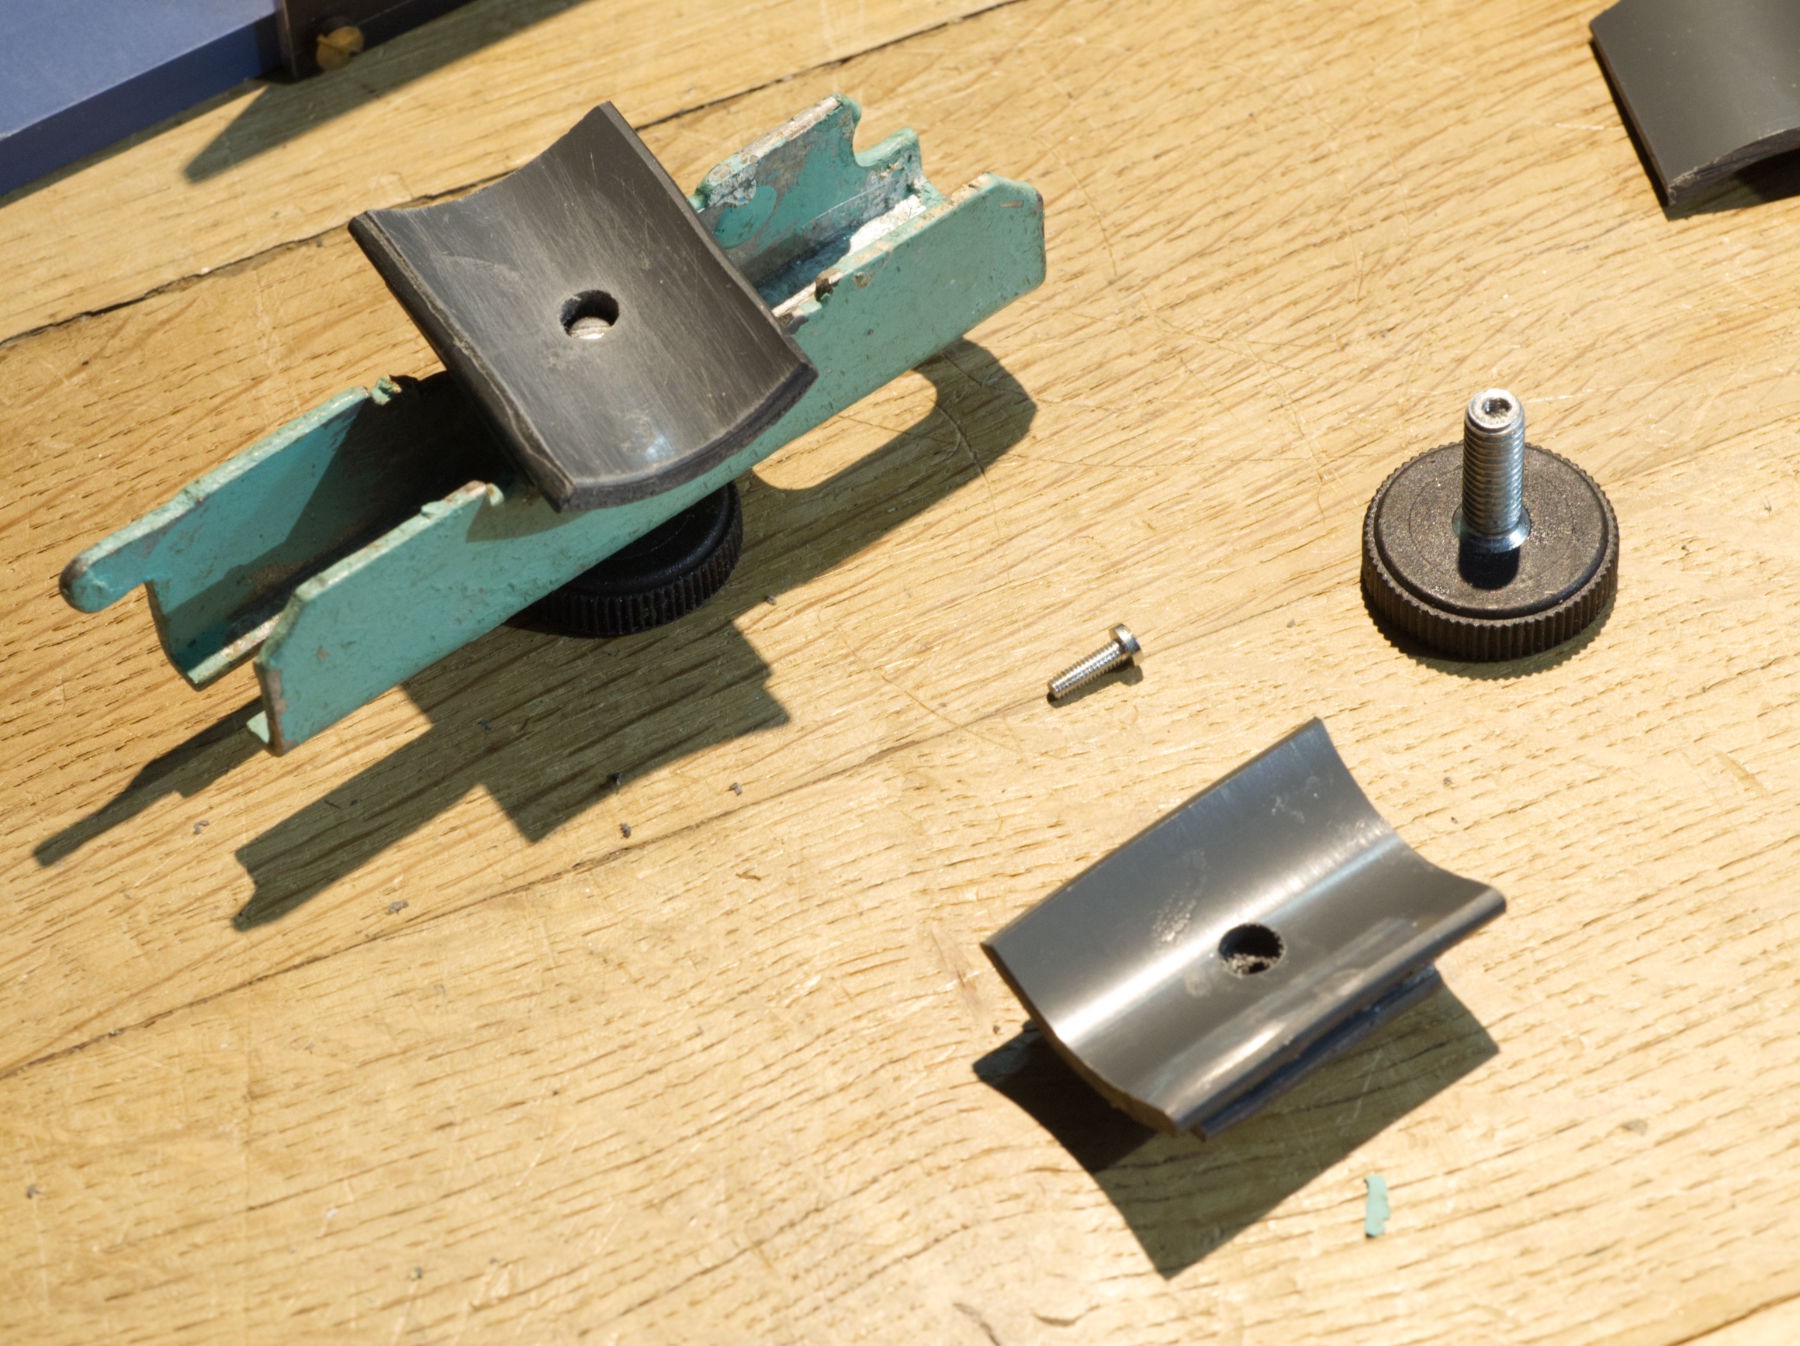
That's the Sinar tightening system I'm trying to reproduce, It's an injection molded very strong plastic.
The bench steel rod fits tightly into the central groove (just like in my project), and the closing and tightening mechanism is very simple, elegant and efficient, but too difficult to exactly and simply replicate.
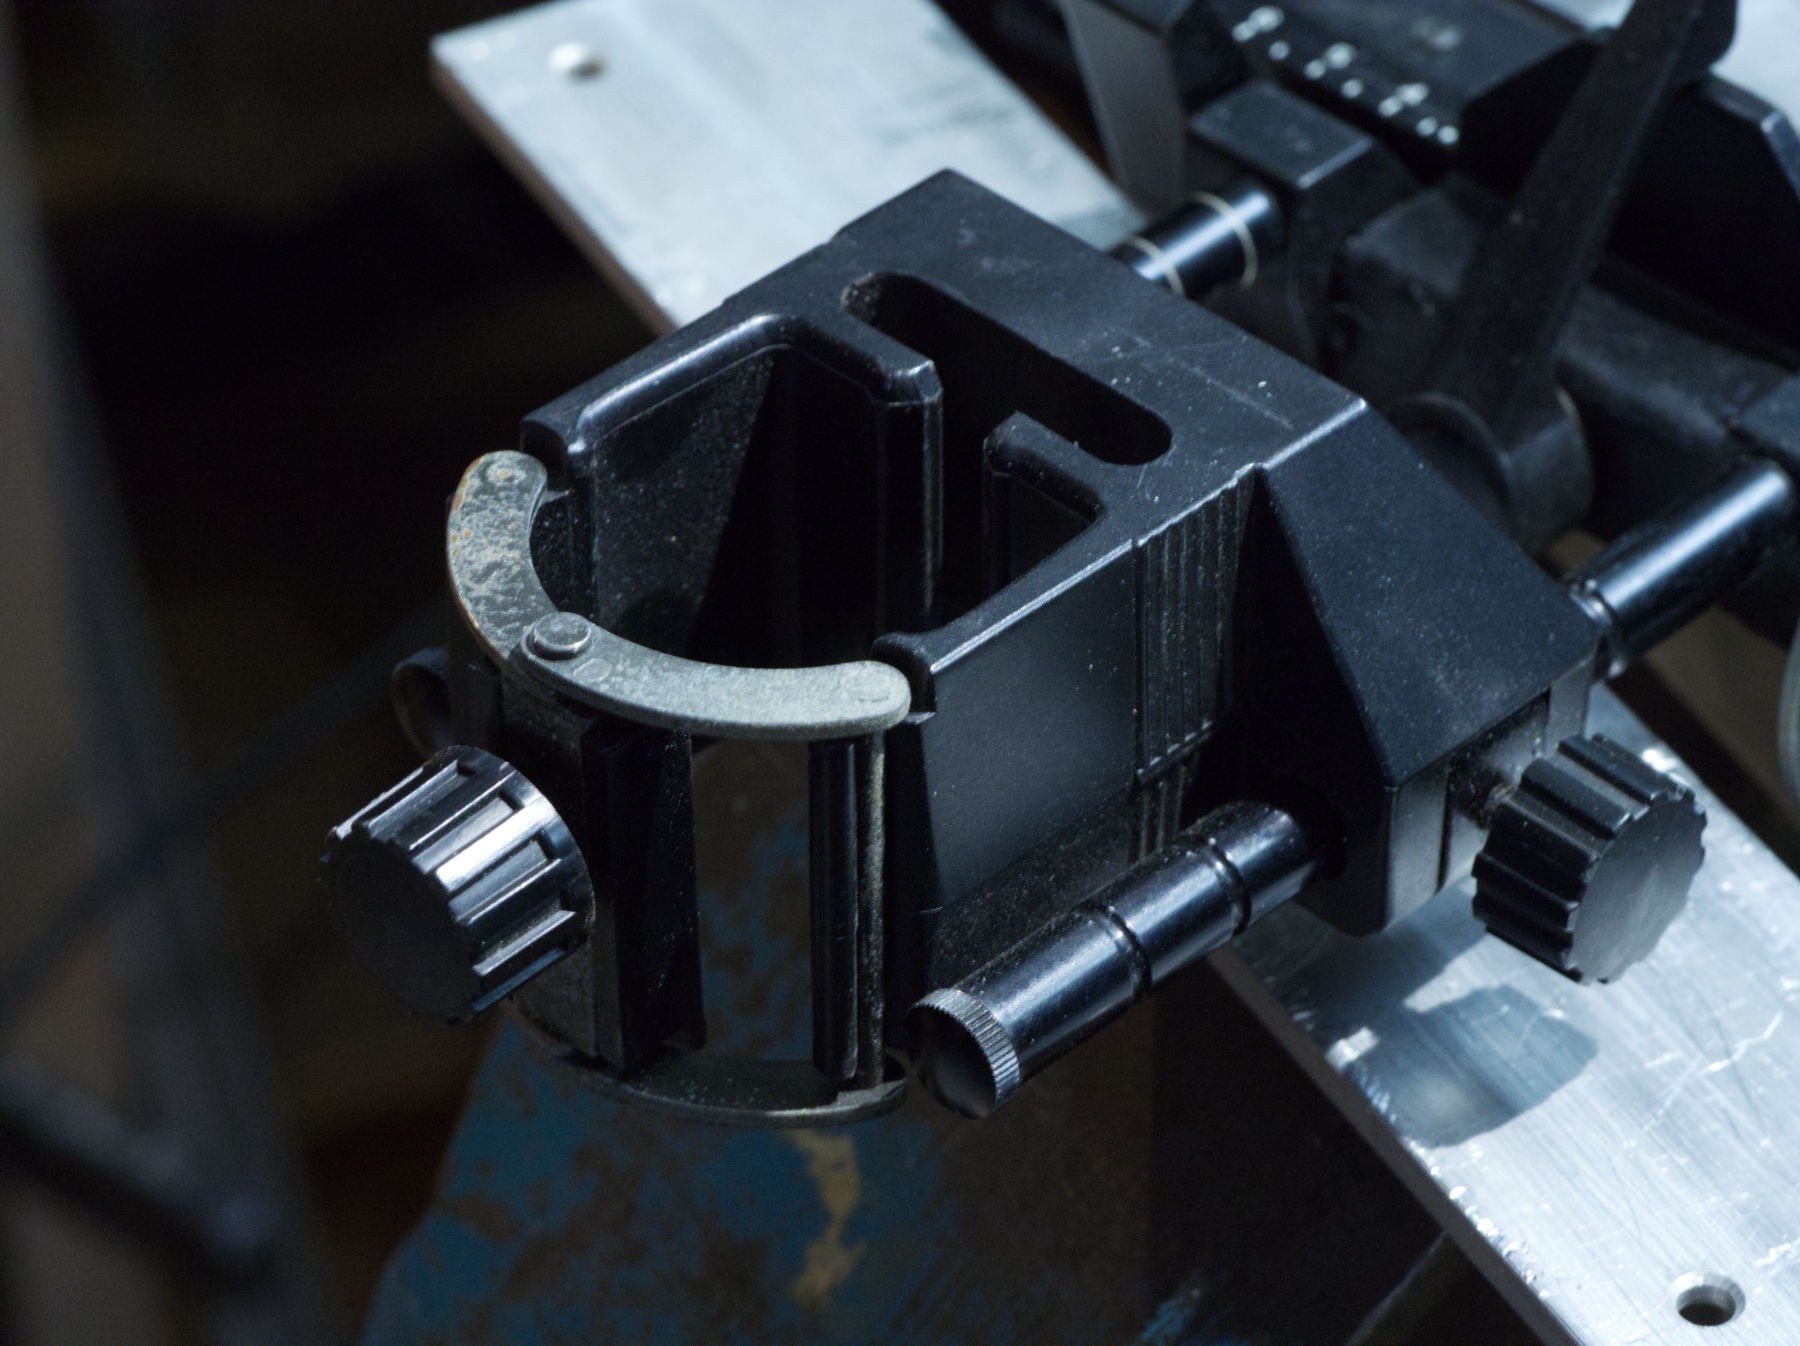
Same thing closed, the small screw on the left tights perfectly the bench with a very intuitive and simple action.
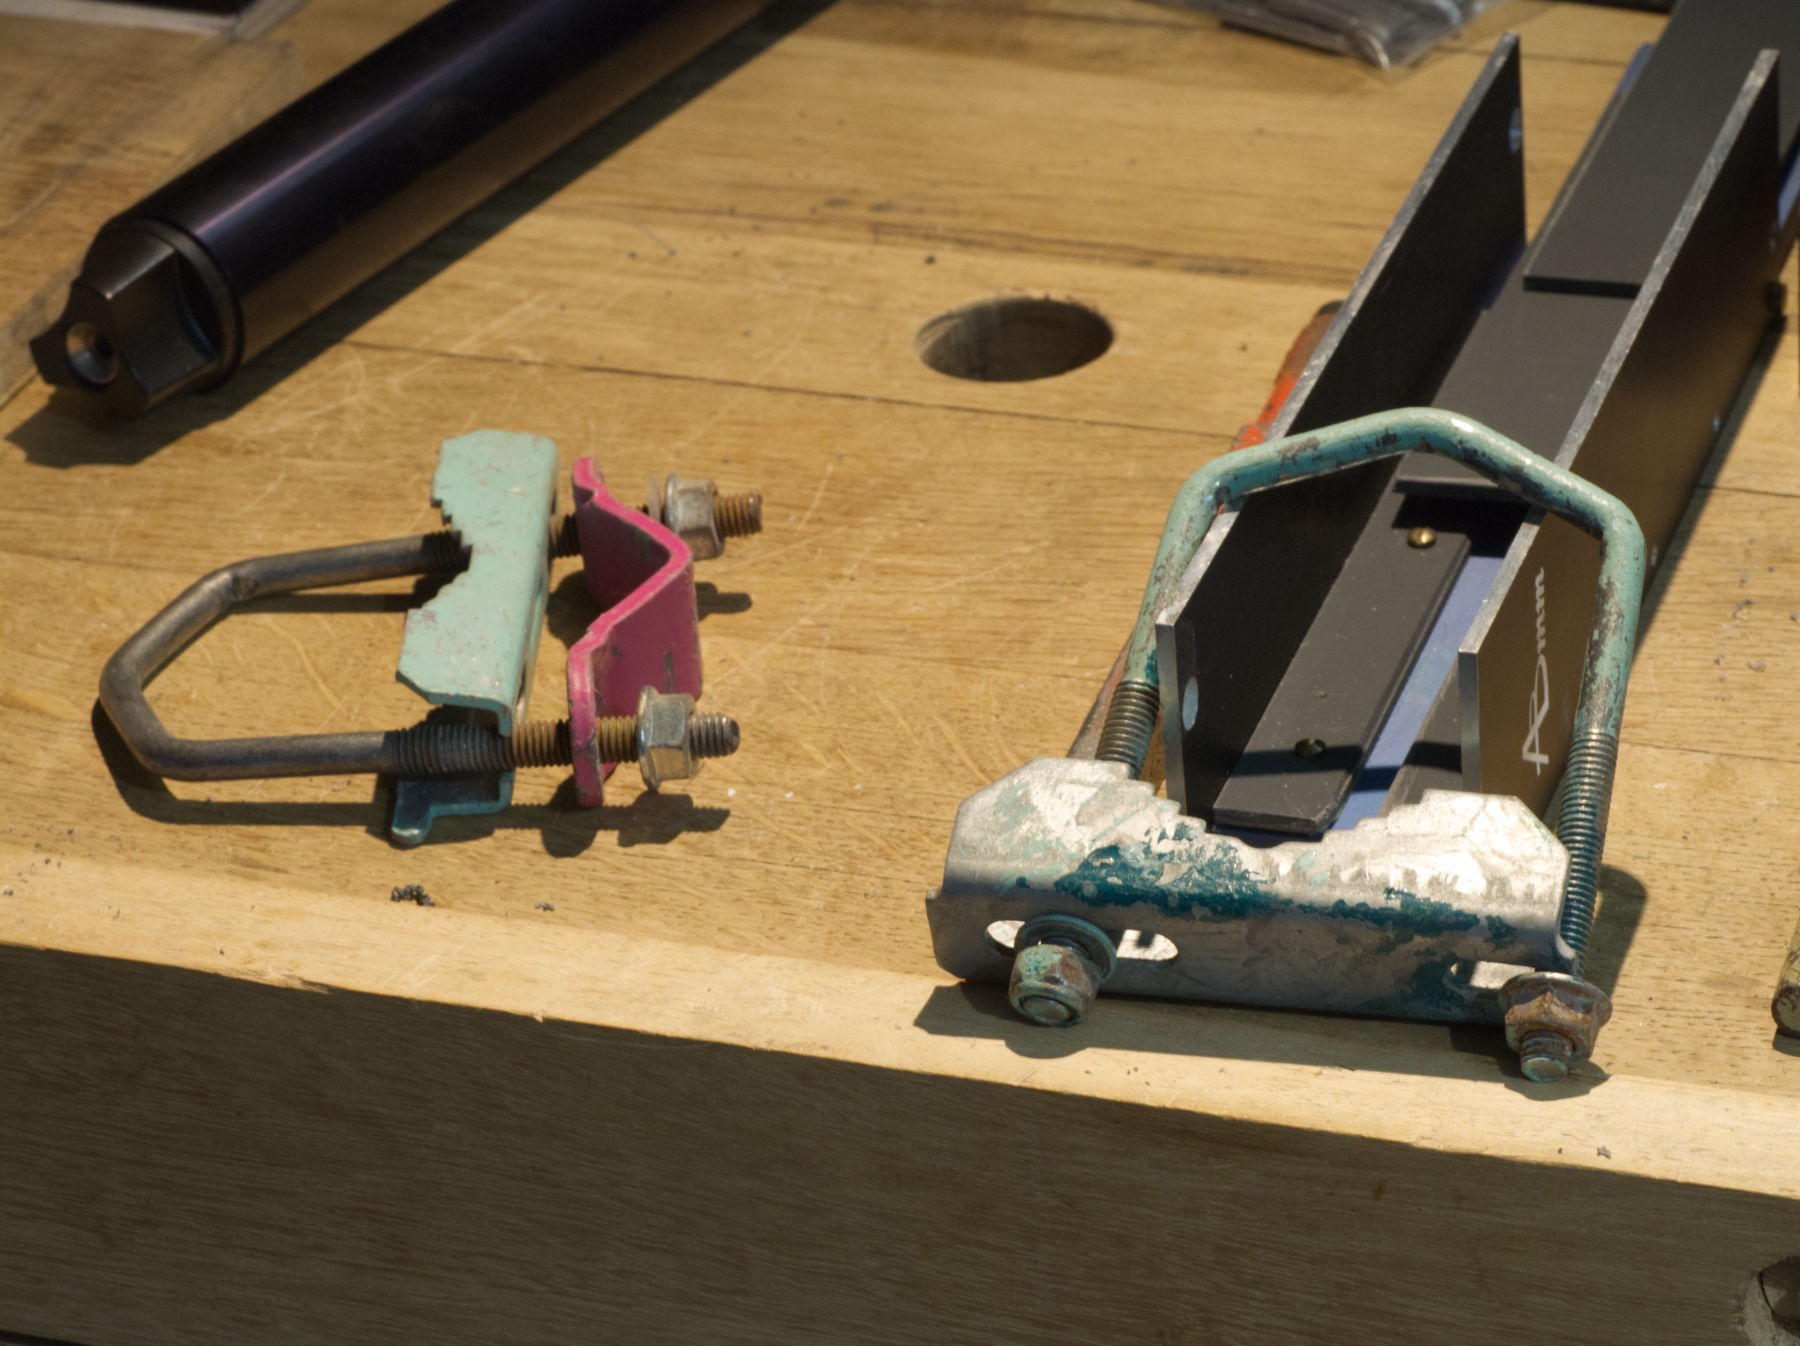
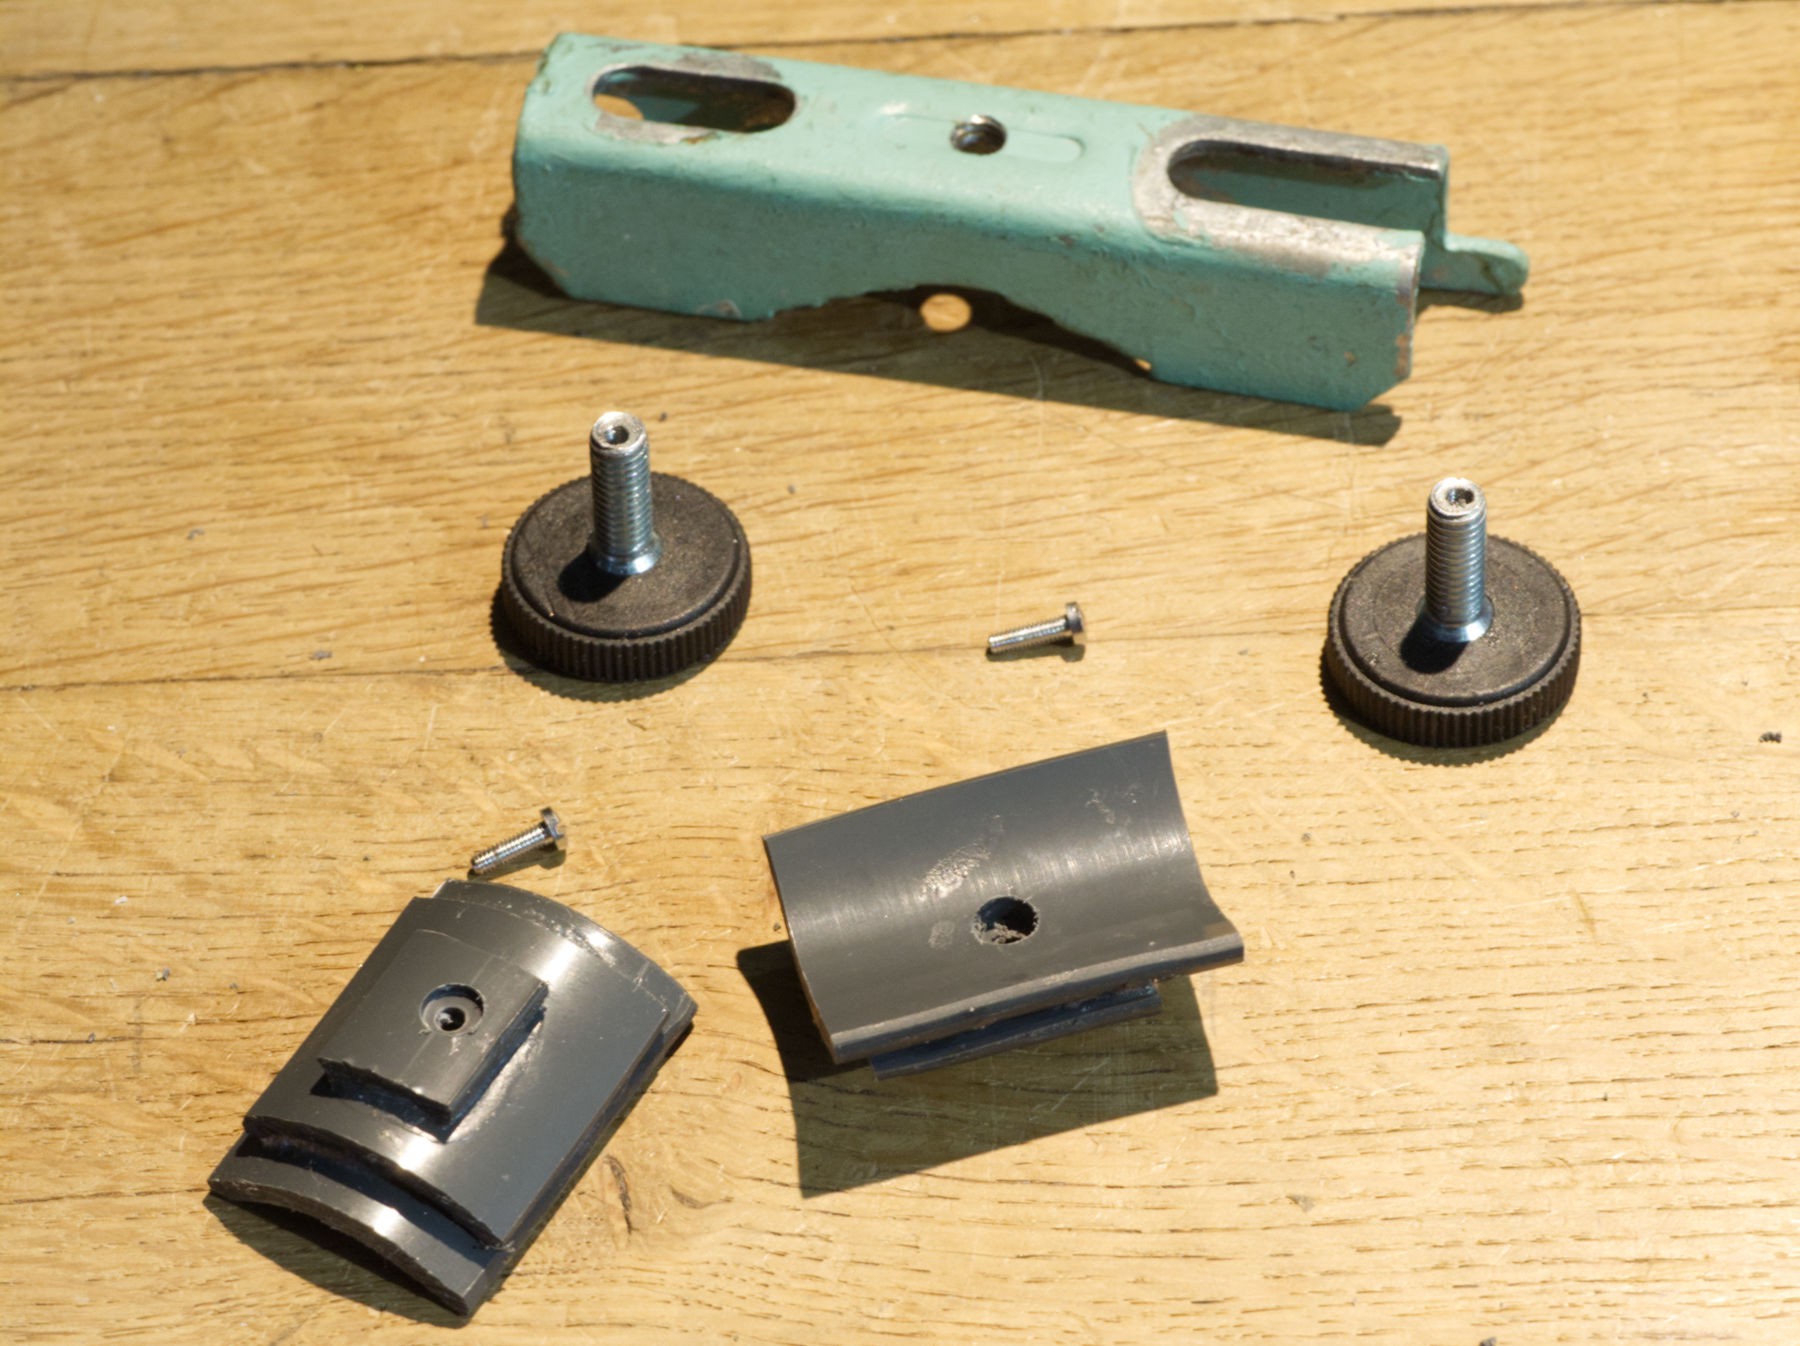
I first wanted to use some aluminium to do the job, but searching for an appropriate shape in all the drawers, I found those very funky scaffold attaching parts. They have the right shape and size and it'll be much faster than aluminium cutting, drilling, taping, screwing...
It'll give a kind of touche rustique (rustic touch) to the project.
Rustic, OK, but rust, NO.
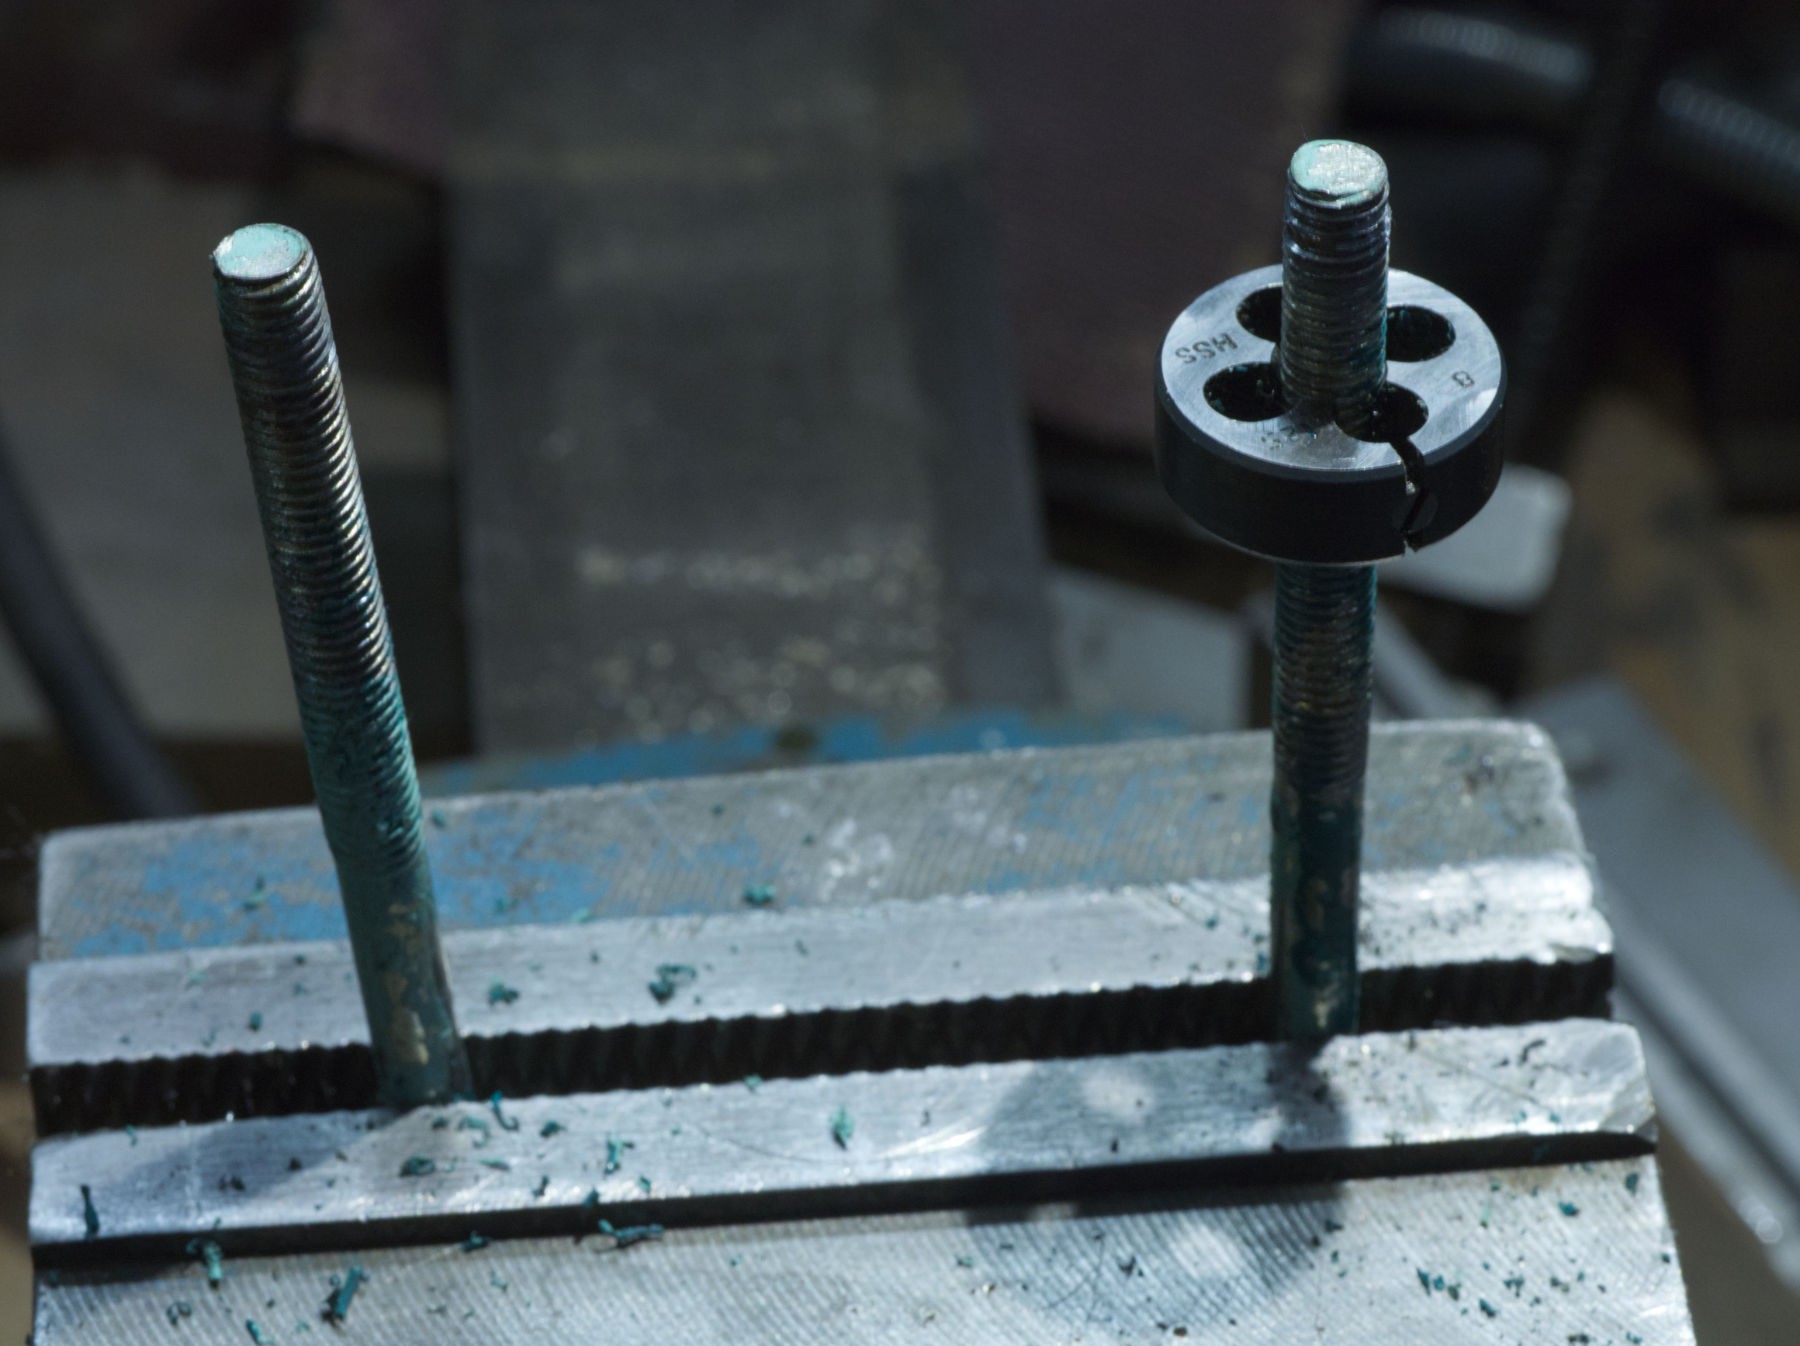
I had to remake the M8 threads, clogged with rust and green paint, and there's not enough space tu use the die holding tool,
I've used a pince-étau (vise-grip) instead.
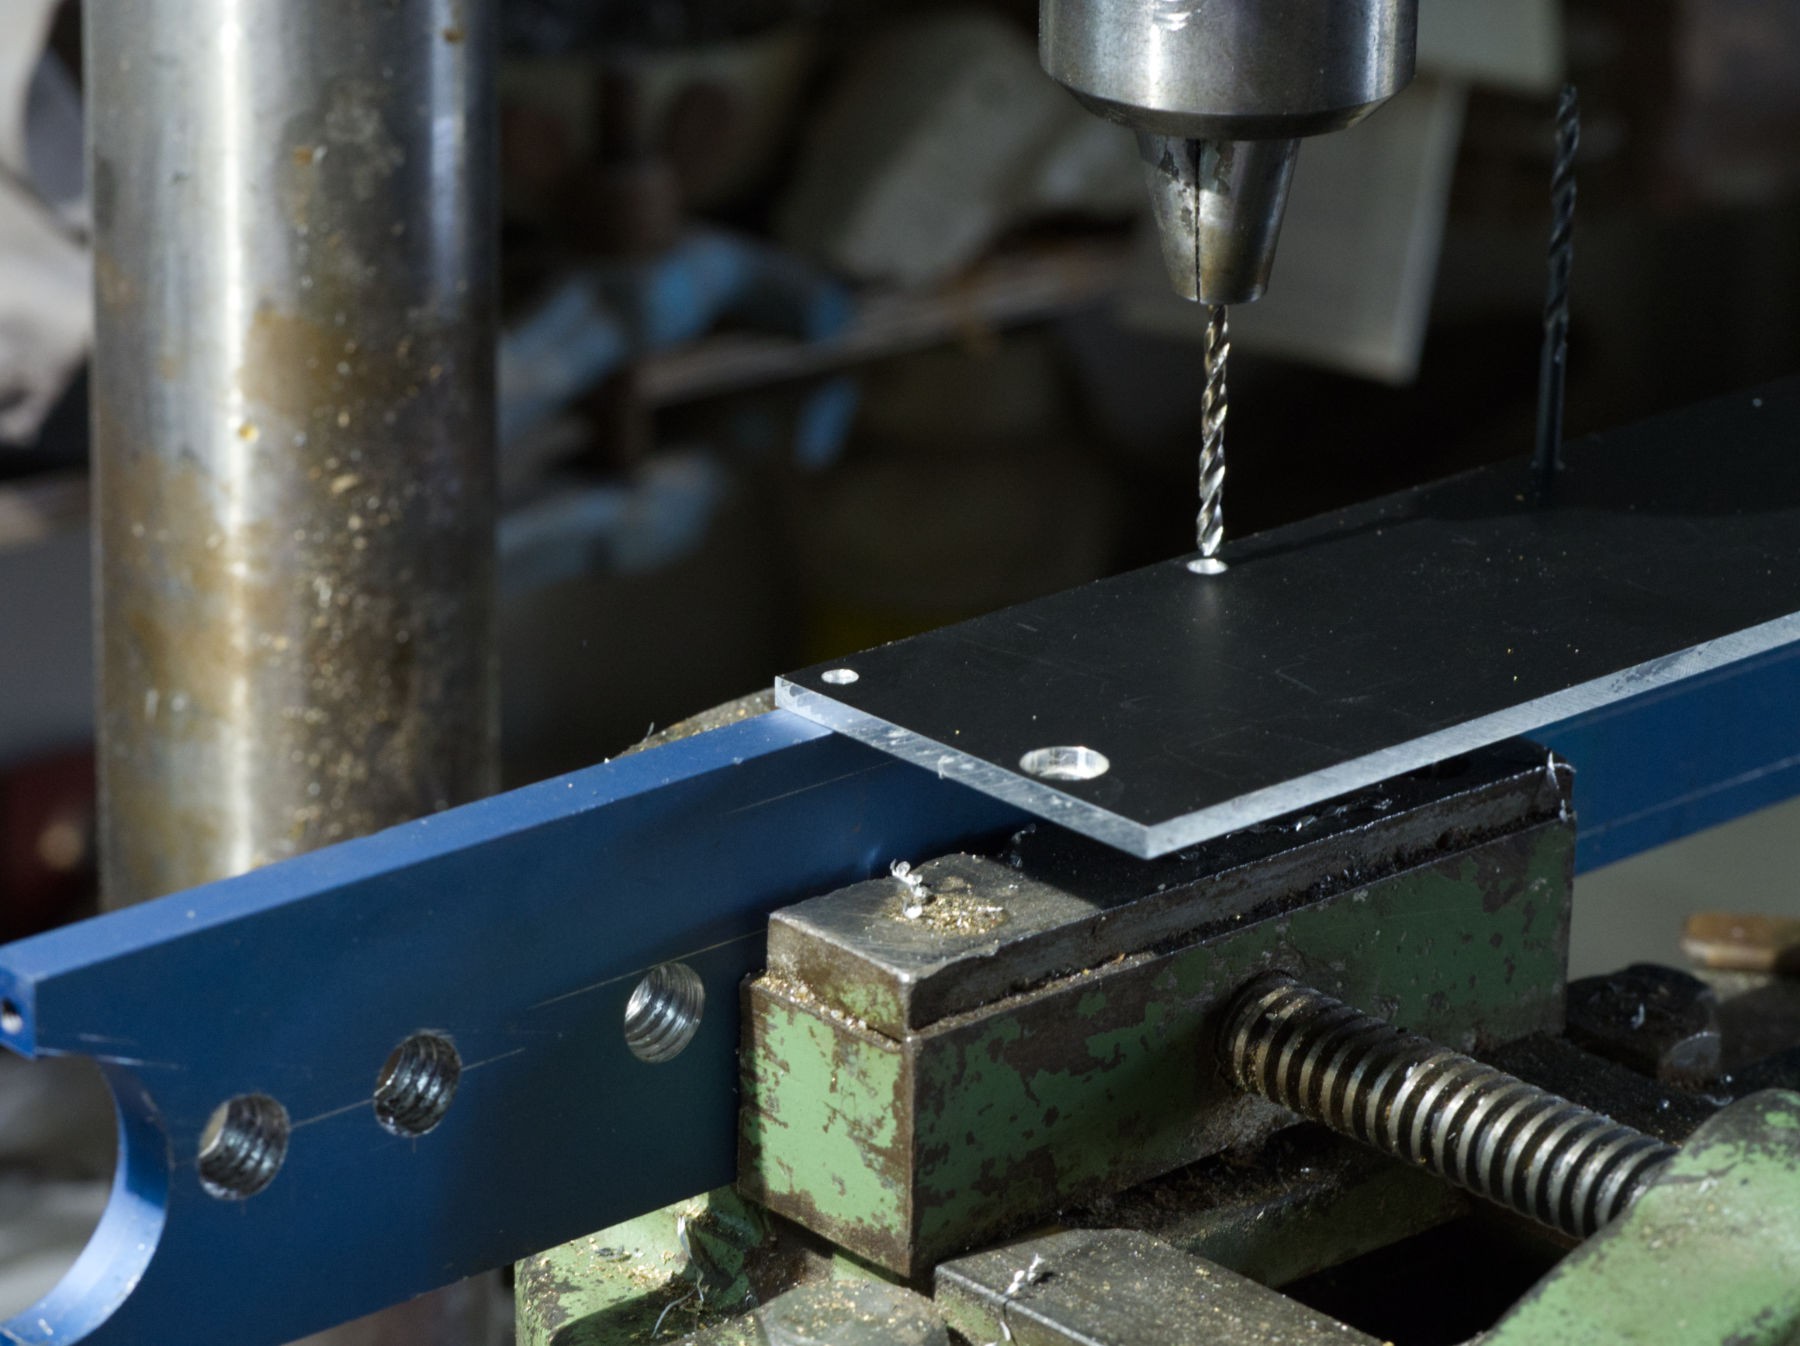
Drilling and taping the M 6 tightening screw threads.
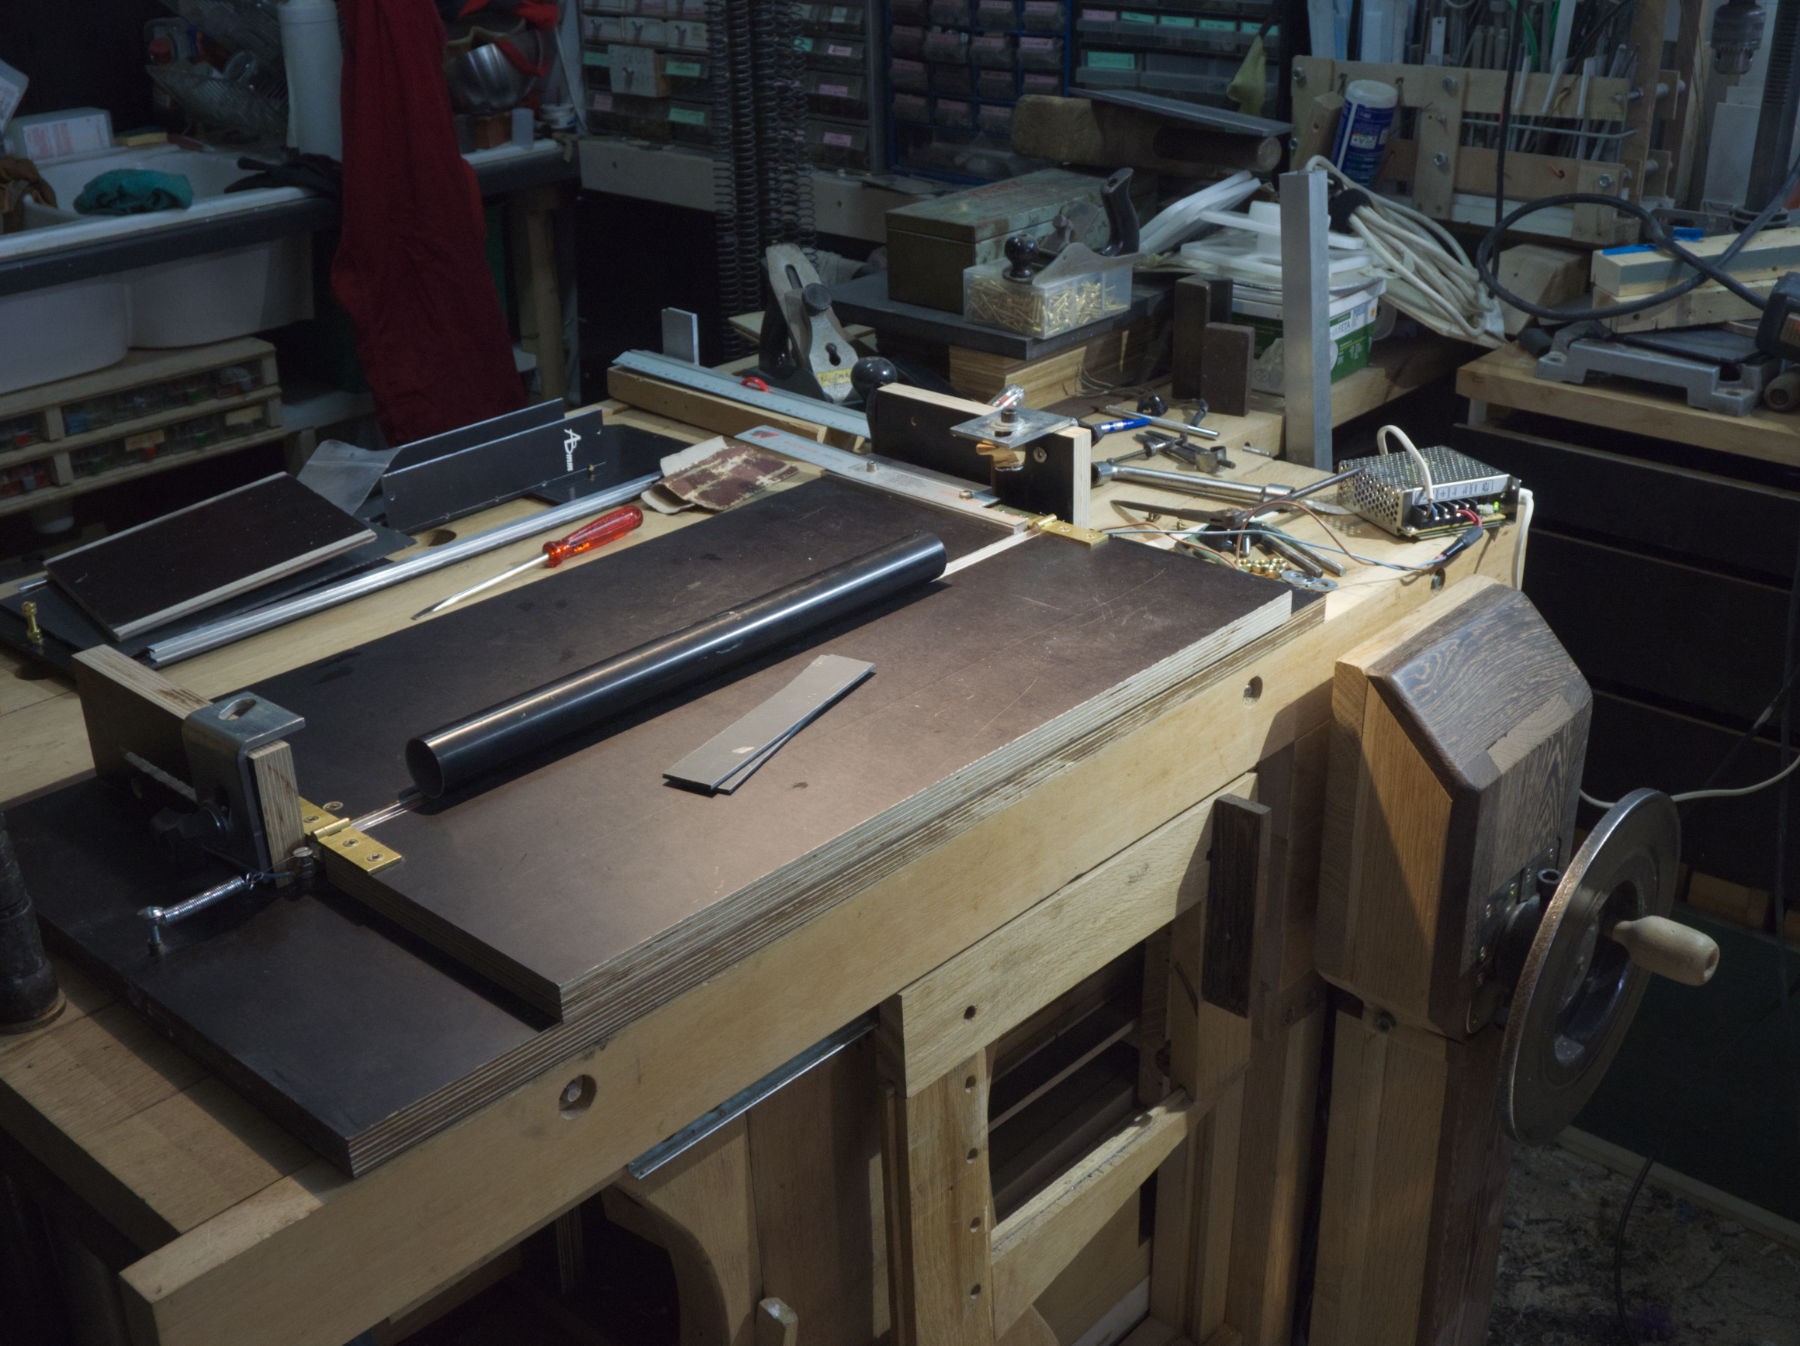
The next step involves my plastic bending rig, a thing I made after an HAD morning reading (https://hackaday.com/2019/04/23/get-your-acrylic-bends-just-right/).
That aluminium tube is exactly the same diameter as the Sinar bench tube, it'l be used as a mold to shape 3 mm thick PVC.
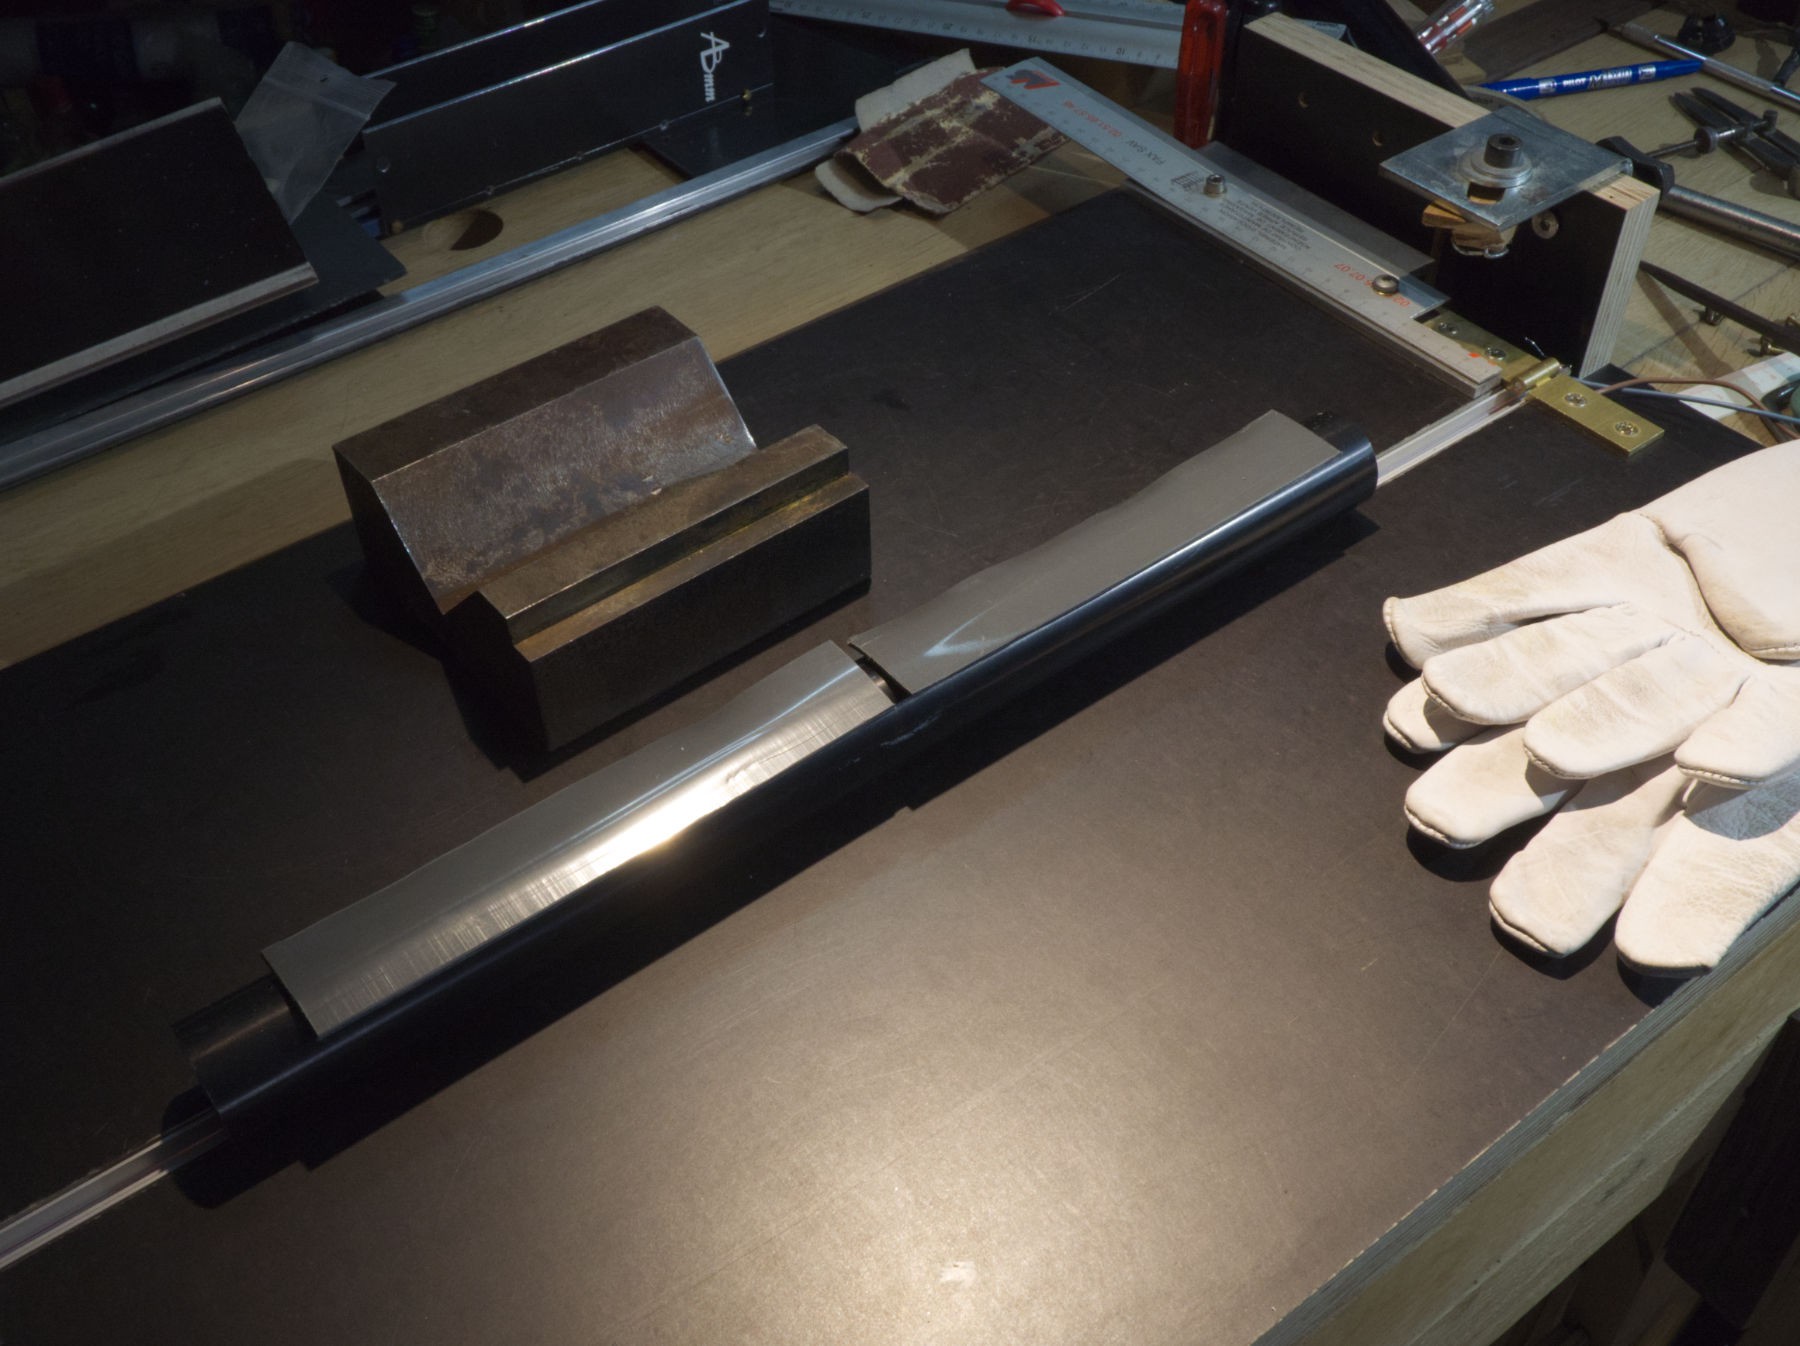
It's not hot enough to bend easily so I've also used a hot air gun, with the set up on the V, and leather gloves not to burn my hands.
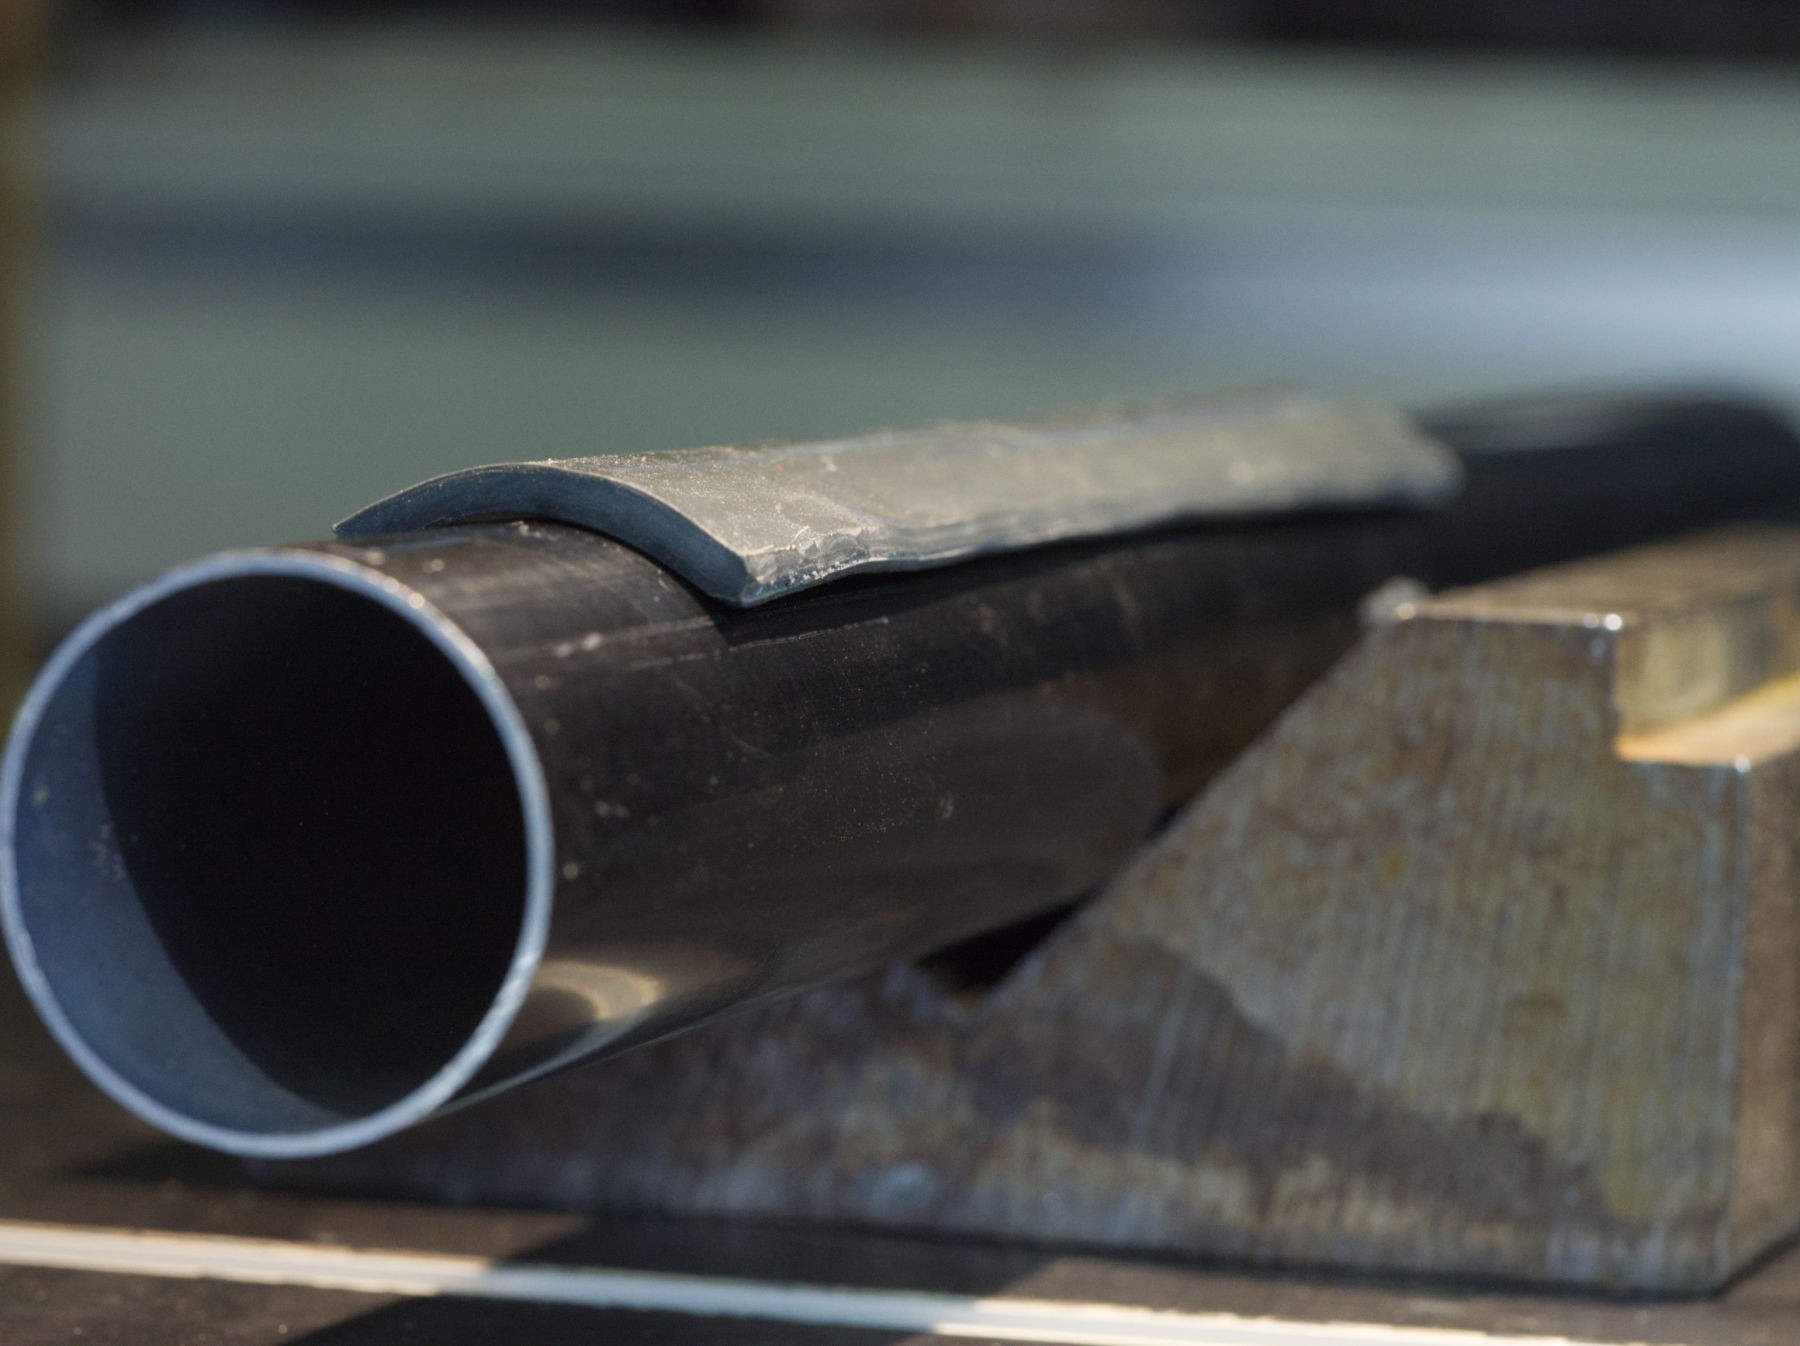 Very satisfied with the molding, the edge is a little wavy, but the part fits perfectly.
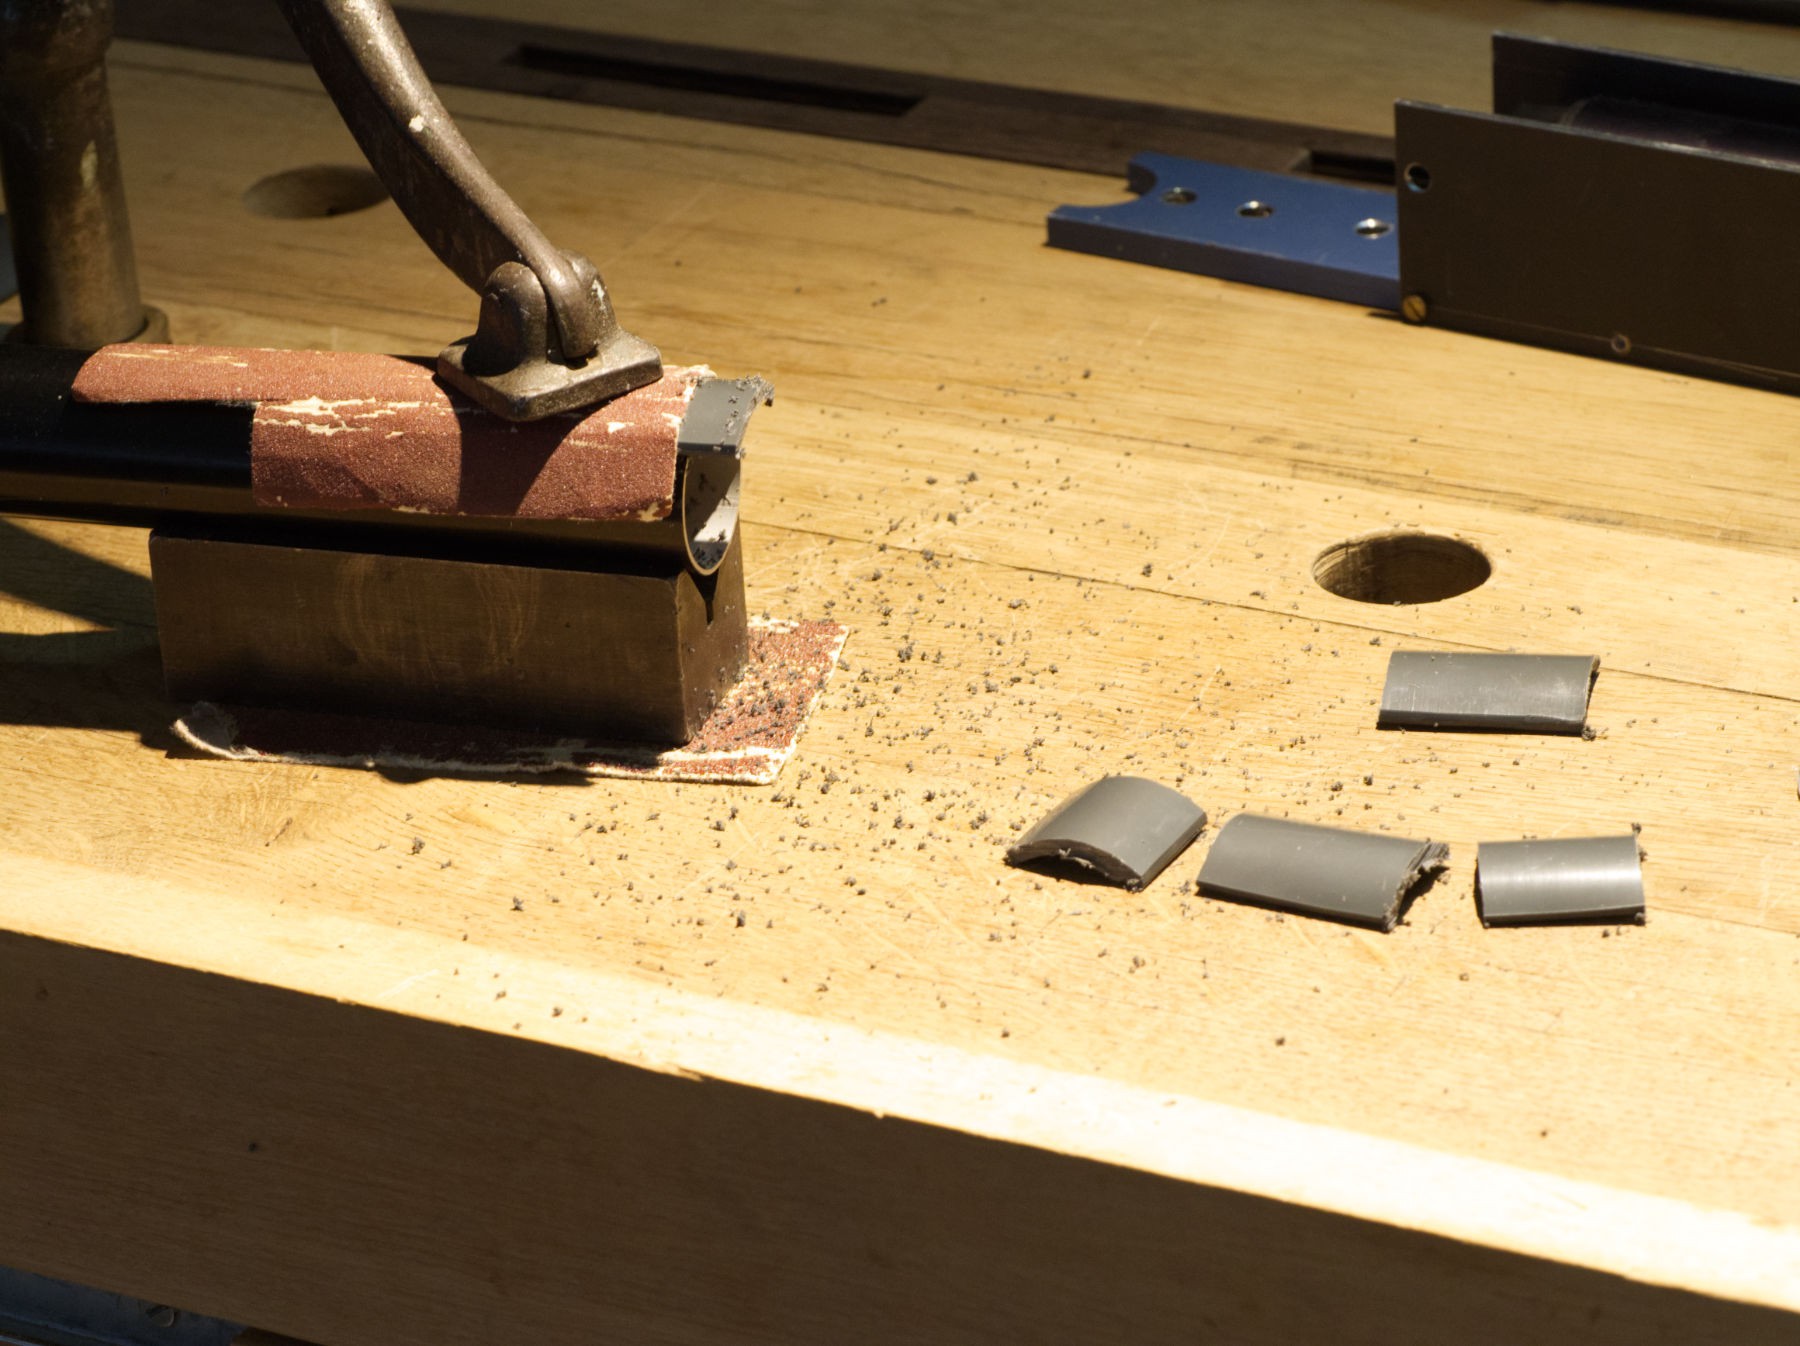
In fact I didn't need to bend so much material as the final part is small.
 That was the last time for this very nice 2 mm drill bit, as it broke afterwards.
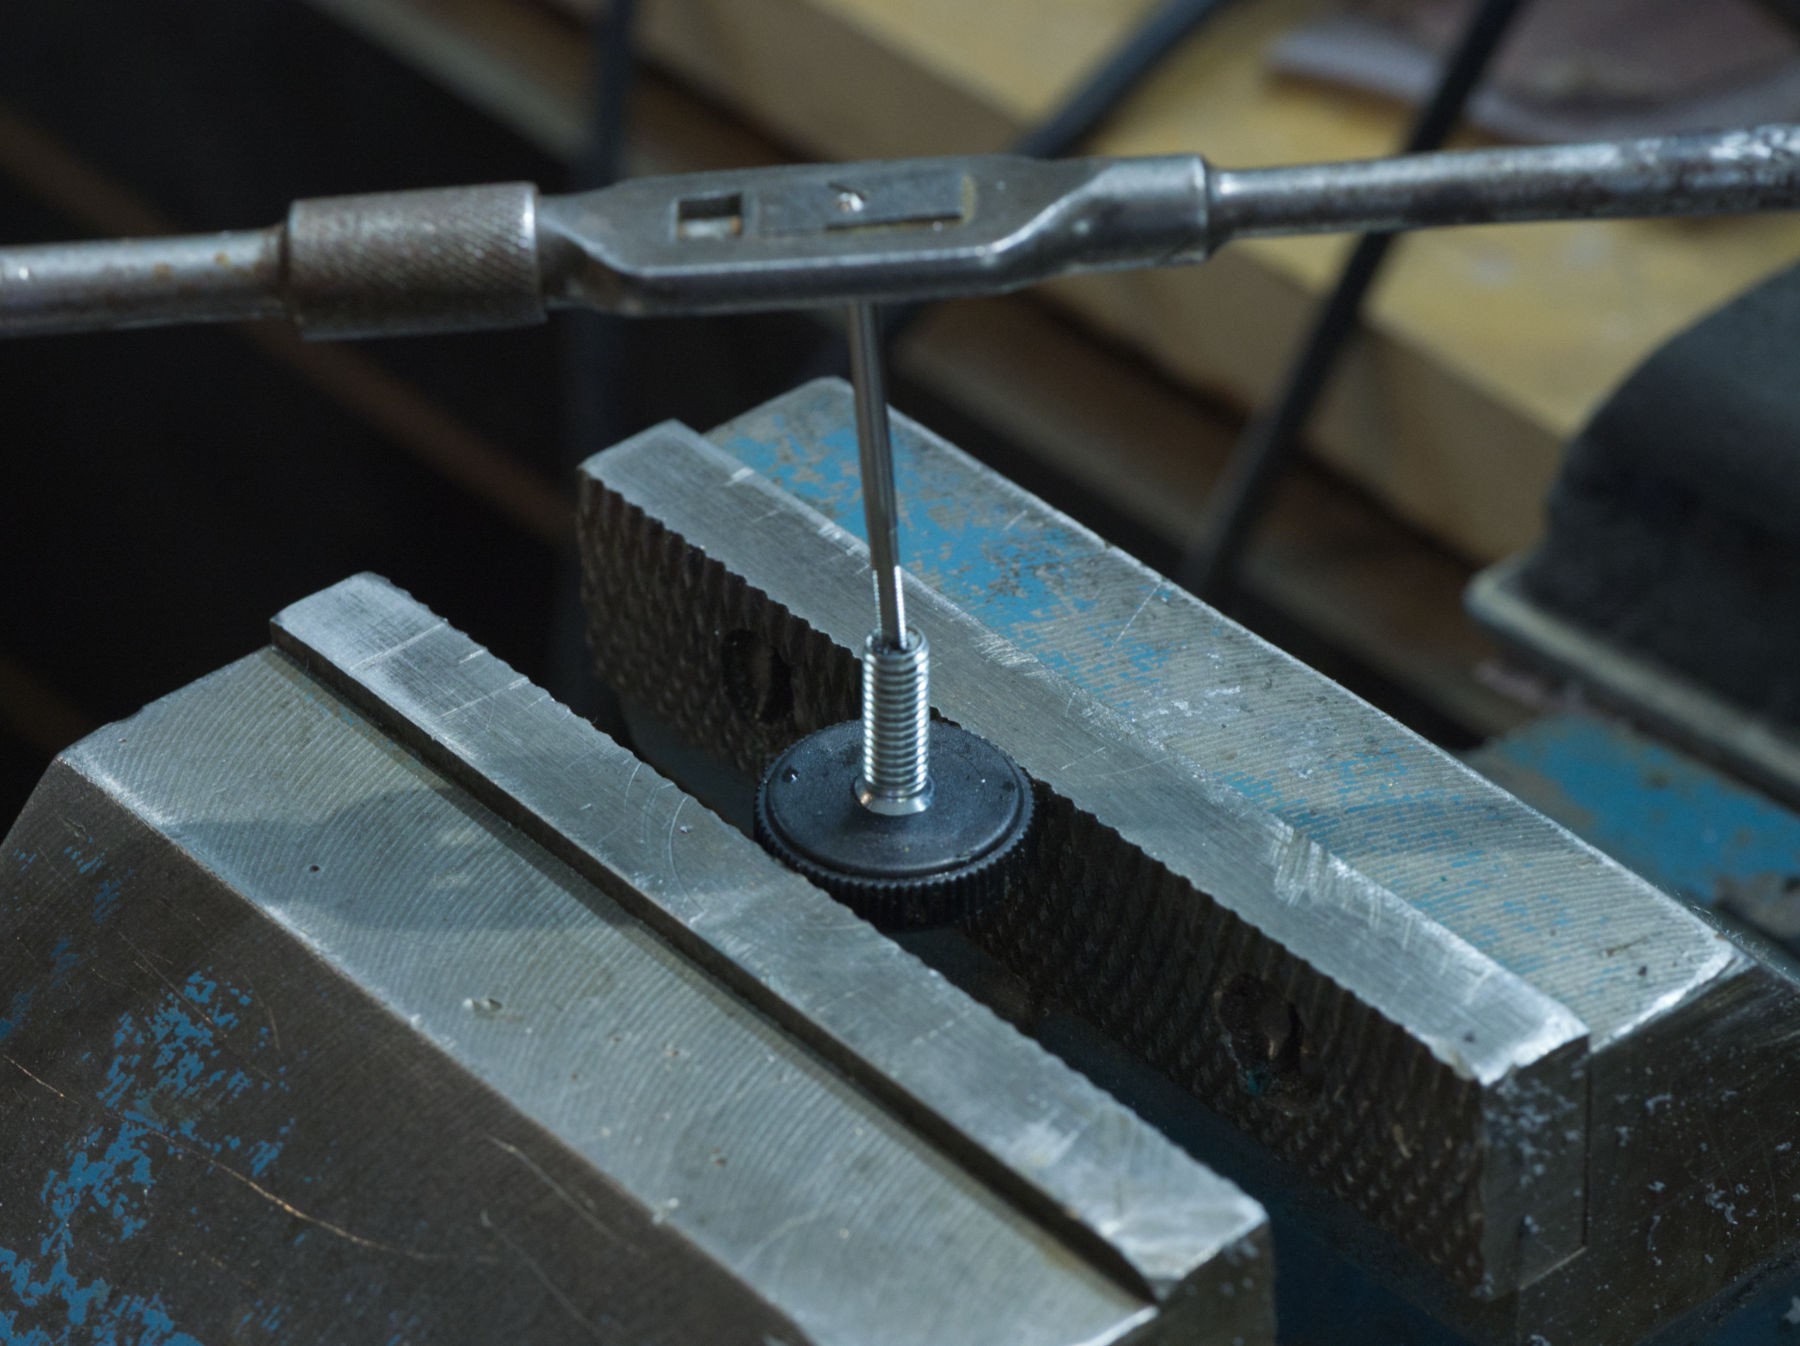
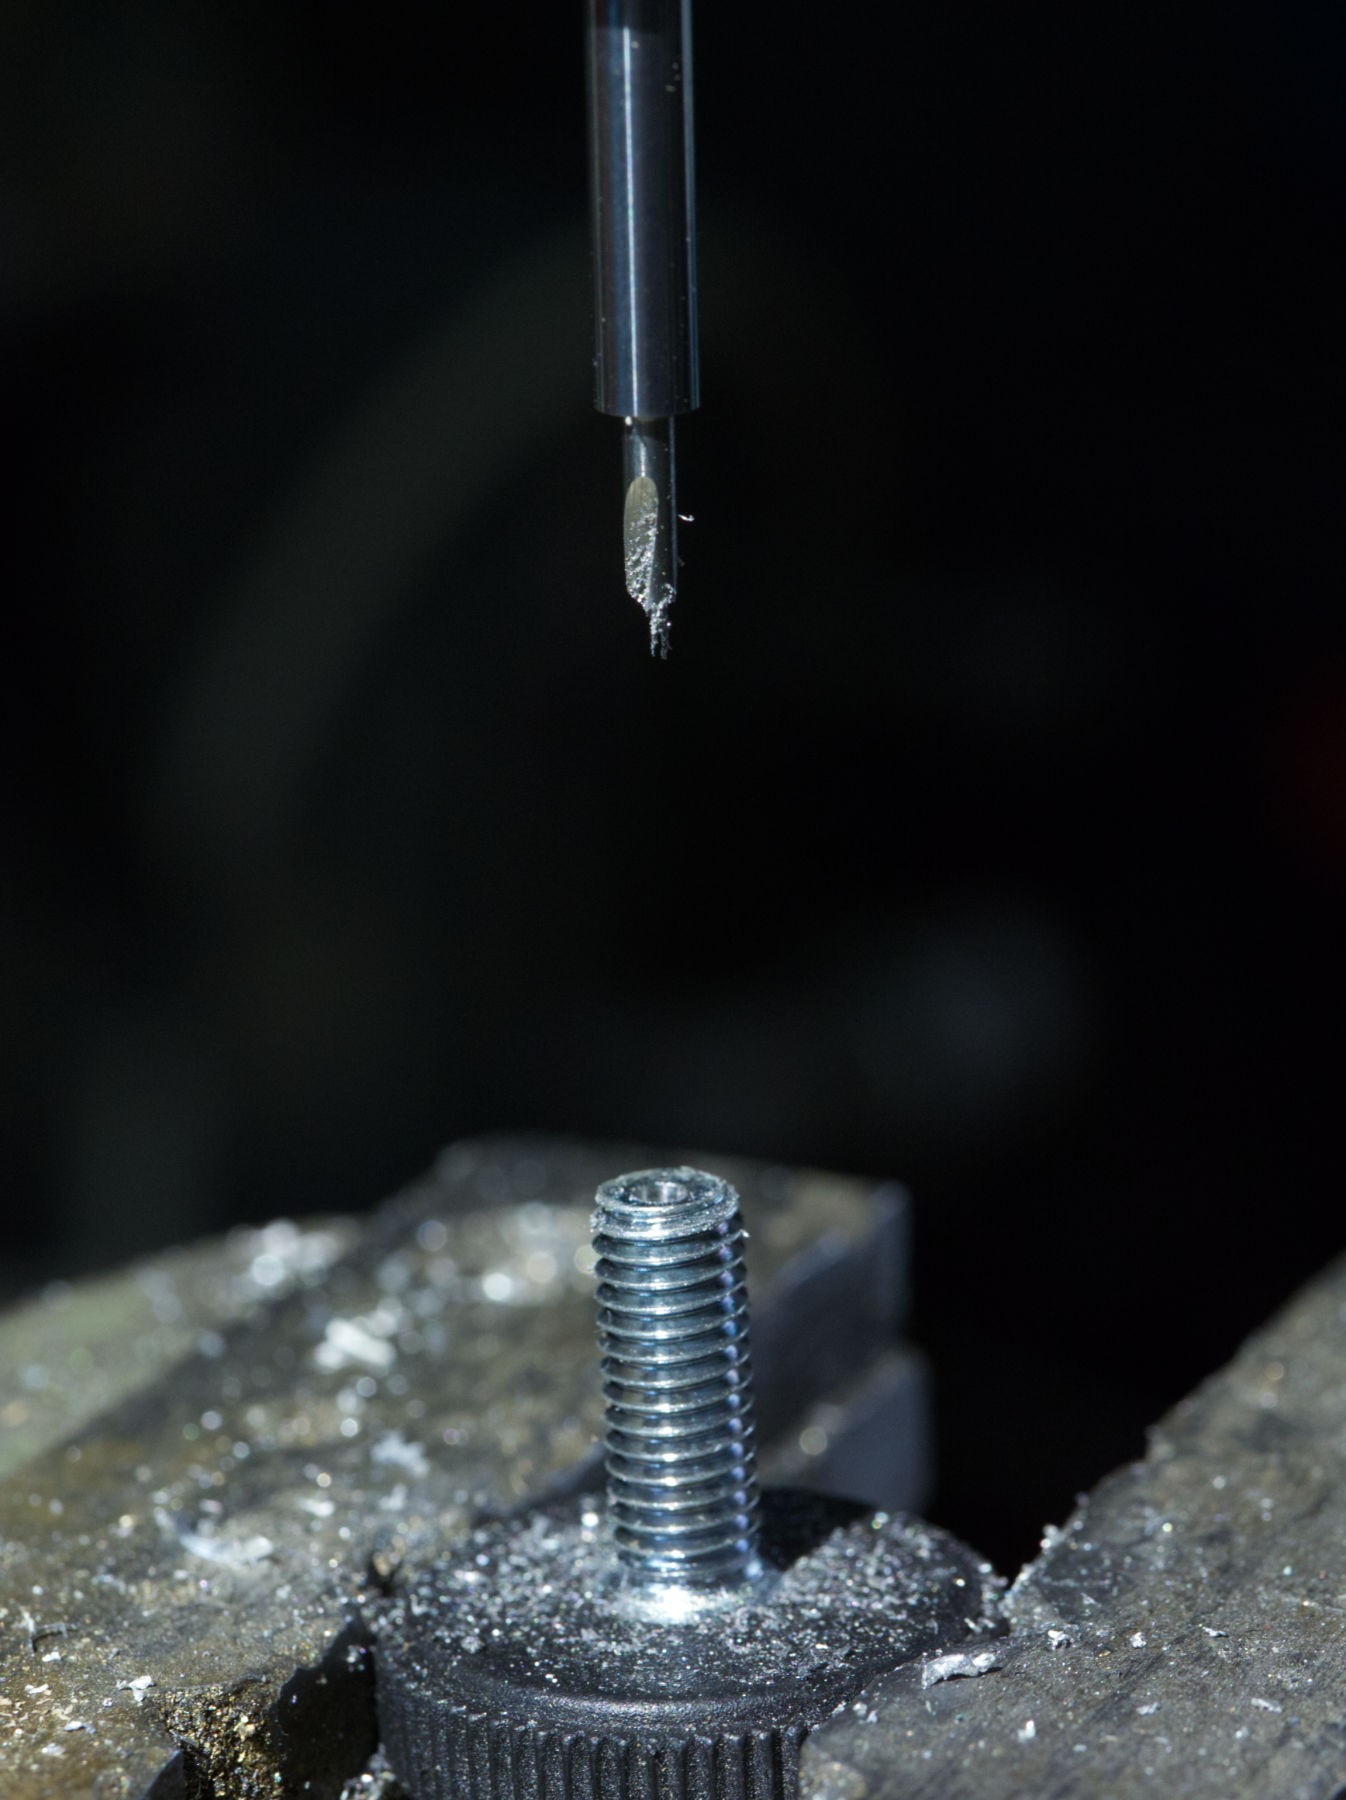
Taping M 2,5 threads, last time also for that taping tool as it broke also, some days, there are troubles.
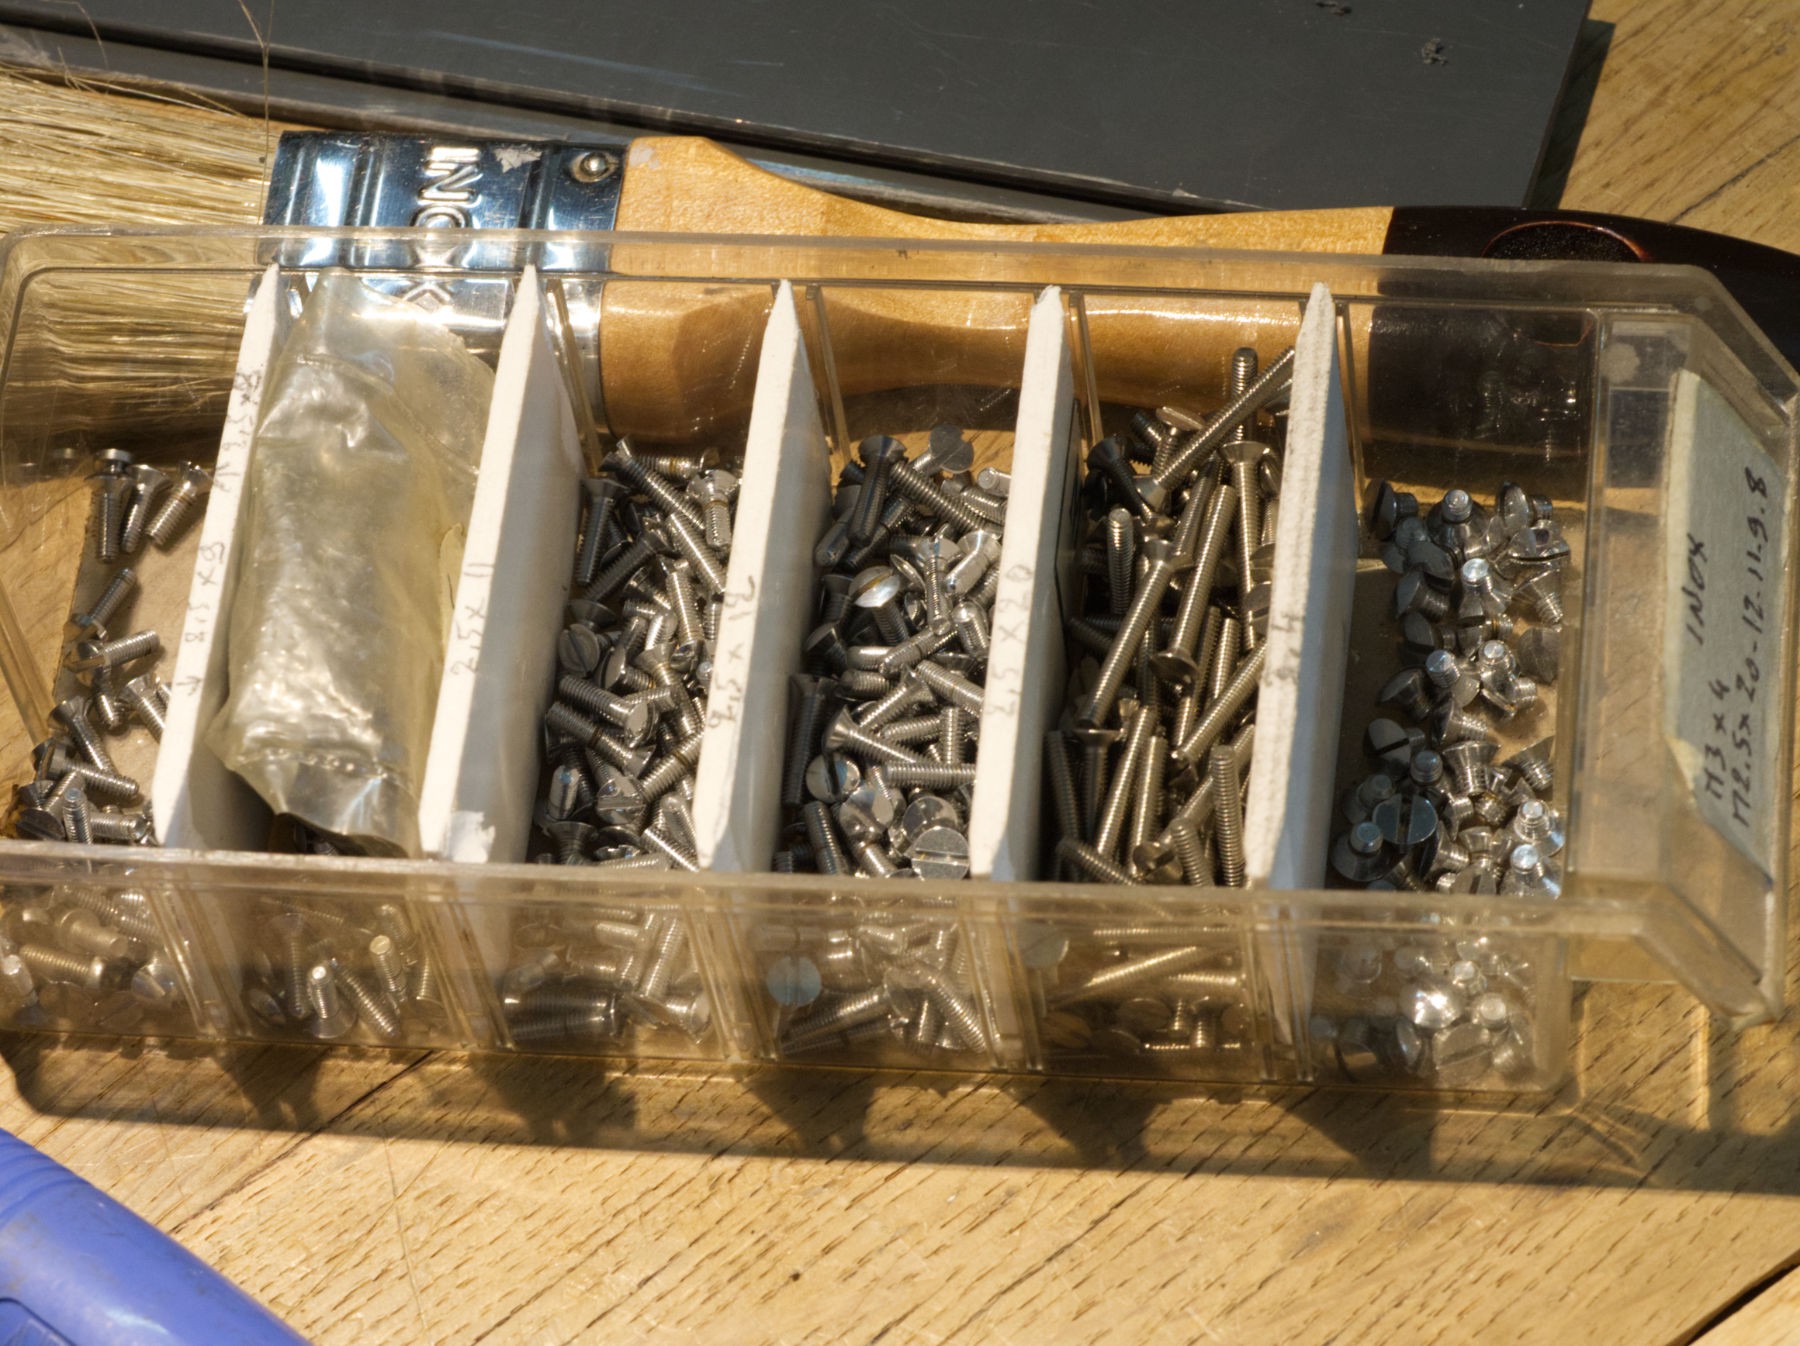 And once again, very happy to find those M 2,5 stainless steel screws I thought I'd never need.
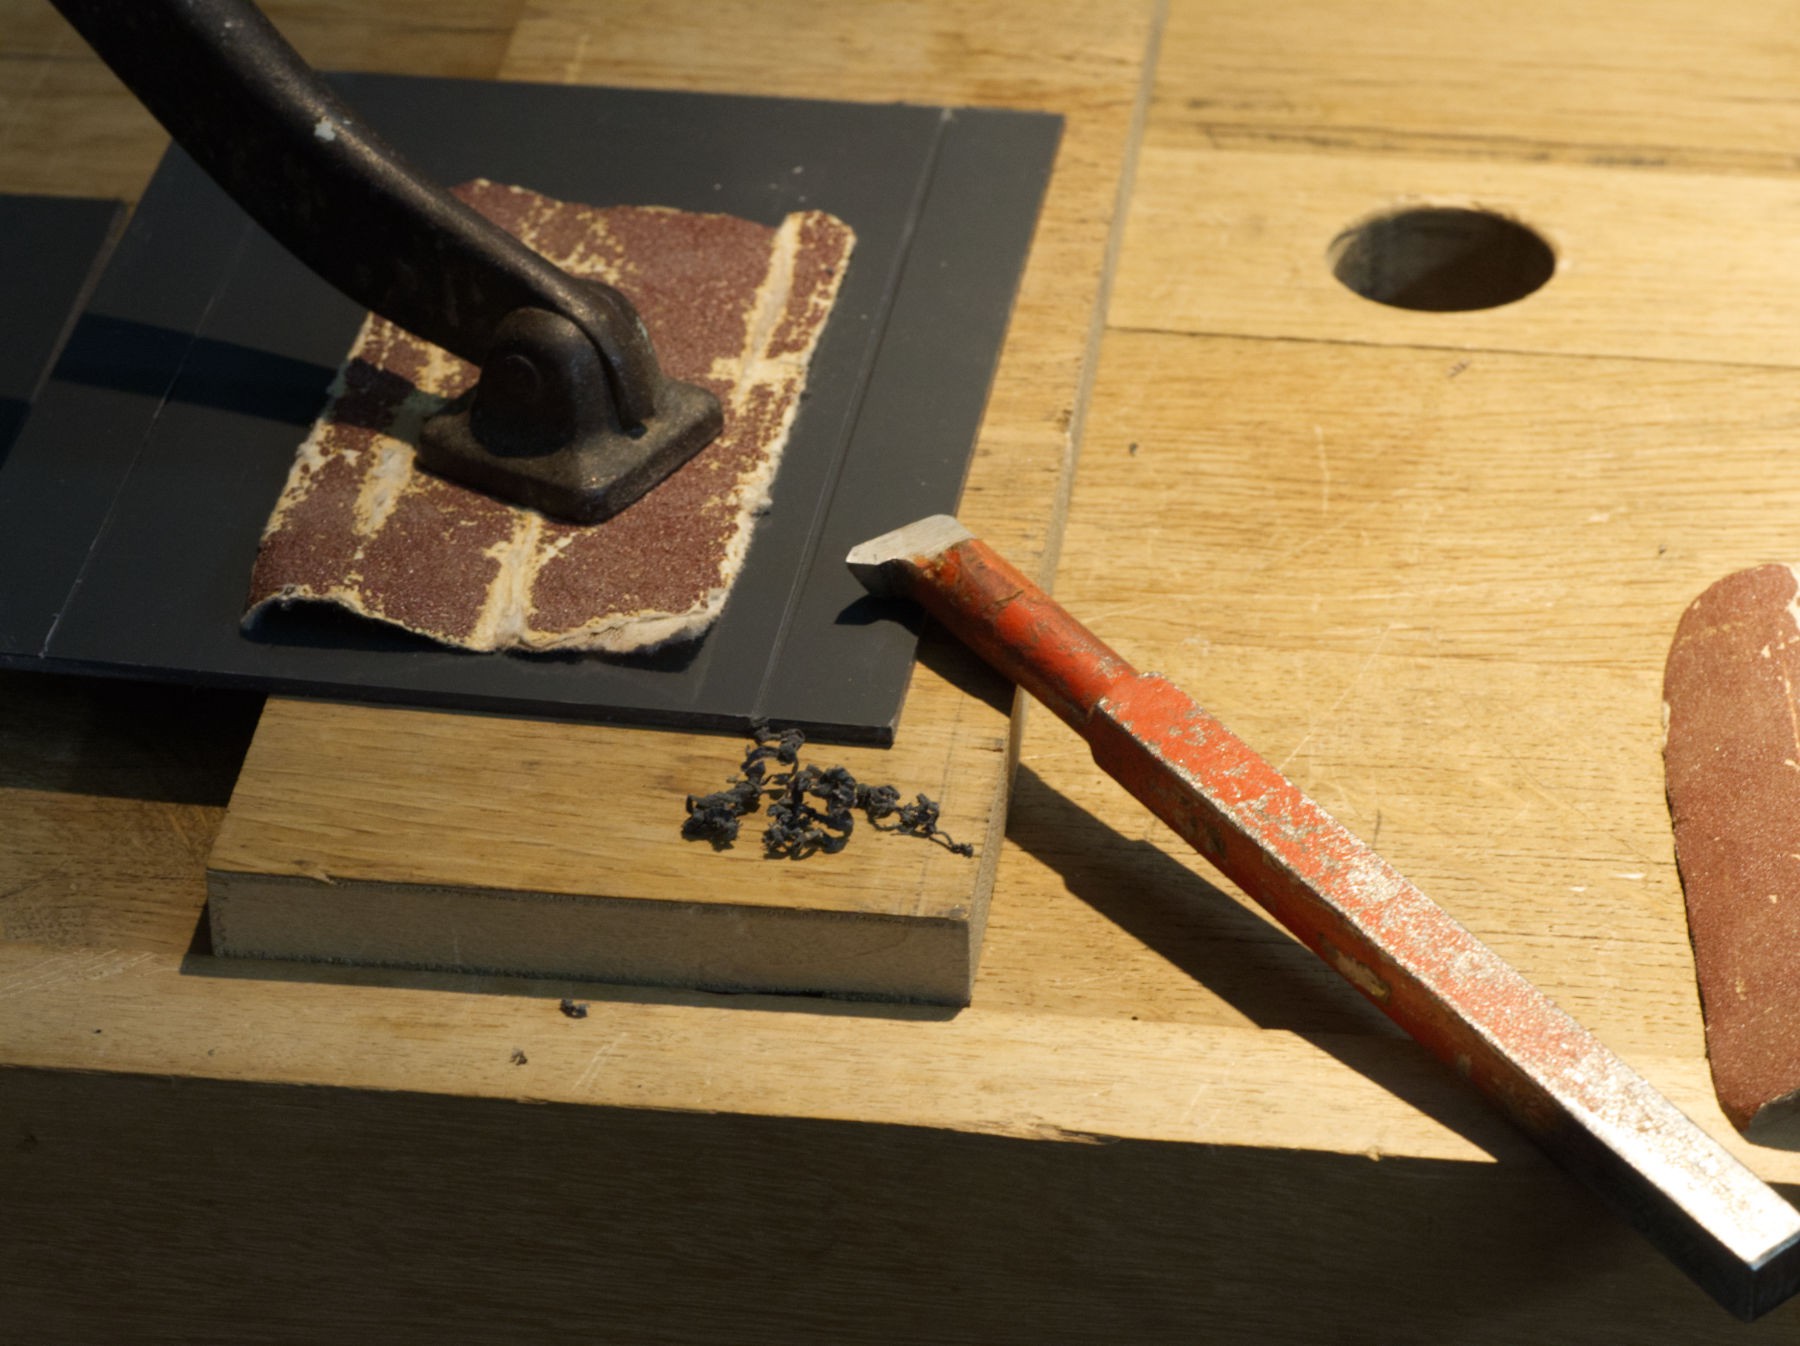
 The V has a good weight to be used for gluing
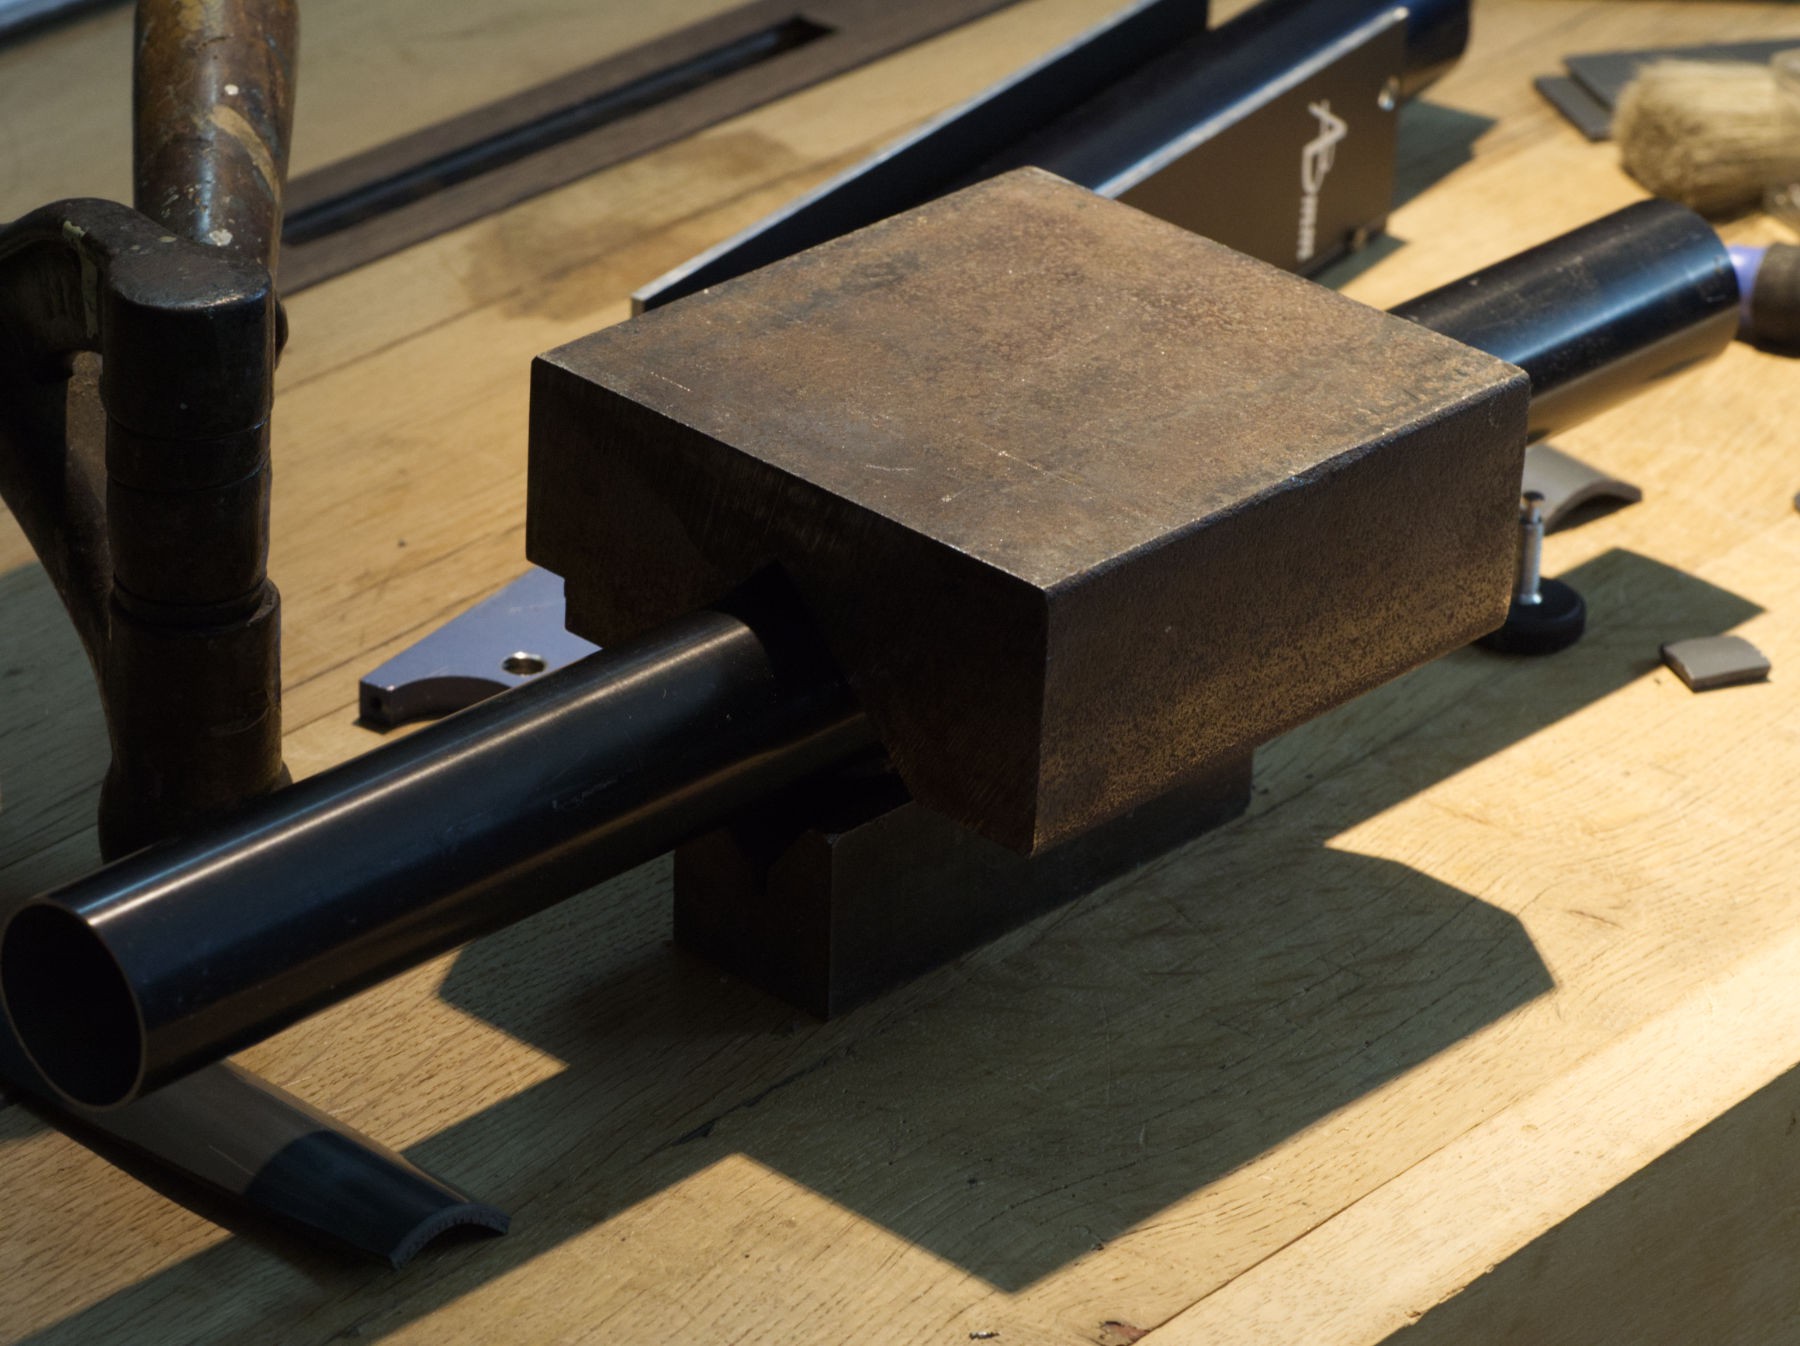
 The 2 final parts.
 In position.
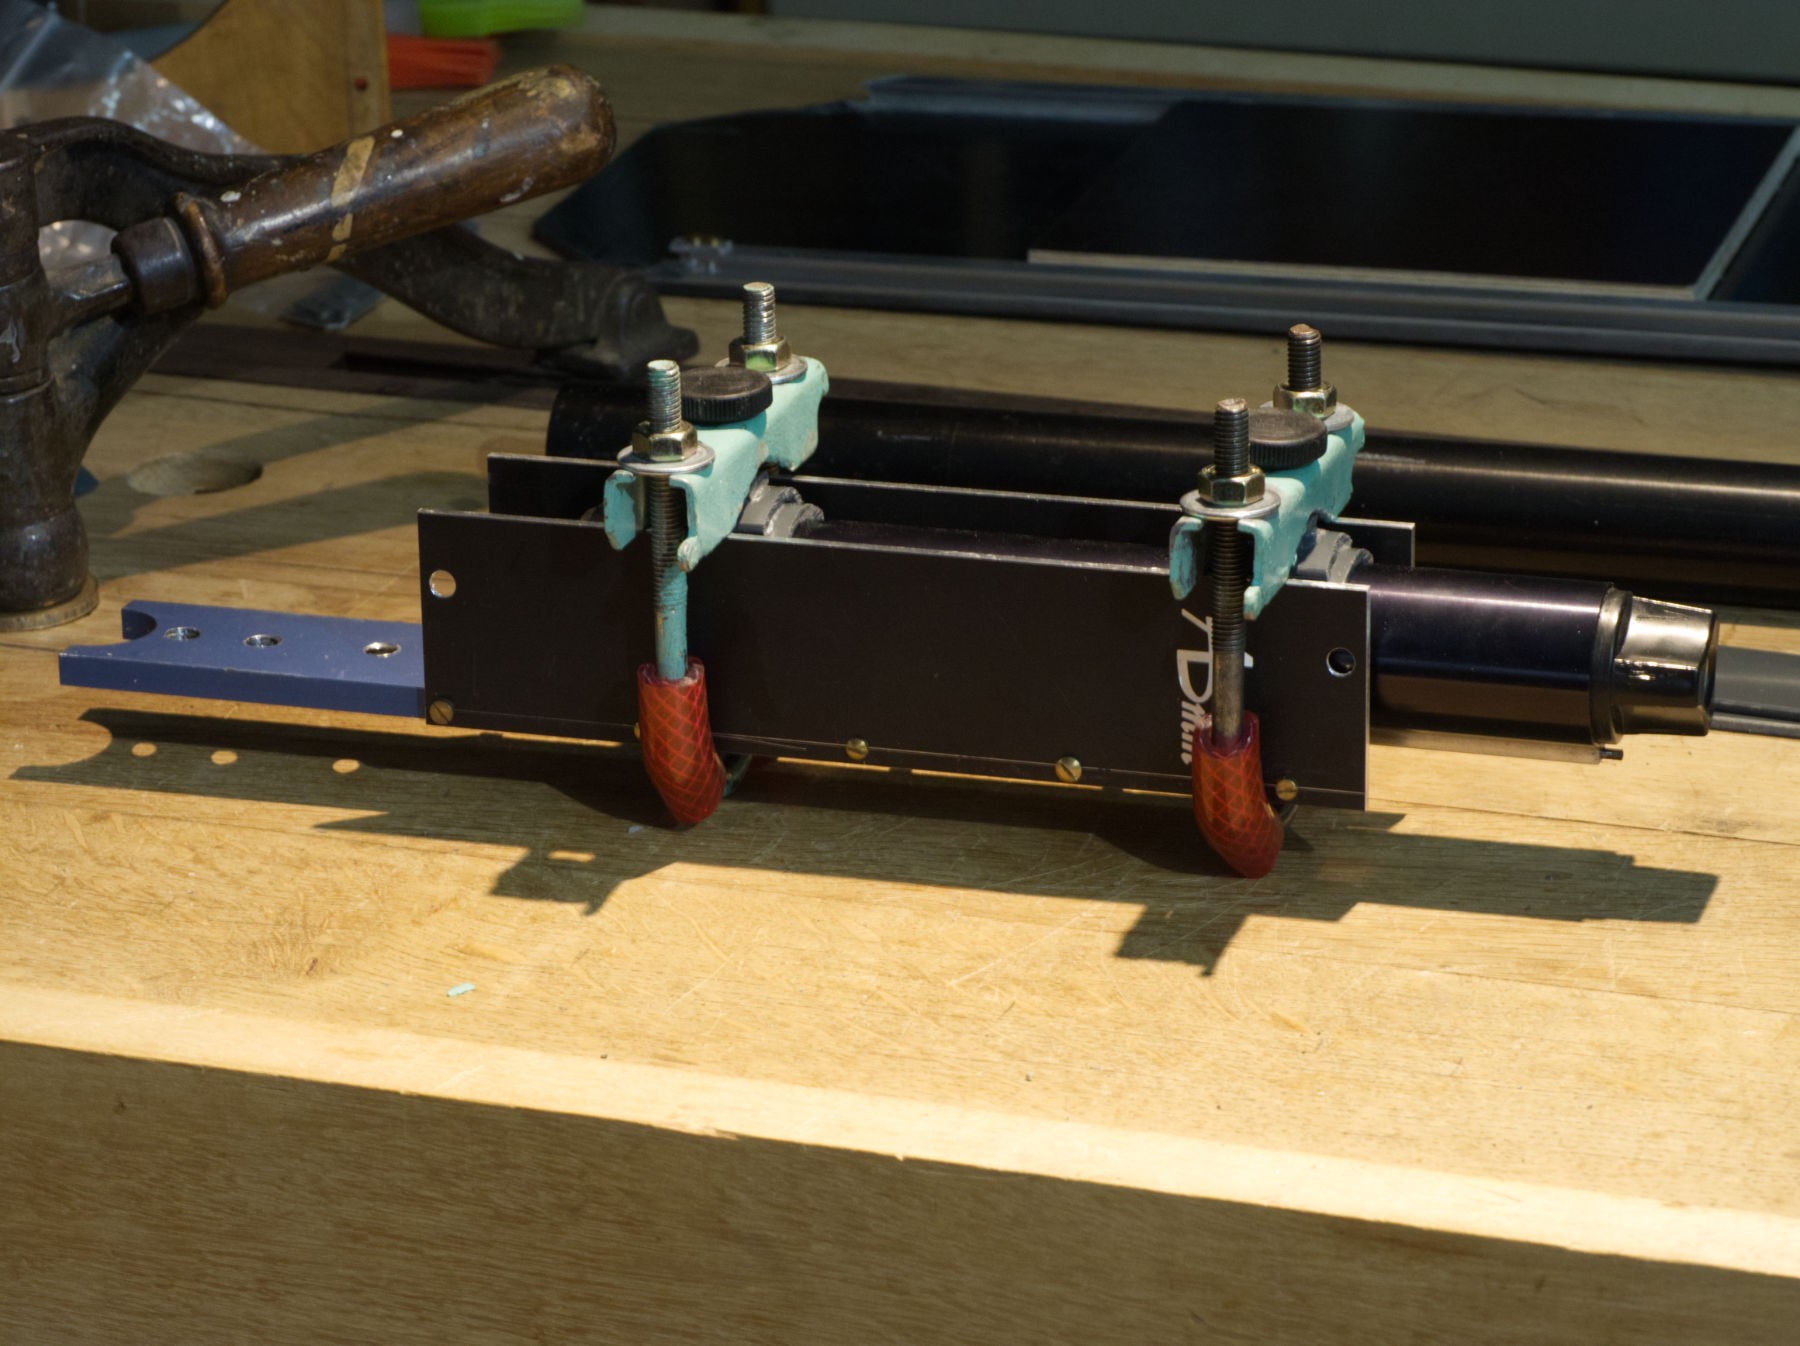 It works perfectly, the Sinar bench tube is perfectly tightly held.
 Some plastic tubing, recovered in an abandoned warehouse, very hard and not easy to cut or flatten : beer pump tubing system.
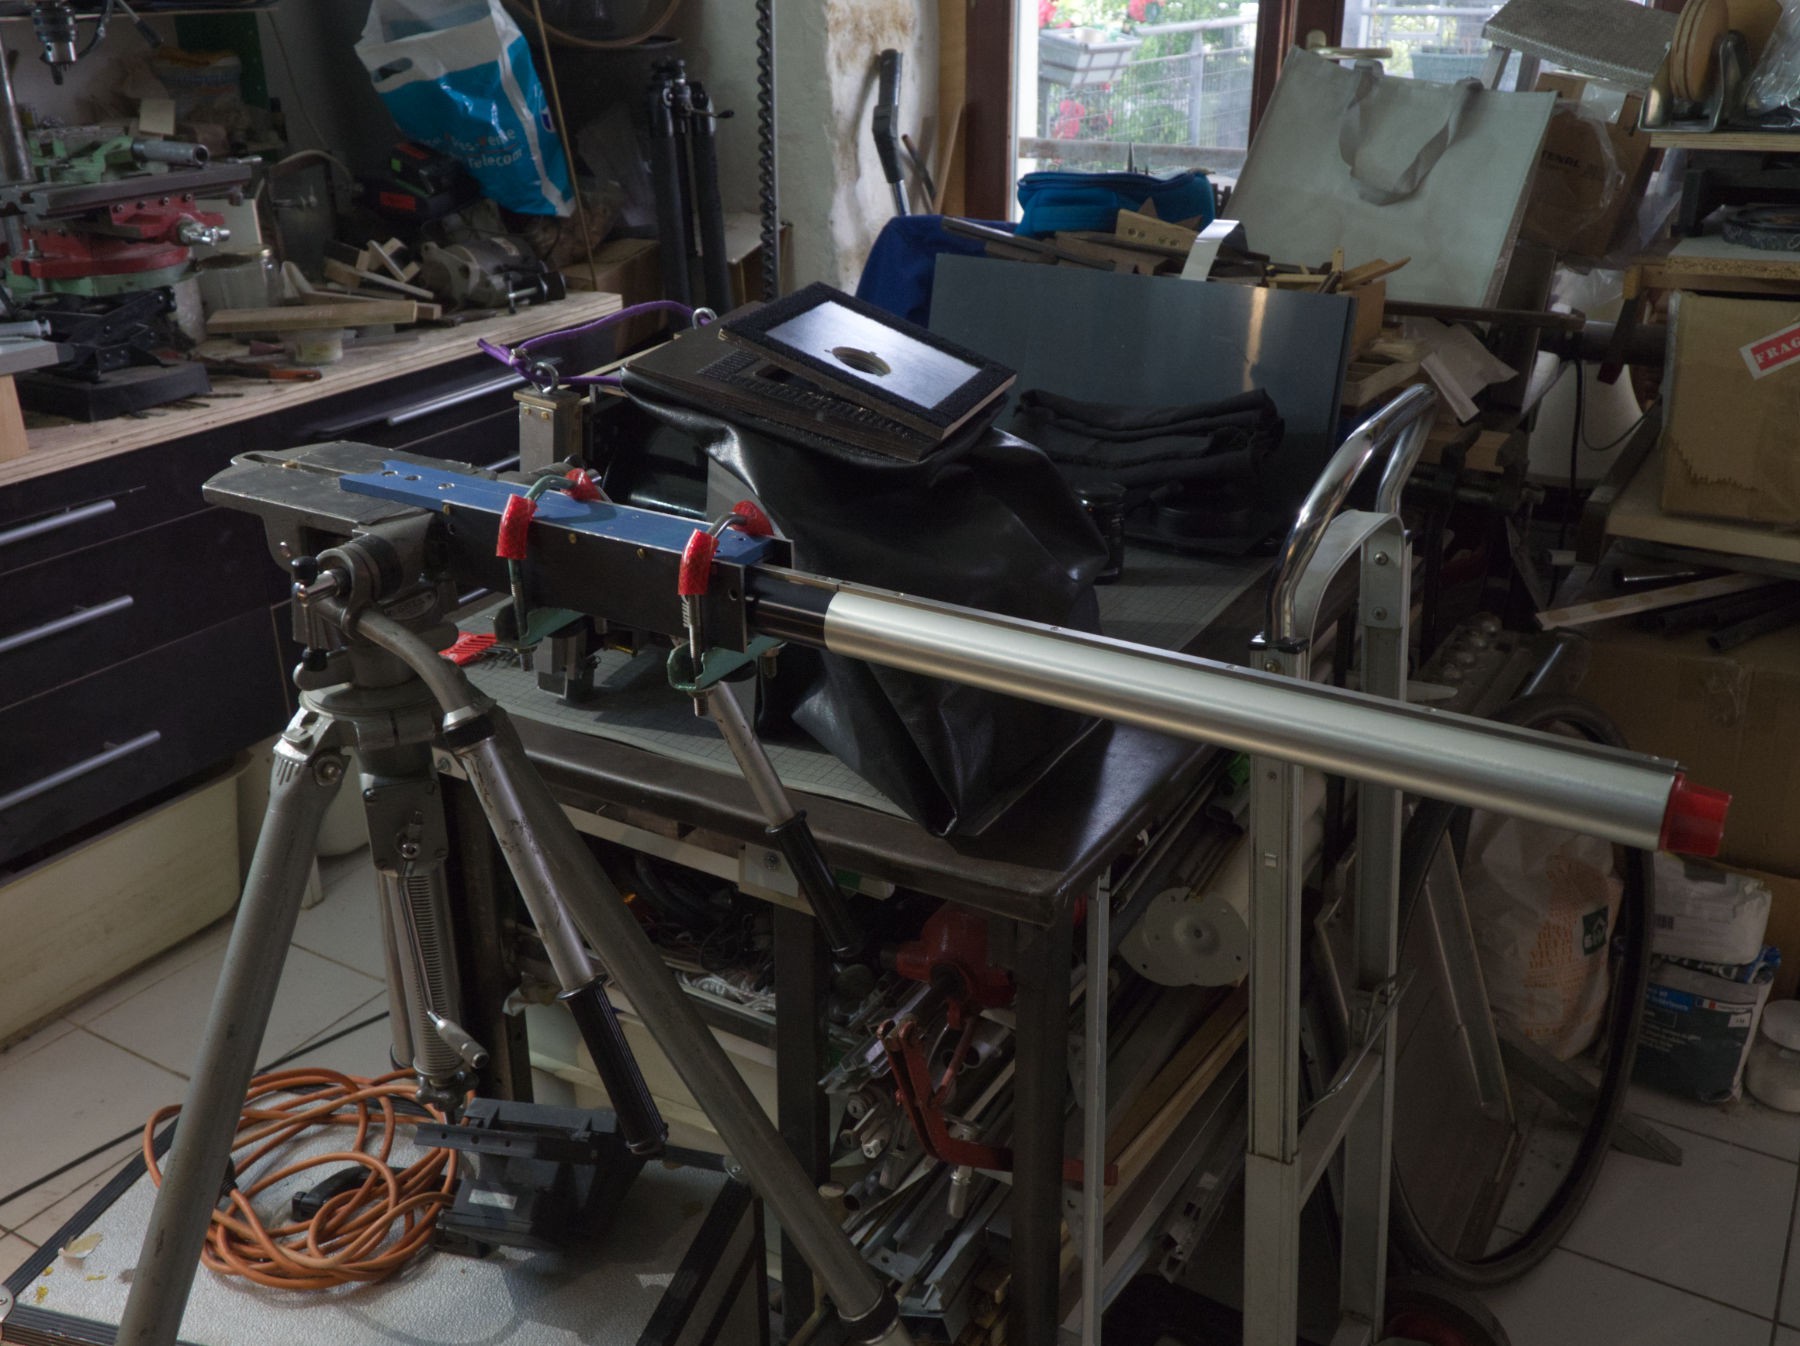 In position, with the additional 600 mm bench (that's how its going to be used).
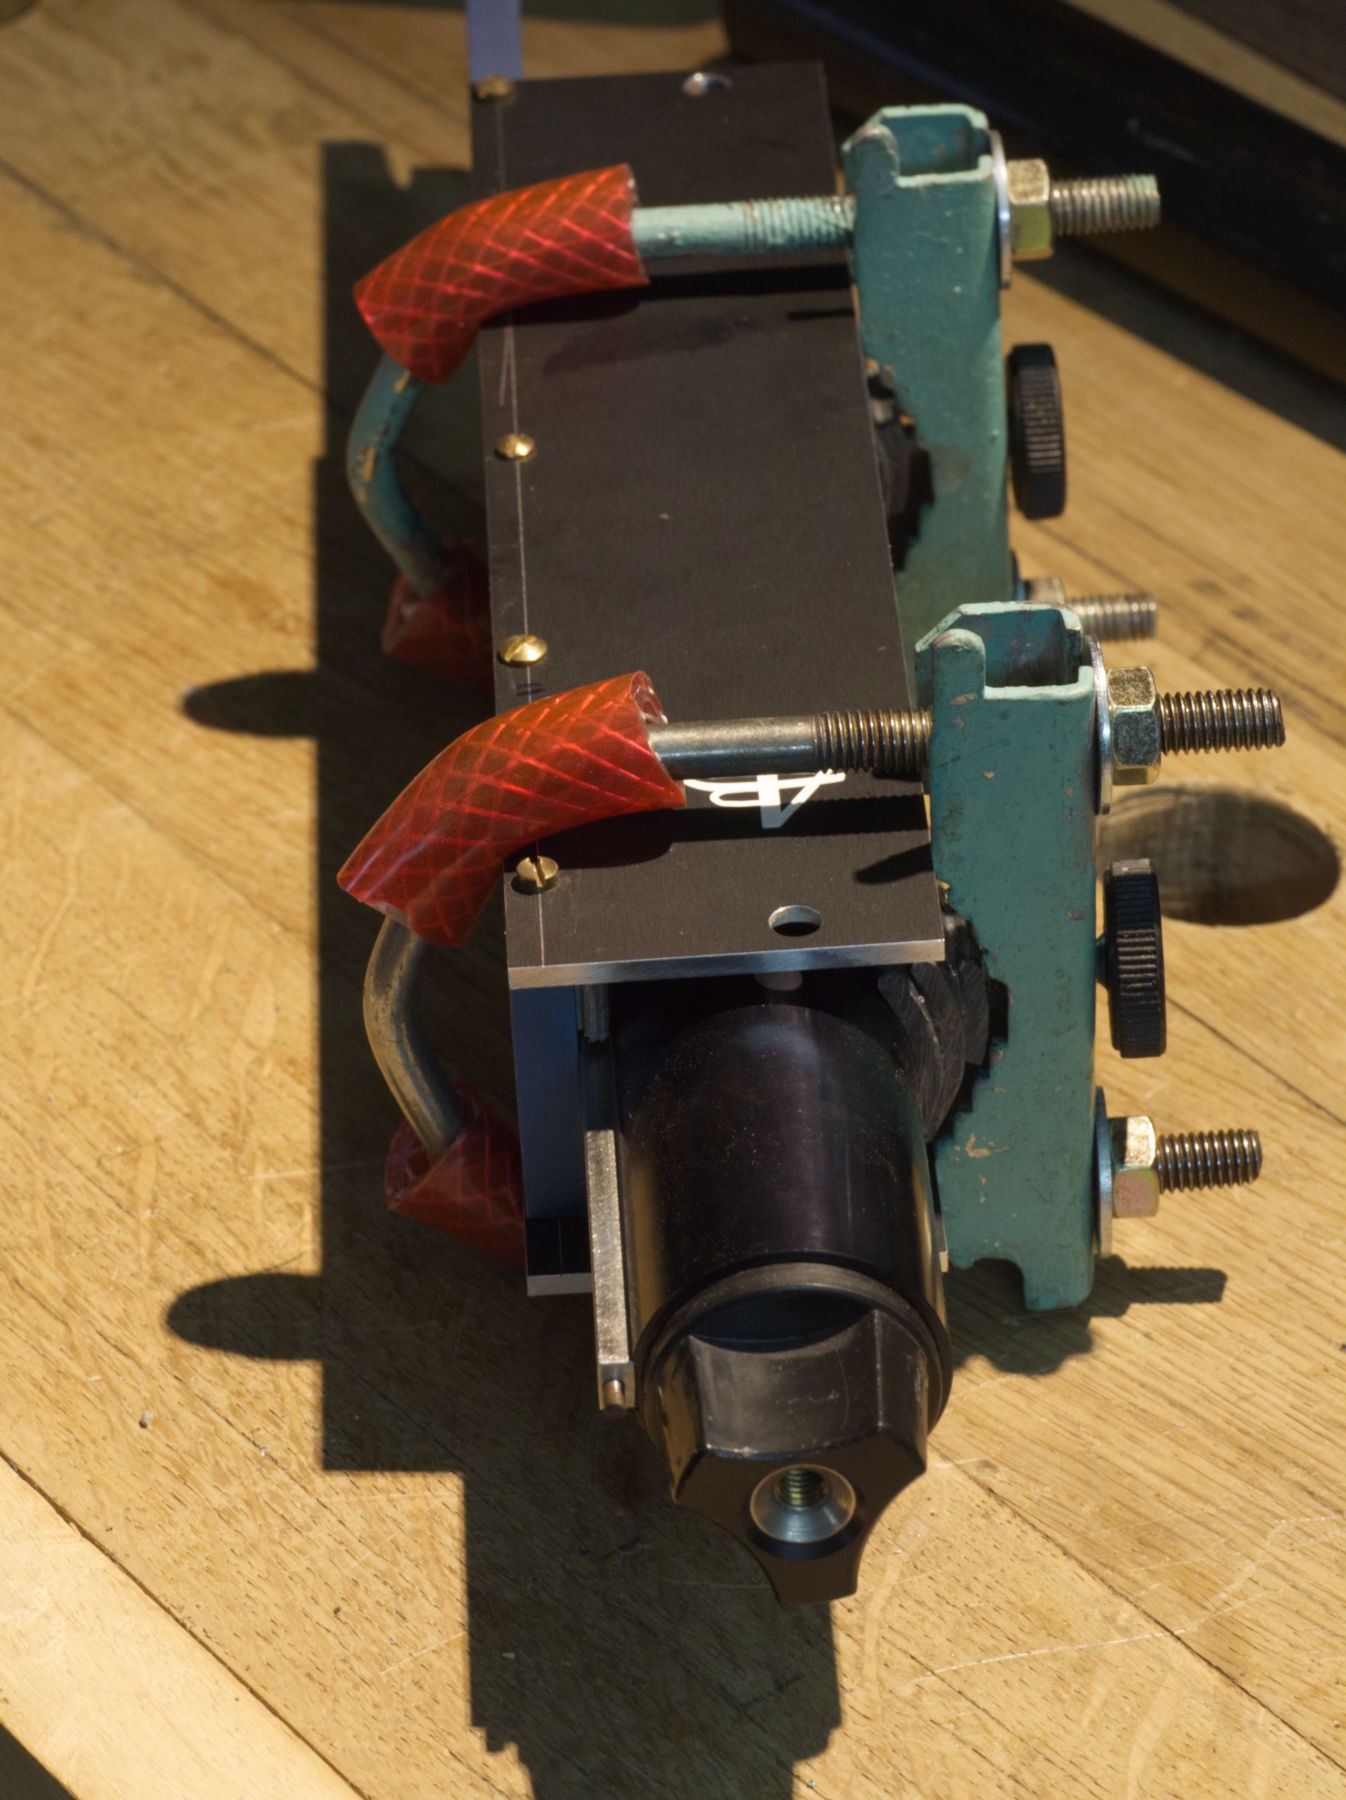
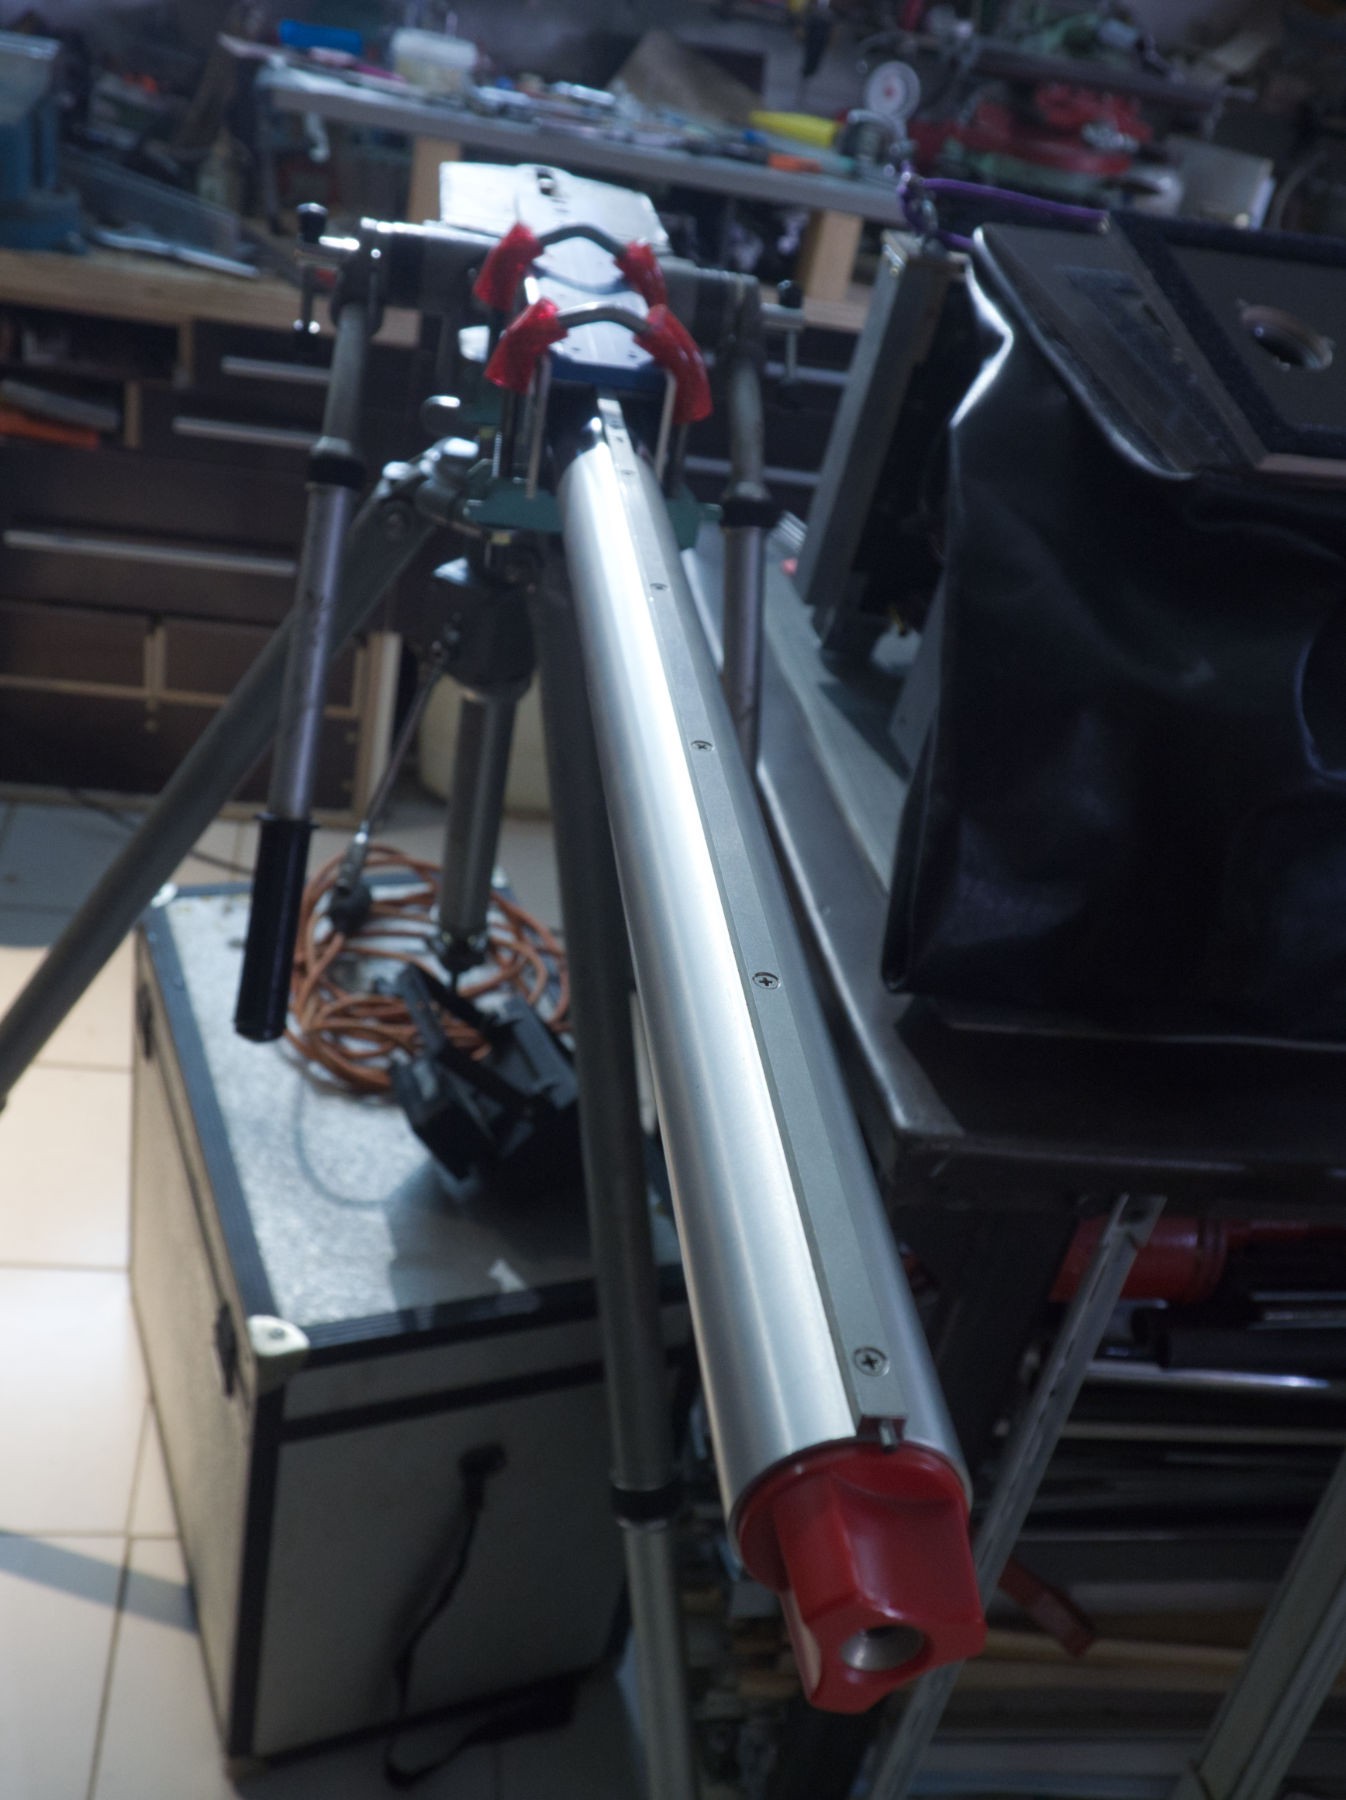 Rear view.
The thing must be under the camera holding plate of the tripod's head to enable vertical movements of the Sinar system.
The lever is very important and it needs a tripod to be positioned under the bench to hold the weight, but it's going to much more convenient than the entire Sinar camera on a tripod and the lens on another one like in the first test.
And it makes a perfect alignment of the lens with the back very simple.
Discussions
Become a Hackaday.io Member
Create an account to leave a comment. Already have an account? Log In.