 Maximiliano Palay
After finishing the 3D printing process, the next step was gluing the two body halves together. The design incorporates four channels to place four threaded rods at the joint to strengthen the structure.
Had to remove A LOT of support structures.
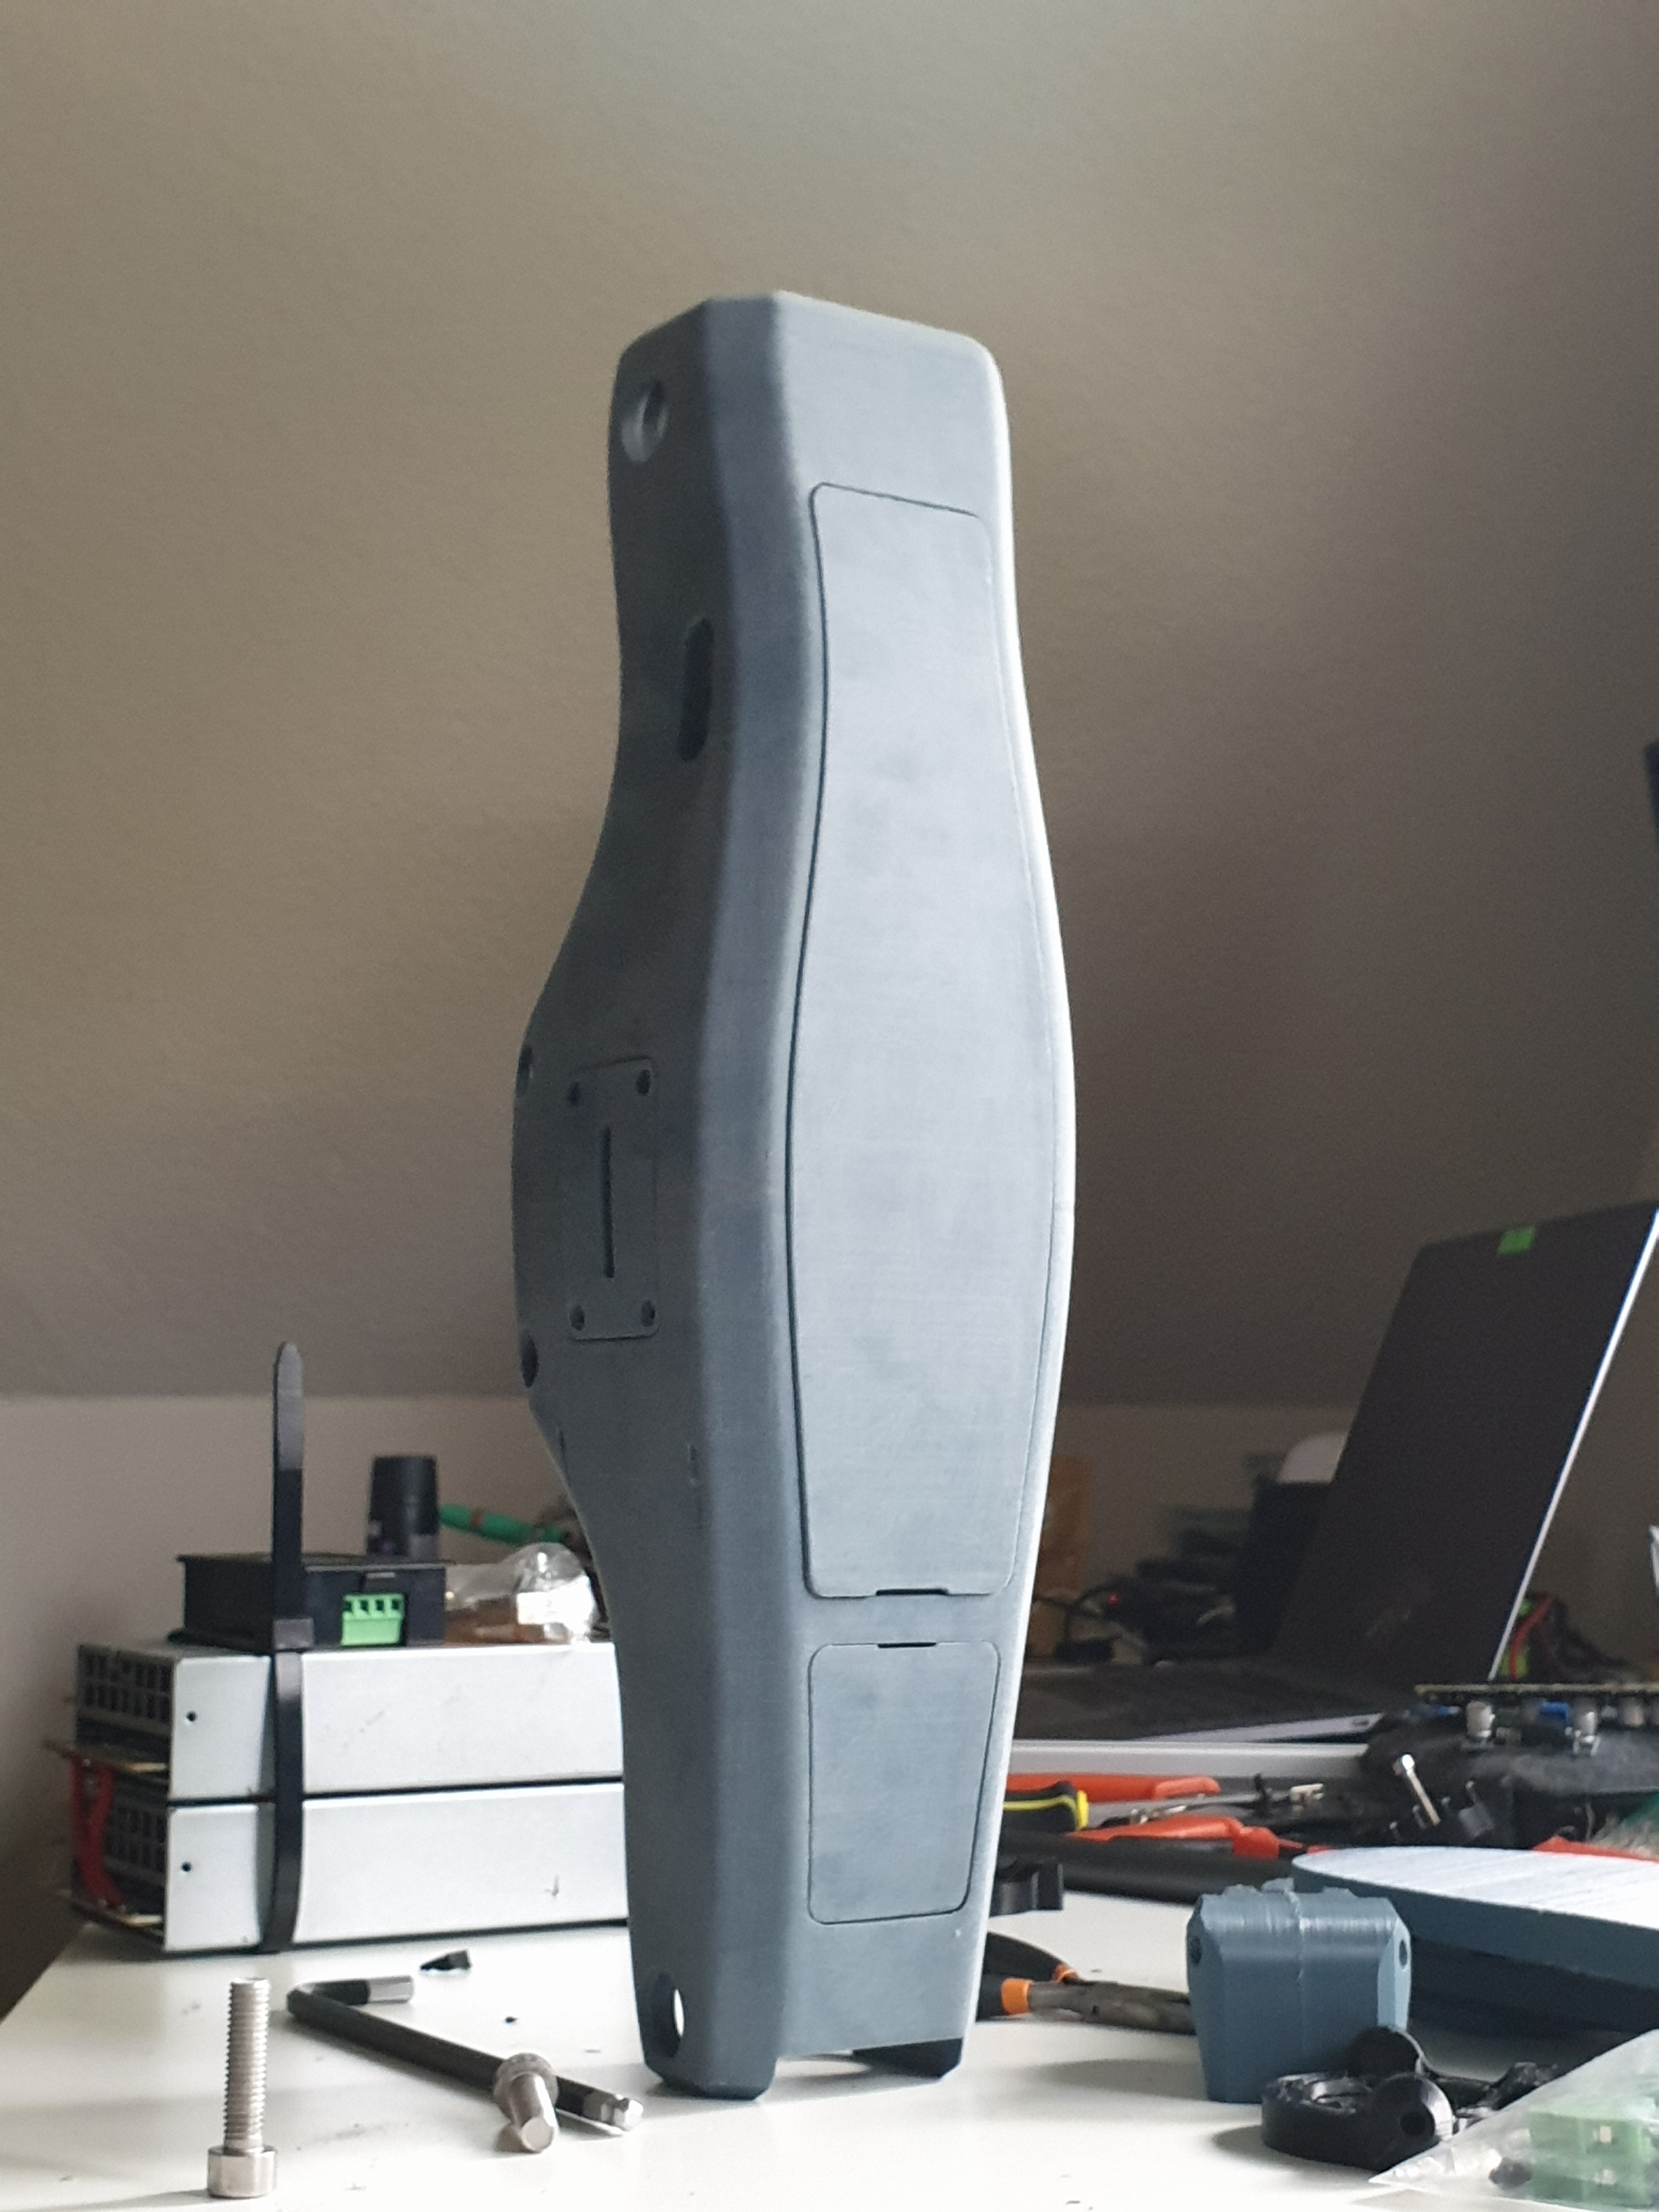
After joining the two halves together with the help of epoxy and the M3 threaded rods, the time came to make this look good. The quality out of the printer isn't as good as an injection molded part. Of course not. But I wanted a look that resembles a commercial product. It could be metallic or plastic, but smooth surfaces.
Using a pneumatic sander, the surface was smoothed down to 360 grit.

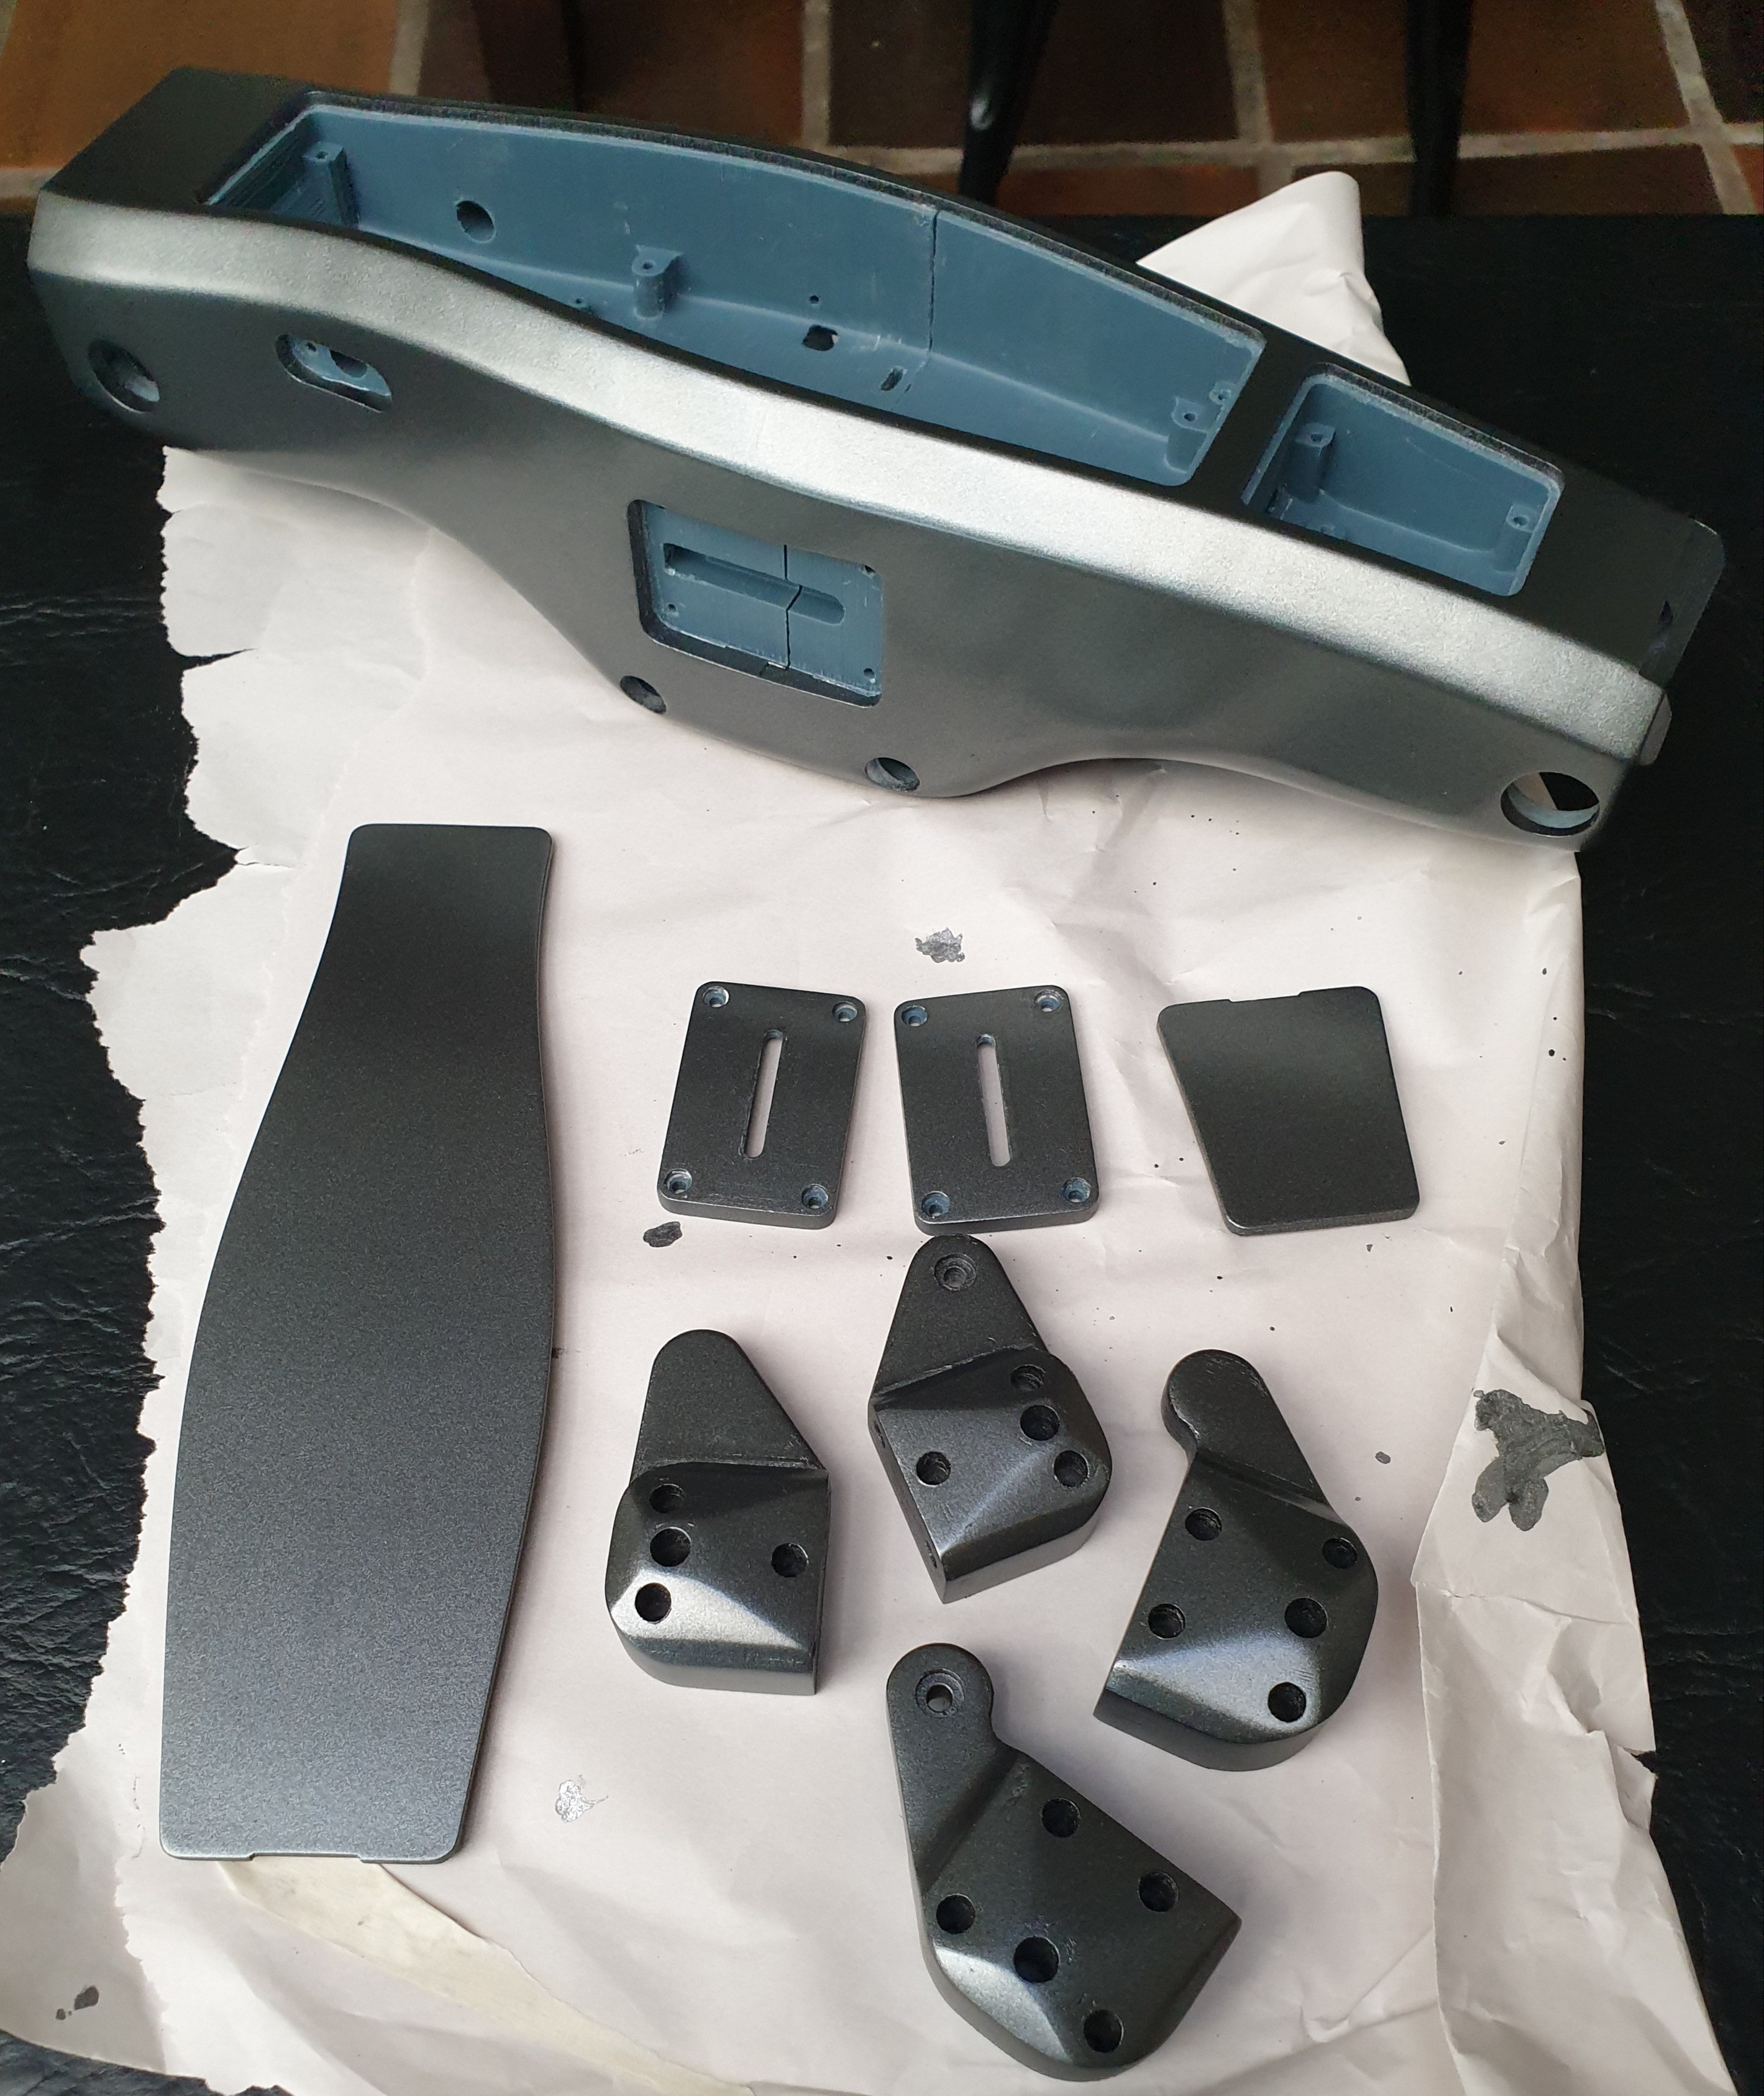
The real aesthetic magic was done with the paint job. It provided a metallic look. This was carried out by an auto body shop, which painted it with regular automotive grade paint and applied a clear coat on top.
Discussions
Become a Hackaday.io Member
Create an account to leave a comment. Already have an account? Log In.