 RubenFixit
Motivation for this project
Within my circle of friends escape rooms and puzzles are something we enjoy doing together. One Christmas, I couldn't think of a gift to get my brother. So I ended up just getting him a gift card. But I didn't just want to give him a gift card, as that would be kinda lame.
So my wife and I had the idea of putting together a simple puzzle box with the gift card inside. So I built a box with 4 pad locks and just enough room to fit a single gift card inside. Then I worked with my wife to come up with some puzzles, and clues to solve it.
Ever since then it has become somewhat of a tradition, where we make each other puzzles and escape rooms that need to be solved to get to our holiday gift.
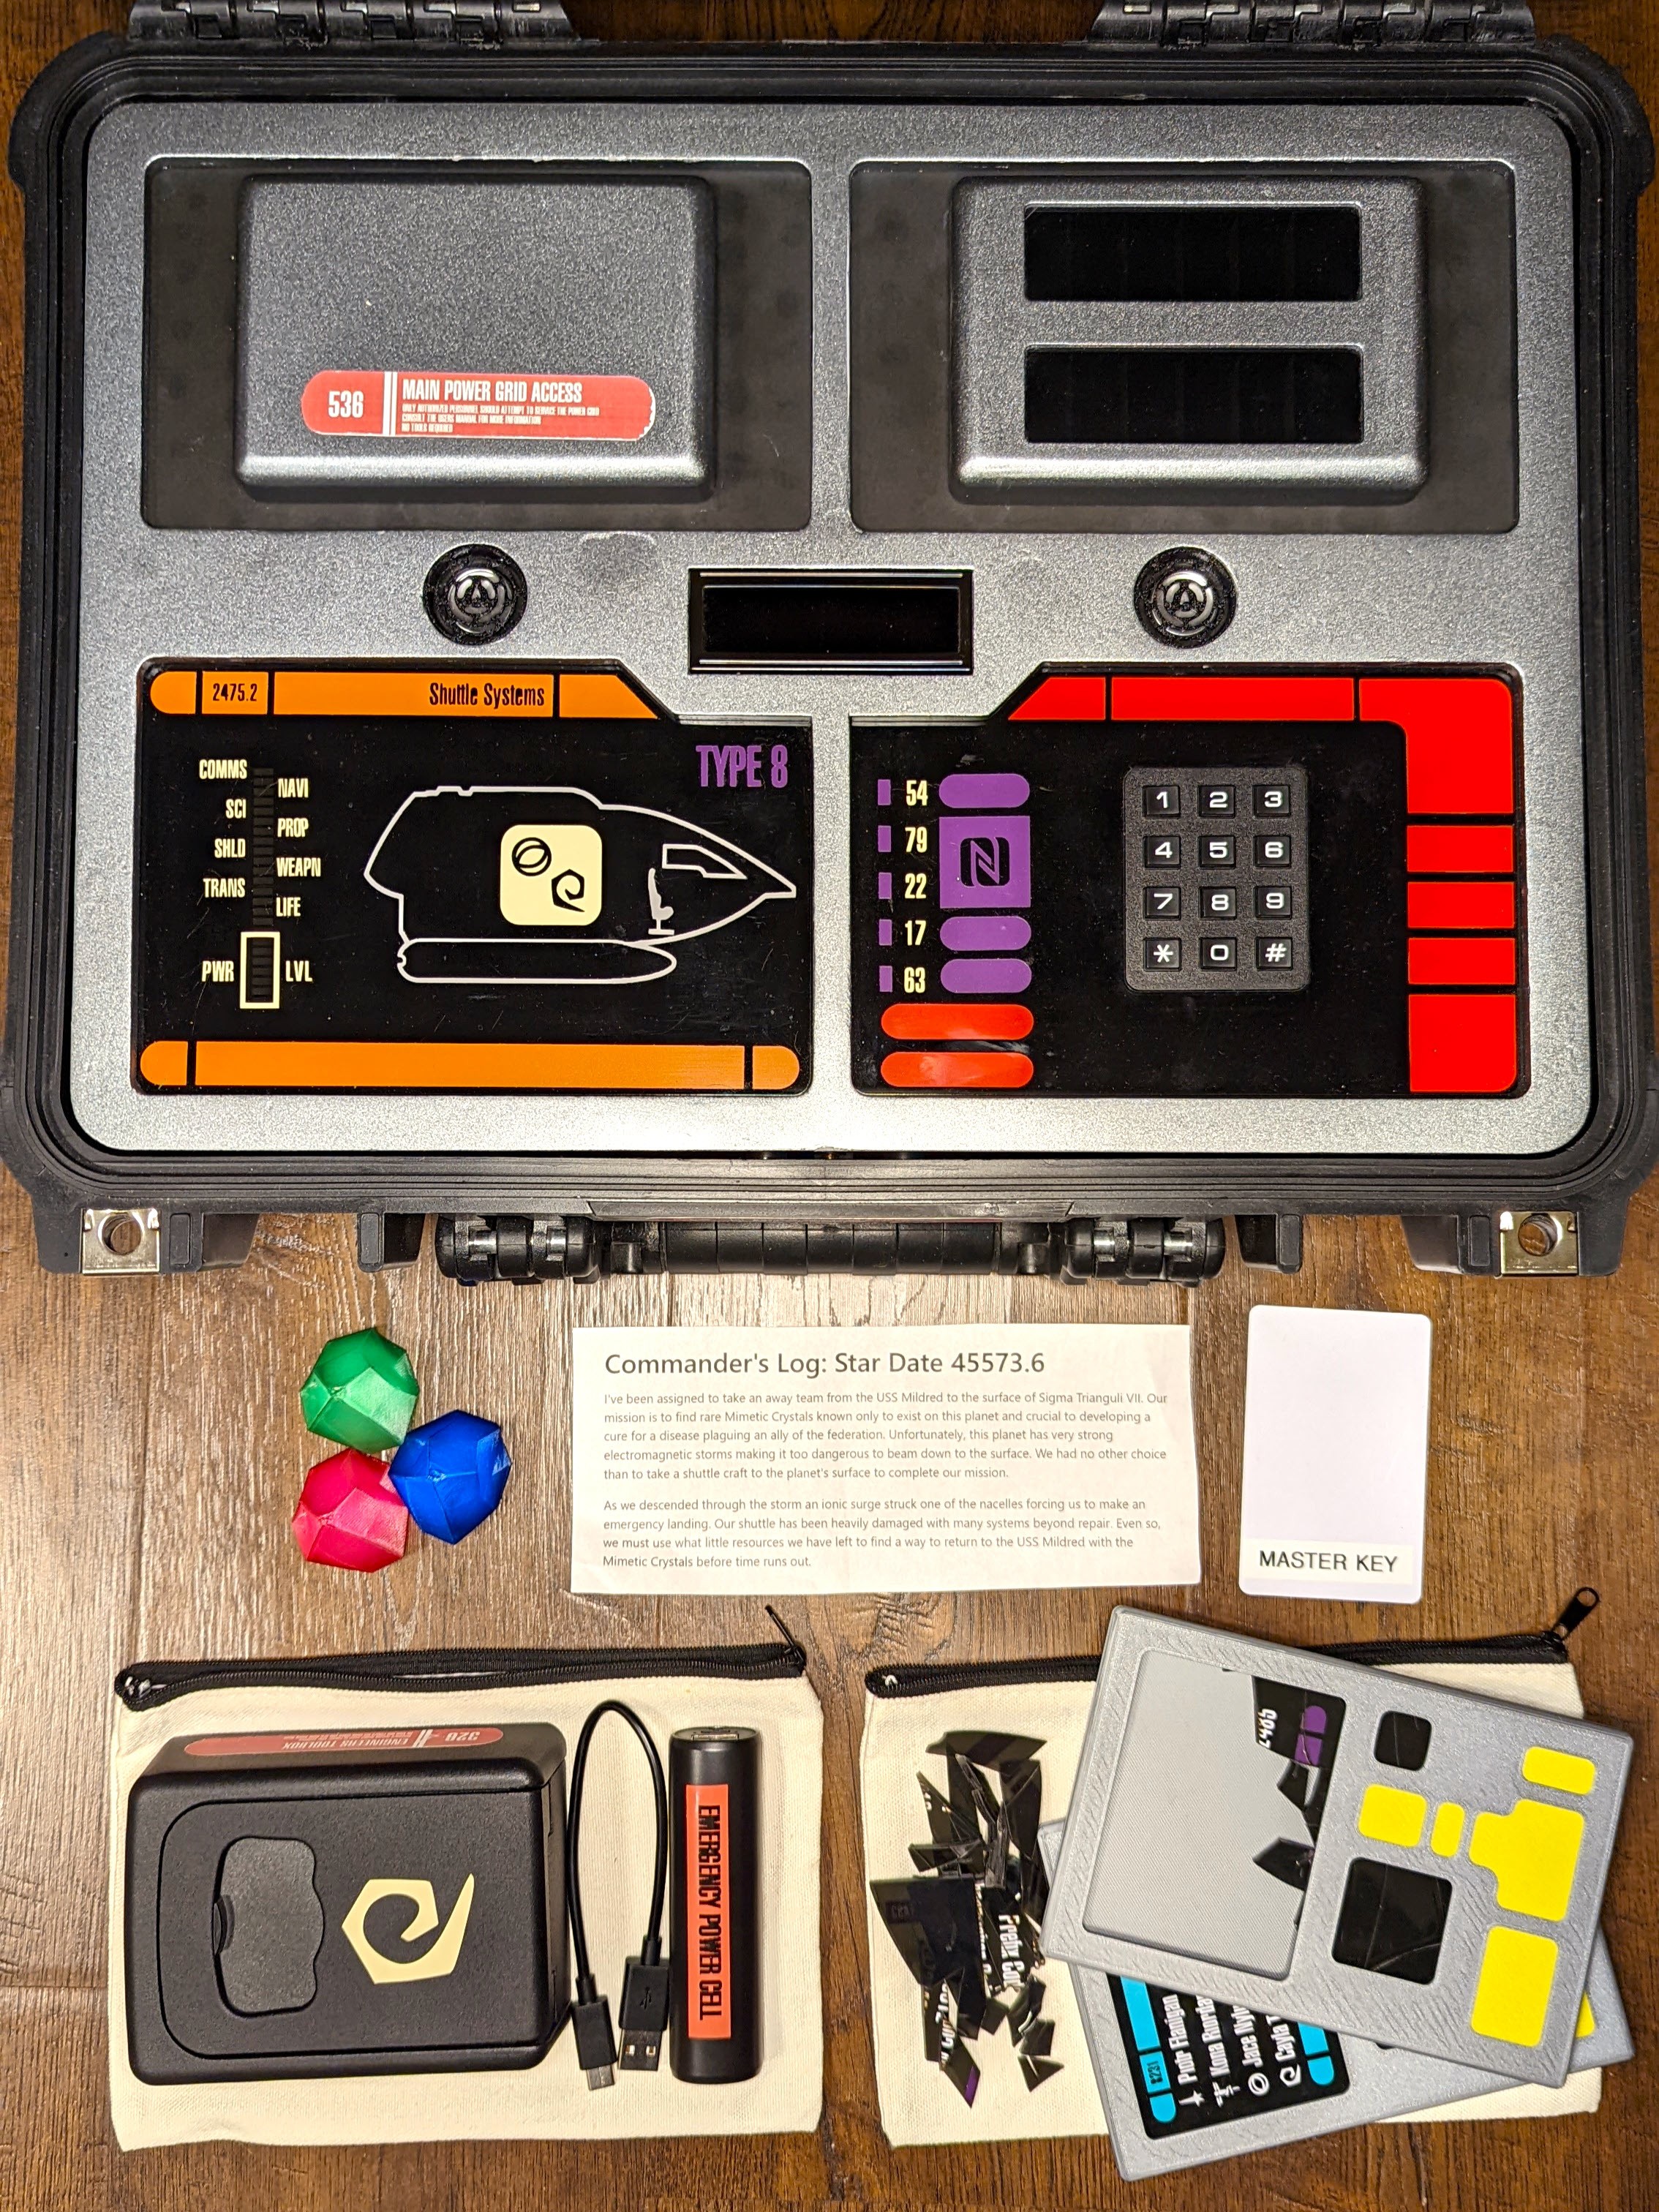
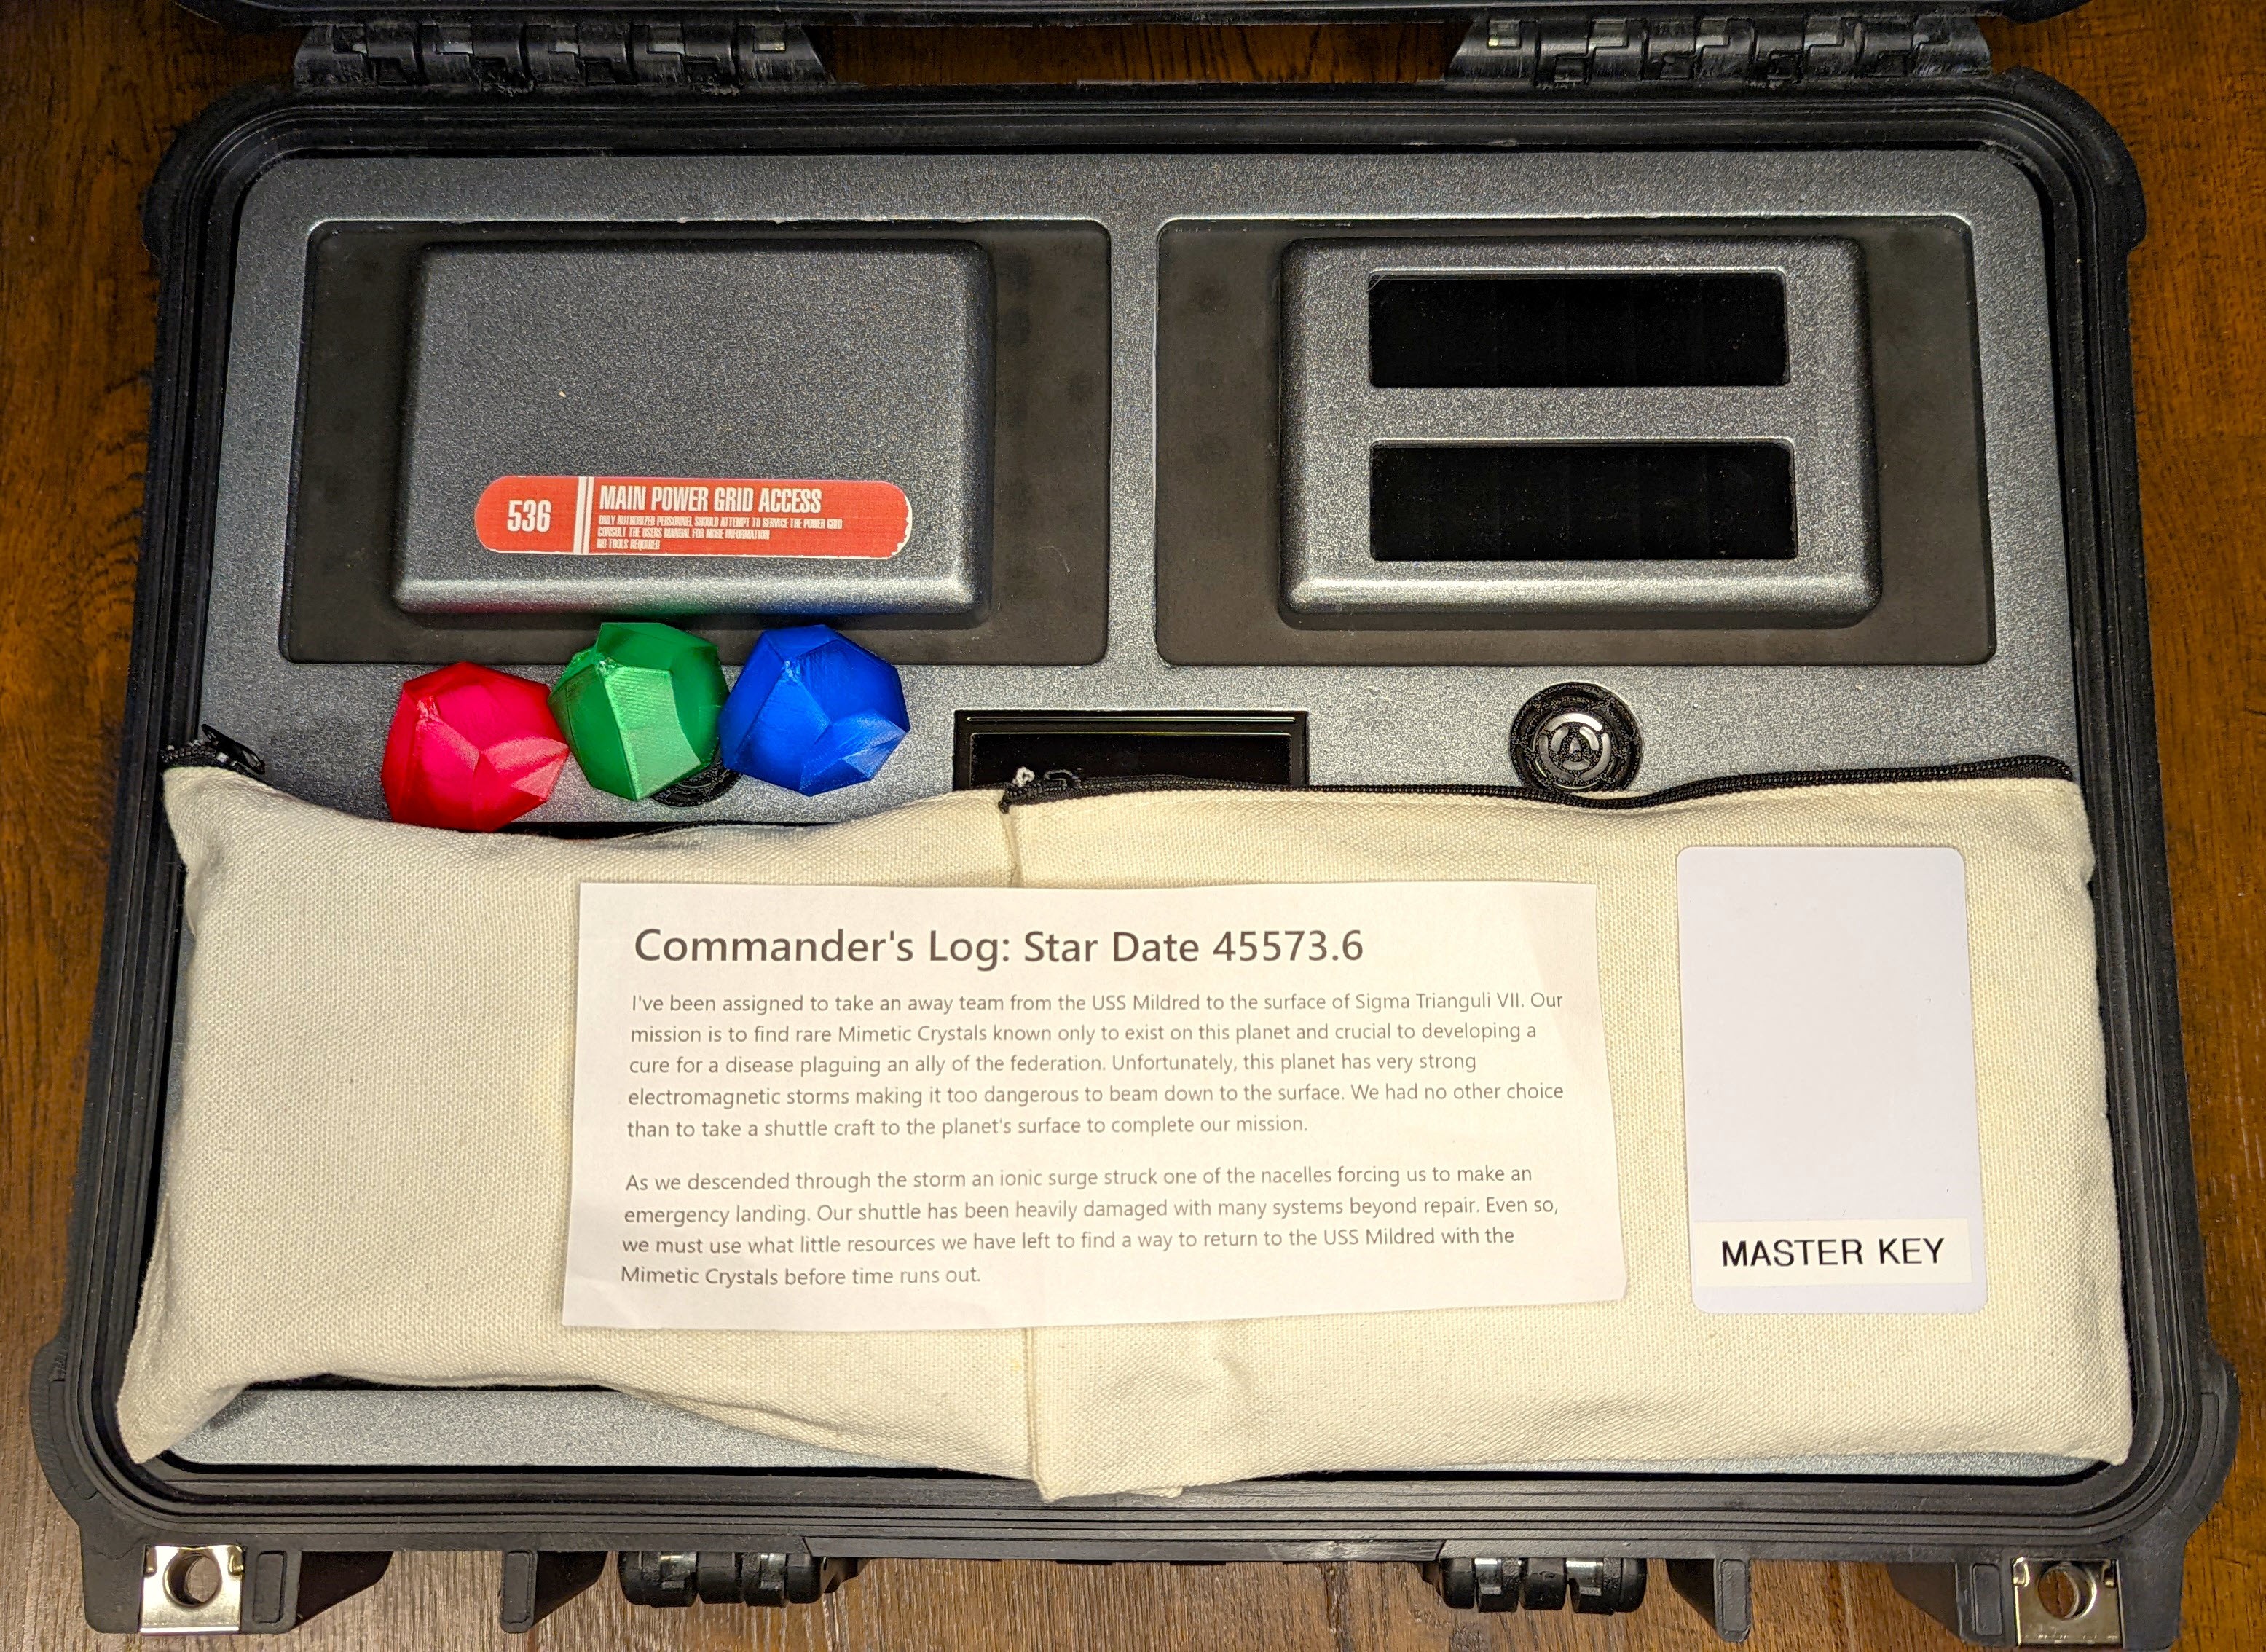
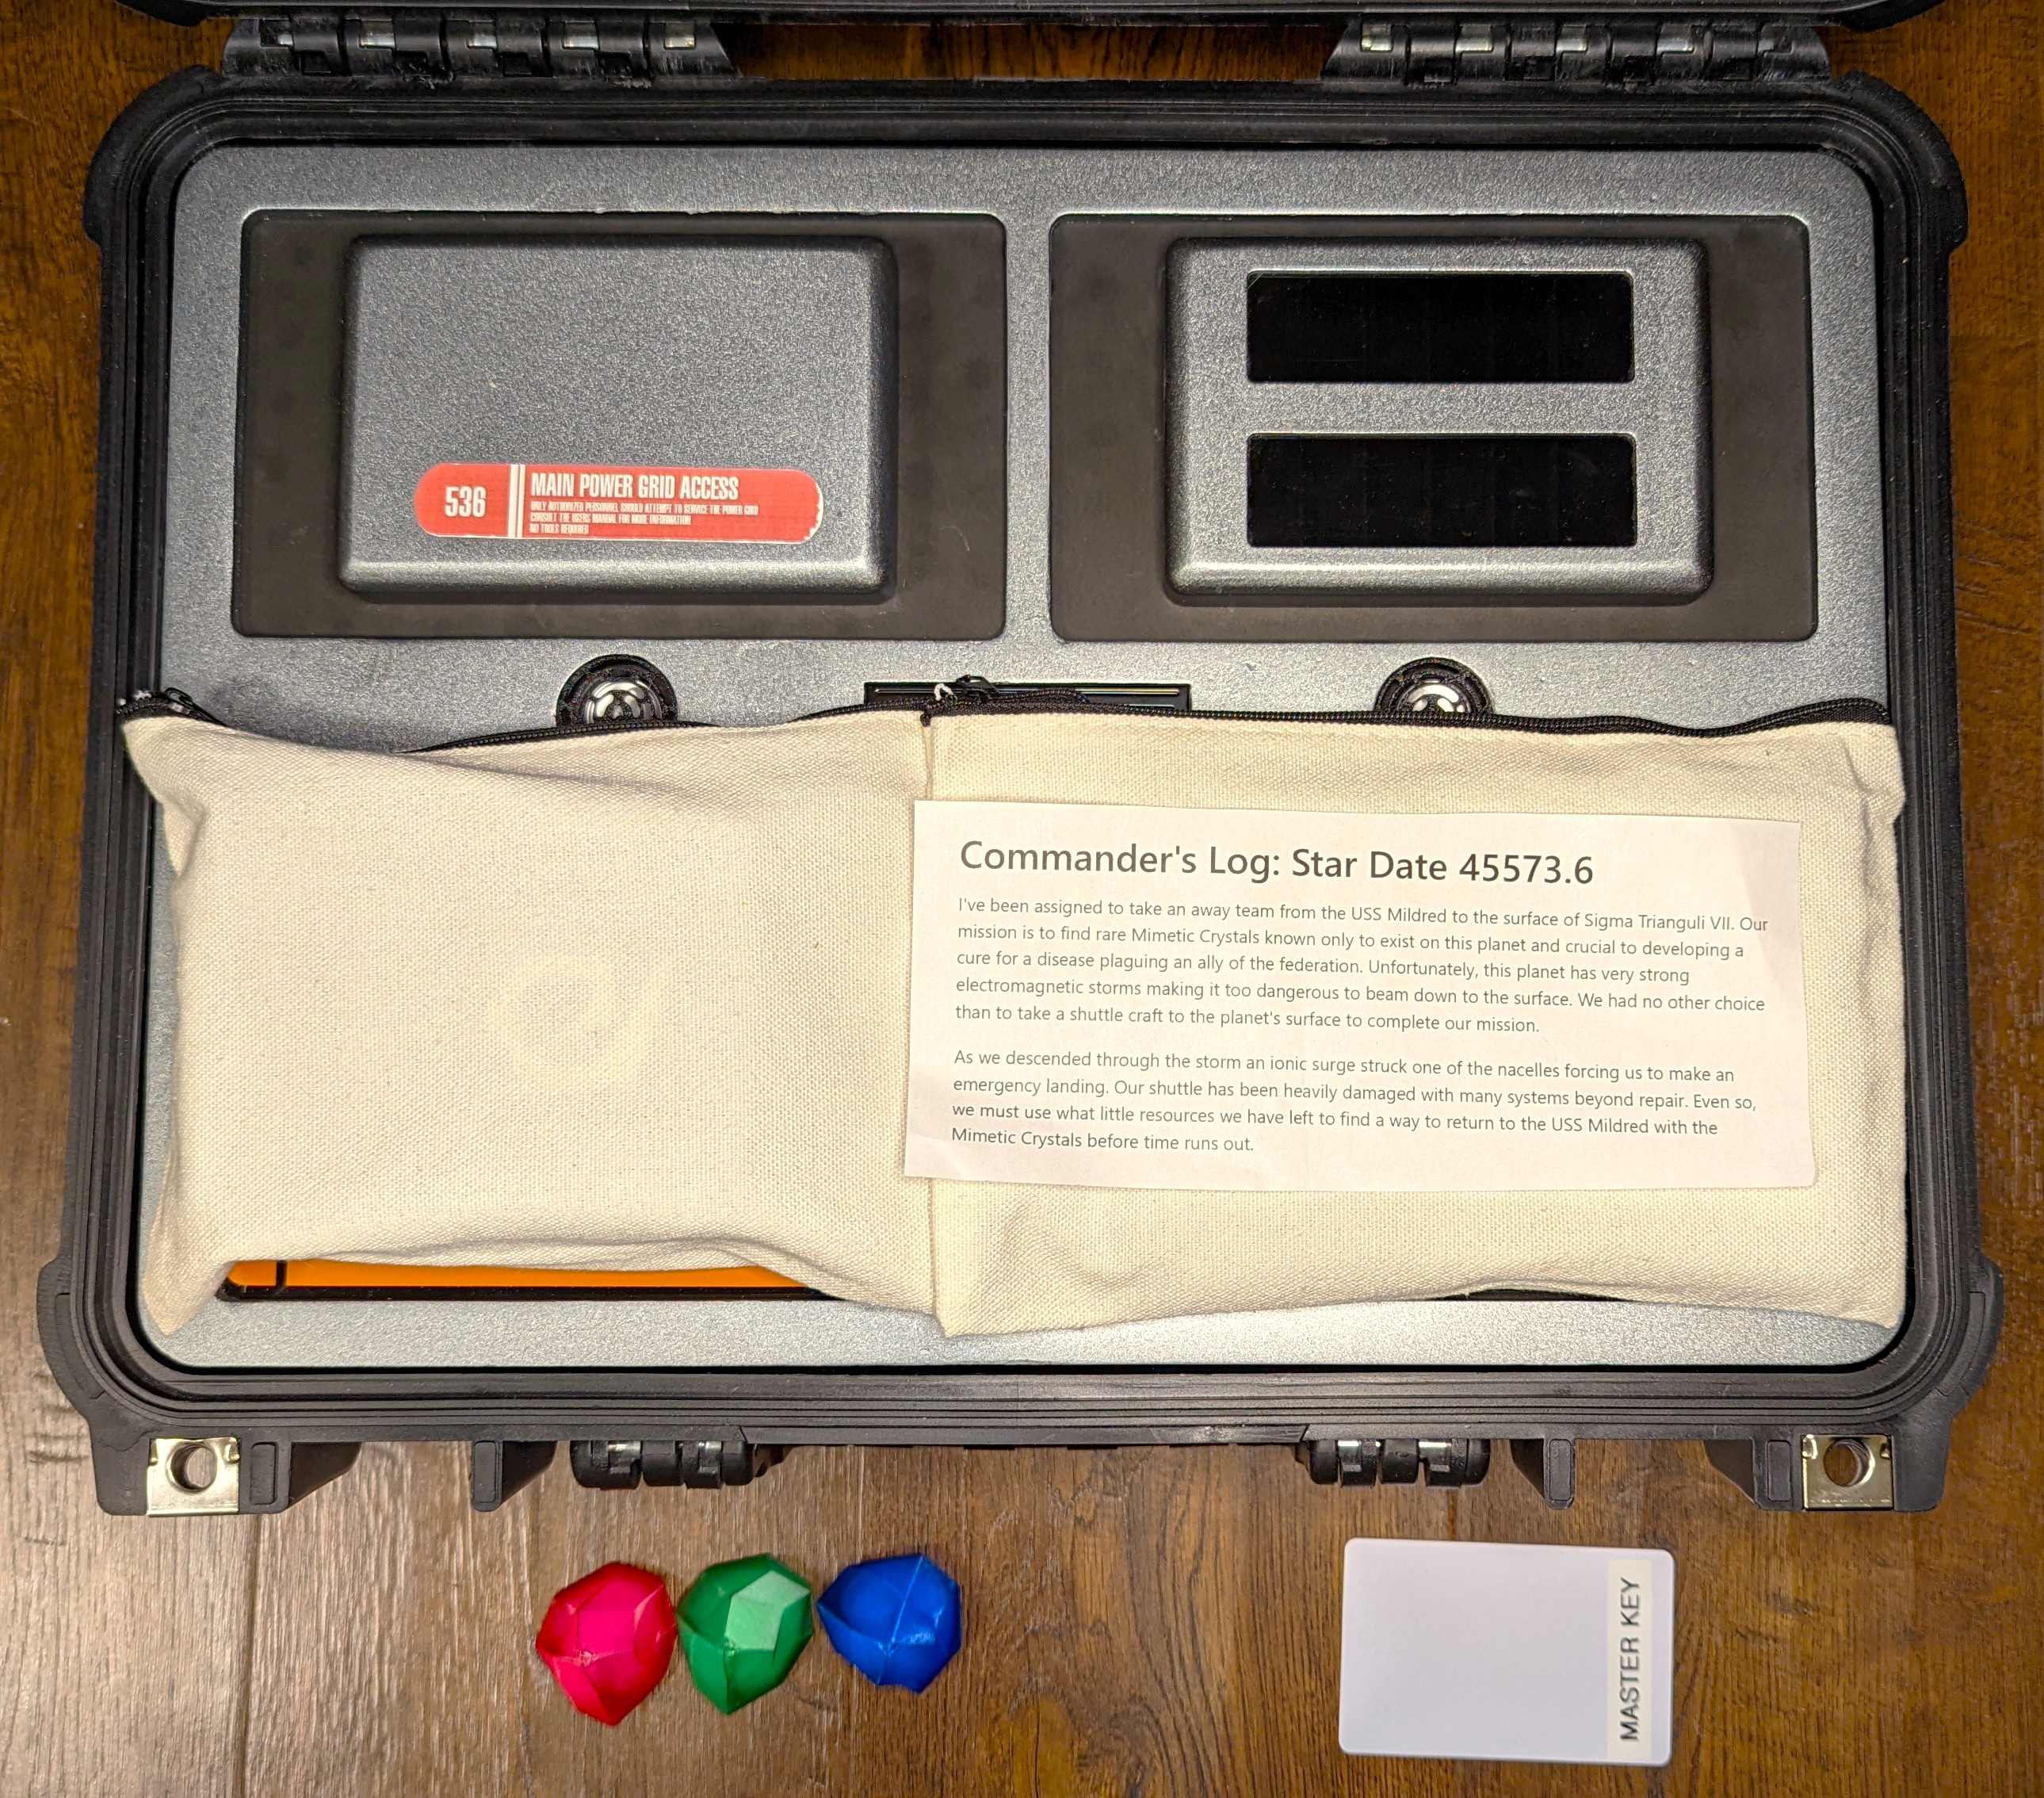
For a while now I've been wanting to build my own escape room box, and eventually came up with this design. It is largely inspired by this "Spacecase - Escape Room in a Box".
And this last year I finally made the time and built my own, but Star Trek themed!
Planning, Design
I first started working on this in mid-October 2021 thinking I had plenty of time, but ended up scrambling to finished it in time for Christmas 2021.
If I had to guess at the amount of hours my wife and I put into this, I'd say it was at least 300 hours in just over 2 months.
Much of that time was spent designing the box in Autodesk Fusion 360 and developing the puzzles and away mission scenario.
Future Improvements
While I'm overall very pleased with how this project turned out, there are a few design changes and improvements I'd like to make.
Here is a list of them in order of most important:
- ISBN lookup
- Instead of having players go online to lookup ISBNs, I'd like to create a small "library" to help them find ISBNs. (See step 8 of the build instructions for more details.)
- Latch release
- I kinda threw the latch release system together just to finish the project. It should be completely redesigned.
- Isolinear Chip System
- The PCB needs to be redesigned with the correct male headers
- The method for programming and reading the values needs some work
- Software
- There is always room to improve the software. It would be great to refactor it to make it easier to reuse when creating other scenarios.
- Power Grid System
- While the PCB design is good, I'd like to remake the PCB.
- Audio System
- What I have works just fine, but If I'd build this again, I'd like to go with another option than what I came up with. Preferably a simpler QWIIC module.
- NFC module
- The antenna is just too far away for most phones to reliably read it, especially when they have a phone case.
- Better Red Labels
- The iconic red labels add a nice touch, but I should have printed them on something better than just plain label paper.


 Print with grill facing down at 0.20mm layer height. No supports needed.
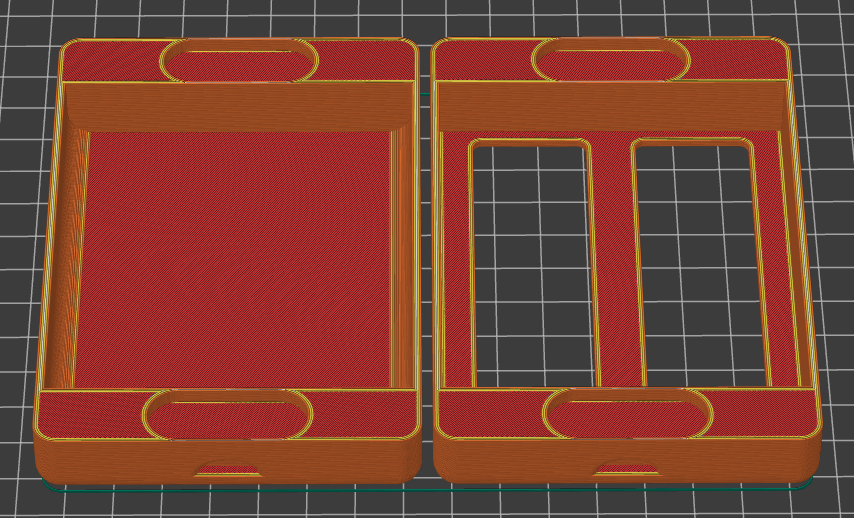
 Print so that the visible surface with the USB C slot is facing down at 0.20mm layer height. Will need supports
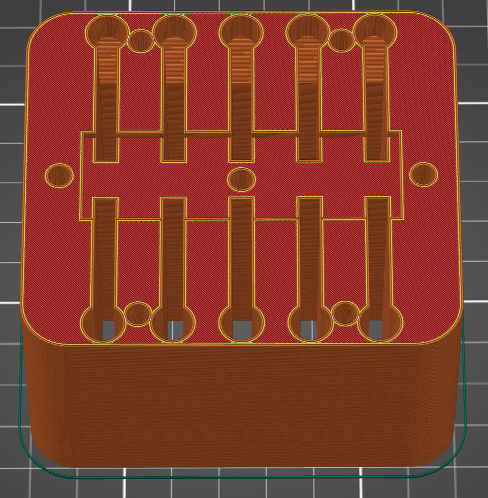 Print with the notched surface facing up at 0.20mm layer height. No supports needed.
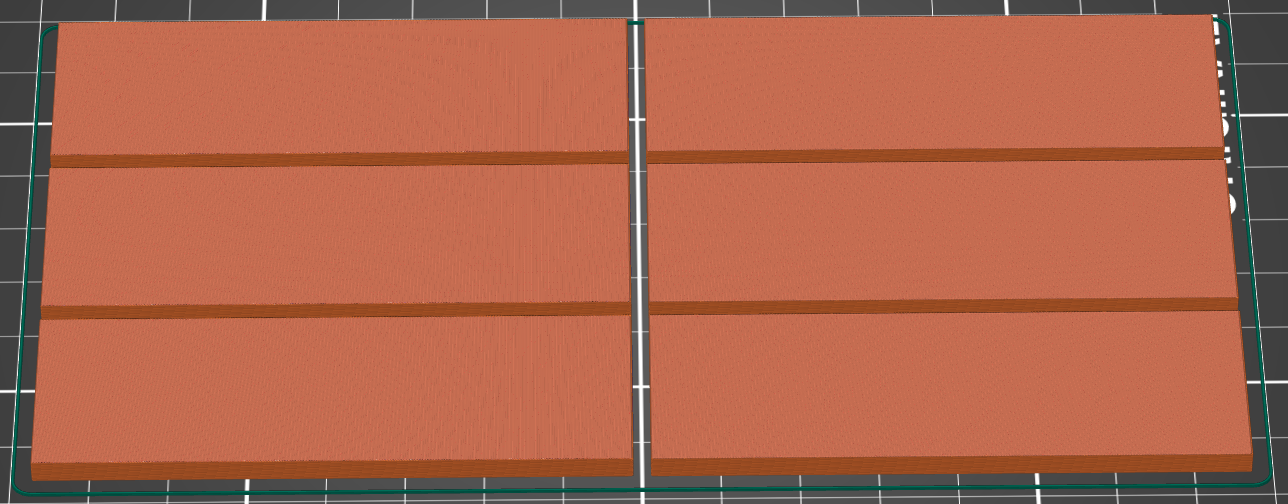 Print with large surface to print bed at 0.20mm layer height. May need to add supports for the slot at the bottom. Print two sets each in a different color of translucent filament.
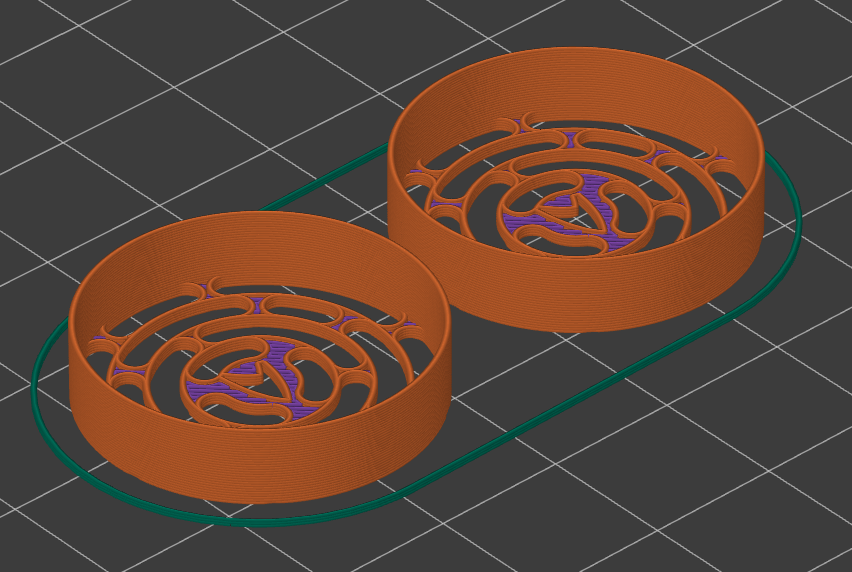
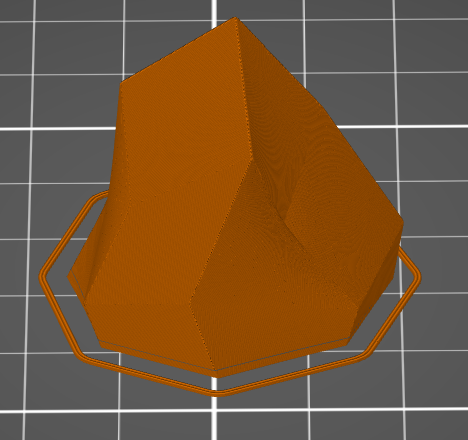 Print in vase or continuous mode at 0.10mm layer height. Ber sure to add a pause after the first few layers so that you can glue the RFID token to the inside bottom of the crystal. A drop of super glue worked well.
 Print the PADD bottom with the bottom facing down. All parts print well at 0.20mm layer height.


 Reimu NotMoe
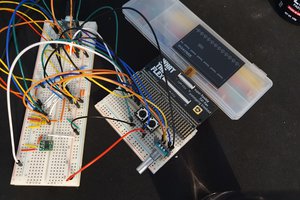
 Jay8ee
 Boz
Boz
RubenFixit, it's me, your brother. Sorry to say I've lost the incredible Star Trek escape box you made me, and you'll have to make me another one. Also I've moved...so the address I'll need you to ship it to might seem strange.