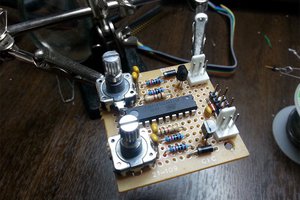
BOM: (all parts are through hole for easier soldering)
If you do not wish to have rapid fire circuit, you can omit the "optional rapid fire circuit" listed below. Button C and D will not function at all.
2 player board
* C1-C4 0.1uF
* R1-R16, R19, R20, R23, R24 1K 1/4w
* IC1, IC2 4021N DIP IC
* 2x 15 pin DSUB MALE PCB mount
* 2x NES and/or 1x Neo Geo/Atari 5200 controller extension cable
optional rapid fire circuit
* C5-C8 1uF
* R17, R18, R21, R22 27K 1/4w
* IC3, IC4 74HCT02N DIP IC (some general TTL may not work correctly, needs to be a CMOS friendly version)
1 player board
* C1-C2 0.1uF
* R1-R10 1k 1/4w
* IC1 4021
* 15 pin DSUB MALE PCB mount
* 1x NES and/or 1x Neo Geo/Atari 5200 controller extension cable
optional rapid fire circuit
* C3-C4 1uF
* R11-R12 27k 1/4w
* IC2 74HCT02
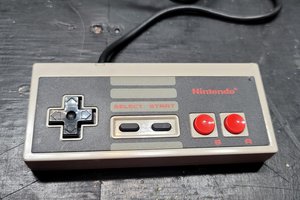
Controller button mapping are: Neo Geo A to NES B, Neo Geo B to NES A, Neo Geo C to NES turbo B, and Neo Geo D to NES turbo A. I've included pictures of 3 Neo Geo controllers and the button mapping. A and B may seems backward but this is how NES and Famicom controller is laid: B and A
This adapter will not work with Neo Geo mini controller!!
 Fox
Fox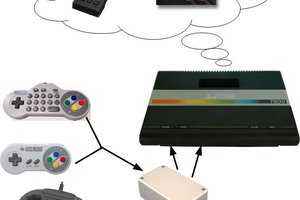
 danjovic
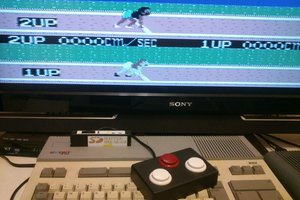
 Solderking