 JP Gleyzes
We're Now At A Million Plastic Bottles Per Minute - 91% Of Which Are Not Recycled
This presents an overwhelming challenge in responding to an exponential increase in recyclable yet un-recycled products...
- Wouldn't it be nice if every maker could reuse and recycle a few of these bottles ?
- Wouldn't it be nice if this recycling process could be simple, cost effective and non toxic ?
- Wouldn' it be nice if every maker could make new parts easily, freely with this recycled plastic ?
- Wouldn't it be nice if these parts could be stronger than FDM 3D printed parts with ABS, PLA or PETG ?
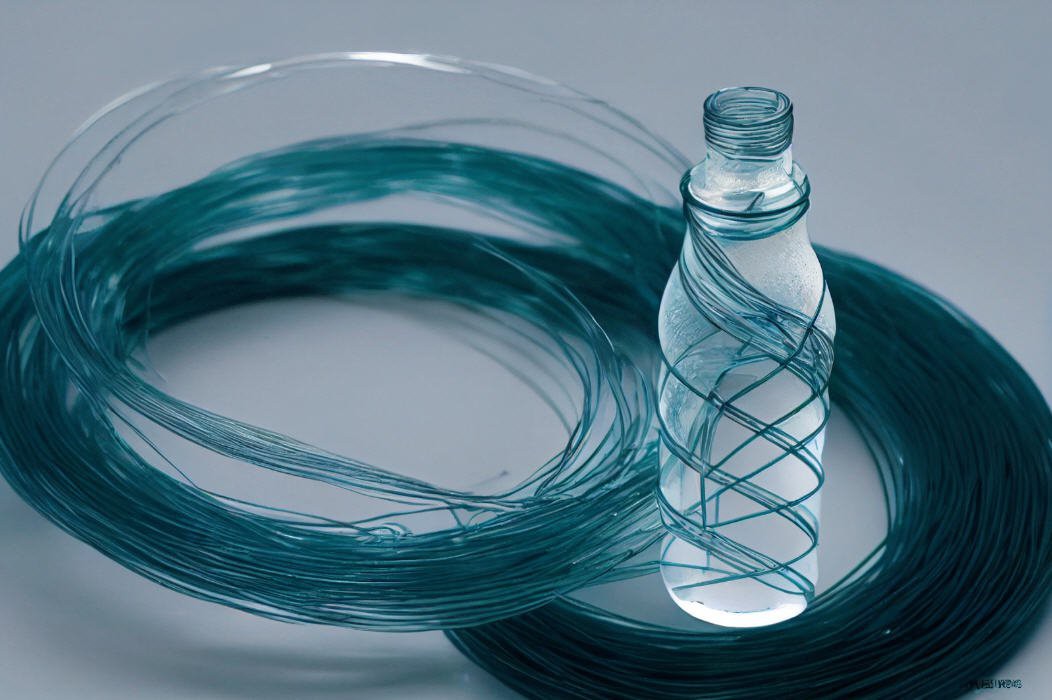
This is exactly what we propose to do with this project: transform bottles into filament.

Before going further let's have a look at the original video that I published in september 2021.
And the final video pusblished for #HackadayPrize finalists' round
I got a lot of "complains" that the process was "globally described" but not explained in a detailled way. So this project is here to give all detailled explainations on how to do it.
Things have evolved since september, the overall process has been consolidated and I can now give much more details about this design, its limitations, its strengths and weaknesses.
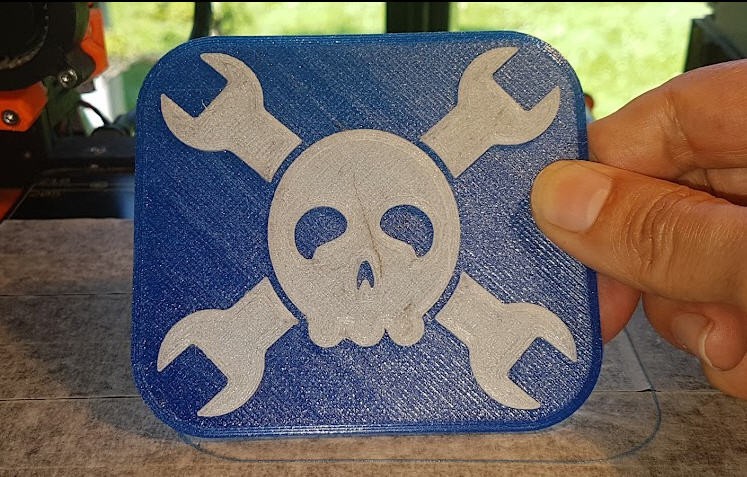
You will learn how to produce your own filament and also how to get your first Hackaday's logo printed with recycled PET.
The idea
Well it's not exactly mine as a few videos did appear in summer 2021 giving a few informations about the "Pulstruding" method.
However I would like to give the full credit for this "pulstruding" method to another French "laGrenouiille" who published this in 2019 :

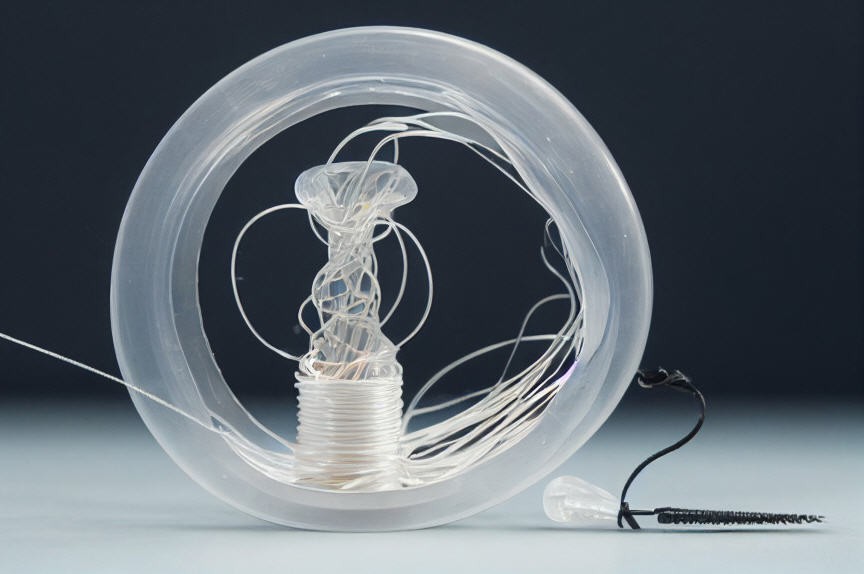
"This small round wire can be then used as fishing wire, sowing wire or maybe even 3d printer wire with a very easy production process (It have to be tested, but I am waiting my 1,75 calibrated hole !). This would still be limited by the strip length, but you can obtain 25m of 2mm strip out of a 1,5L Coca Cola bottle 😉"
Most of the other links where oriented to make business and sell pullstruding machines... This wasn't my intention as I wanted a free to build, easy to build and cheapest as possible machine. The machines I saw were too complex IMHO and I thought I could make one almost from nothing and for almost no cost (less than 20USD): reuse, recycle, revamp as they said !
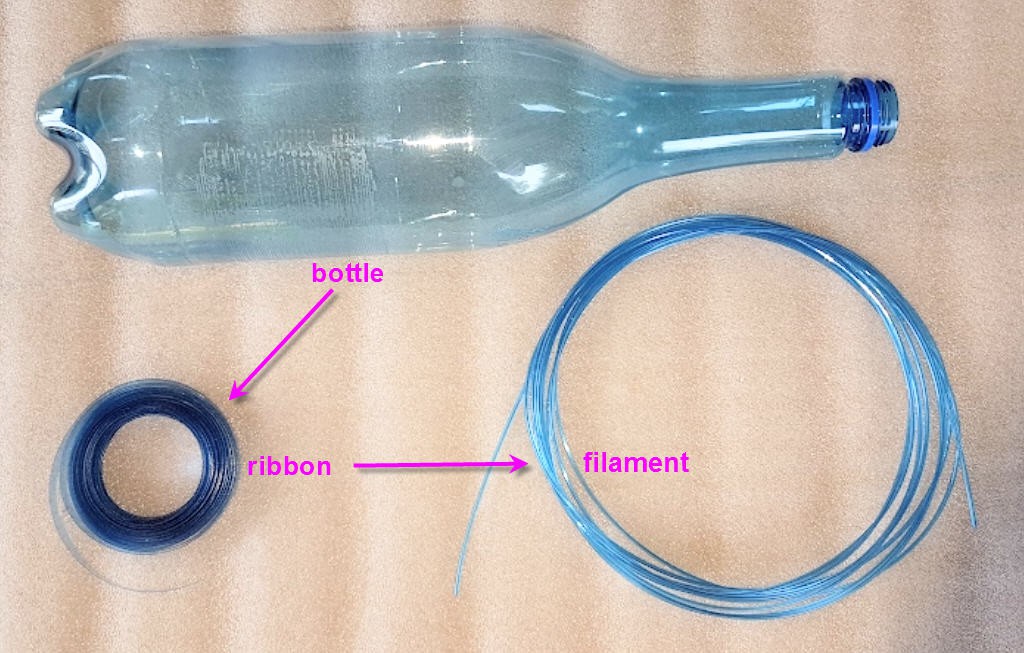
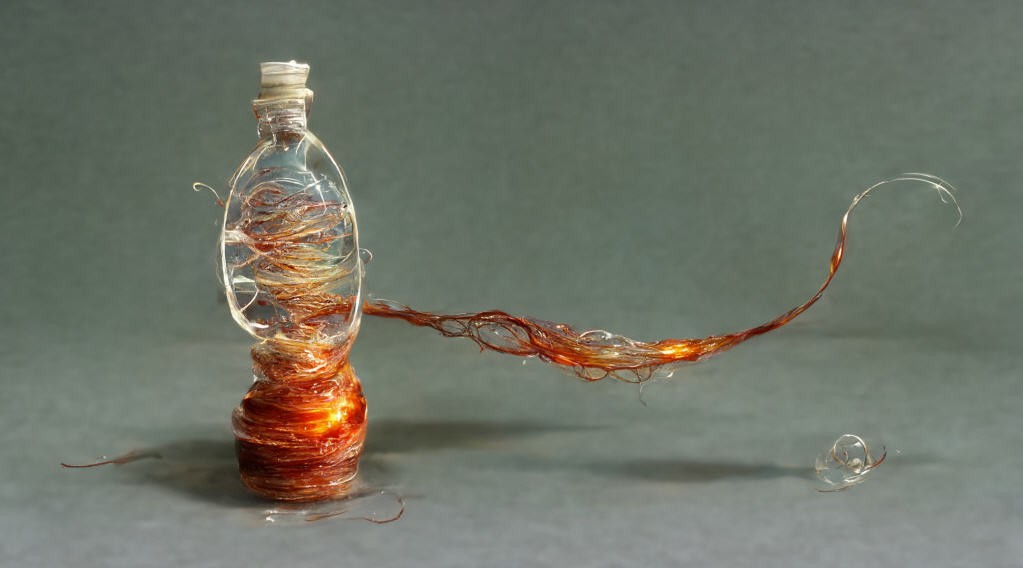
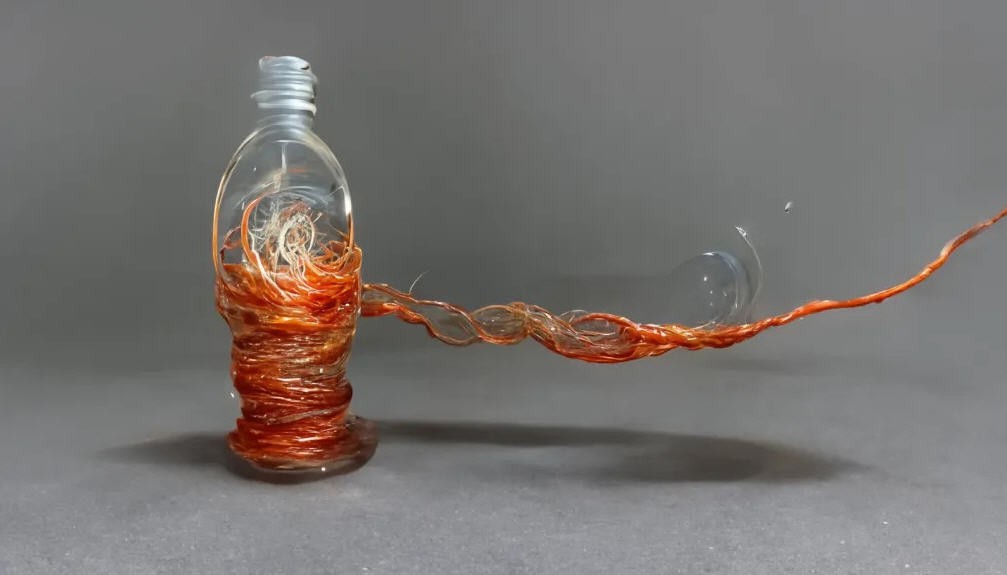
The concept is quite simple :
- use plastic PET bottle
- cut it into a long ribbon
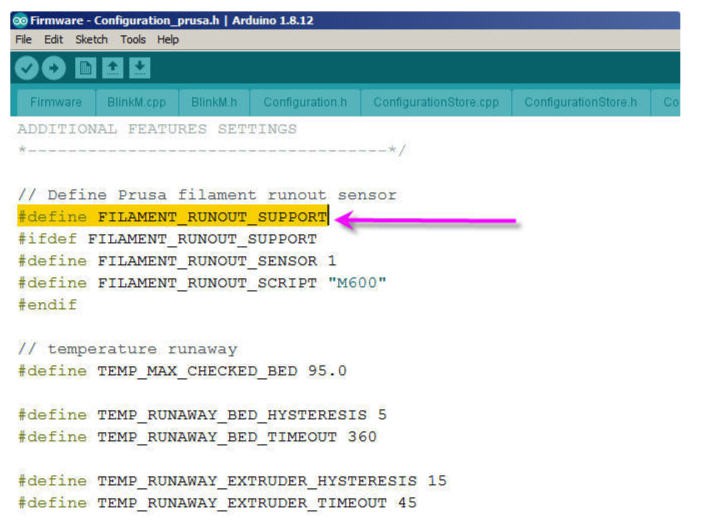
- force this ribbon to go through a hot end at 200°C, and it will immediately shrink
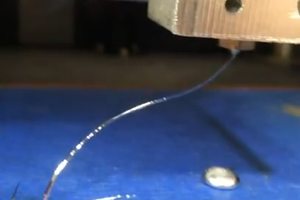
- pull the filament slowly and regularly
- print it !
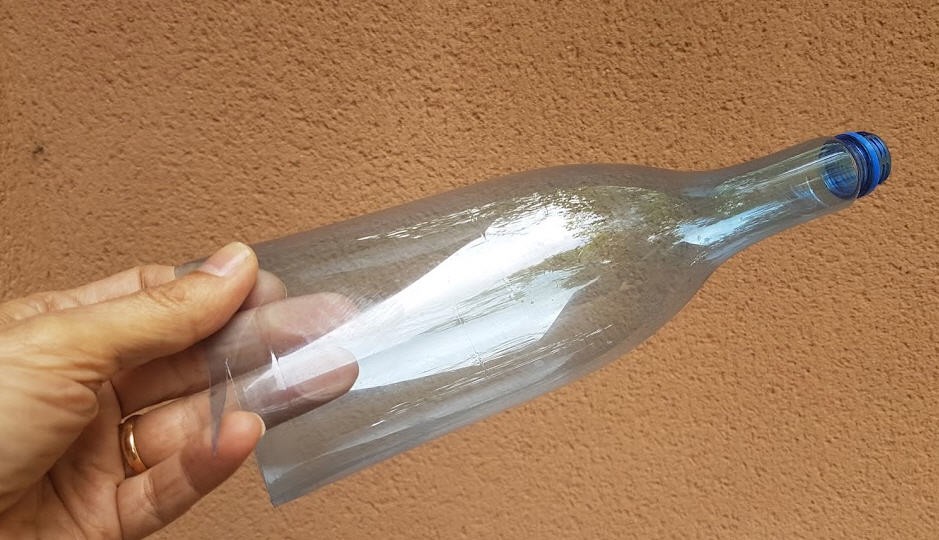
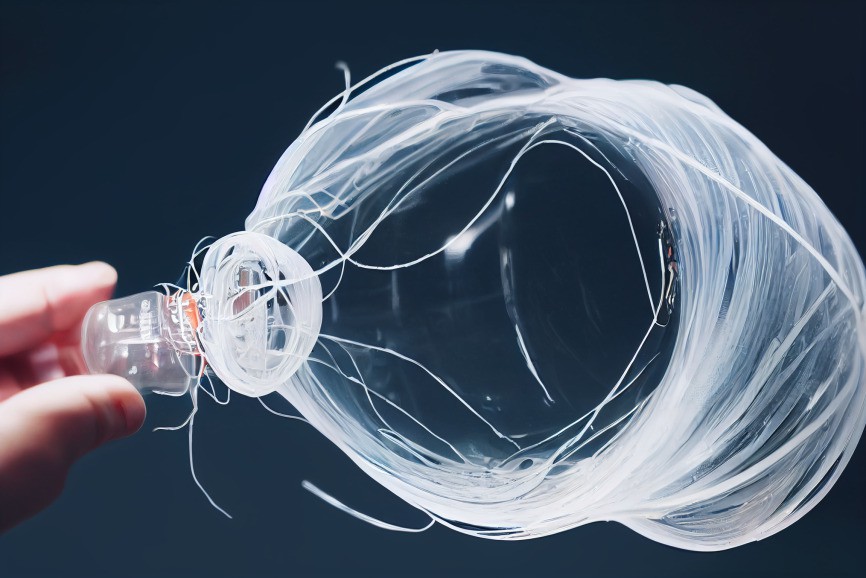
From bottle to ribbon
The first thing you will have to do is to "prepare your bottle". It seems ridiculous but a well prepared bottle helps a lot to get a nice and long ribbon !
You will have to cut the bottom. Have a look to Preparing the bottle log for details.
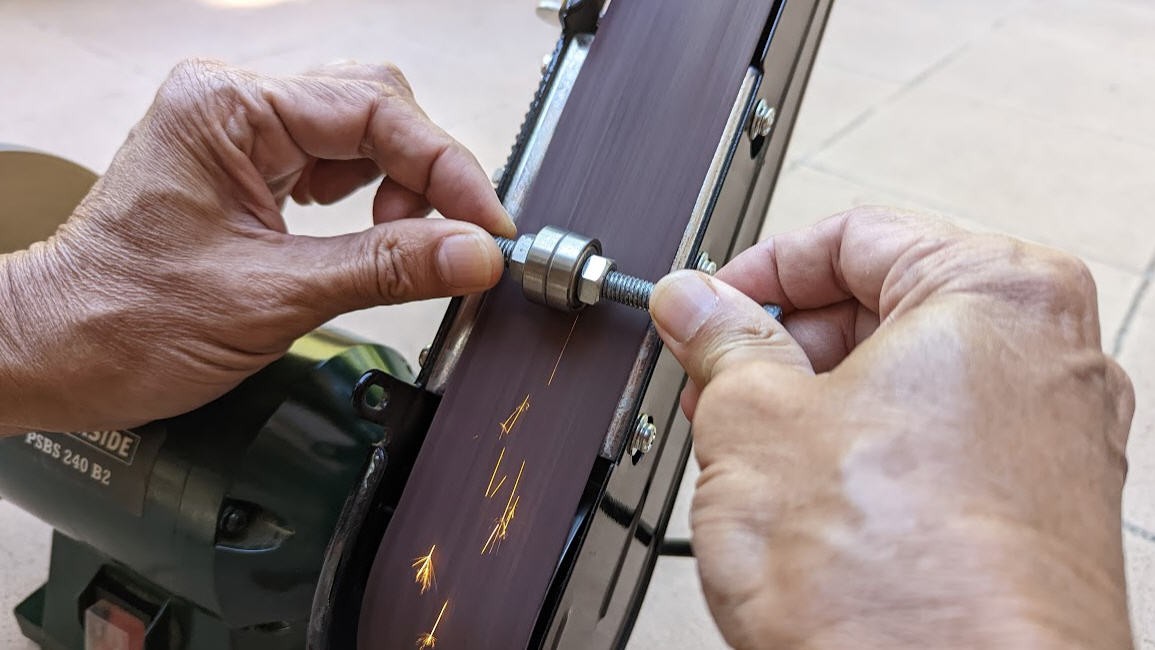
To get your ribbon you will need a bottle cutter. There are plenty of DIY solutions on internet, most of them use a cutter blade. It is probably not the best solution as the blade will dull very fast and you will have to change it quite often.
I saw this solution which is very well documented by "laGrenouille" (site down very often) and from which I could grab the idea and explain it into the Bottle cutter log.
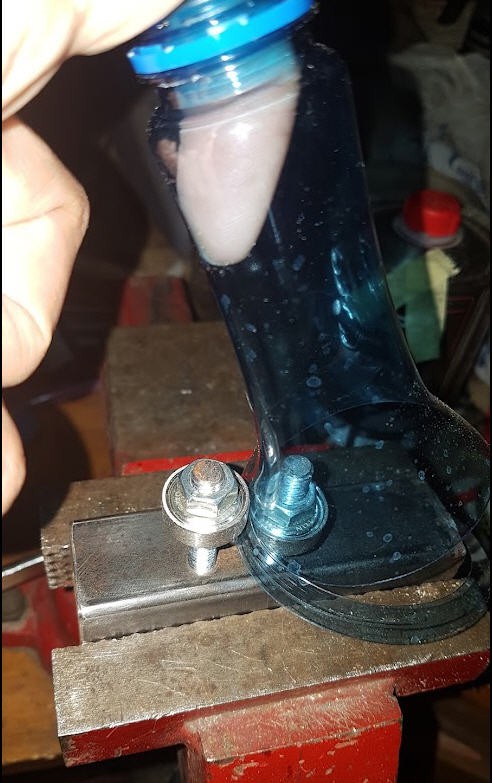
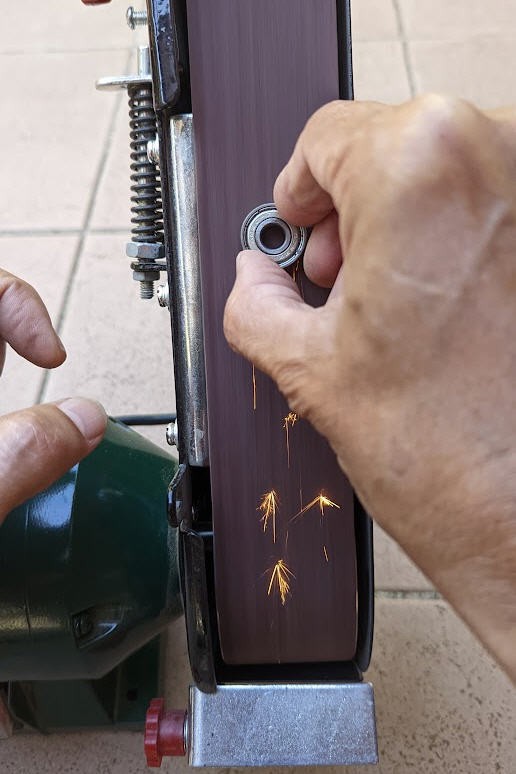
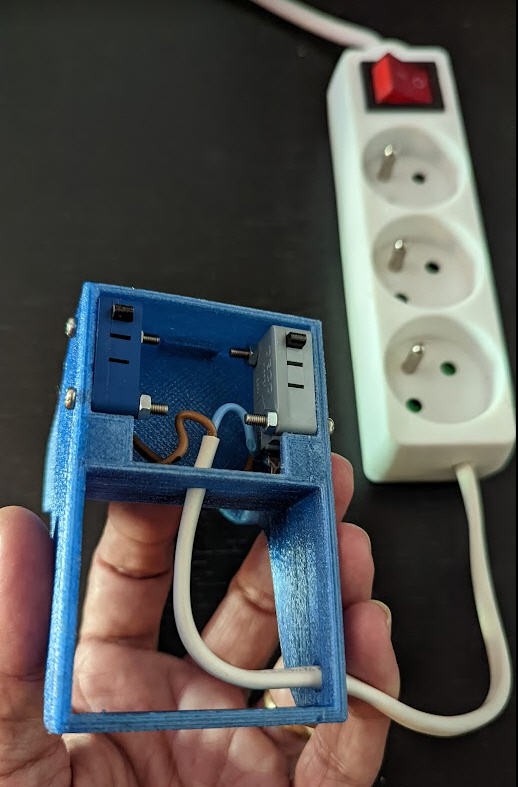
This brilliant idea consists in using two sharp rollers bearings as the cutting blades.
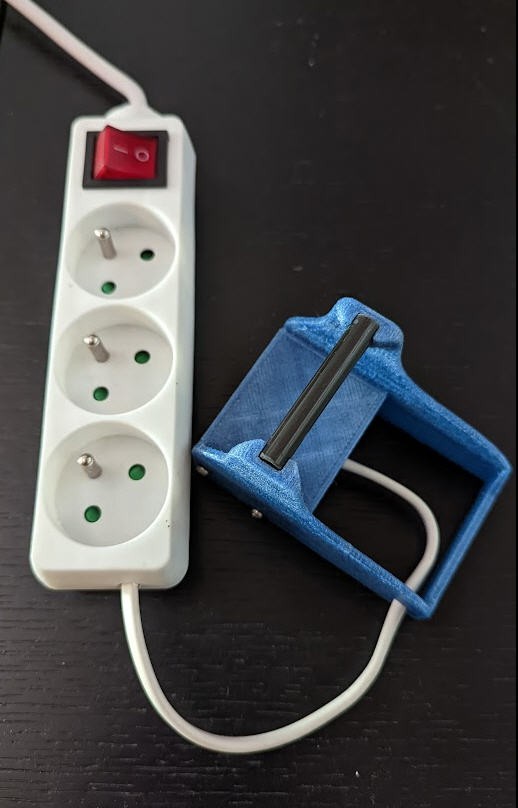
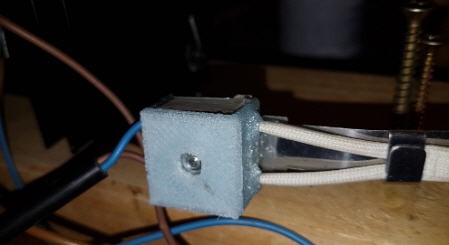
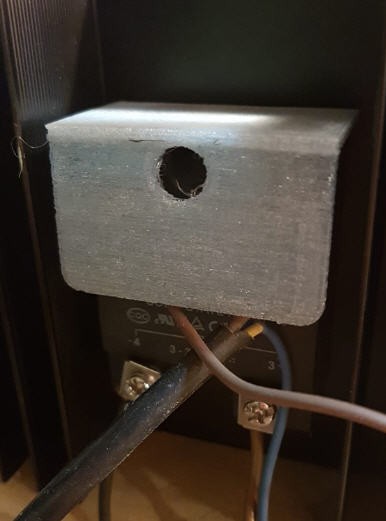
A picture worths a lot of words ! So here is the final cutter.
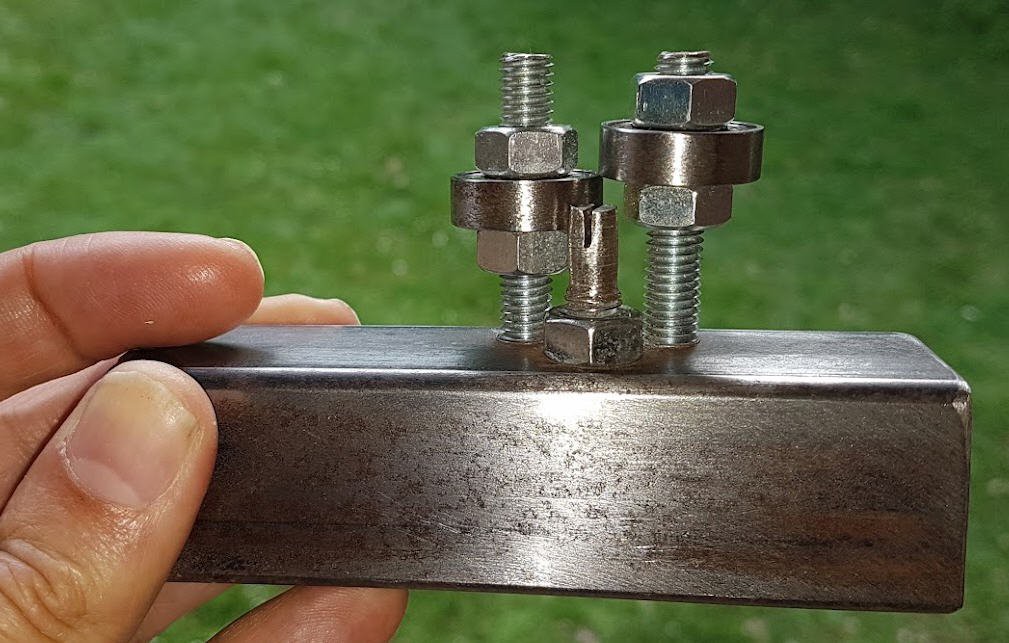
You just need to insert the "side" of the bottle into the small notch you see on the front "finger", it will be guided through the rollers and cut into a nice ribbon. See details in the "Using the bottle cutter" log
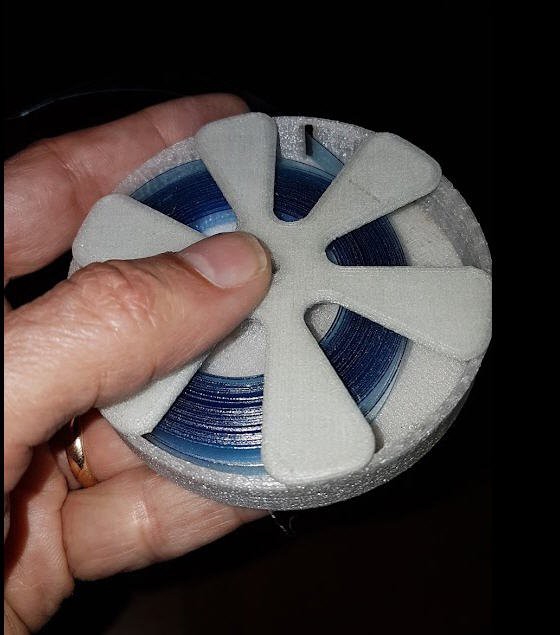
The ribbon, after manual winding, will be inserted into the spool holder, ready to go to the PullStruder machine !
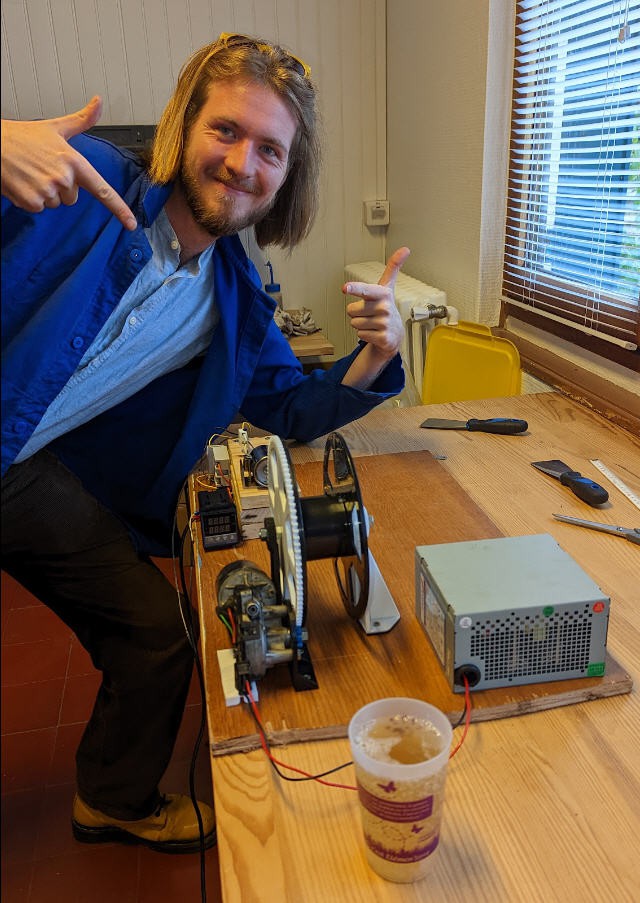
From ribbon to filament
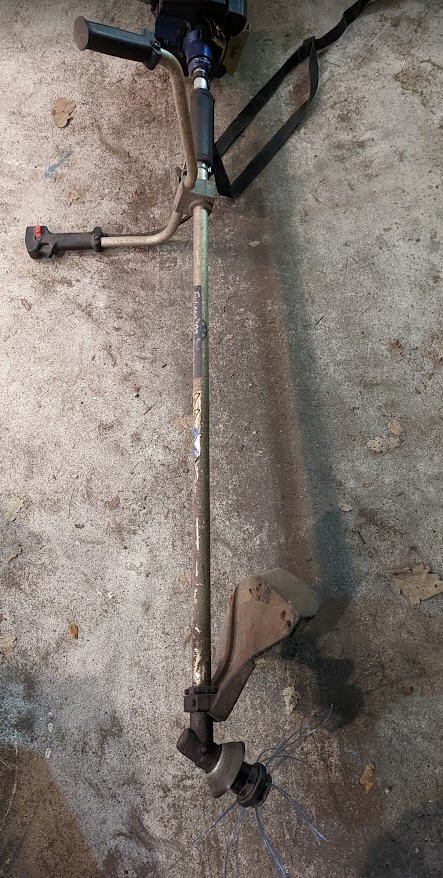
We enter now into the "high tech side of the force", we need a PullStruder machine !
And you will soon see that it can be built almost entirely from scrap !
... Read more »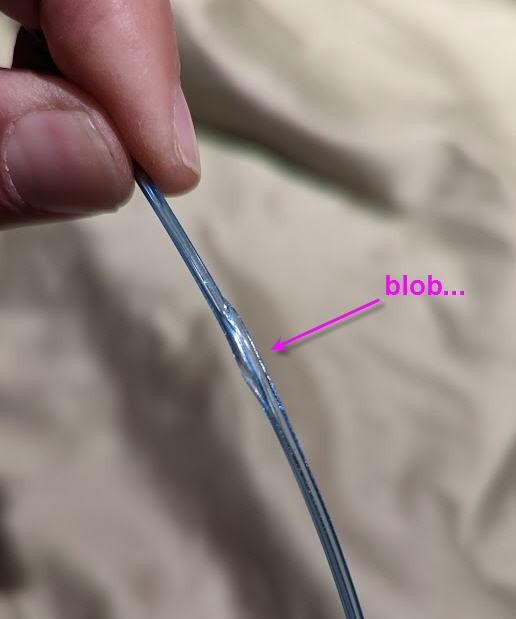


 Michael Perrone
 Norbert Heinz
 Rob Ward
Really awesome, congrats! And i also think it fits perfectly this 2022's contest theme!