 JP Gleyzes
We're Now At A Million Plastic Bottles Per Minute - 91% Of Which Are Not Recycled
This presents an overwhelming challenge in responding to an exponential increase in recyclable yet un-recycled products...
- Wouldn't it be nice if every maker could reuse and recycle a few of these bottles ?
- Wouldn't it be nice if this recycling process could be simple, cost effective and non toxic ?
- Wouldn' it be nice if every maker could make new parts easily, freely with this recycled plastic ?
- Wouldn't it be nice if these parts could be stronger than FDM 3D printed parts with ABS, PLA or PETG ?
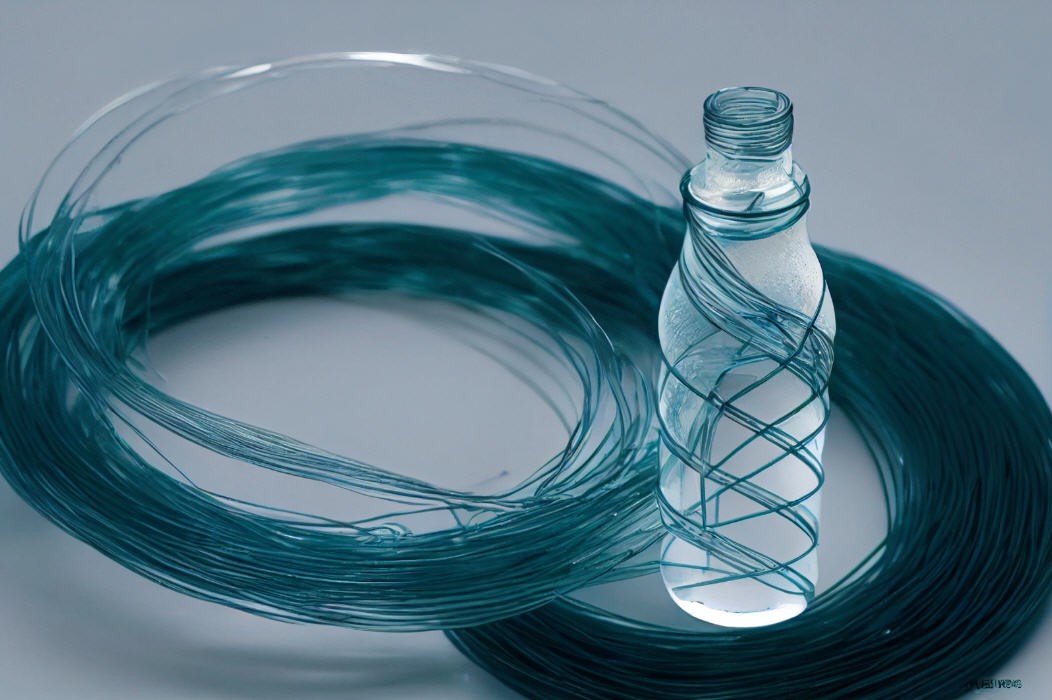
This is exactly what we propose to do with this project: transform bottles into filament.
Before going further let's have a look at the original video that I published in september 2021.
And the final video pusblished for #HackadayPrize finalists' round
I got a lot of "complains" that the process was "globally described" but not explained in a detailled way. So this project is here to give all detailled explainations on how to do it.
Things have evolved since september, the overall process has been consolidated and I can now give much more details about this design, its limitations, its strengths and weaknesses.
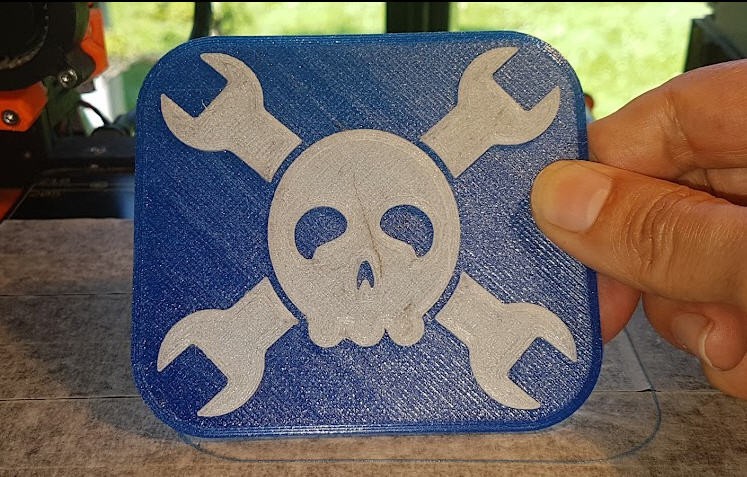
You will learn how to produce your own filament and also how to get your first Hackaday's logo printed with recycled PET.
The idea
Well it's not exactly mine as a few videos did appear in summer 2021 giving a few informations about the "Pulstruding" method.
However I would like to give the full credit for this "pulstruding" method to another French "laGrenouiille" who published this in 2019 :

"This small round wire can be then used as fishing wire, sowing wire or maybe even 3d printer wire with a very easy production process (It have to be tested, but I am waiting my 1,75 calibrated hole !). This would still be limited by the strip length, but you can obtain 25m of 2mm strip out of a 1,5L Coca Cola bottle 😉"
Most of the other links where oriented to make business and sell pullstruding machines... This wasn't my intention as I wanted a free to build, easy to build and cheapest as possible machine. The machines I saw were too complex IMHO and I thought I could make one almost from nothing and for almost no cost (less than 20USD): reuse, recycle, revamp as they said !
The concept is quite simple :
- use plastic PET bottle
- cut it into a long ribbon
- force this ribbon to go through a hot end at 200°C, and it will immediately shrink
- pull the filament slowly and regularly
- print it !
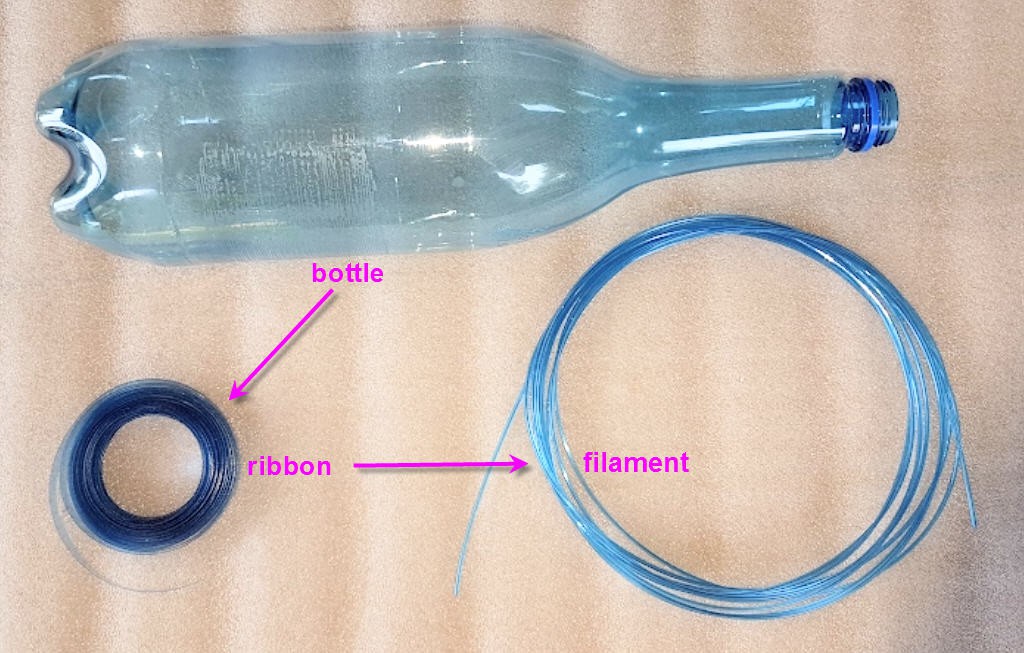
From bottle to ribbon
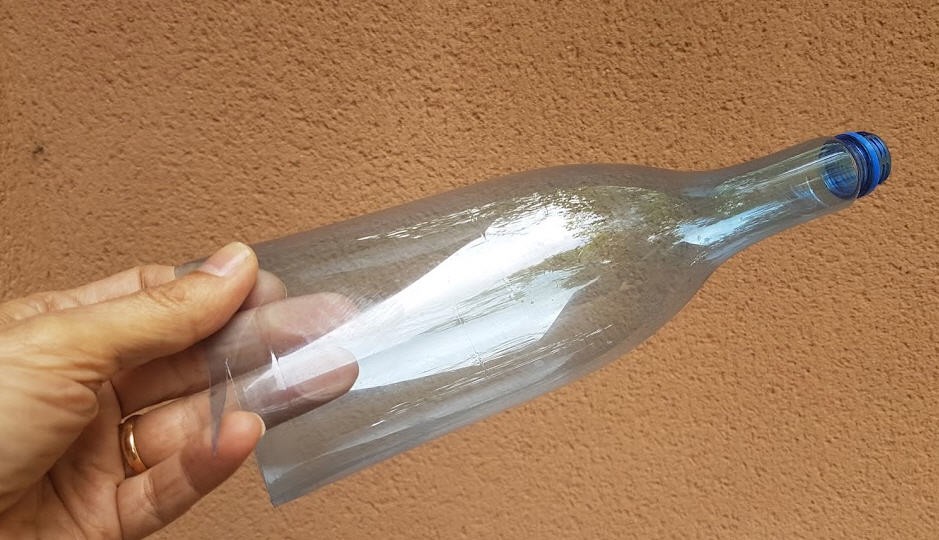
The first thing you will have to do is to "prepare your bottle". It seems ridiculous but a well prepared bottle helps a lot to get a nice and long ribbon !
You will have to cut the bottom. Have a look to Preparing the bottle log for details.
To get your ribbon you will need a bottle cutter. There are plenty of DIY solutions on internet, most of them use a cutter blade. It is probably not the best solution as the blade will dull very fast and you will have to change it quite often.
I saw this solution which is very well documented by "laGrenouille" (site down very often) and from which I could grab the idea and explain it into the Bottle cutter log.
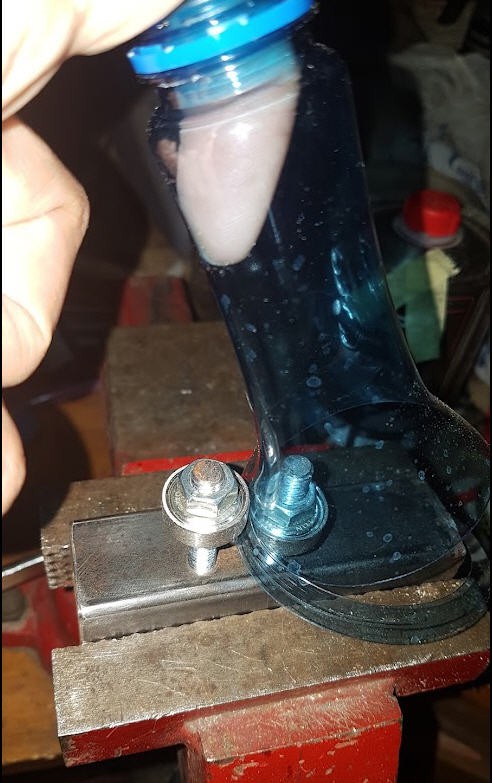
This brilliant idea consists in using two sharp rollers bearings as the cutting blades.
A picture worths a lot of words ! So here is the final cutter.
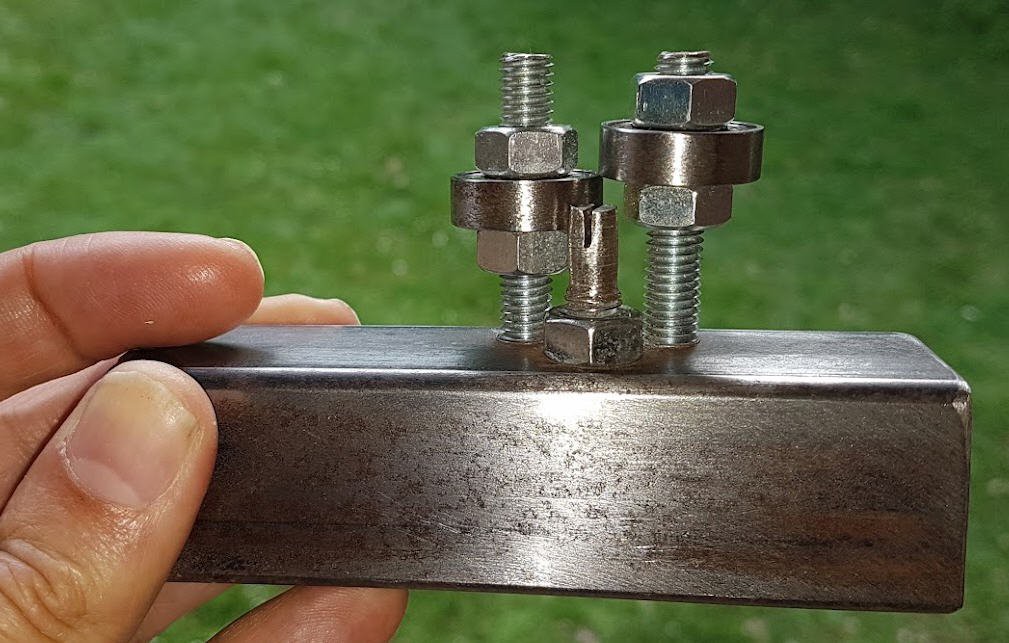
You just need to insert the "side" of the bottle into the small notch you see on the front "finger", it will be guided through the rollers and cut into a nice ribbon. See details in the "Using the bottle cutter" log
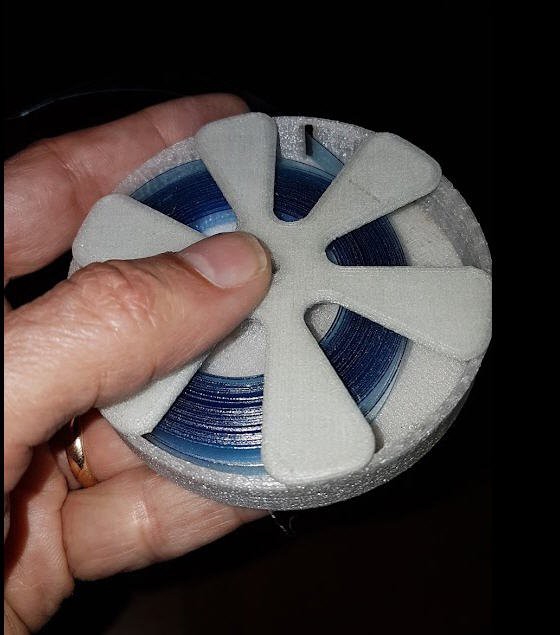
The ribbon, after manual winding, will be inserted into the spool holder, ready to go to the PullStruder machine !
From ribbon to filament
We enter now into the "high tech side of the force", we need a PullStruder machine !
And you will soon see that it can be built almost entirely from scrap !
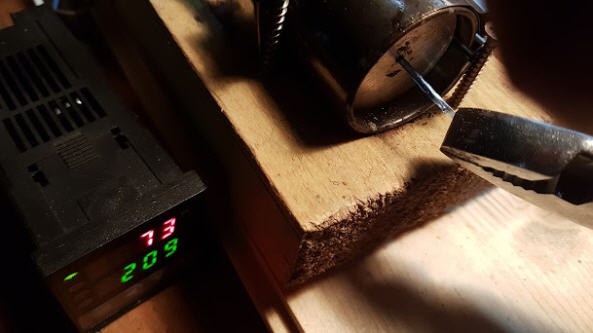
Here is the machine
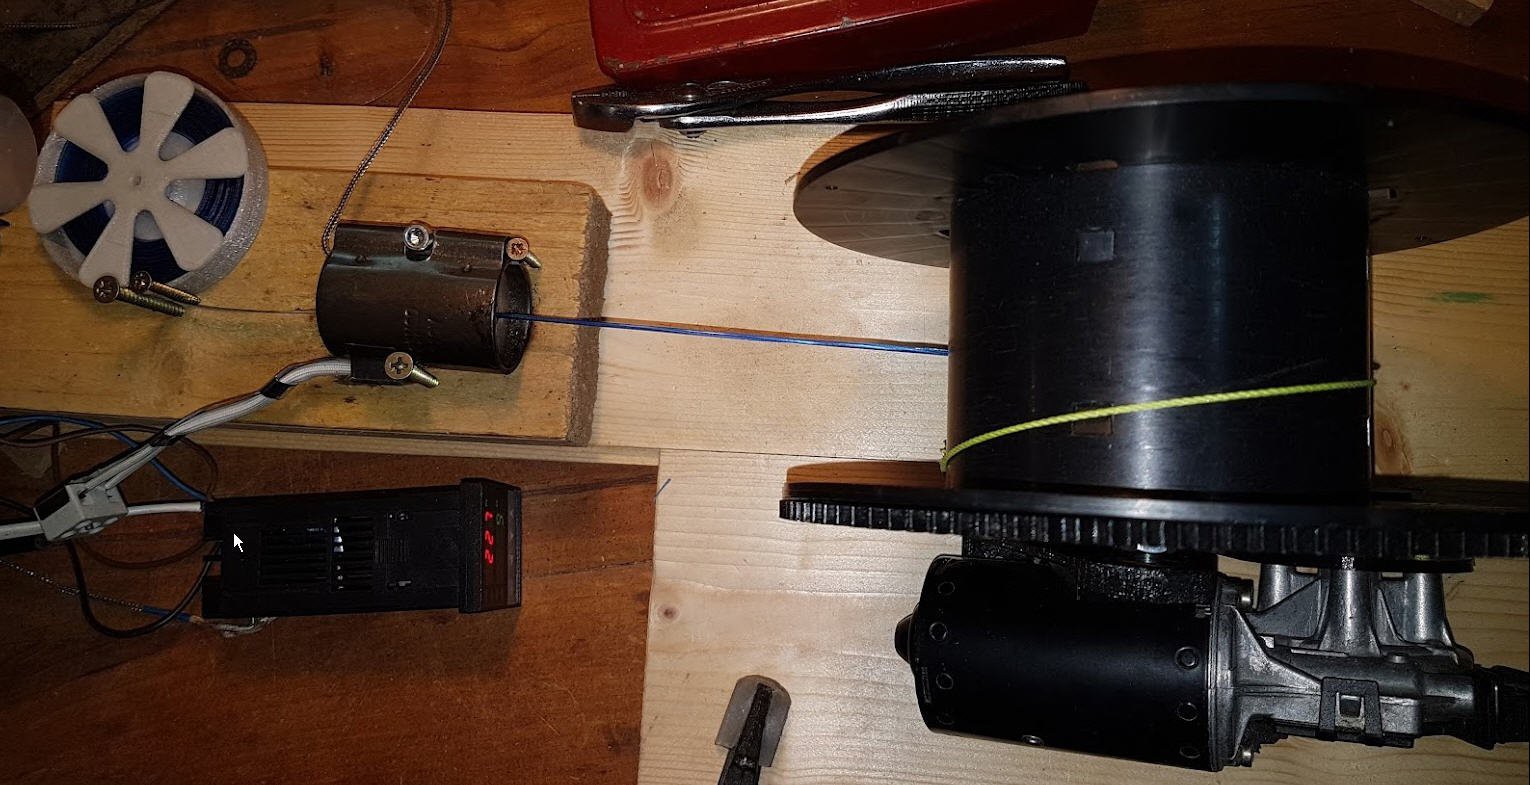
It is composed of (from left to right)
- a 3d printed spool holder
- a heater block into which is going the ribbon (scrap piece of aluminium)
- a pid controller to get a consistant 200°C on the heater block --> bought...
- a car wiper motor (scrap from my old car) + a 3d printed small gear
- a big spool (scrap from a filament roll) + big 3d printed gear
- and a PC ATX power supply (not visible on the picture but scrap from an old PC tower)
And that's it, no fan, no complex electronics nothing more than this !
This simplicity and this low price are the keys of this design. Even middle school children could do it (see this comment on my top video)

Furthermore, using a wiper motor will provide a lot of torque allowing to "PullStrude" your filament in less than 10 minutes.
But there are still some safety rules to respect and some guidelines to follow. Have a look at "building the PullStruder" log for details.
Now use the PullStruder
The hotend being cold and not powered, engage the tip of the filament into the big hole of the heat block. Pull gently to fix it into the hole. Now switch on the heater. The temperature will start to rize.
DO NOT TOUCH THE hotend
When temp will be between 30 and 50 pull again, with a pair of pliers to engage a little more of the filament.
Put in place the copper pipe but do not fix it.
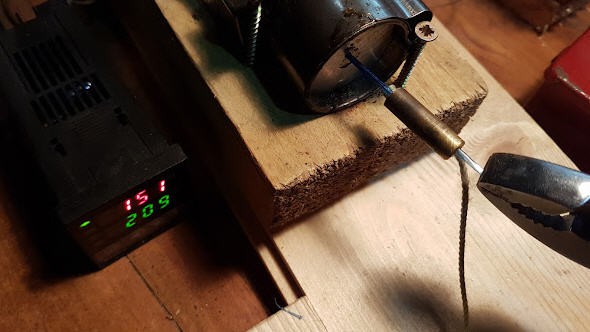
When temp will be around 130°C then pull again the ribbon to have it go into the copper pipe at its almost target diameter.
Bend the tip of the filament over the copper pipe.
Put the 3d printed clip in place.
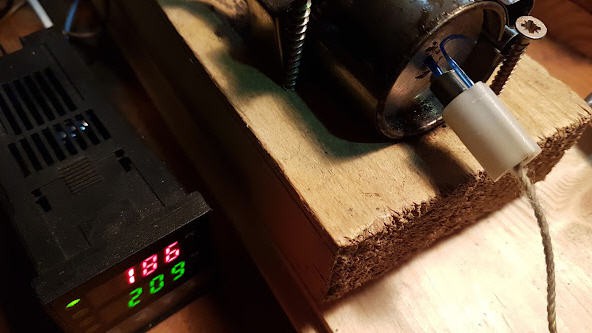
Wait for temperature to reach 195°C and start the wiper motor.
The pulling rope will tension and pull the filament through the hot end.
That’s it…
- wait for all the filament to go into the hot end,
- Switch off the wiper motor,
- Switch off the heat band.
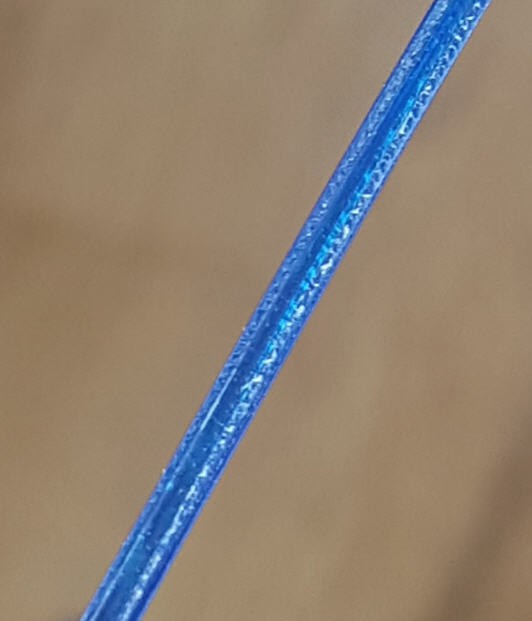
And you got your first 5m of PET shining filament.
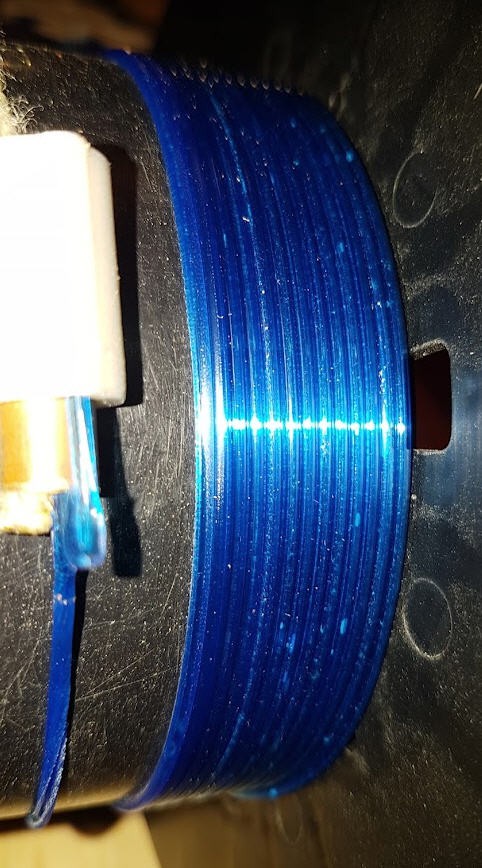
As you can see the filament is not a perfect circle, rather a "C" shape. But who cares if you can print with it ?
Is it worths Pullstruding filament ?
This is the question that I have been asked several times... Vaste of energy, beware of electricity bill, blabla...
So I have decided to measure everything and the result is :
- 1kg of bottle recycled PET filament costs 0.08 €
- yes 8 cts €
- 250 to 300 times cheaper than buying it !
You probably don't trust me ? So have a look at the filament cost log.
From filament to 3d printed part
Printing with your PET filament is almost as simple as printing with PETG.
A few things have to be known, refer to Printing PET filament log for details.
Basic settings are
- bed temperature 65°C
- nozzle temperature 268°C
- print on printer tape
- Use a filament run out sensor to be able to print multiple bottles on big parts
And if you want to print more than one single bottle ?
Printing with PET plastic bottle filament is limited by the lenght of the ribbon you can get from the bottle. It may vary between 5m for small bottles to more than 10 m for bigger ones.
However this is not enough to print "big" parts. And "big" is not that big... The Hackaday's logo above needs two bottles to be printed... and it is quite small.
So I investigated two different ways to get rid of this single bottle limitation:
- the "hadware" solution
- the "software" solution
The hardware solution
The hardware solution consists in fusing several filaments into a single one. This solution works quite well and is explained into the "fusing two filaments into a longer one" log.
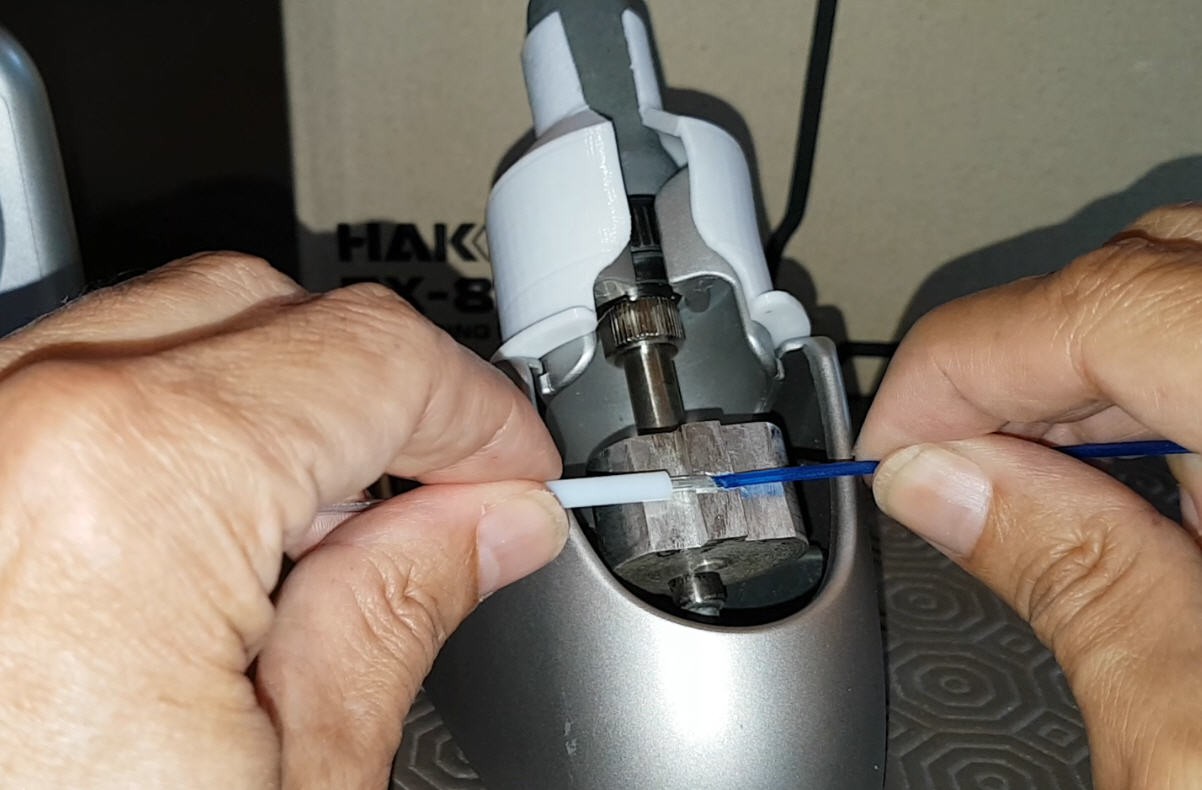
Although this solution works rather well, I found it quite time consuming, and I wanted something more straight forward and easy to use.
The software solution
This solution is really the best one: Just add a filament RunOut sensor to your printer. When the filament is over, the sensordetects it, the print is paused and the printer waits for a new filament to be inserted.
As simple as this!
My Prusa i3 mk2s was not equiped witht htis sensor, here is how you can add it.

Adding "PET" filament to Prusa firmware
The last "touch of class" would be to have default preheating working for PET filament.
This can be done very easily with a simple firmware modification!
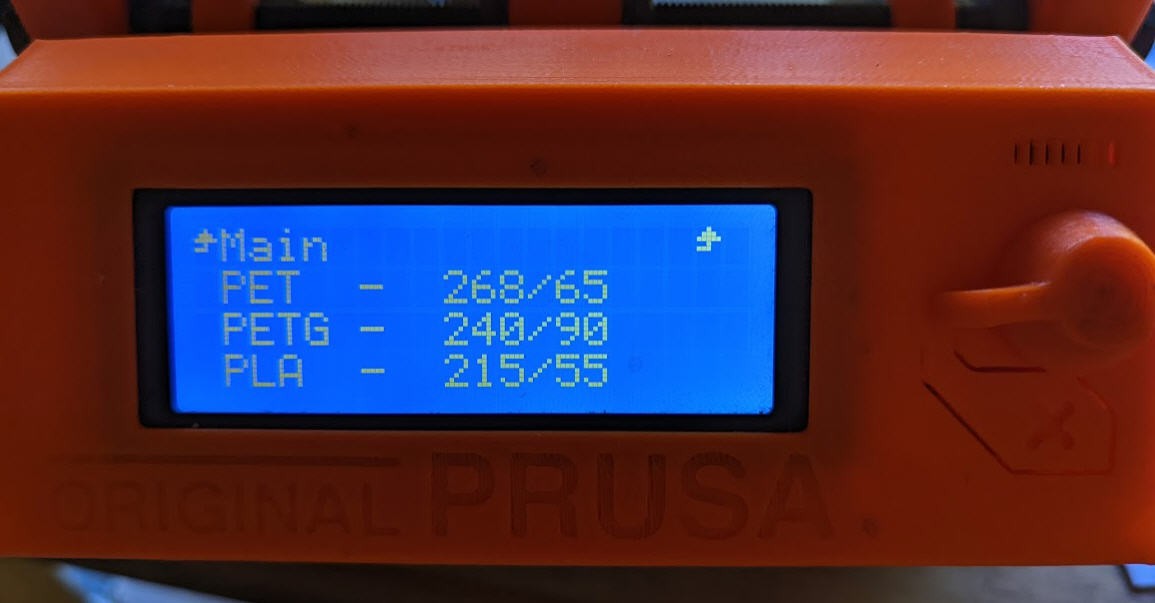
Now you can choose PET prehating as well as PLA or PETG !
Detecting the end of ribbon
As I am lazy, I wanted the system to automatically switch off when the ribbon is off the pullstruder (or if it breaks by accident). This would be a great operationnal improvement as well as a safety feature.
I imagined quite complex solutions to finally go on with the "KISS" principles (Keep It Stupid and Simple).
I just added a switch paddle which cuts the power whenever the ribbon is at the end.
And here is the result.
Appreciate the slow motion effect when ribbon is going off the the pullstruder!
Full details added into the detection of end of ribbon log.
A few words of conclusion
- Building a PullStruder machine is really a simple process
- Pullstruder filament is extremly cheap compared to buying a full spool of PETG
- Printing requires to follow simple steps, quality is very good although under regular filament one
- Printed parts are strong, very strong, much stronger than any other filament
So I would advise to use this filament for mechanical parts, to repair broken parts, to make boxes... but not for high quality figurines or any other piece of art !
My latest advice is to print with 0.6mm nozzle. It can cope with small irregularities into the filament diameter and will not clog. Furthermore, print time will be much smaller !
Currently I almost exclusively use PET filament for my designs. It's very satisfying to reuse plastic bottles instead of throwing them into the trash...
Licenses
Unless otherwise stated, all works presented here that are not based on software/code are subject to the Creative Common Attribution license .
The complete legal text can be found here
Unless otherwise stated, all software/code-based works presented here are subject to the GNU General Public License v3.0
The complete legal text can be found here