 ElectroBoy
There are a lot of microcontrollers available these days. But AVR RISC based microcontrollers are fulfilling the needs of new hobbyists. Arduino released by them is the very big achievement. But due to chip shortage the price of AVR chips is too much high, even the stock is no more in the online market.
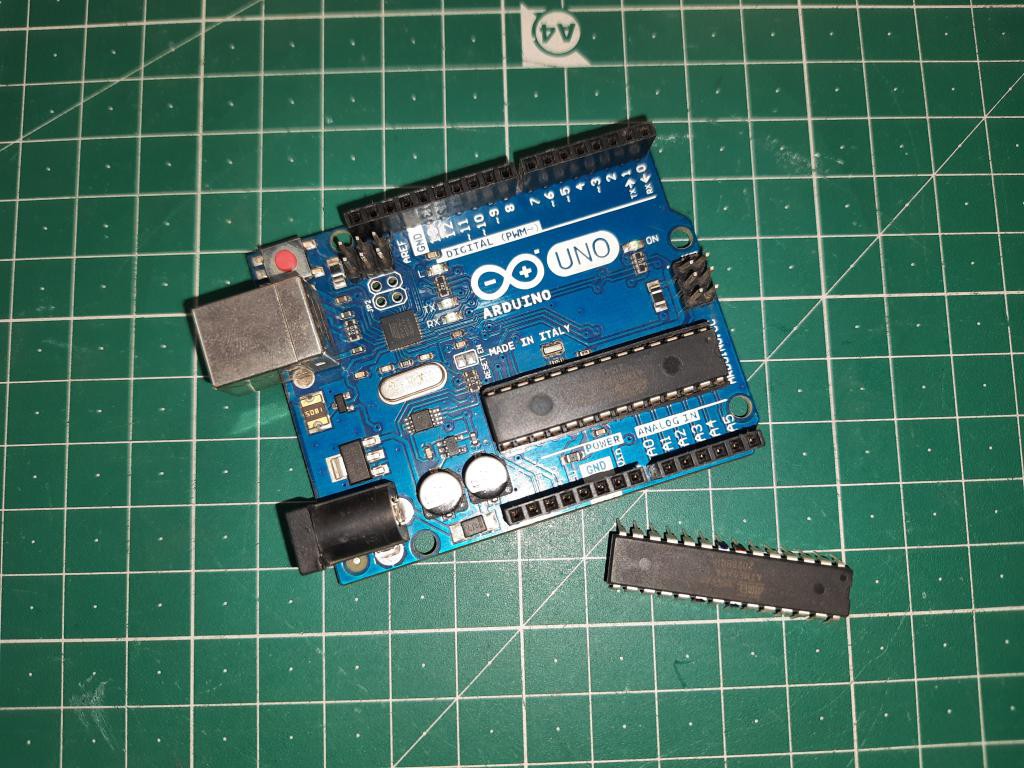
Now this thing mostly applicable to the Arduinos ATMEGA328P and today we are here to get a reliable alternative to this microcontroller. And we will design a development board using JLCPCB prototype service for this MCU.
ATmega8 specs:

The ATmega8 provides the following features: 8 Kbytes of In-System Programmable Flash with Read-While-Write capabilities, 512 bytes of EEPROM, 1 Kbyte of SRAM, 23 general purpose I/O lines, 32 general purpose working registers, three flexible Timer/Counters with compare modes, internal and external interrupts.
Basic circuit of atmega8:
This is the minimal circuit of atmega8, We need a 16MHz crystal with 22pf capacitor on the clock pins. 10k resistor between reset and +5v pin.
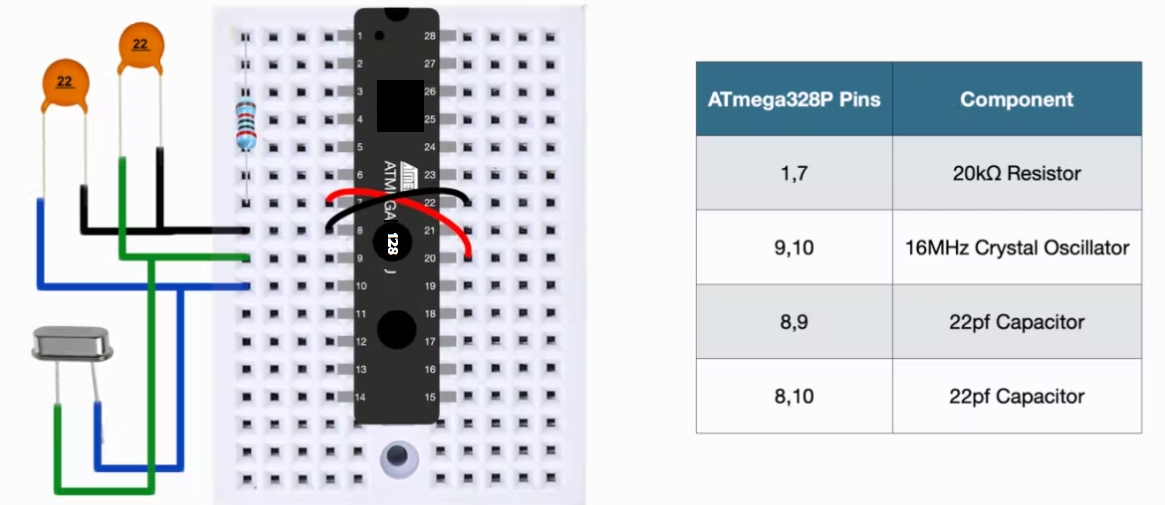
And then power connections, atmega8 is rated 3.7v -5.5volts.
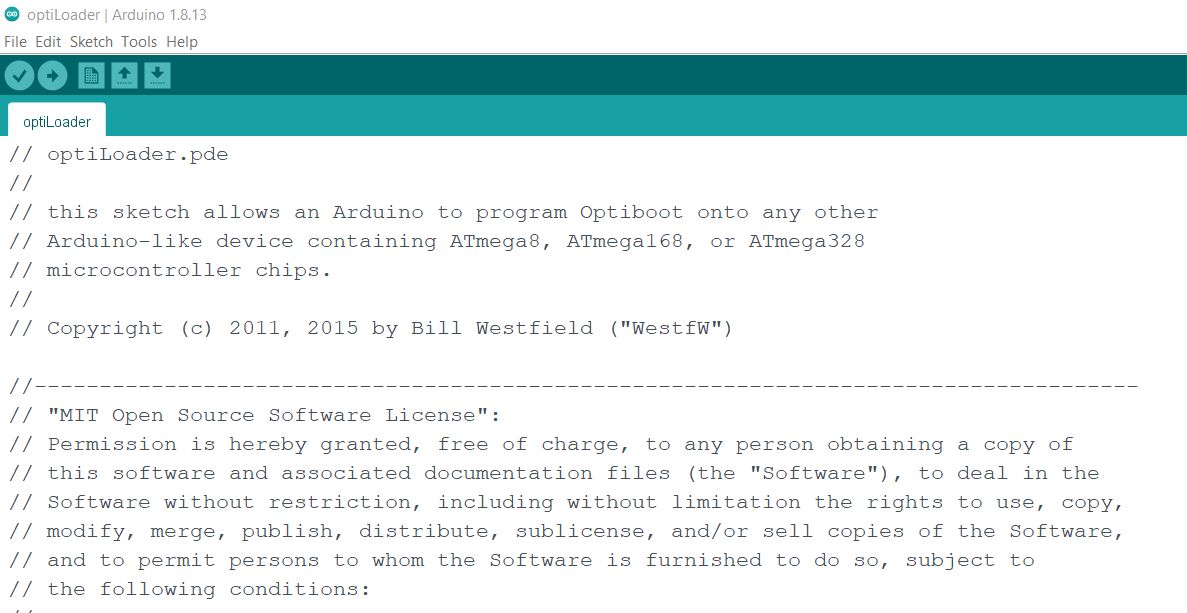
Burning bootloader:
Download the Opti-loader code from here, then open this in Arduino IDE.
Make the connection of chip with Arduino Uno to burn the bootloader of atmega8.
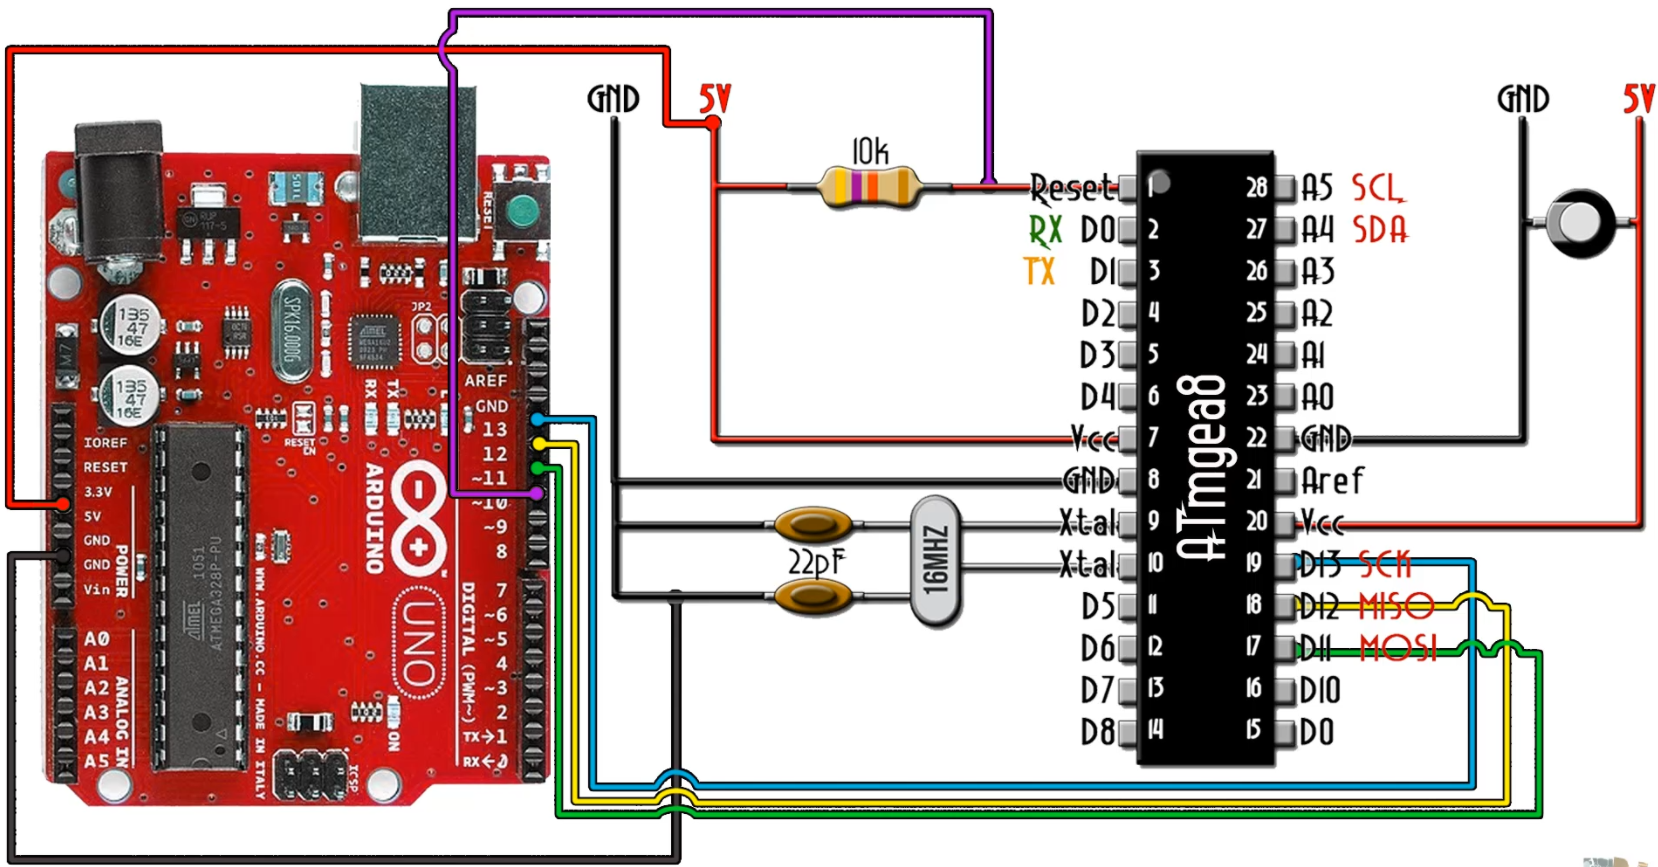
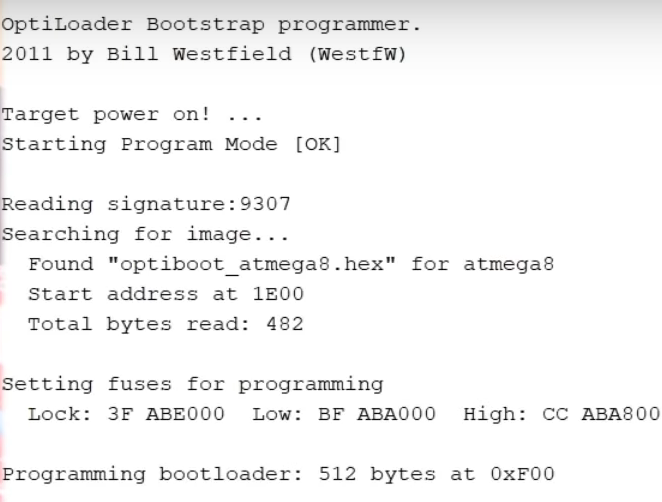
Upload the Opti-loader code to the Arduino. This will burn the bootloader to atmega8.Don't forget to check the successful bootloader message in serial monitor.
Uploading first sketch:
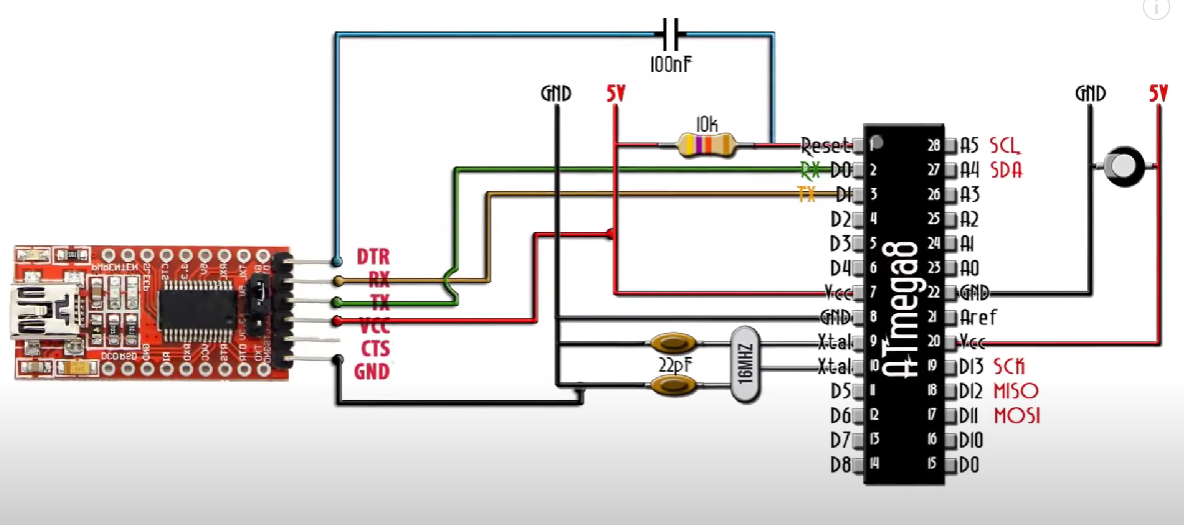
Connect Atmega8 with FTDI or CH340g programming board using this schematics here. If you want to know more about CH340g then follow this article.
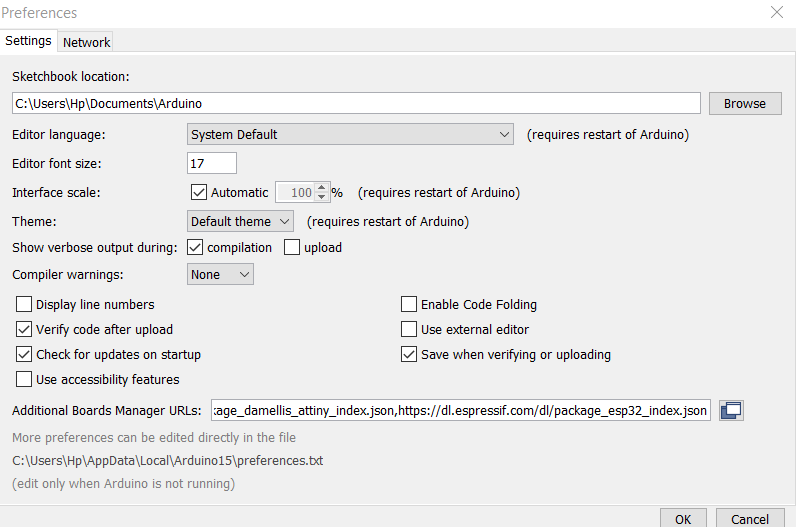
Open Arduino IDE and paste this json link in the preference section under files menu. If there is any existing link then add a comma and then paste this link. https://mcudude.github.io/MiniCore/package_MCUdude_MiniCore_index.json
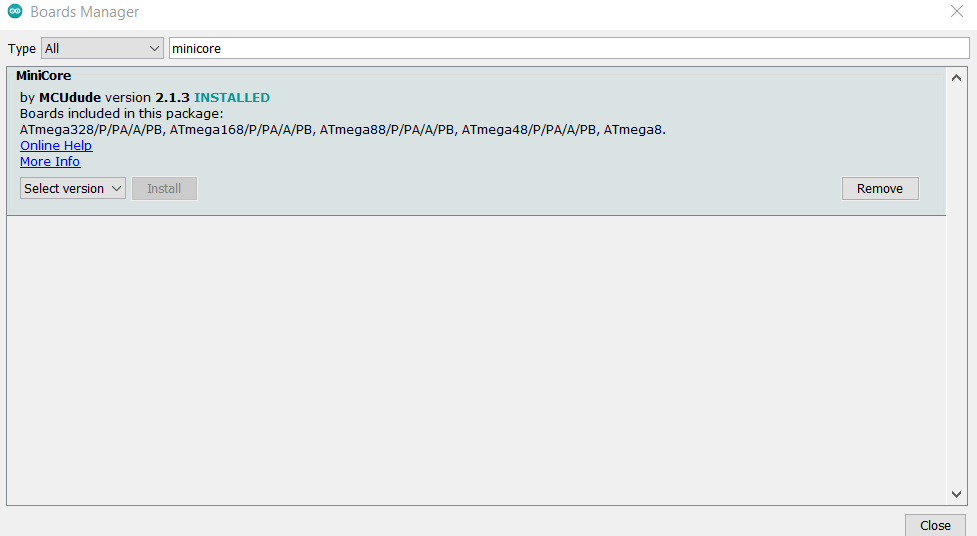
Download the Mini core boards from the board manager under tools menu.
Then upload the code by selecting the correct port and programmer as AVR ISP.
I used to upload blink program, when working first time with any new microcontroller. Because this is easy, understandable and visible to user, and a easy way to check bootloader operation.
// the setup function runs once when you press reset or power the board
void setup() {
  // initialize digital pin LED_BUILTIN as an output.
  pinMode(LED_BUILTIN, OUTPUT);
}

// the loop function runs over and over again forever
void loop() {
  digitalWrite(LED_BUILTIN, HIGH);   // turn the LED on (HIGH is the voltage level)
  delay(1000);                       // wait for a second
  digitalWrite(LED_BUILTIN, LOW);    // turn the LED off by making the voltage LOW
  delay(1000);                       // wait for a second
}
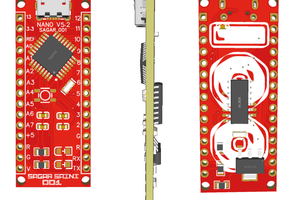
ATmega8 Ready development board:
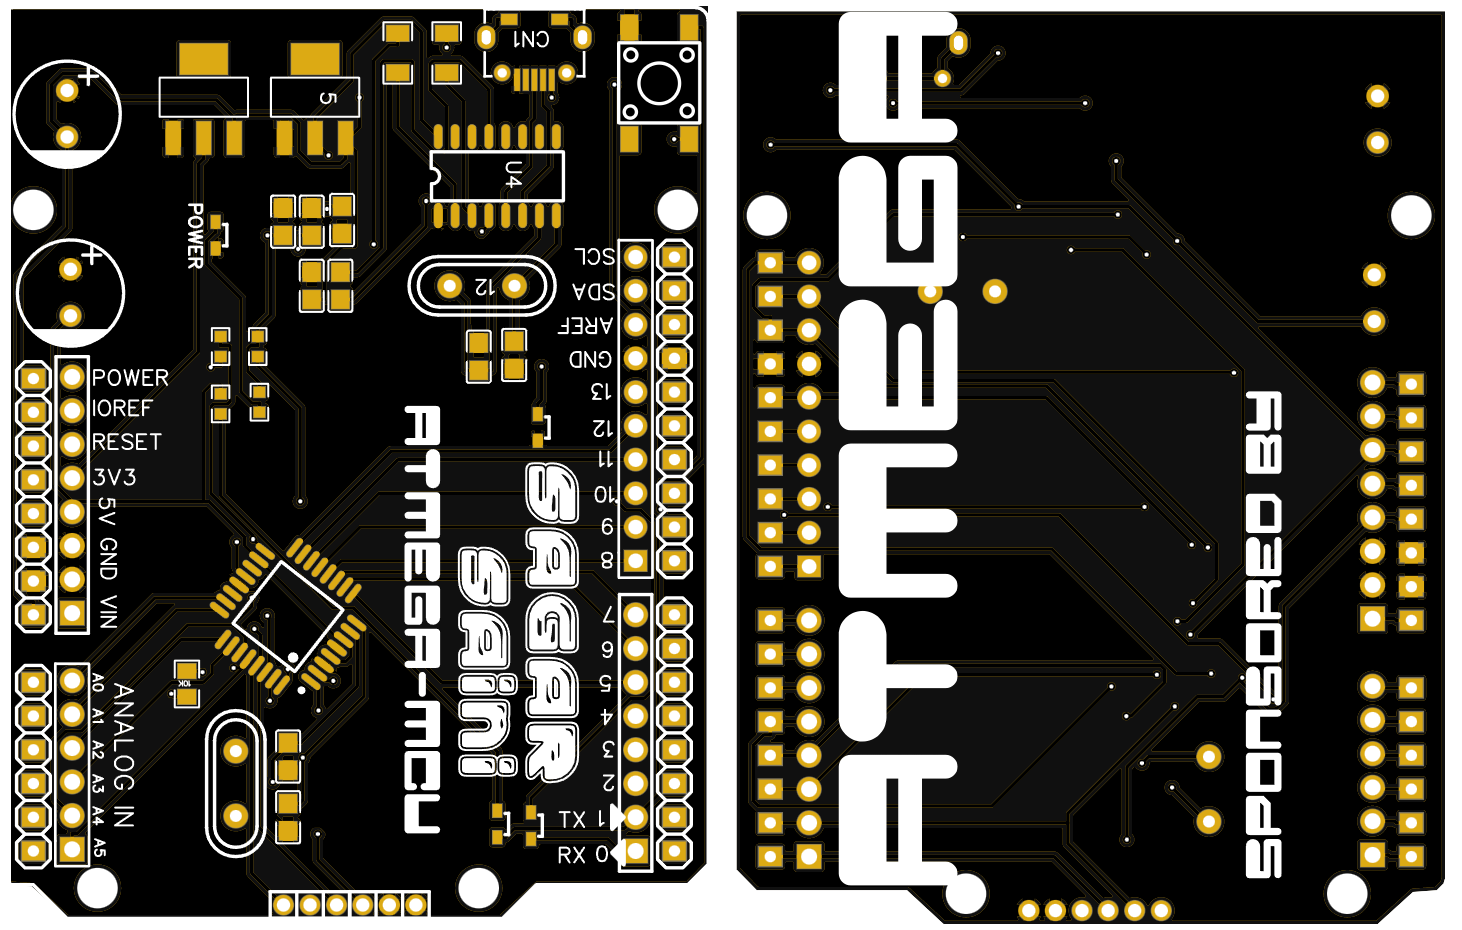
Because of pin compatibility and internal architecture, Atmega8 can be used in Arduino Uno boards without any change. But keep the flash and interrupts limitations in mind.

I designed some Arduino Uno clone boards, I think they are perfect for atmega8. You can see full article on How to make Arduino Uno clone boards from here.
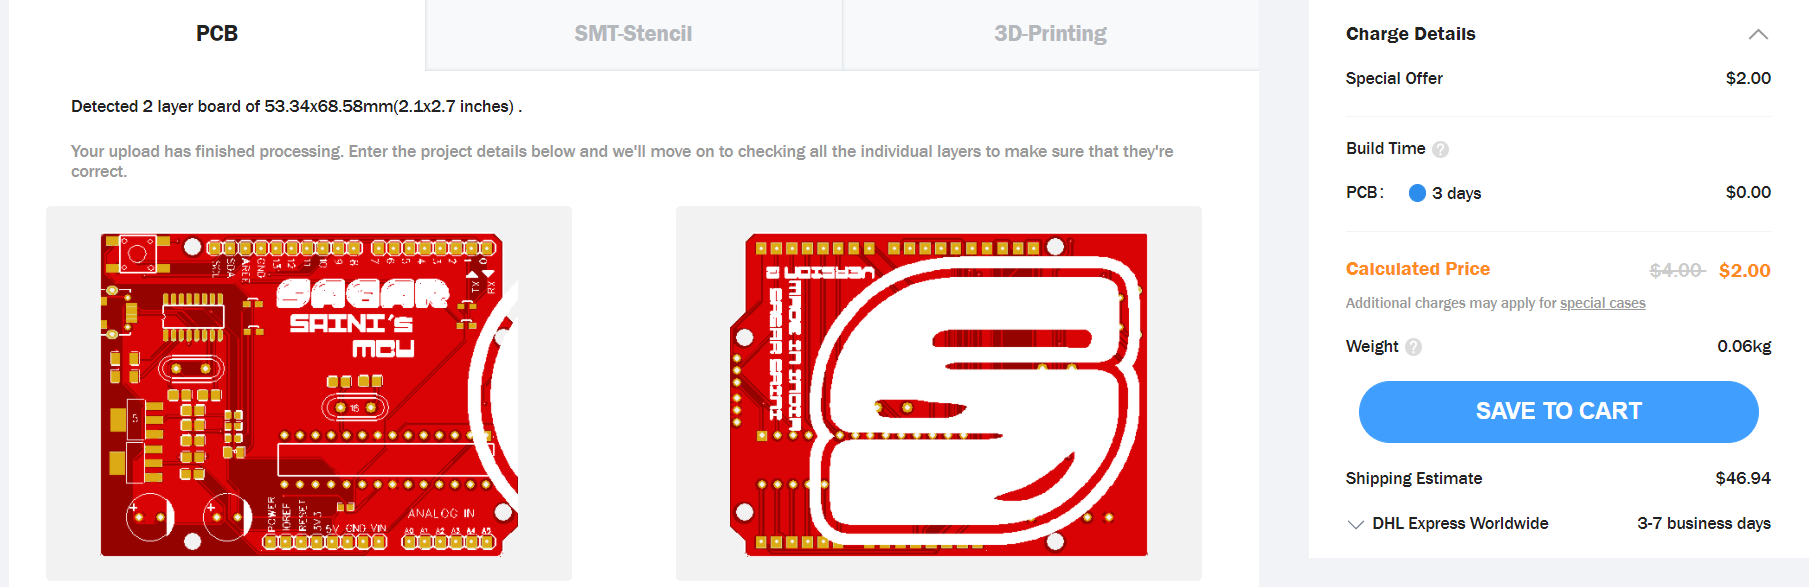
I designed these Arduino boards in EasyEDA and ordered 2 pairs of different designs from JLCPCB. I am using JLCPCB PCB prototype service since 2021 and I think JLCPCB is the only pcb manufacturer providing cheapest and best PCBs. You will get 5 pcs of quality boards just in $2. And if you sign-up using this link you will get free coupons of worth $30. Checkout to JLCPCB now and get amazing discounts on first order.
Working:
We can use this chip in Arduino microcontroller after burning the bootloader. For small tasks and mini projects this is the best alternative from AVR.
 Sagar 001
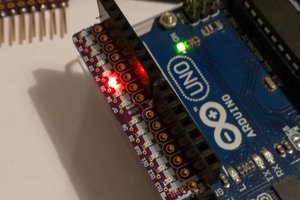
 Owl Labs
 DIY GUY Chris
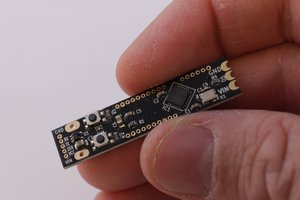
 danjhamer