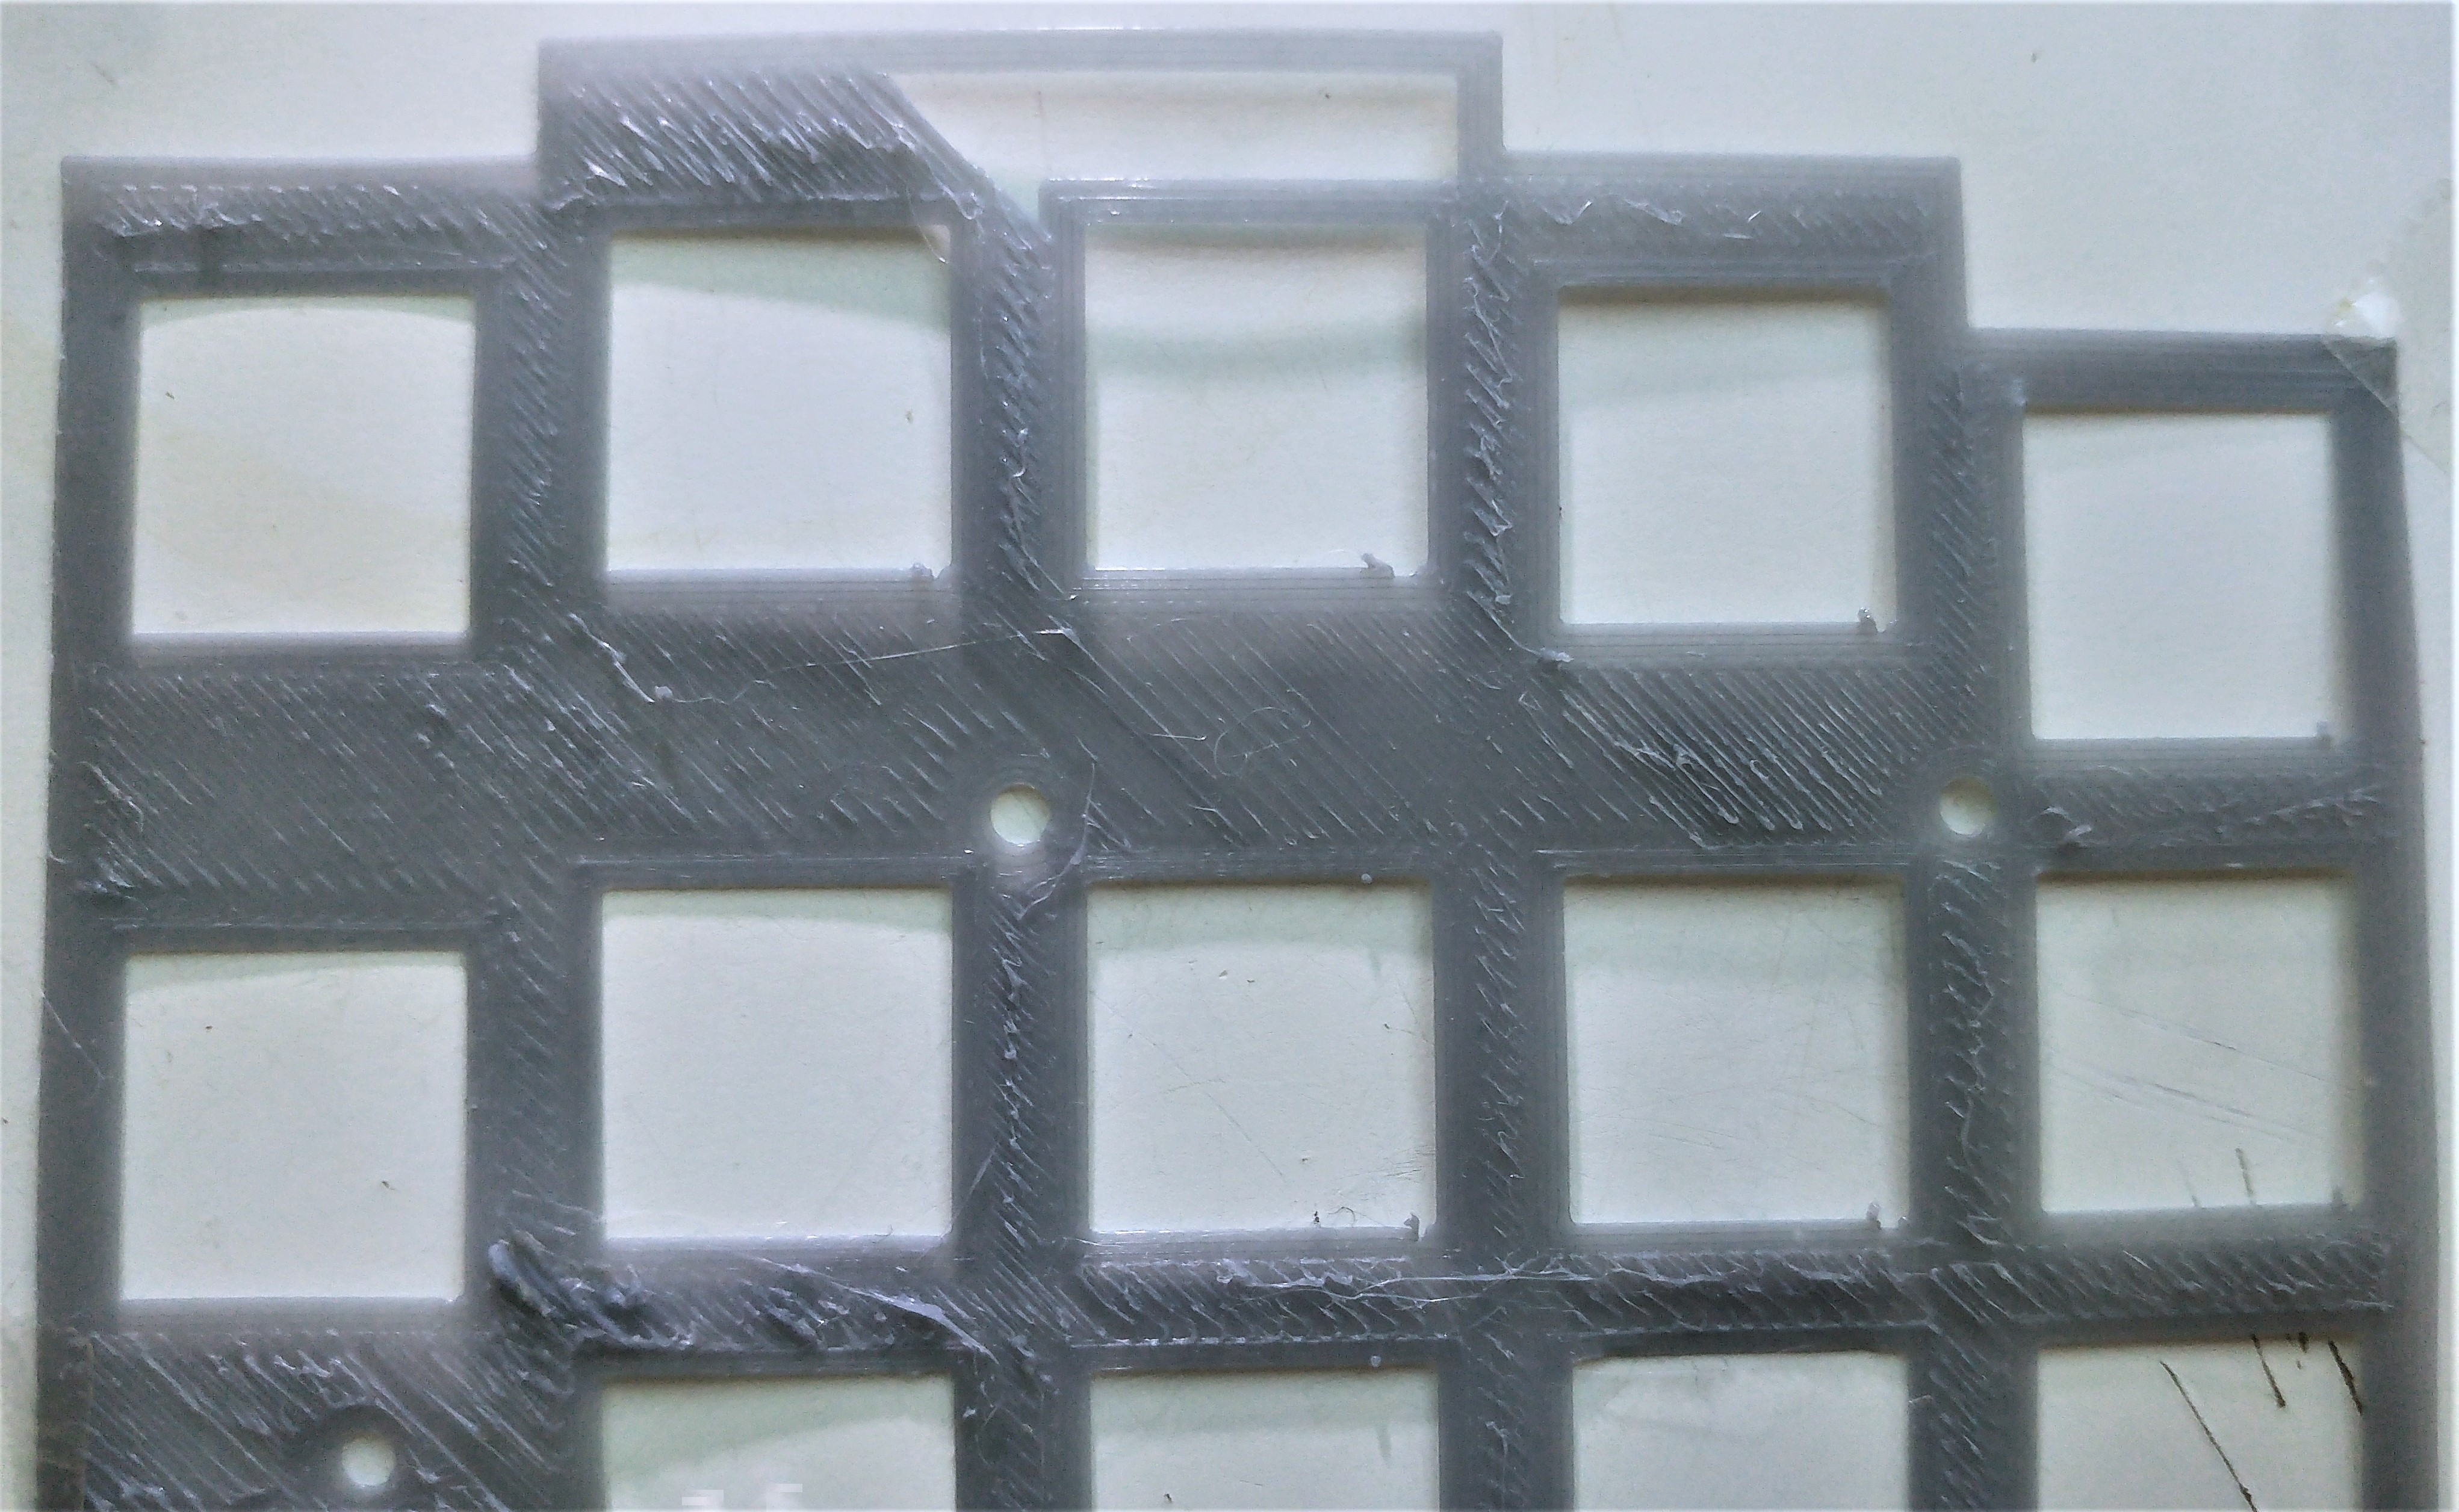
The plate of the keyboard is printed flat on the print bed. And because of its size, I have to position it diagonally within my 300×300 mm print area. While I never had problems with bed levelling when printing smaller parts, this one turned out to be quite a challenge. It made me check printer settings I've never thought of before.
Straighten Printer Assembly
The initial assembly of the printer mainly involved mounting the gantry to the base frame. But since test prints at that time looked fine, I didn't pay much more attention to the assembly accuracy.
The fine-tuning for the plate print started with the levelling of the X-axis. I followed Method 1 of the official service tutorial. But before tightening the eccentric nuts along the vertical tracks, I also ensured that the two Z-axes run in parallel. After measuring the distance between the two vertical gantry posts near the top, I brought the extruder to its maximum height. The same distance was then set near the bottom, before bolting it down to the base frame again. Contrary to the Creality troubleshooting tutorial (part 1), I tightened the eccentric nuts quite firmly, so they can barely be turned by hand. The same goes for the eccentric nuts on the X-axis, since the auto bed levelling relies on all axes being rigid.
For the Y-axis, I roughly followed a video and first loosened the middle pulleys under the print bed on both sides. The two outer nuts on the right side should then be tightened to remove any play of the print bed. Ensure that there is no wiggle over the whole range of motion of the Y-axis. After that, I tightened the middle pulleys on both sides to the same degree as the other four, so each of them touches the rails at all times. Lastly, I also tried to straighten out the rails by loosening the middle bolts as suggested in the video. But since my extrusions don't seem to actually be straight, I had to forcefully bent them outwards and holt them in place using the bolts in the middle.
Z-Axis Compensation
After successfully levelling the print bed, I faced another problem. While printing the first layer, ripples formed as if the extruded filament is pushed around by the nozzle.
A helpful forum post confirmed my suspicion that the nozzle is too close to the print bed. The problem was resolved by increasing the Initial Layer Height and therefore the clearance of the nozzle. I didn't make any changes to this parameter.
The post also mentioned the friction of the levelling card, which corresponds to the Z-Axis Compensation on the printer. That is a fixed offset for the nozzle height. The dilemma: increasing it will get rid of the ripples, but might lead to bad adhesion of the filament to the bed. The best solution for me is to
- Take a piece of paper and lower the Z-axis until there is some drag
- Move the print head to confirm that there is only small amount of drag at different points within the print area (increase offset if necessary)
- Increase Z-axis compensation by an additional 0.04 mm
Applying glue stick to the print area helped to hold the first extrusion lines in place. In the slicer, the Printing Temperature Initial Layer can also be increased by 5 deg for better adhesion.
Discussions
Become a Hackaday.io Member
Create an account to leave a comment. Already have an account? Log In.