 Joseph Marlin
My cats are little buggers, so I need to ensure that this cat feeder is secure. There is a big opening at the top of the hopper where food is added, and that is a big giant vulnerable area for hungry cats to attack. Illustrated below is what I mean by this - the diamond shaped top of the hopper opens up on a hinge to allow food to be added to the hopper.
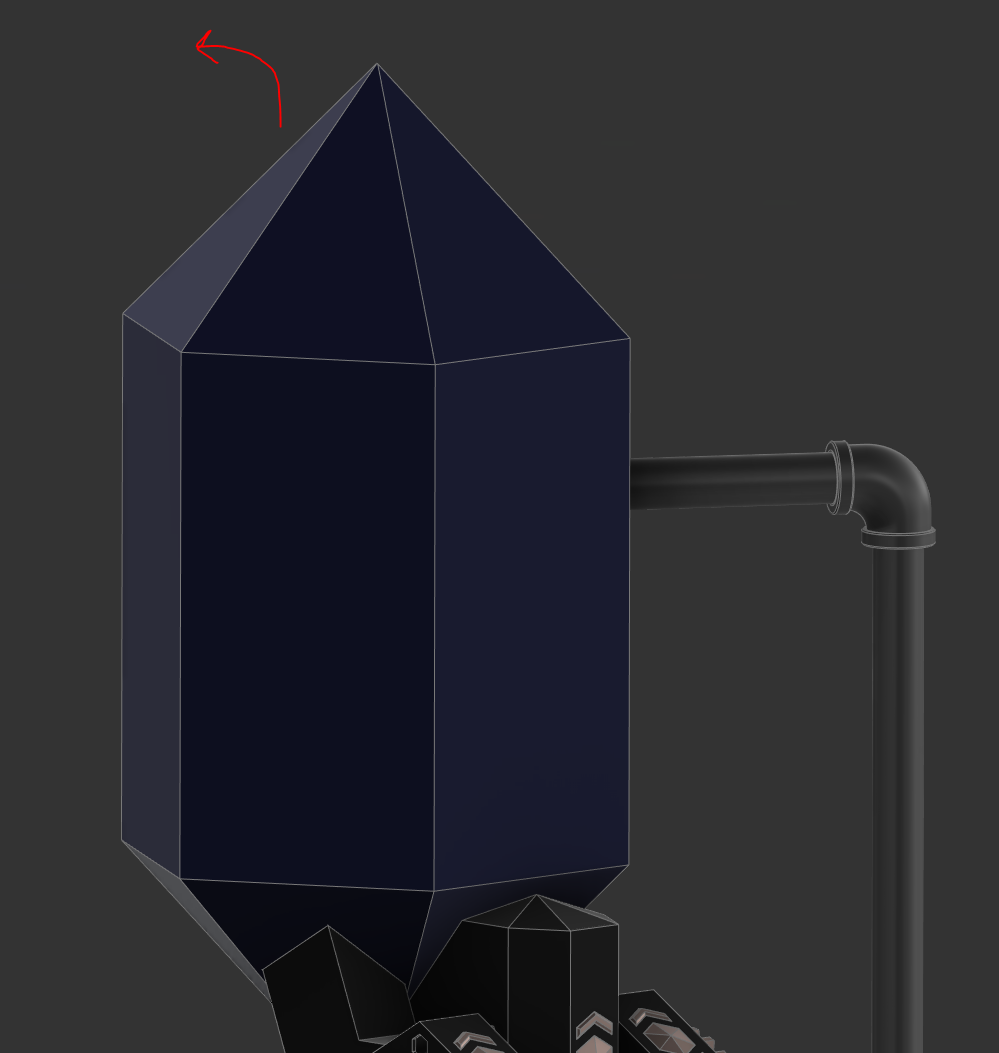
I am looking to avoid big ugly locking mechanisms though, so I thought I would try adding embedded magnetics into the build. This was my first time attempting to add something to a print mid-build.
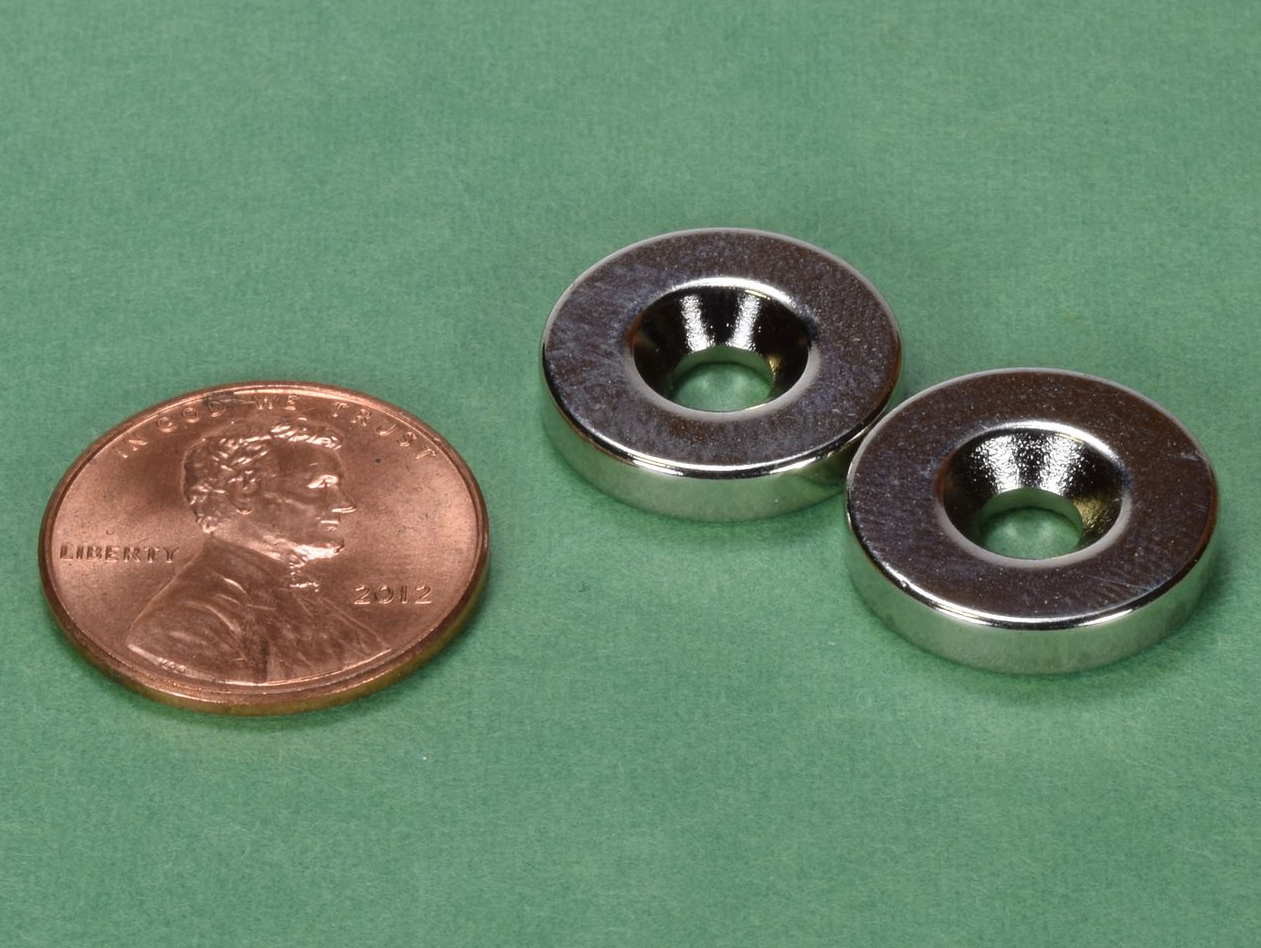
So, I bought these small button magnets from Amazon.
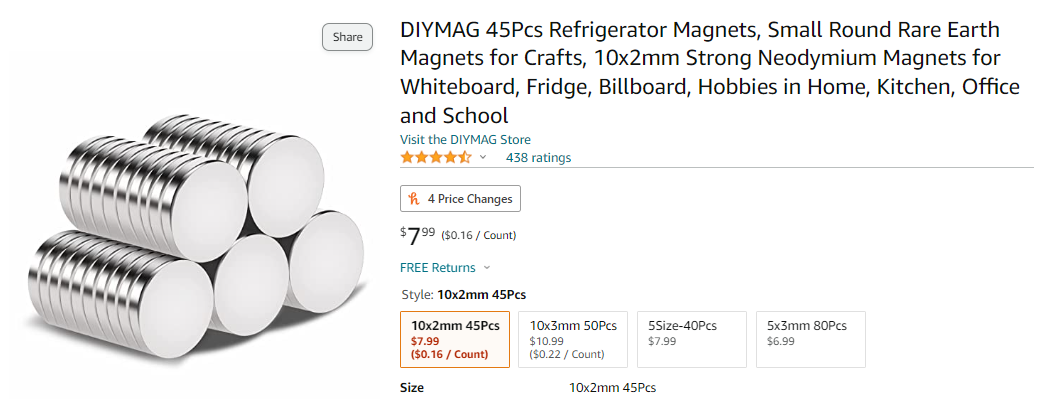
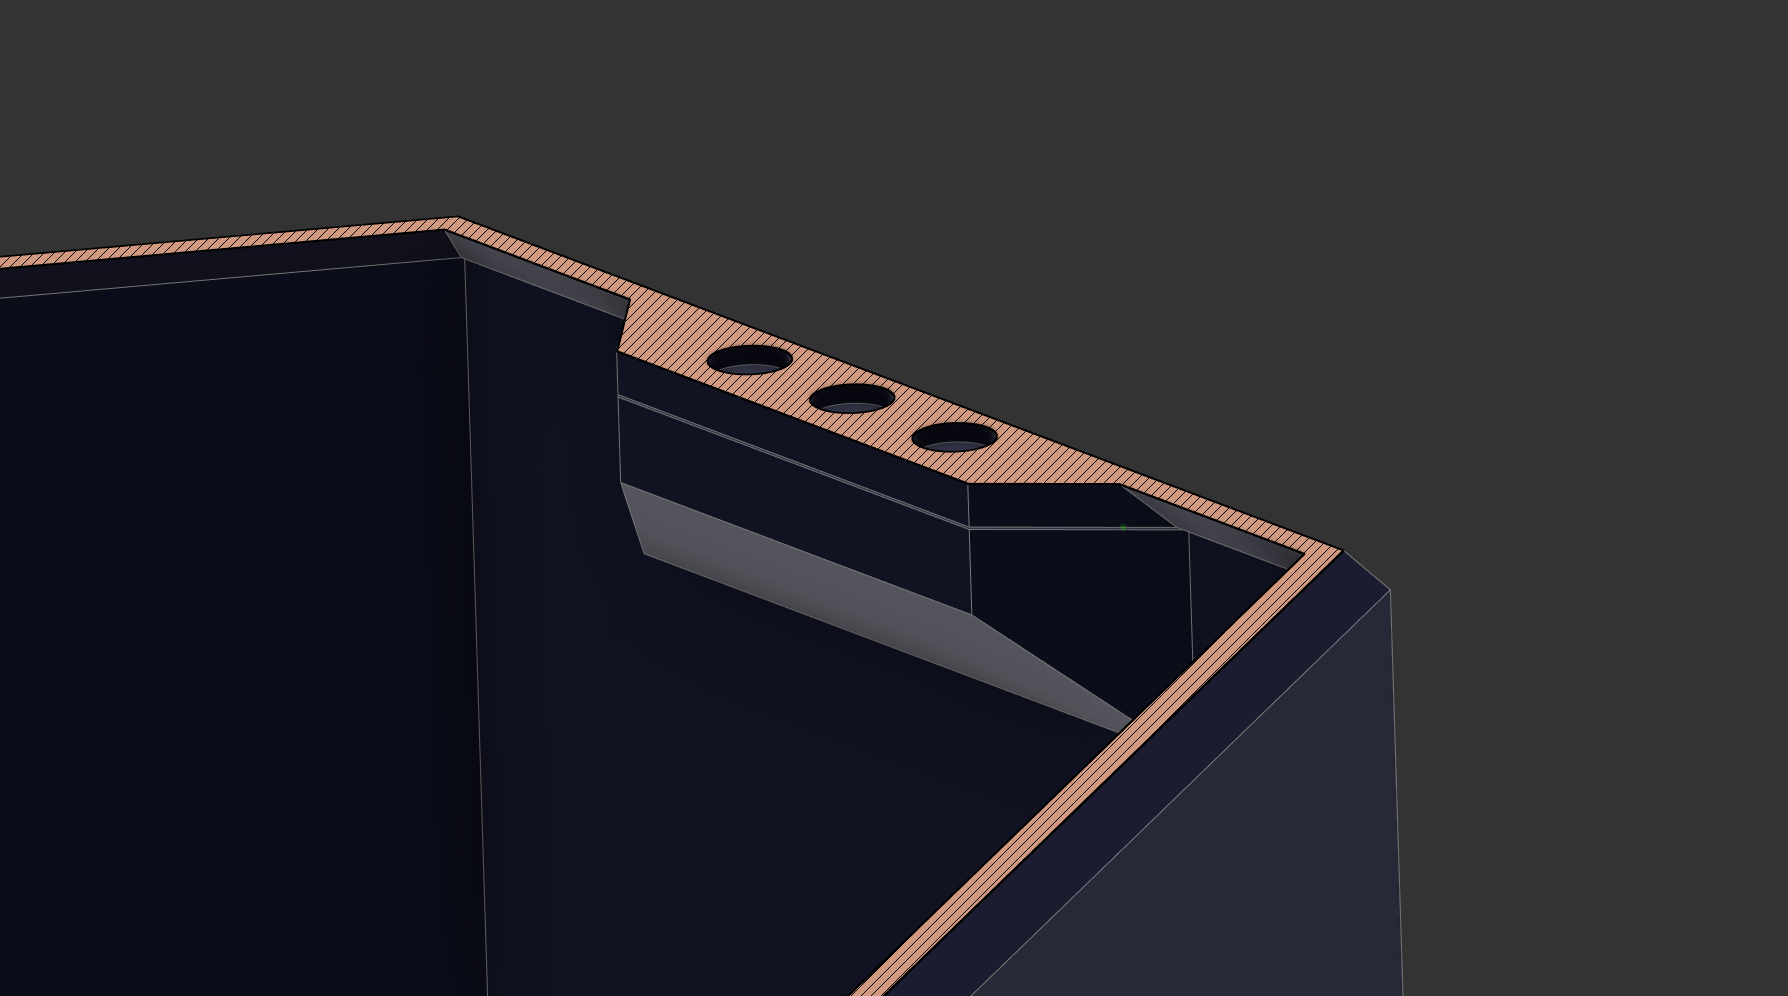
They seemed quite strong, so I decided to arbitrarily start with three and experiment to see if more were needed. I made little pockets for them in the interface where the lid of the enclosure. I added three to the lid and three to the hopper base. Below are illustrated the three pockets in the hopper lid.
Next, I printed a test. I sliced in Cura and added a pause at the layer just before the pockets get covered up and embedded.
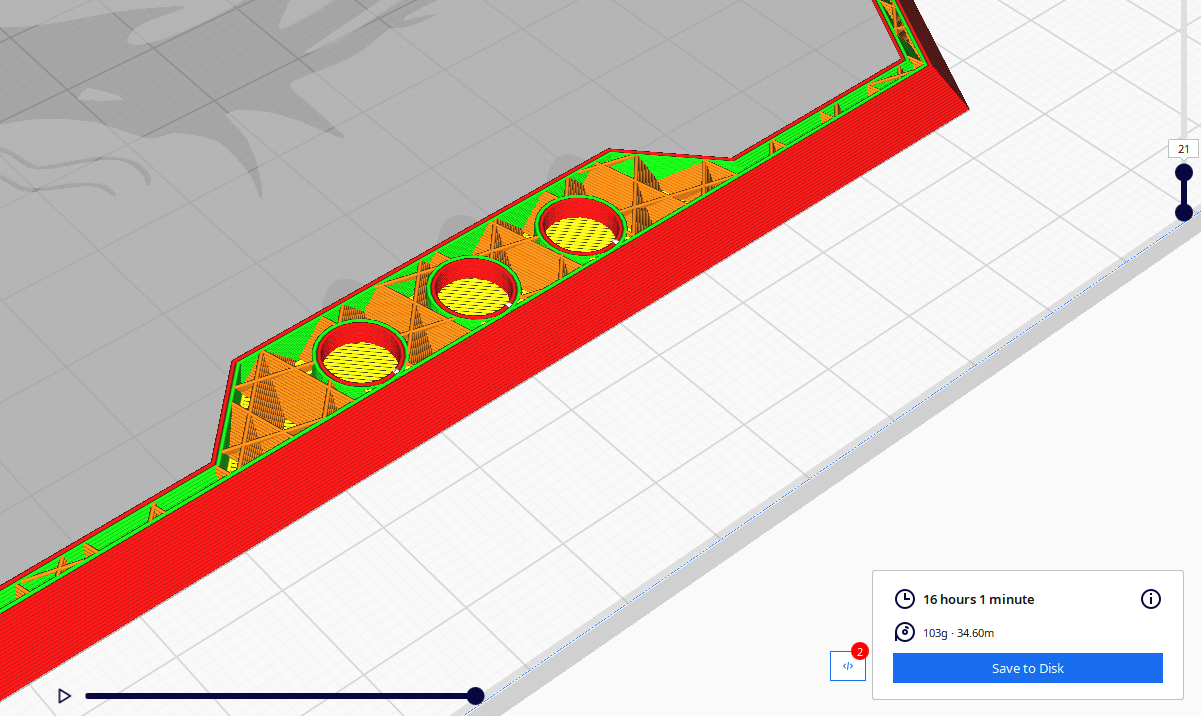
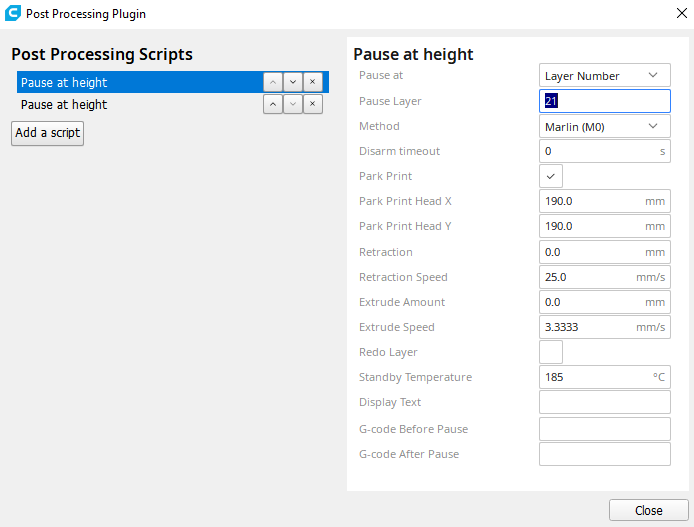
This means that after layer 21, the print will pause using the "M0" gcode command (which OctoPi will actually intercept and use its own built-in pause feature), and then when the magnets have been inserted into the pockets, you may can resume the print.
There was a critical issue with this. Upon trying it the first time, I found that I was unable to insert the magnets without accidentally bumping the print bed. This meant that while the magnets were successfully installed, resuming the print resulted in an offset print, and it failed.
After some research I was not able to come up with straightforward way of locking the steppers. I did see someone online recommend attempting to simply move the bed slowly back and forth while working on it. This would keep the steppers engaged and ensure that some very slight force from my hands would not shift the bed.
I executed this with the below gcode:
M83 ; switch to relative E values for any needed retraction
G1 F300 Z5.2 ; move up a millimeter to get out of the way
G1 F9000 X190 Y190
G1 F300 Z15 ; too close to bed--move to at least 15mm
M104 S185 ; standby temperature
M0 ; Do the actual pause
G91
G0 Y-60 F60
G0 Y60 F60
G0 Y-60 F60
G0 Y60 F60
G0 Y-60 F60
G0 Y60 F60
G0 Y-60 F60
G0 Y60 F60
G0 Y-60 F60
G0 Y60 F60
G90
M109 S185 ; resume temperature
G1 F300 Z4.2
G1 F9000 X26.843 Y73.019
G1 F300 Z4.2 ; move back down to resume height
G1 F1500 ; restore extrusion feedrate
M82 ; switch back to absolute E values
G92 E2748.70151
;LAYER:20
After the "M0" pause command, I then resumed the print, and the bed began slowly moving back and forth for about five minutes. I tried this and it worked like a charm, allowing me to install the magnets and then resume the print, resulting in them being embedded in the print.
The other issue was that due to the high strength-mass ratio of these magnets, they kept jumping out of their pockets to stick to each other before they could get encased. (At least they didn't stick to the nozzle!)
This was easily fixed with a tiny bit of super glue when inserting into the pocket.
Finally, both the top and bottom were printed - time to test the magnets.
Sadly, the result was extremely disappointing. Due to the 0.4mm of distance between the magnets (0.2mm) for each side, the magnetic force attracting the lid to the hopper was almost undetectable. I estimate it required only about a quarter pound of force to separate the lid from the hopper.
My cats let nothing stand between them and food, so this simply will not do.
Thankfully, I met someone at this years Hackaday Supercon who recommended I check out K+J Magnetics, which sells magnetic rings with a hole for a flat-head countersink screw.
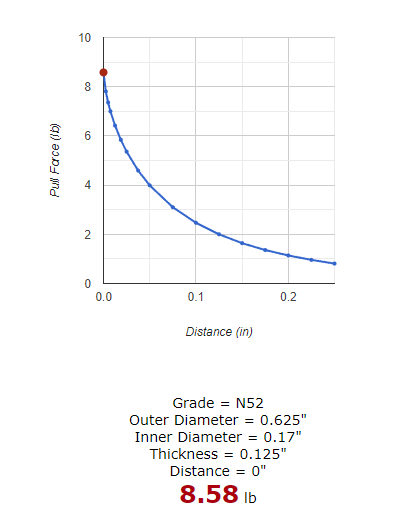
I purchased two pairs of RA22CS-P-N52. Thanks to the countersinking ability, these should be way easier to install too, not requiring any print pausing!
According to their excellent data, should each provide over eight pounds for force against opening the hopper. Combined, that is 17lbs of force, which I'm cautiously optimistic is more than my cats can bench.
I'll report back when I receive the magnets, redesign the interface, and test the force.
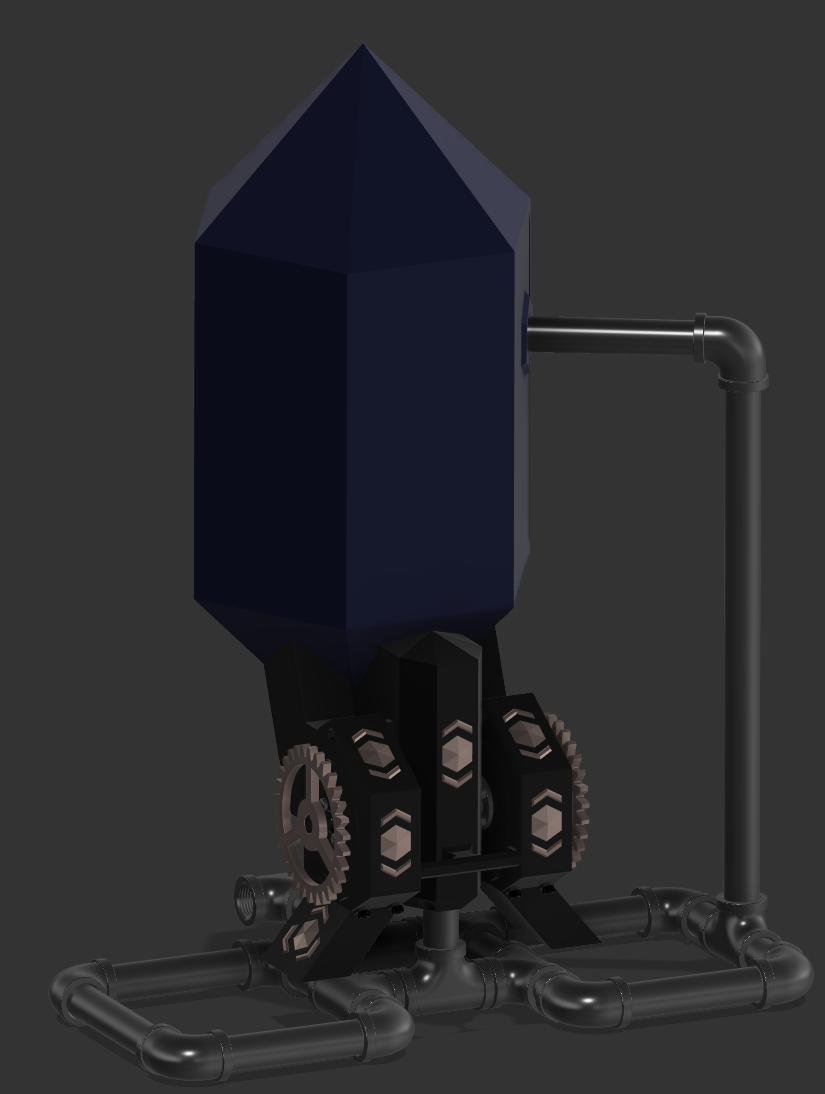
Lastly, since you made it this far, here's a picture of the currently planned feeder - now with 34% more steampunk!
Discussions
Become a Hackaday.io Member
Create an account to leave a comment. Already have an account? Log In.