 blorgggg
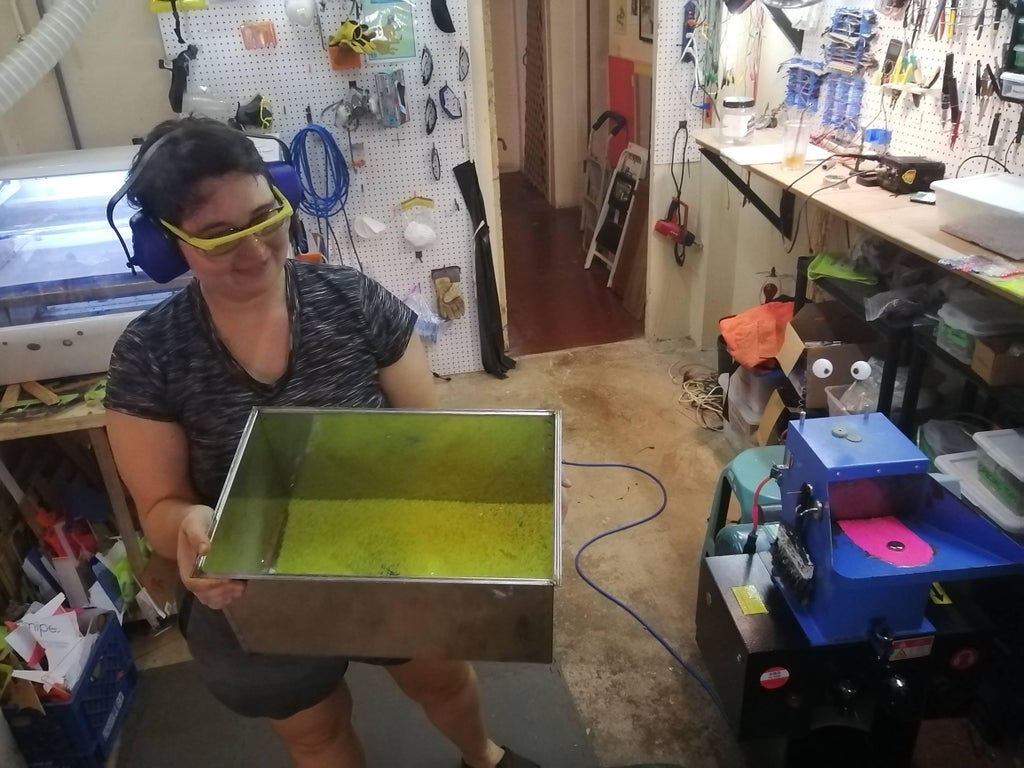
Most folks who have a laser cutter have a big pile of acrylic scraps laying around that eventually get thrown away. BUT! You can actually fuse these pieces back together and make new sheets for cutting!
At our little lab in the rainforest (www.dinalab.net), we have limited access to resources. So we have been upcyclingas much material as possible for prototyping and making art. So we recycle a lot of plastic from the community as well as cardboard for things like laser cutting or 3D printing.
Challenge
The key challenge this project tackles is plastic waste. Especially amongst "makers" using rapid prototyping tools, there can be a lot of quick amazing things done, but it also generates a lot of material that usually goes in the garbage. This helps close the loop on that garbage and let's people create, toss, re-design, and recreate!
Background
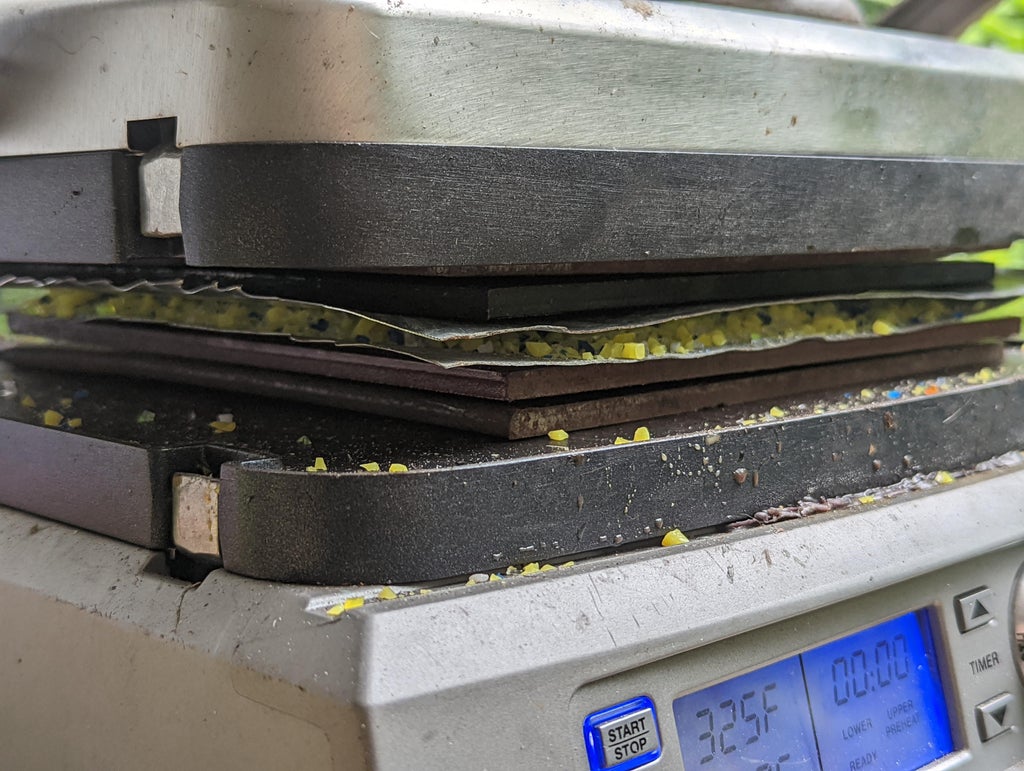
For plastics, I had always assumed that acrylic sheets (PMMA) were a lost cause. This type of plastic cuts super well with a laser but isn't really thermoplastic. Instead of becoming a liquid goo when heated up, it just sort of gets a little gummy-like and then starts burning if you keep heating it. (Look at the third picture for an example of when they get heated too much)
Leif on Youtube
But then I started seeing a couple amazing things: Like this person Leif, who heated up the acrylic and then squished it into a giant block: https://www.youtube.com/watch?v=9kLUnlSEMa4&t=724s
Offcut Studio
Then even more impressive, this person, "Off Cut Studio"https://www.instagram.com/offcutstudio/ has been making gorgeous repurposed sheets out of acrylic scraps and then turning those into jewelry and other things! It looks like they have a nice proper heatpress that is much more made for this job. They also offer consulting services online you should contact if you want to get started! My tests here are much more inexperienced, and I'm absolutely sure they have MUCH BETTER advice than I do!
Theory: Heat + Pressure + Time
So I started wondering how they were able to do this? As i mentioned before, whenever I tried heating up acrylic scraps they would just get a little soft and bendable, but wouldn't stick to each other. But then I noticed in these two folks who had fused acrylic, they both had the missing element PRESSURE.
The entire key to fusing acrylic is to have it HOT and UNDER HIGH PRESSURE for a LONG TIME (at least 30 mins)
Heat
If you just heat the acrylic it won't stick together. If you heat it around 325F / 165C (at least on my paninin press) it seems to get nice and rubbery without burning.
If you try to squish it together by just putting some weights on top of it, it also won't really melt together. Instead you need a much more powerful force to start squeezing them so much that they fuse into each other.
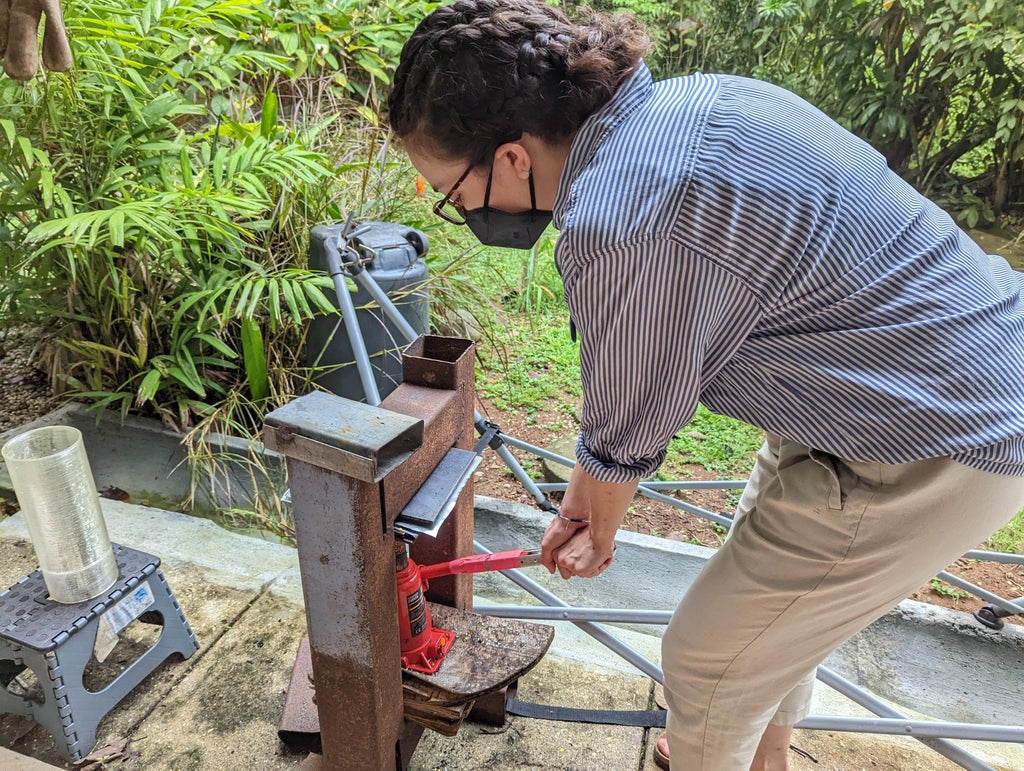
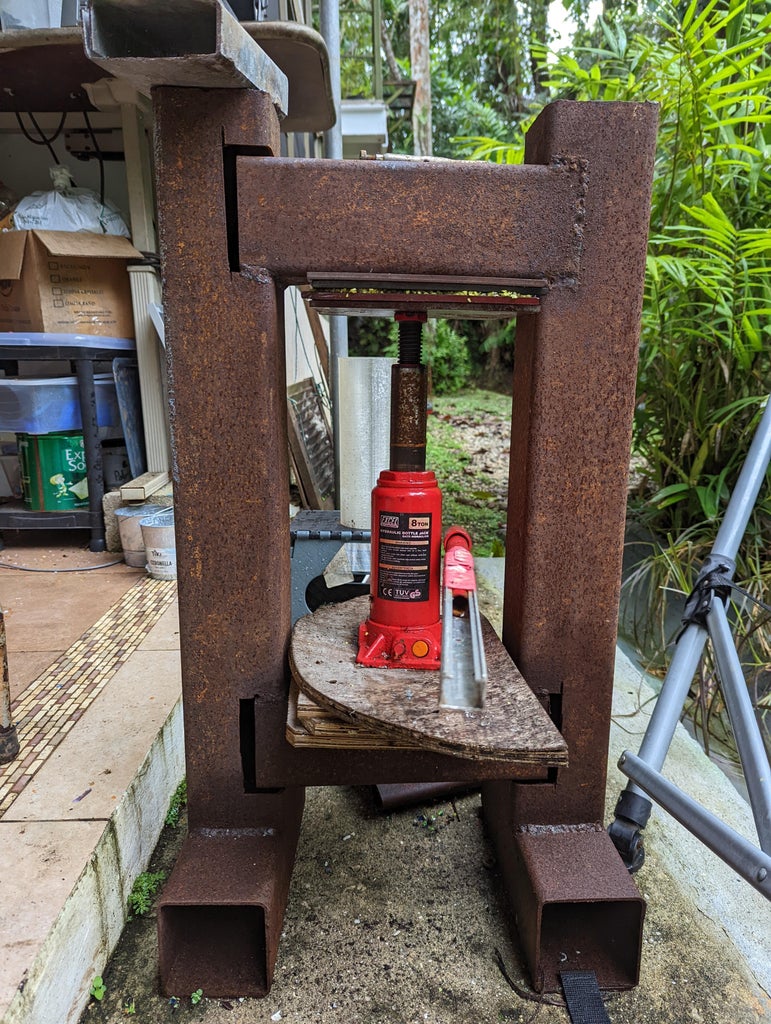
Pressure
I don't know the exact specs on Leif or Offcut Studio's presses, but I did some quick, cheap experiments myself. First I had a 2 ton bottle jack, and did some tests and it came out OK, but sometimes the parts were still loose. I then upgraded to using my truck's 8 ton bottle jack. This seemed to work a bit easier.
Time
During my first tests, i had figured once the plastic was squished it would be fine, but this hot acrylic is springy! It needs time with the heat and pressre to slowly meld into itself. It might work after just 10 minutes, but fo realiability we have been waiting 30 minutes. Do some tests yourself and see what works!.


 Florian Festi
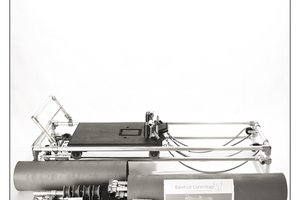
 joseph
 Kate Reed
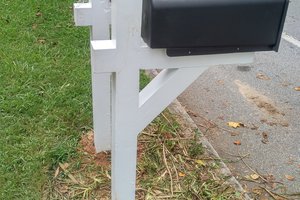
 Scott G