 Greg Does Things
It’s apparently been a year since I updated this, and I recently made some changes. Here are the things I wanted to fix after using it for a while.
- Audio is 1) very soft, and 2) difficult to control. The only way to change the volume was shortcut keys in Retroarch, which was clunky and slow. It was also a big speaker powered by a regular headphone Jack, so it was just too quiet.
- Power. 1) the power button was in an awkward spot, and 2) the AC cable needed to be wrapped up in the back, which made connecting and disconnecting it from power more difficult.
- Authenticity. I want to try to incorporate more of the original parts in more useful ways.
- Additional interior lighting.
Here were my fixes. I have pictures in the gallery.
Audio:
after trying a few other solutions for the loudness issue, I settled on using the circuit board from a Bluetooth speaker that had a bad battery. I was able to run it off the same 5v DC USB input as the front channel indicator lights, and it provided plenty of power for the original built-in speaker. I could have bought something, but that was outside the scope of the project.

To control the audio, I ran the speaker ground through the original front volume pot. Fortunately, that unit had two separate switch circuits, so I was able to also run the audio through one of those so when I pushed off the power, the audio and front channel lights would turn off together. Very authentic to the original behavior. It’s a very satisfying effect.
I did run into some frustration with that volume pot apparently being linear instead of logarithmic. Meaning it was really twitchy and went from full volume to silent with very little movement. Oddly, and luckily, the “picture” knob right below it was much smoother for audio, so since I couldn’t think of anything else to do with that knob, I wired it in sequence as a fine tuning for the audio. It means I can keep the feeling of the original volume knob, but have a bit more control over the sound when needed.
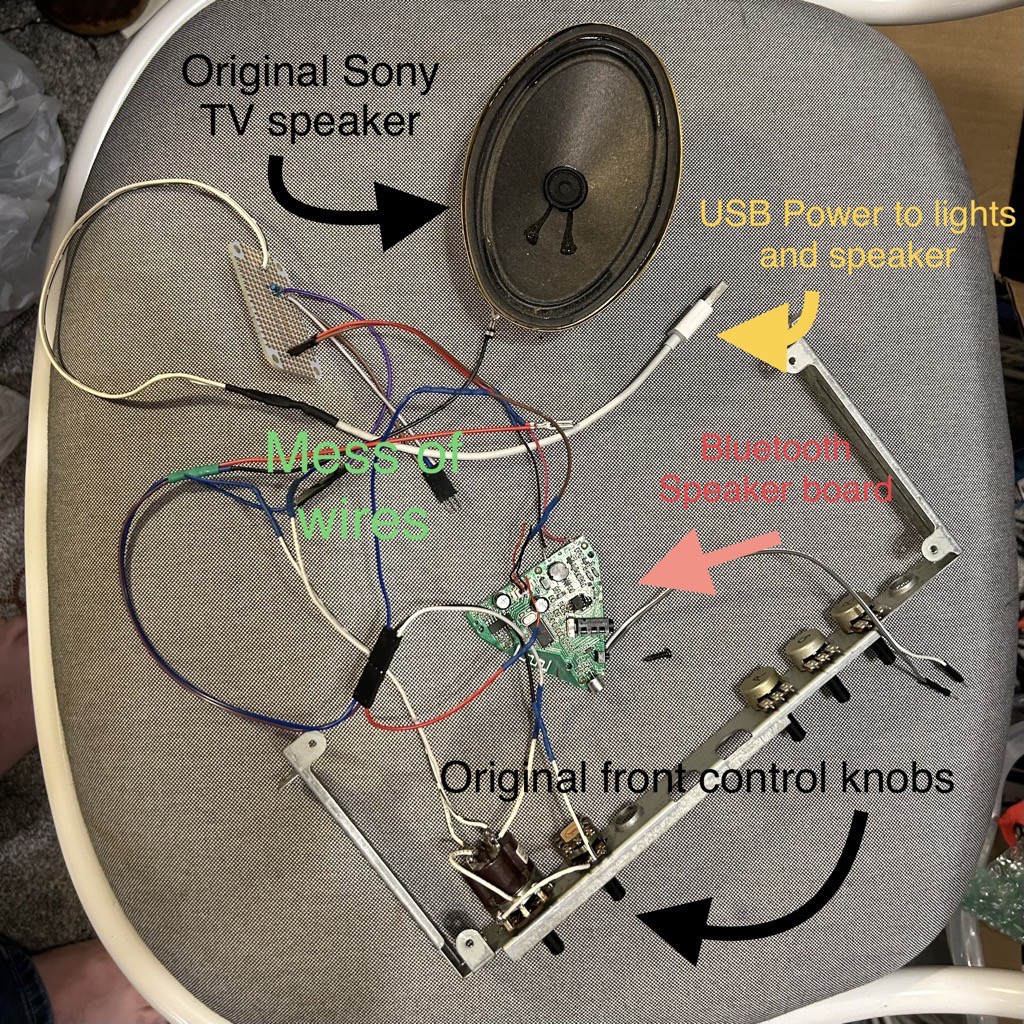
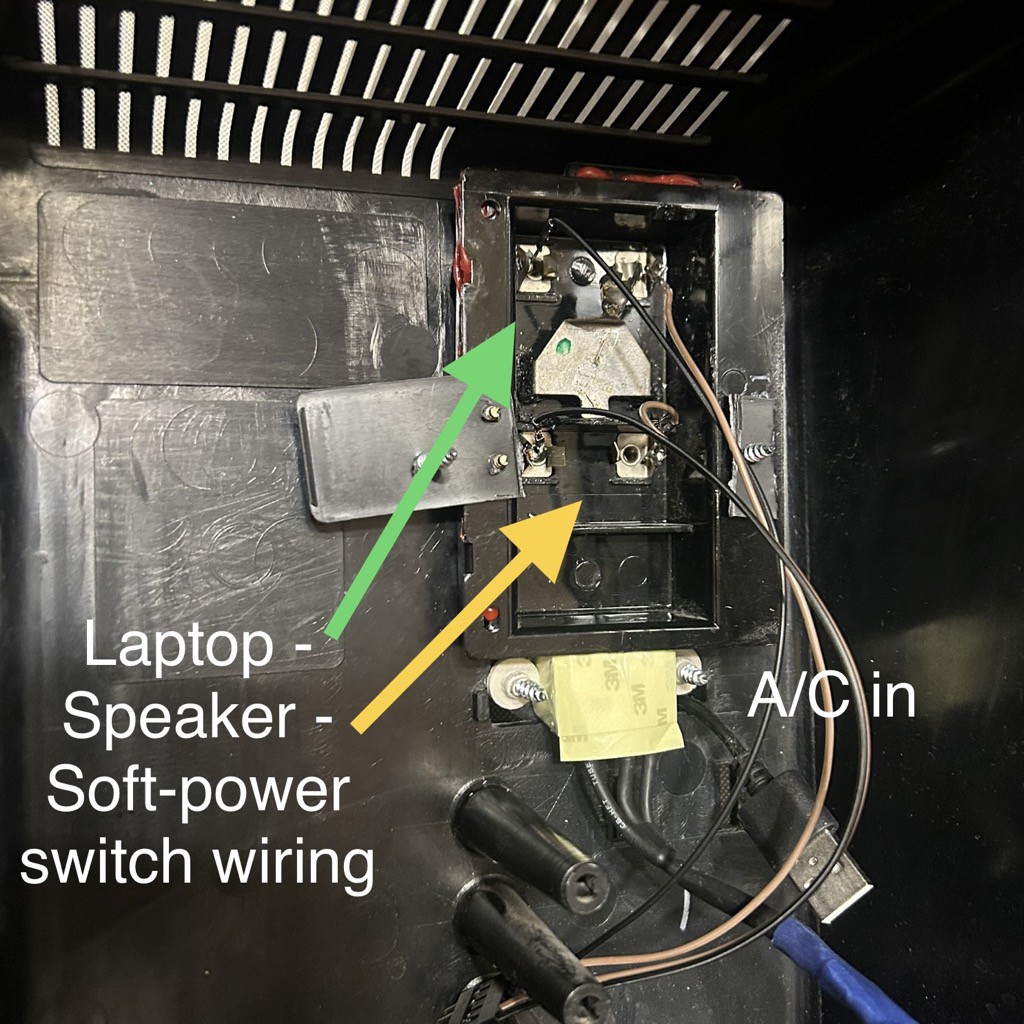
the final audio bit was to run another wire to the back of the case for the Bluetooth speaker power. Like most modern electronics, it has a momentary soft-power button, so it needed to be controlled separately. This worked out to fit nicely with how I arranged the rear panel.
Discussions
Become a Hackaday.io Member
Create an account to leave a comment. Already have an account? Log In.