 Timo
TimoYou can find the german project page here: Breadboarder Webpage
Gameplay
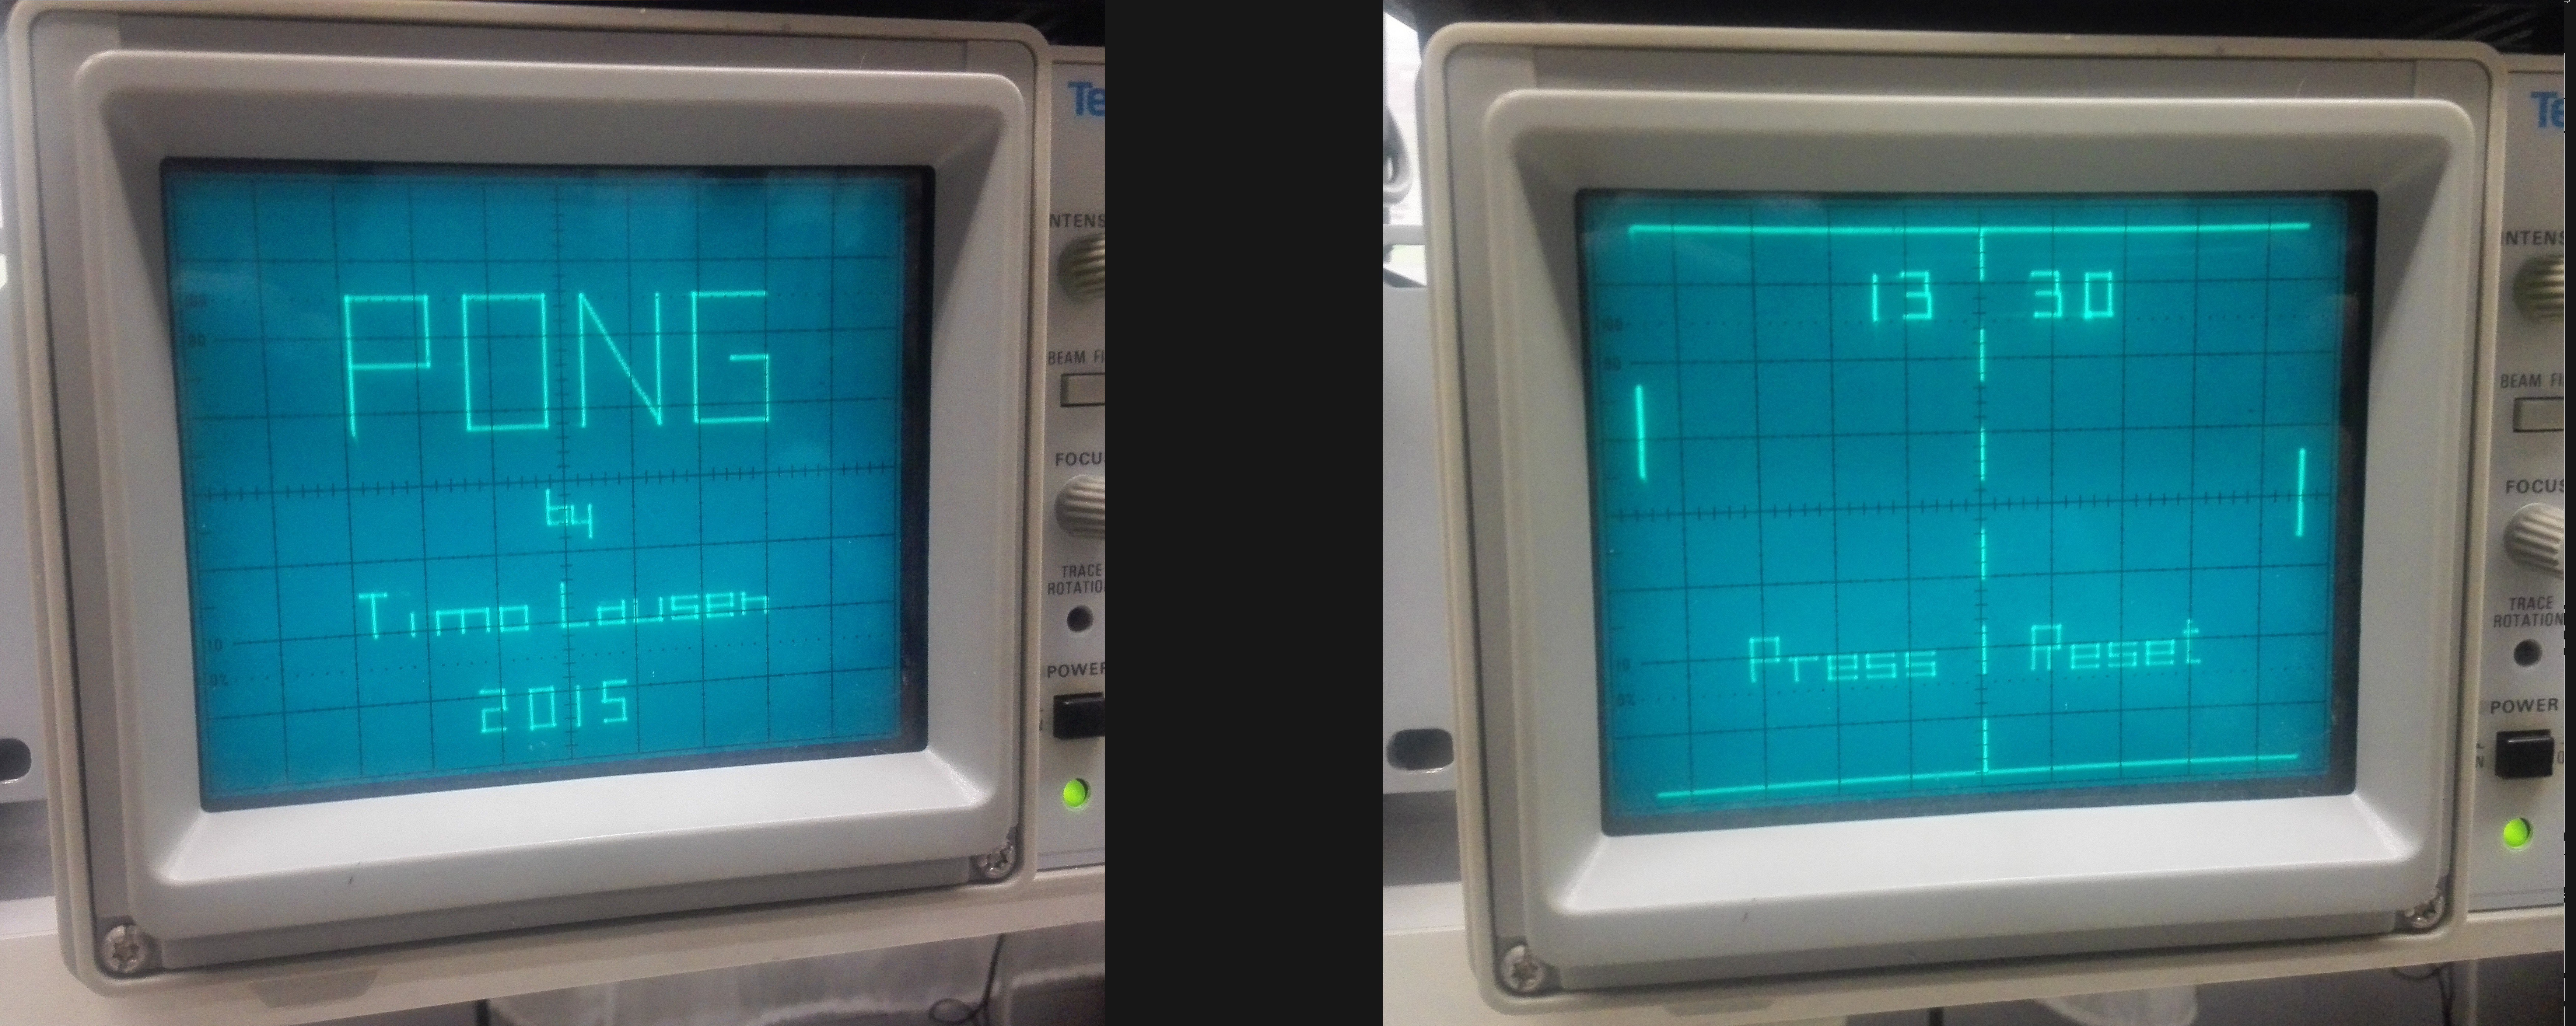
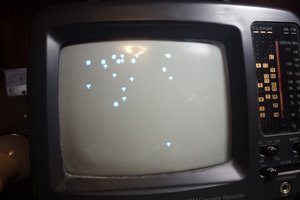
The first few seconds after you start, the game title is presented and you realize that the game you are about to play is Pong. The game starts after a few seconds with the ball in the middle and random speed and direction. Both players can control their paddle with a Potentiometer. I guess you know the game rules, if not ... well i hope you are ashamed of yourself. Sound effects come from a small piezo speaker. The typical "pong like" sound is played when the ball hits the paddels or the side barrier.
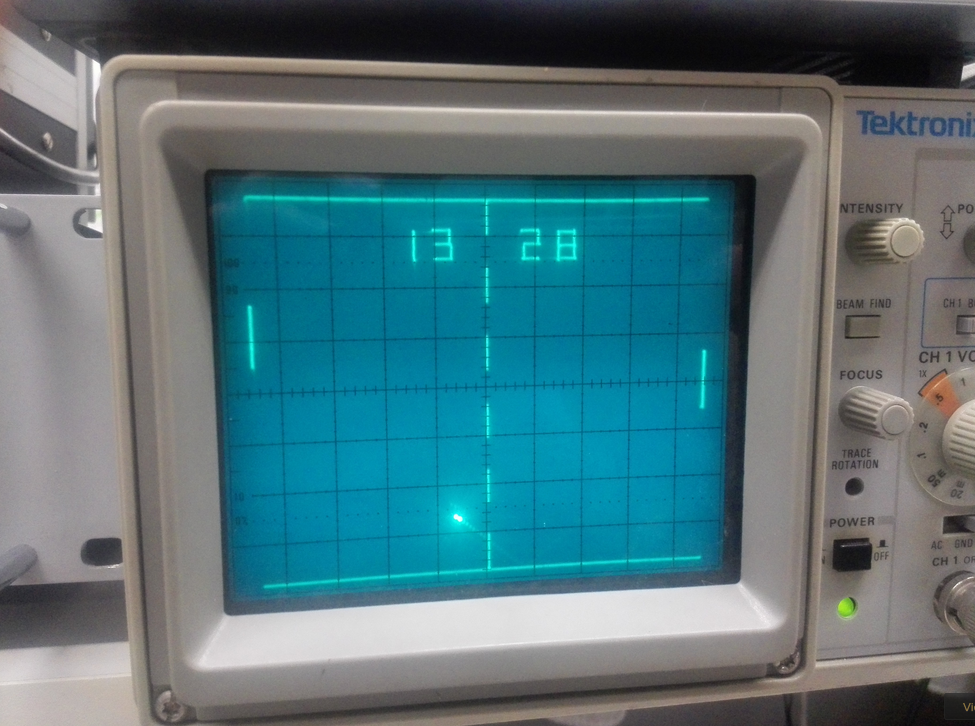
The game goes on until one player reaches 30 points. The points of each side are visible on the upper boarder of the screen. The game freezes when one player reaches 30 points so every body can see who won/was humiliated because of his/her pathetic lack of pong skill. Additonaly "Press Reset" blinks on the screen.
Video Signal
Two R2R-DACs generate two control voltages which draw the picture on the display. When the scope is in XY mode the voltage on channel 1 controls the electron ray in X direction and the voltage on channel 2 controls the Y direction. The ray is moved over the screen and the screen lights up where it is hit. After a wihle the screen gets dark again an a new picture can be drawn.
This sketch shows the X and Y controlvoltages to draw a rectangle.
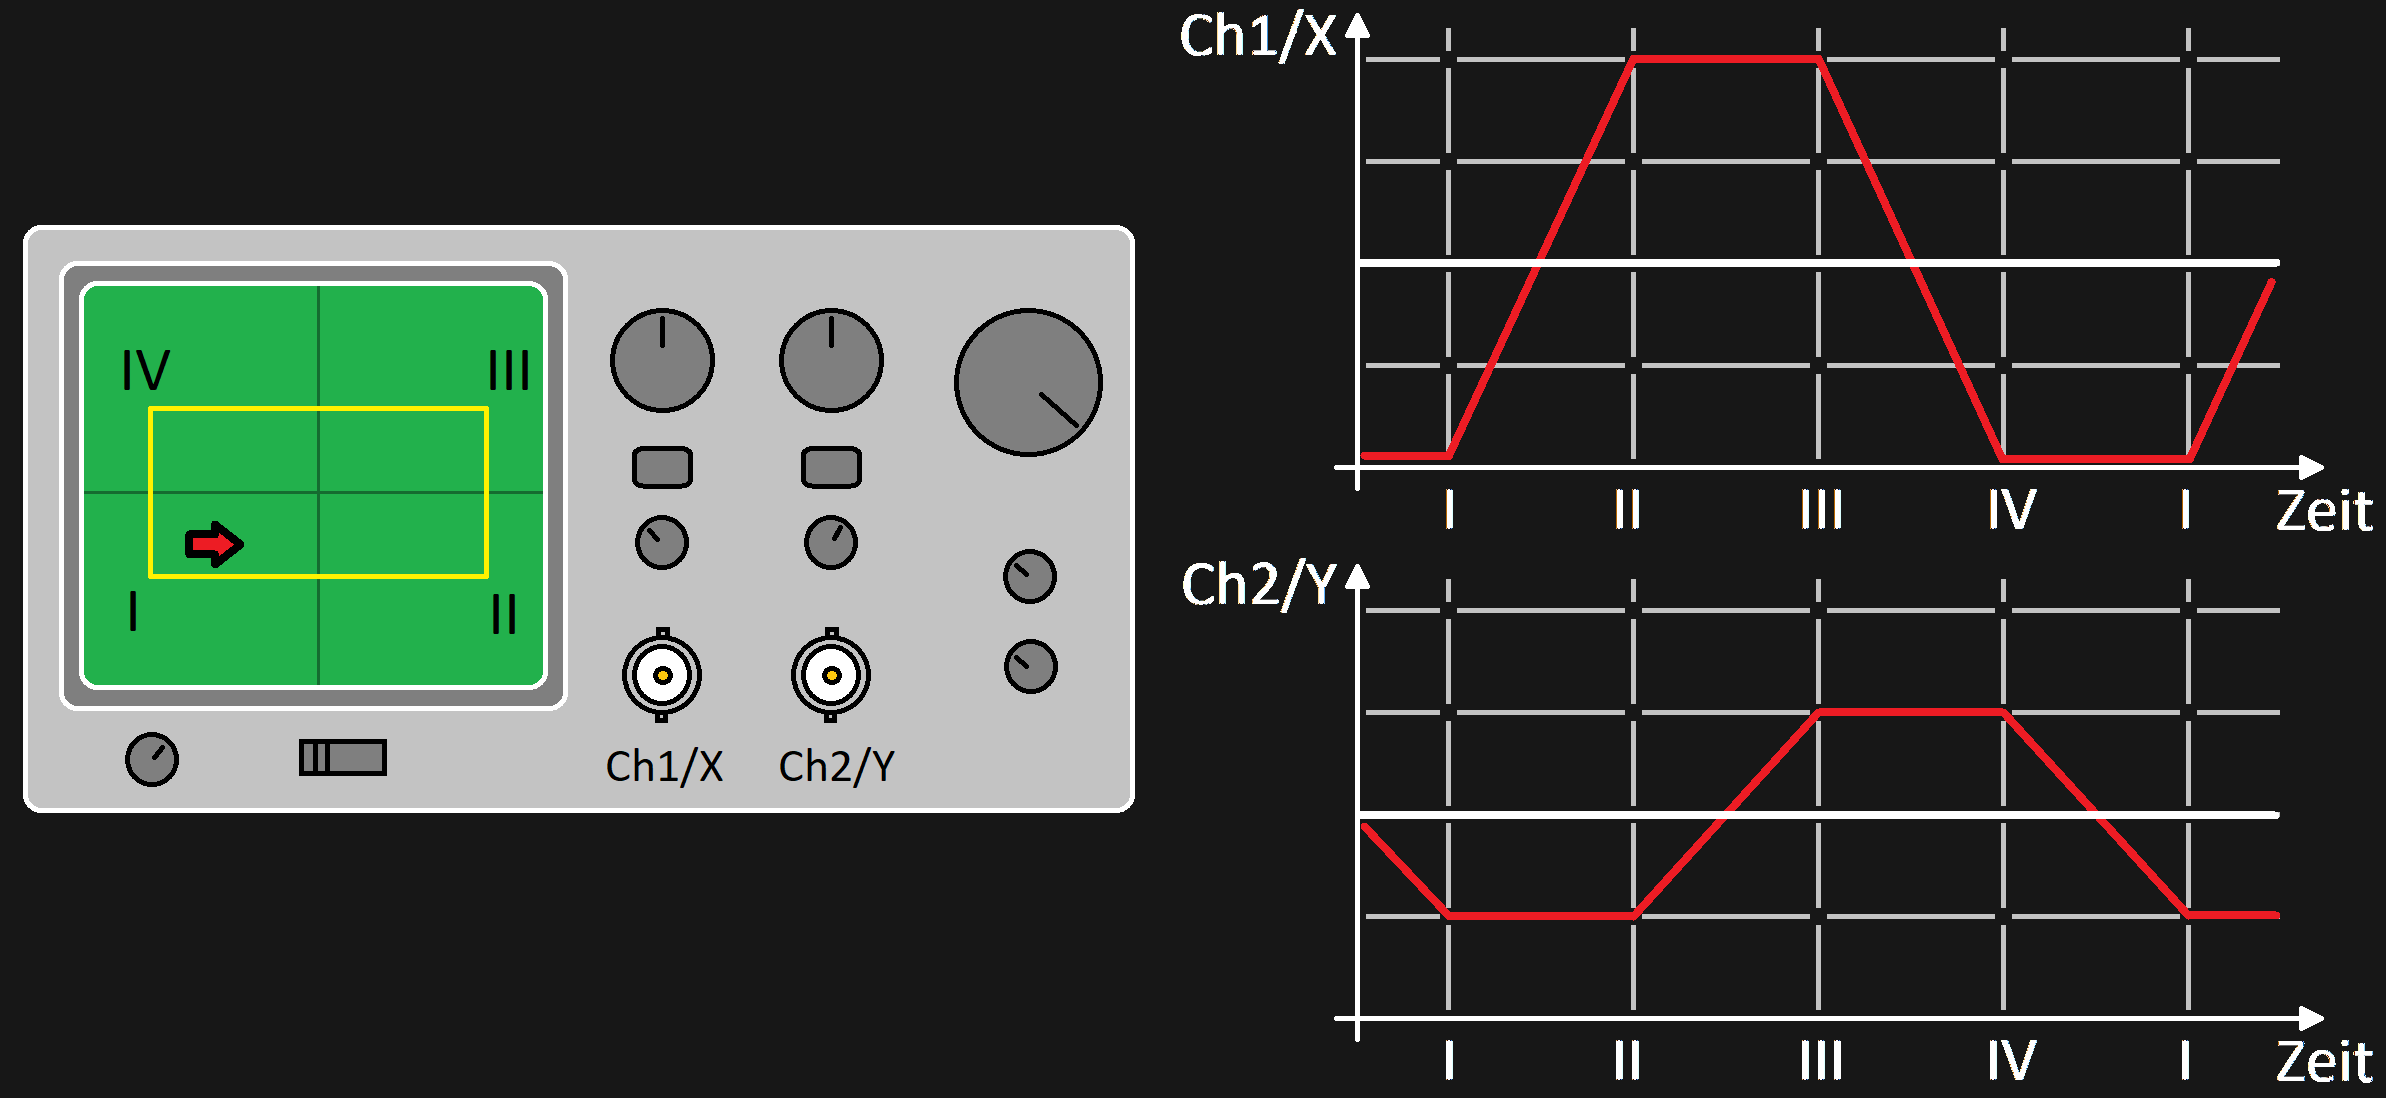
But there is one big problem. You can not draw ... you have to. The electron ray will always point somewhere on the screen and will draw. So everything in the picture like paddles, ball, point counter, etc. is connected by continuious lines. But there is a special trick to draw separate objects on the screen. The brightness of each line depends on the time it took to draw it. If the electron ray moves slower the screen receives more energy and shines with a higher intensity. So the brightness of each line is controlled by the drawing speed. Lines i don't want you to see, i just draw them as fast as possible. Problem solved.
The ball is drawn in a different way. When the µC is busy running the game logic it can not move the electron ray over the screen. So instead the ray is "parked" on the balls position when nothing is drawn. Therefore the ball shines much brighter and longer and drags a ghostly tail.
Build your own
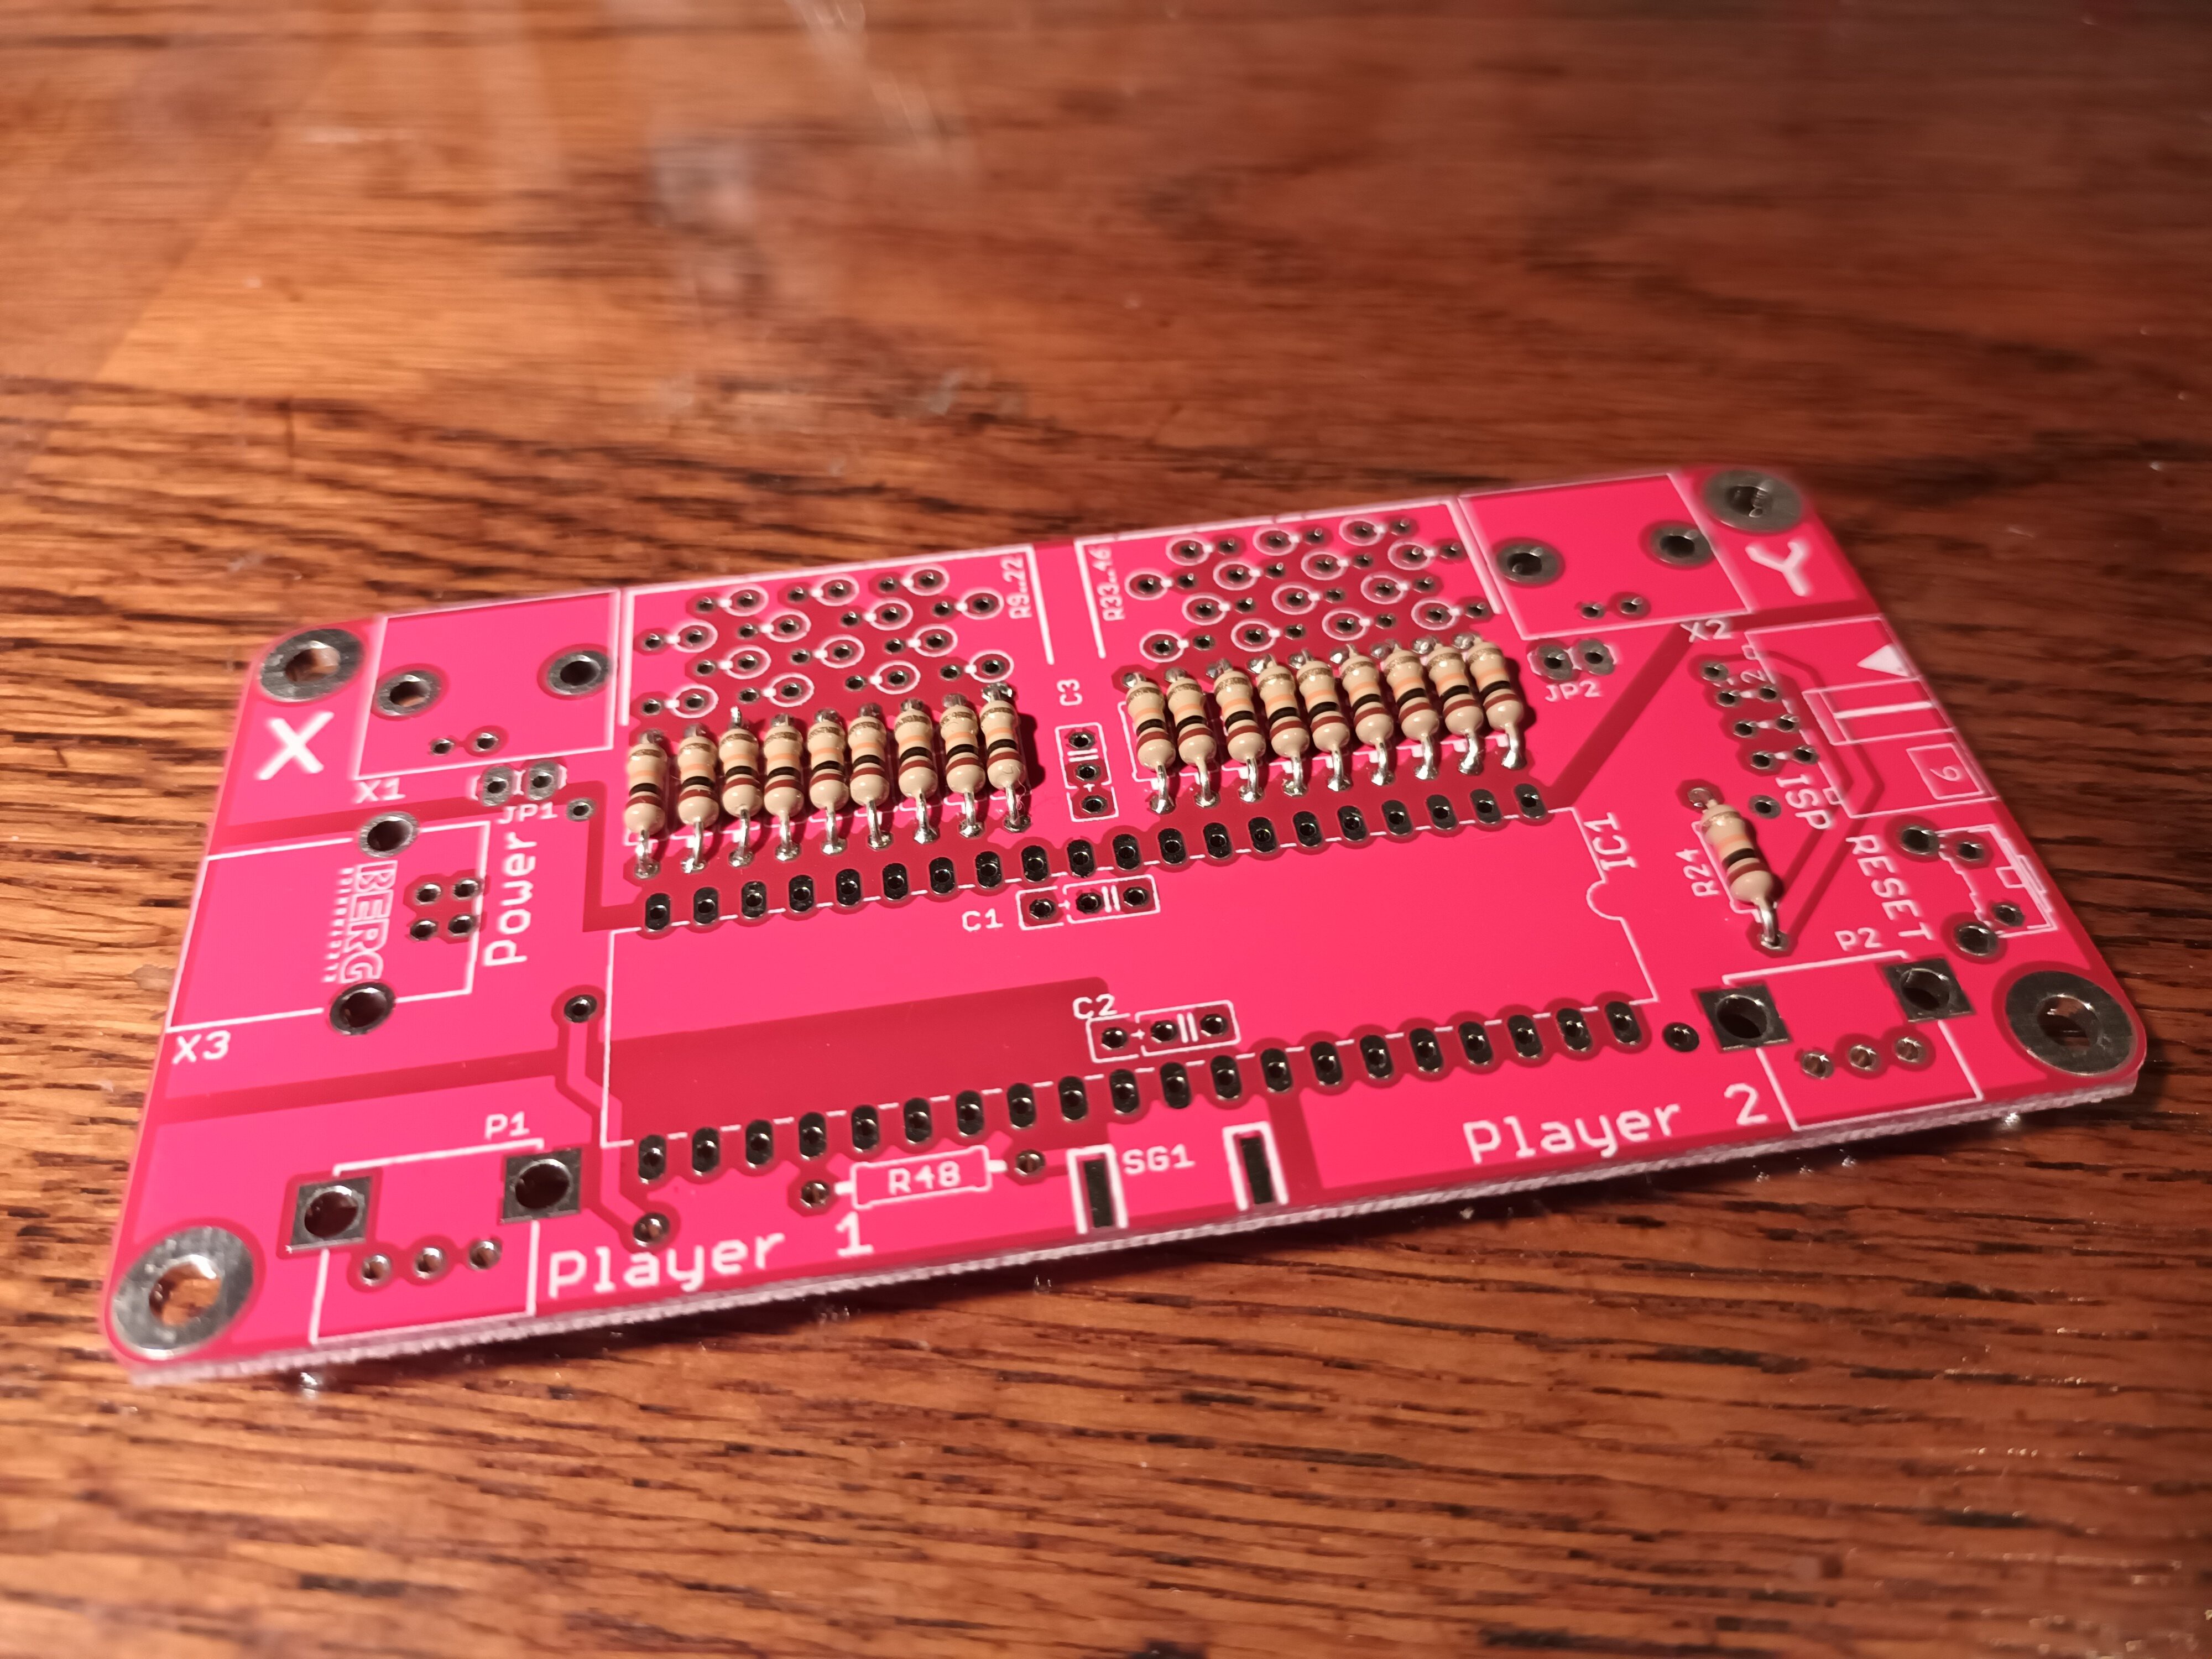
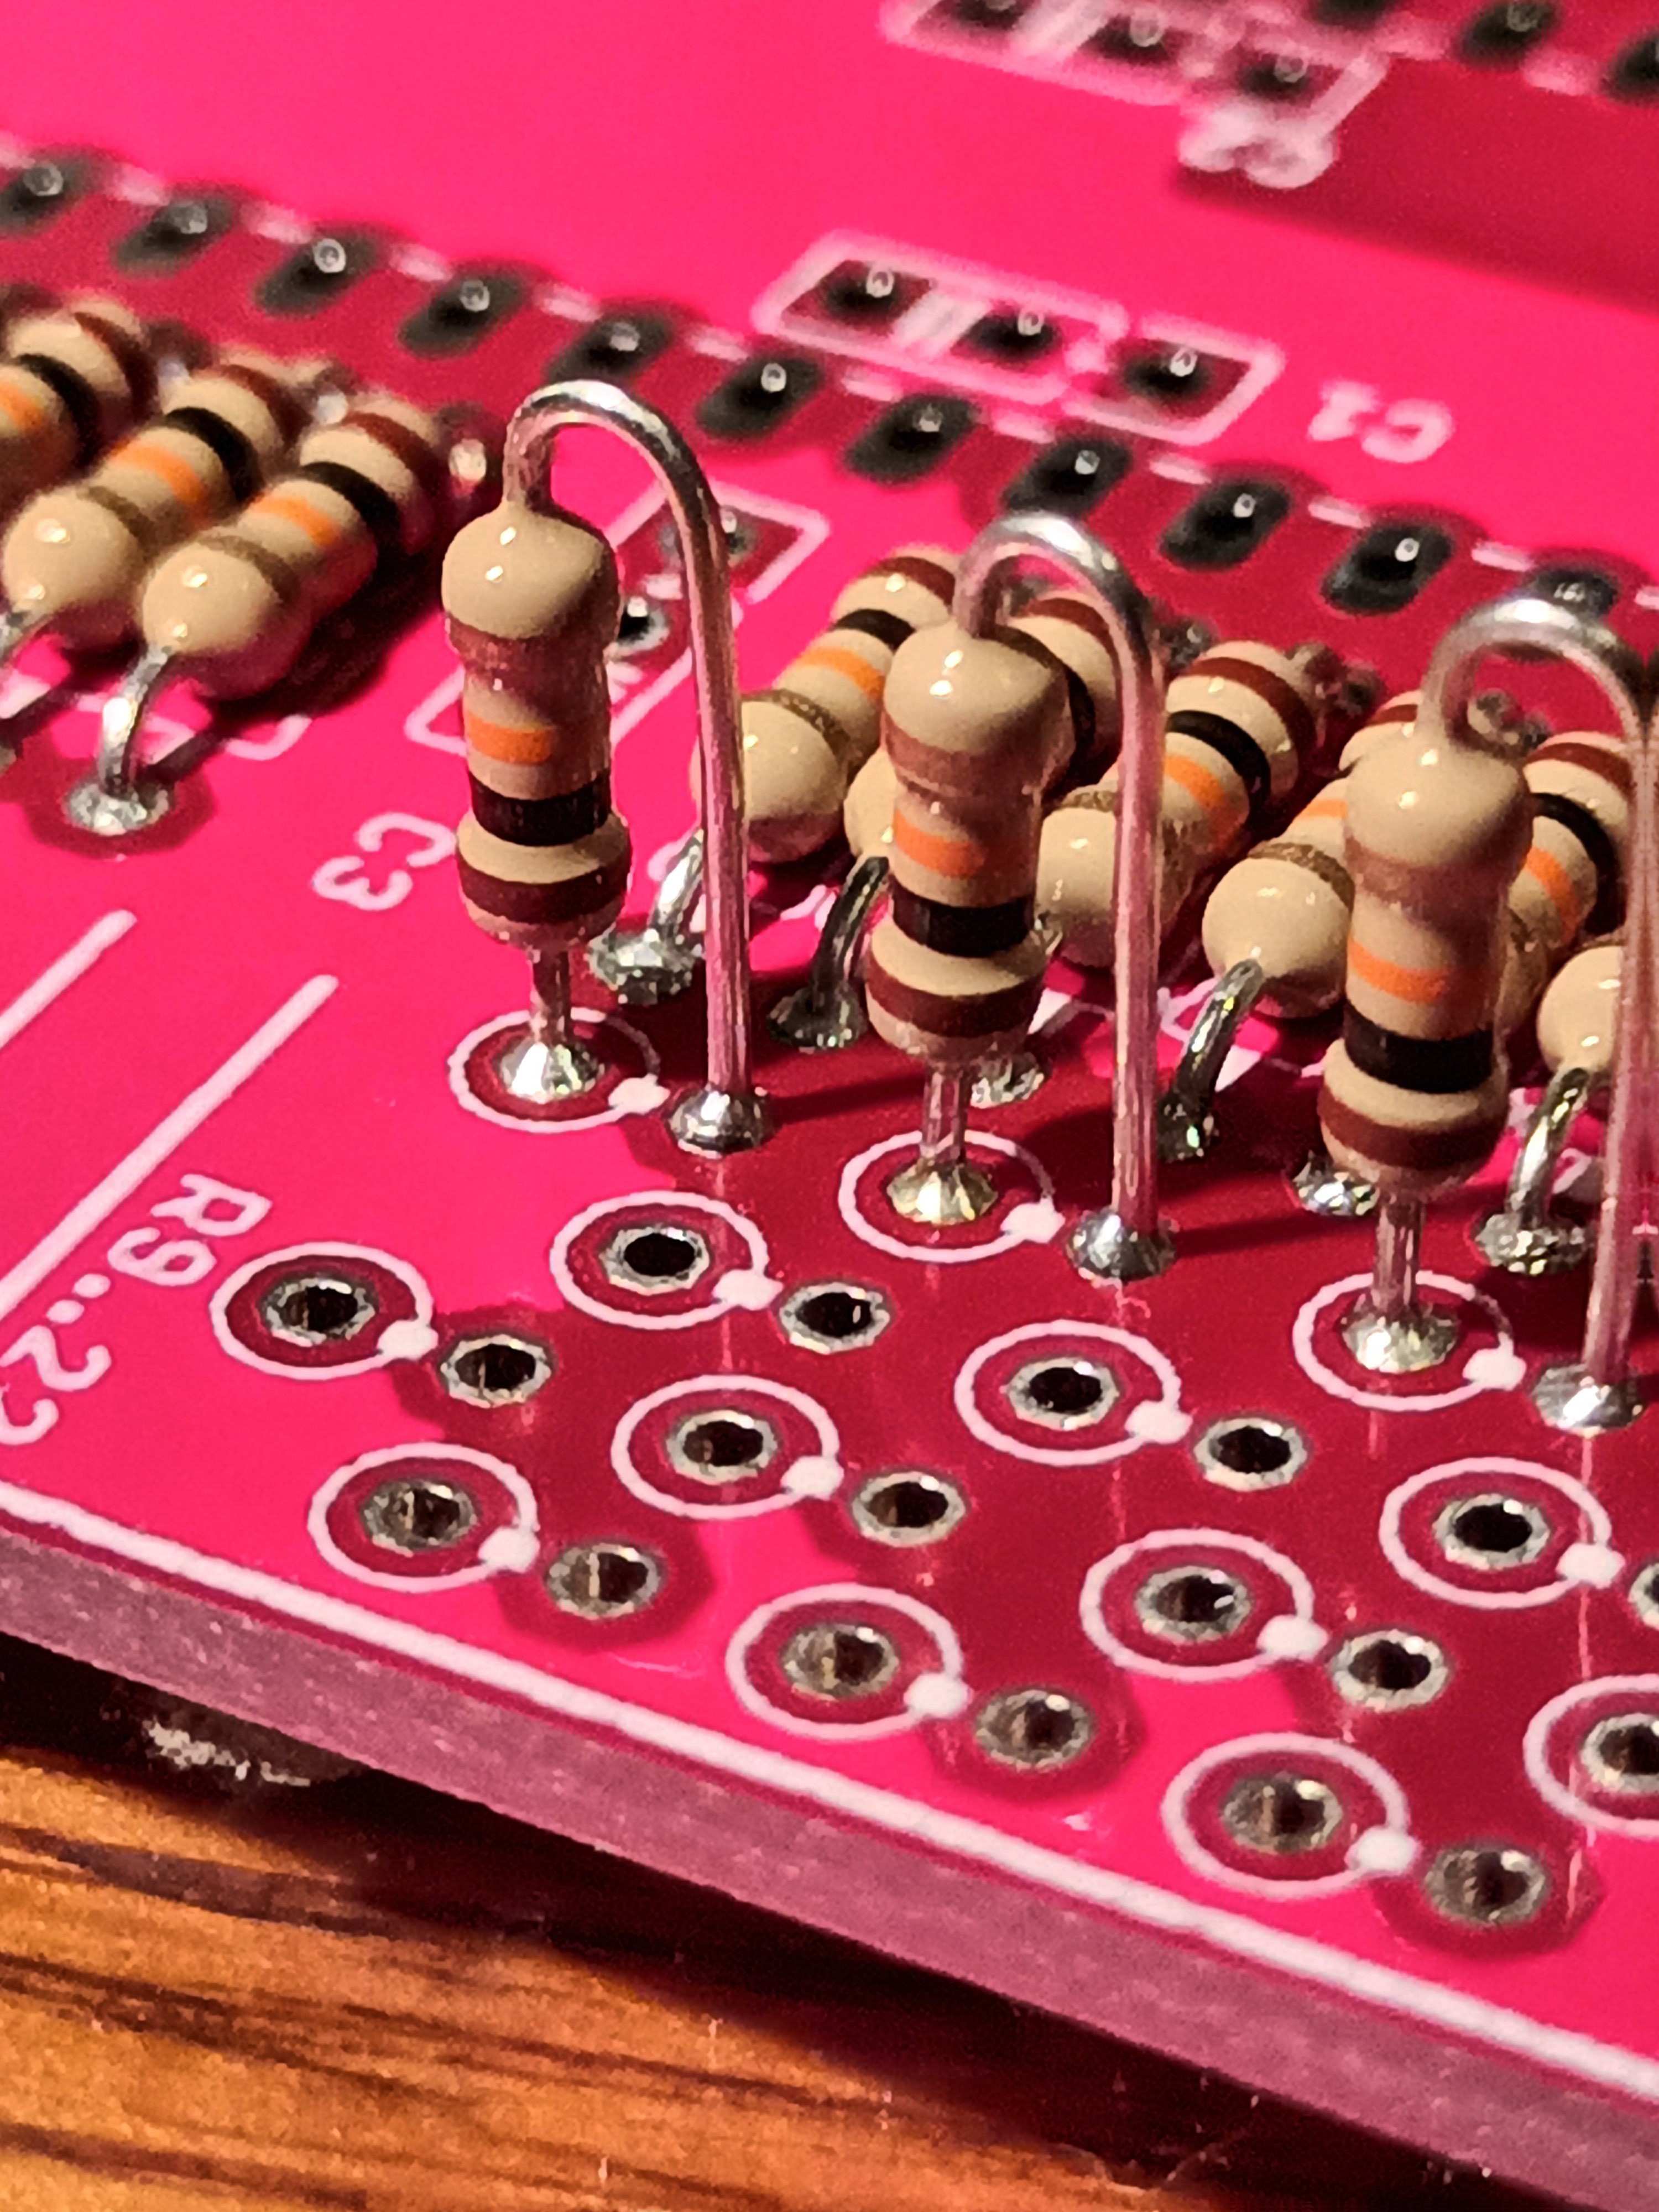
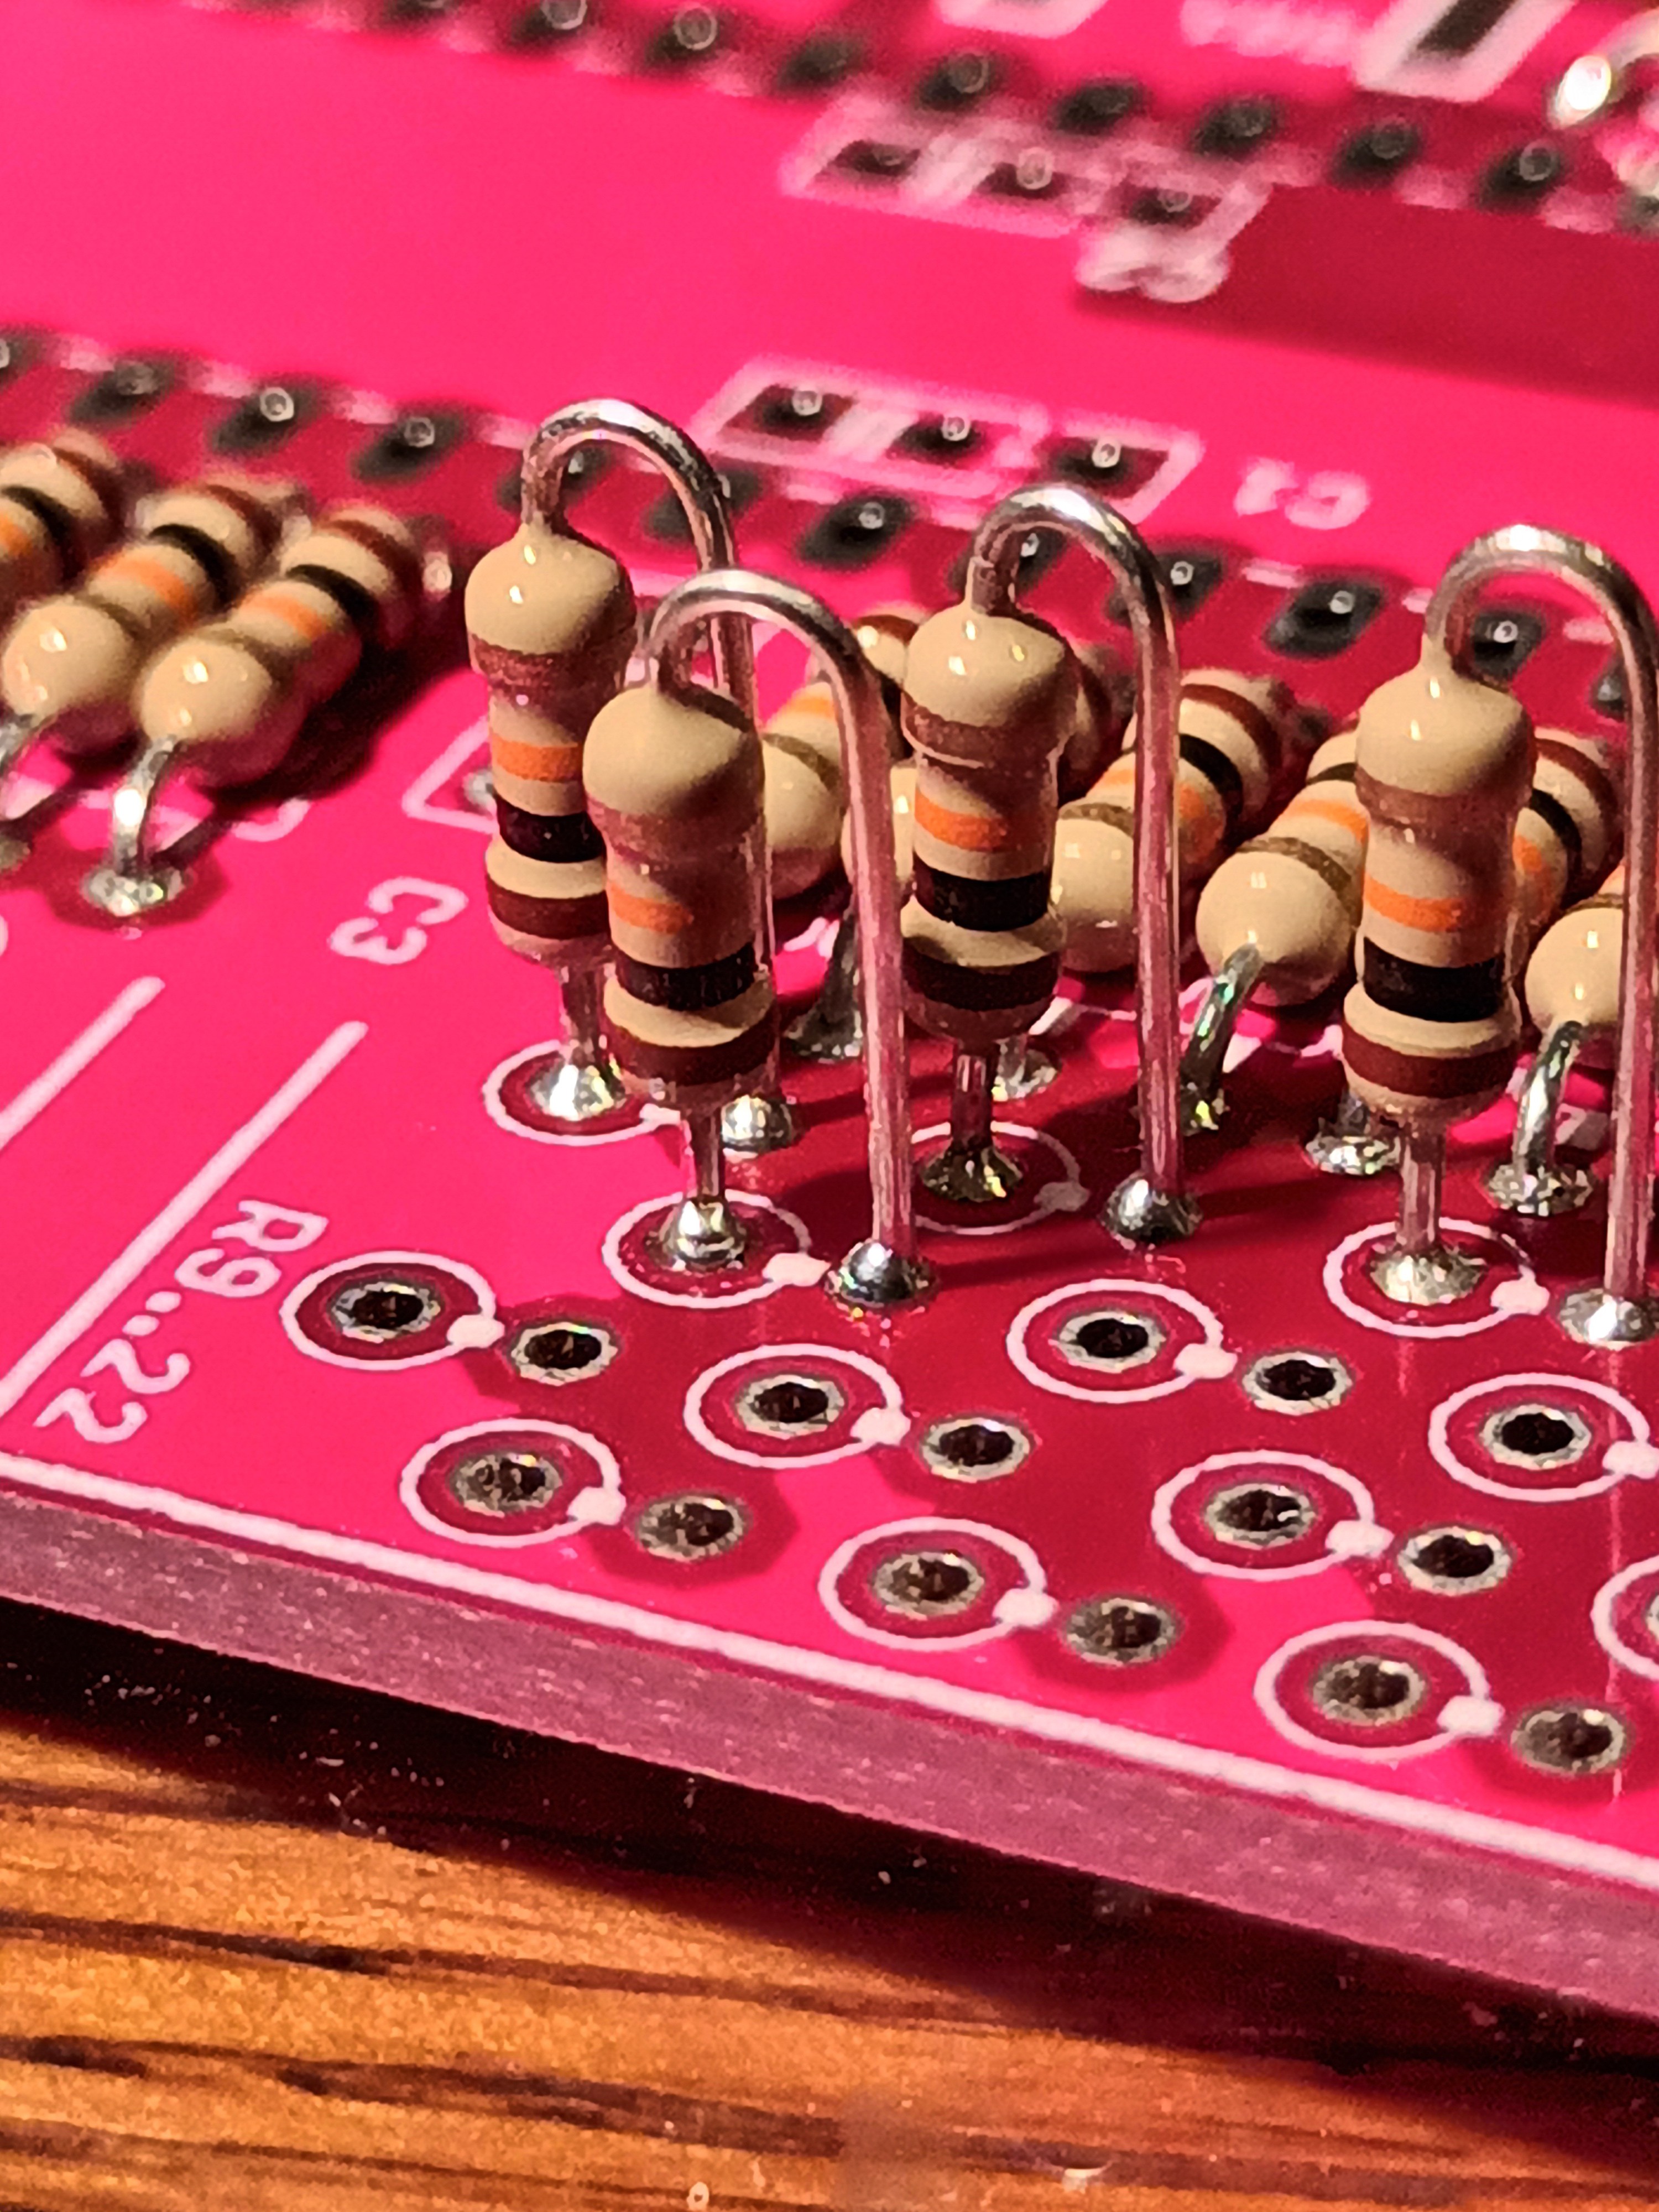
There is only one IC used in the hole build. All other parts are passiv and through-hole components like resistors and capacitors so beginners should be able to bild their own. In extrem emergency situations even on perf board.
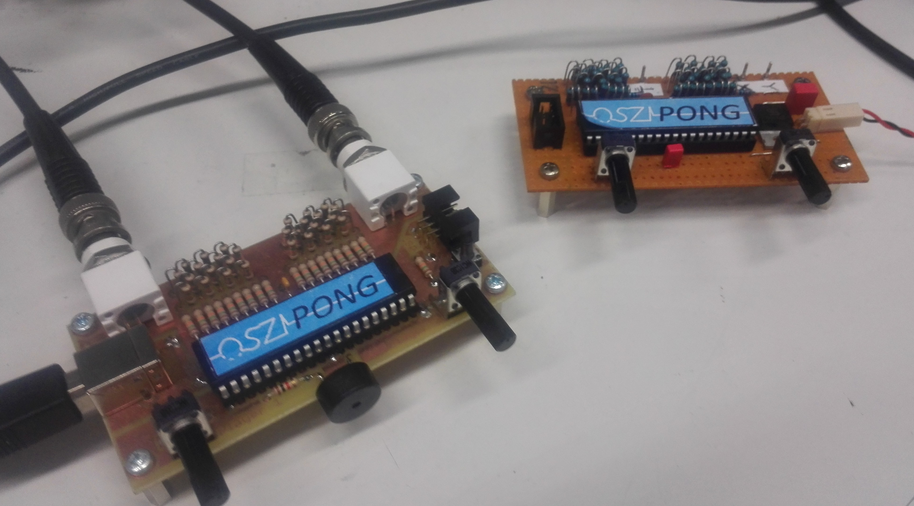
And this is what the newest revision looks like.


 Mars
Mars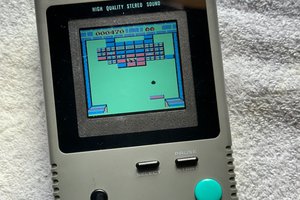
 Ruud van Falier
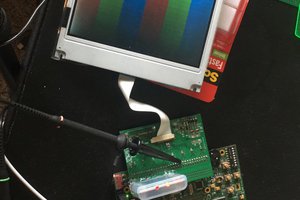
 Wenting Zhang
 Eduardo Zola
Yes it definitely has one and i am aware of that. But then you would have to make a third connection to the scope. Also it works pretty well without Z-mod. As long as you can park the ray at the balls position it is very easy to implement. But for games which don't have a "ball" this might be more complicated.
In the end, i decided against using the Z-mod input to keep everything tidy and it also keeps it simpler for beginners who often don't know what the Z-mod input actually does. ^^