Close
0%
0%

AnemoSens - SLA printed anemometer

This is my design of a SLA printed anemometer

fabFab
Similar projects worth following

When I started with my own SmartHome, one of my first projects was my own small weather station (Small insight here: https://hackaday.io/project/185640-solarsens-3d-printable-solar-weatherstation) to monitor weather data.

Sensing the temperature, air pressure, air humidity and co was relatively easy. For example, with the BME280 you can record all values with just one sensor.

One problem that I couldn't solve until the end is how to record data about the wind, i.e. wind speed and direction. Of course, you can buy matching sensors. However, I always found them too expensive or big. If you wanted to use a compact sensor without taking up a lot of space, you almost always had to dig deep into your pocket.

That's why the decision to build my own compact wind sensor had long been made for me, but so far I haven't gotten to it.

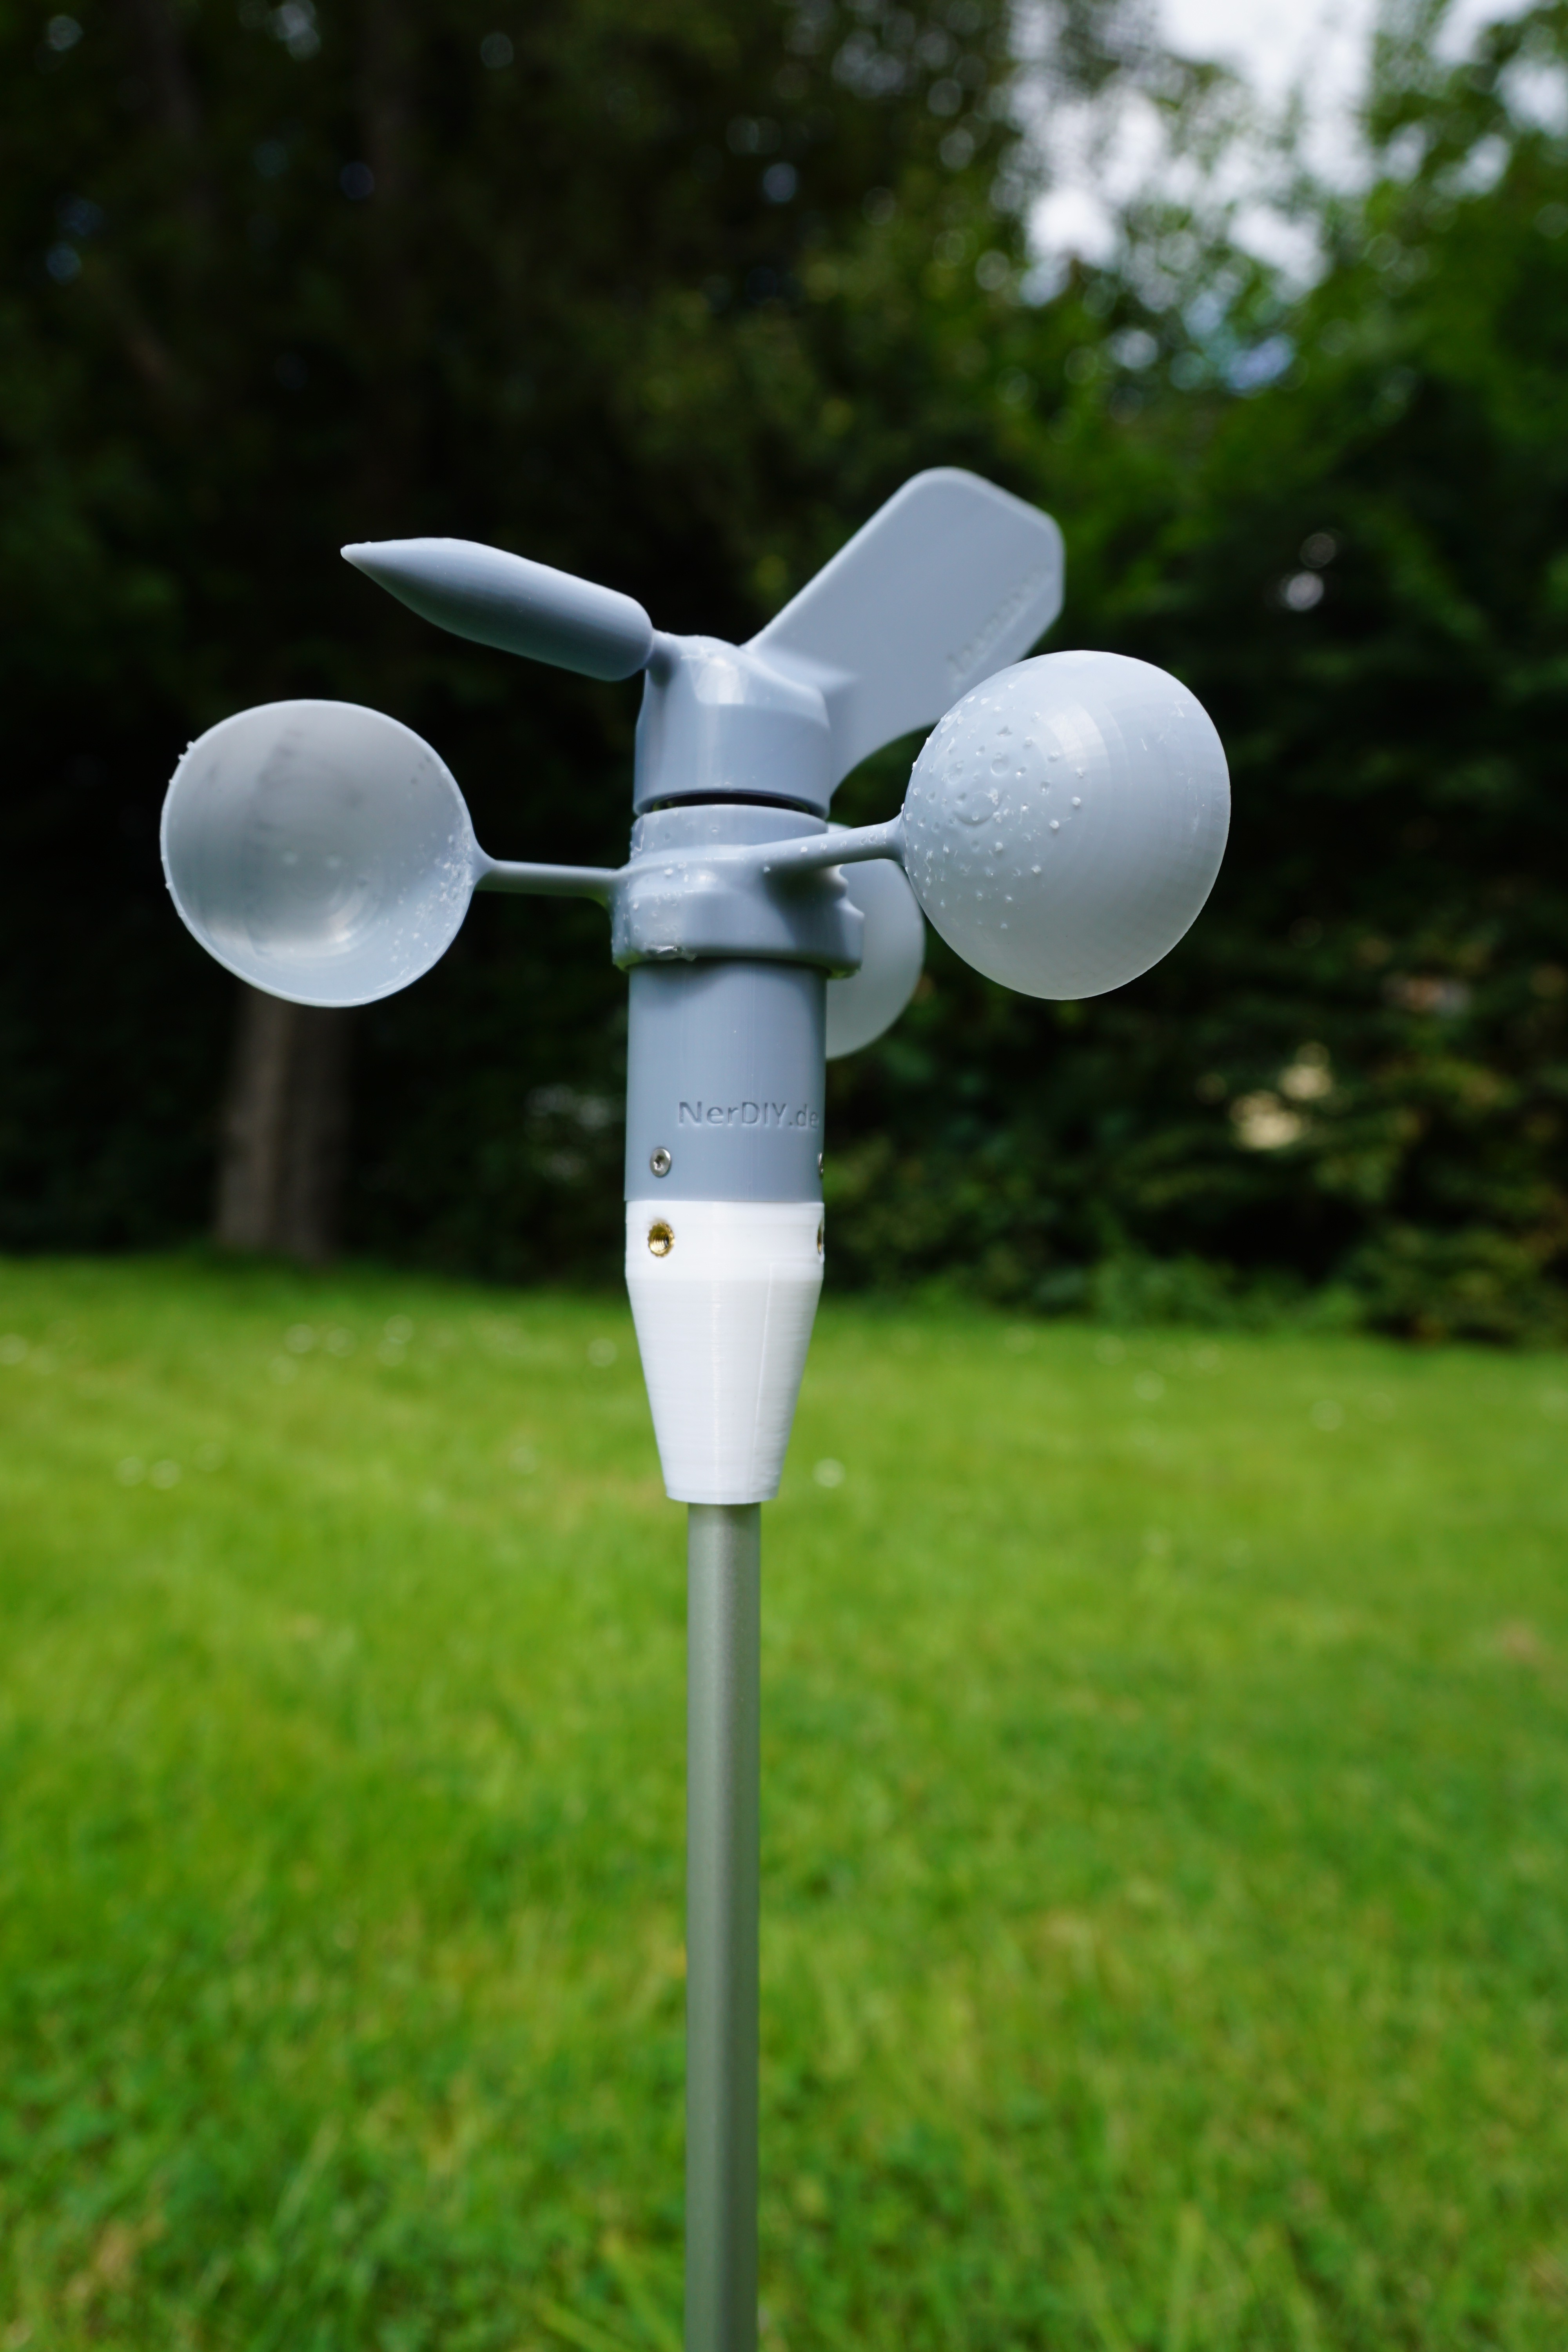
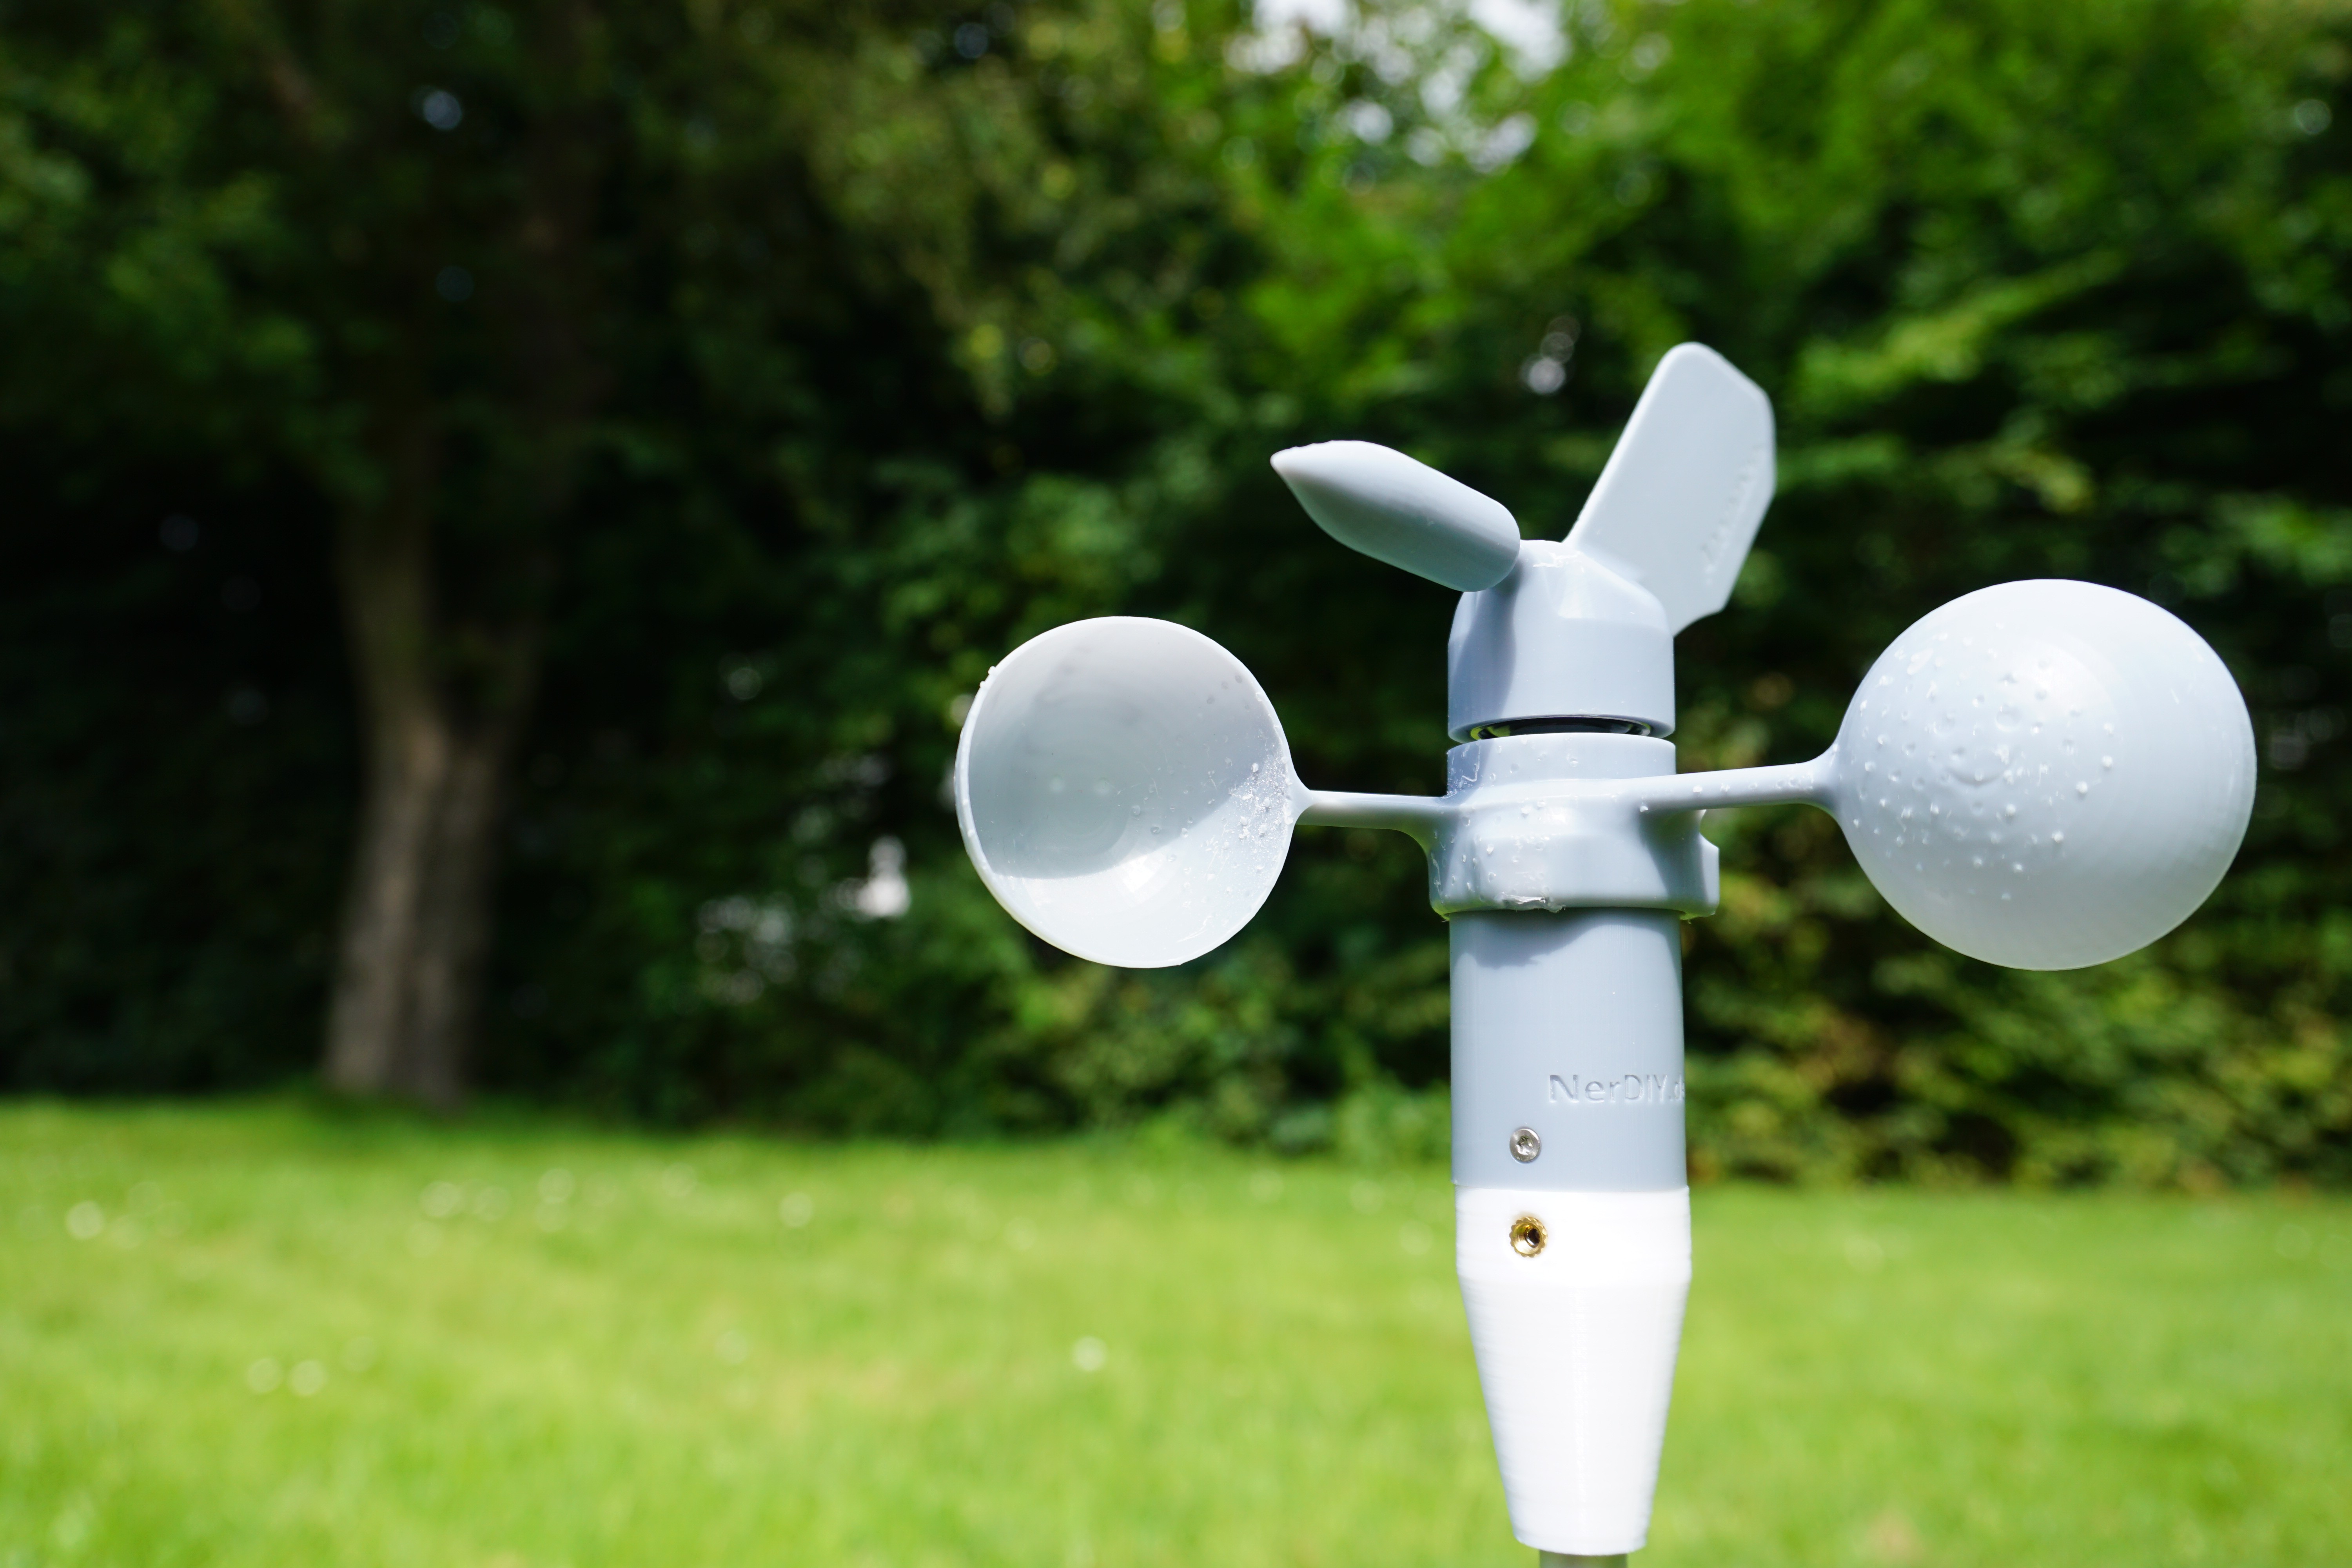
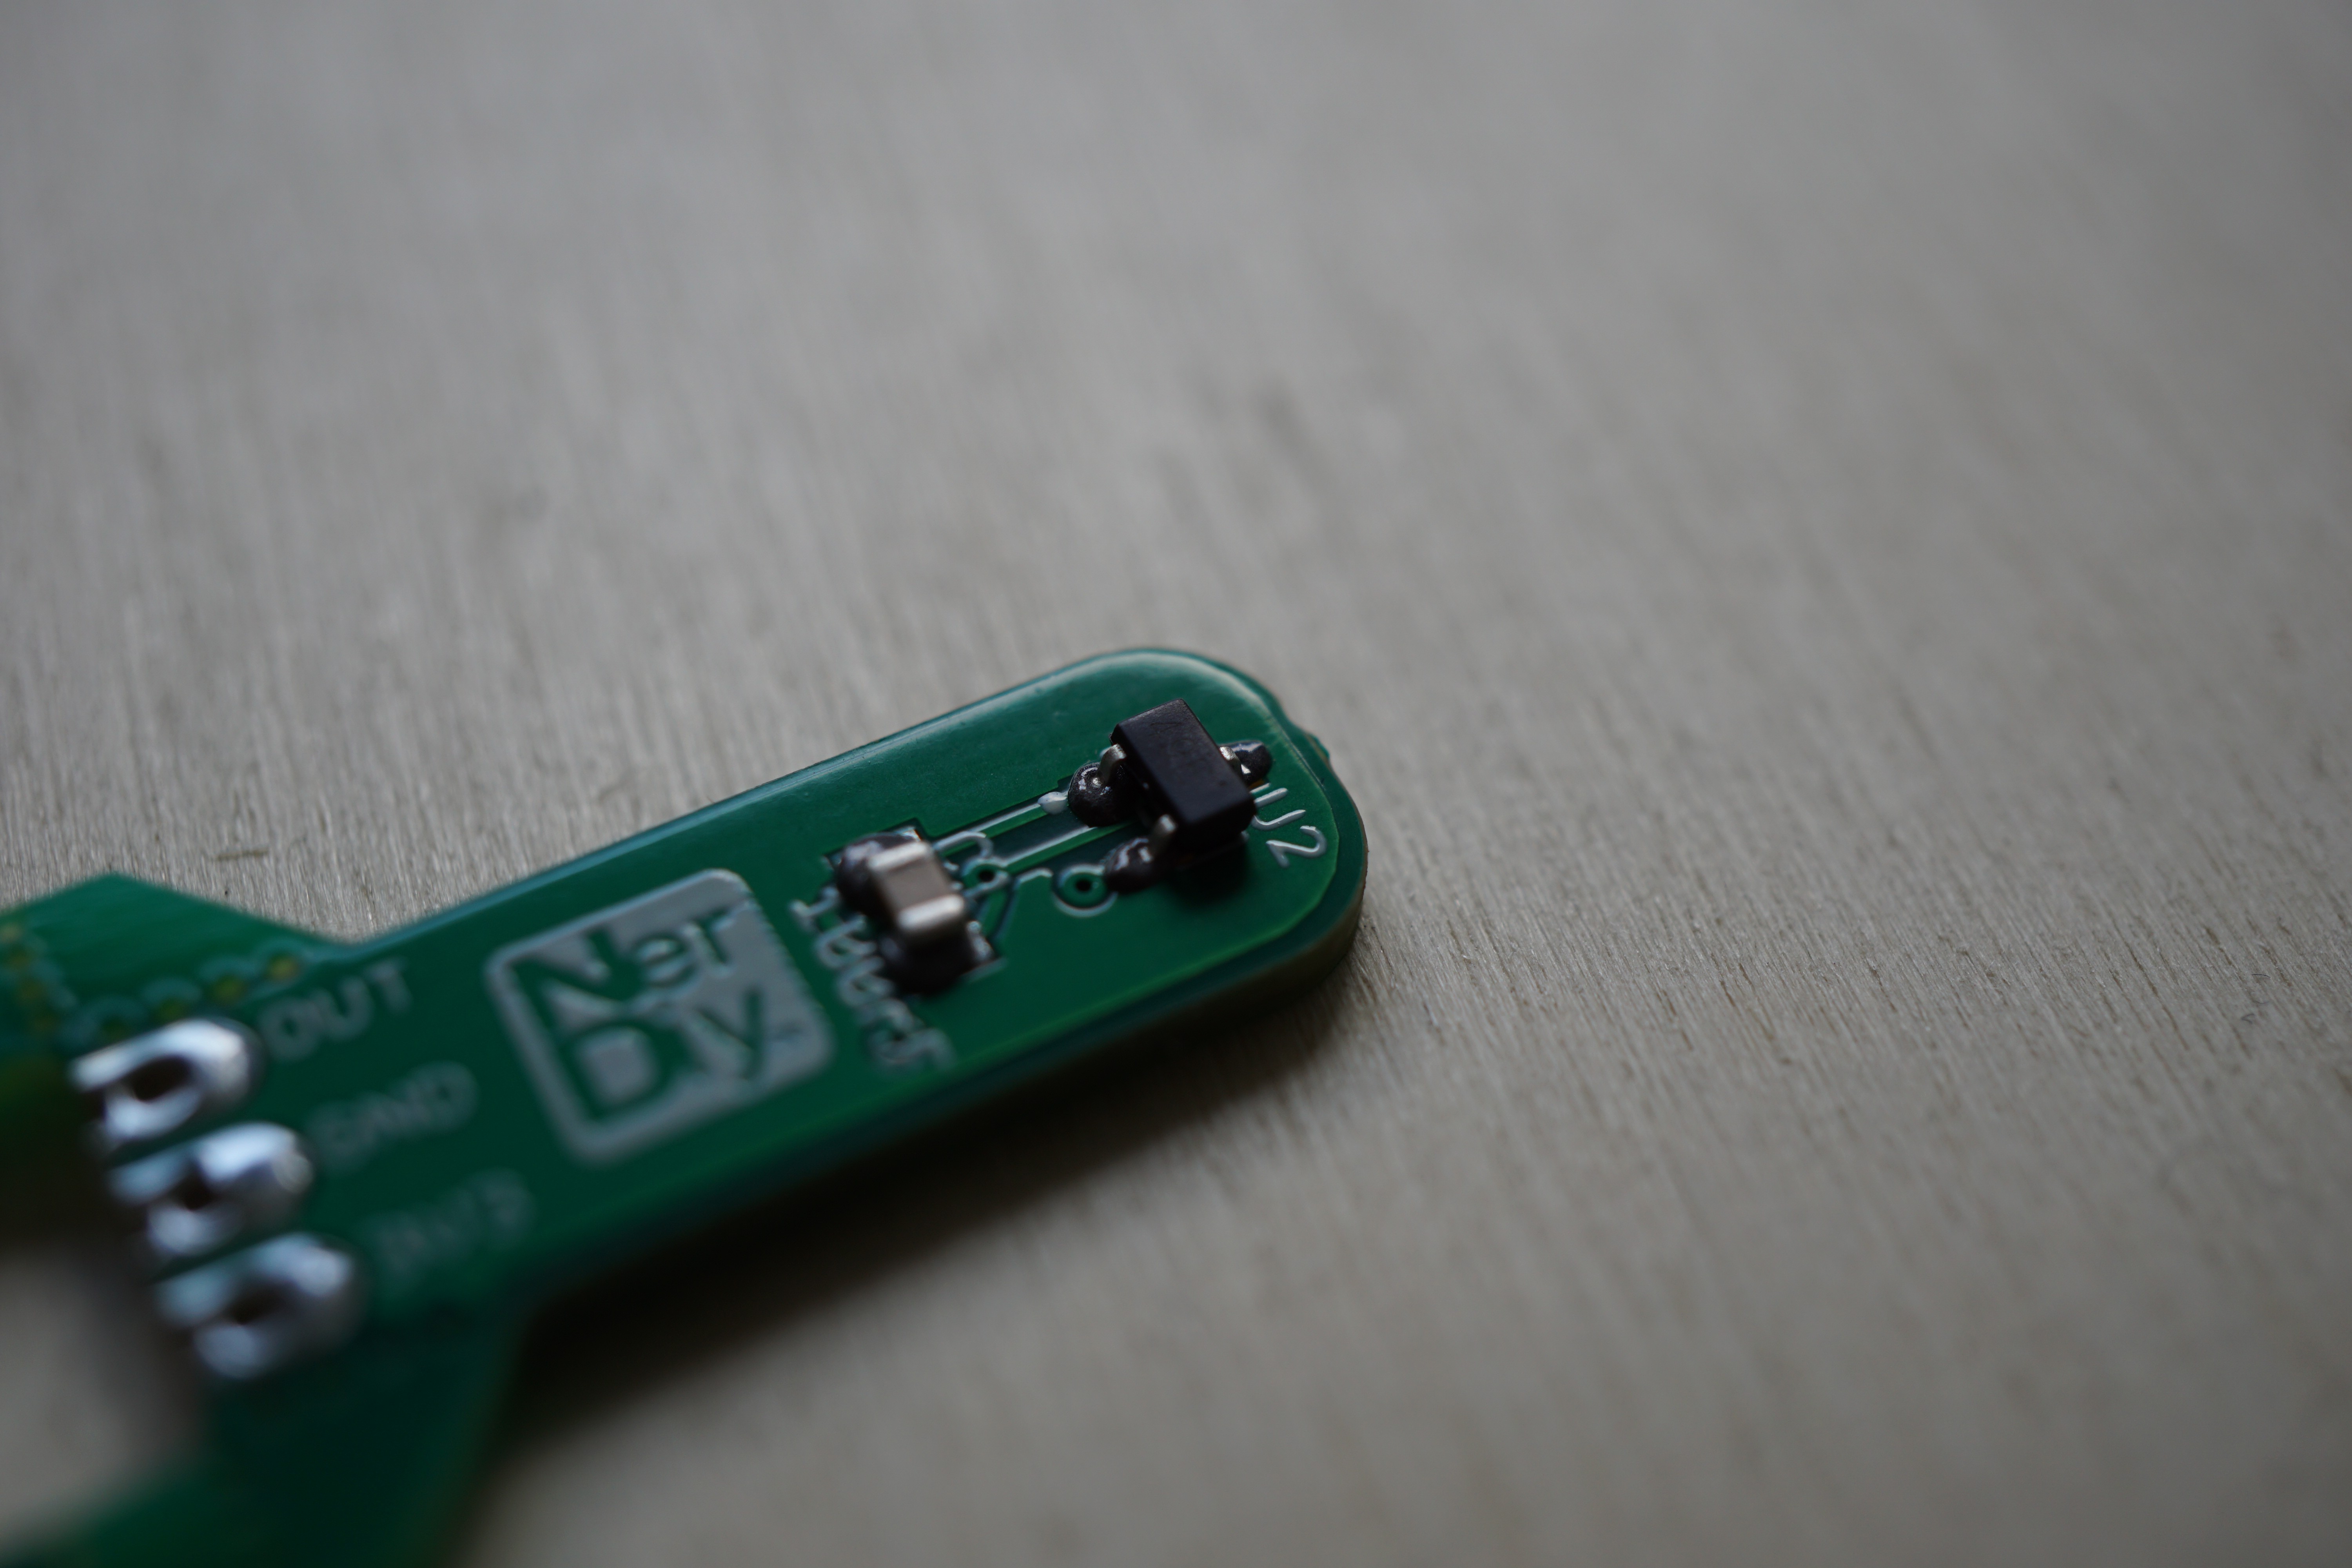
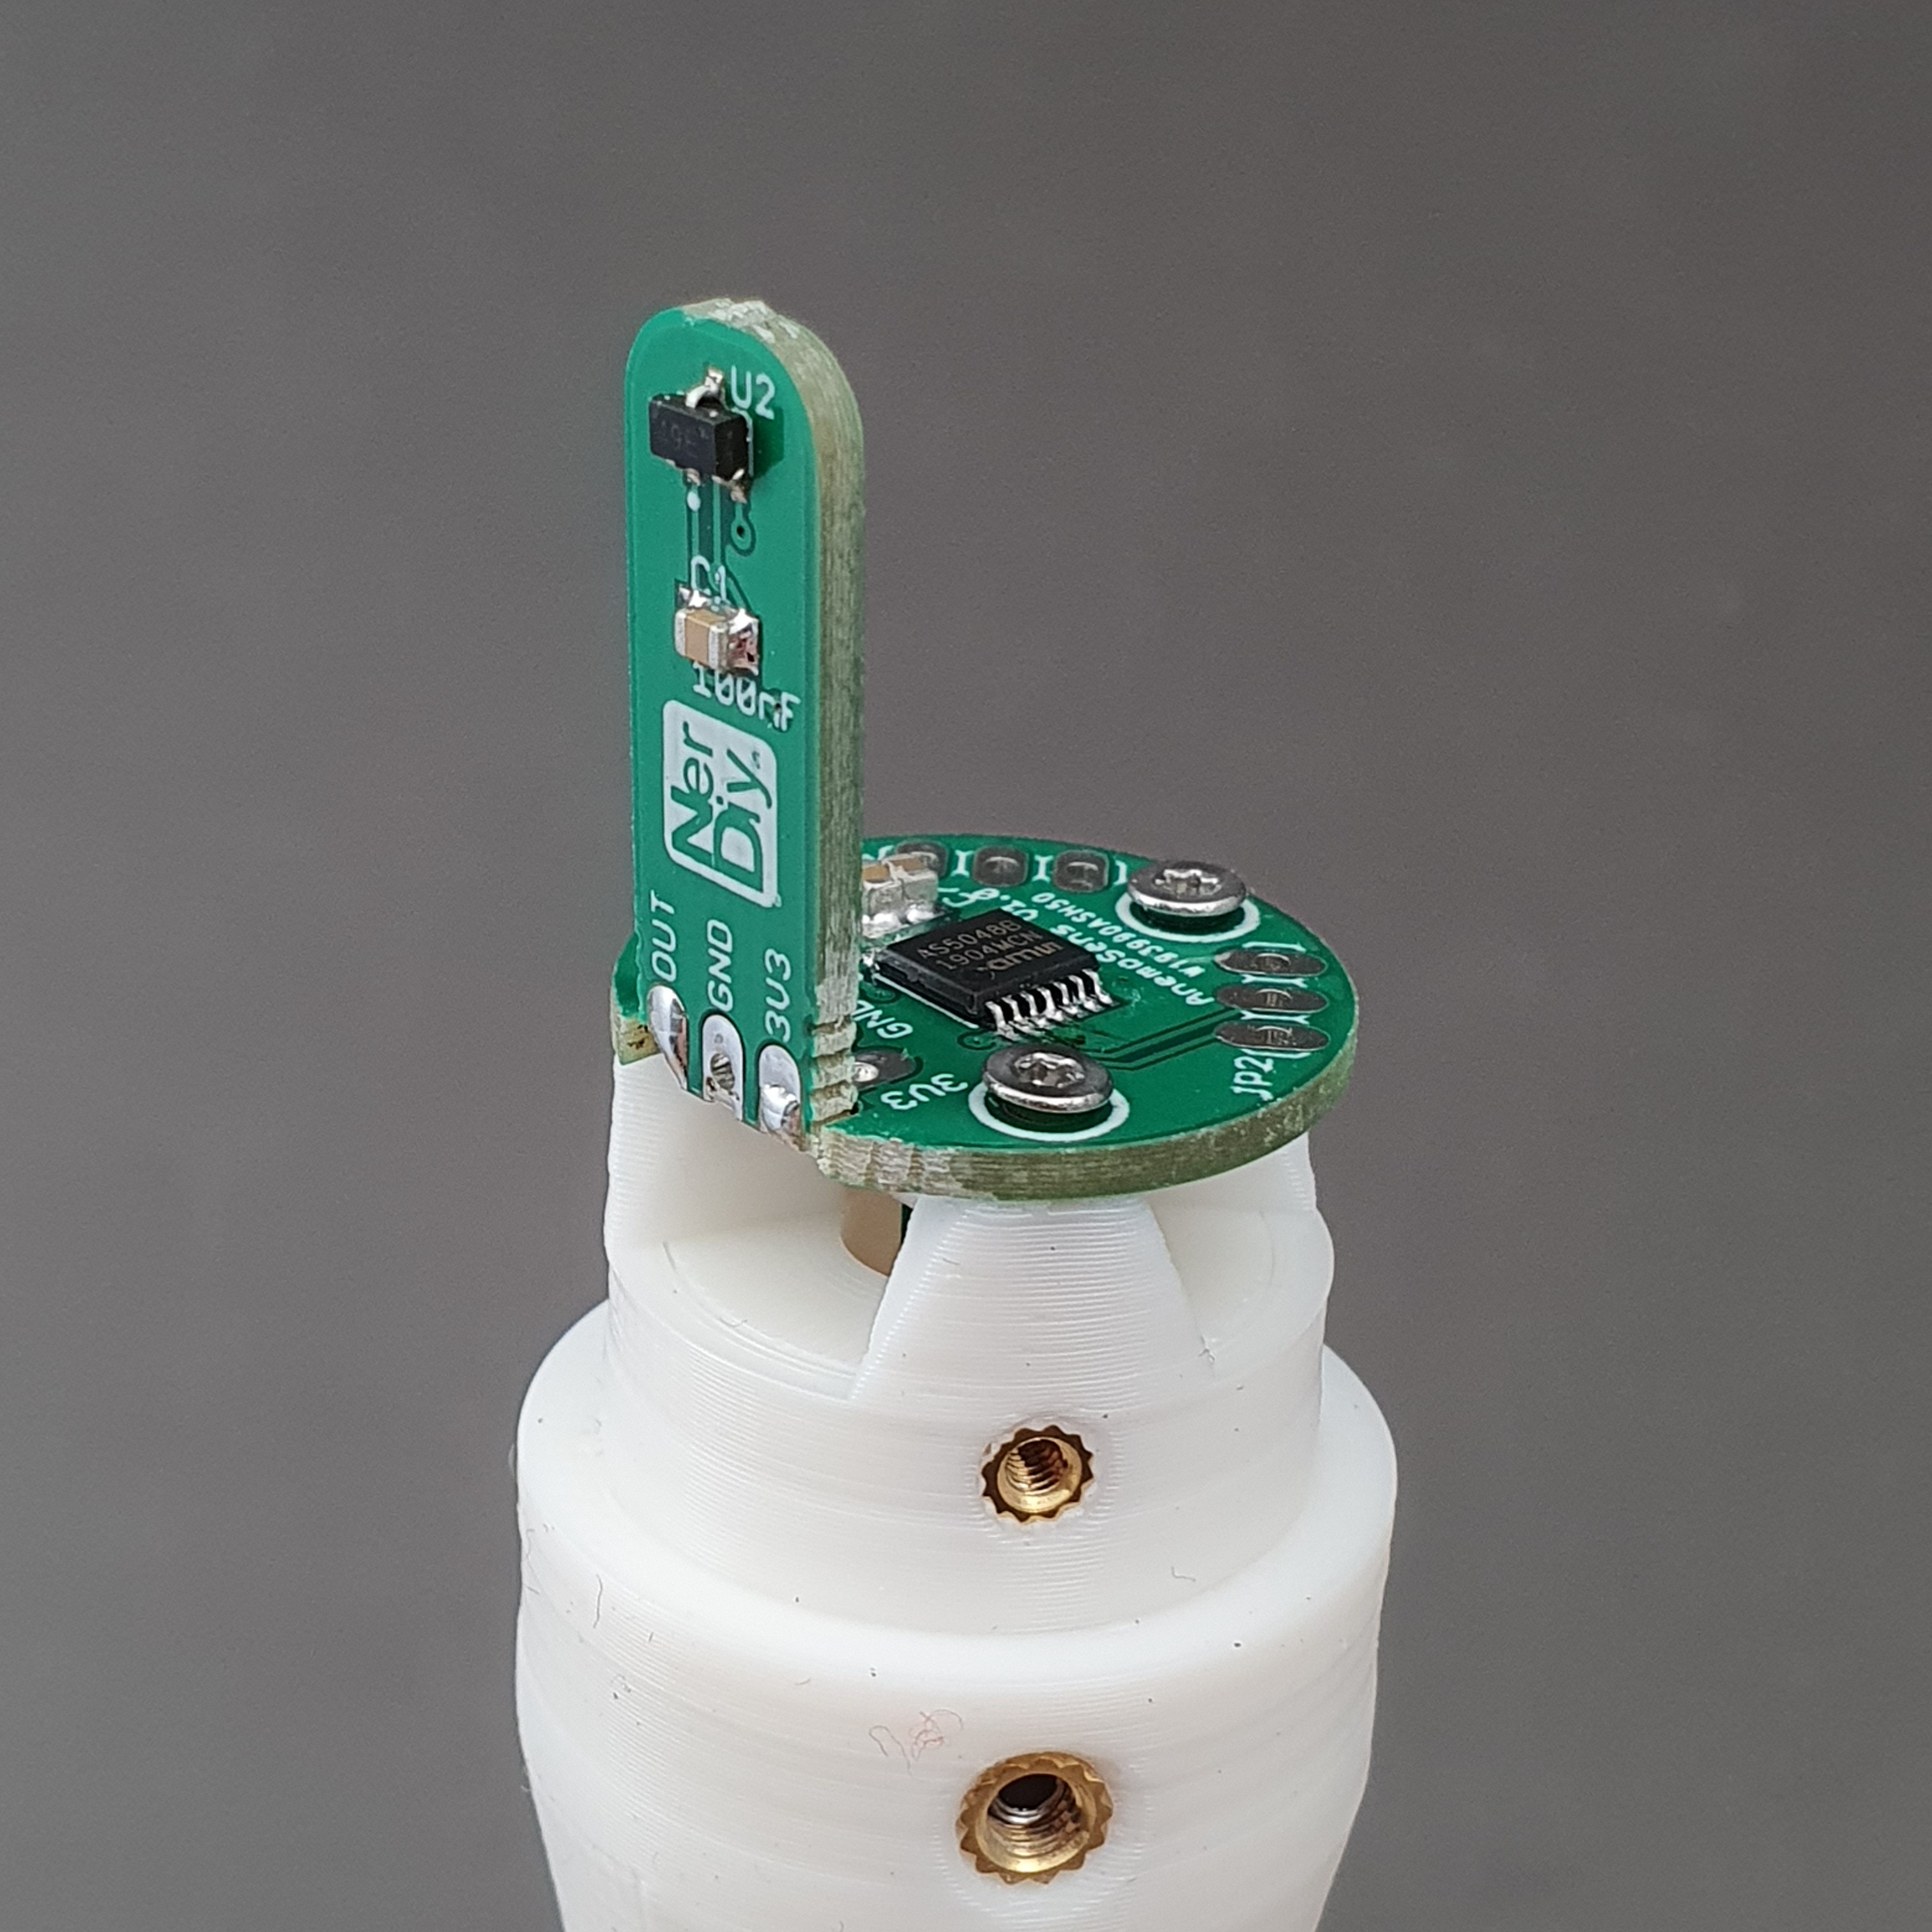
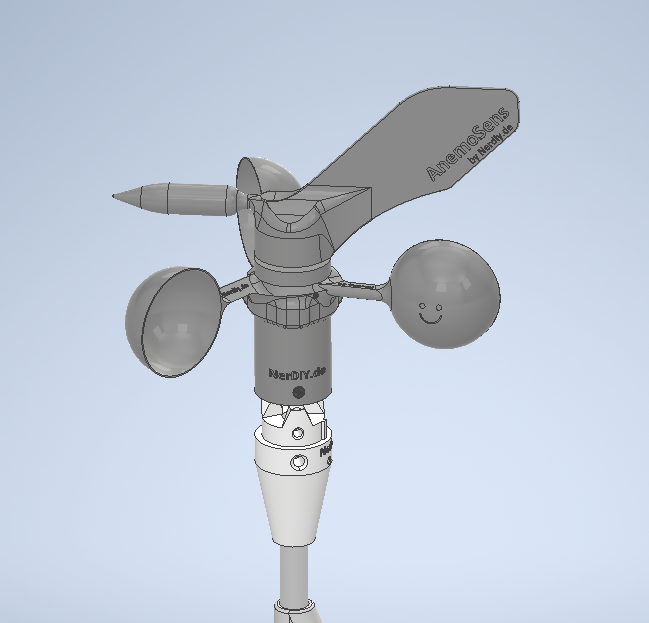
For the construction of WinDIY_2 (https://hackaday.io/project/184849-windiy2-horizontal-axis-wind-turbine) I was faced with the problem again that I needed a cheap and compact wind sensor. That's why I started to develop my own. :)


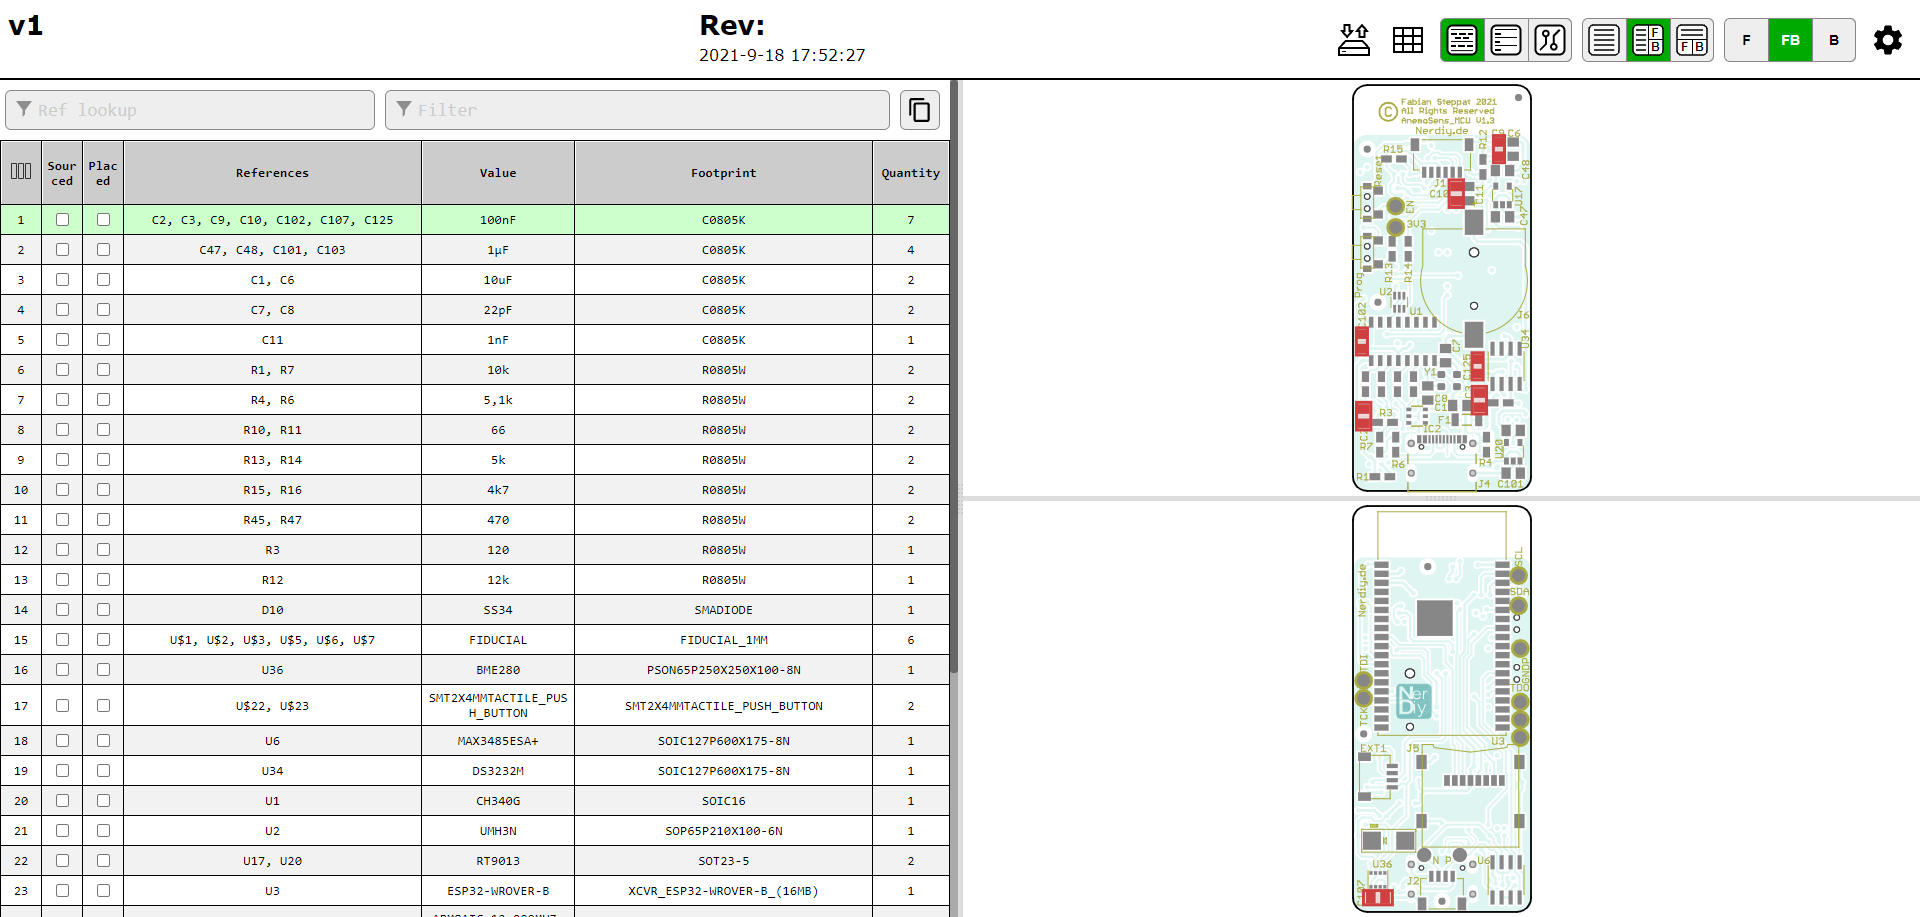
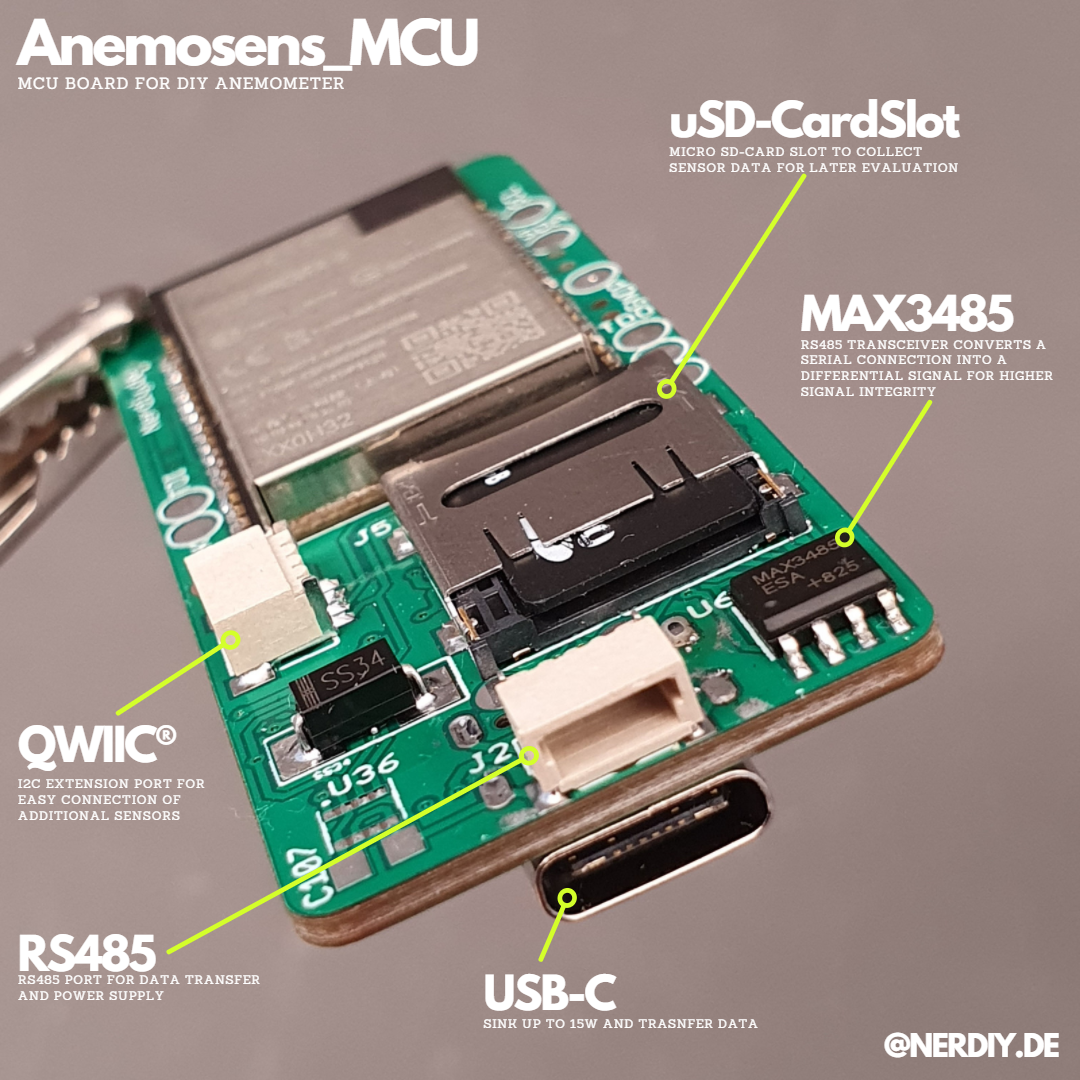
The Development is mostly finished. I'm working on an improved MCU PCB right now but the current state is already usable. You can find all the files and detailed build description on my blog: https://nerdiy.de/en/howto-anemosens-ein-3d-gedruckten-windsensor-anemometer-aufbauen/


Support:

If you want to support me, you can do so by like on this project page, on Instagram or by donating a coffee. :)


Licenses:

Content that is not based on software/code: Unless otherwise stated, all works presented here that are not based on software/code are subject to the CC BY-NC-SA 4.0 license (attribution – non-commercial – dissemination under the same conditions 4.0 international).

You can find a summary here: https://creativecommons.org/licenses/by-nc-sa/4.0/deed.de

You can find the complete legal text here: https://creativecommons.org/licenses/by-nc-sa/4.0/legalcode.de

Software/code-based works Unless otherwise stated, all software/code-based works presented here are subject to the GNU Affero General Public License v3.0

You can find a summary here: https://tldrlegal.com/license/gnu-affero-general-public-license-v3-(agpl-3.0)#summary

The complete legal text can be found here: https://www.gnu.org/licenses/agpl-3.0.de.html

  • Whats next?

    Fab08/12/2022 at 14:54 0 comments

    While this project looks like it's complete, there are still a few things to do.

    I am currently working on a simple 3D printable wind tunnel, which I want to use to calibrate "Anemosens" properly. So it should be possible to get a list of calibration values for the different wind speeds.

    First glimpse on the initial state of the 3D printable wind tunnel.
    First glimpse on the initial state of the 3D printable wind tunnel.

    In addition, I am working on a new circuit board for the Anemosens MCU. With this it should be possible to evaluate the sensors from Anemosens even in battery operation and to be able to log or forward the data if necessary. The current board is not really suitable for this because the circuit is not optimized for battery operation. More information will follow as soon as I have finished the first draft. :)

  • First build information available

    Fab05/31/2022 at 17:49 0 comments

    In the last days I added a first build guide on my blog Nerdiy.de. It includes the guide for the sensor PCB and the MCU PCB for Anemosens.

    You can find the build guides at the following links:

    In previous projects I inserted individual pictures in my build guides showing which components have to be soldered where on the PCB.

    An even better way to get an overview of which components belong where on the PCB is provided by the Open Scope ProjectWith this you can generate very helpful HTML files in which you can see directly which components have to be installed where on the PCB.

    You can see the overview for the Anemosens Sensor-PCB here: Anemosens Sensor-PCB

    You can see the overview for the Anemosens sensor PCB here: Anemosens_MCU PCB

    Additional infos are also available in the git repository of anemosens:

    https://github.com/Nerdiyde/Anemosens/

  • Anemosens MCU Board

    Fab05/31/2022 at 17:49 0 comments

    In the last few days I have assembled, tested and programmed the MCU board for Anemosens.

    Thanks to the MCU Board it will be possible to use Anemosens as a standalone Anemometer that can be used for long time observations in remote areas (therefore the microSD-card slot) or just as one part of your weatherstation (therefore the RS485 interface).

    The RS485 interface is used to make the measured data available via Modbus. This way you can connect the Anemometer easily to your RaspberryPi, PC or many other platforms that support RS485/Modbus. :)

    Additionally you can activate a serial-stream of the data (packed as handy JSON) via the USB connection.

    And last but not least the integrated ESP32 also opens a BLE Server. Thanks to this you also have the possibility to pull the data wirelessly using your smartphone or computer. 

    Of course you can also write your own firmware and program it via the integrated USB-C port. The QWIIC-port makes it easy to connect additional sensors via I2C. :)

  • First prototype of Anemosens

    Fab05/31/2022 at 17:49 0 comments

    The first prototype is finished. Please see the pictures and the video for further details. :)

  • Finished the sensor PCB

    Fab05/31/2022 at 17:48 0 comments

    In the meantime I have also created the circuit board for the Anemosens sensors and completed the first tests.

    A Hall sensor (for detecting the wind speed) and an AS5048B rotation angle sensor are located on the circuit board. With the latter, the direction of the wind can be determined.

    As always, you can see more details in the pictures. :)

  • Slightly adapted design

    Fab05/31/2022 at 17:48 0 comments

    The design of Anemosens is now quite finished.

    I made the tip a little "sleeker" to show the wind direction. In addition, the base has also become a bit more compact.

    The circuit board including sensors will also be housed in the base :)

View all 6 project logs

Enjoy this project?

Share

Discussions

dg wrote 08/03/2022 at 23:51 point

How are you calibrating the anemometer?

  Are you sure? yes | no

Fab wrote 08/11/2022 at 16:57 point

I'm currently working on a "tiny" windchannel to be able to properly calibrate this. :)

  Are you sure? yes | no

peter.merchant wrote 08/03/2022 at 16:25 point

I read about a tulip anemomenter when I was printing my cup anemometer. Here is a short video comparing them Both use the same bearings (out of a hard disk) 

https://www.youtube.com/shorts/g-kcUUfxBrw

  Are you sure? yes | no

Fab wrote 08/11/2022 at 16:58 point

Thanks for the hint! :)

  Are you sure? yes | no

Similar Projects

Does this project spark your interest?

Become a member to follow this project and never miss any updates