 Peter Walsh
Prior Planning makes tedious jobs easier
Attaching 14" leads to 30 vibration motors using thin wires is a complete PITA, so I took some time to come up with a fast way.
It occurred to me that if one were to hook one wire on another with a weight at the end, the hooks would keep the wires in contact while soldering. The motors act as an acceptable weight, and the whole process becomes much simpler.
I was able to process 16 motors in in an hour using the following technique. Someone with younger eyes could probably do it a little faster - I always seem to have trouble "threading the needle" when hooking the motors.
You may be able to extend and adapt this system for even better results.
Tools needed
- Two sticks (pencils will work)
- Rubber bands
- Twist ties
- Heat shrink tubing
- Long rules
- Clamps
- Drill gun
- Wire wrap stripper
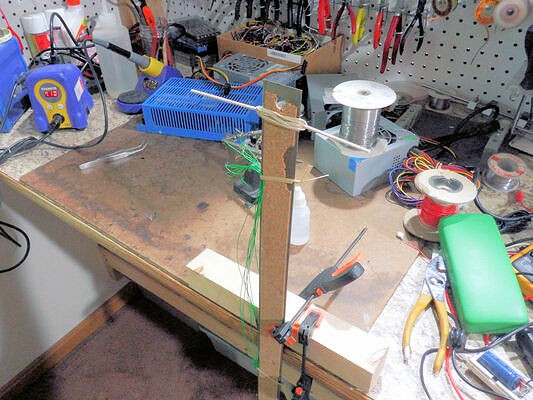
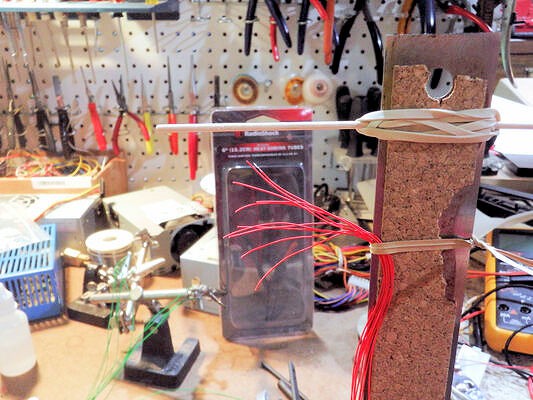
Step 1: Make a wire jig
The first step is to make a jig to allow fast measurements and cuts of wire. Some hobby sticks and rubber bands attached to a ruler fit the bill.
Here's a hobby stick fastened at the 15 inch mark:
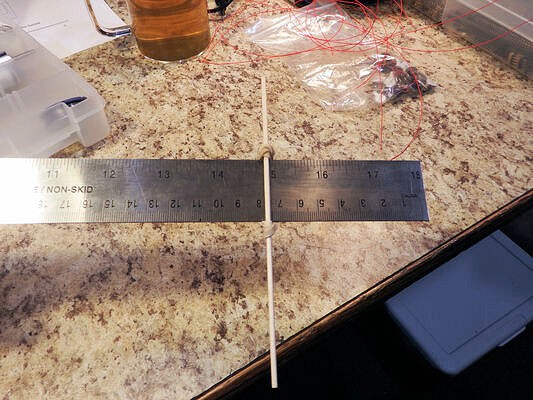
And here's the other end, at the 1" mark. Total 14 inches of lead.

Wind the wire across the two jutting sticks
Using twist ties (the grey thing on the ruler), clamp the wires onto the ruler to keep them together. Use two or more ties - at least one at each end.
With the wires clamped, cut the wires loops at each end.
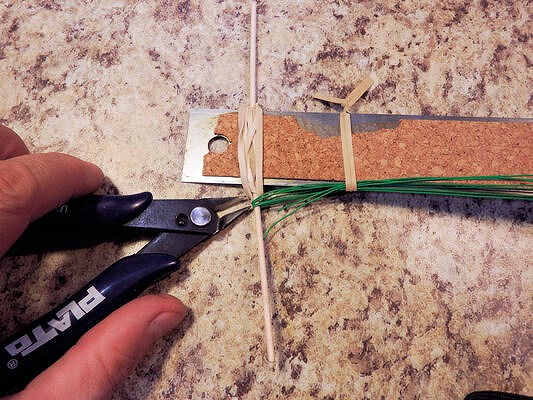
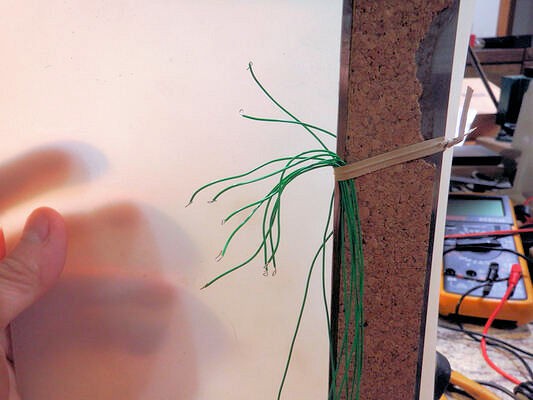
When done, bend the wires out so that they are held tidy by the twist ties. Bend the bottom section of wires (not shown) up 180 degrees and twist them together. This will help keep both ends in place.
Result: N wires neatly held to the rules, where N is the number of wire loops.

Step 2: Soldering the motors
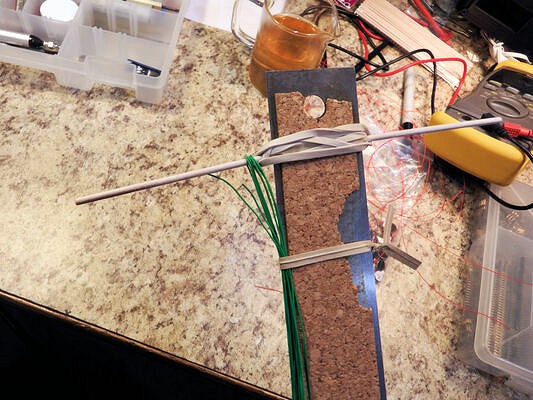
Clamp the ruler+wires onto your workbench for soldering.
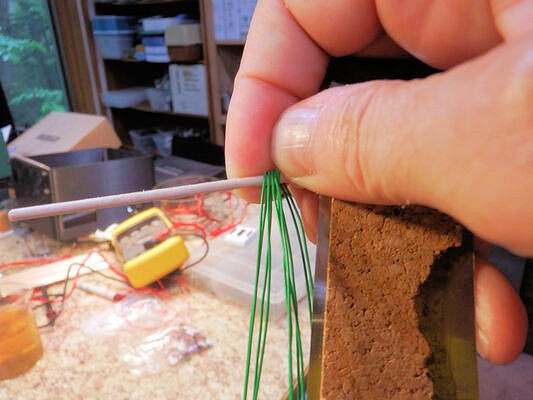
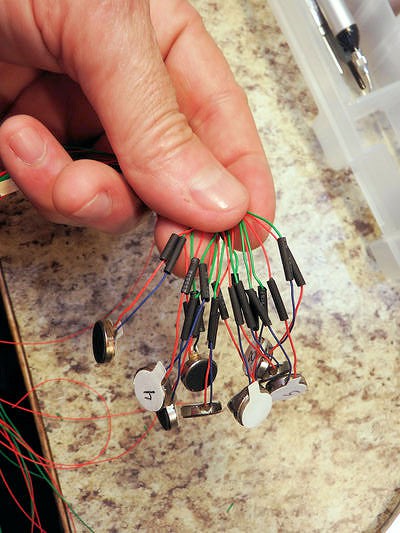
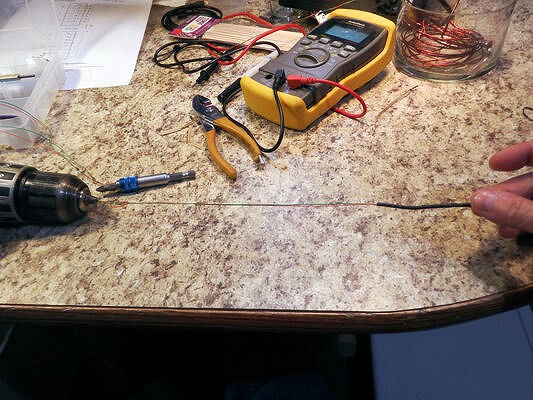
Strip the ends, and use a pair of tweezers to put a loop in the stripped end of each wire. (One loop shown against the finger.)
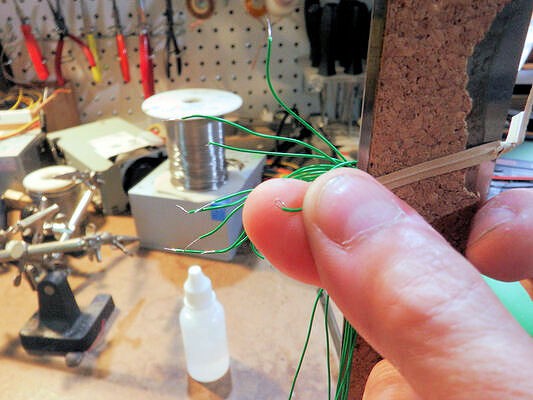
Loops in the ends of all wires.
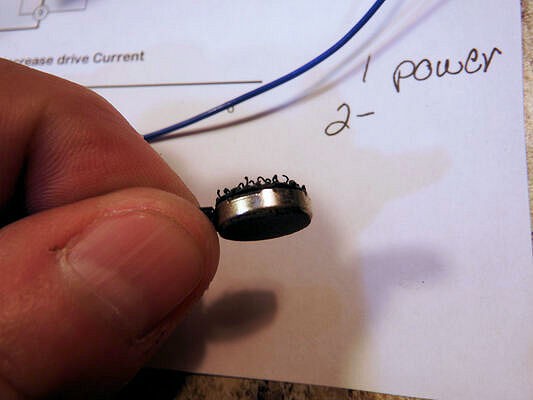
Place bits of heat-shrink tubing on the motor wires, and strip the ends if needed.
UPDATE: I've found that the existing tiny tinned ends of the motor wires are sufficient for this. A pair of tweezers can put a hook into the end of the wire sufficient for the next step, no extra stripping needed.
That being said, stripping back an extra 2mm won't hurt.
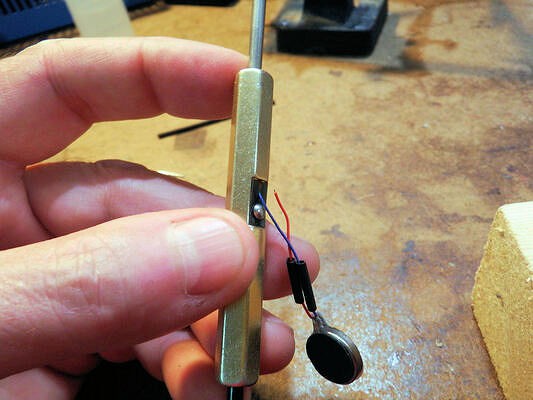
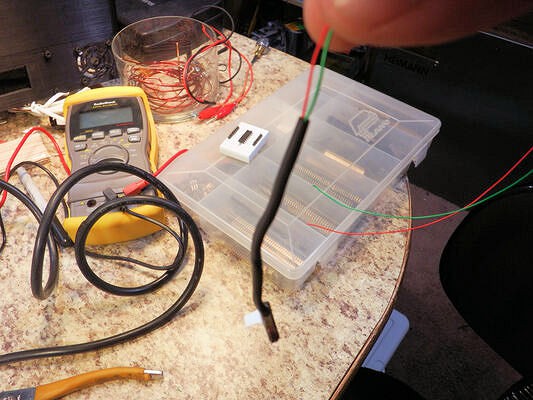
Using a pair of tweezers, make a "hook" in the end of the motor wire, and hang a motor on the end of one of the looped lead wires.
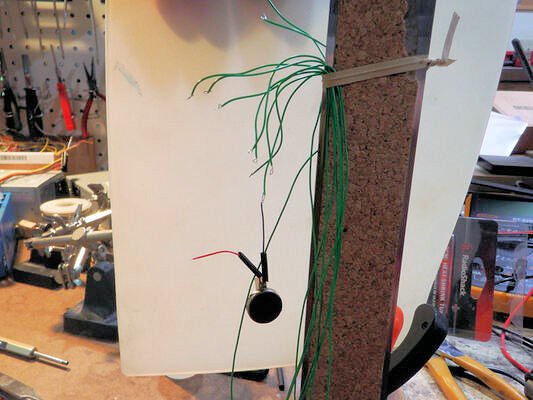
And solder. The weight of the motor and the hook-loop combination will keep the wires in good contact while soldering.
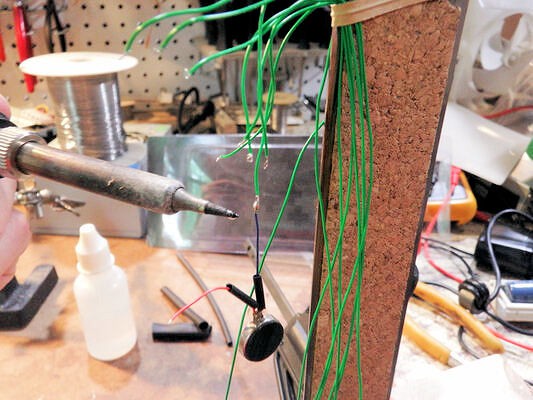
Repeat for the positive-side leads.
Step 3: Dressing
Gather the soldered motors and slide the heat-shrink tubing over the solder joints.
Hit all motors en-masse with a heat gun to set the heat-shrink.

Add a longer, slightly bigger heat-shrink sleeve over the sleeved solder joints, all the way up to the motor connection. Slide the sleeve over the motor landing pad, where the leads connect to the physical motor.
Tie a knot in the wire ends, about 2" from the end.
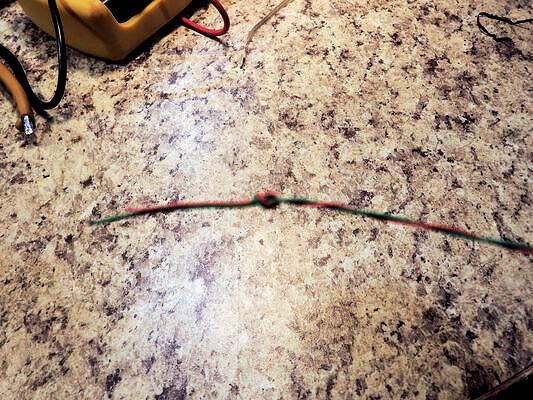
Grab the knot with the jaws of a drill gun and put a few twists into the wires.
Don't overdo it - about 10 twists will suffice to keep the two leads together.
Result after about 10 twists.

Step 4: [Optional] Adding velcro
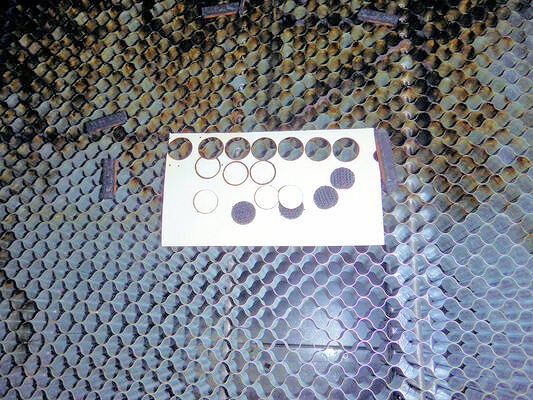
Cut out some velcro dots using the laser cutter. You can purchase velcro dots in various sizes, but I had velcro in stock and when you have a laser cutter, everything looks cuttable.
Also, I can make velcro dots in the exact size needed, the velcro doesn't overhang the edge of the motor and so doesn't tend to be peeled off as easily.
Remove the paper backing form the existing motor adhesive
 Remove backing from velcro and place over motor.
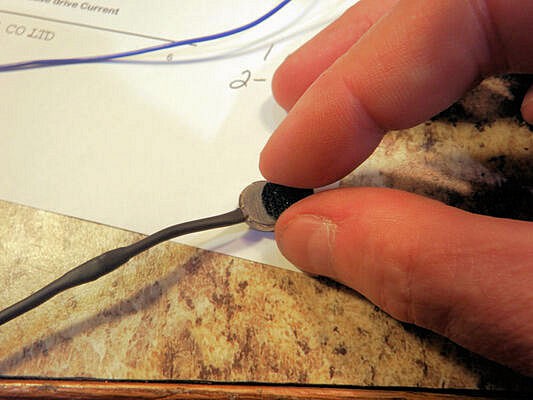
Result: one motor, with velcro hooks.
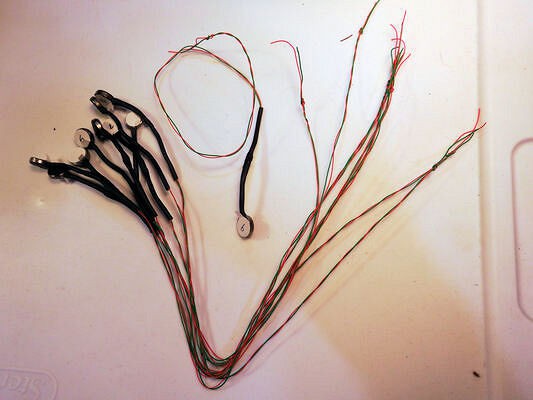
All motors done.
Discussions
Become a Hackaday.io Member
Create an account to leave a comment. Already have an account? Log In.