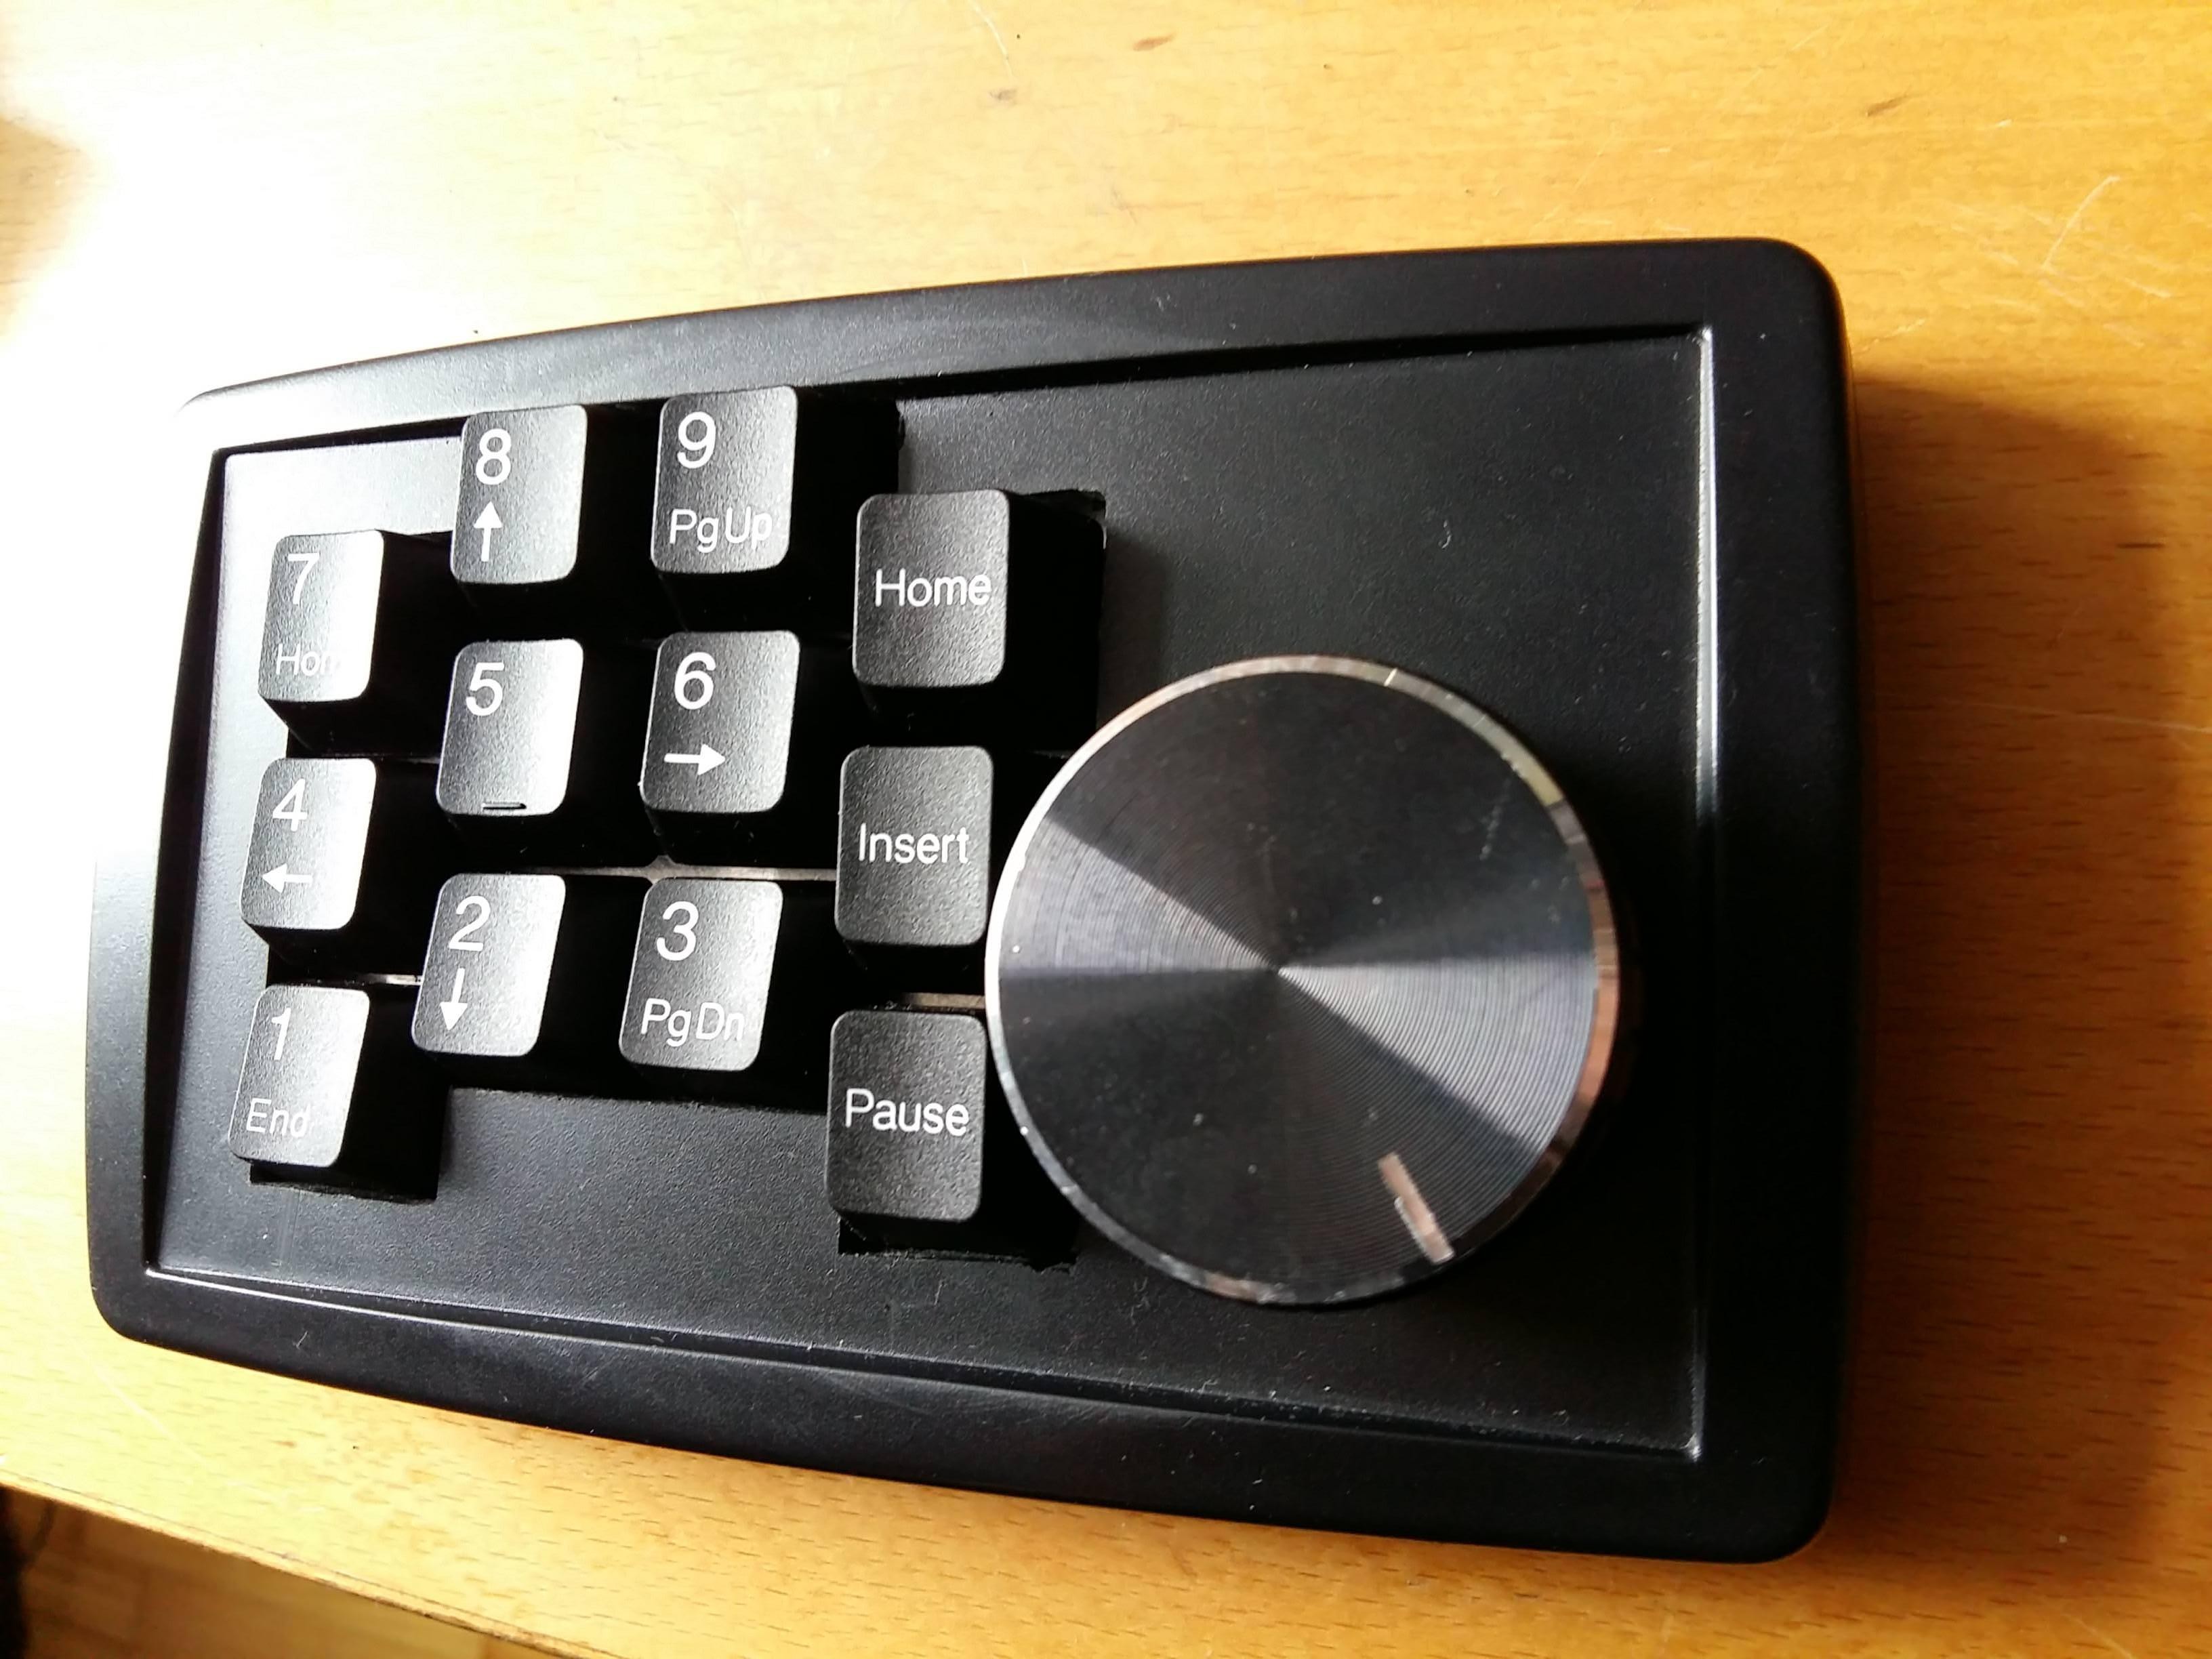
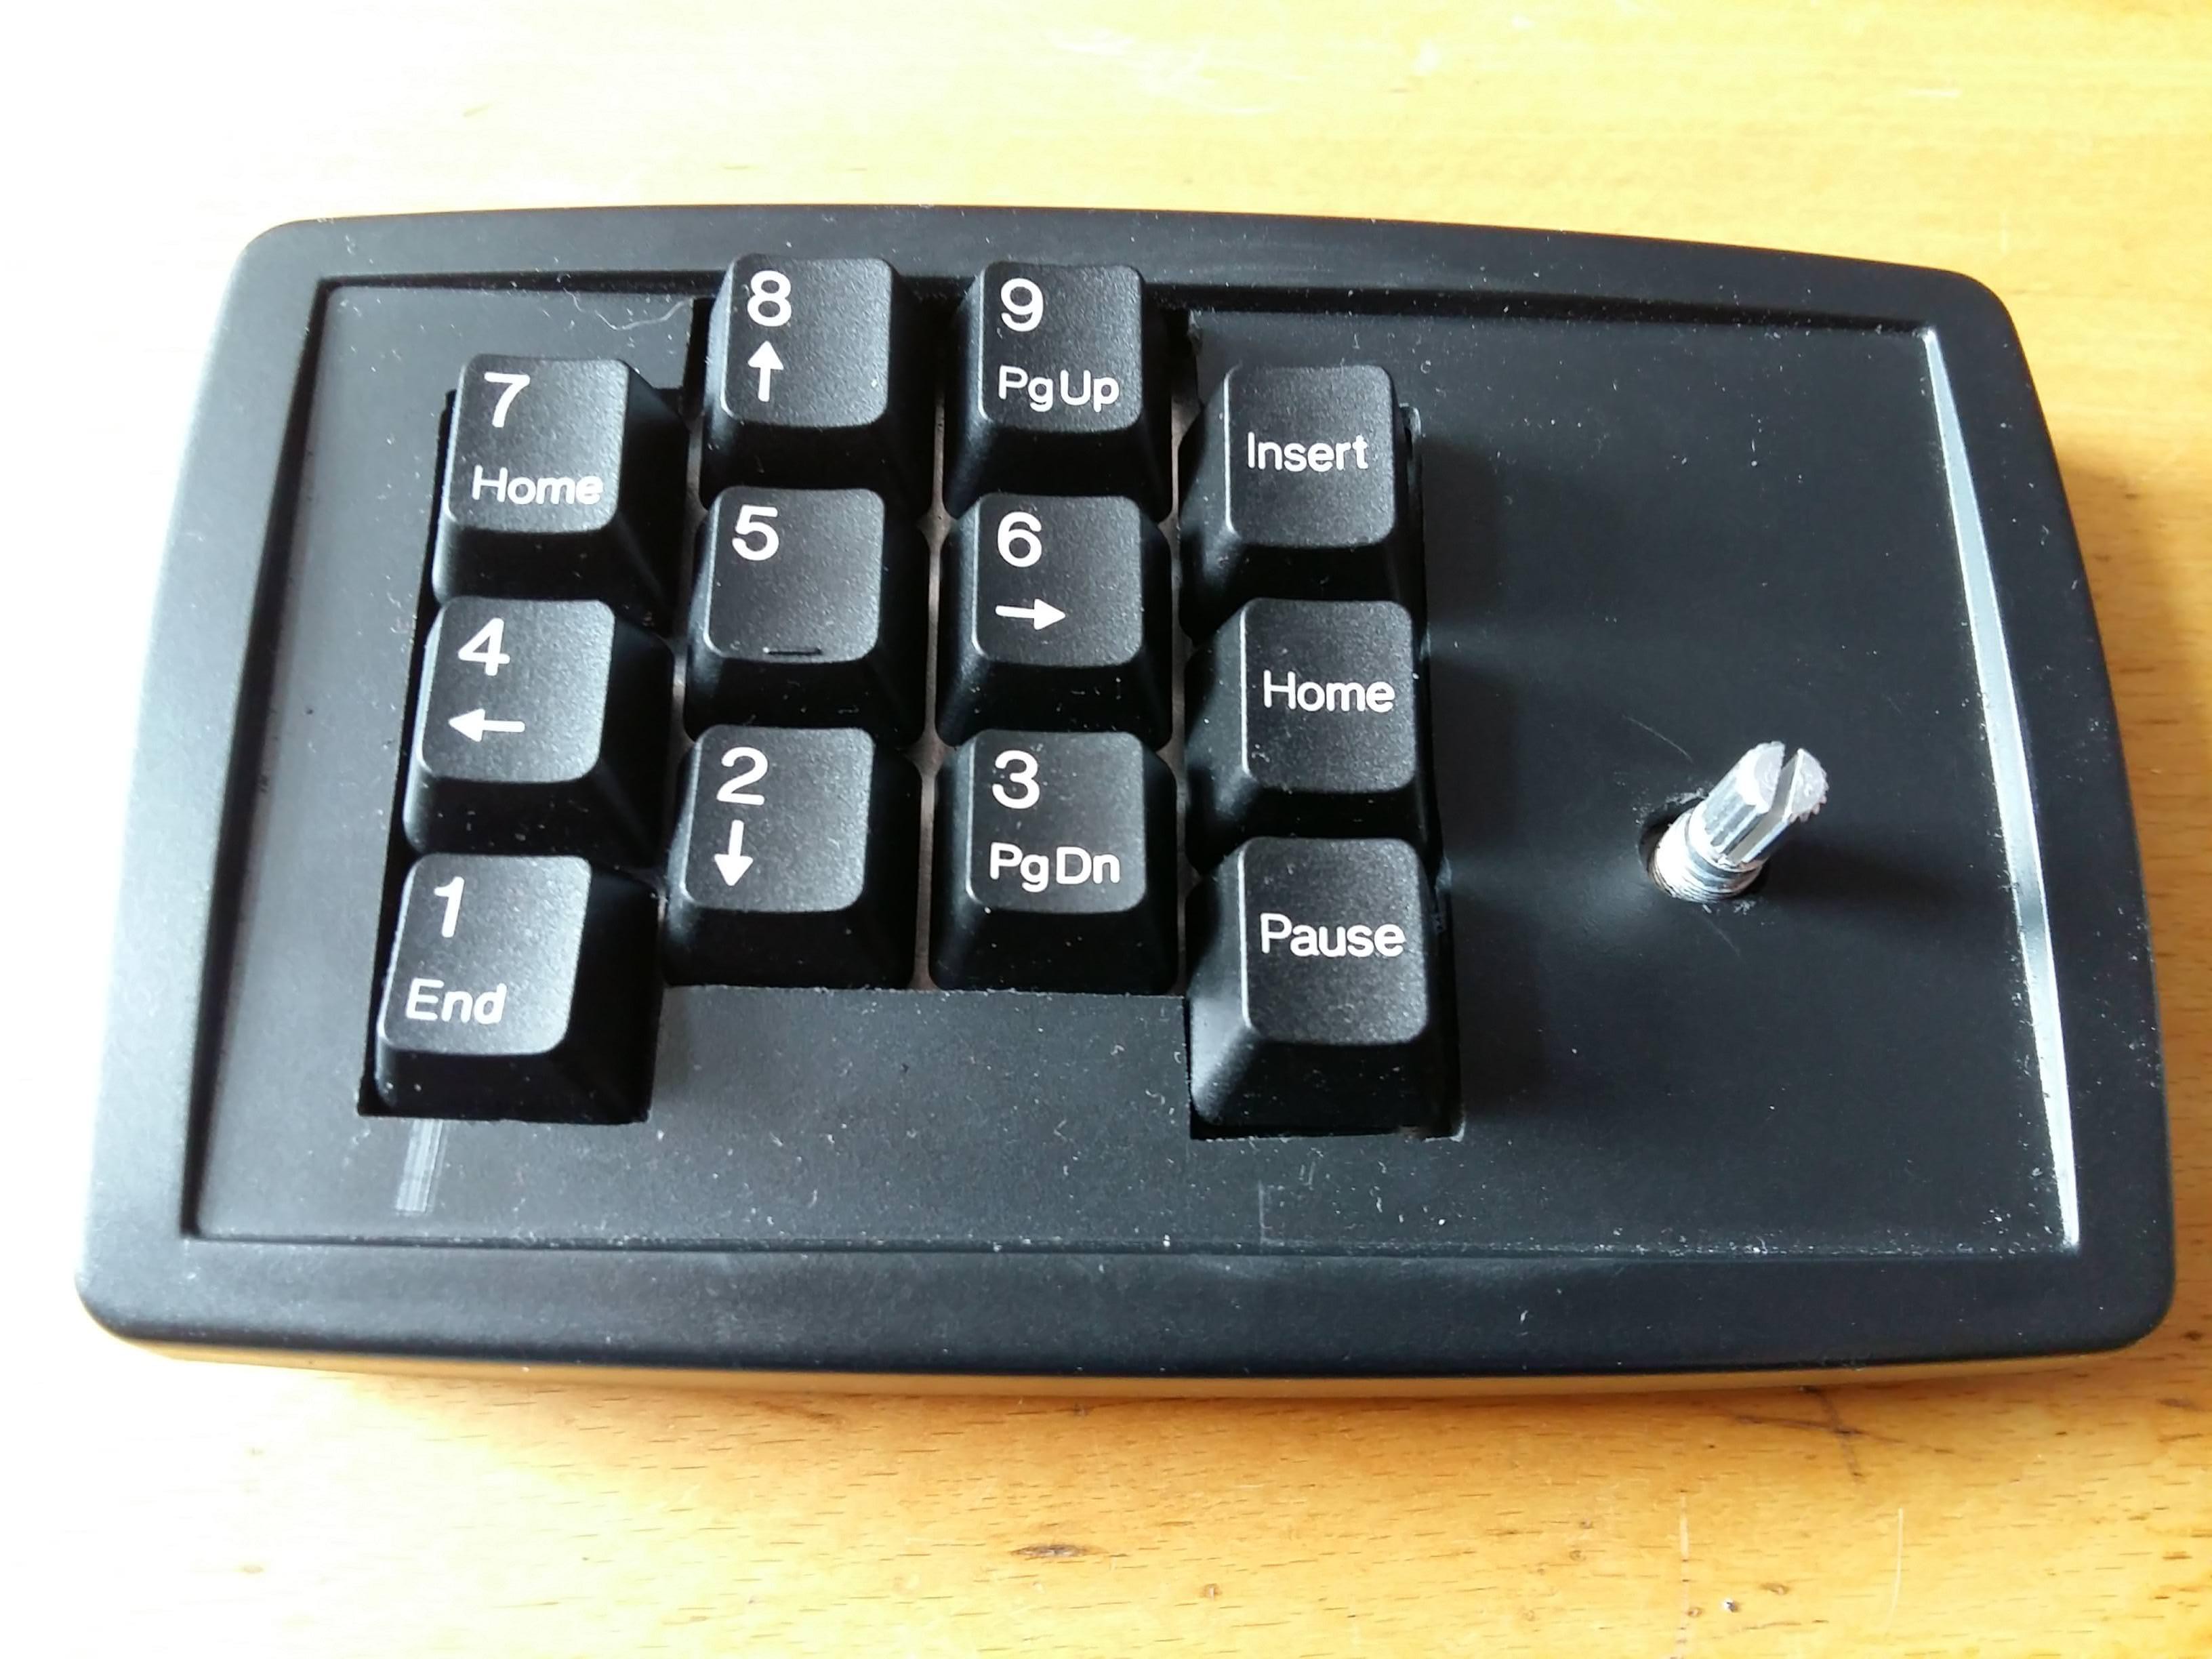
This is a 12-button programmable keyboard with mechanical switches, plus a rotary encoder. In default mode (i.e. when you plug it in) it's a Media controller: Play/Pause, skip track, rev/ffd etc, and the dial works as a volume knob. Press the knob and it switches modes - I've got it configured for my video editing software, so the knob works to scrub the frames left and right. Press again and it's back to being a media controller.
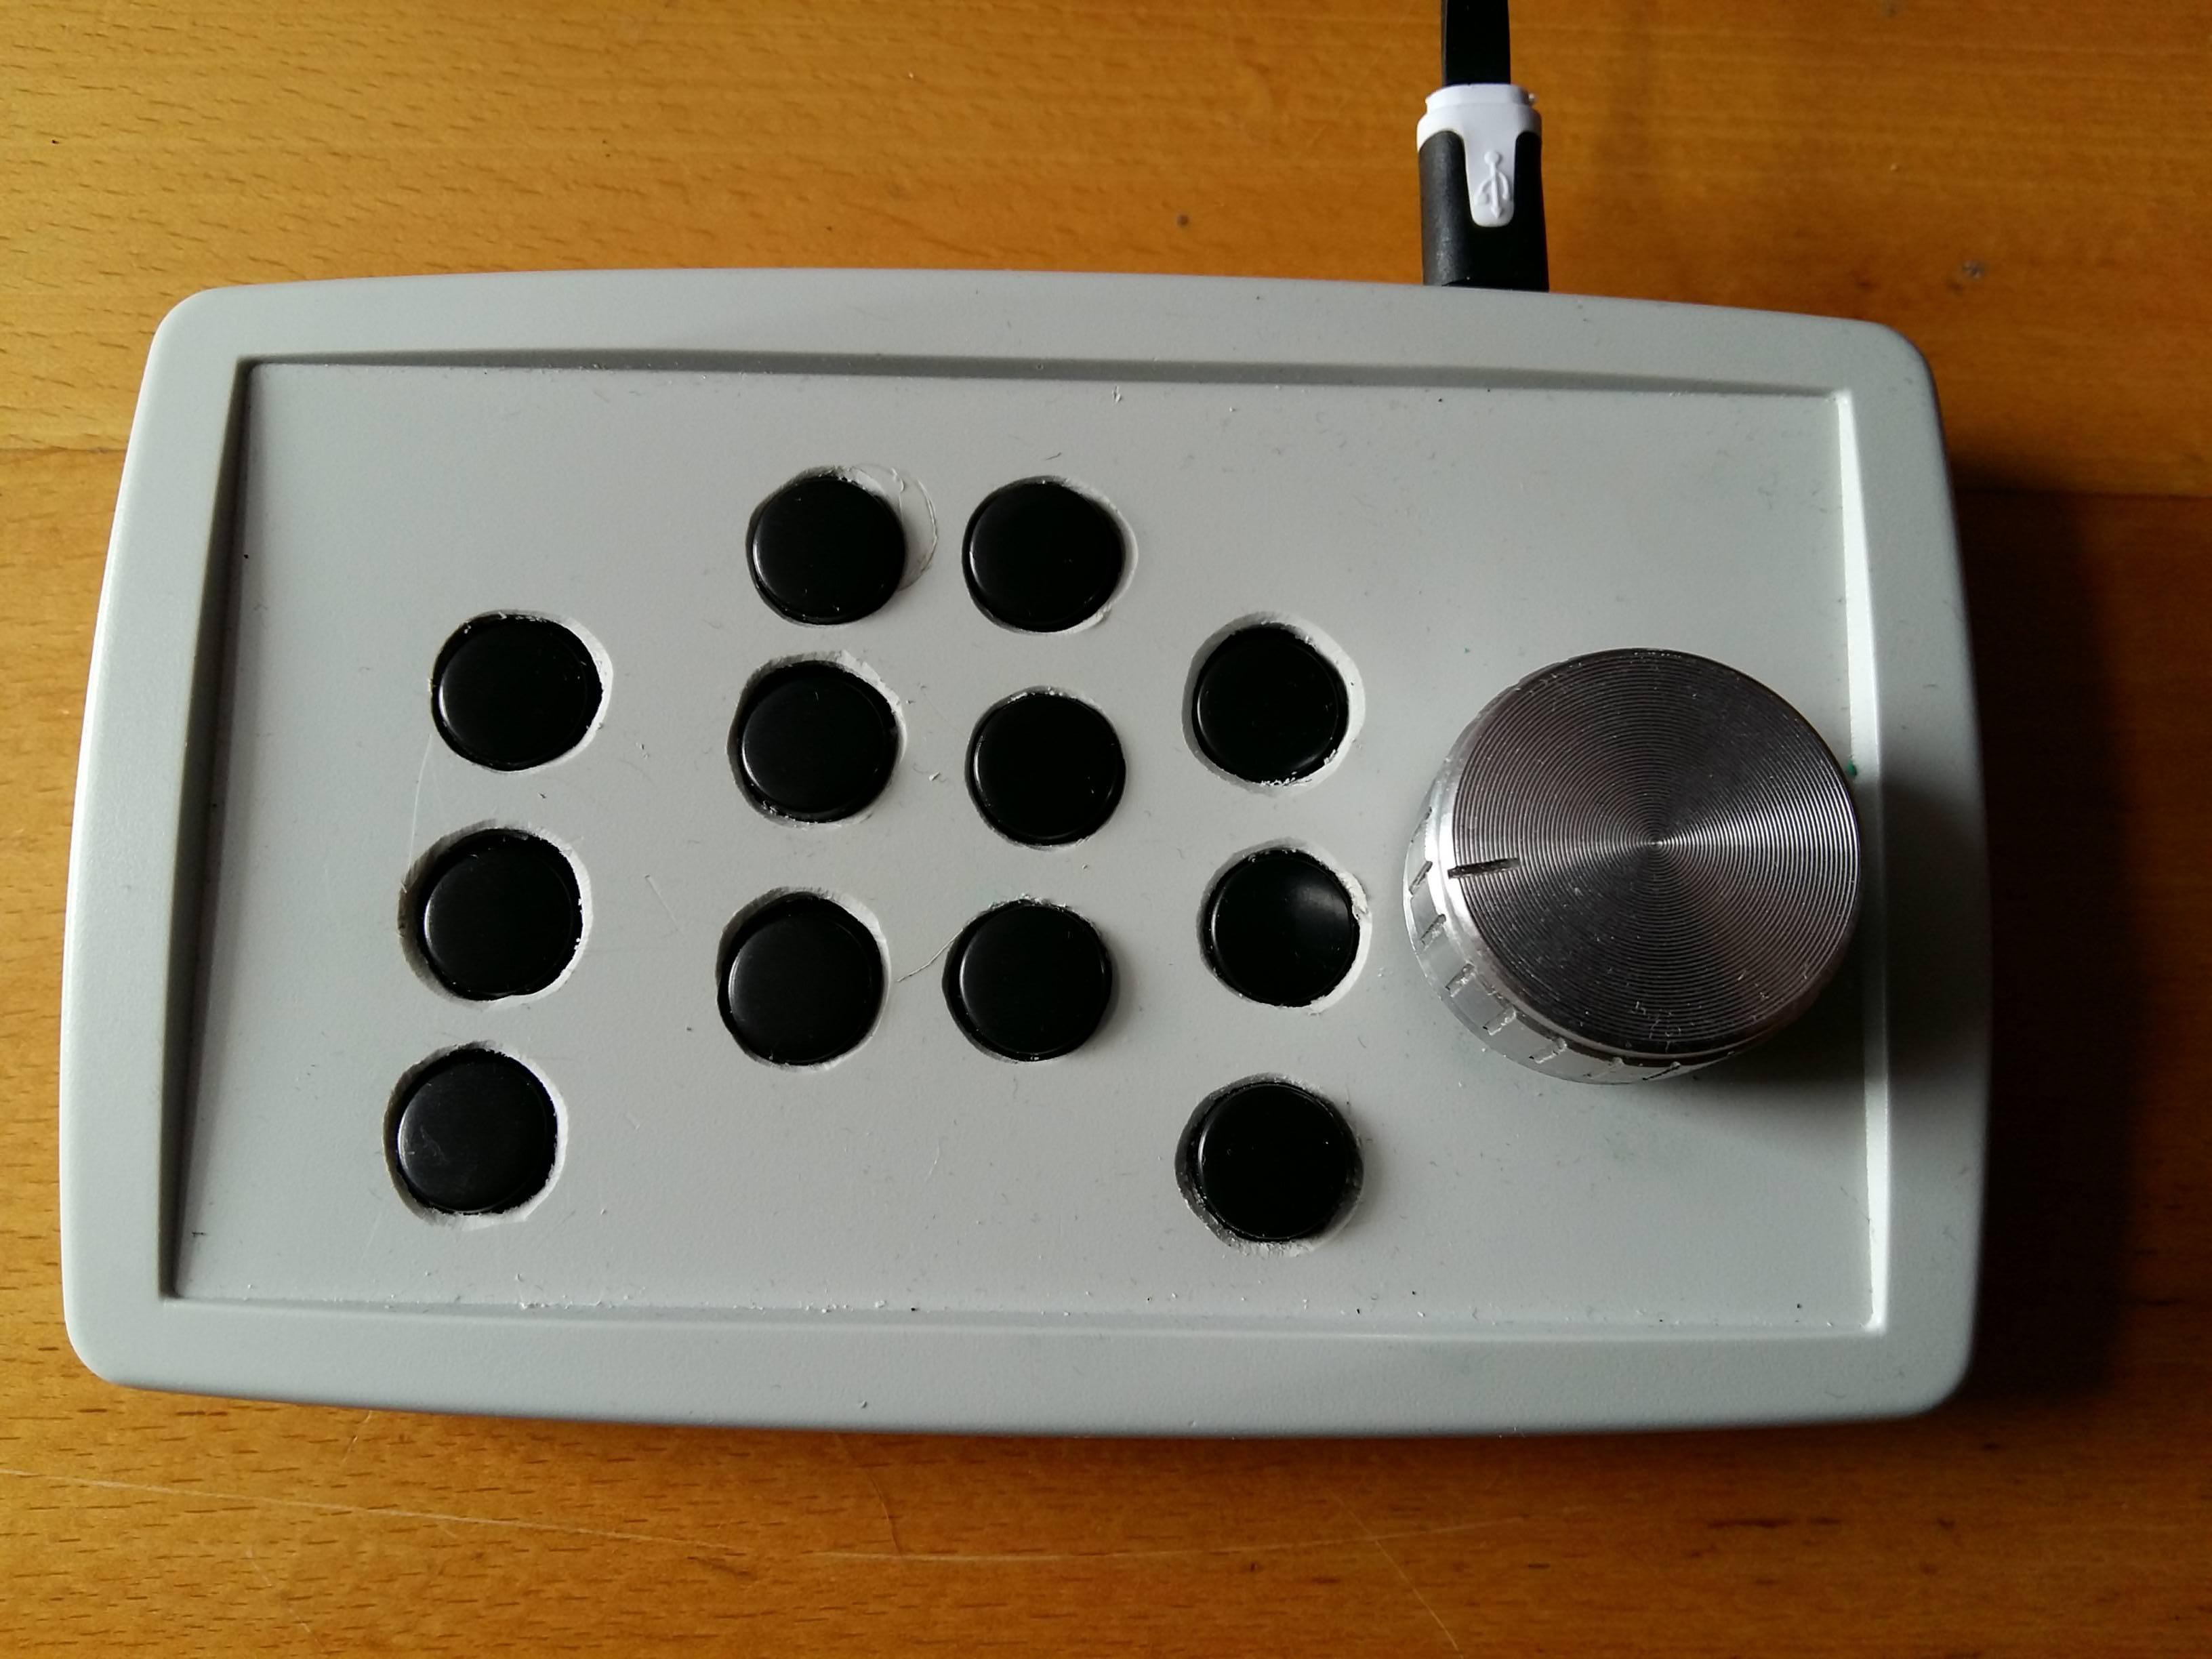
To start, I built a prototype; 12 tact switches hacked into a typical beige hobby board from my local electronics shop. I used this to work out what keys I wanted, how I wanted them arranged and whether any of this made any sense. It did.
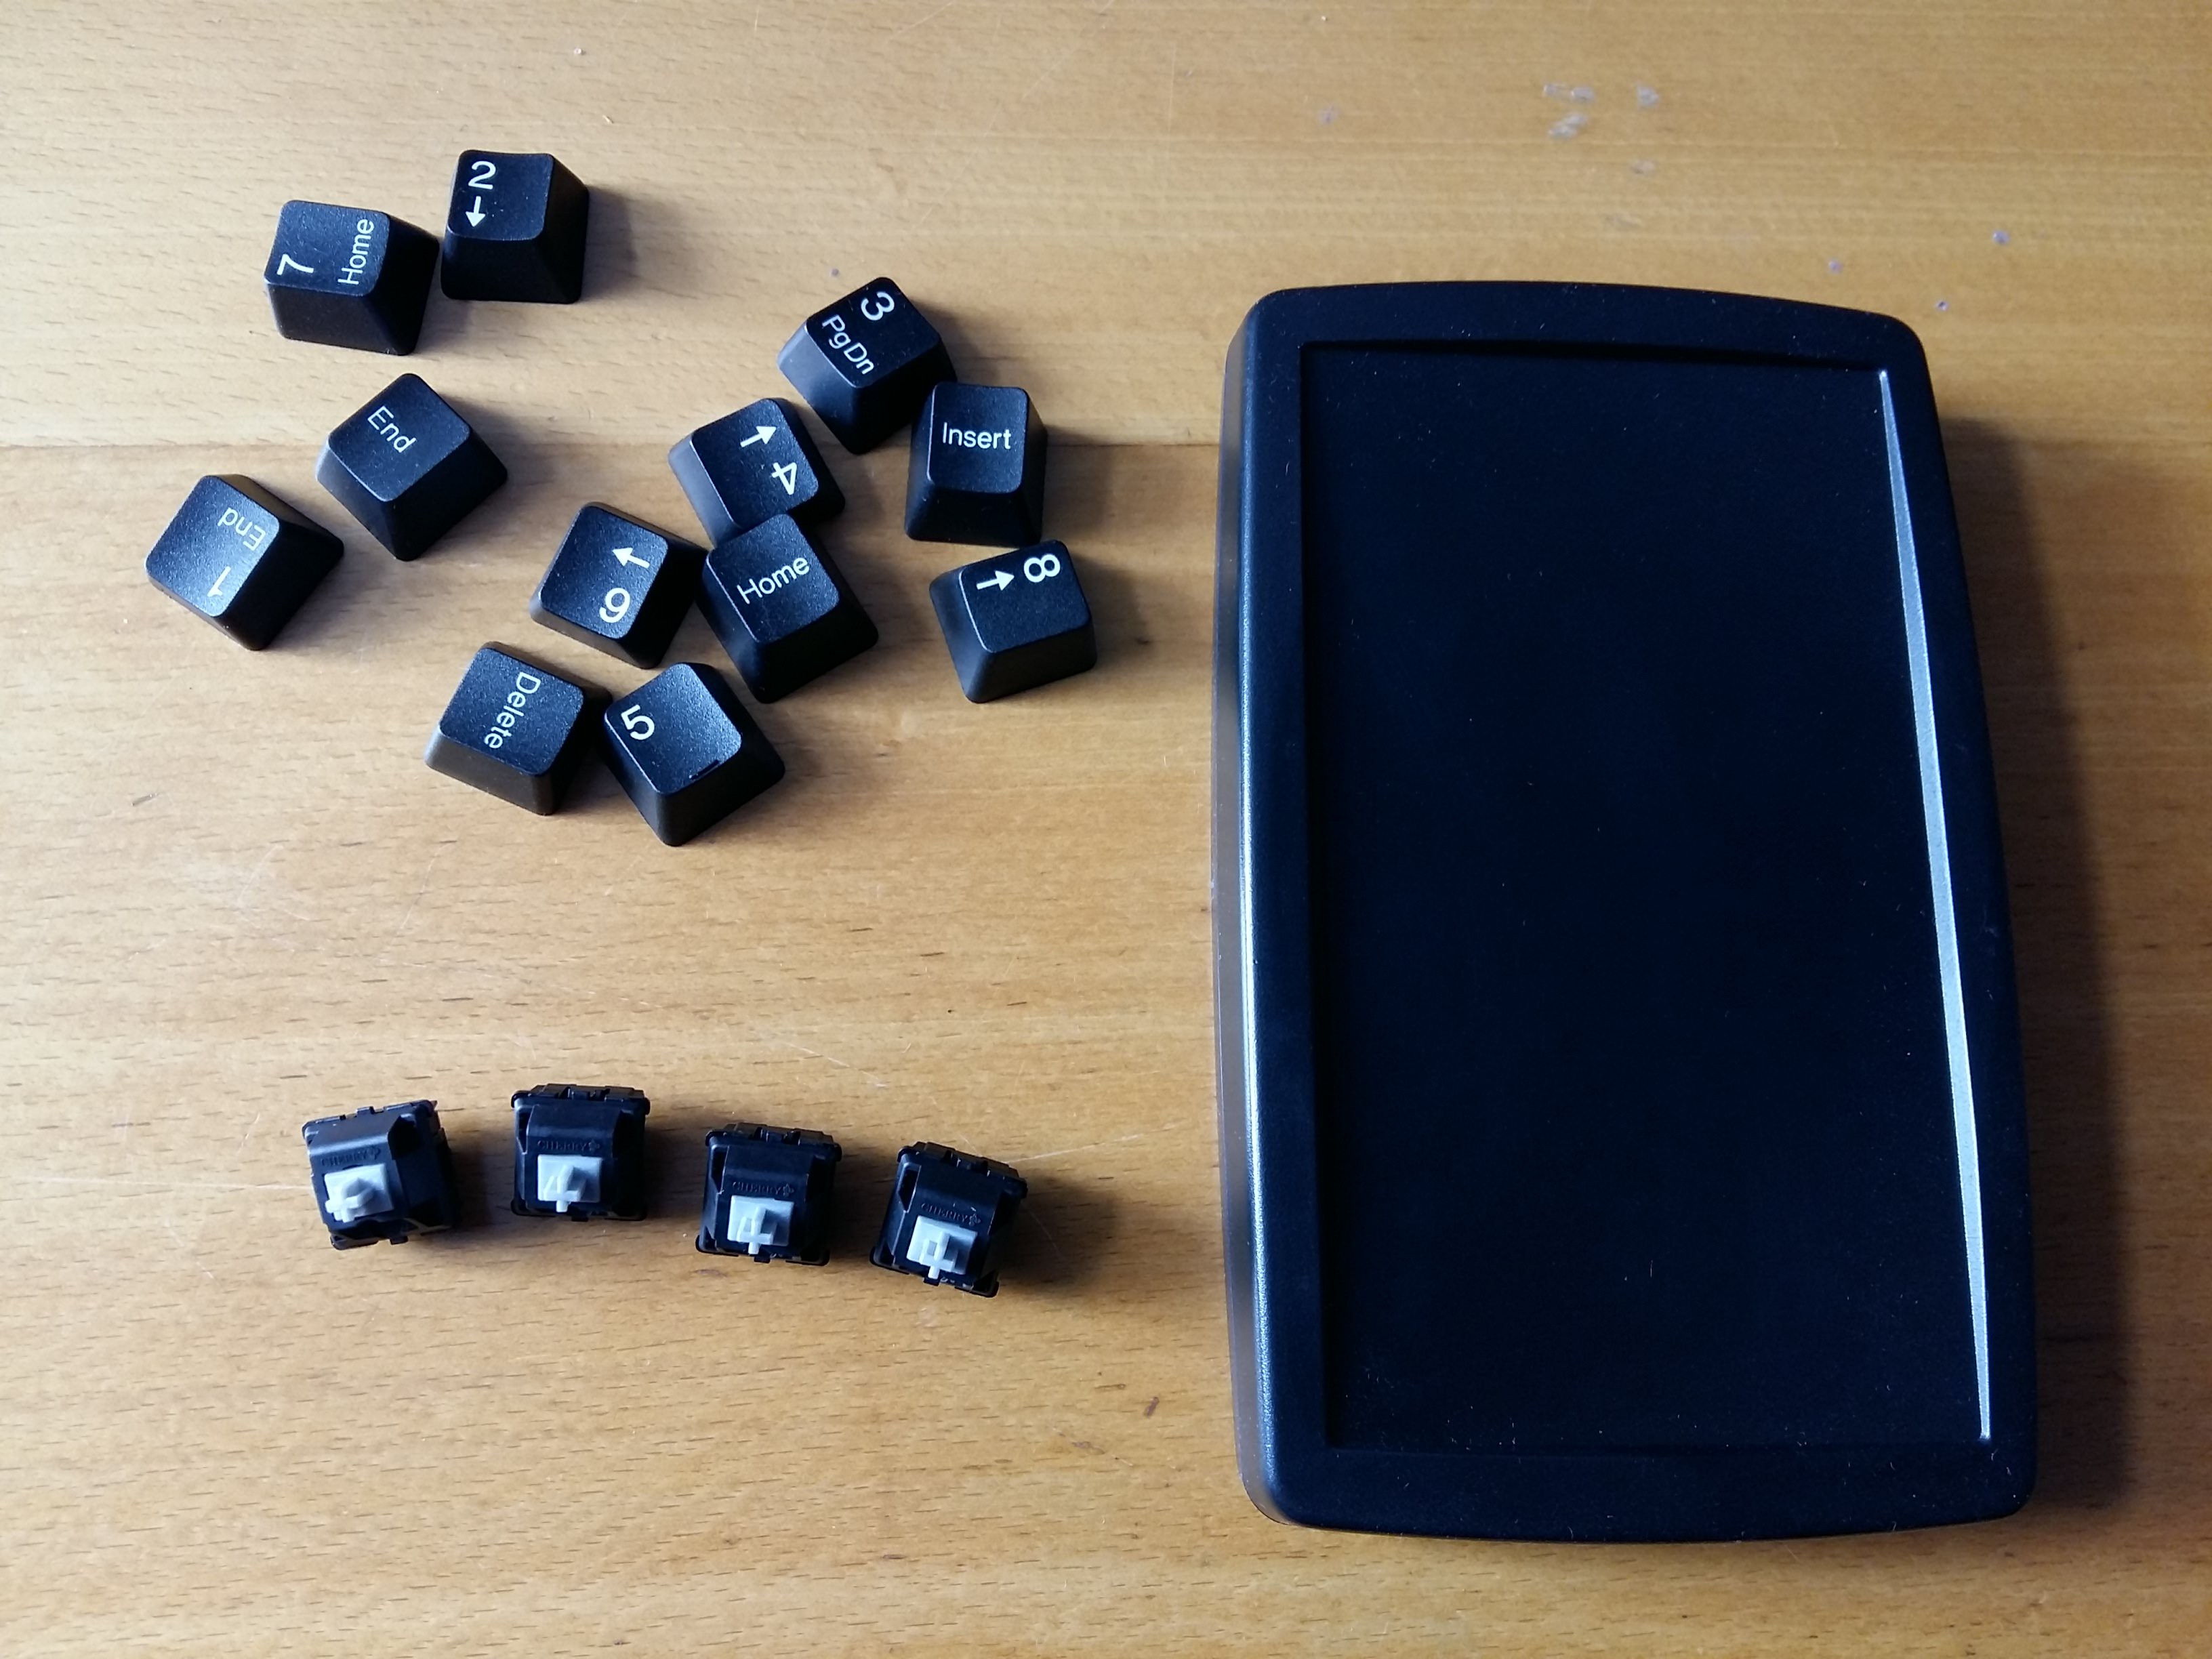
The prototype worked well - the key layout was ideal, the box fit my hand perfectly and the software bugs were ironed out. But it was clear that tact switches weren't the solution, so I ordered more boxes, some used keycaps and a dozen brand new Cherry Speed Silver switches.
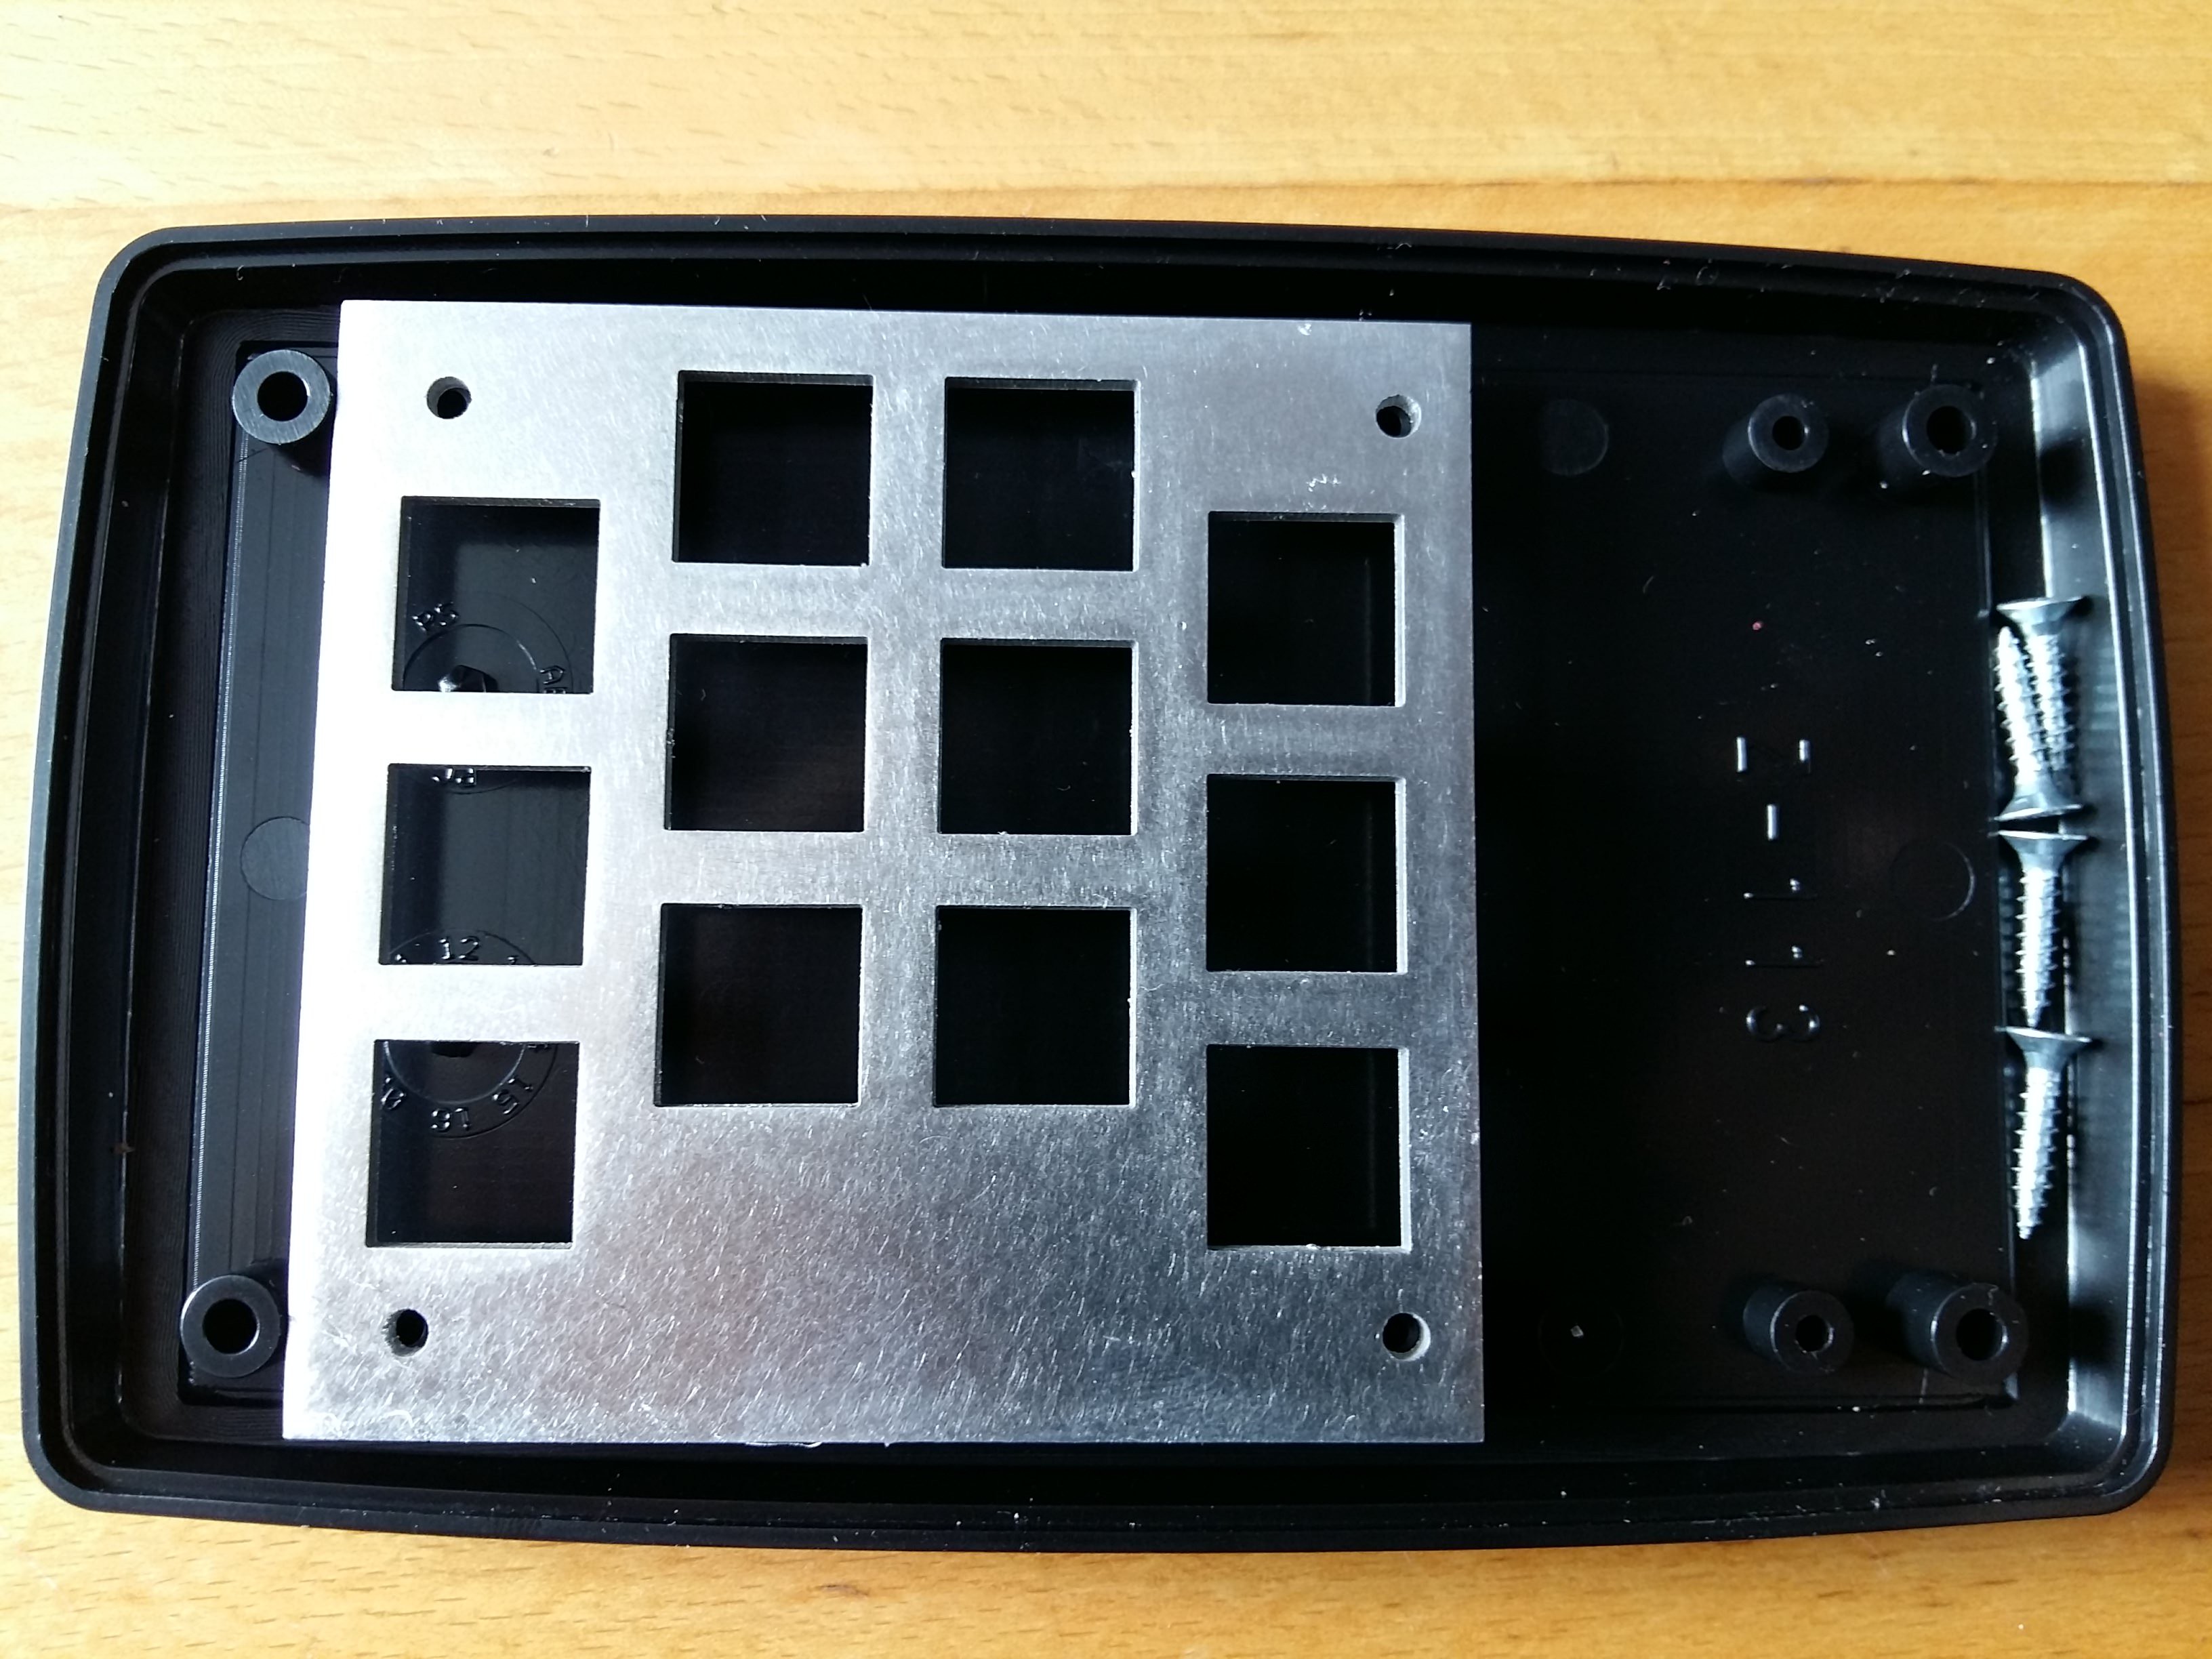
I designed a mounting plate using an online tool, and sent it off for laser cutting. A week later some shiny 2mm aluminium arrived in the post. It fit the post holes perfectly. If I was making this again though, I'd use slightly thinner metal: I had to file the edges thinner in a few places to get the switches to clip in properly.
I needed something to control the keys, so I used a trusty Arduino Pro Micro (or a cheap Chinese clone of). I love these boards - they're detected as USB HID devices when you plug them in, so you don't have to mess around with weird bootloaders. This one's programmed with the Nico-Hood advanced keyboard library to give me all the multimedia controls I need, but the standard Arduino libraries work just fine.
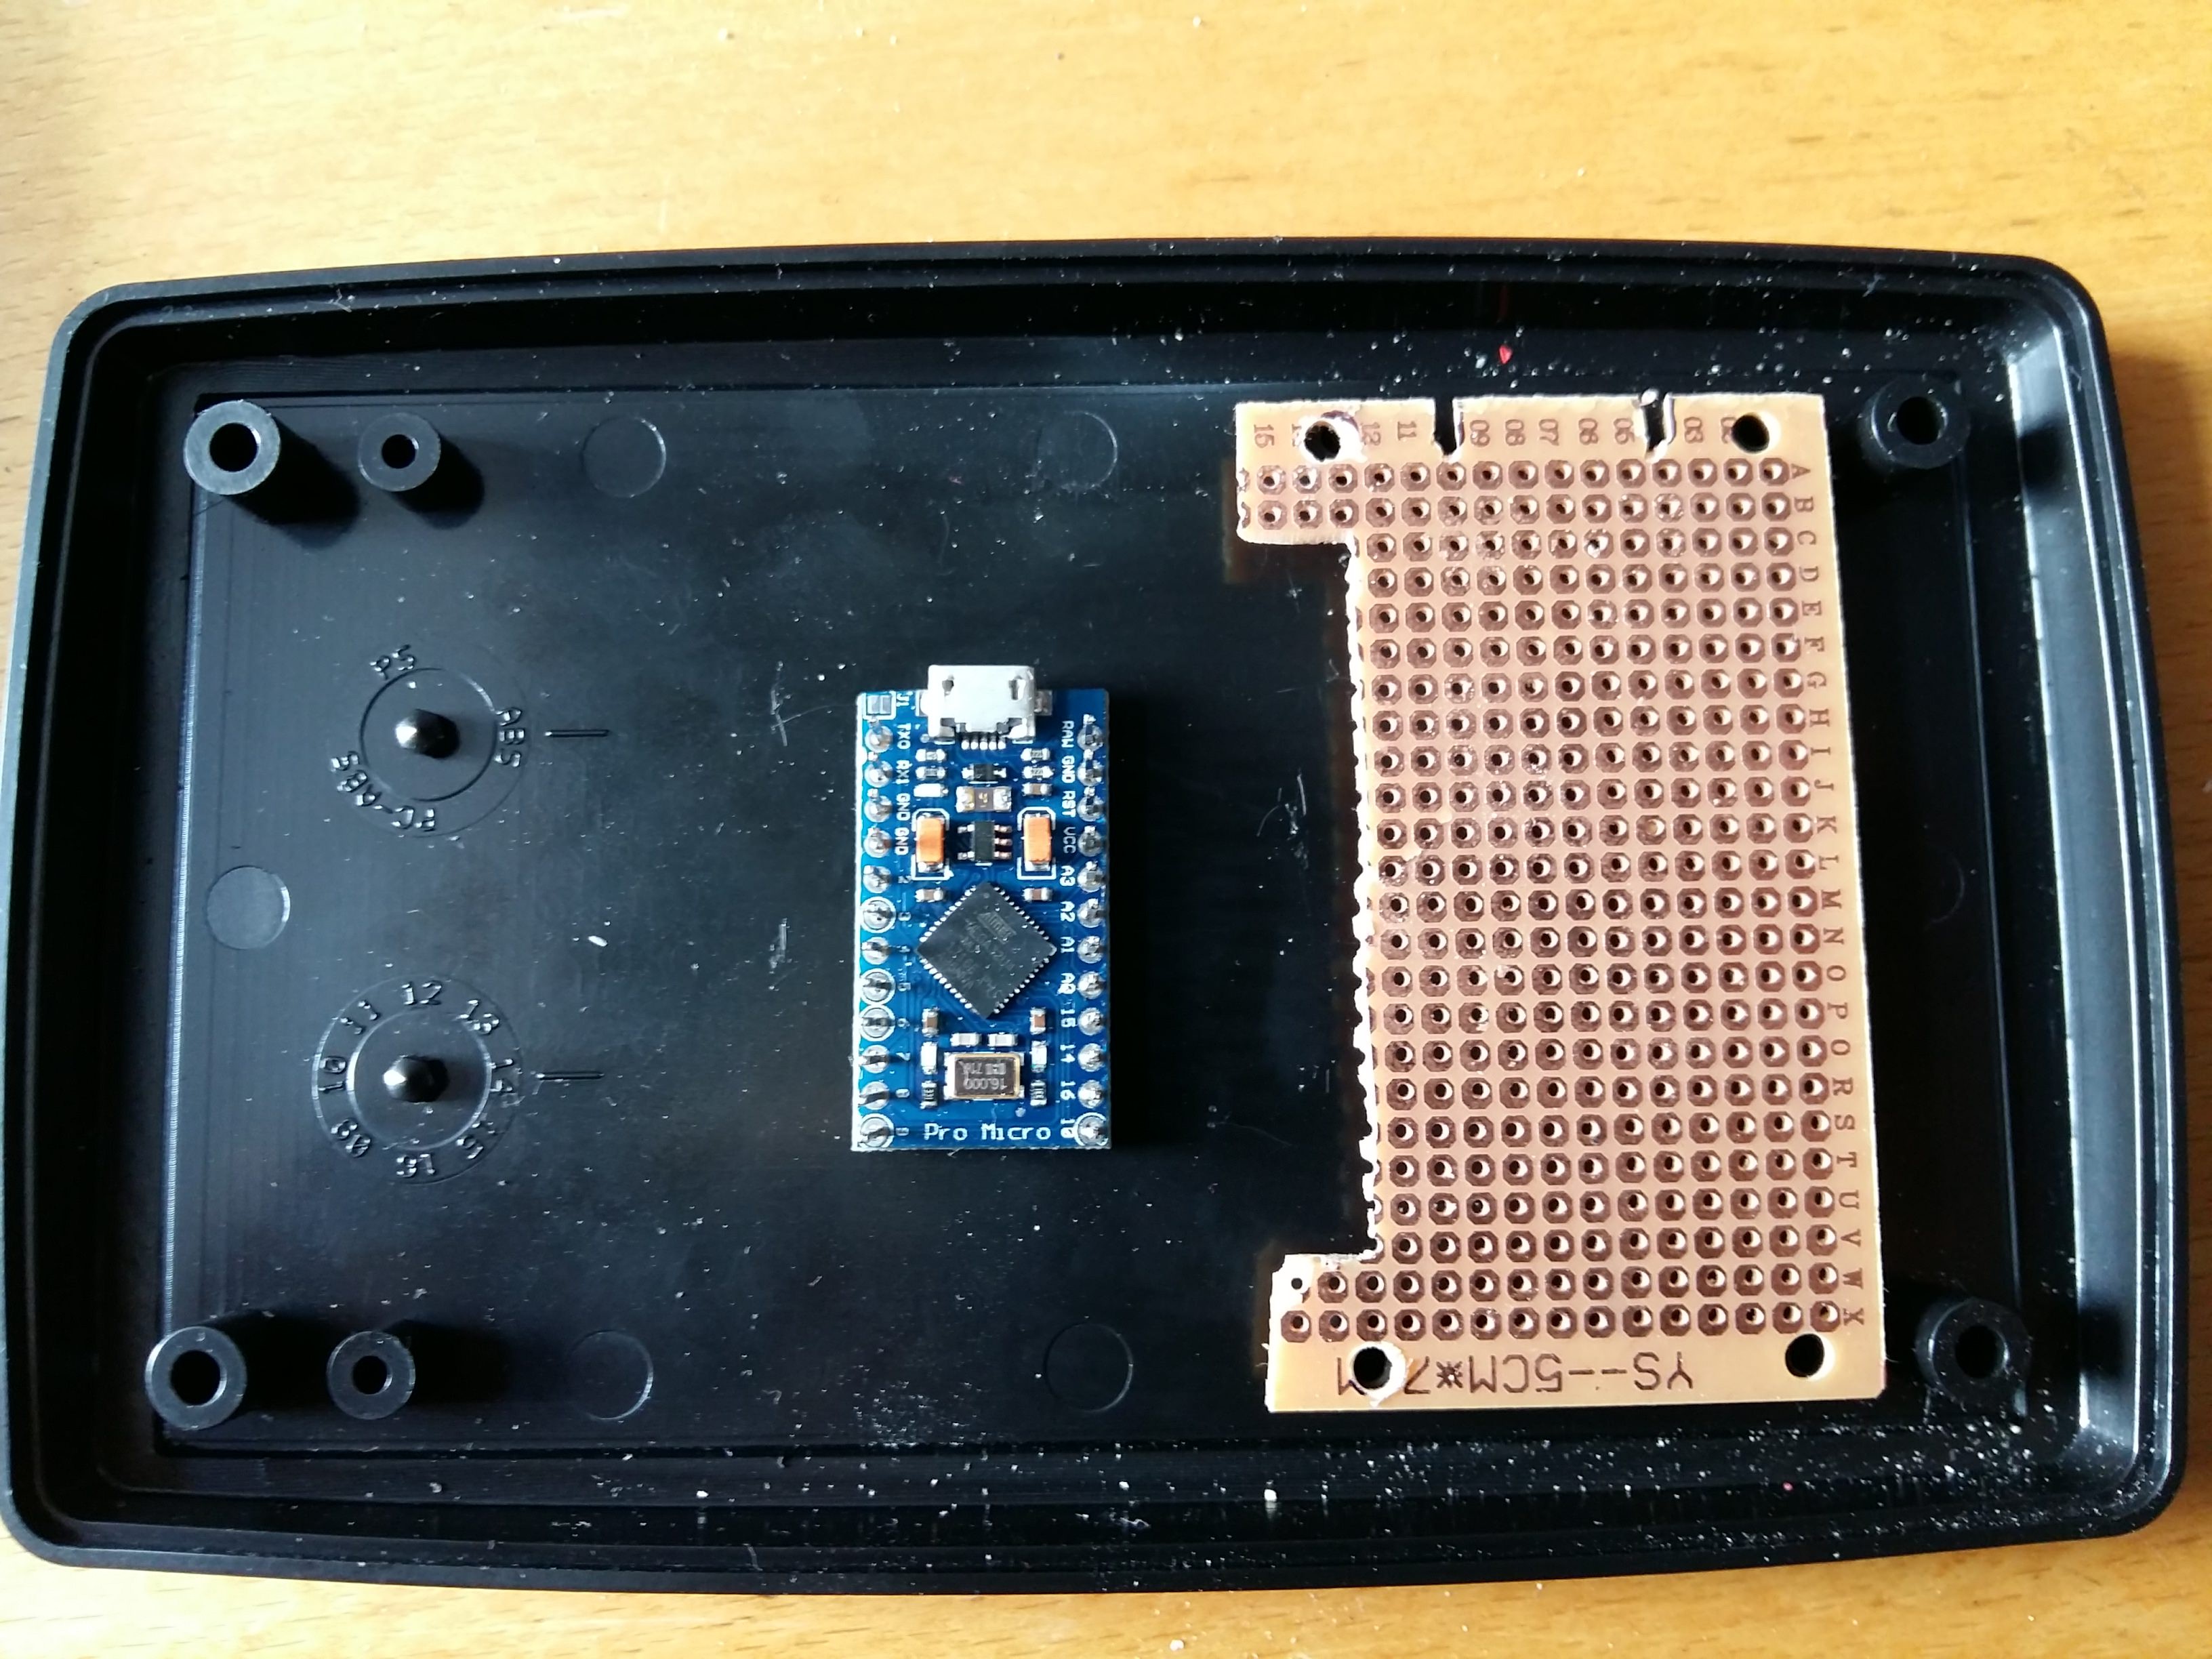
Making it fit wasn't that hard, although I had to file back one corner of the Arduino to match the curve of the box. The rest was just hacking up an old universal circuit board, which took minutes.
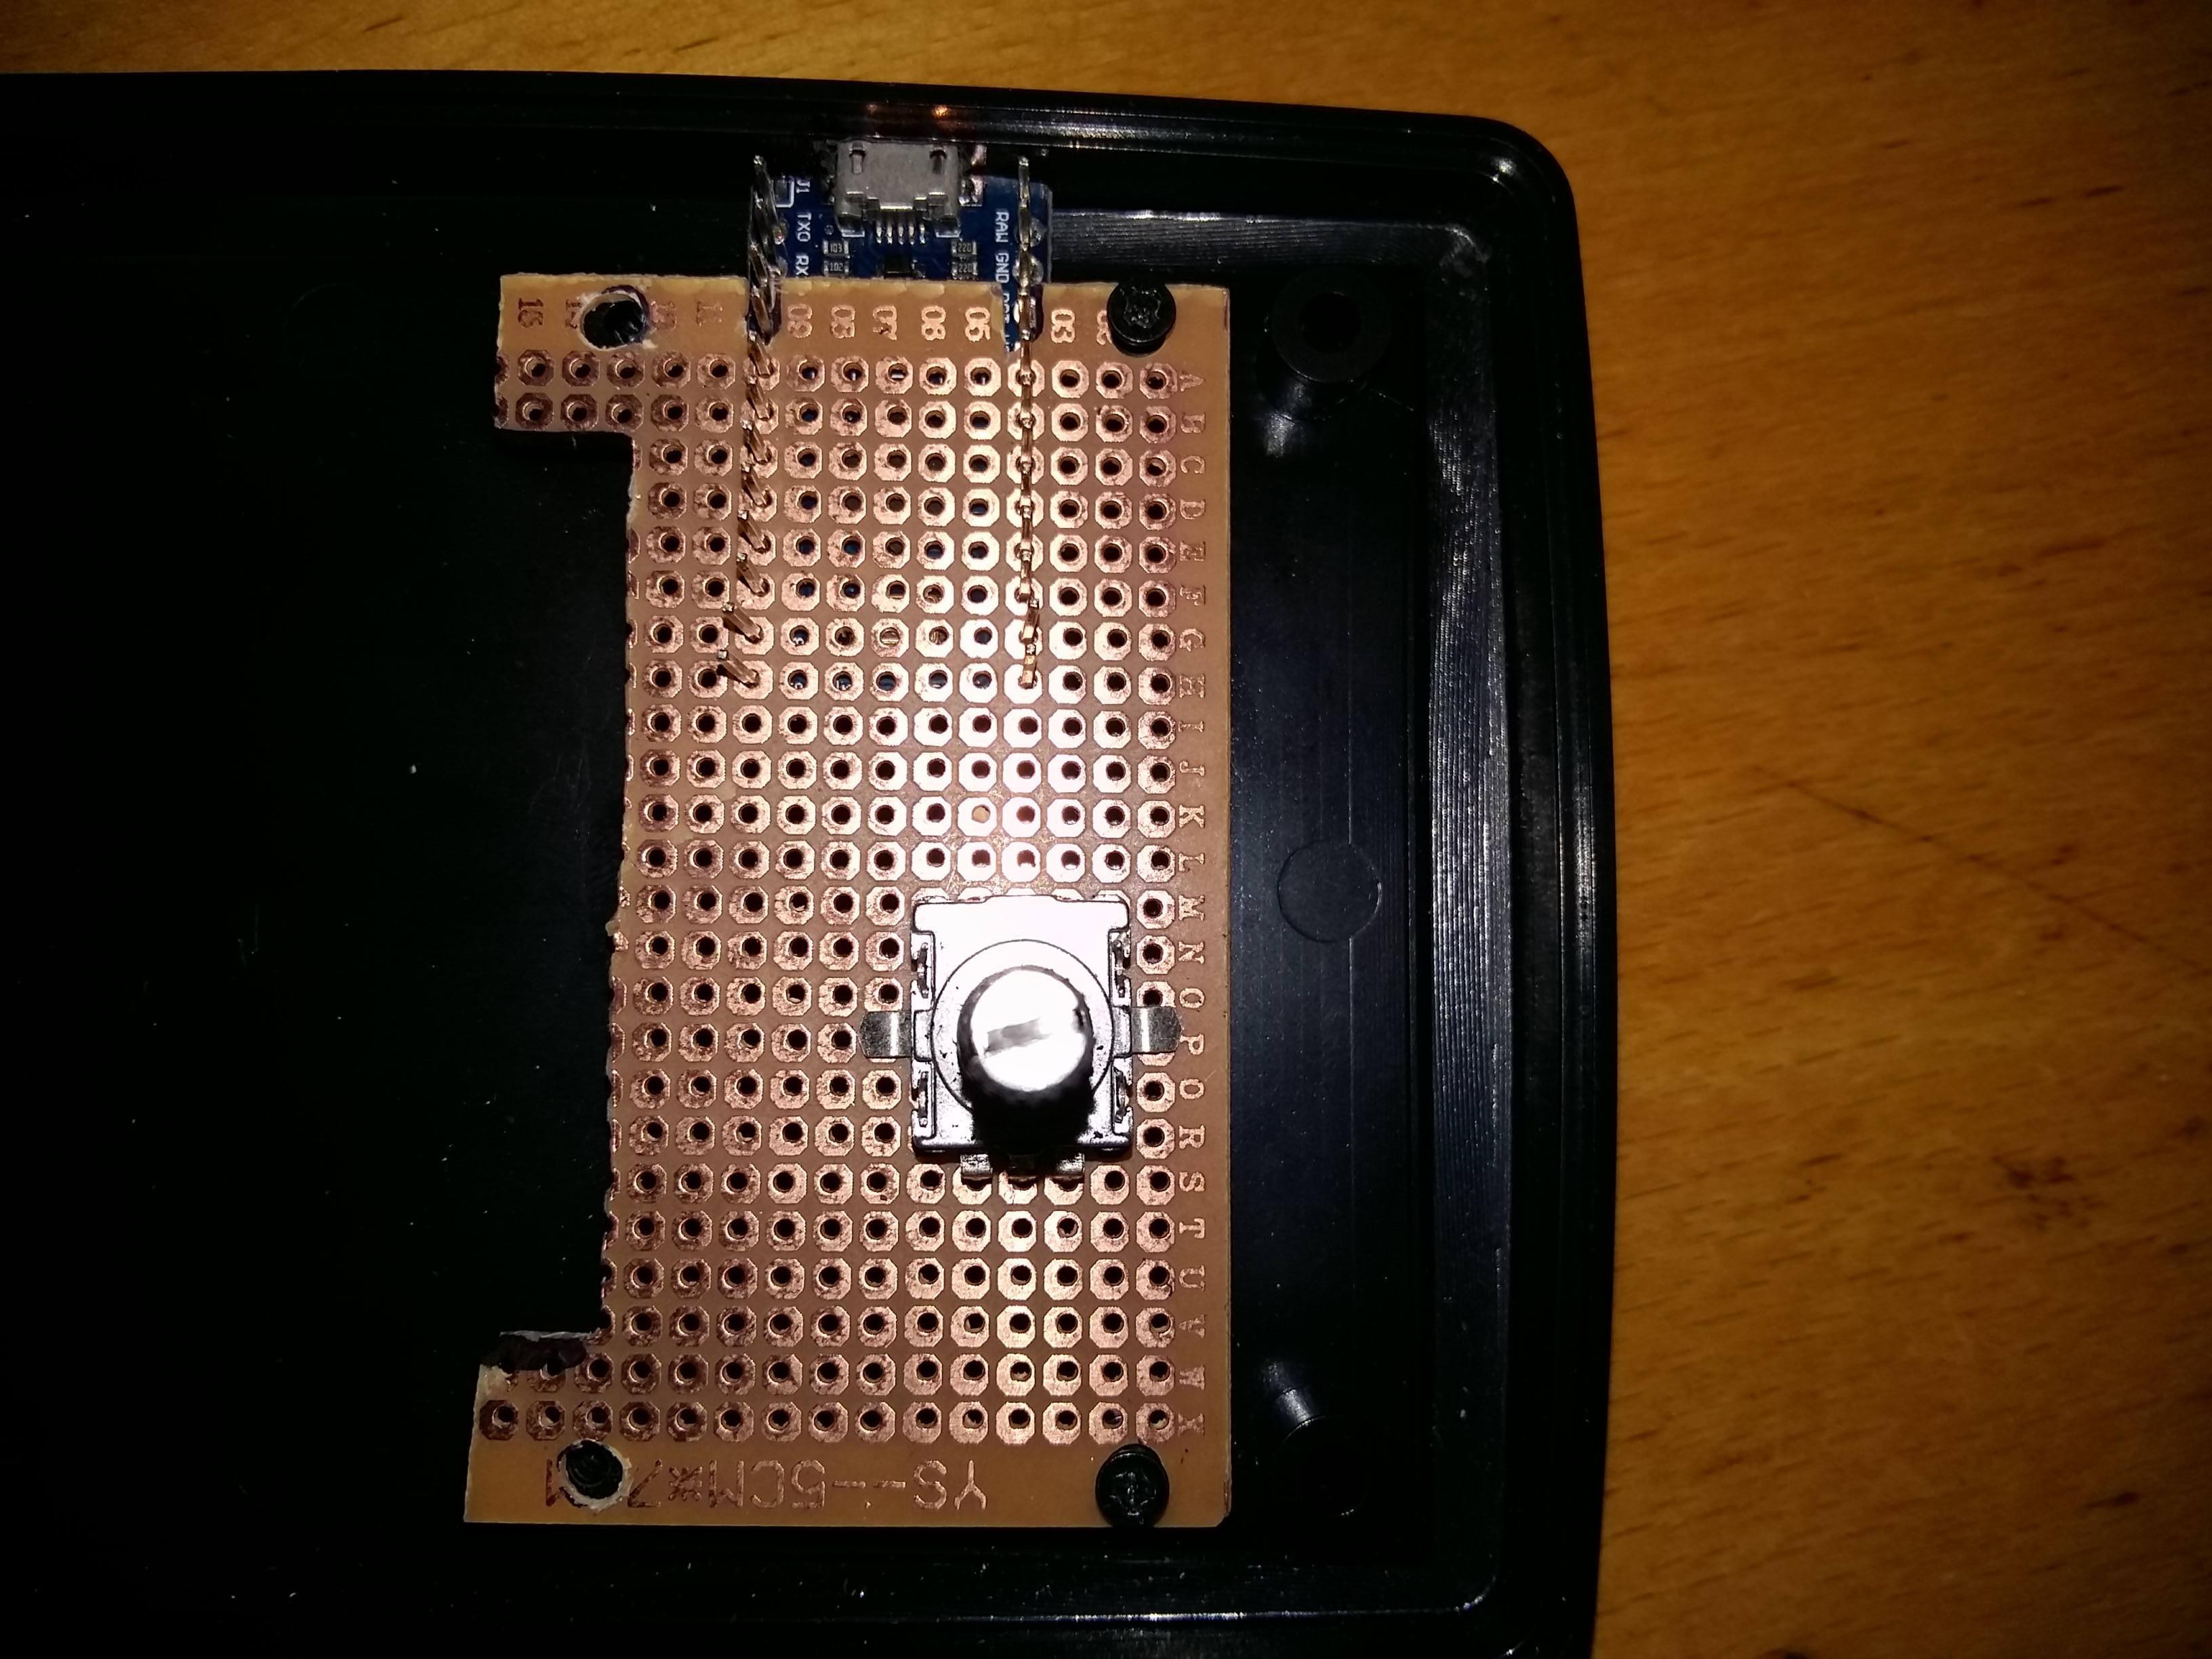
Then I needed a rotary encoder. These boards are standard in many Arduino kits, and it's a 20-pulse encoder (so you feel 20 little clicks in a full rotation, each click meaning one button press). However, there's no space for the board inside my box, so I needed a separate encoder.

I bought a few different models, and chose a 30-impulse encoder. It's got a lighter notchy feel compared to the 20-impulse, and is more responsive. It matched perfectly with the Speed Silver switches, which I also chose for lightness and speed.
I did multiple test fits of the top section. Yes, I had to cut and file out all the holes by hand, which is why the edges aren't perfectly straight or smooth. Maybe in the future I'll redo it with a carved template, but I'm not too upset since the boxes only cost $2 each.
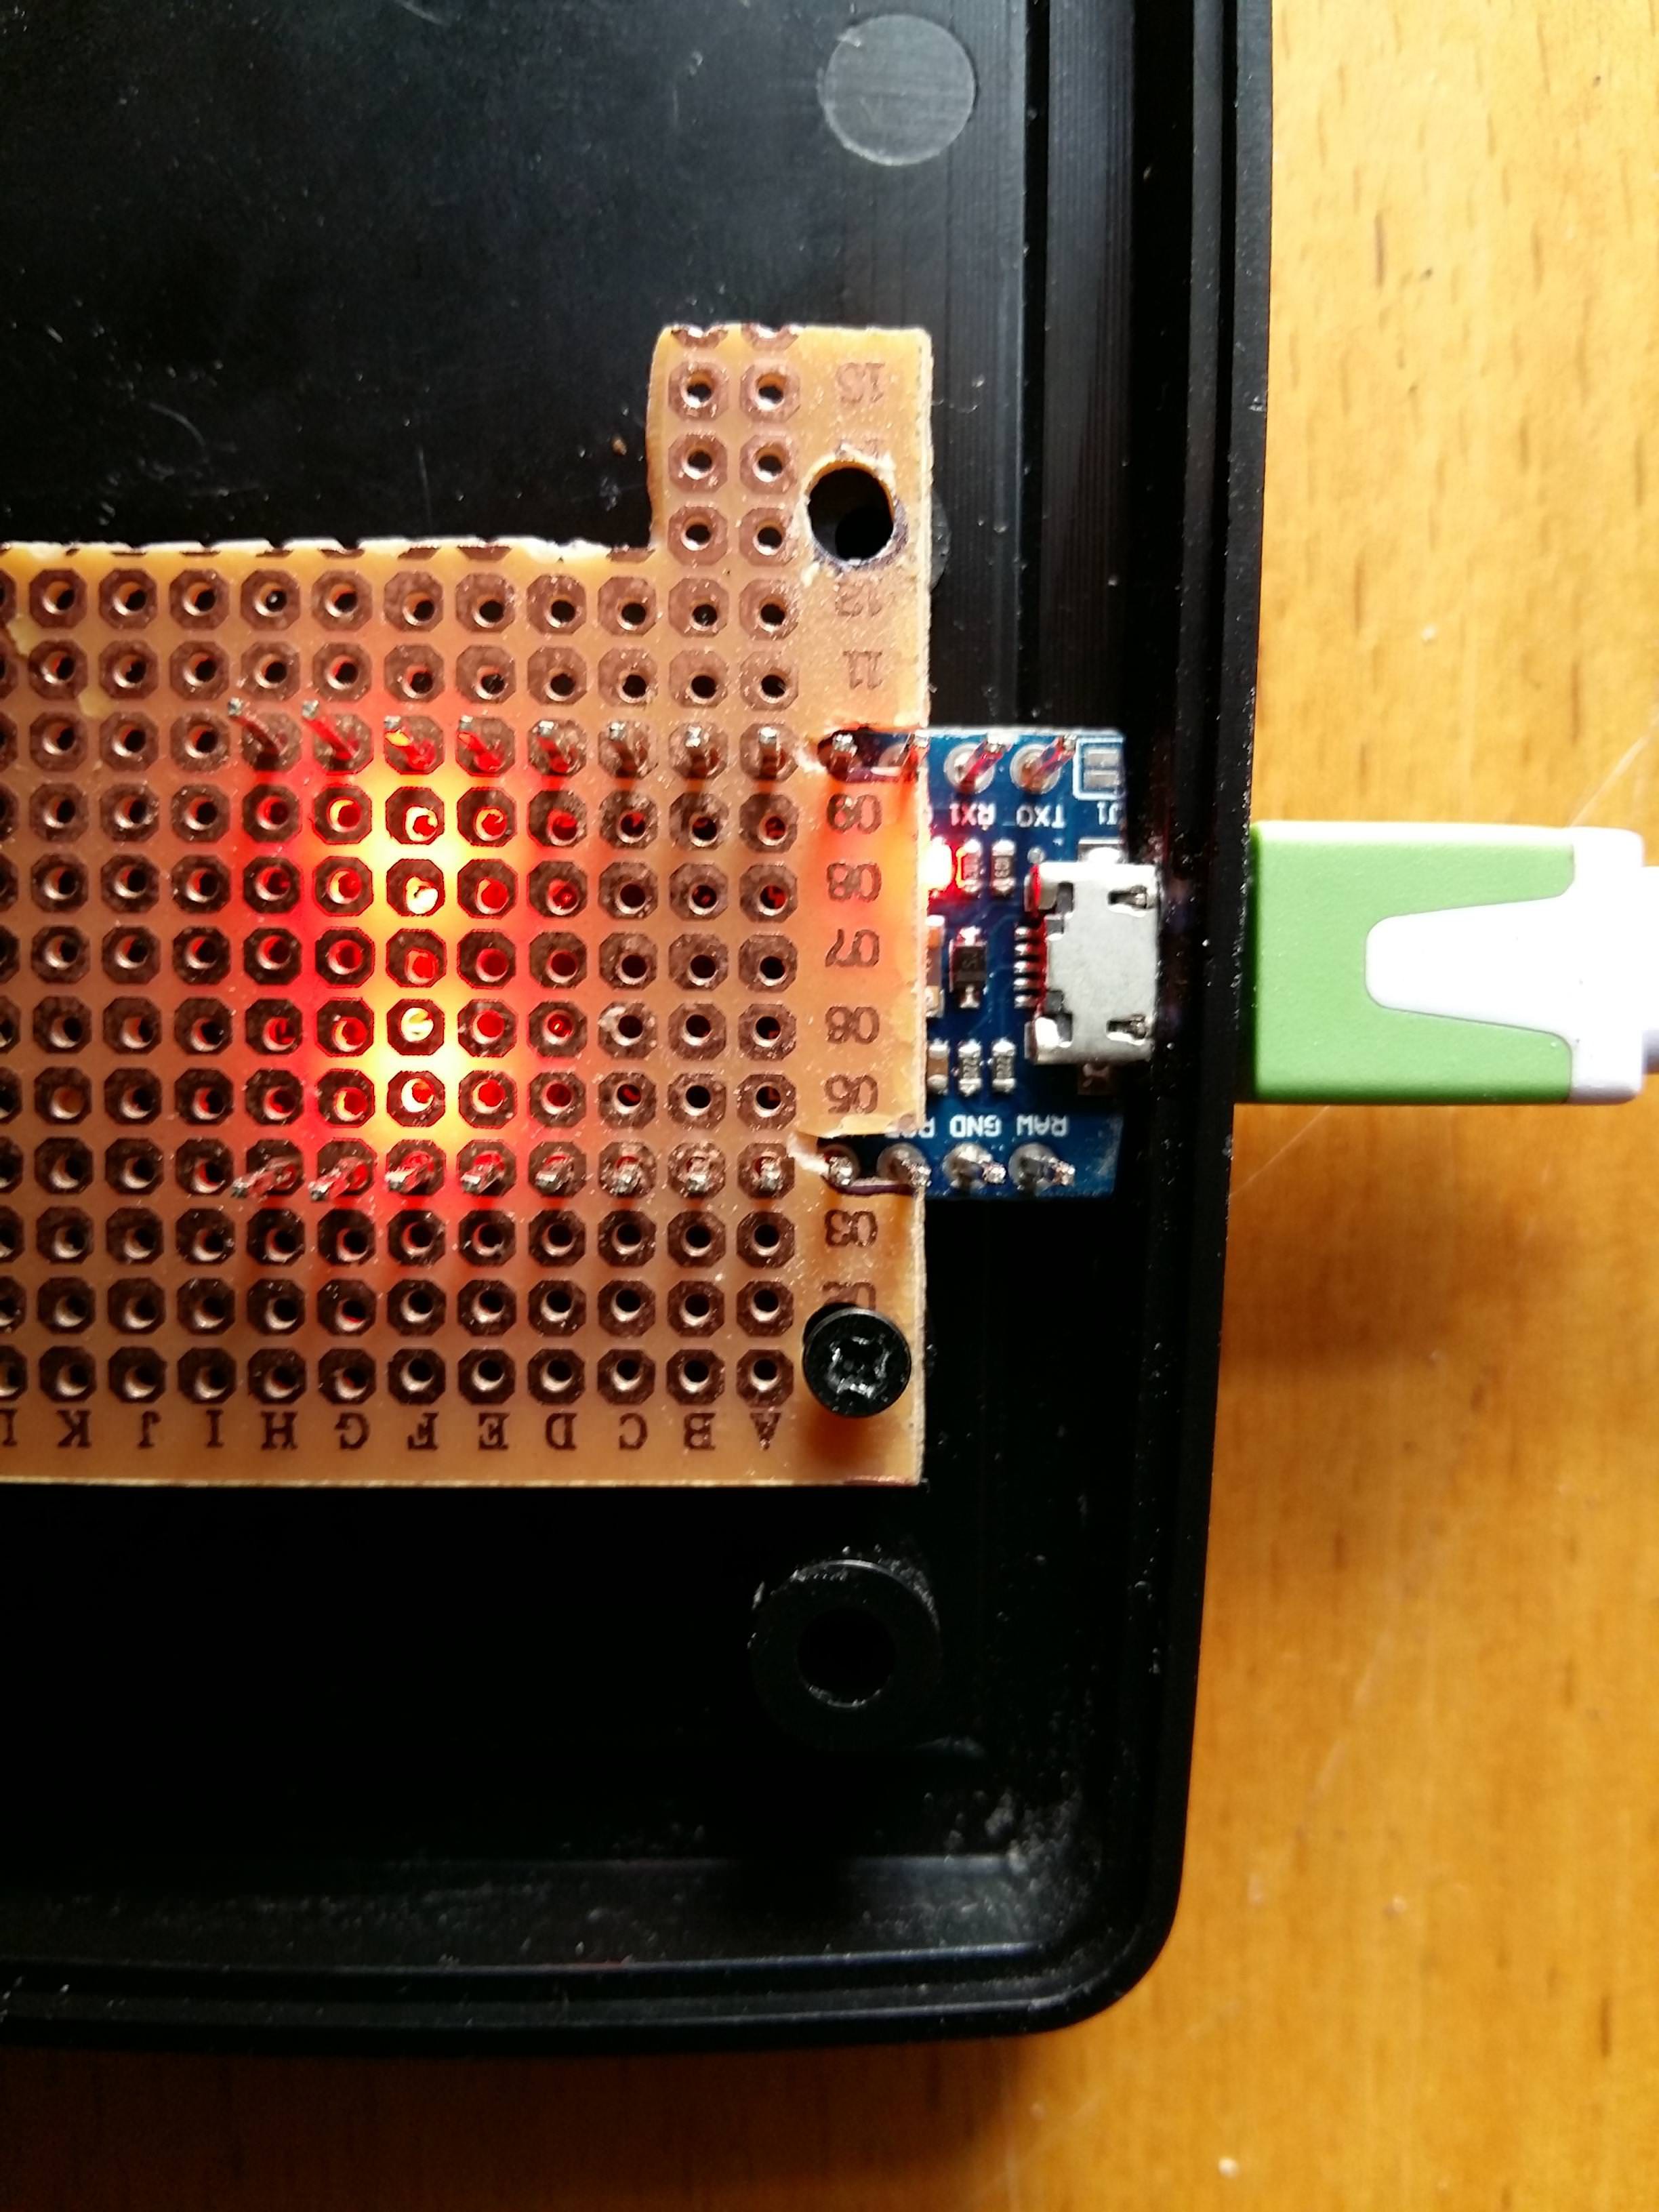
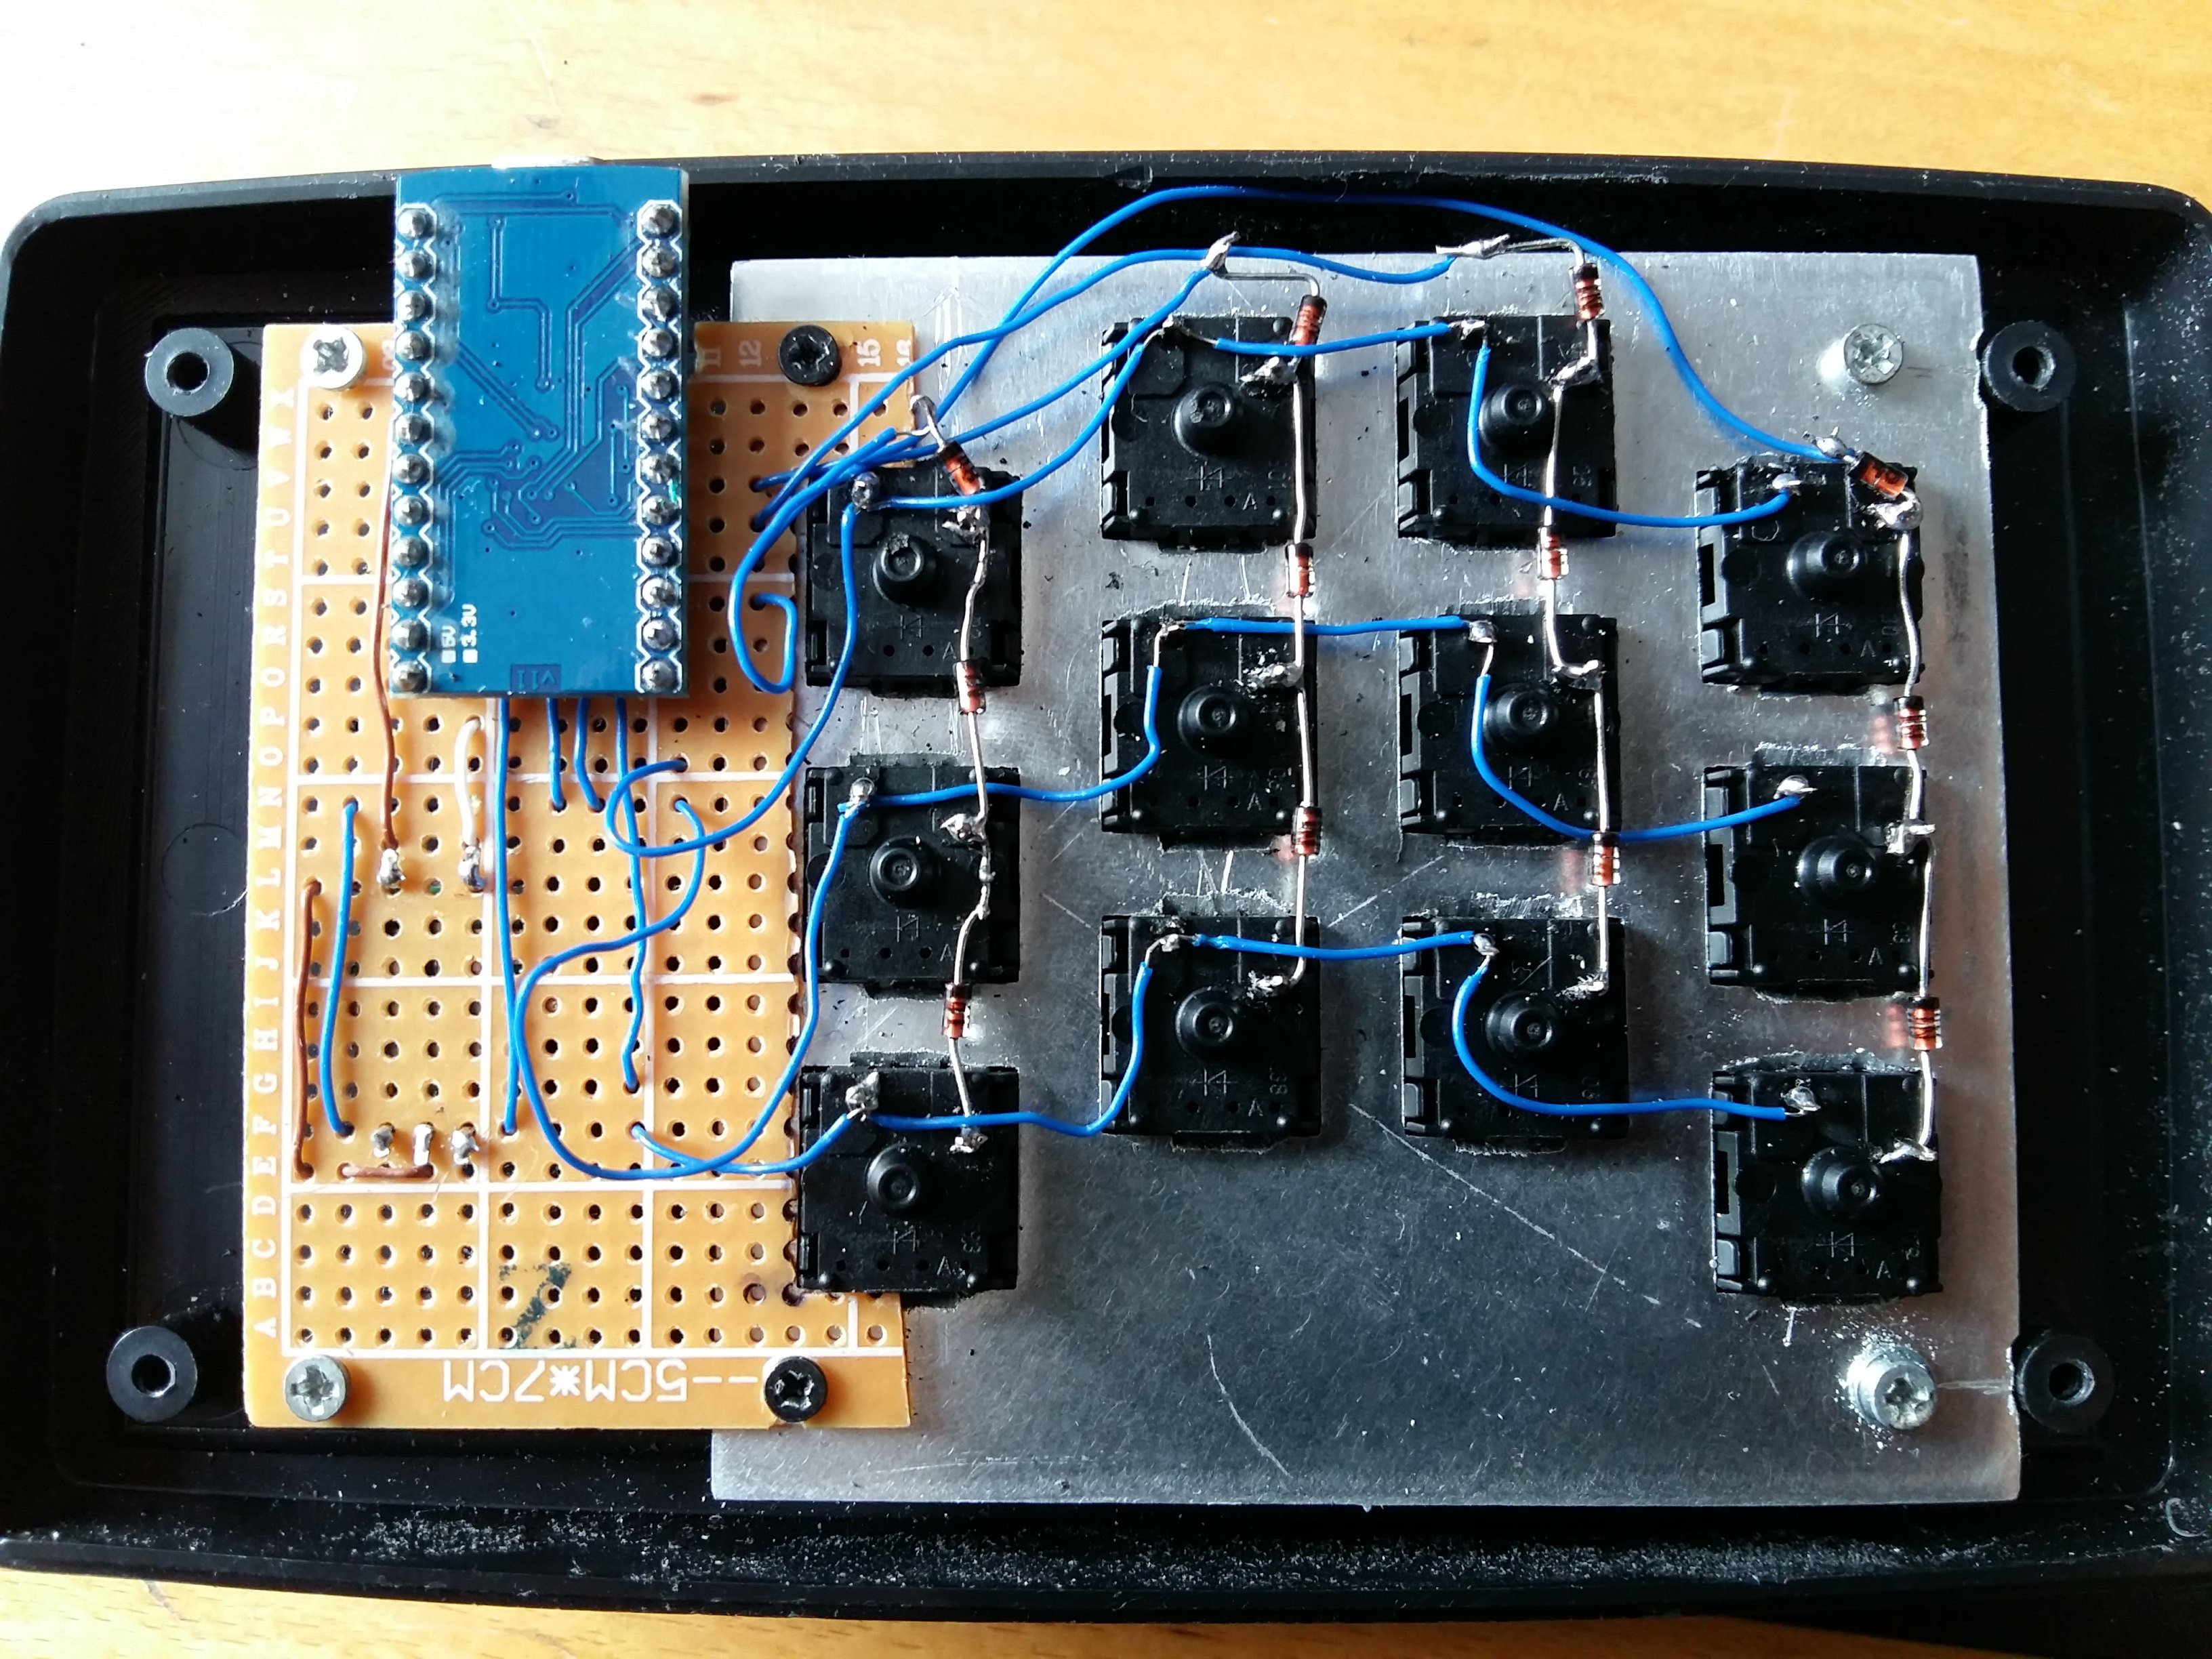
And this is the final circuit design. Everything's bolted to the top lid for convenience, and the switches are linked with diodes and wirewrap (mmm Kynar). The excess wire is deliberate - it allows me to unbolt and remove the arduino's circuit board and check the other side, without de-soldering everything.
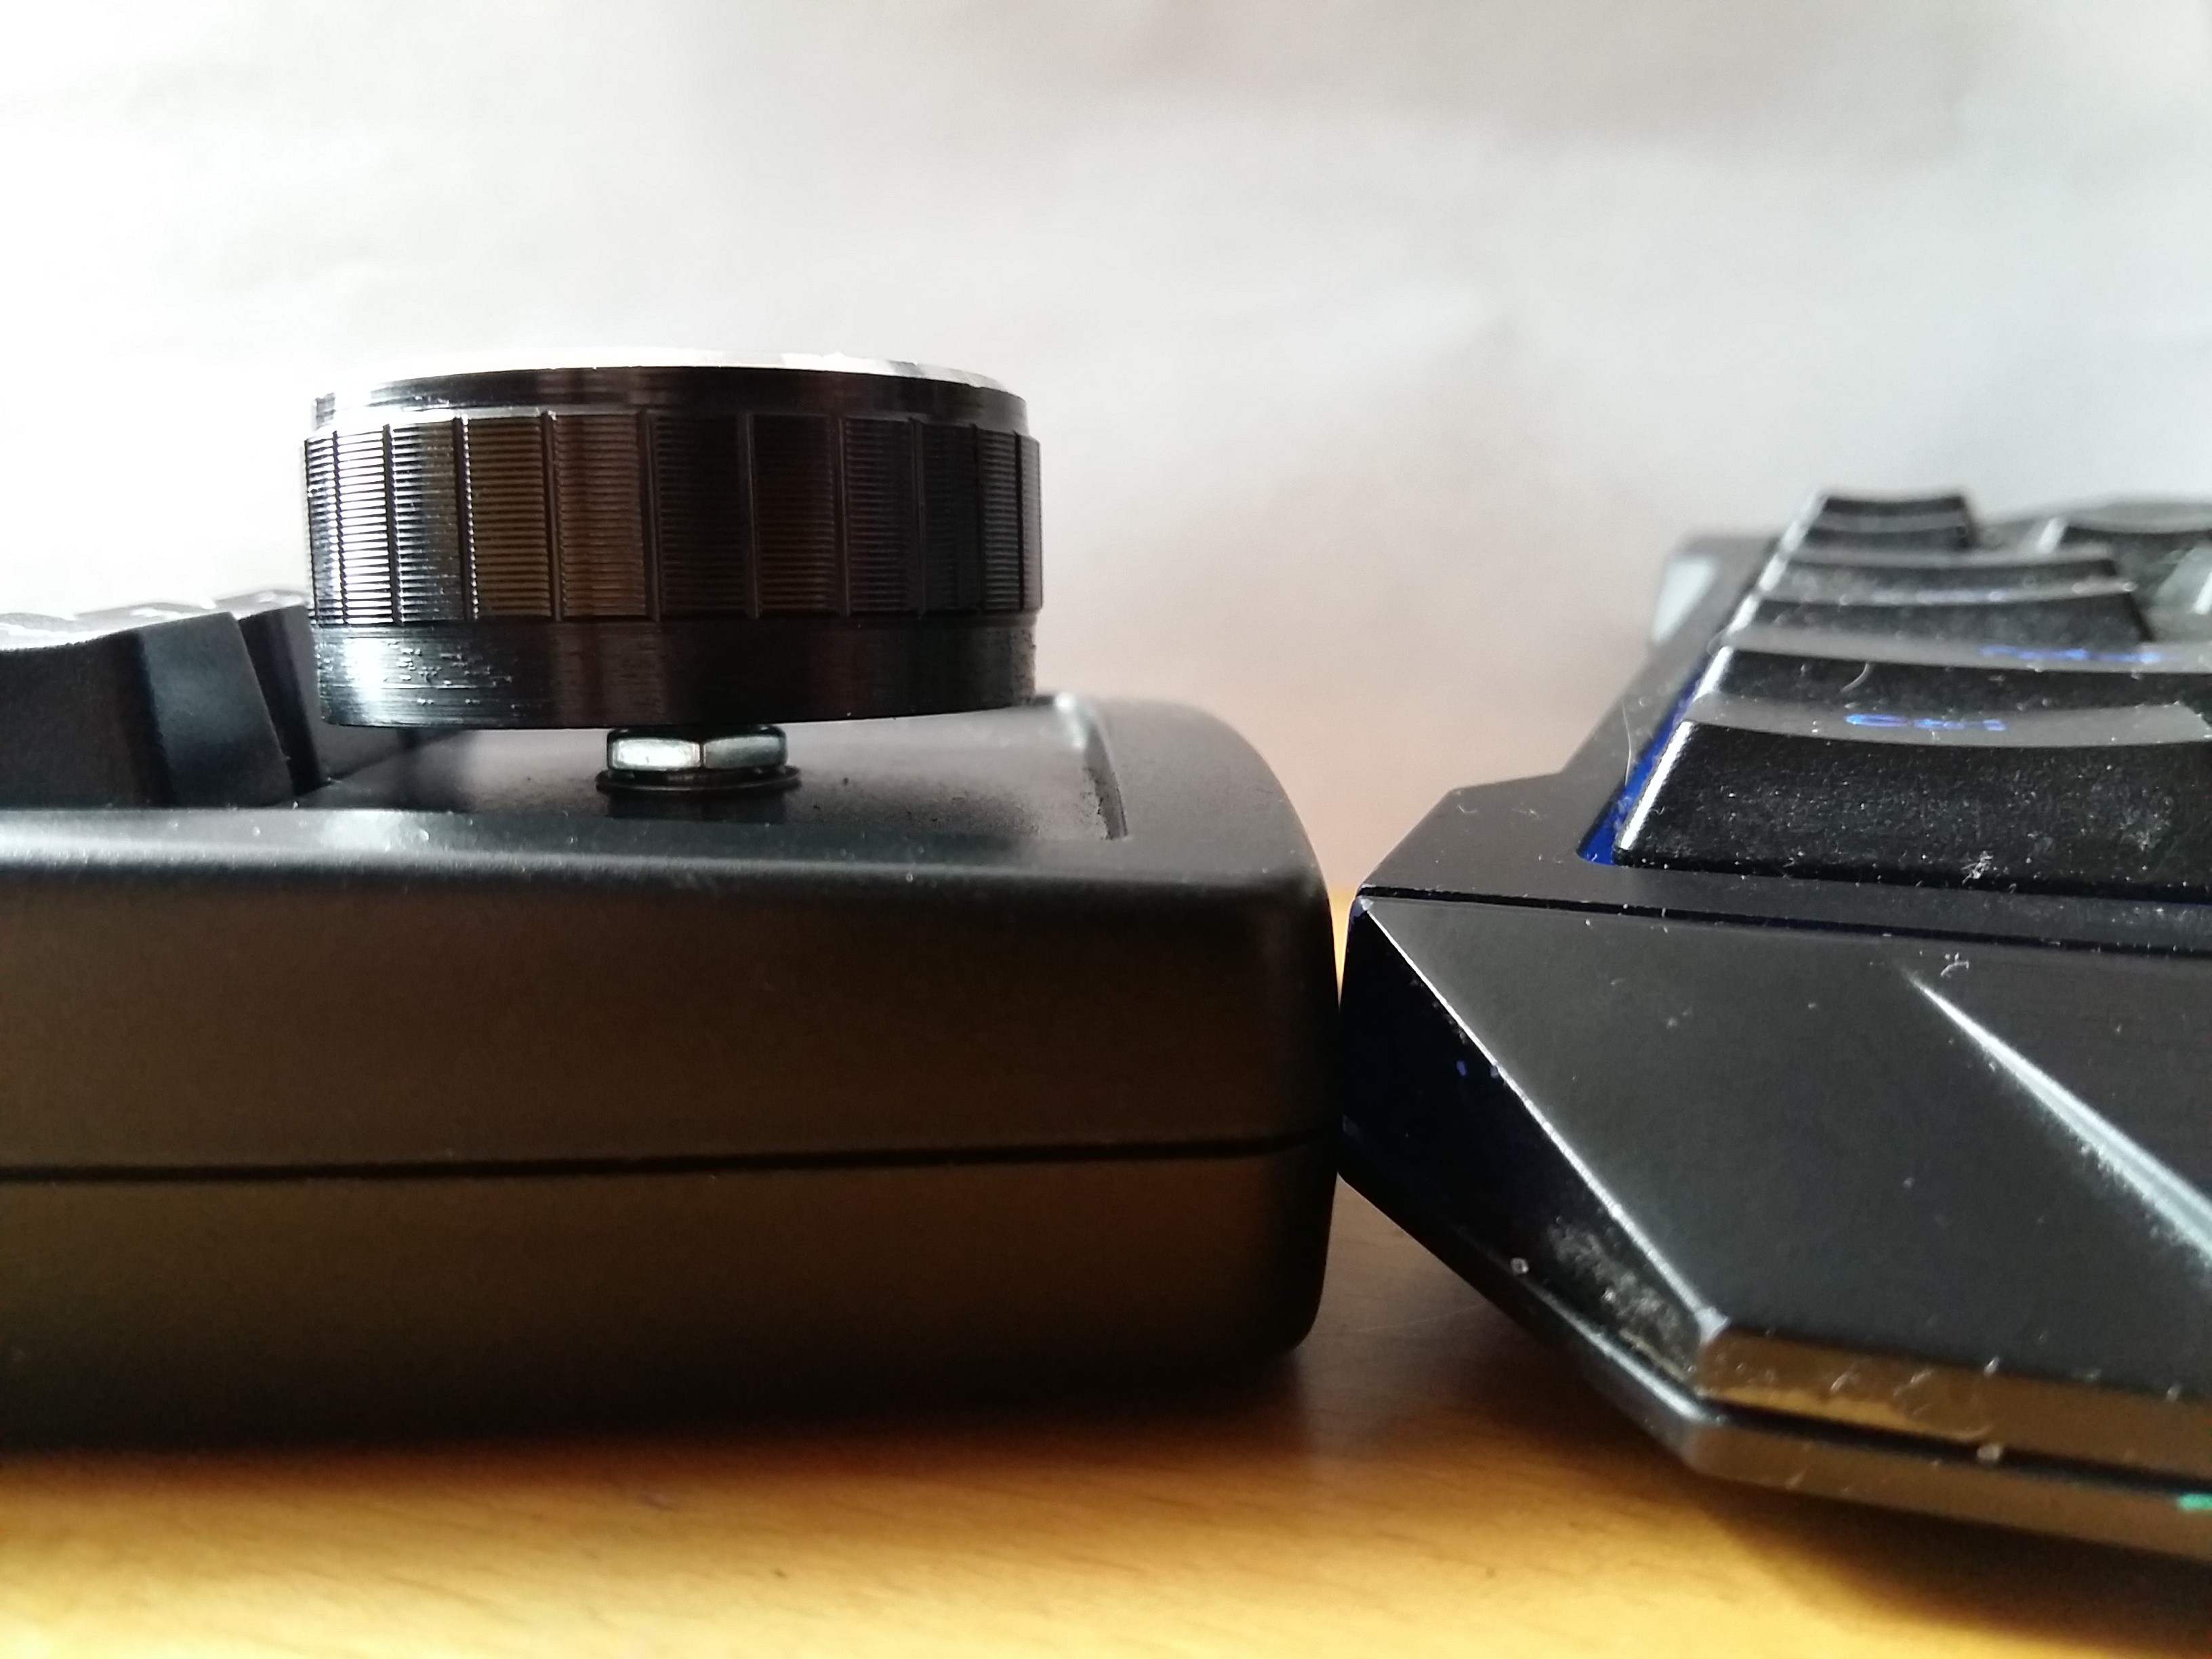
Height comparison between my $2 generic box/case, and an old (and dirty) keyboard I keep in my workshop. They're so close that transitioning from the full keyboard to the media board is as comfortable as it is rapid.
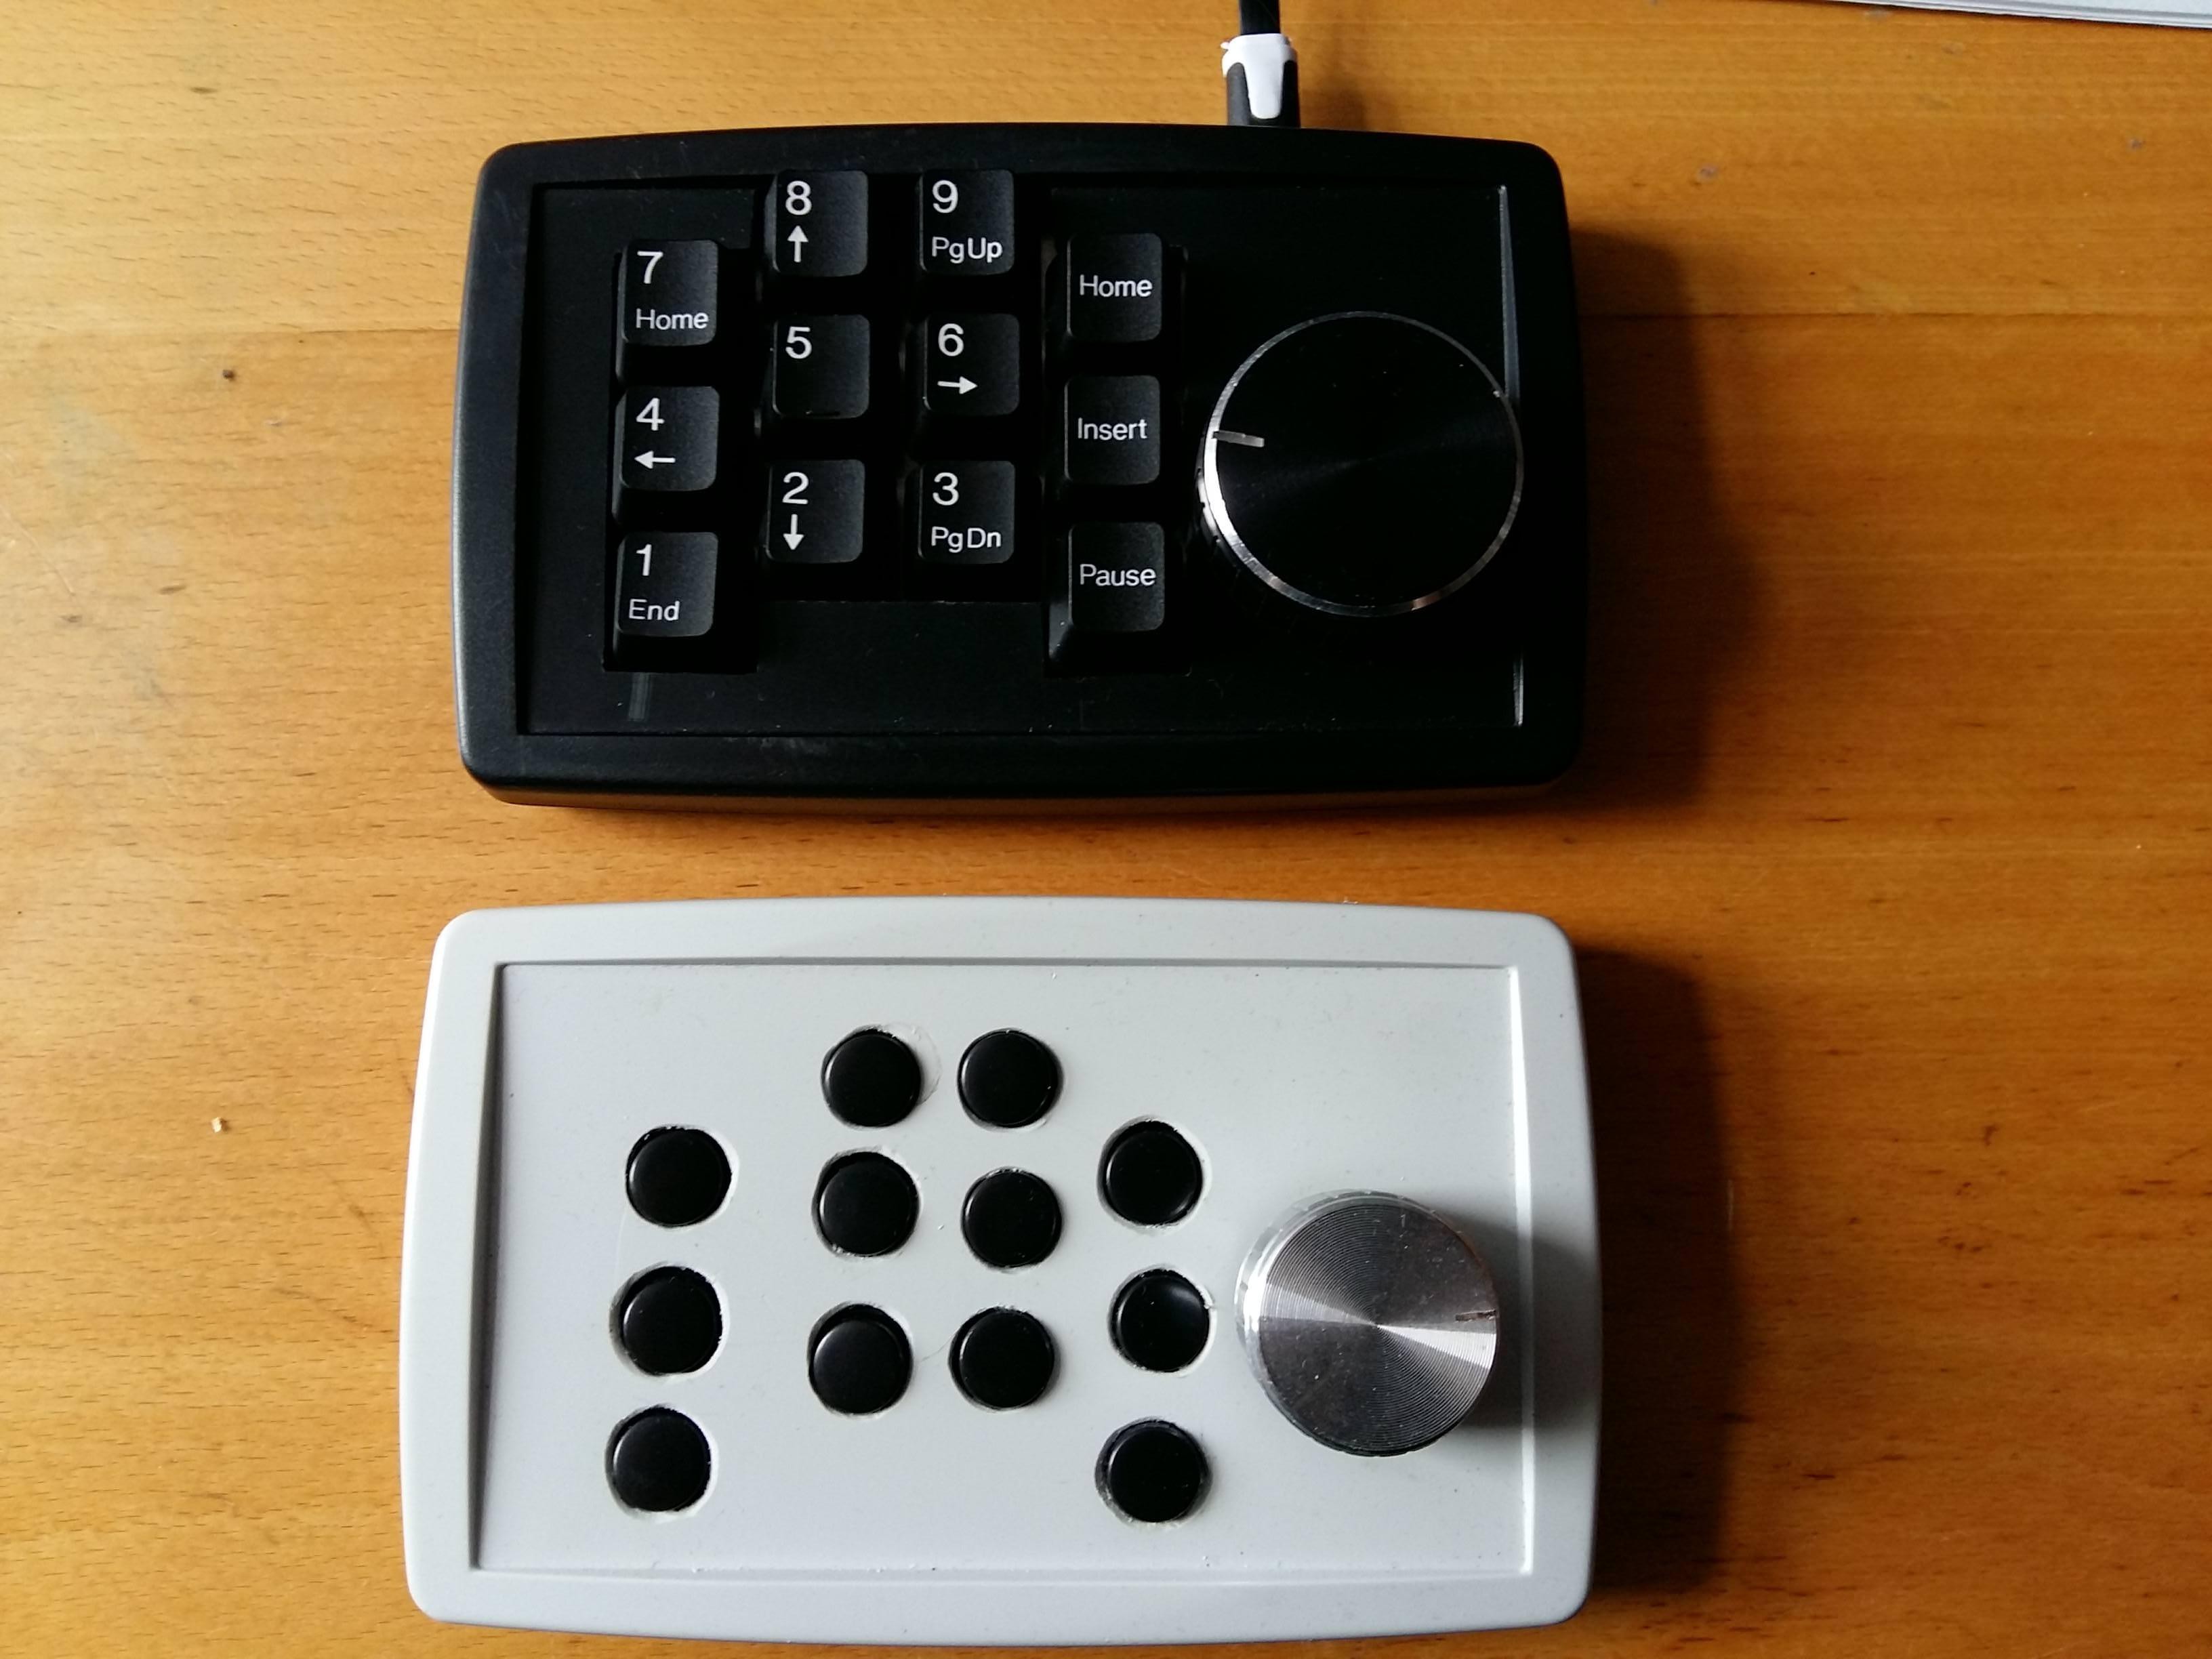
And the final side by side comparison between the finished product and the original prototype. Total cost of the black board was about $45, which includes the Arduino, the custom plate, the switches and the keycaps.

 deʃhipu
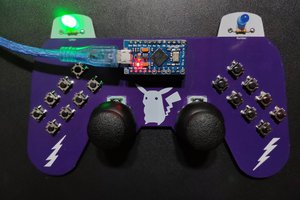
 kutluhan_aktar
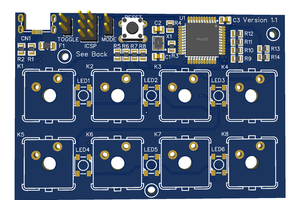
 Jim Heaney
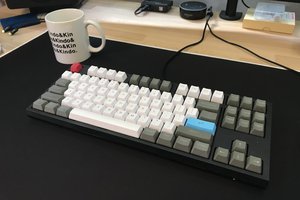
 Oleg Utkin
I’d like to create something similar as a flight sim button box - using a rotary switch (not encoder) to change the mode of a set of buttons/switches. Can you post/share the code as a starter? TIA.