Demo
Nevermind the circus. The camera is the project!
The concept
I’m always looking for ways to make interacting with objects (historical ones) easier and enjoyable. Hands on easy access to artefacts is one of the best ways to get people to experience history. So my goal with this entry is to show my peers that interaction with artefacts is not necessarily expensive and complicated. With a solid concept and a clear plan, easy interaction that makes sense is perfectly feasible. That is why I chose to “marry” my experience with making HID devices with my old camera collection. I could have entered my morse key project, LiDAR experiment or even my oddly popular Okudagram interface project but I wanted to make something specifically for this entry. So this is it!
The build
I chose the six because it has oodles of space inside. It can even fit an entire RPi is needs be. Of course with smaller boards it would be perfectly possibly to fit this inside even something as small as a Olympus Trip, but the dual sight feature on the Brownie was something I wanted to highlight in it’s functionality as a HID device.
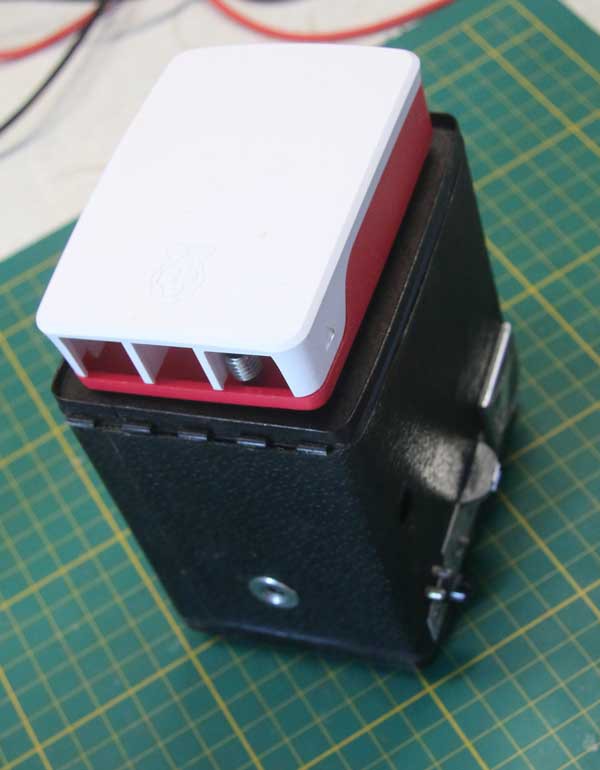
(A Brownie can easily fit a RPi with case.. Hint hint hint!)
This camera is a permanent part of my camera collection and as such I did not want to alter it in ways that were non-reversible. The main part of the build therefore was to source or make components that would friction fit inside the case without having to alter it in any way. It turned out that a UNO form factor would be a nice fit and I still had some prototype shields laying around so that would be the base. I started out with a 8266 board but that did not have Bluetooth and my serial Bluetooth modules were all incapable of being a HID device so I ordered a ESP32 board.
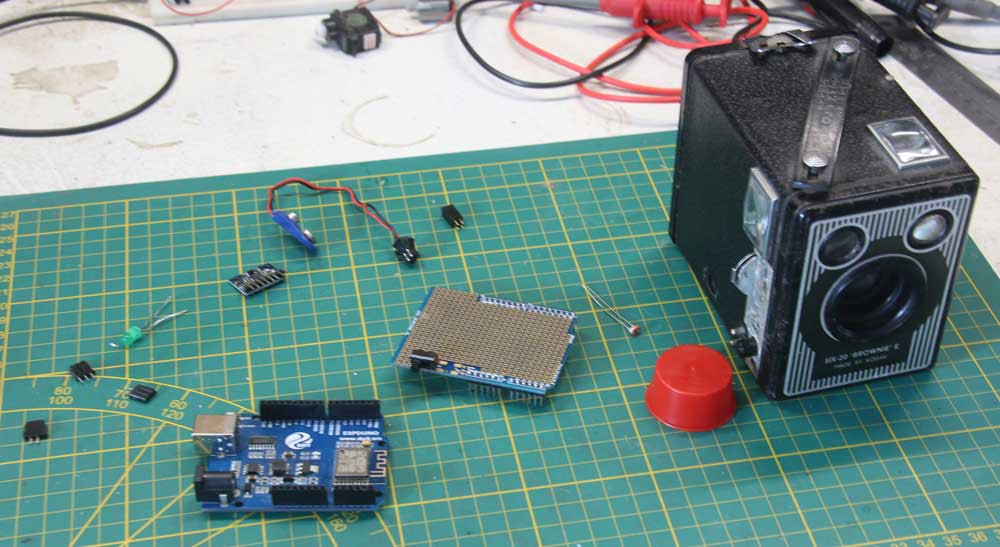
Rougly what I started out with to do the mock up.
For the orientation detection I first selected a six axis motion detection board that worked via I2C. A bit overkill (not that the ESP32 is the bare minimum for being a button!), but I could add future functions to it with certain movements like when you shake it a certain way, it could send a command to make a Polaroid style image for instance. In the end I chose a simple roller switch because I had one and it would be much simpler to implement.
The trigger itself is a photo resistor. It is placed in front of the shutter and it registers when it is open. The sensor is mounted in a piece of end-cap for PVC that is just about the right size to friction fit in the hole in front of the sensor. This friction fit business will be a running theme! I potted the sensor with some old paint to keep lights out from the back and that works a treat.
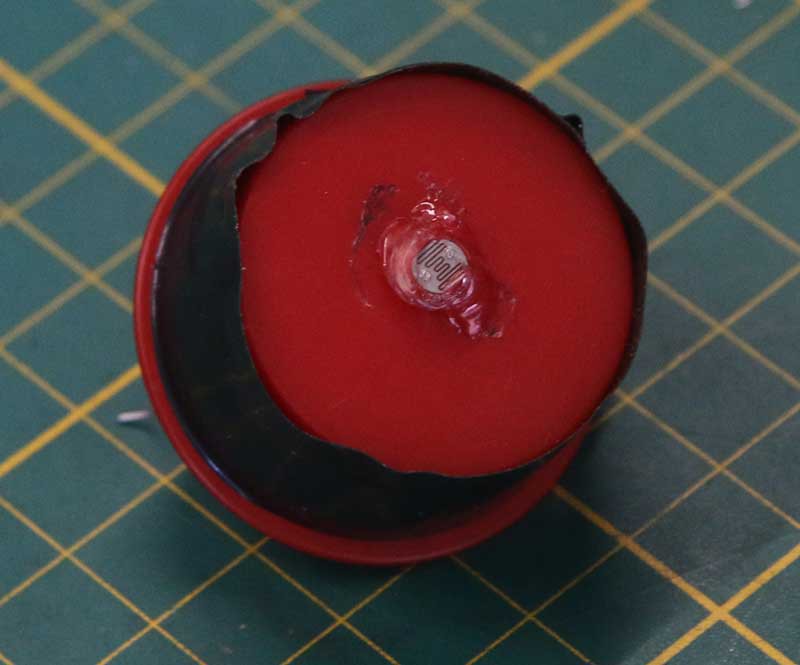
Yes! Hotsnot!.. Also podded with outdoor paint! Sue me!
The unit works with a 9 volt battery that is logged in at the top of the case. A piece of MDF with fabric keeps it snugly in place. A led at the back indicated power-on, Bluetooth connected and shutter released. All not rocket science.
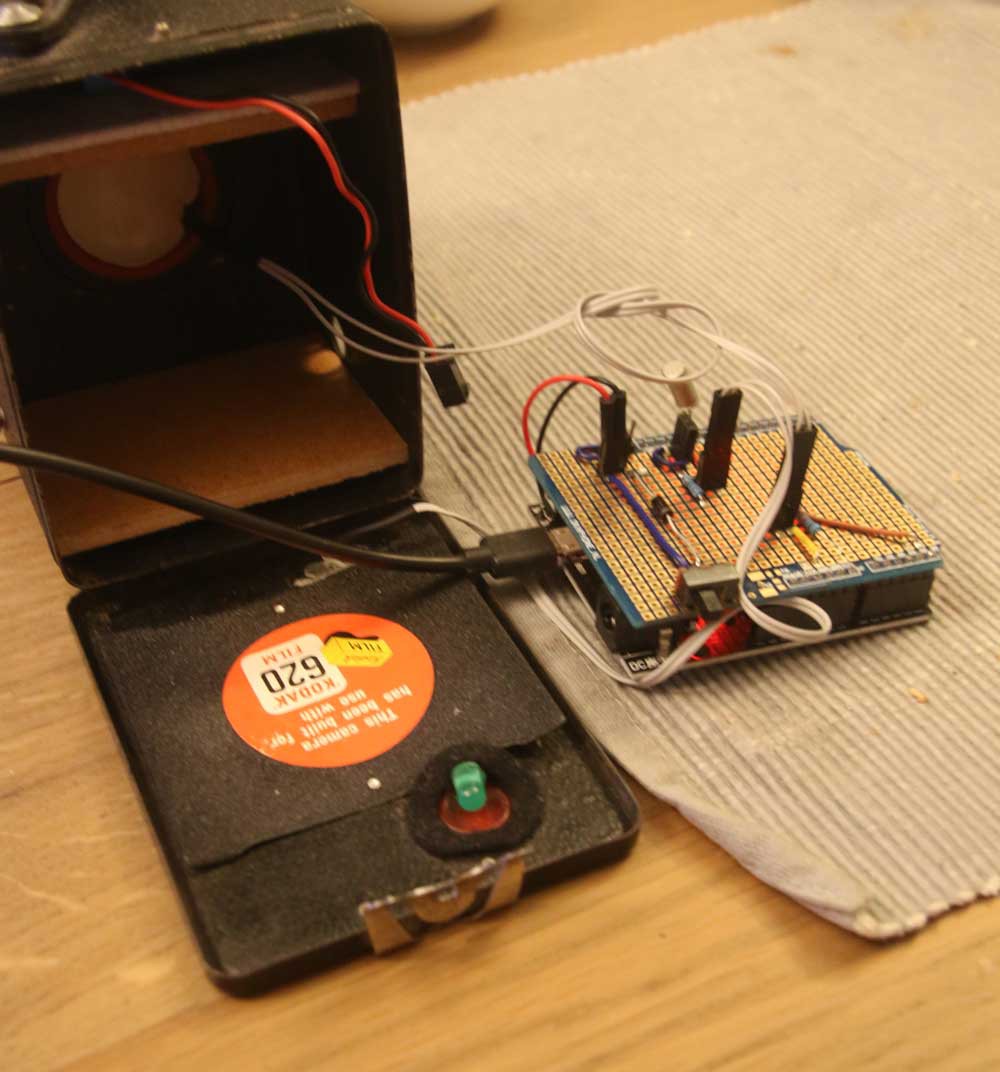
Cameras like these are steal boxes. There are a few holes like the lens and mine has the winding spool missing, but there isn’t a lot for radio signals to get to to the outside in this faraday cage. It turned out that is was not a problem on my laptop. It could see the device perfectly and it never failed, but on the RPi desktop that I wanted to use for the demo, it did not work out as well. As a result I had to make en MDF backplate to make it work. This did work in my favour as I could now make a hole for the on/off switch.
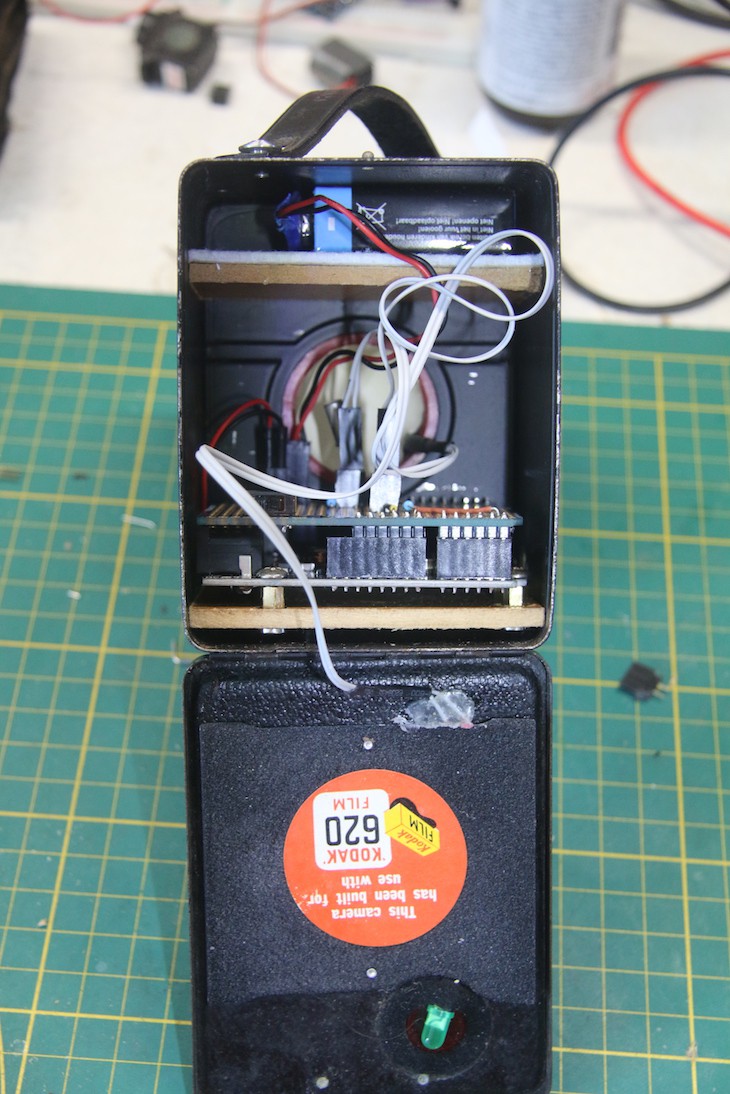
The whole device assembled, albeit with the original backplate that has temporarily been replaced by a MDF insert.
The Software
This is not a complicated project. The sketch for the ESP32, available below, does a couple of things. Check connection, check the sensor, check orientation and send keyboard commands for the computer in order to make a screenshot.
On the desktop side, I made two simple bash scripts (available below) that uses scrot to make the image and open it in the basic RPi OS image viewer. The key commands I chose were “SHIFT-ALT-F1” and “SHIFT-ALT-F2” for portrait(window) and landscape(screen). This can of course be set to any key combination for your particular system and it would be nice to have this be configurable not by having to alter and upload the sketch.
Seeing as we have a ESP32 in here, it would be quite feasible to make a simple web interface where one could configure the output of the camera for Mac, PC, Linux or just about any device that can receive keyboard commands via Bluetooth.
 Timescale