Close
0%
0%

Espoir

An open source, PoE+, ESP32 devboard with a mikroBUS socket.

Similar projects worth following
Espoir is a Power over Ethernet + (PoE 802.3af/at) devboard based on the ESP32 microcontroller, with a mikroBUS socket to connect over 1,300 existing extension boards (or a protoboard of your making). Its other features include Wi-Fi, Bluetooth, a direct USB-C 2.0 connector, and a 5 Volts / 3 Amps isolated power supply.

Espoir is open source and OSHWA certified. Use it in your next design with the security that comes with having the source files on hand. It is also developed and built exclusively with free, open source software (FOSS), so you are sure to be able to access the files at any time.

Its firmware is as versatile as its hardware: Espoir can be programmed or configured with ESP-IDF, Arduino-ESP32, MicroPython and Tasmota for IoT projects.

Not impressed yet? Check out Espoir's extensive documentation to learn everything about it.

I want to automate my garden and my (future) microfarm. I need something reliable, robust, efficient, remote-controllable, and affordable. My system needs to be manufacturer-independent, platform-independent, internet-independent, yet accessible from anywhere. I also want scalability, and for that I need something quick to setup and probably OTA updates. If I could find plug-and-play extensions too for when I need a new sensor or device, that'd be great too.

Whew, that's starting to be a lot of requirements for a small project. Obviously, I don't have the resources or time to do it all. That's where open source comes in.

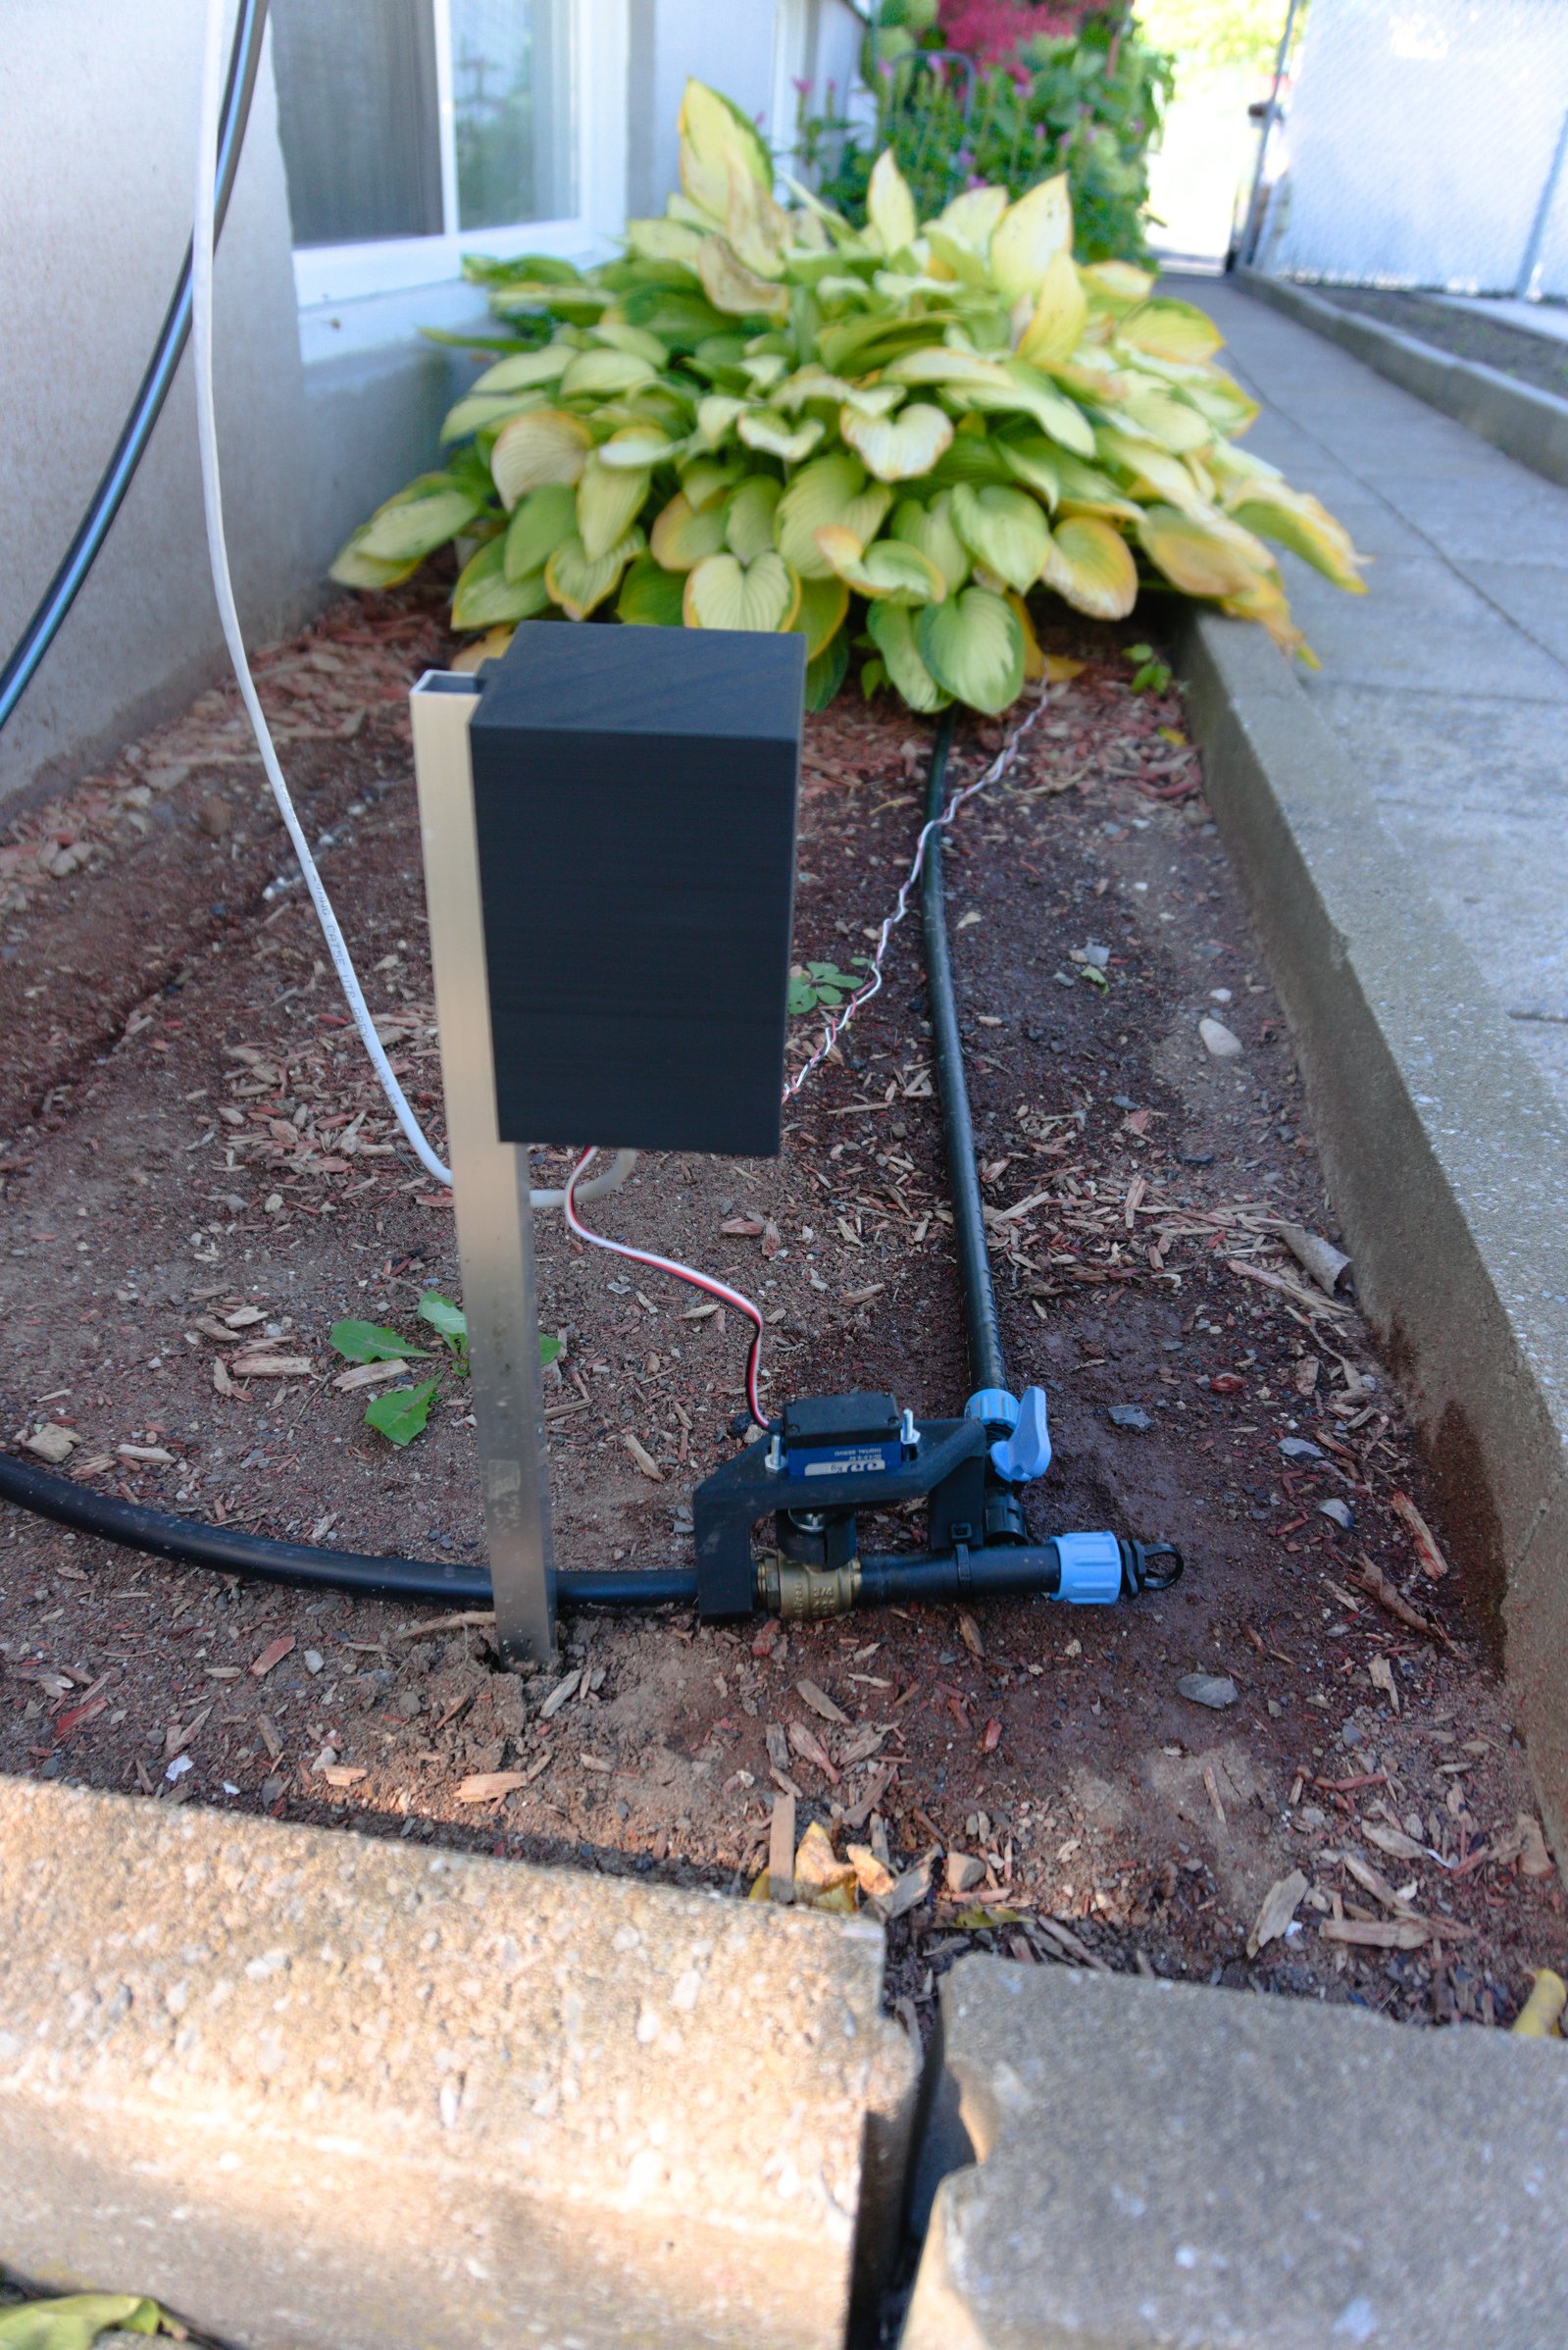
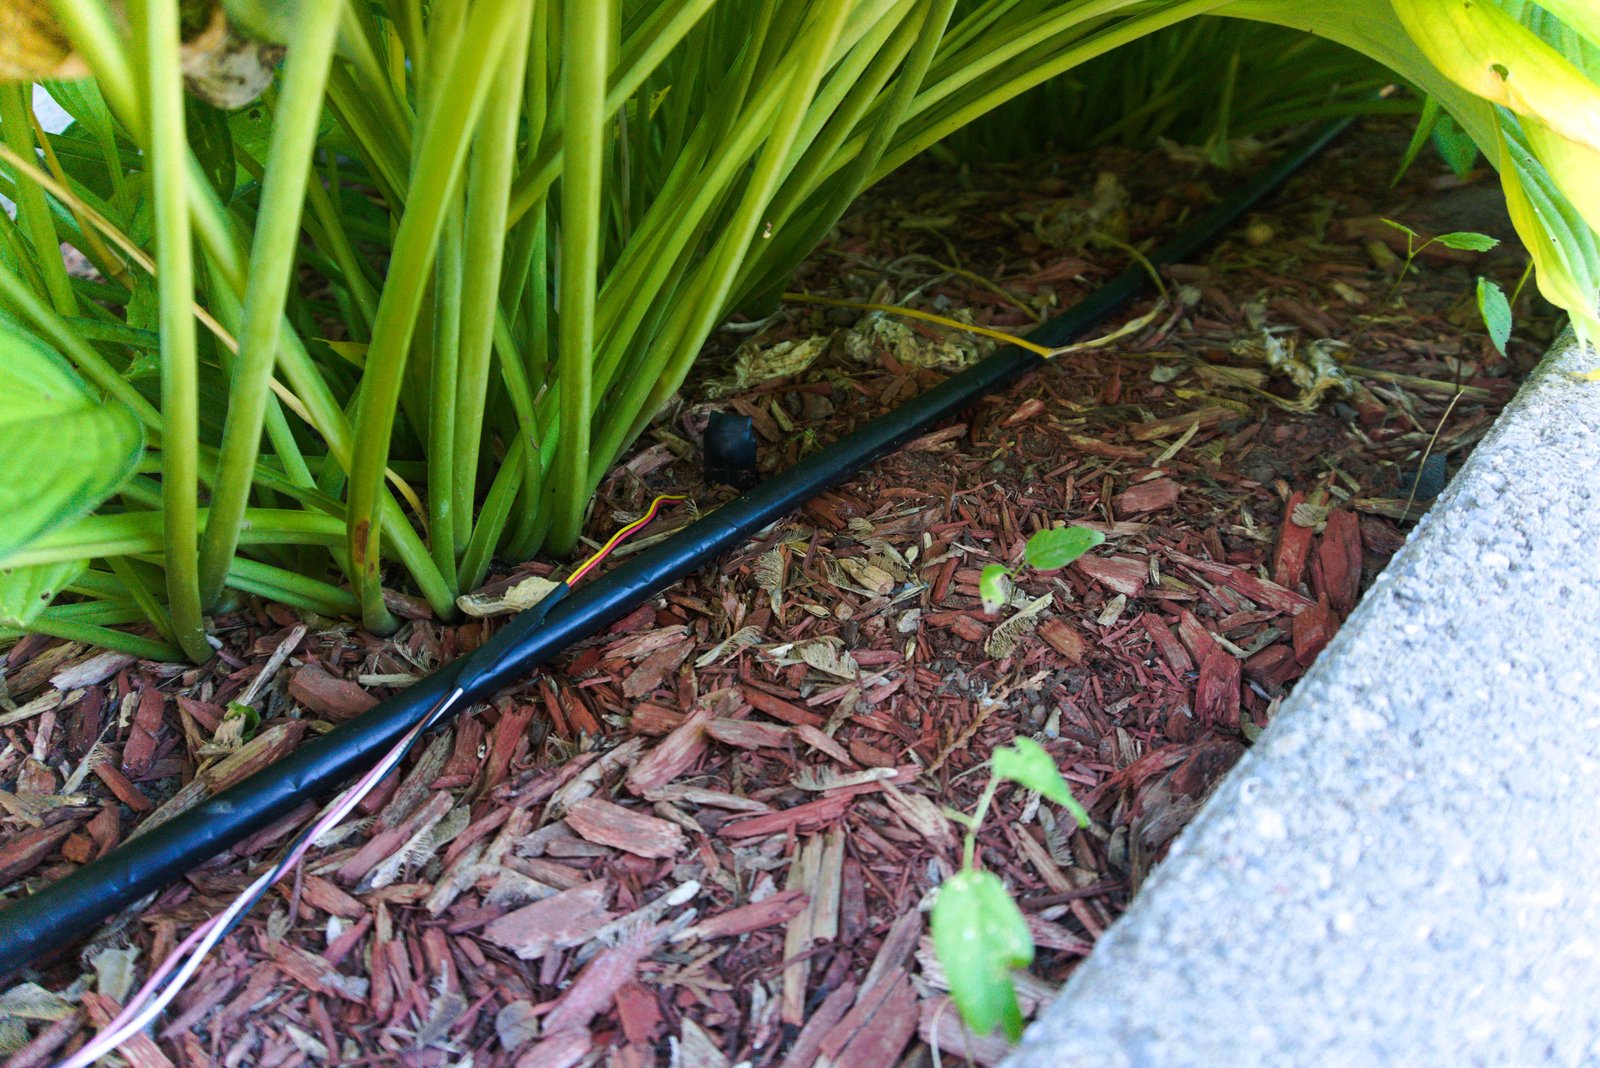
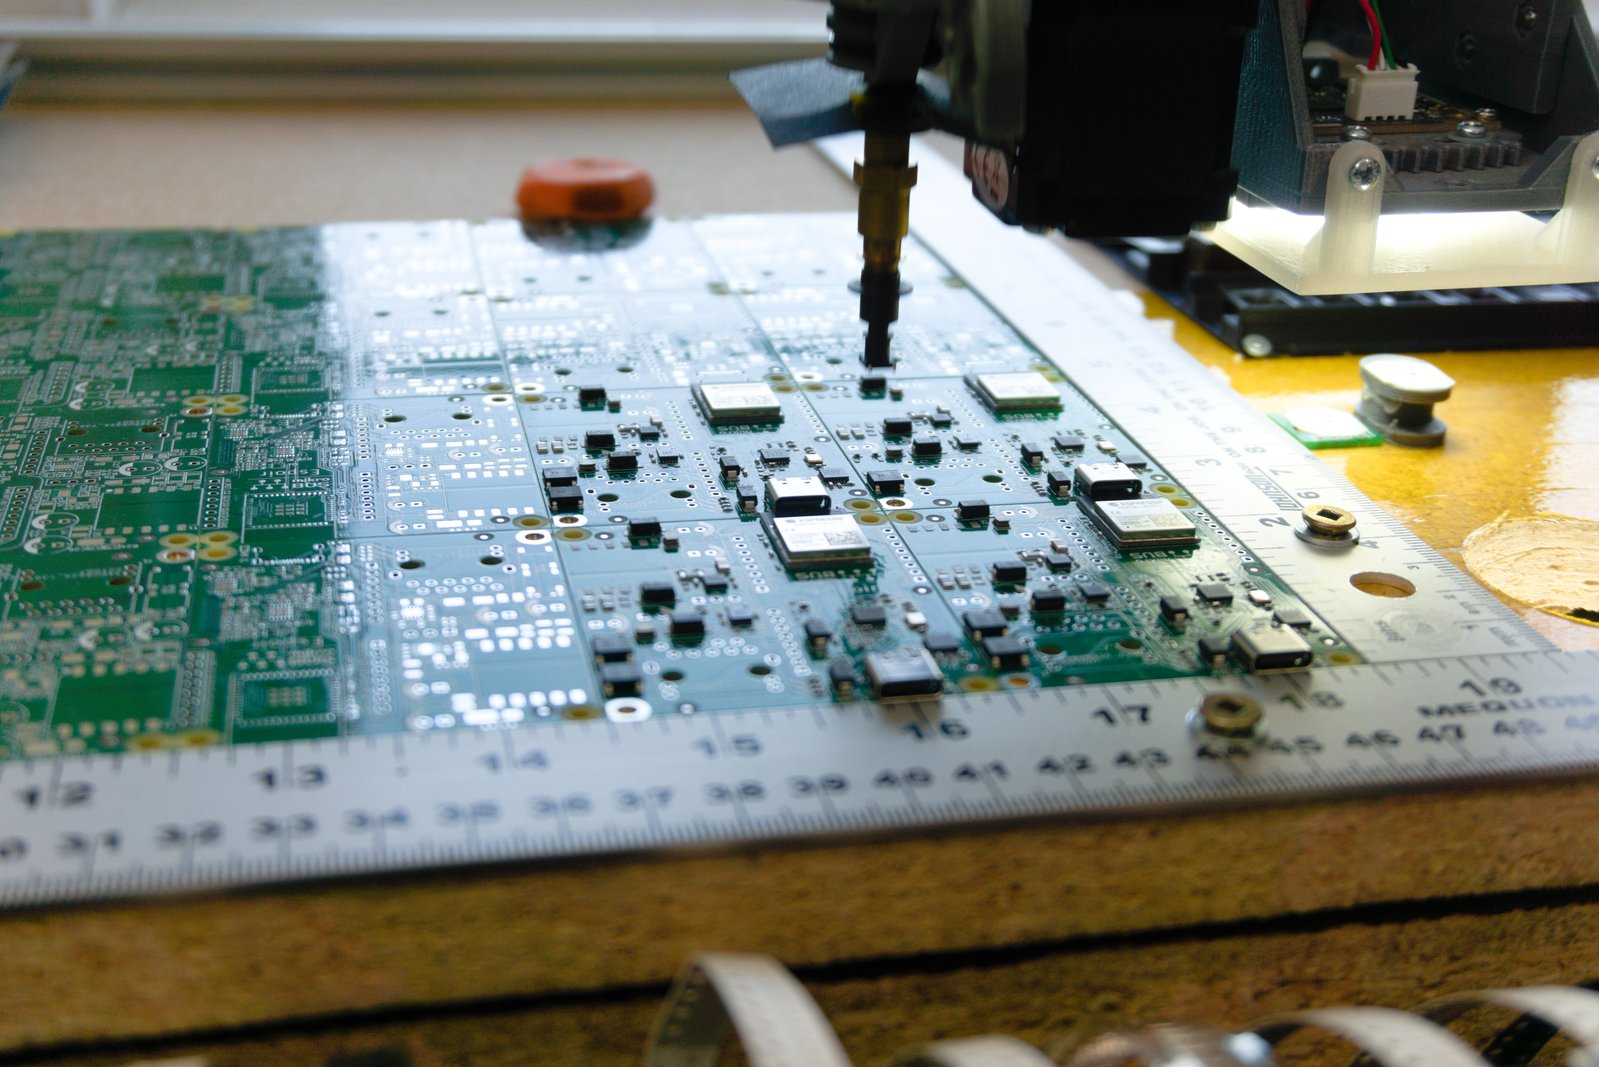
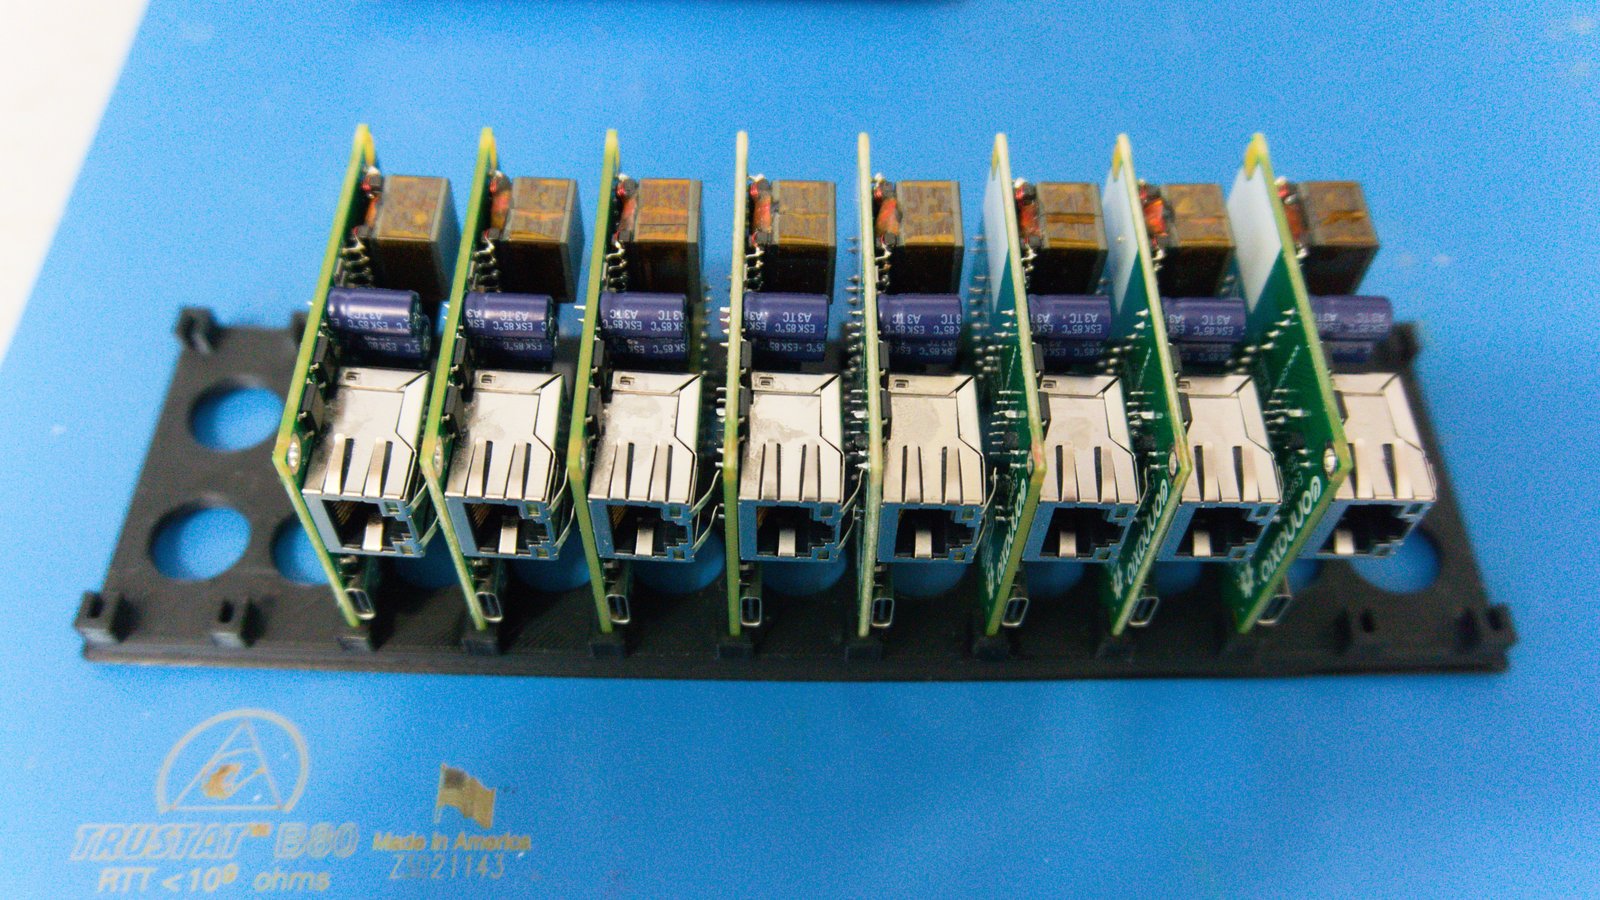
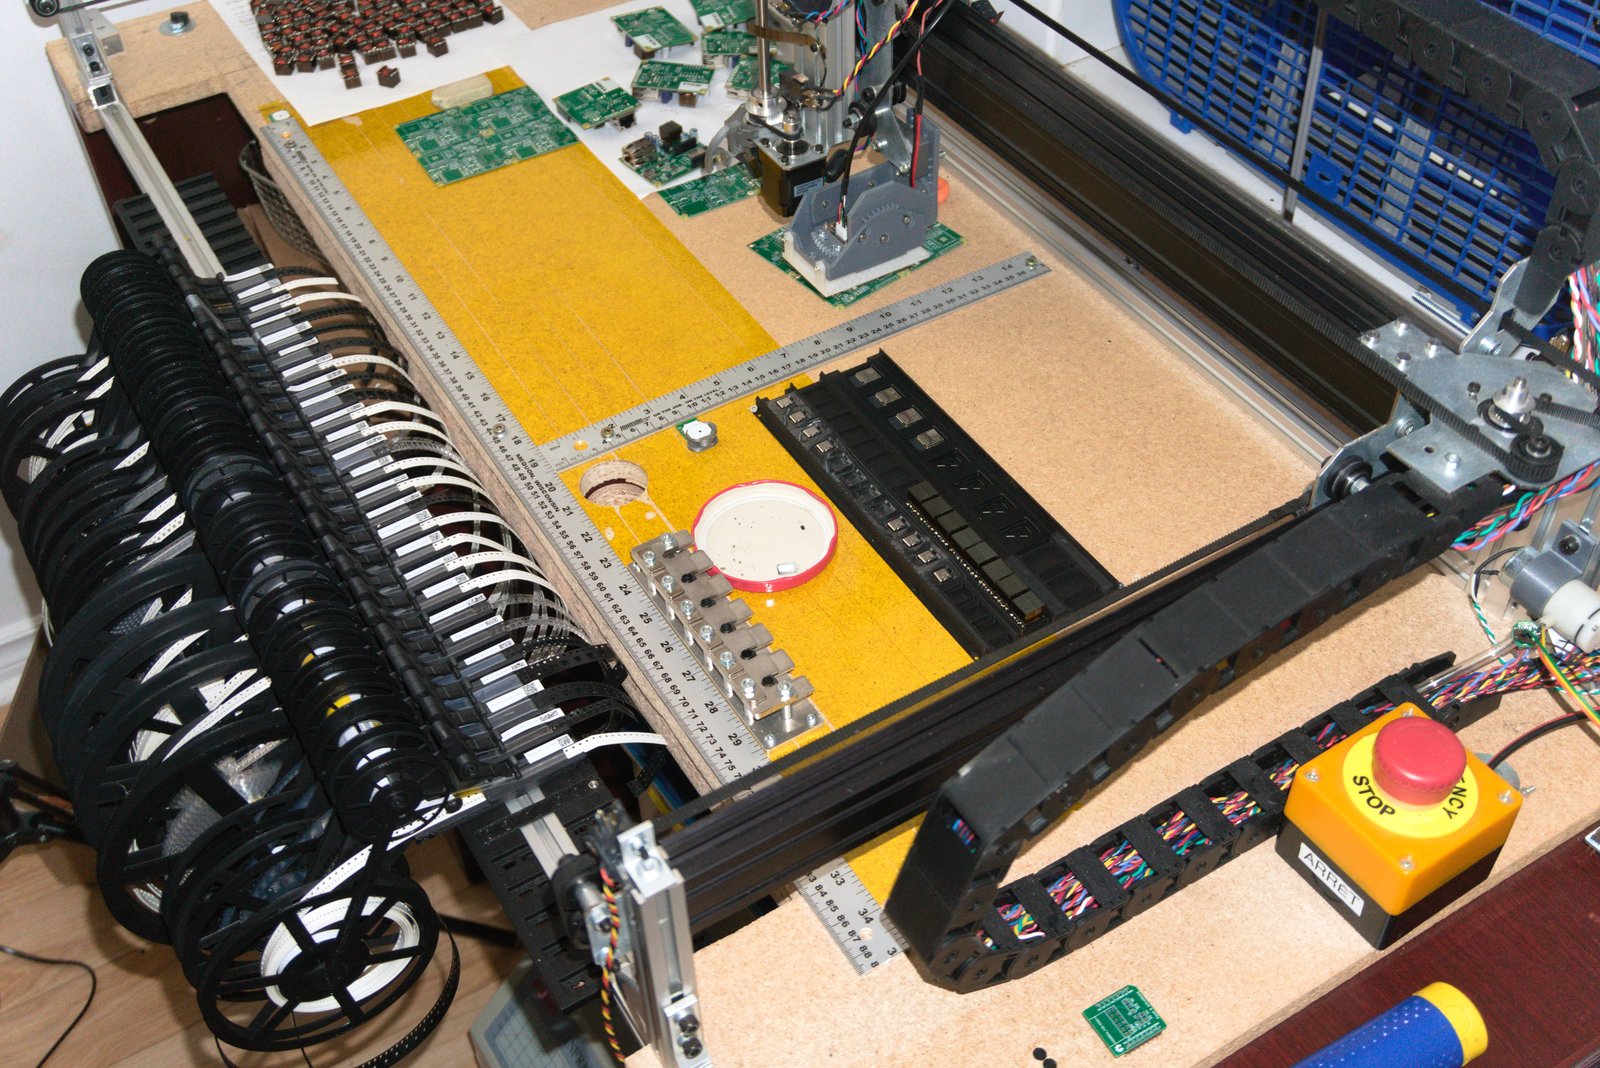
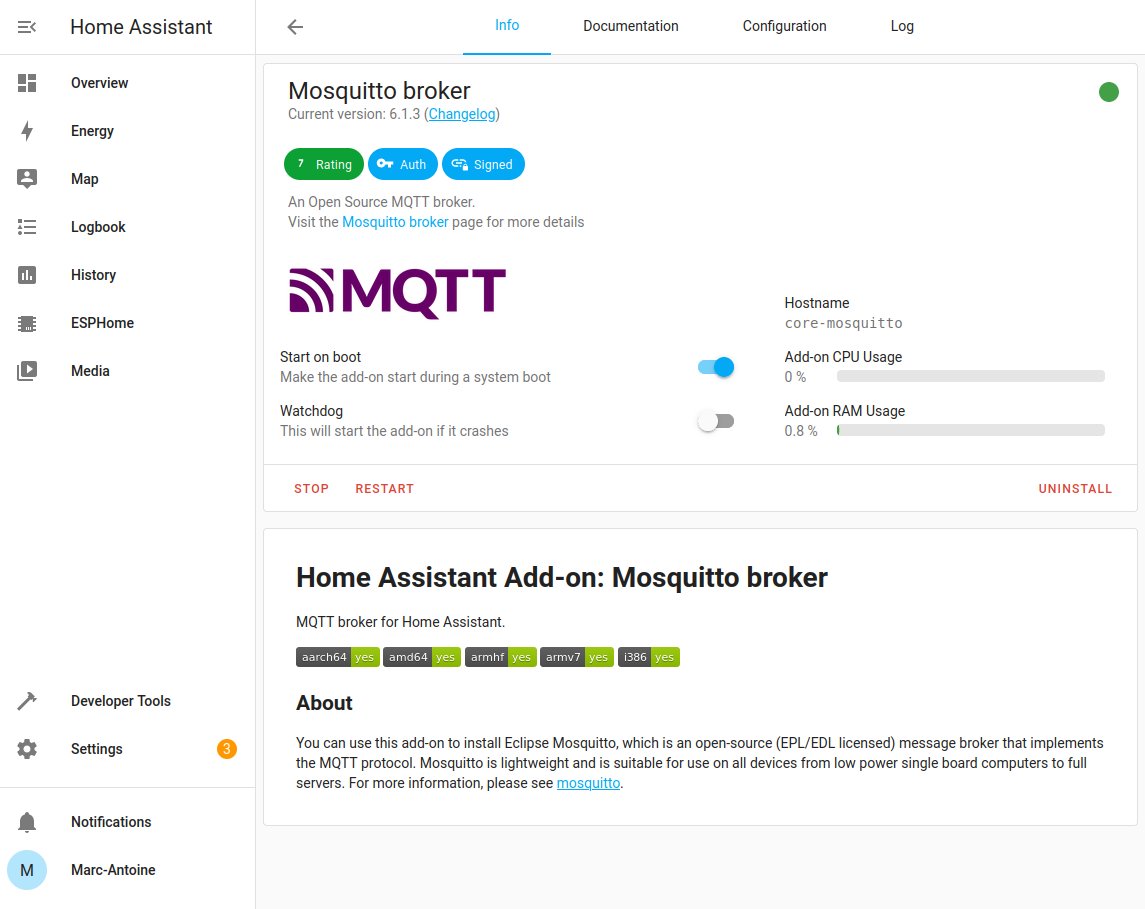
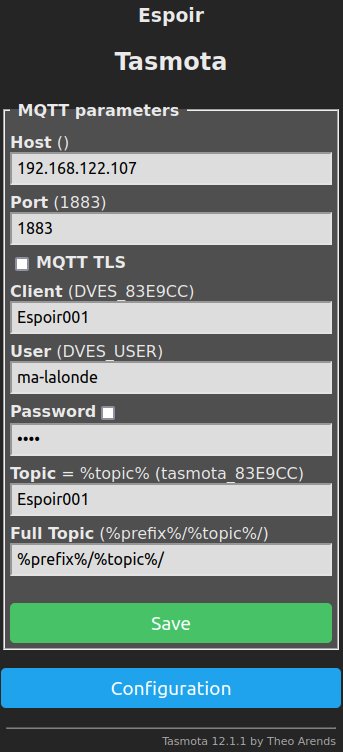
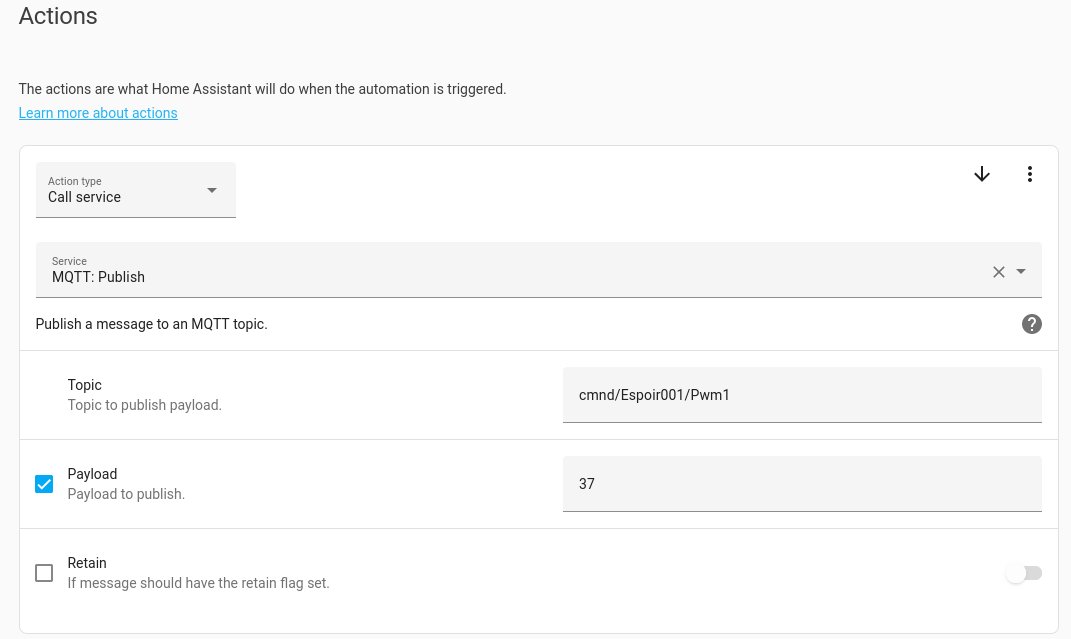
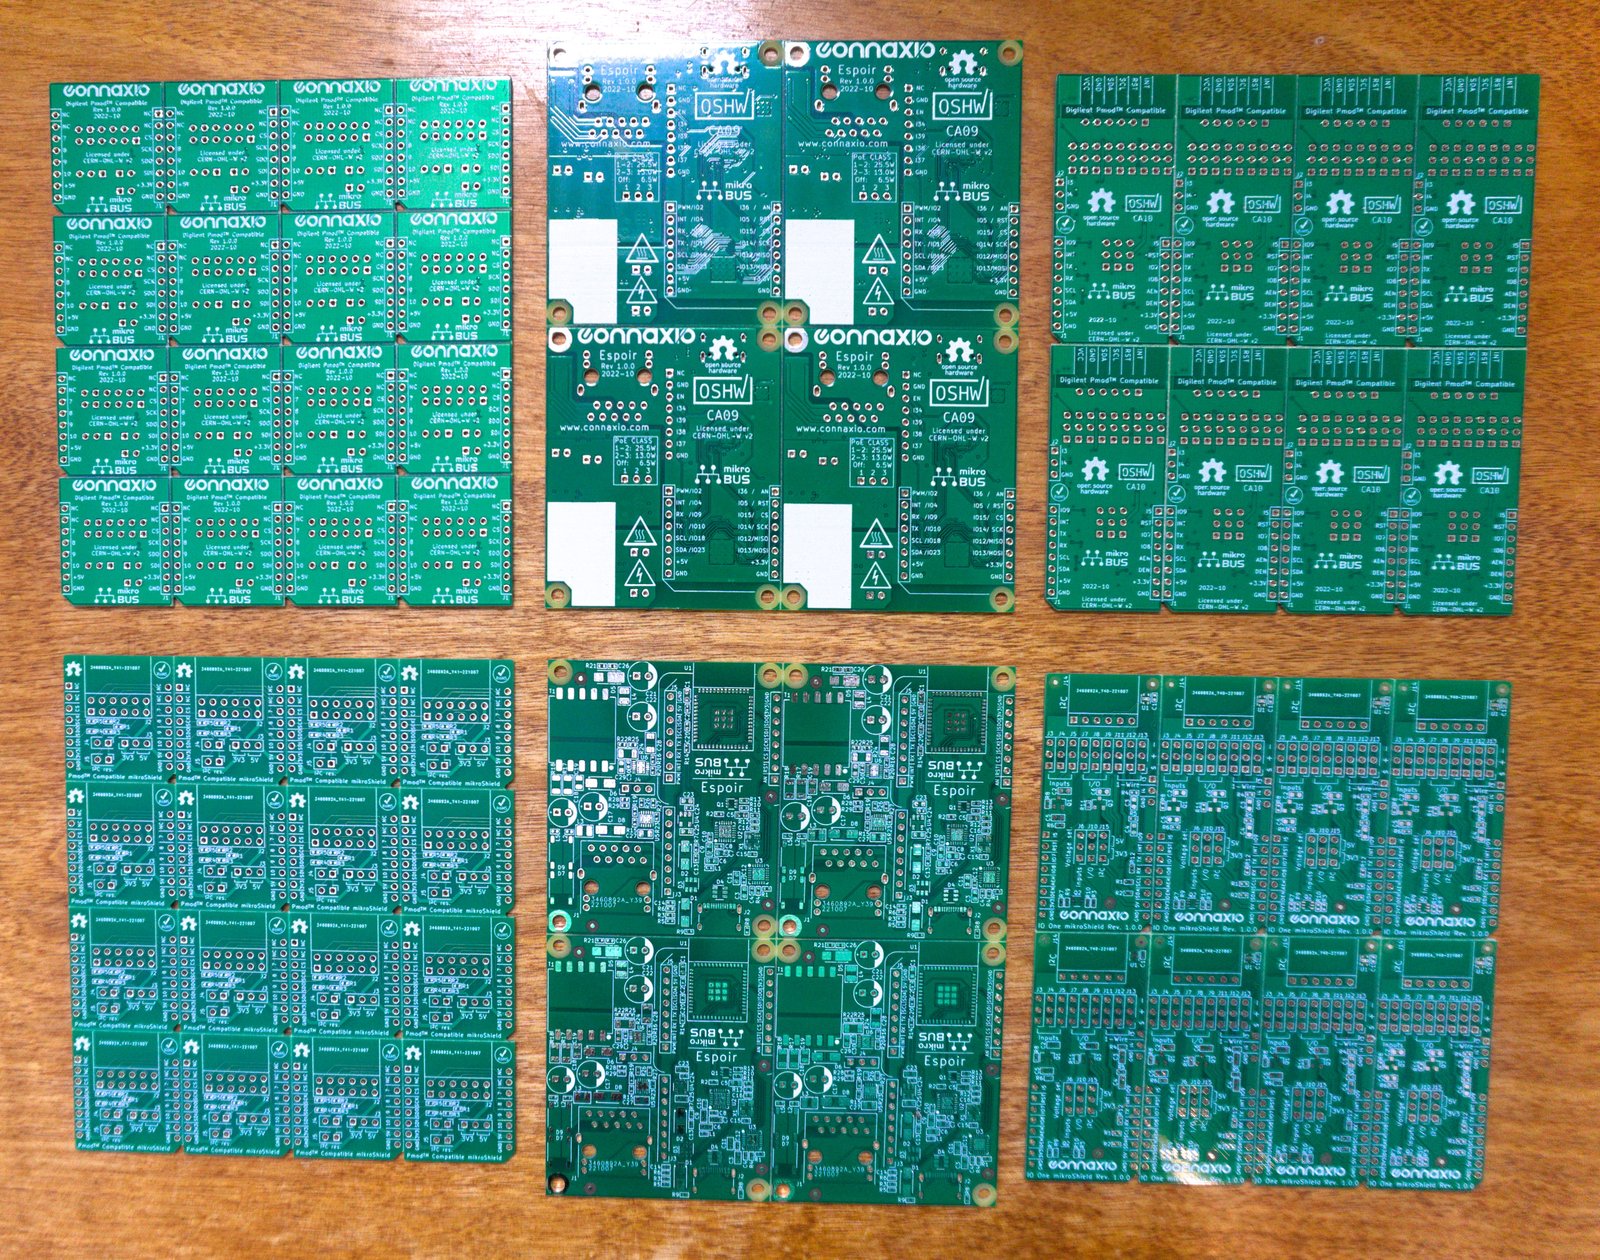
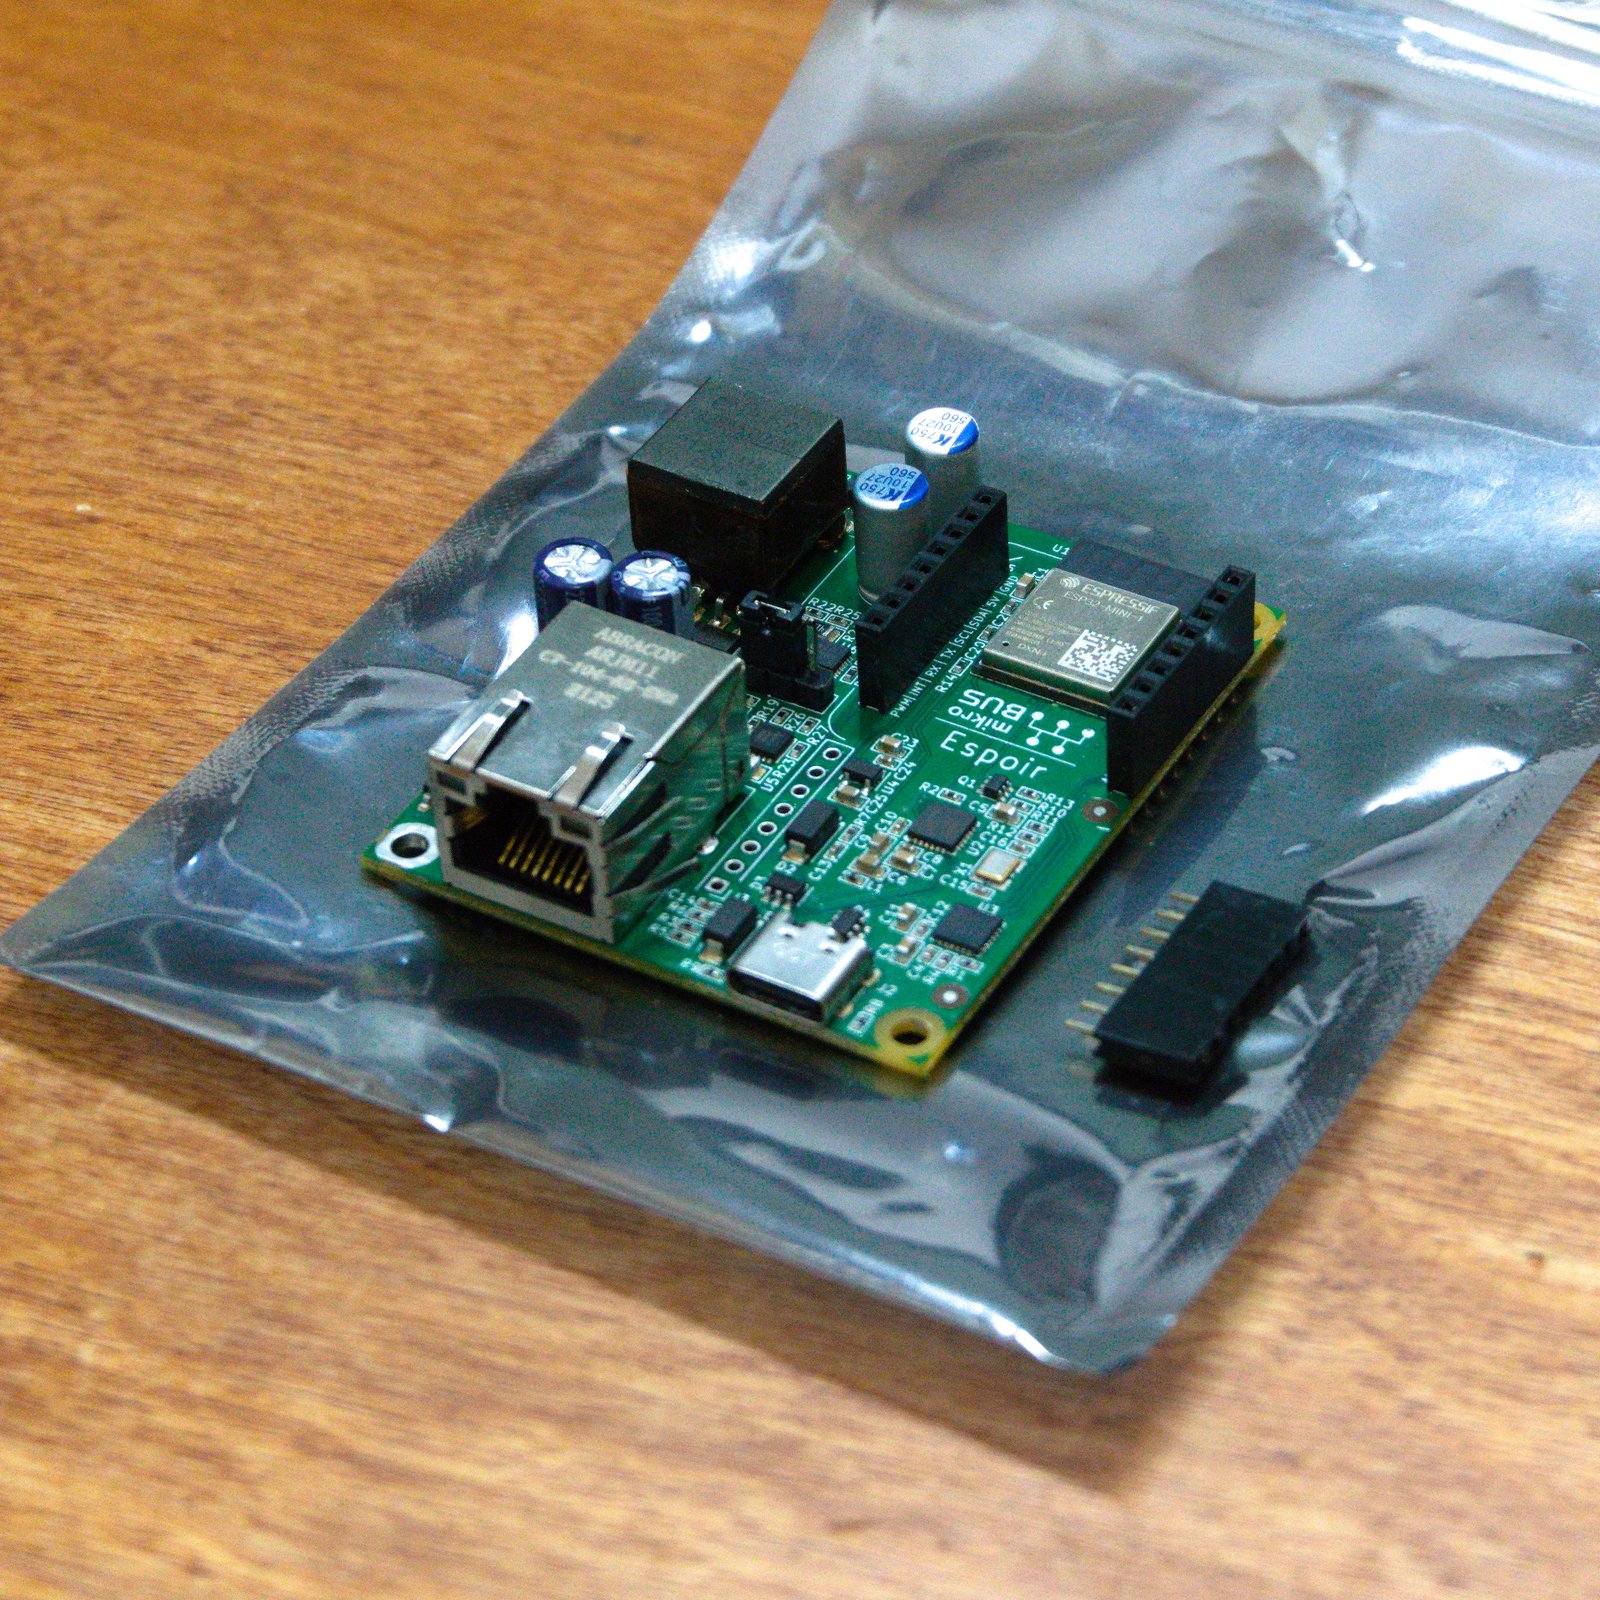
Espoir is an open source devboard, designed with open source software, and works with open source firmware and software. In practice, it is designed with KiCad 6, its sources are publicly available on GitHub, it is compatible with Tasmota, and after a 10 minutes setup, it connects directly to Home Assistant, and the mobile app lets me manage the installation and receive alerts anywhere. Since it has an industrial temperature range and uses PoE, it'll work as long as there is electricity. No batteries, no solar panels, no power cords, and no certified electrician needed. And if I need a new sensor for a specific task, Espoir's mikroBUS socket is compatible with over 1,300 add-on boards that share the same standard, so there is a good chance I will find a sensor board ready to just work.

I also designed a multifunction add-on board with gardening in mind to got with it, the IO One mikroShield. It has several signal-voltage-ground connectors for analog/digital input signals, digital outputs (PWM, I2C, etc.), 1-wire headers for various of these sensors (including the classic DS18B20 temperature sensor), as well as an I2C temperature and humidity sensor.

Look up Connaxio's extensive documentation for guides and examples on how to build your next application with Espoir.

espoir_outputs_1.0.0.zip

Output files for Espoir - Schematics, BOM, 3D models, Gerbers.

Zip Archive - 10.86 MB - 10/06/2022 at 21:35

Download

  • 1 × ESP32-MINI-1
  • 1 × CP2102N-A02-GQFN24
  • 1 × MP6004 Discrete Semiconductors / Transistor Arrays
  • 1 × NCP1094 Interface and IO ICs / Other Interface ICs
  • 1 × KSZ8091 Interface and IO ICs / Ethernet, T1, E1

View all 6 components

  • IoT with Espoir Part 2: Applied gardening

    Marc-Antoine Lalonde11/07/2022 at 01:27 0 comments

    New guide: smart, open source, IoT irrigation system

    Last week, I covered how to create an IoT application with Espoir without any programming. This week, I have a follow-up guide, IoT irrigation with Espoir. It covers the fabrication and configuration of a smart irrigation valve controlled by a calibrated capacitive soil moisture sensor, to both save water and grow healthy plants at low cost. The guide covers a lot of ground, including:

    • Basic irrigation principles
    • Ruggedizing the capacitive soil moisture sensor to make it last outdoors
    • Calibrating the moisture sensor's response curve
    • Connecting and configuring Tasmota and Home Assistant to read the sensor values
    • Preparing the valve automation
    • Setting the irrigation levels

    If you're like me, and you enjoy fresh, healthy, local food, but would rather not spend time each day babysitting your plants, check it out!


    Production is GO!

    Production has officially started! We're not yet at full speed, but we're already at a rythm where production should be completed at the end of the launch campaign. Exciting! I have to say I'm still debugging some stuff here and there (mostly (always) the feeders, urgh!), and I'm still looking for the perfect timings for dip soldering the through-hole parts without bridges or missing joints that I have to rework. I really want to get the time I spend on each PCB to under 5 minutes, and to get there everything needs to be perfect.

    The boards are preparing for a nice high-frequency cleansing bath. Looking at the bottom of the bath, it's clearly a necessary step.

    The pick-and-place is optimized

    I had been putting this off, but now it's done: the pick-and-place is as optimized as it will get (except maybe I could get a bigger Y-axis motor to increase speed). The bottom camera and board placement location are now centered, which minimizes overall travel distance. That also makes the assembly occur very close to the calibration location, which means smaller mechanical disparities between the calibration and assembly. I've never been so confident about the machine's next part placement, which is supported by a 100% yield rate so far.

    For the curious, it is a modified (wider) LitePlacer machine running OpenPnP software. Both offer great support and have a big community.

    The new guy is noisy

    Somehow, the new batch of transformers I just opened has started making noise. This is due to the DCM flyback circuit I use to generate the 5V output running at audible frequencies when under very light load (under 0.4 W). This causes the transformer to vibrate due to magnetostriction in the core. After making very sure it was the transformer's fault and not the ceramic capacitors around it, I looked into coating the transformer to reduce noise. After trying cyanoacrylate and polyurethane coatings, epoxy managed to dampen the noise by a large margin, so I'm quite happy with that. Basically, it makes the core so stiff that it can't vibrate any more. You can see that the bottom of the transformer is filled with a transparent, hard coating. Rest assured, this is a standard practice that does not affect performance. I guess it could reduce airflow under the coils (?), but the transformer was never the hottest part anyway.

  • IoT with Espoir: No code? No problem!

    Marc-Antoine Lalonde11/01/2022 at 21:02 0 comments

    I want to go beyond theory and dive a little deeper into "doing actual stuff".

    Complex automation for beginners

    I have prepared a tutorial over at docs.connaxio.com that shows how to create a fully functional, custom automation setup with Espoir without any programming. The setup uses the open source Tasmota firmware and the Home Assistant IoT dashboard and automation software.

    In broad strokes, this involves installing the Mosquitto broker Add-on in Home Assistant:

    Then, following one of the guides I shared on the documentation website, configure the Espoir/Tasmota MQTT settings to connect to your Home Assistant installation:

    Finally, create automation rules with specific actions:

    The full instructions are available at docs.connaxio.com, including lots of images.

    Espoir Rev 1.0.0 is alive!

    I received the panelized boards last week, and they're just like on the internet!

    I don't know yet if my modified T-962A reflow oven will be able to solder all four boards at once. I hope so, otherwise I'll spend a lot of time babysitting the oven.

    I assembled one Espoir module to make sure everything was as good as it looked and, unsurprisingly, everything went well. So here is one module, ready to ship!

    The extension header, just like before, is not soldered in order to remain compatible with most mikroBUS™ add-on boards. It is included, however. They're under $0.04 each, after all.

    Upgrading the Pick and Place

    I also just received the two vacuum sensors I had ordered two months ago and talked about last week. I hope they work as advertised! They allow the pick and place machine to sense if it has really picked up a component, and they allow minimizing the dwell time (time spend waiting for vacuum) by instead sensing when the part is ready to be moved. This avoids the whole cycle of moving the nozzle over the camera, checking for the expected part, and then moving to the discard location to clear the nozzle (just in case) before trying again. Markmakr has a blog post with nice images that explains how cool this is, if you're into that kind of geek stuff.

    What firmware do you want on your Espoir?

    I came to the realization that I really couldn't just leave the validation code on the microcontroller after flashing it, since it outputs VCC and GND on every pin in quick succession. That's a good way to kill a board.

    So that leaves the question open: which firmware would you like to have by default on Espoir? The obvious options I see are MicroPython, Tasmota, and no firmware (erase flash). Let me know if you have a preference, there really is no practical difference, so I might as well make someone's life easier.

  • Espoir is officially available on Crowd Supply!

    Marc-Antoine Lalonde10/13/2022 at 19:41 0 comments

    We are proud to announce that our Espoir campaign is now live and available for pre-order. We have been working hard to bring you our best quality PoE dev platform that is highly adaptable and rugged for a variety of applications. Our mikroBUS™ socket and Pmod™ compatible mikroShield add compatibility with an additional extensive set of 1300+ add-on boards.

    Since the announcement of our pre-launch page on Crowd Supply, we've been refining the final details in our design, the production process, and securing components to ensure a swift production timeline. With these steps completed, our Wi-Fi, Bluetooth, PoE+, mikroBUS™-compatible and protoboard-friendly microcontroller board is confirmed to be complete and available for sale.

    We've worked hard to ensure that our documentation is highly accessible, and Espoir is officially OSHWA certified! Our OSHWA Certification guarantees the security and flexibility that comes with having access to schematics, layout and gerber files. We have also implemented support for quite a few of your favorite programming and control frameworks. Espoir officially supports ESP-IDF, Arduino-ESP32, MicroPython, and Tasmota for IoT applications, and all documentation is available on our official Wiki page.

    Head to our Crowd Supply page now and order yours today! Also, don't forget to check out our mikroShield add-on boards! They come with our OSHWA certified documentation to help get you started on your next project.

  • Solving the single-core issue

    Marc-Antoine Lalonde09/20/2022 at 14:34 0 comments

    A small slice of developer life, where I learned about delays and date codes.

    ---

    Between the moment Espoir started as an idea, became a hobby project and ended up as a product, it went through several microcontrollers: the STM32H7, the ATSAME, the ESP32-PICO, and finally the ESP32-MINI-1, which is what it uses now.

    The ESP32-MINI-1 has a PCB antenna, it is shielded, and it is also the cheapest ESP32 (possibly the cheapest MCU) that comes with a MAC interface for Ethernet. However, when I switched to that model last year, it had one not-so-small flaw: it was a single-core MCU. Back then I though it would not matter too much. The ESP32-MINI-1 already runs at 240 MHz with 4 MB of flash and 520 kB of RAM, it's a beast in its own right.

    The thing I had not considered was library compatibility. I was new to the ESP32 world, and since ESP-IDF, the basic development framework for ESP32, has a single-core option, then everything is good, right?

    Right?

    Well, no. The reality is that most ESP32 MCUs are dual-core, so the developers of Arduino-ESP32, made it dual-core too. And many really cool frameworks like Tasmota and ESPHome, are built on top of Arduino-ESP32. And what happens when you try to run a dual-core library on a single-core MCU? Boot-looping. An endless loop of disappointment.

    Of course, there are ways to go around this issue. You can compile Arduino-ESP32 for single-core yourself, then build other libraries on top of that, and so on. But, that means you need to maintain the builds, the documentation, and continuously monitor for new releases.

    It's not that hard, but it takes time. A lot of time one would rather spend doing something else. The extra steps for everything also make the devboard more intimidating, and the users also depend on you continuing to maintain the custom builds.

    And there comes Espressif's PCN-2021-021. In December 2021, Espressif changed the ESP32-MINI-1 from single-core to dual-core. Just like that, things seemed they would turn out okay. In April 2022, I ordered a new small batch of these MCUs.

    It turns out, I took a bit of time for these upgraded versions to come to the market. I quickly realized I had just bought more single-core microcontrollers. Disappointed, I left that on the backburner and added "maintain my own builds" to the to-do list.

    In August 2022, seeing that things would get pretty involved, I contacted Digi-Key and Mouser and asked them if, now 8 months after the new dual-core release, I could request parts with more recent date codes. To my great pleasure, I got a positive response from Digi-Key, so I ordered two MCUs to test, and was very happy to confirm that I had finally got my hands on a dual-core ESP32-MINI-1!

    I then ordered enough of these new parts to get the first production batch of Espoir built with only dual core MCUs. I'm very happy with that development, since it means I have a lot less work to do, and everyone enjoys more simplicity and better long-term support for whatever library they choose to use.

View all 4 project logs

Enjoy this project?

Share

Discussions

Similar Projects

Does this project spark your interest?

Become a member to follow this project and never miss any updates