 dsagman
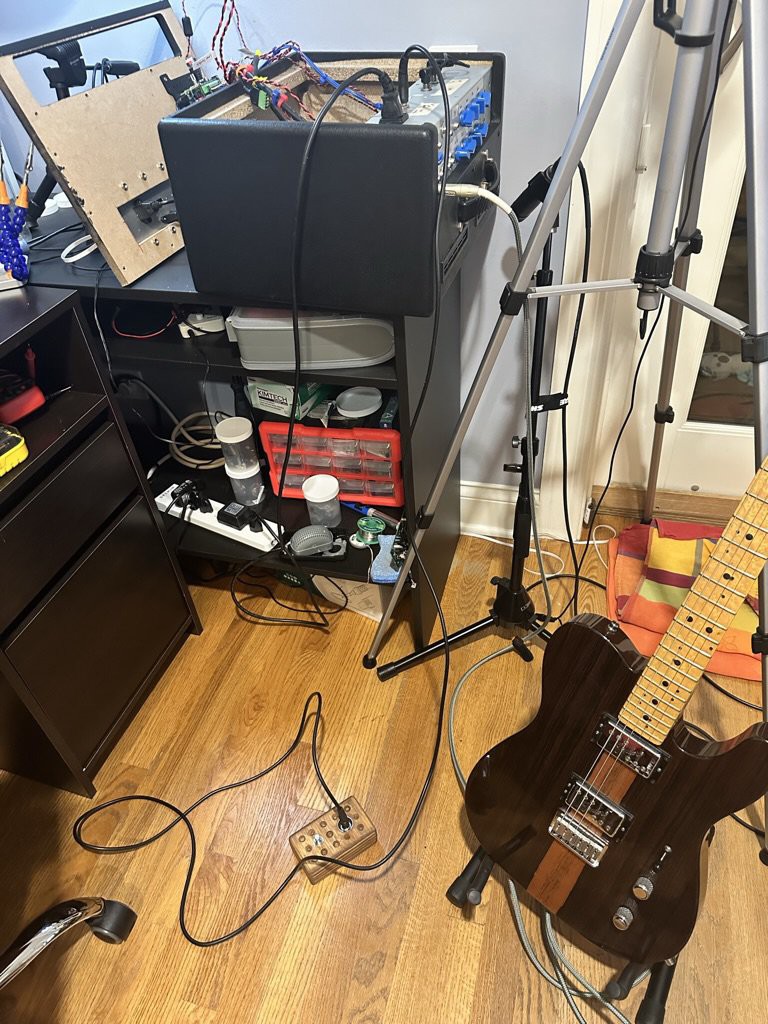
So I got my looper working. But not without pain, pain, pain. And not just from a guitar string snapping and ending up sticking out the back of my hand. You know when you have everything working and you go to do the final power on and it doesn't work? Yes. That's what happened.
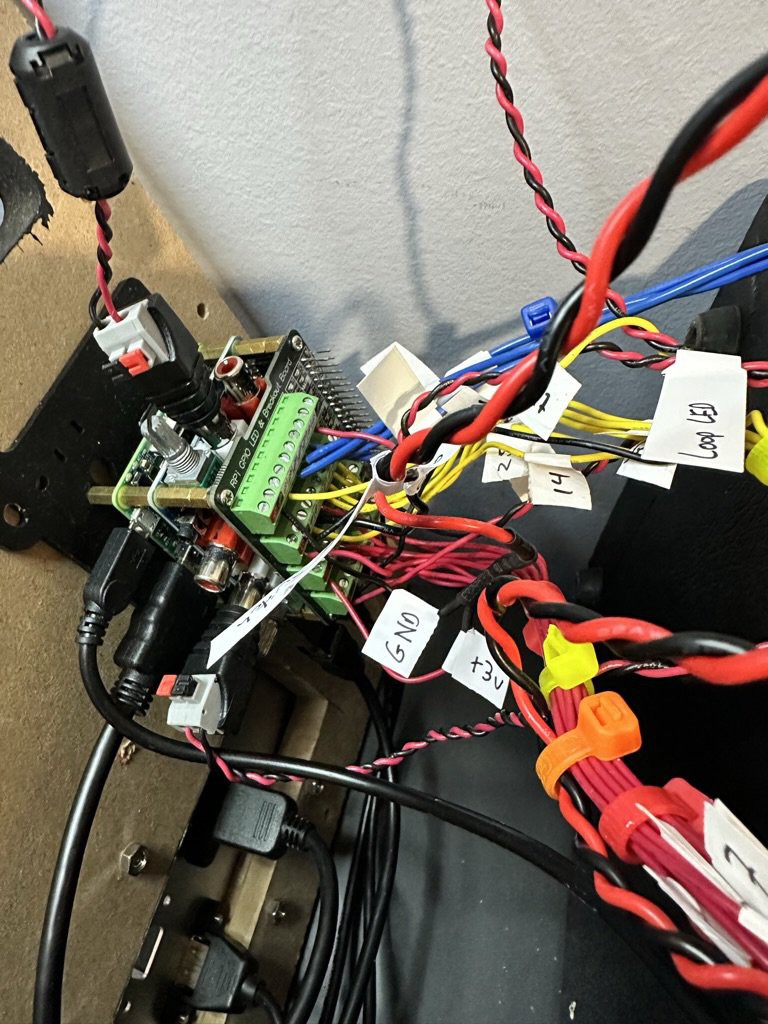
Long story short, I believe that when I attached my homemade pedal with a six foot guitar cable (cause it looked boss) I brought the associated GPIO pin low because the signal just faded out over that length of thick wire. Oscilloscope testing later proved that to be the case, but that would be a few days later.
At first I thought I had maybe disabled one too many system services in my quest for performance and removing noise artifacts. That was a dead end, but I spend hours reinstalling drivers such as triggerhappy, rfkill, journald, which were completely unneeded.
I hadn't realized that the audioinjector card used the I2C gpio pins for initial setup. So when I tried to use pin 2 for my pedal, the card failed to initialize. But it had worked with a short bit of wire hooked to a switch, just not the long wire!
An option now was to use a shift register to open up more GPIO pins, but ugh, that sounds like real work. Maybe someday, but for now what I did was move the led for the looper to pin 2 (a short wire) and for the looper pedal I rewired to drive 1.5 volts with a hacked in voltage divider on the cable.
That looks like this:
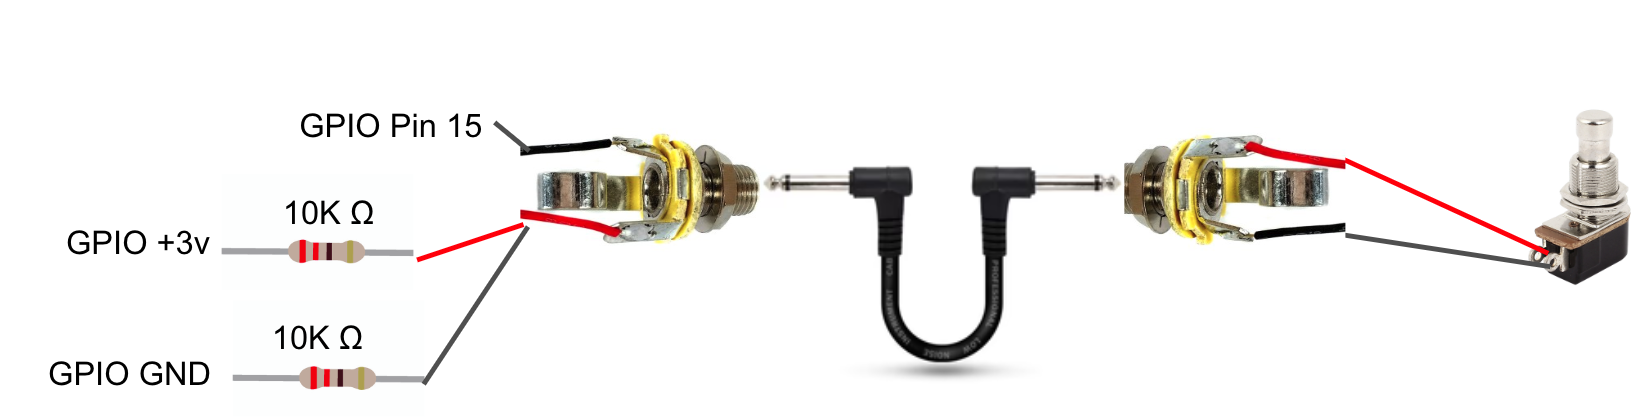
I just soldered the resistors directly to the wires heading into the GPIO and wrapped with some heat shrink tubing. Not idea, but it works now.
And here's my what it looks like:
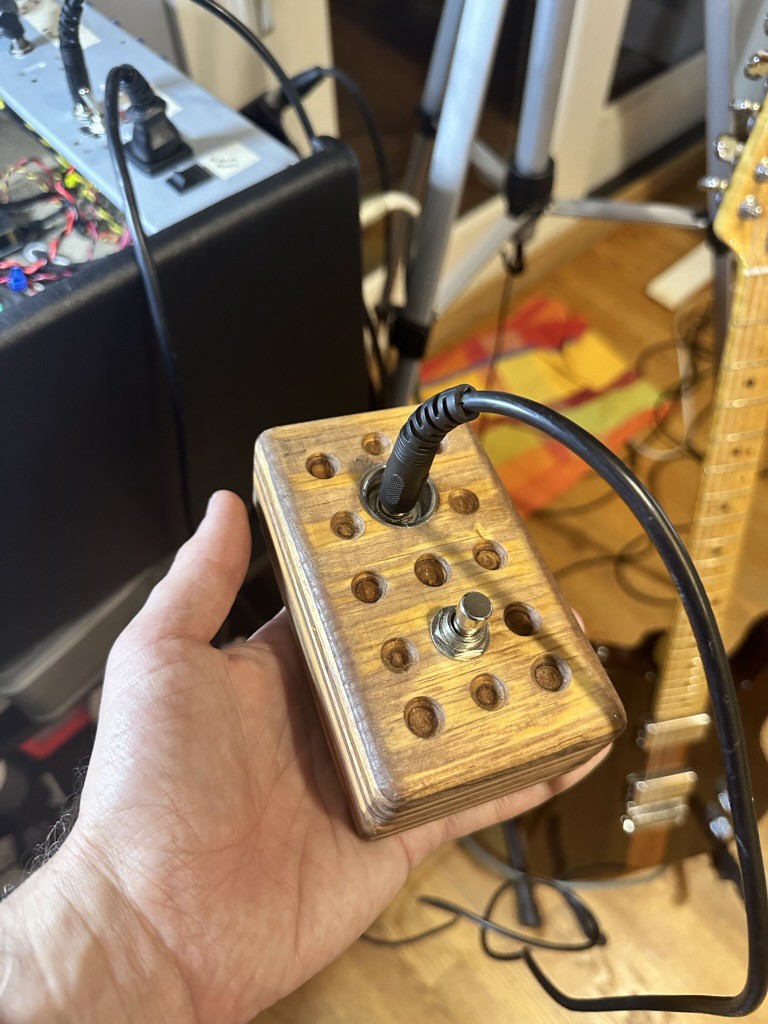
The wires labeled +3v and GND are the ones with 10K resistors hidden away beneath the black shrink tubing.
Discussions
Become a Hackaday.io Member
Create an account to leave a comment. Already have an account? Log In.