 David
DavidGood news Everybody!
The next iteration of the Polymerase Chain Reactor v0.2 works! Not only that, it works really well, with very good amplification of DNA in just 1 hour (thats actually faster than professional machines!)
First, here is the results of the Gel Electrophoresis of the experiment:

I used a plasmid containing the Green fluorescent protein gene as the template, and primers designed to bind to the beginning and end of the gene. On the right of the gel image is the DNA ladder, used to judge the sizes of the fragments. I have marked the the sized from 3000 base pairs in length and lower.
On the left is a very strong band of about 700 base pairs in length (the whole gene is 713 base pairs), and above that, there is a faint trace of the template plasmid, with a length of 4500 base pairs.
The size of the band indicates the amount of DNA it contains. The ladder DNA has calibrated amounts, and the 3000 base pair band contains 125 nanograms of DNA. As the PCR product band in 3-5 times as dark, the 5 microlitres of PCR mixtures I added contains about 400+ nano grams of DNA.
The total reaction volume was 180 microlitres, so we have a total production of about 15,000 nanograms, or 15 micrograms. Just how many copies is that? Well, plugging in our 714 base pair length and 15 microgram yield into this calculator, we get 34.575 pmol (pico moles). Multiplying this by the Avogadro constant give us a value of 20 trillion copies! Not bad for an hours work...
So, on to the details.
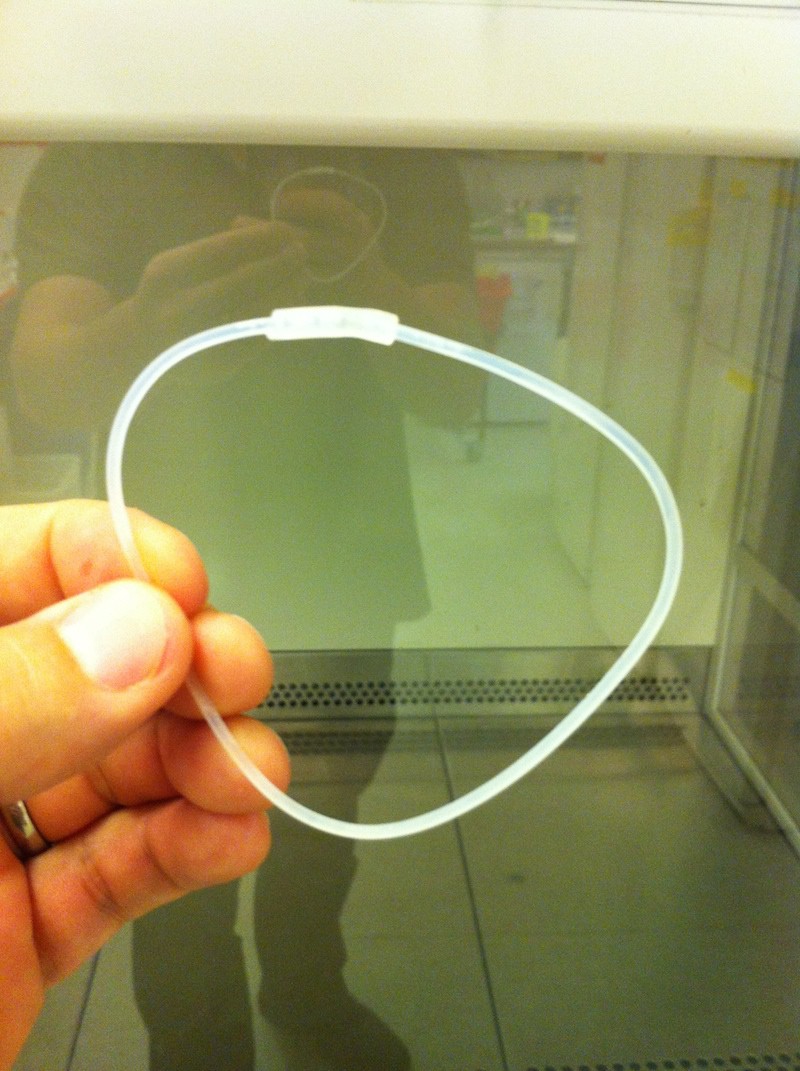
This time, instead of using a small reaction vessel, I used a loop of telfon tubing. It had an internal diameter of 0.5mm, and a wall thickness of 0.25 mm, and a length of 18cm. The tube's end were joined by pushing them into a short length of silicon tubing, after filling it with about 180 microlitres of PCR reaction mixture.
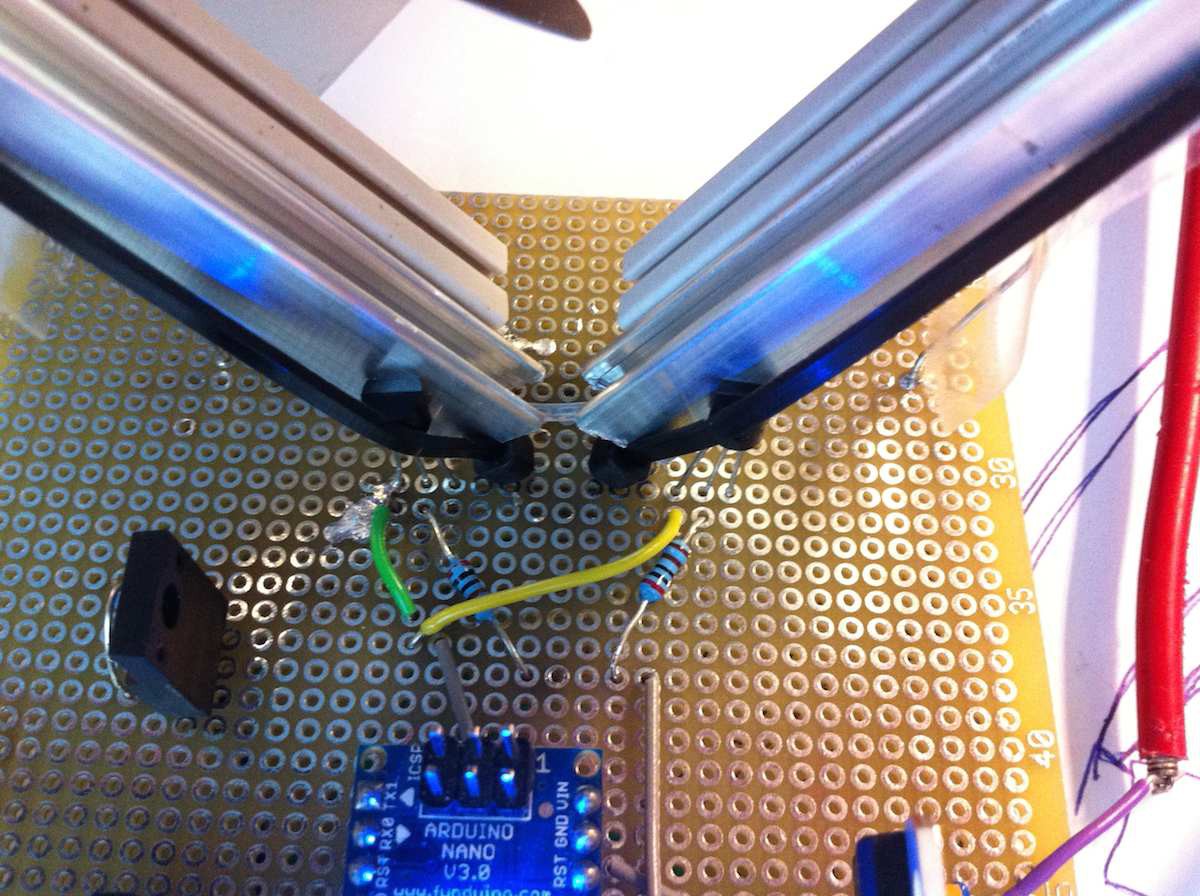
This time I used much longer 11W, 10 ohm ceramic resistors. I had hoped to use the groove in the resistors to hold the tubing in place, but the temperatures vary a lot! the outside of the resistor could be 95 Celsius, but the temperature inside the groove over 120C! So, I used some cheap aluminium grooved offcuts to act as heat distributors, and these gave a very stable 95C over the entire surface.
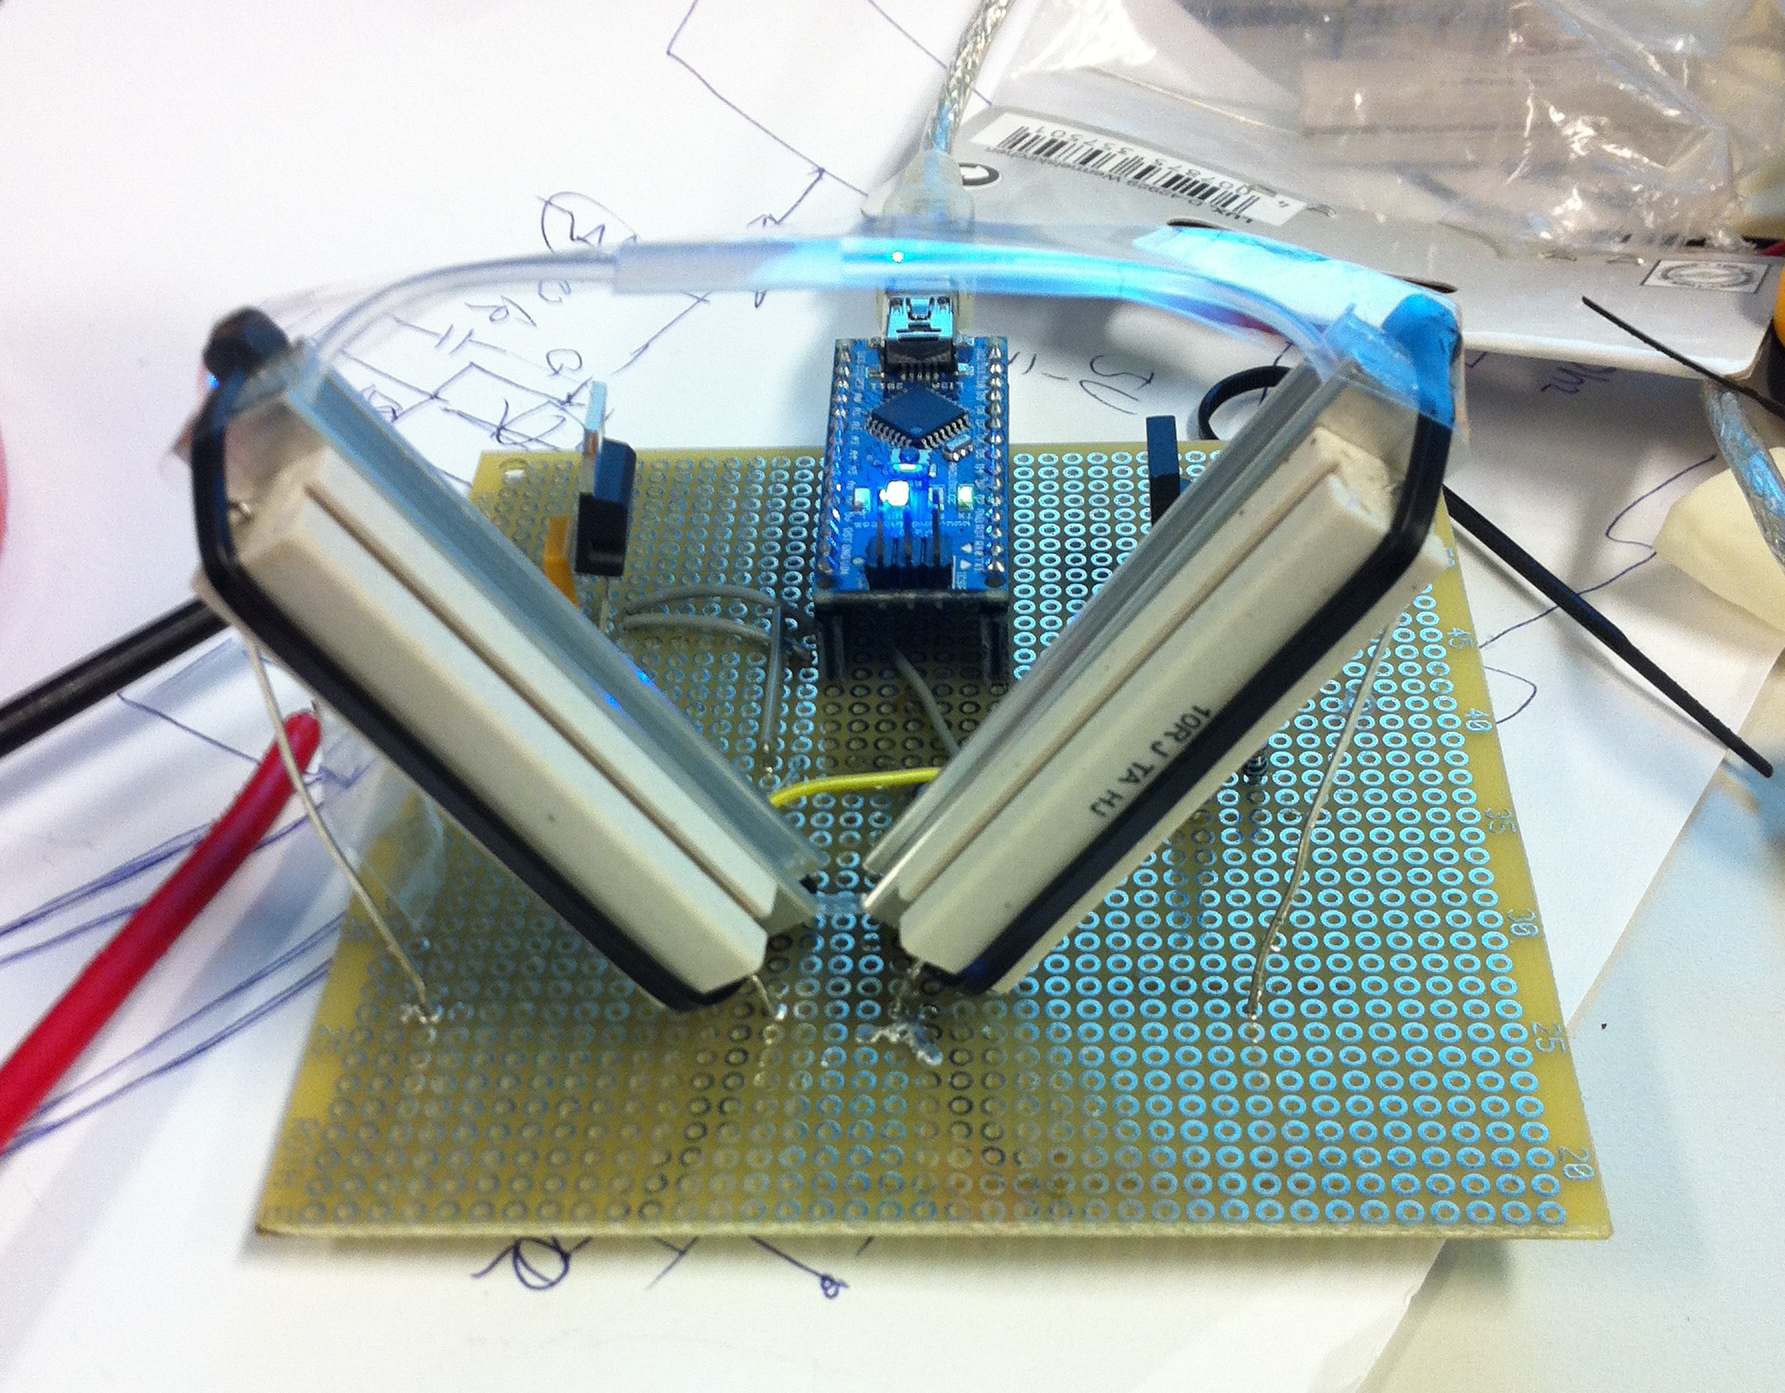
The second PID controlled heater was set to 72C. The aluminium rails were cable-tied to the heating resistor, and the TO-92 sized temperature sensor held in place by tucking it under the tensioned cable tie.
The telfon tube of PCR mixture was pressed into the two rails, and was held in place with some sticky tape. The reaction is driven by thermal convection, with the 95C heated side raising the liquid to the cooler, unheated tubing. The 72C side can't complete against the buoyancy generated by the 95C side, so the fluid falls through this section of tubing.
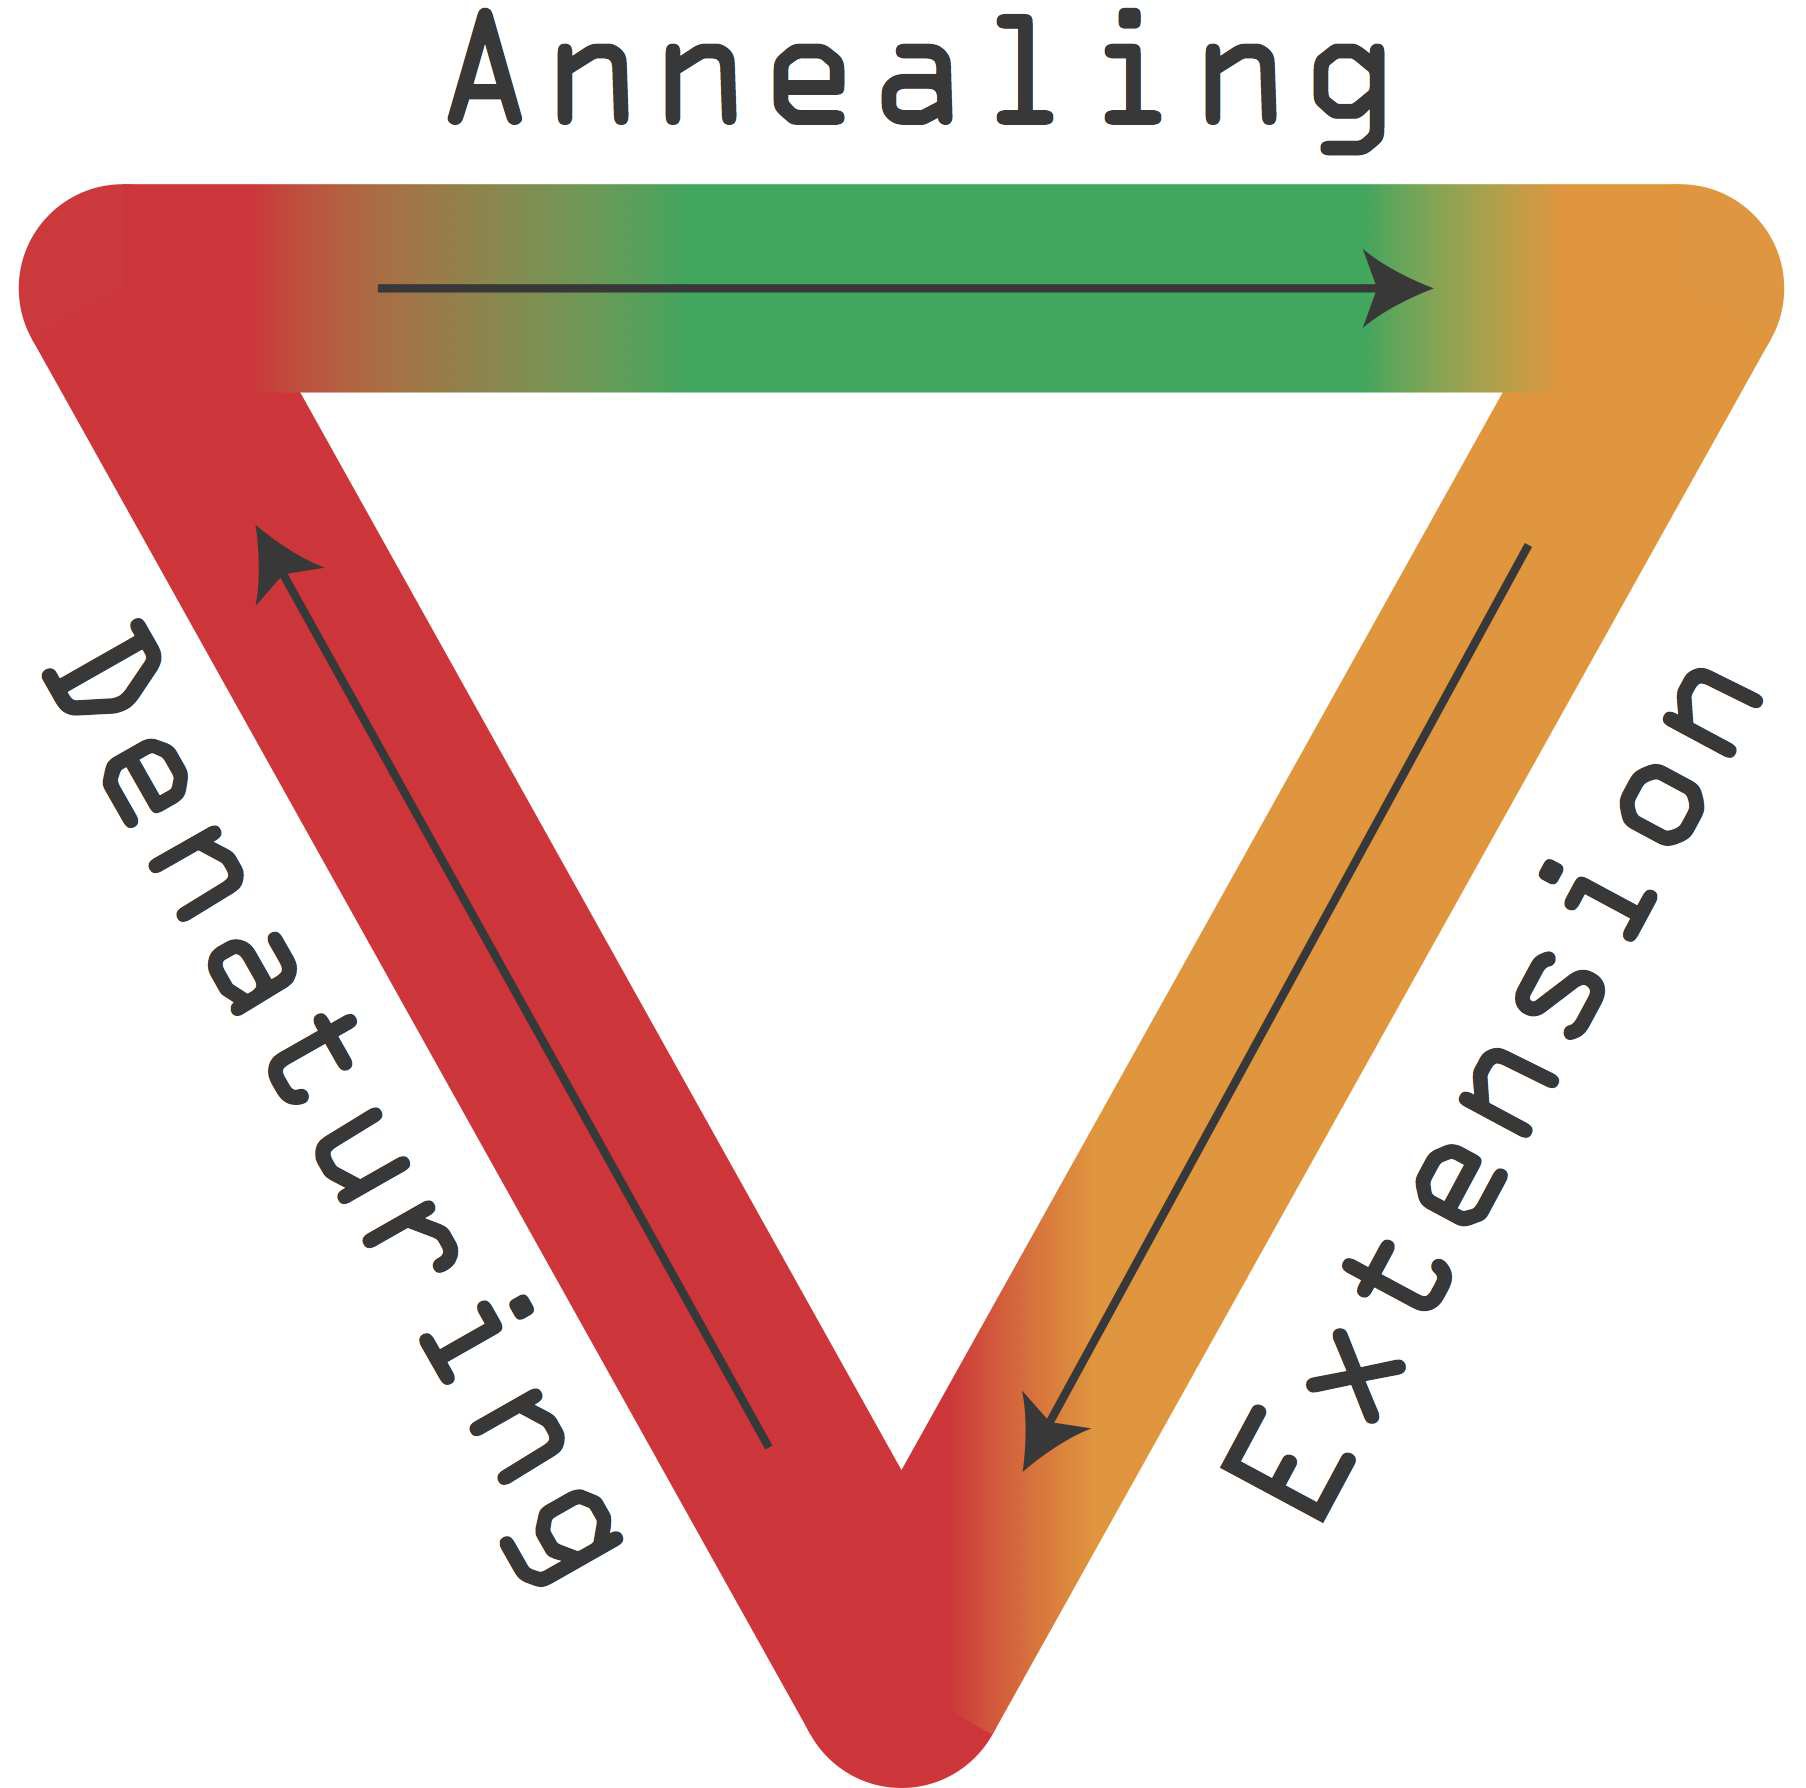
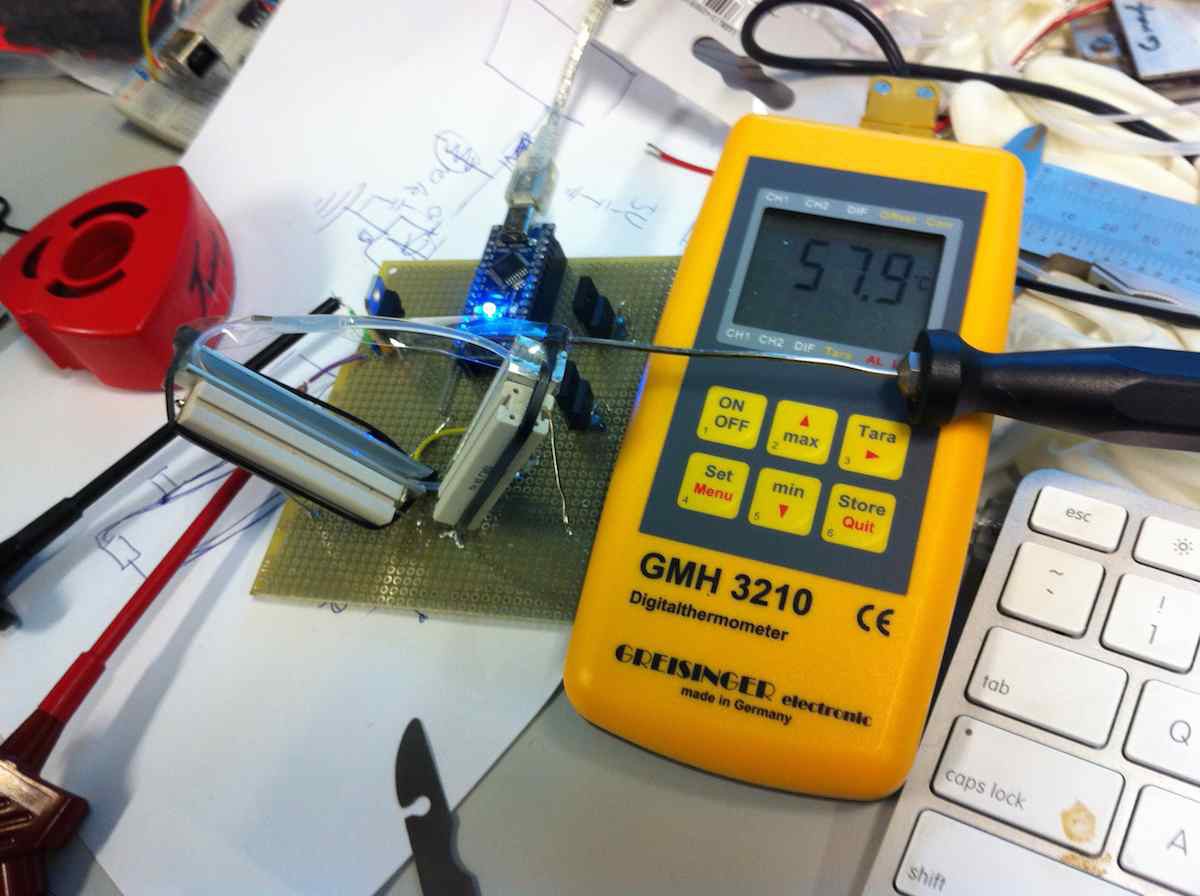
The unheated side is where the primer annealing takes place, and I measured its temperature at about 58C, a really great temperature for annealing most primers.
The reaction ran for an hour, giving the results described above! We have a working PCR machine!
Parts List
| PCReactor v0.2 | Amount | 1 | 100 | 2000 |
| Arduino Nano | 1 | € 3.68 | € 3.68 | € 3.68 |
| TS7805CZ - V REG +5.0V | 1 | € 0.41 | € 0.31 | € 0.17 |
| FQP2N60C - MOSFET N,TO-220 | 2 | € 0.55 | € 0.49 | € 0.32 |
| SBCHE1110RJ 10ohm resistor | 2 | € 0.96 | € 0.96 | € 0.49 |
| LM335AZ/TEMP SENSOR | 2 | € 0.96 | € 0.71 | € 0.46 |
CAP, MLCC, X7R, 100NF | 1 | € 0.08 | € 0.05 | € 0.04 |
| CAP, MLCC, X7R, 330NF | 1 | € 0.03 | € 0.02 | € 0.01 |
| 4x Resistors | 4 | € 0.01 | € 0.01 | € 0.01 |
| Aluminium rail | 2 | € 0.10 | € 0.05 | € 0.05 |
| TOTAL per unit | € 9.37 | € 8.50 | € 6.57 |
The cost to build your own is pretty good so far. I ordered my parts from Farnell, with the exception of the cheap Arduino Nano clone I had bought from China previously. For to build a single unit, you need to pay € 9.37, plus the cost of cable ties and some perf board.
I have already done some cost calculations for orders of 2000+ units using surface mount parts, and including a custom PCB, I think the ~$5 target is doable. That will be the goal of this Hackaday Prize entry, but I think $50-$100 for a better machine with thermal fuses, a case and inbuilt user interface would be a great kickstarted project.
Discussions
Become a Hackaday.io Member
Create an account to leave a comment. Already have an account? Log In.
Well Done....Congratulations
Are you sure? yes | no
Many people meet very precise thermal tolerances with a vacuum flask. Just a quick tip!
Are you sure? yes | no
Are you sure? yes | no
Anyway, the LM335 sensor seems pretty good, but its a 5V part and relatively expensive. You can get good SMD temperature sensors for about 30-60 cents in single quantities, compared to over a dollar for the LM335.
The issue is that the Arduino has to have a very good 5V supply voltage for the ADC to be reliable. When I first tried powering the Arduino from USB, my temperatures were WAAAAY off. Then I checked, and saw I was getting between 4.75 and 5.05 volts from the USB line! As the sensor gives about 3.6V at about 95C, I can't use the 3.3V supply as a ADC reference voltage.
That means I either need to change and use a 3.3V temperature sensor, or include about a 4V accurate voltage reference. As most cheap SMD temperature sensors are 3.3V, I will probably go with the first option, as it saves money too.
Are you sure? yes | no