 Owen Trueblood
Hardware
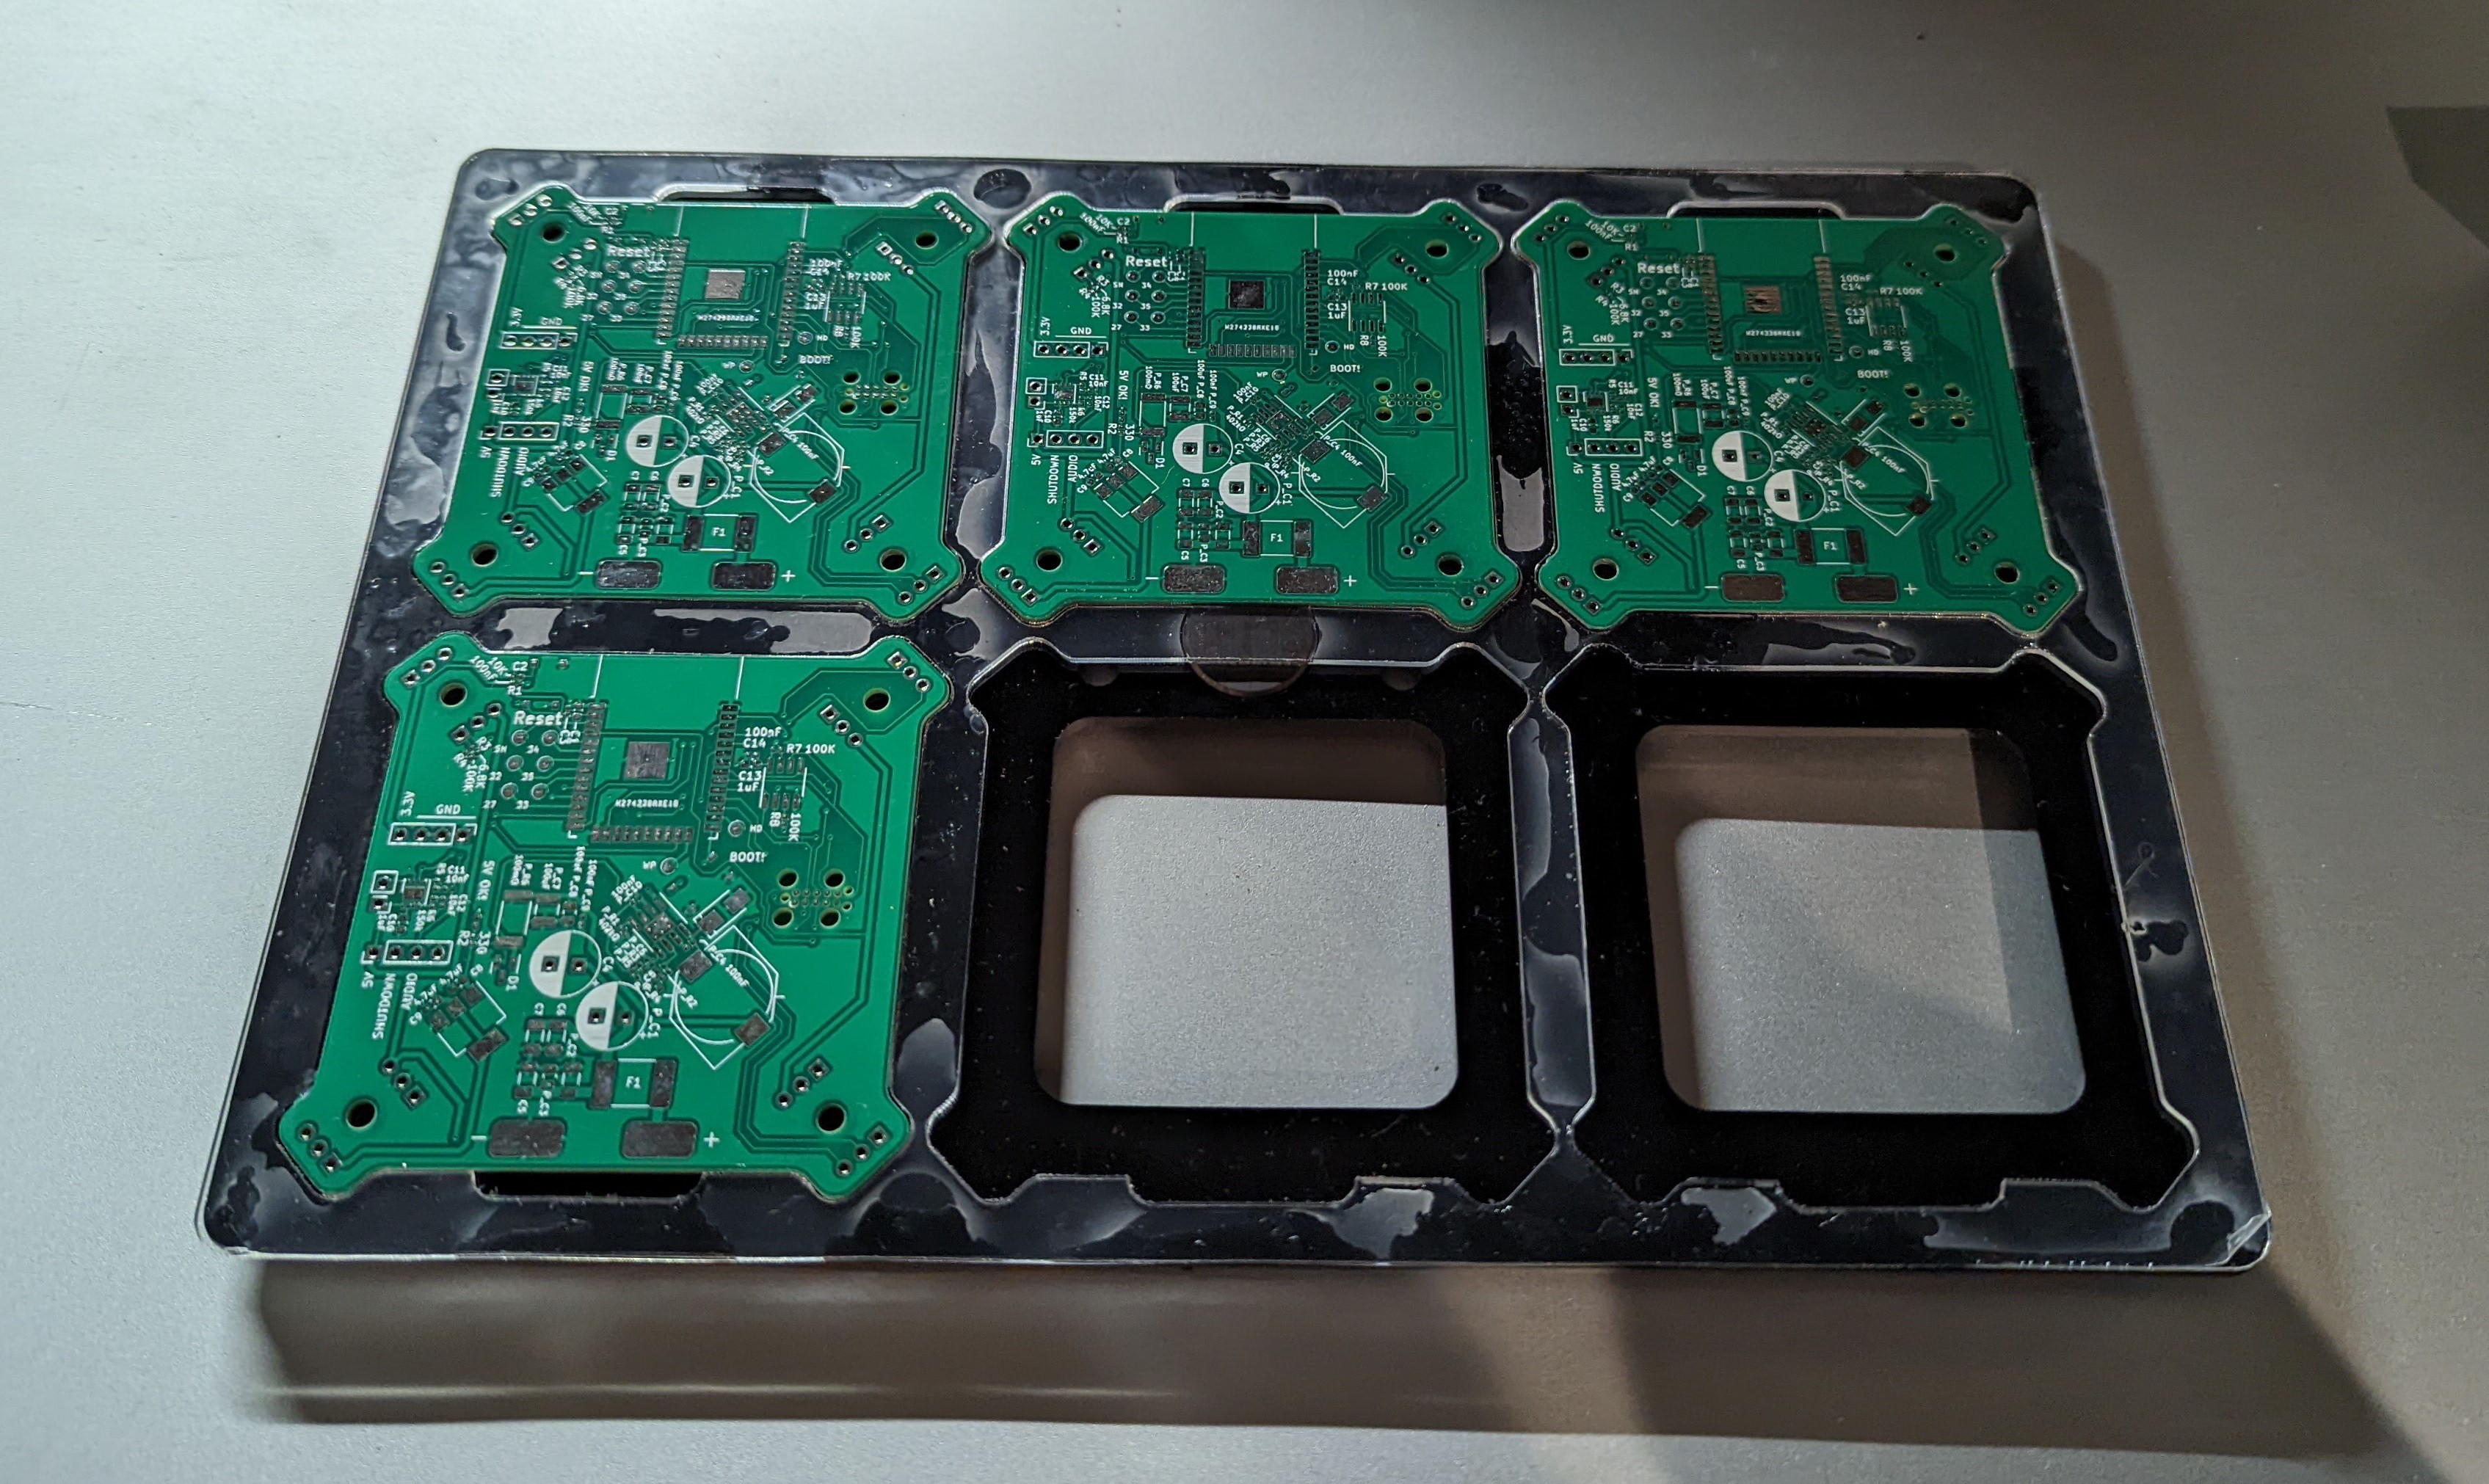
I took the gantry out of an old laser cutter, flipped it over, added legs, hooked up the steppers to an Arduino running GRBL, and made a laser cut tray to hold 6 of my PCBs at the end of an arm just below the "bottom" of the laser cutter, which is now the working surface.
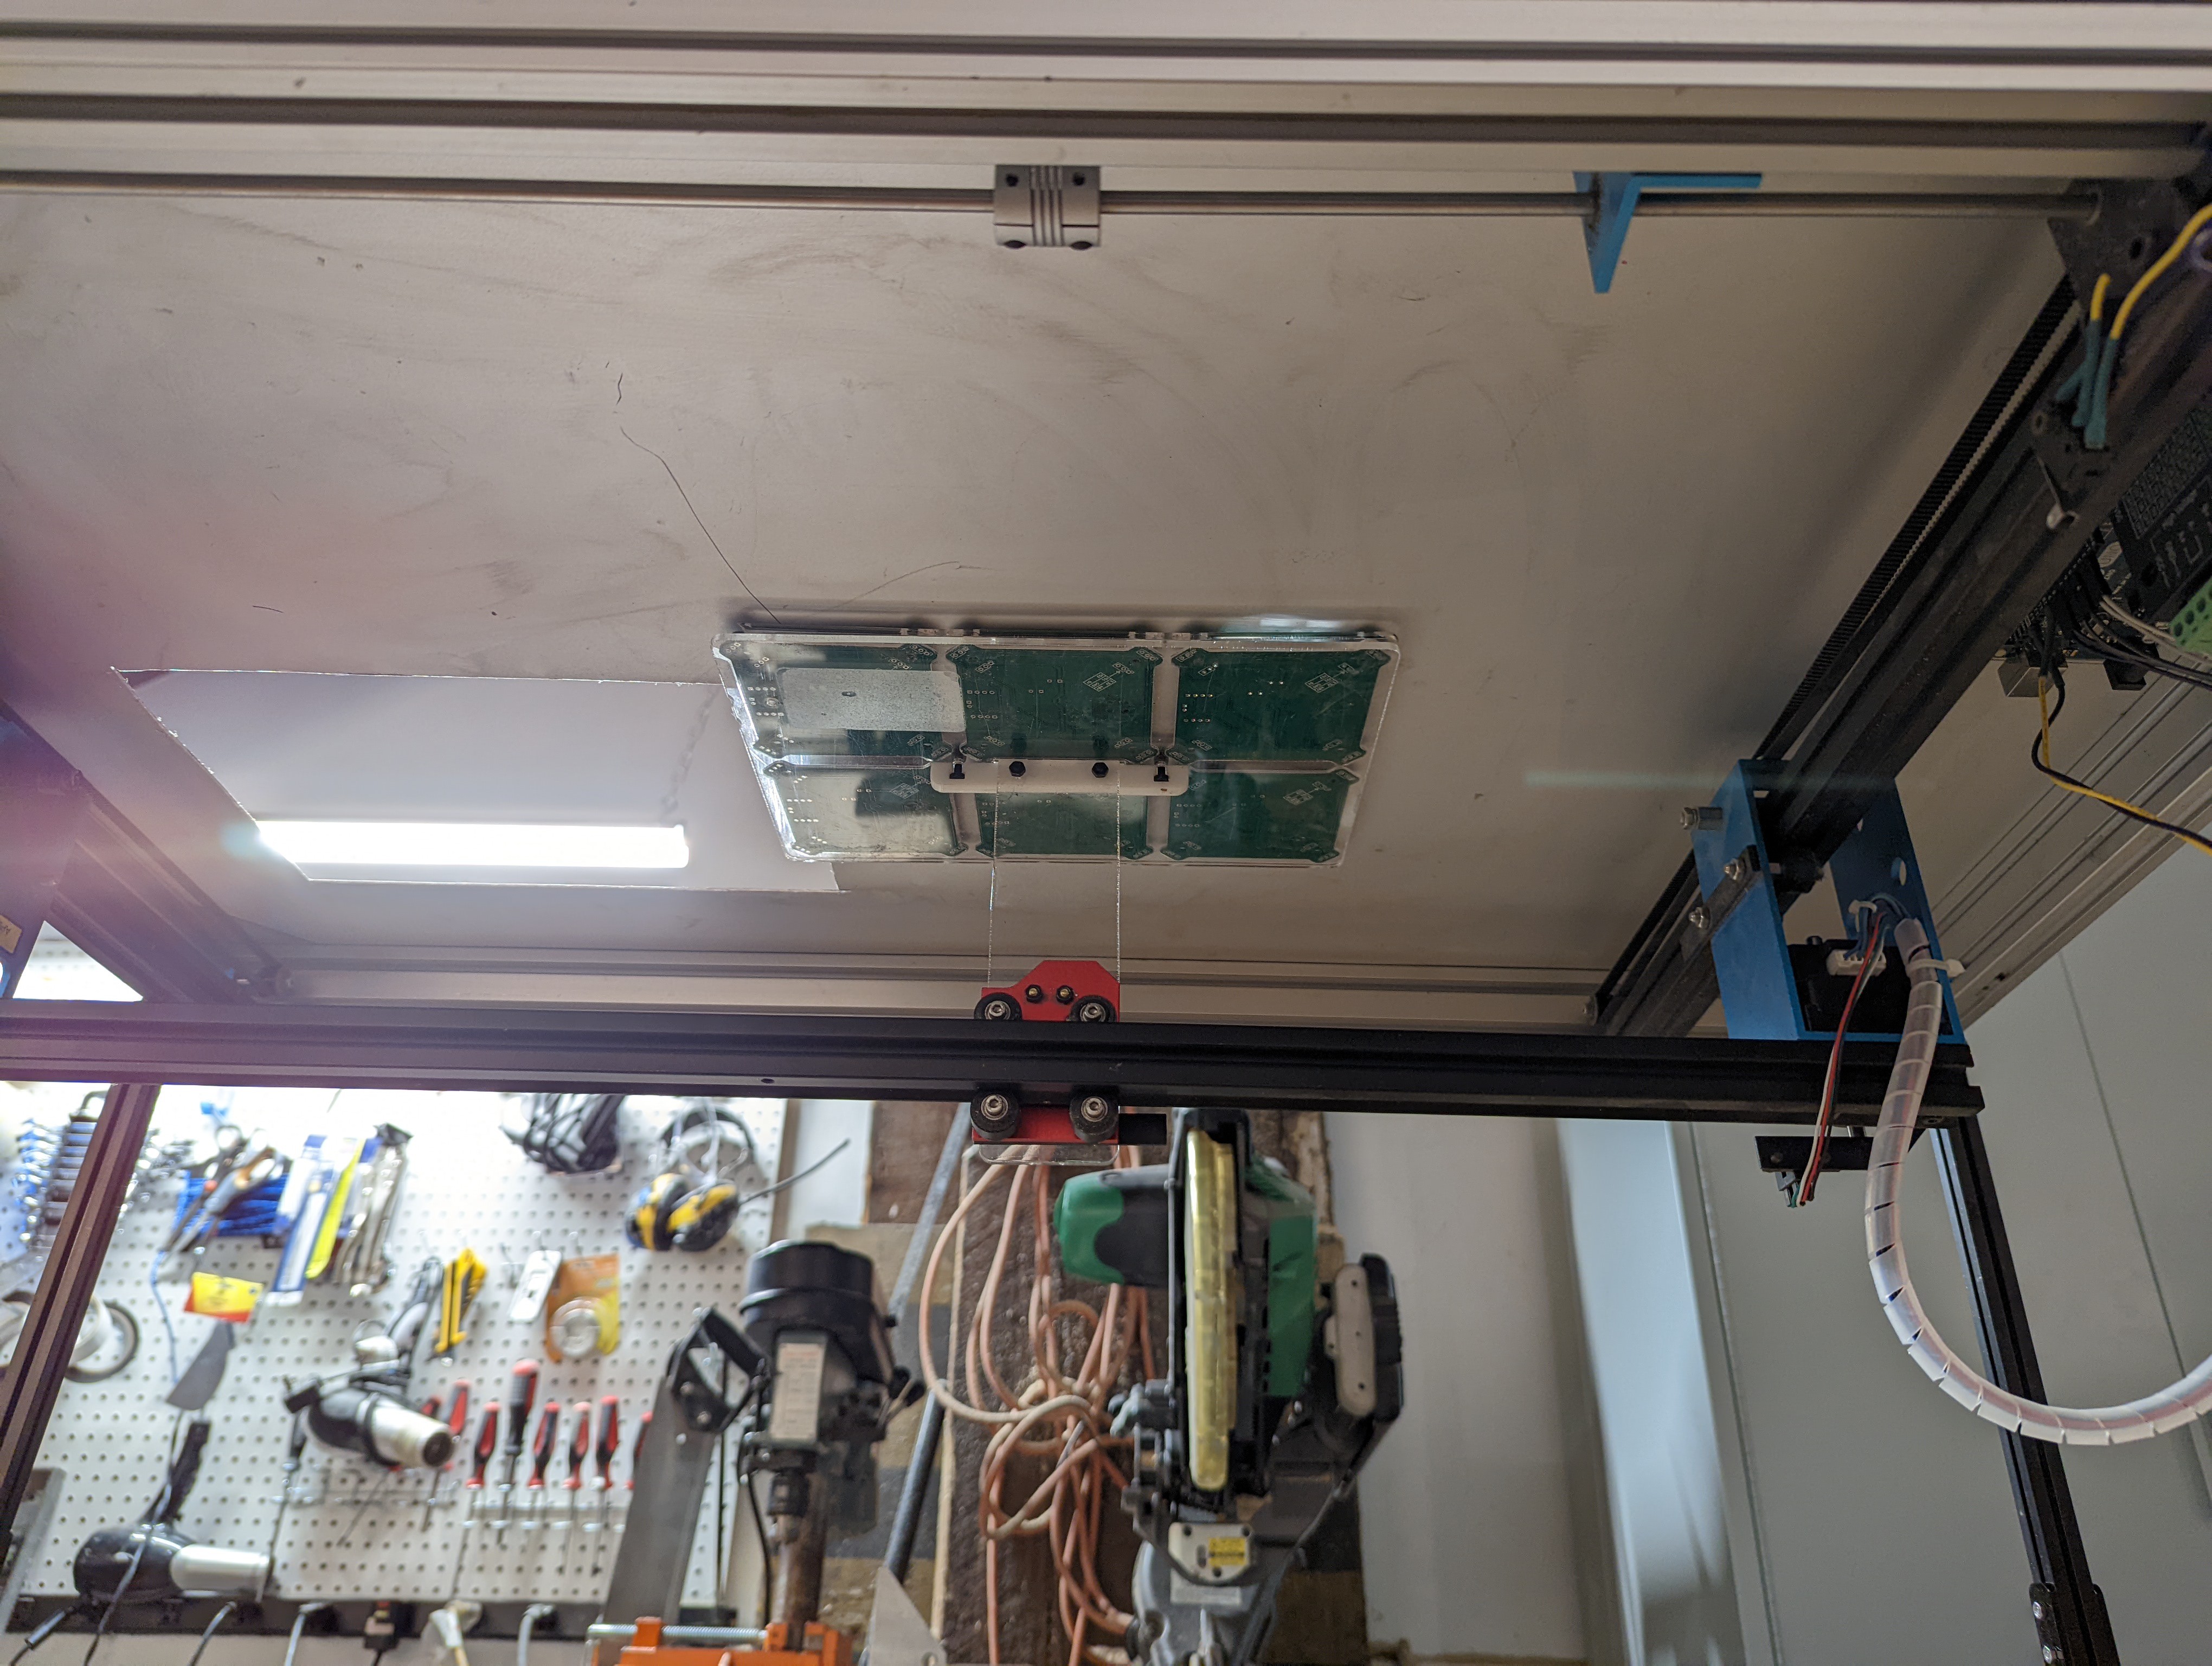
I cut one big square hole for loading the tray of PCBs and another small circular hole for placing parts. The gantry can move the tray around to position the footprint of the next part to be placed in the center of the hole.
I had a USB microscope mounted with an LCD monitor to be able to see what I was doing better but eventually decided that was just getting in the way and eyeballs were good enough.
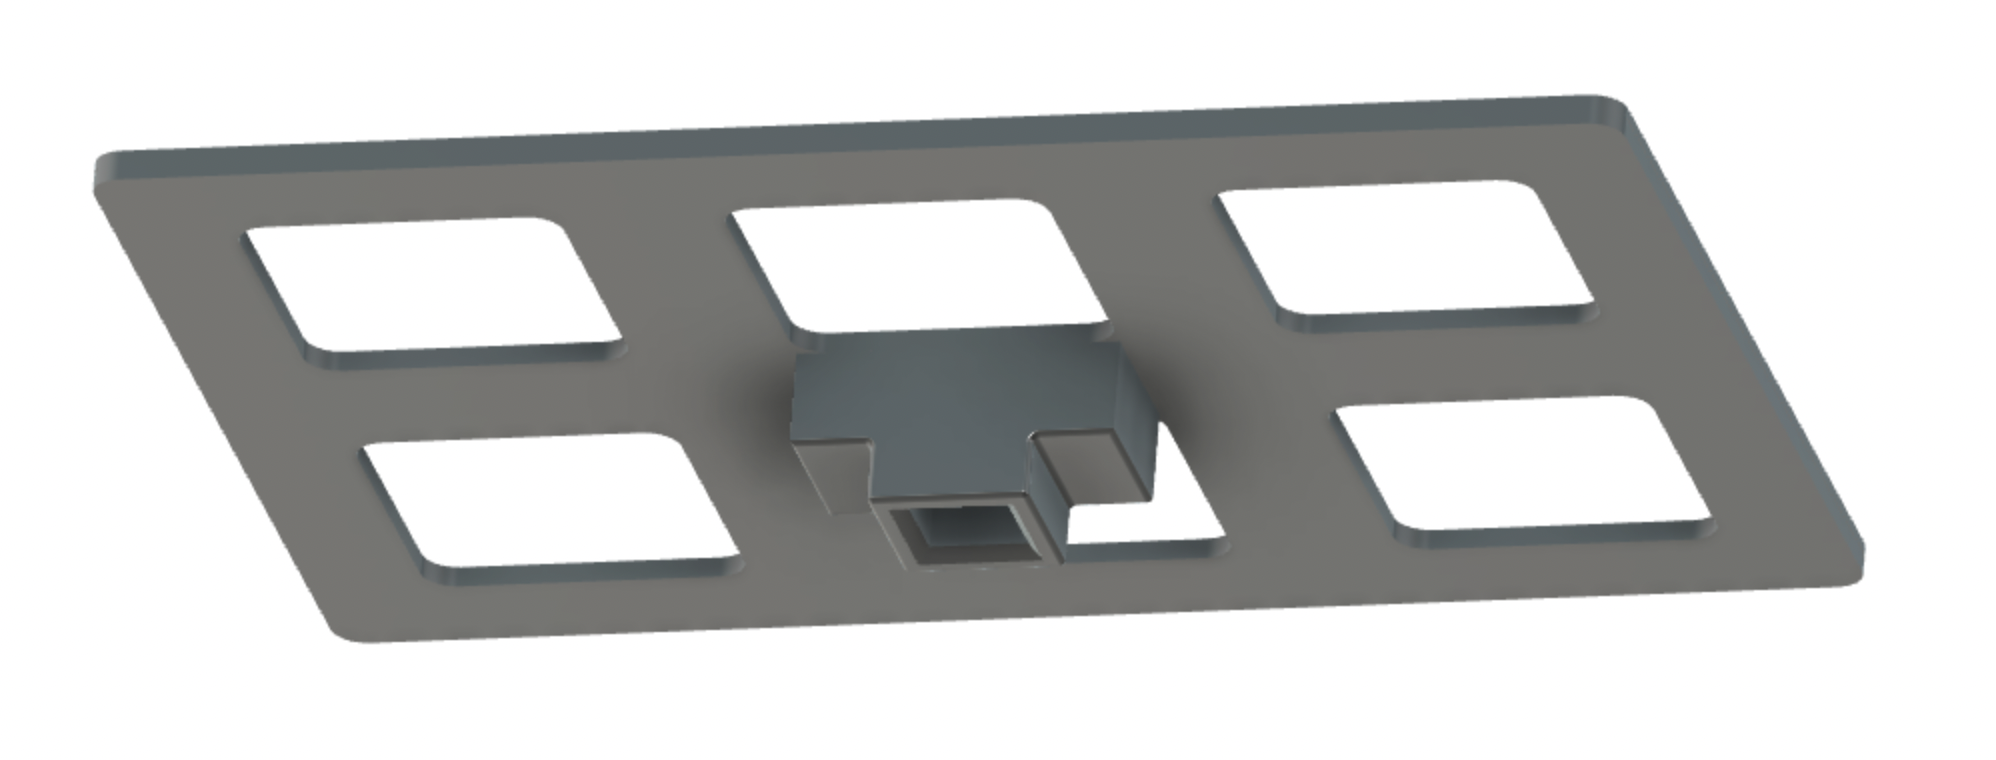
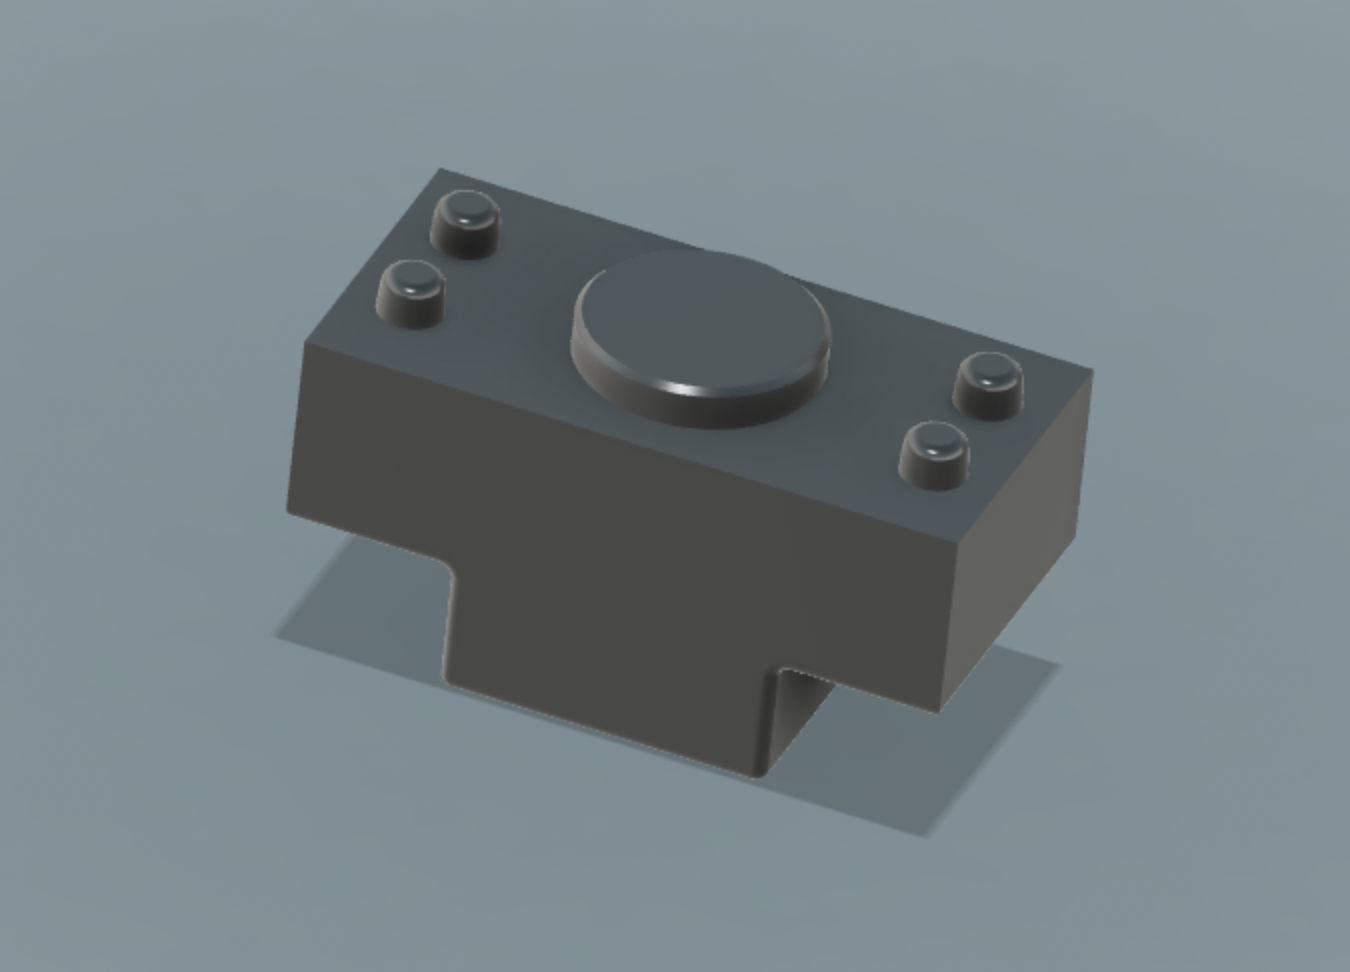
Eventually I made a better tray that has magnets to snap in and a 3D printed part that fits onto the 80-20 and has alignment posts which fit into holes on the laser cut tray:
Software
https://github.com/jmpinit/meatpnp
I made a Python web server that communicates with GRBL over serial and presents a web UI to the user. The Python code loads up a CSV of part centroids that is generated from KiCad (File > Fabrication Outputs > Component Placement (.pos)). It makes this available to the web UI so the user can cycle the machine through the parts on the board.
Controls
I bought some Joy-Cons from the Nintendo Switch because they are fun little controllers to use for robotics projects. They can be paired over Bluetooth and used like standard gamepads. There's a gamepad API for browsers. So I added support for controlling the machine from the web UI remotely using a Joy-Con. It can jog the machine at different speeds using the d-pad. The shoulder buttons move the machine to the next or previous part. Finally, there's a button to move the tray to the loading position.
Calibrating Positioning
The rigidity of my hacked gantry is very bad. Instead of just solving it by strengthening the gantry I solved it in code by adding a calibration routine where the user moves the 4 holes at the corners of the board into the center of the hole and tells the system which hole is which. Then on the backend the Python code finds an affine transform between the coordinate system of the machine and the coordinate system of the board. This handles translation and rotation (and technically skew but I really hope that's not present in the boards).
Vacuum Picker
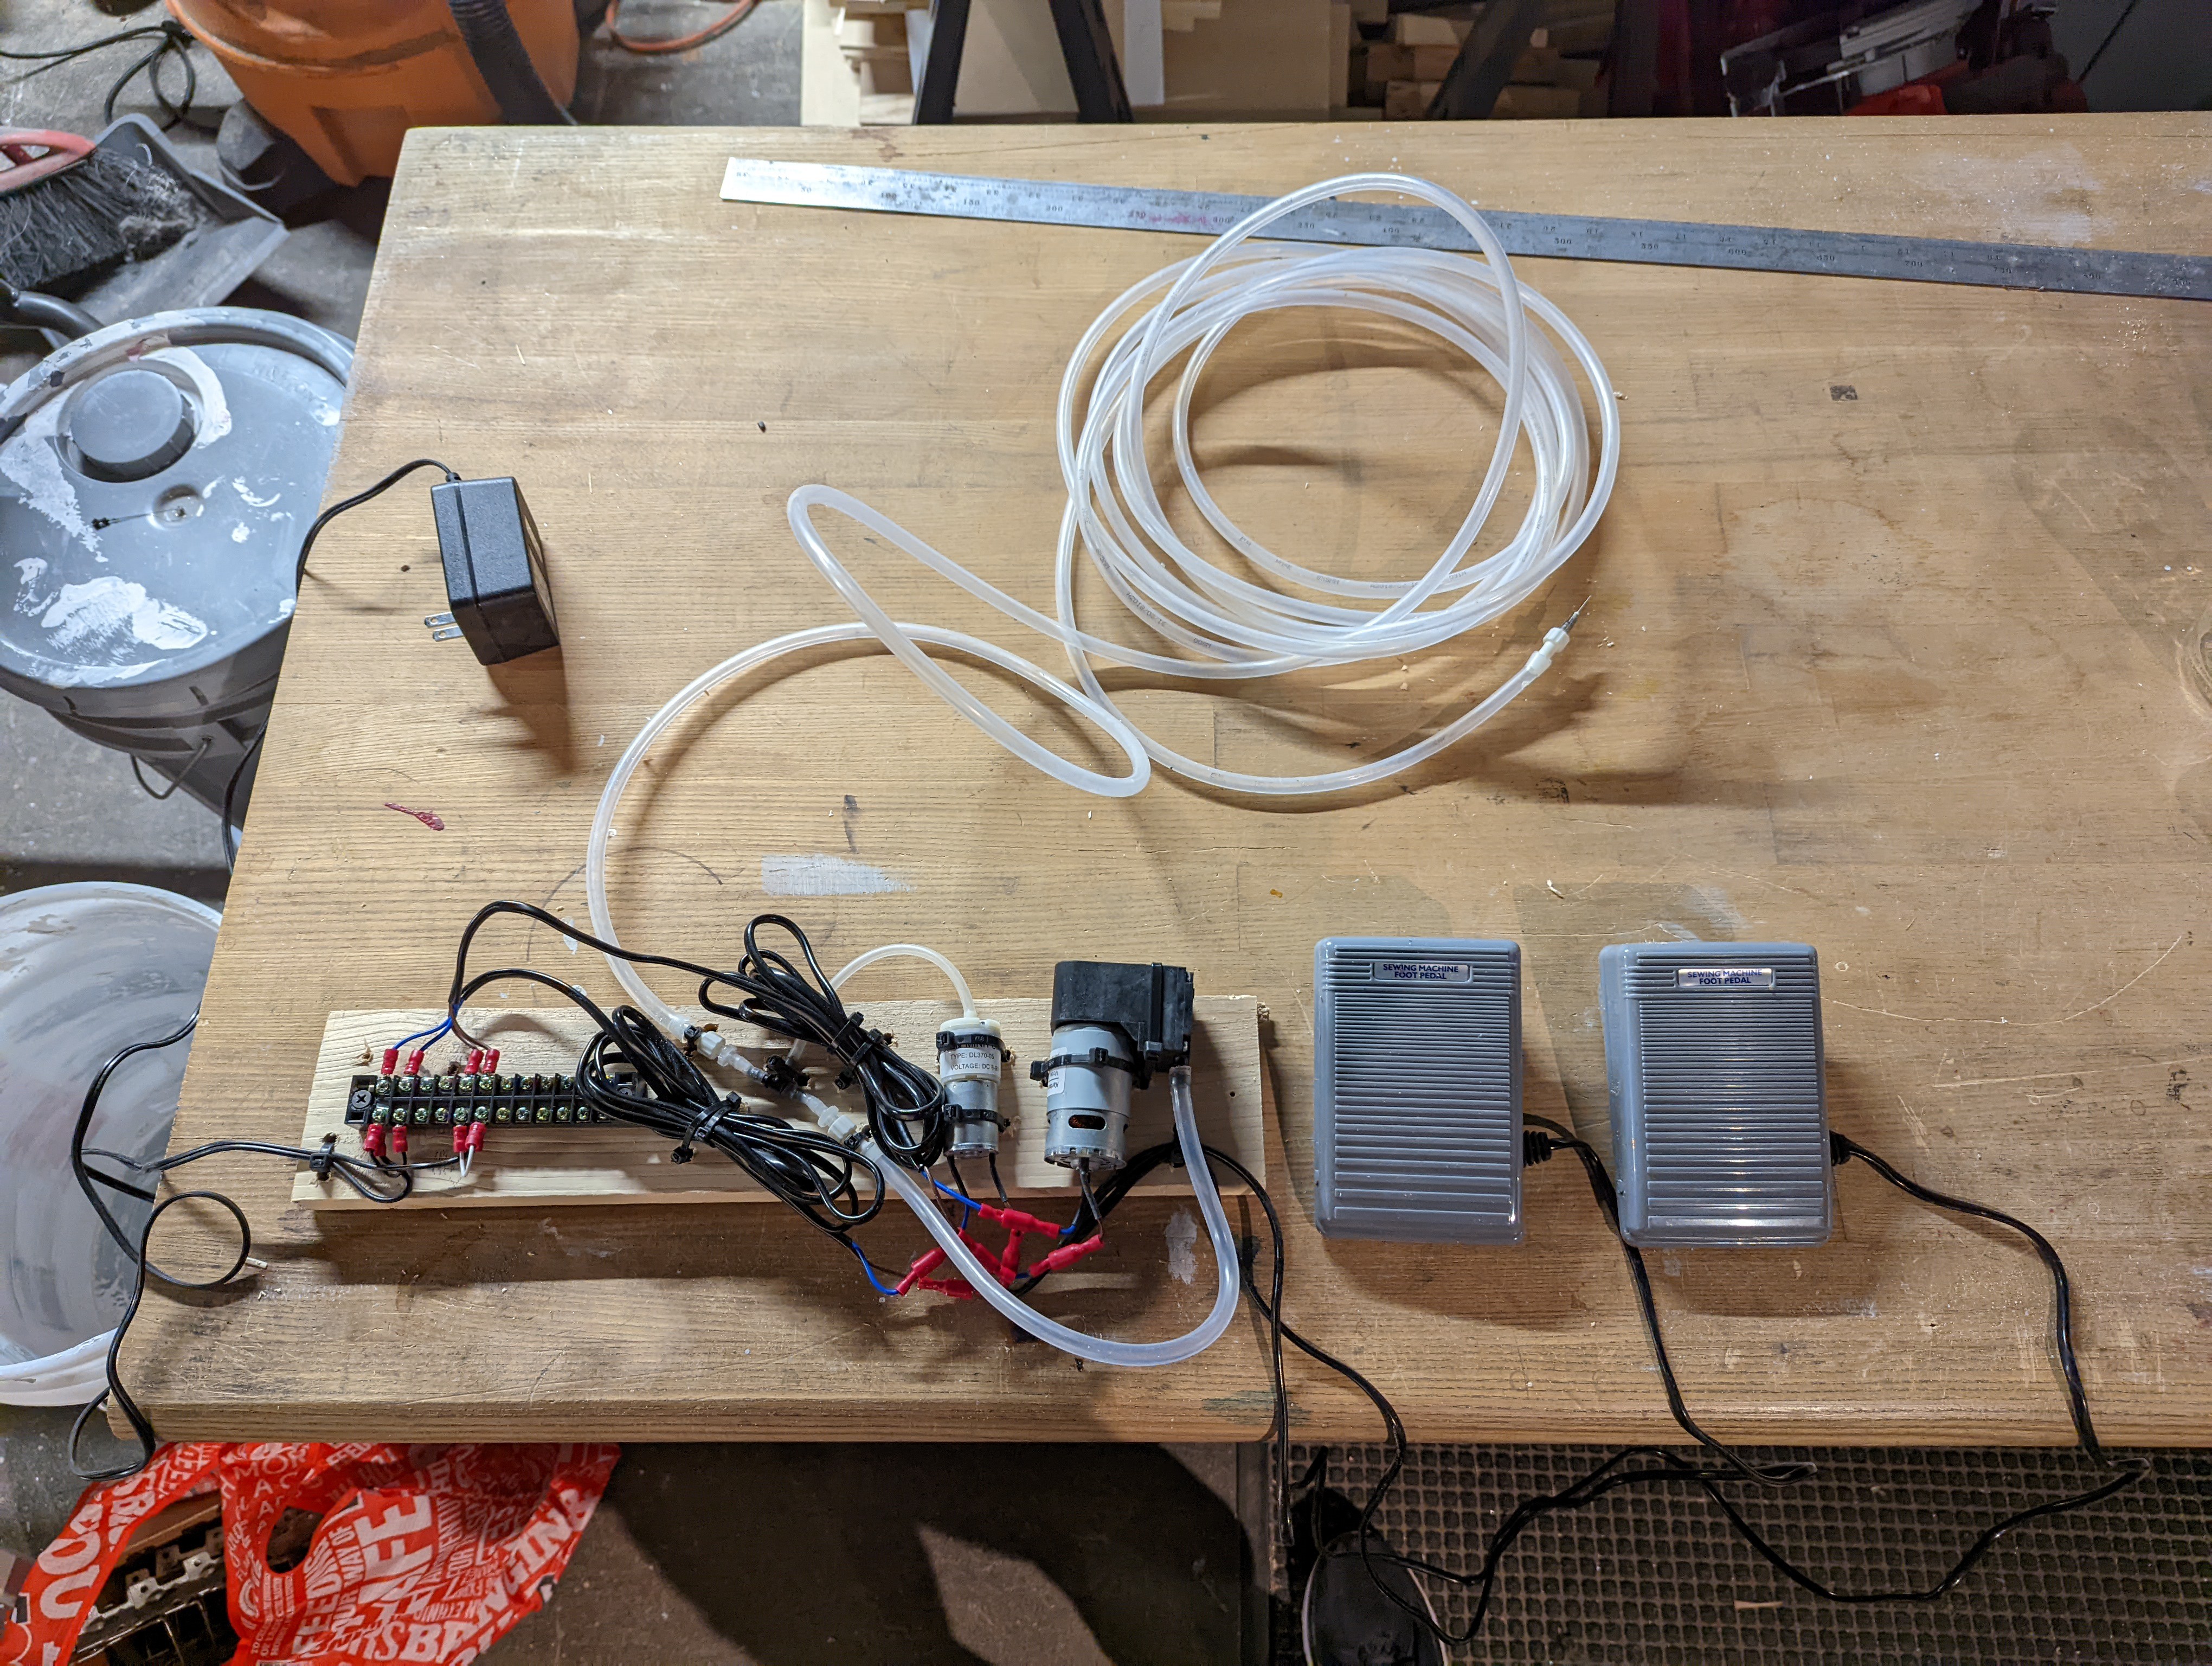
I made a quick and dirty vacuum picker to use to pull the parts from the reels. It has one pump for sucking to pick up parts but also another pump for blowing to dislodge them if they get stuck. I quickly realized that pump wasn't necessary. Instead I cut a hole near the tip that I cover with my thumb. When I want to drop a part I take my foot off the vacuum pump pedal and pull my thumb off the hole.
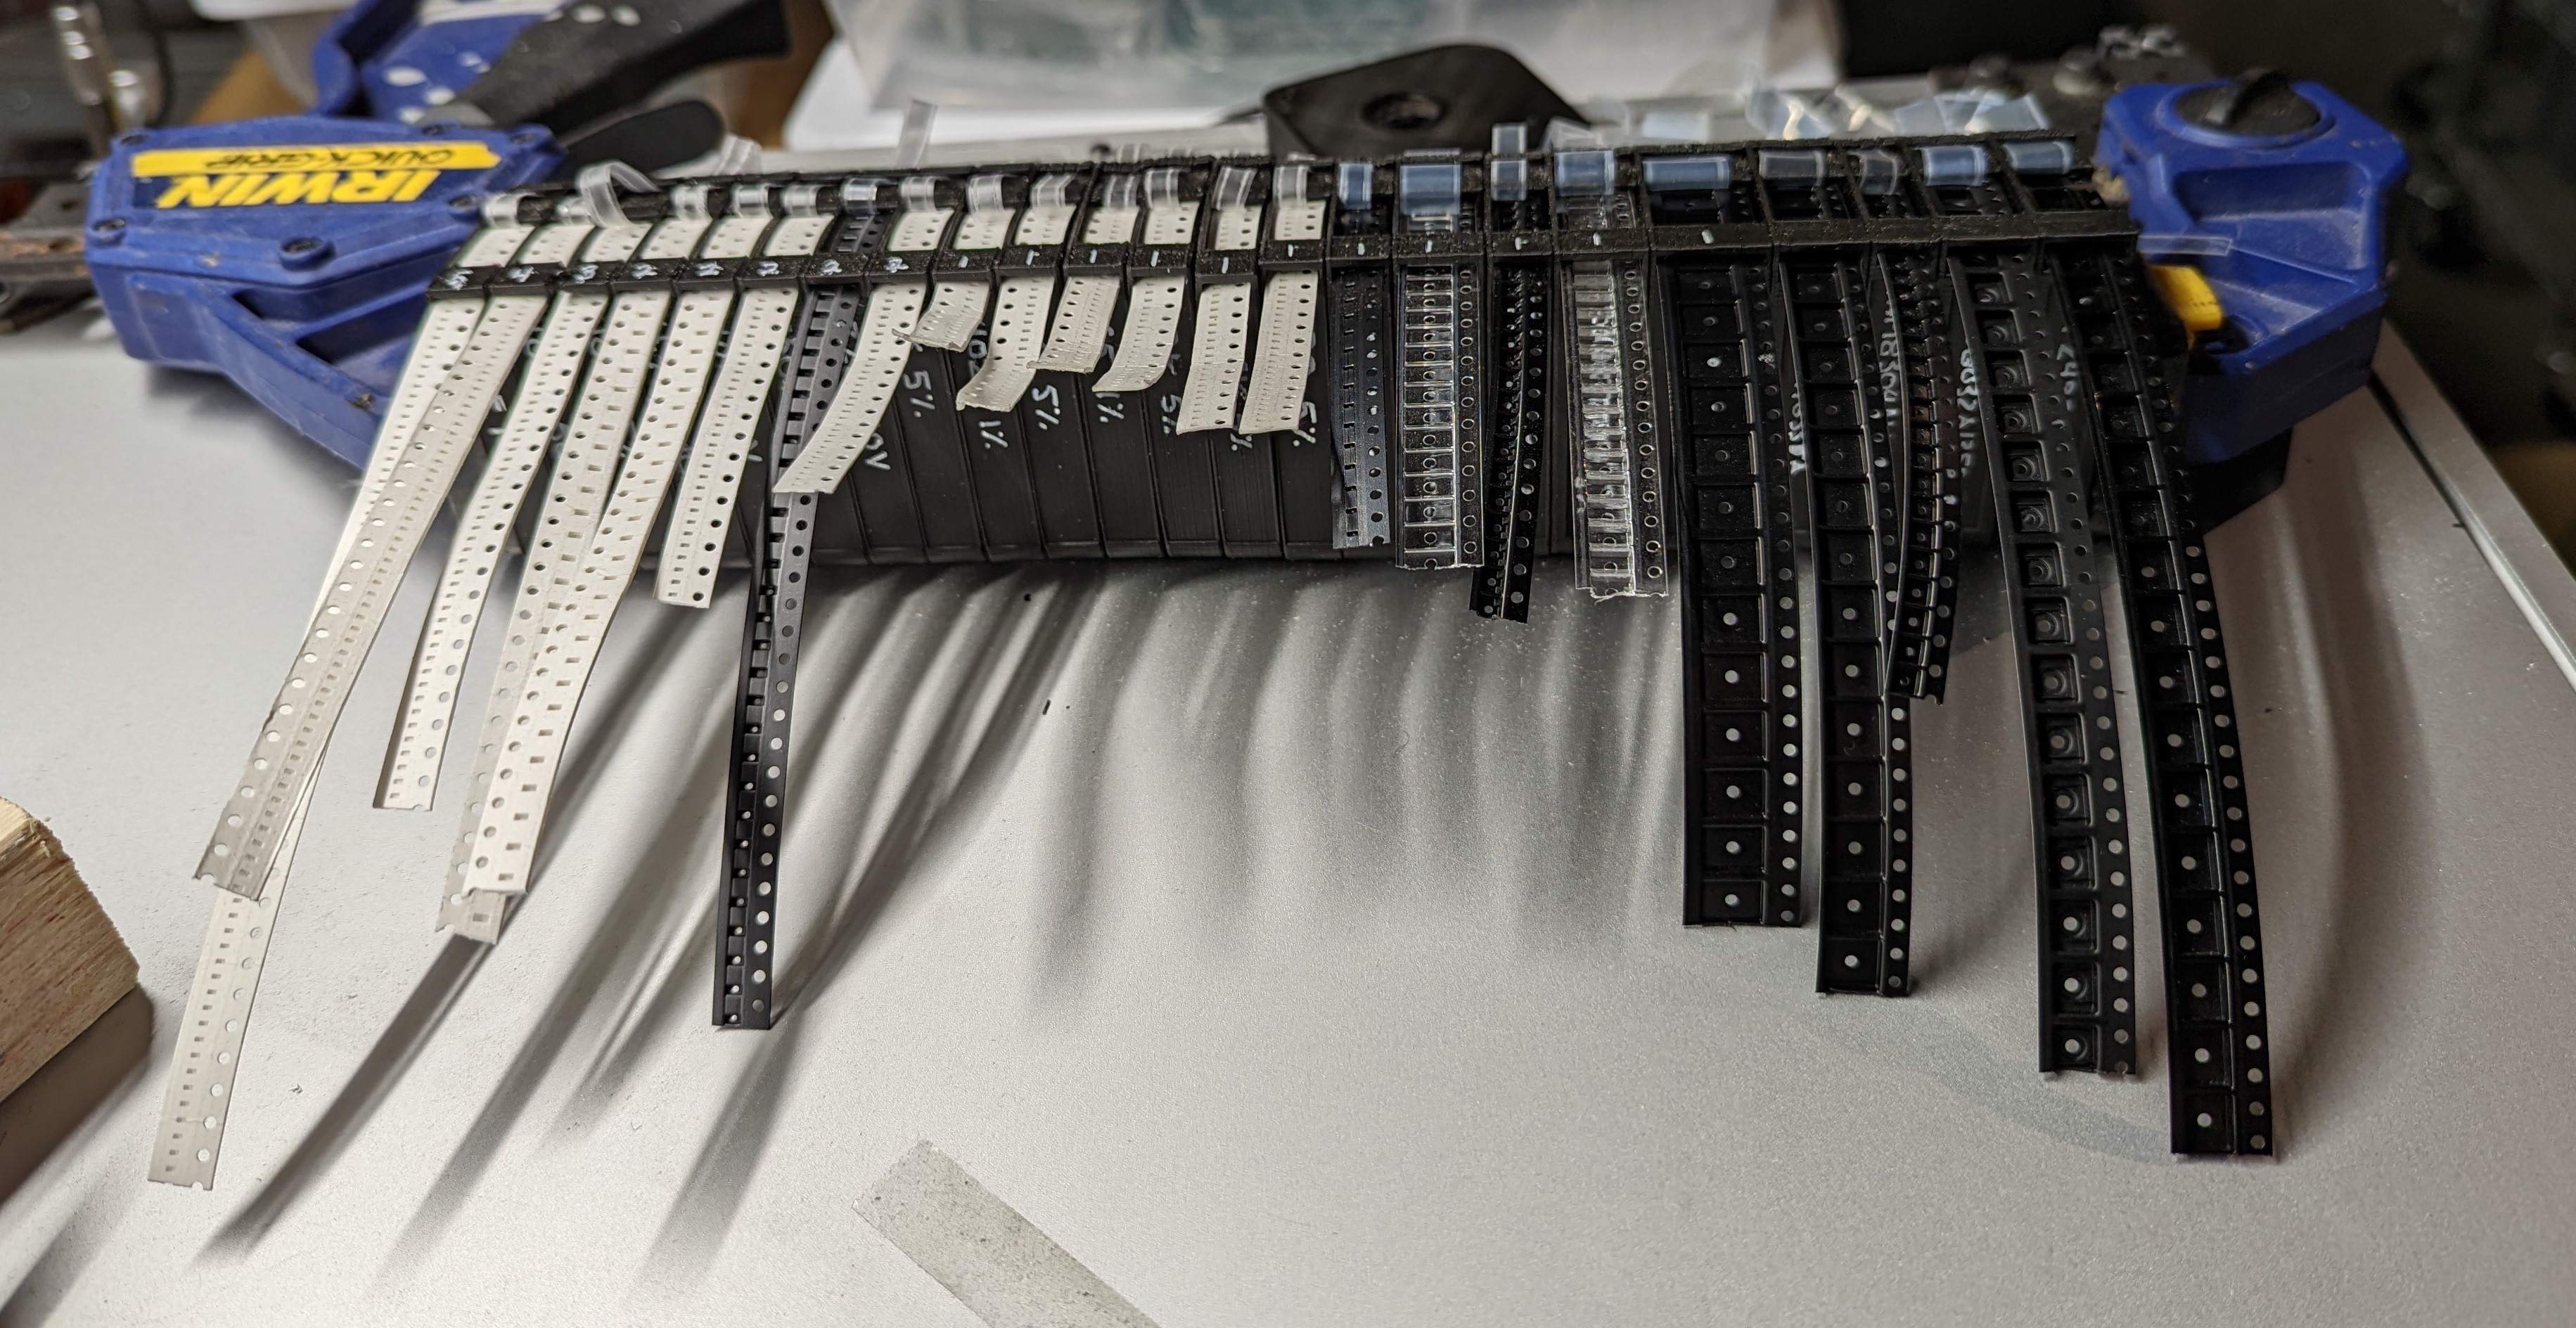
Parts Reels
I printed a bunch of this part reel and put all my parts in them. That part reel design is great because it is parametric and easily adjusted for the different sized part tapes. Then I rearranged the parts in the CSV and the physical reels so they are ordered by how many there are on the board, starting with the most numerous part. I wrote how many of each part there are on top of each spool.
Results
It takes about 10 minutes to assemble a board once you get used to the setup. I've made about 20 boards so far, but have 180 to go (oof). You can see what they are for in this other HaD project here: https://hackaday.io/project/183758-babel-in-reverse
Discussions
Become a Hackaday.io Member
Create an account to leave a comment. Already have an account? Log In.