 Adam Guilmet
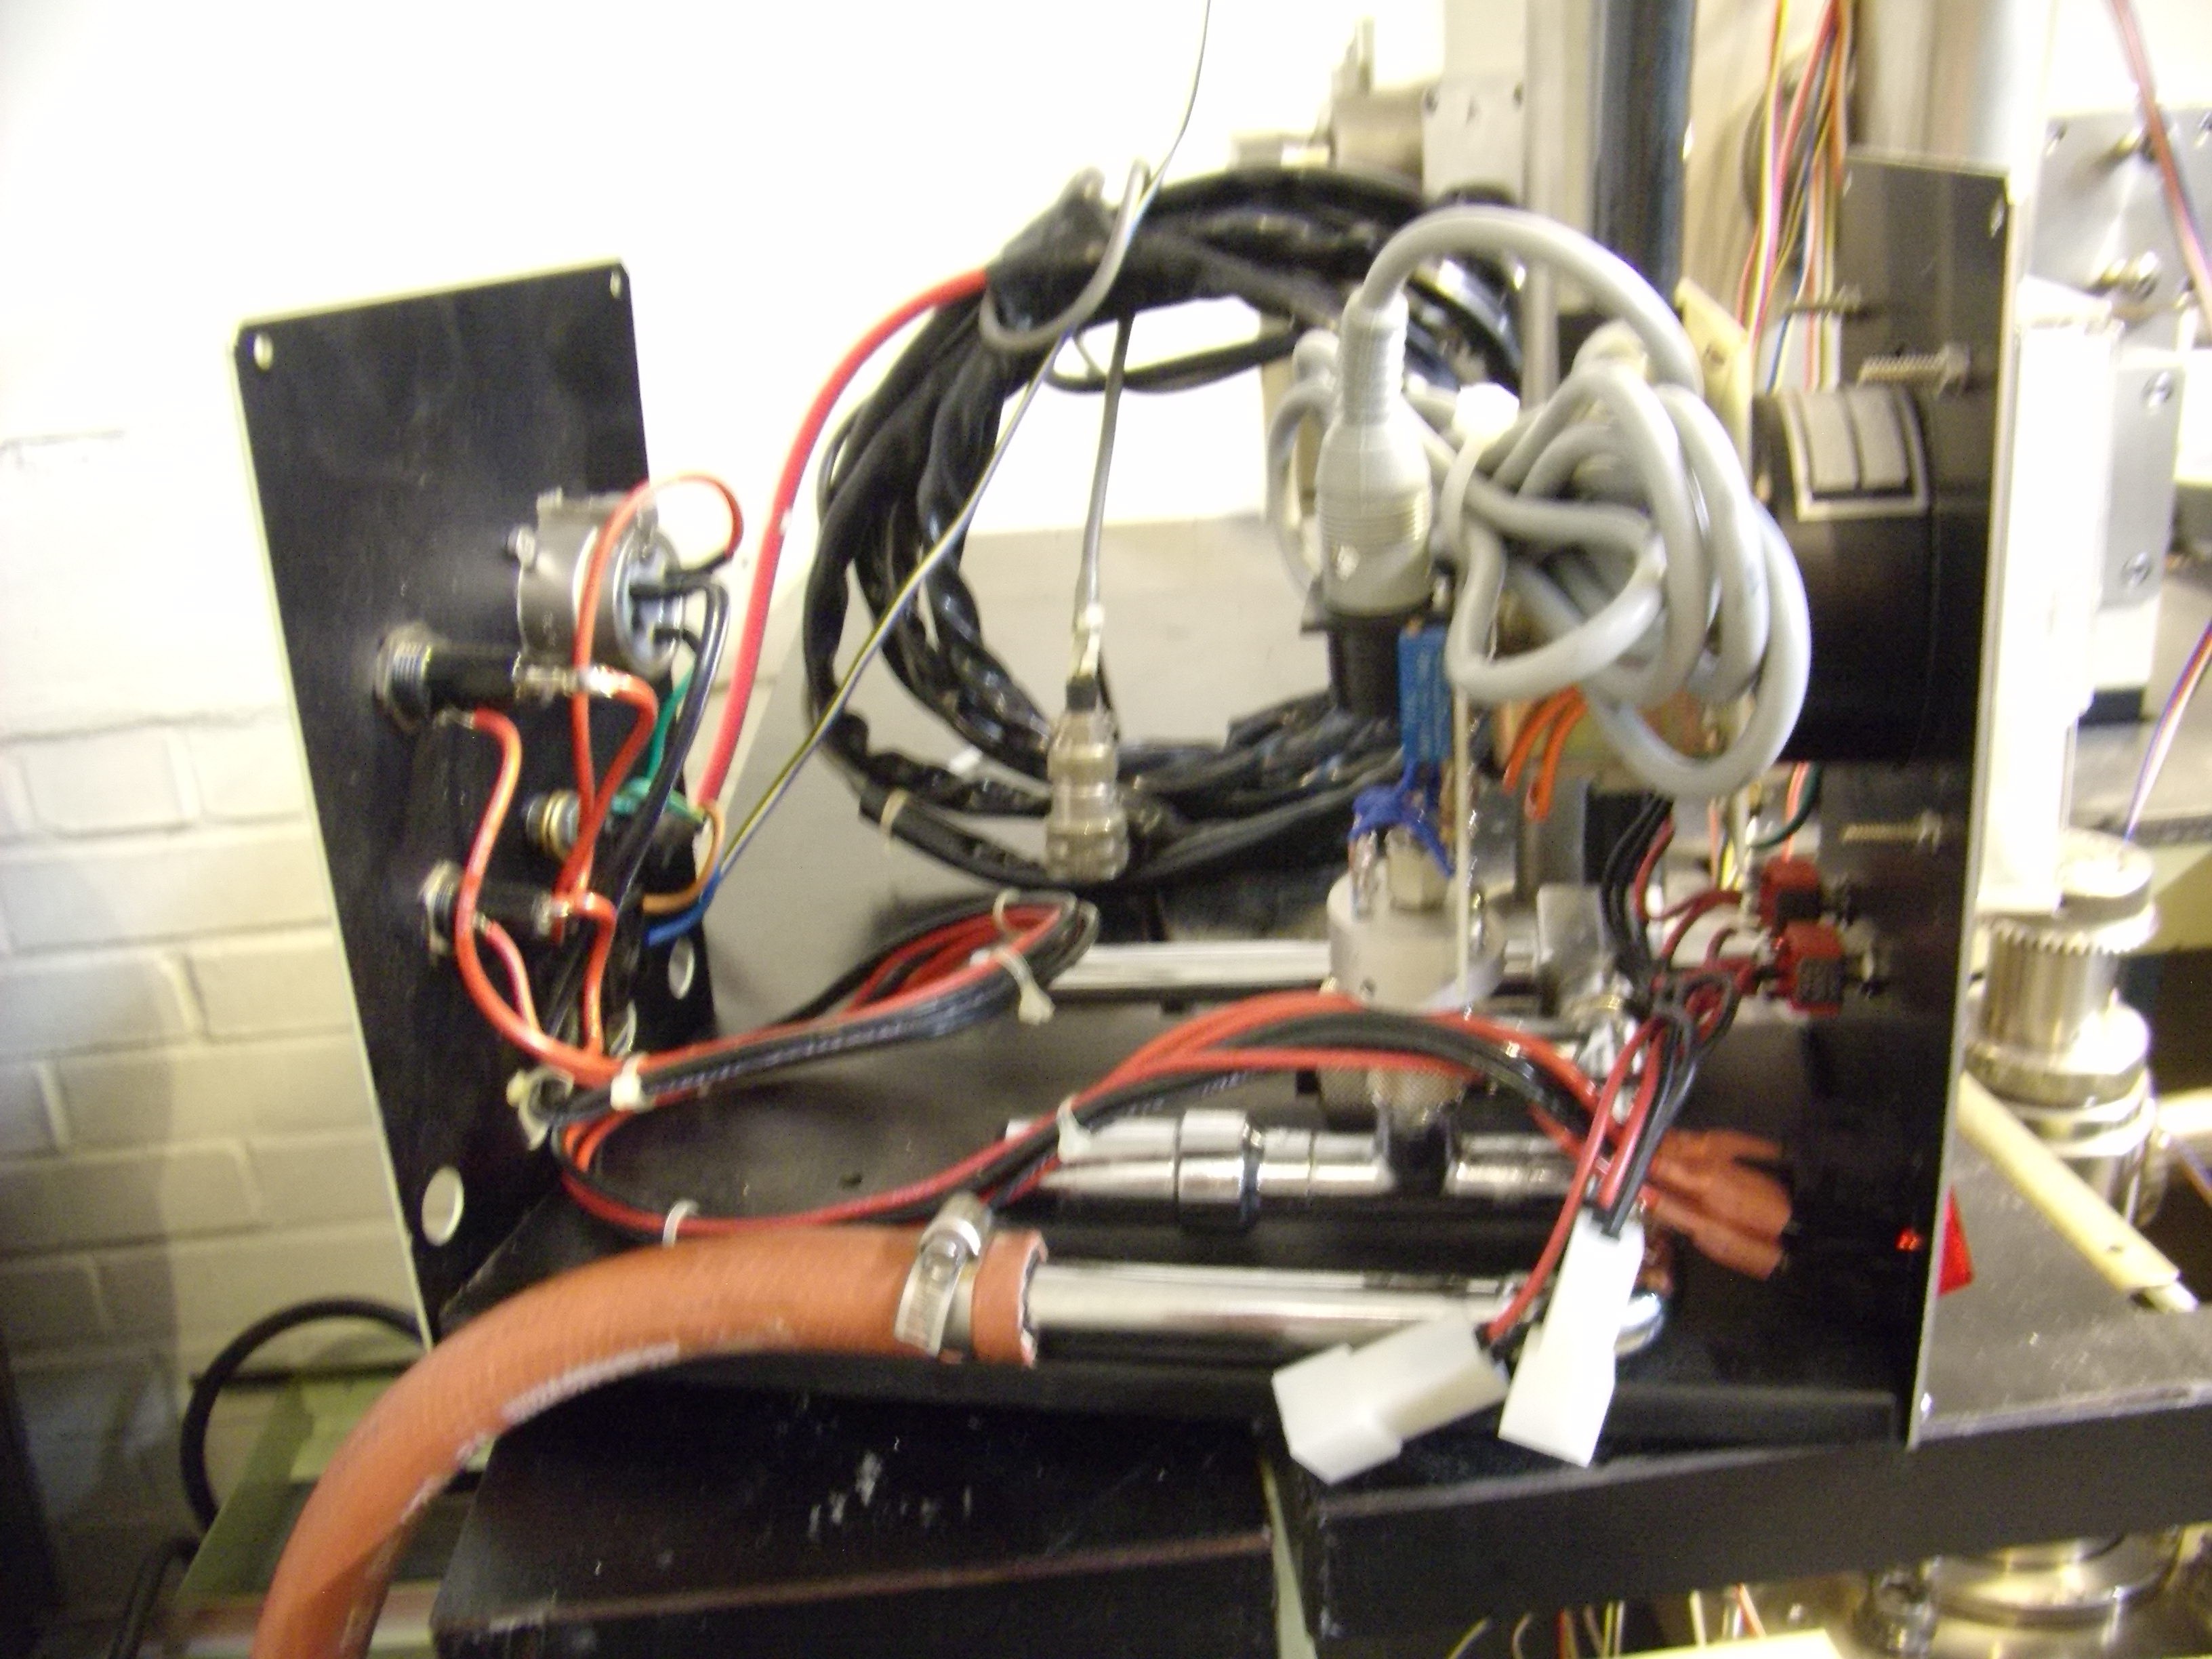
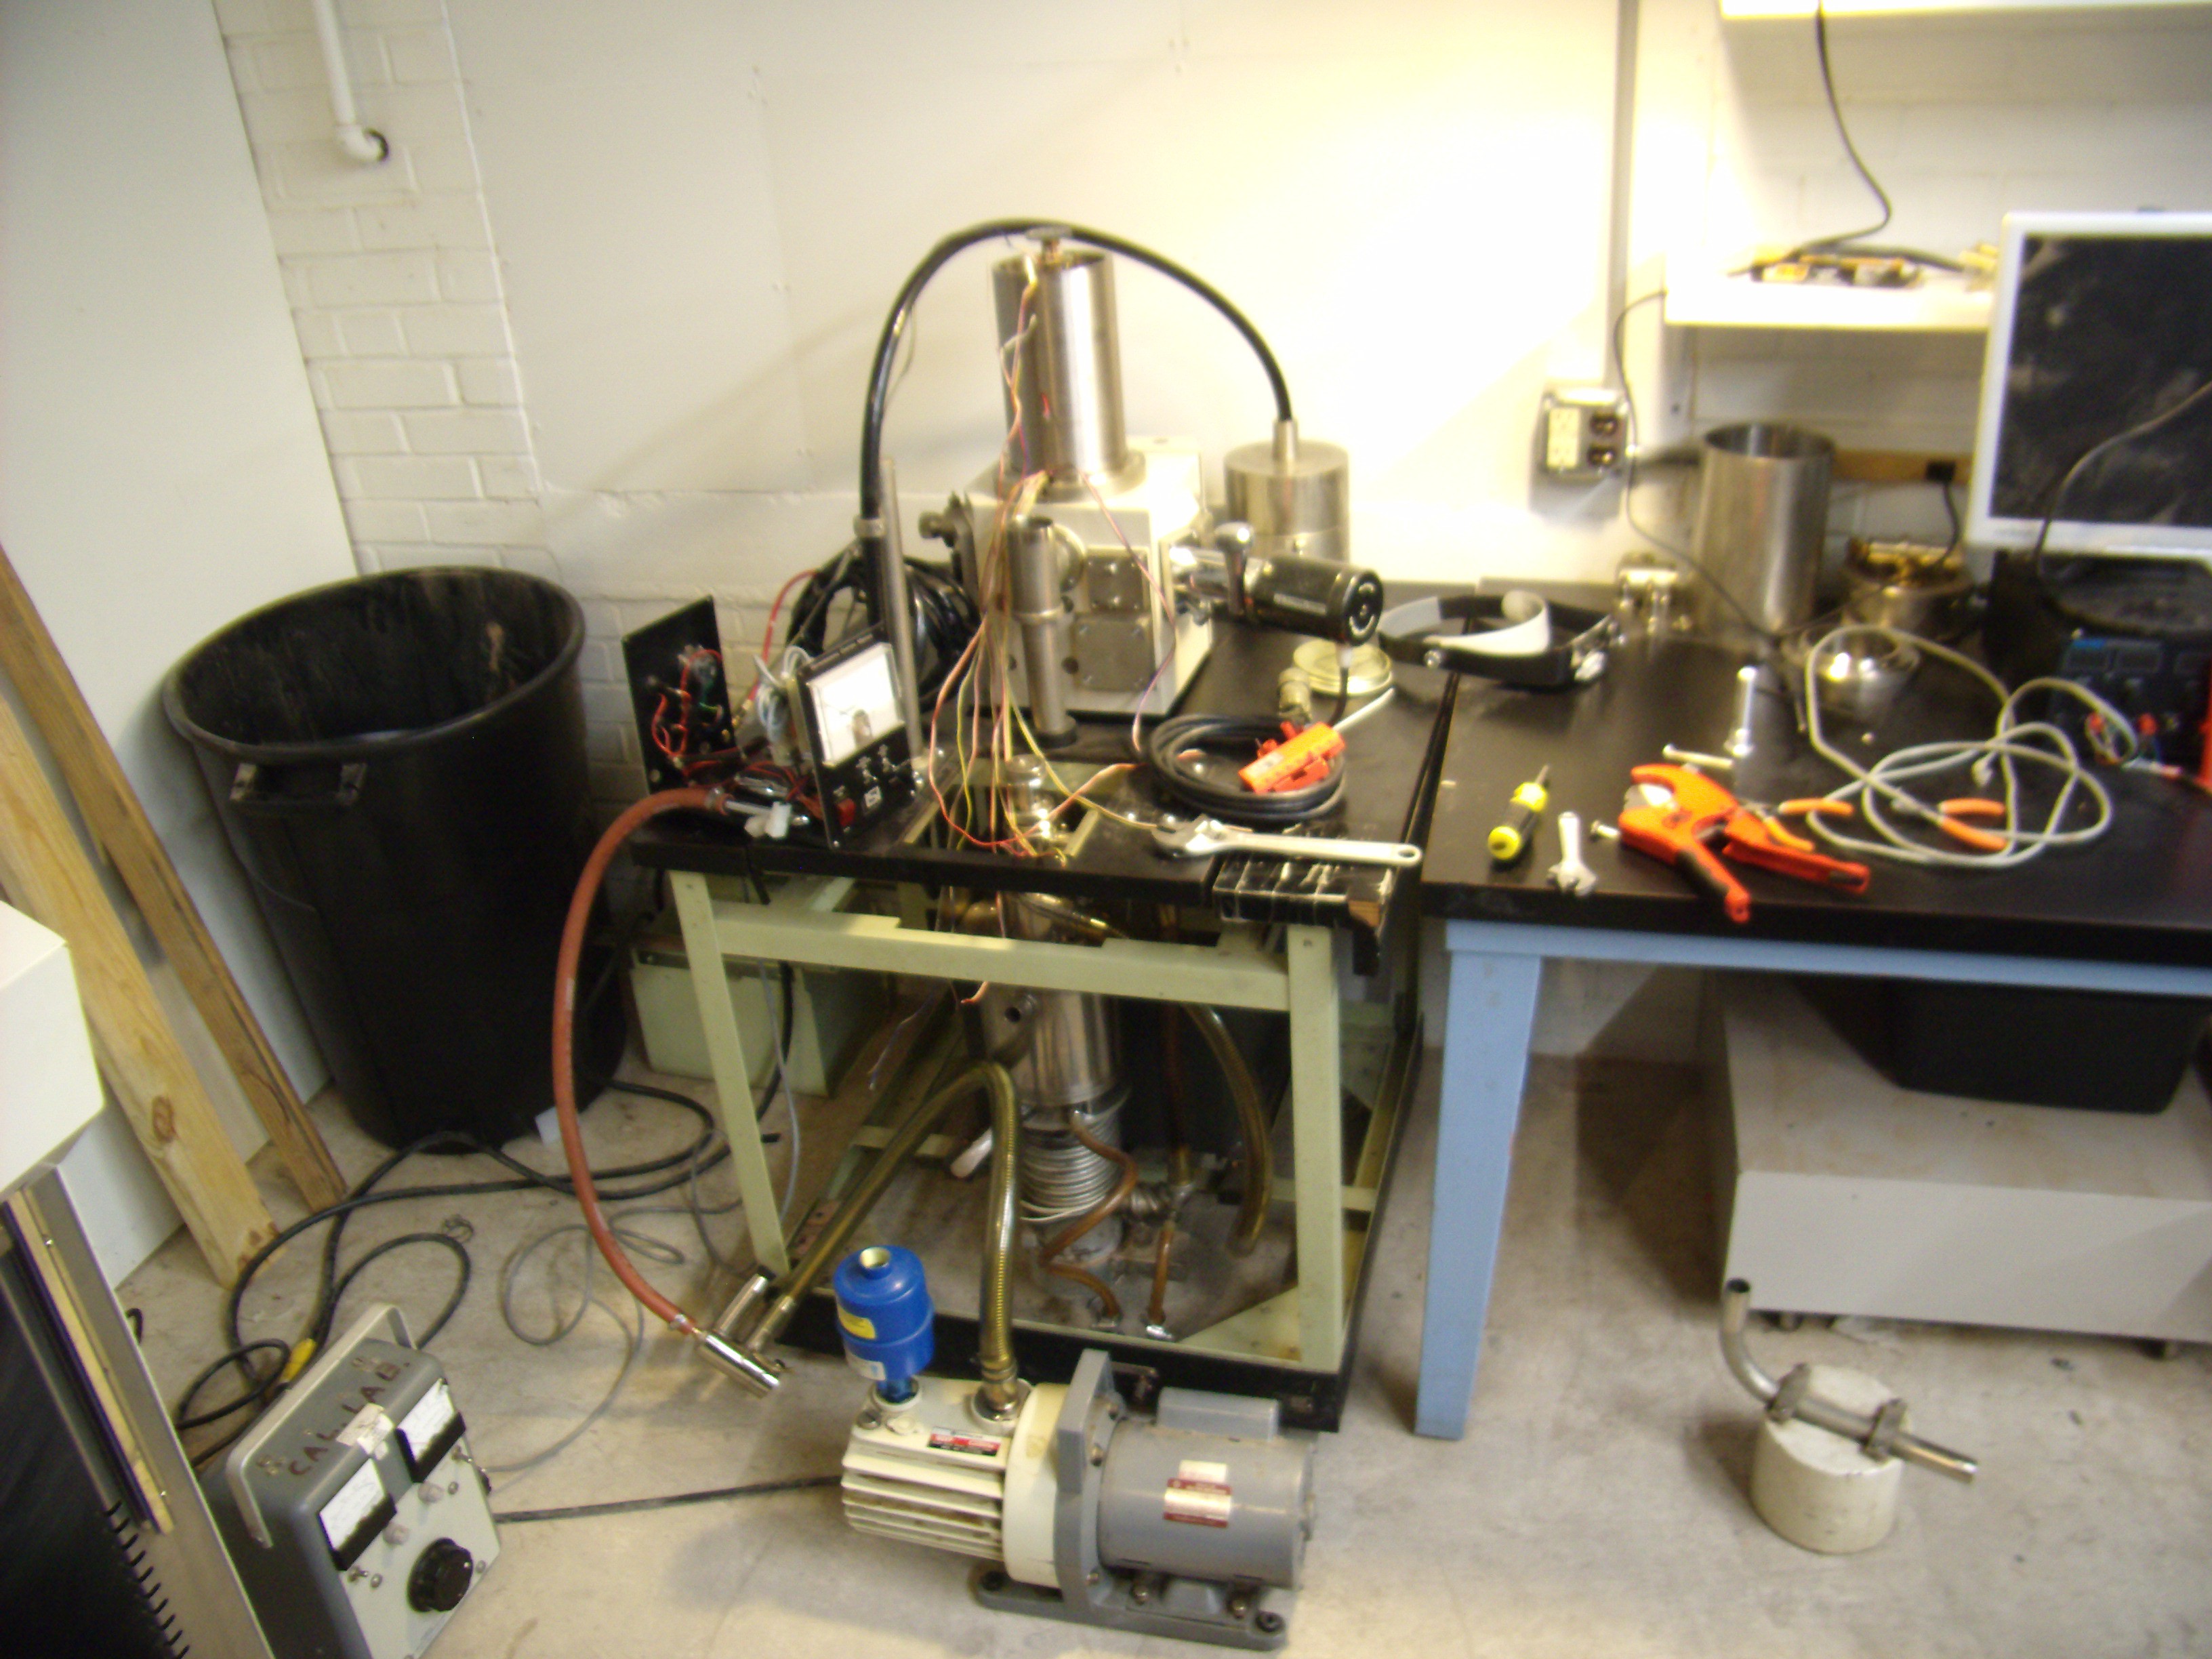
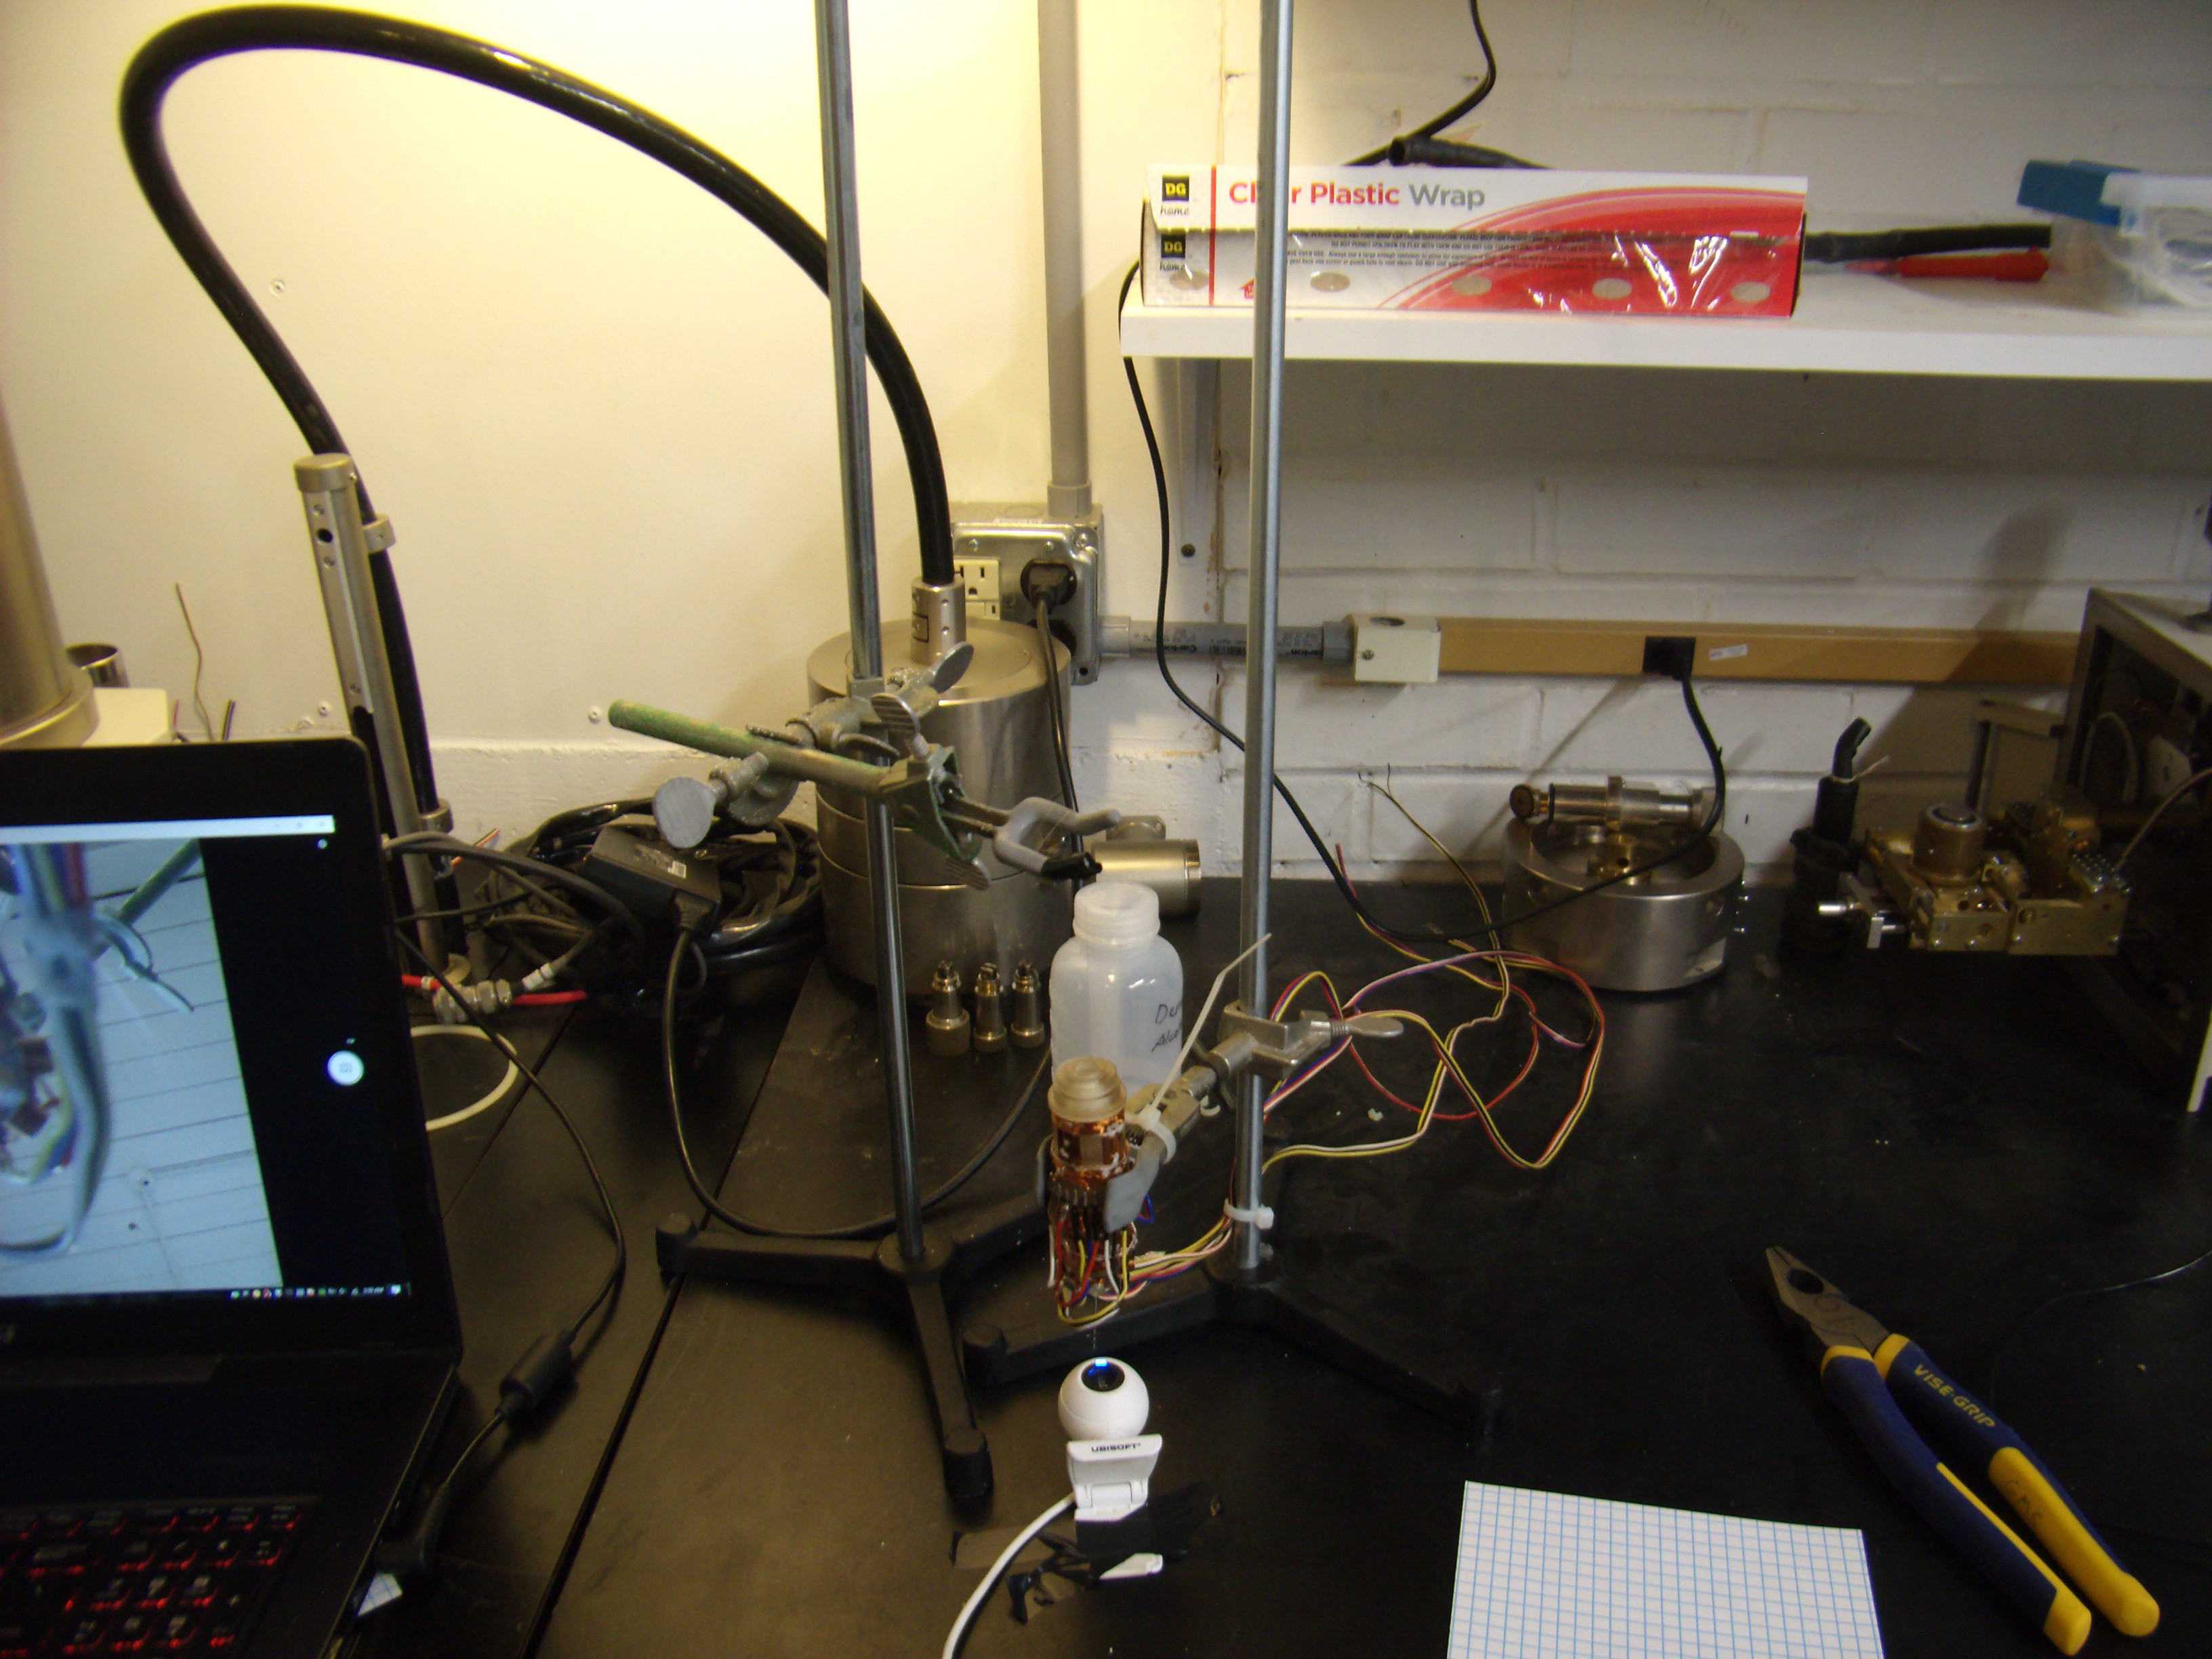
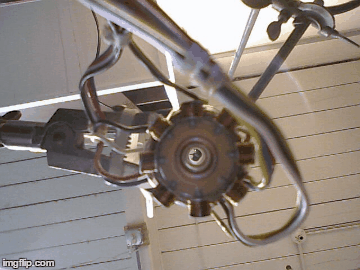
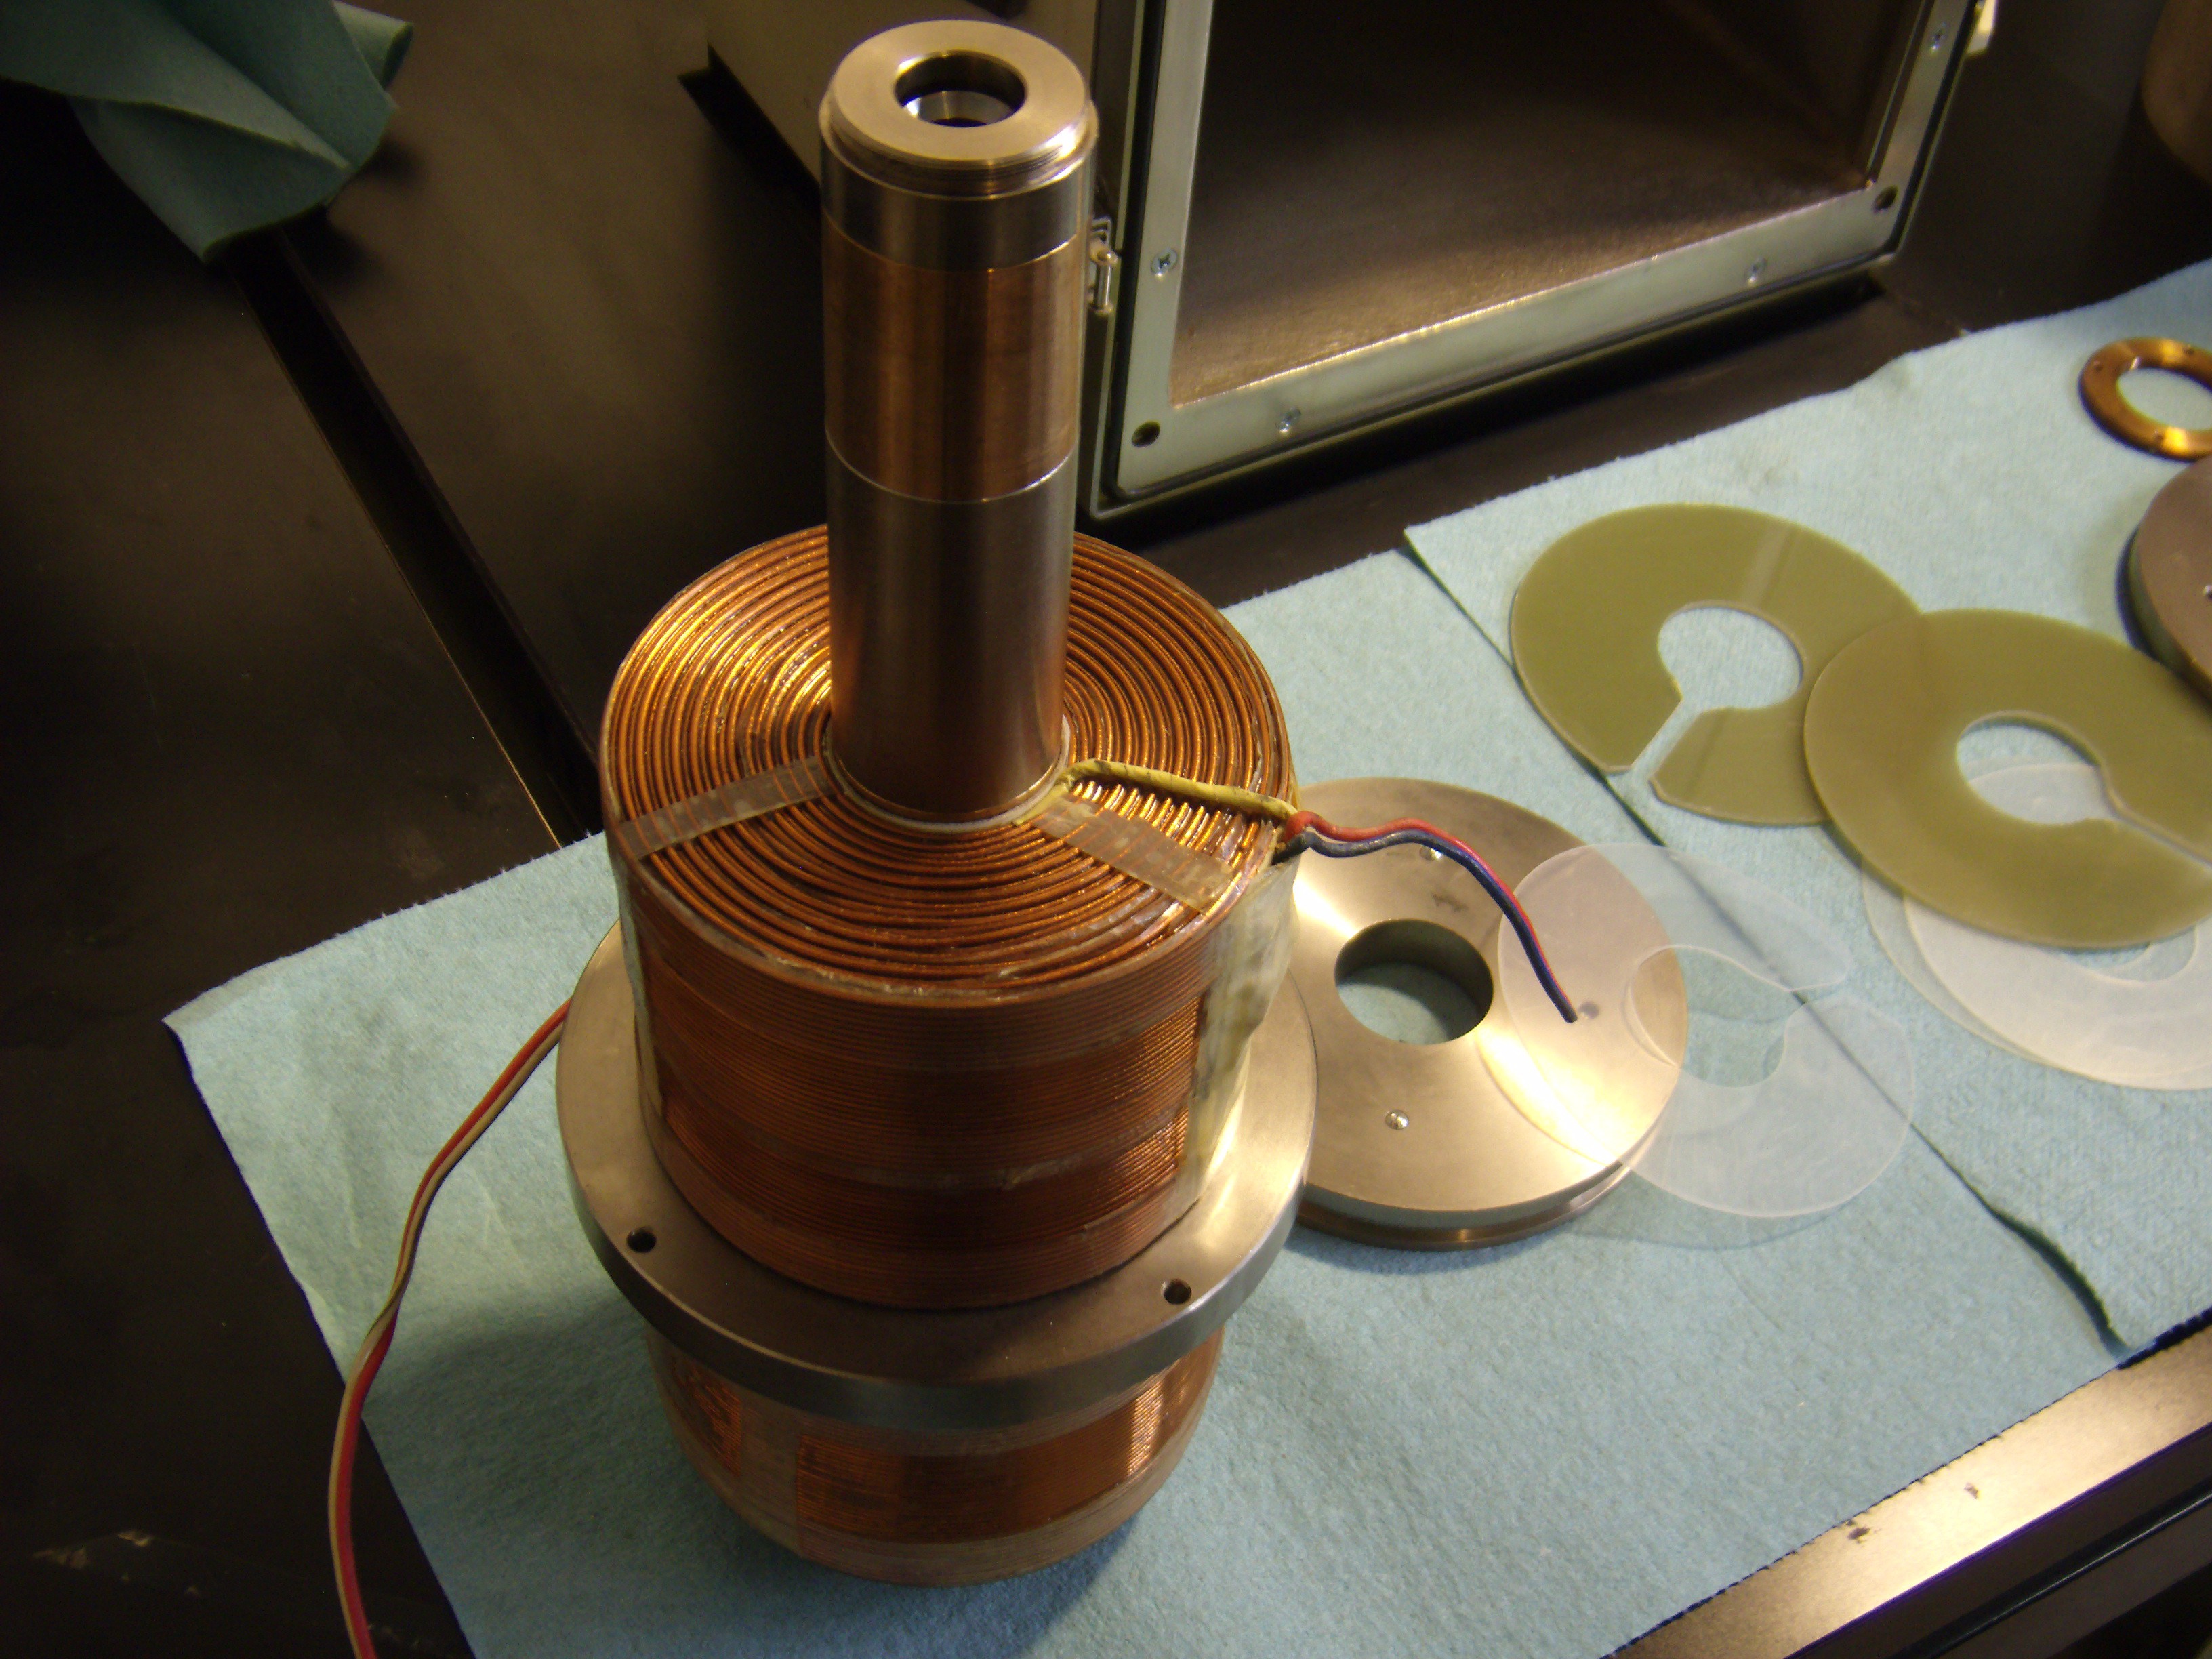
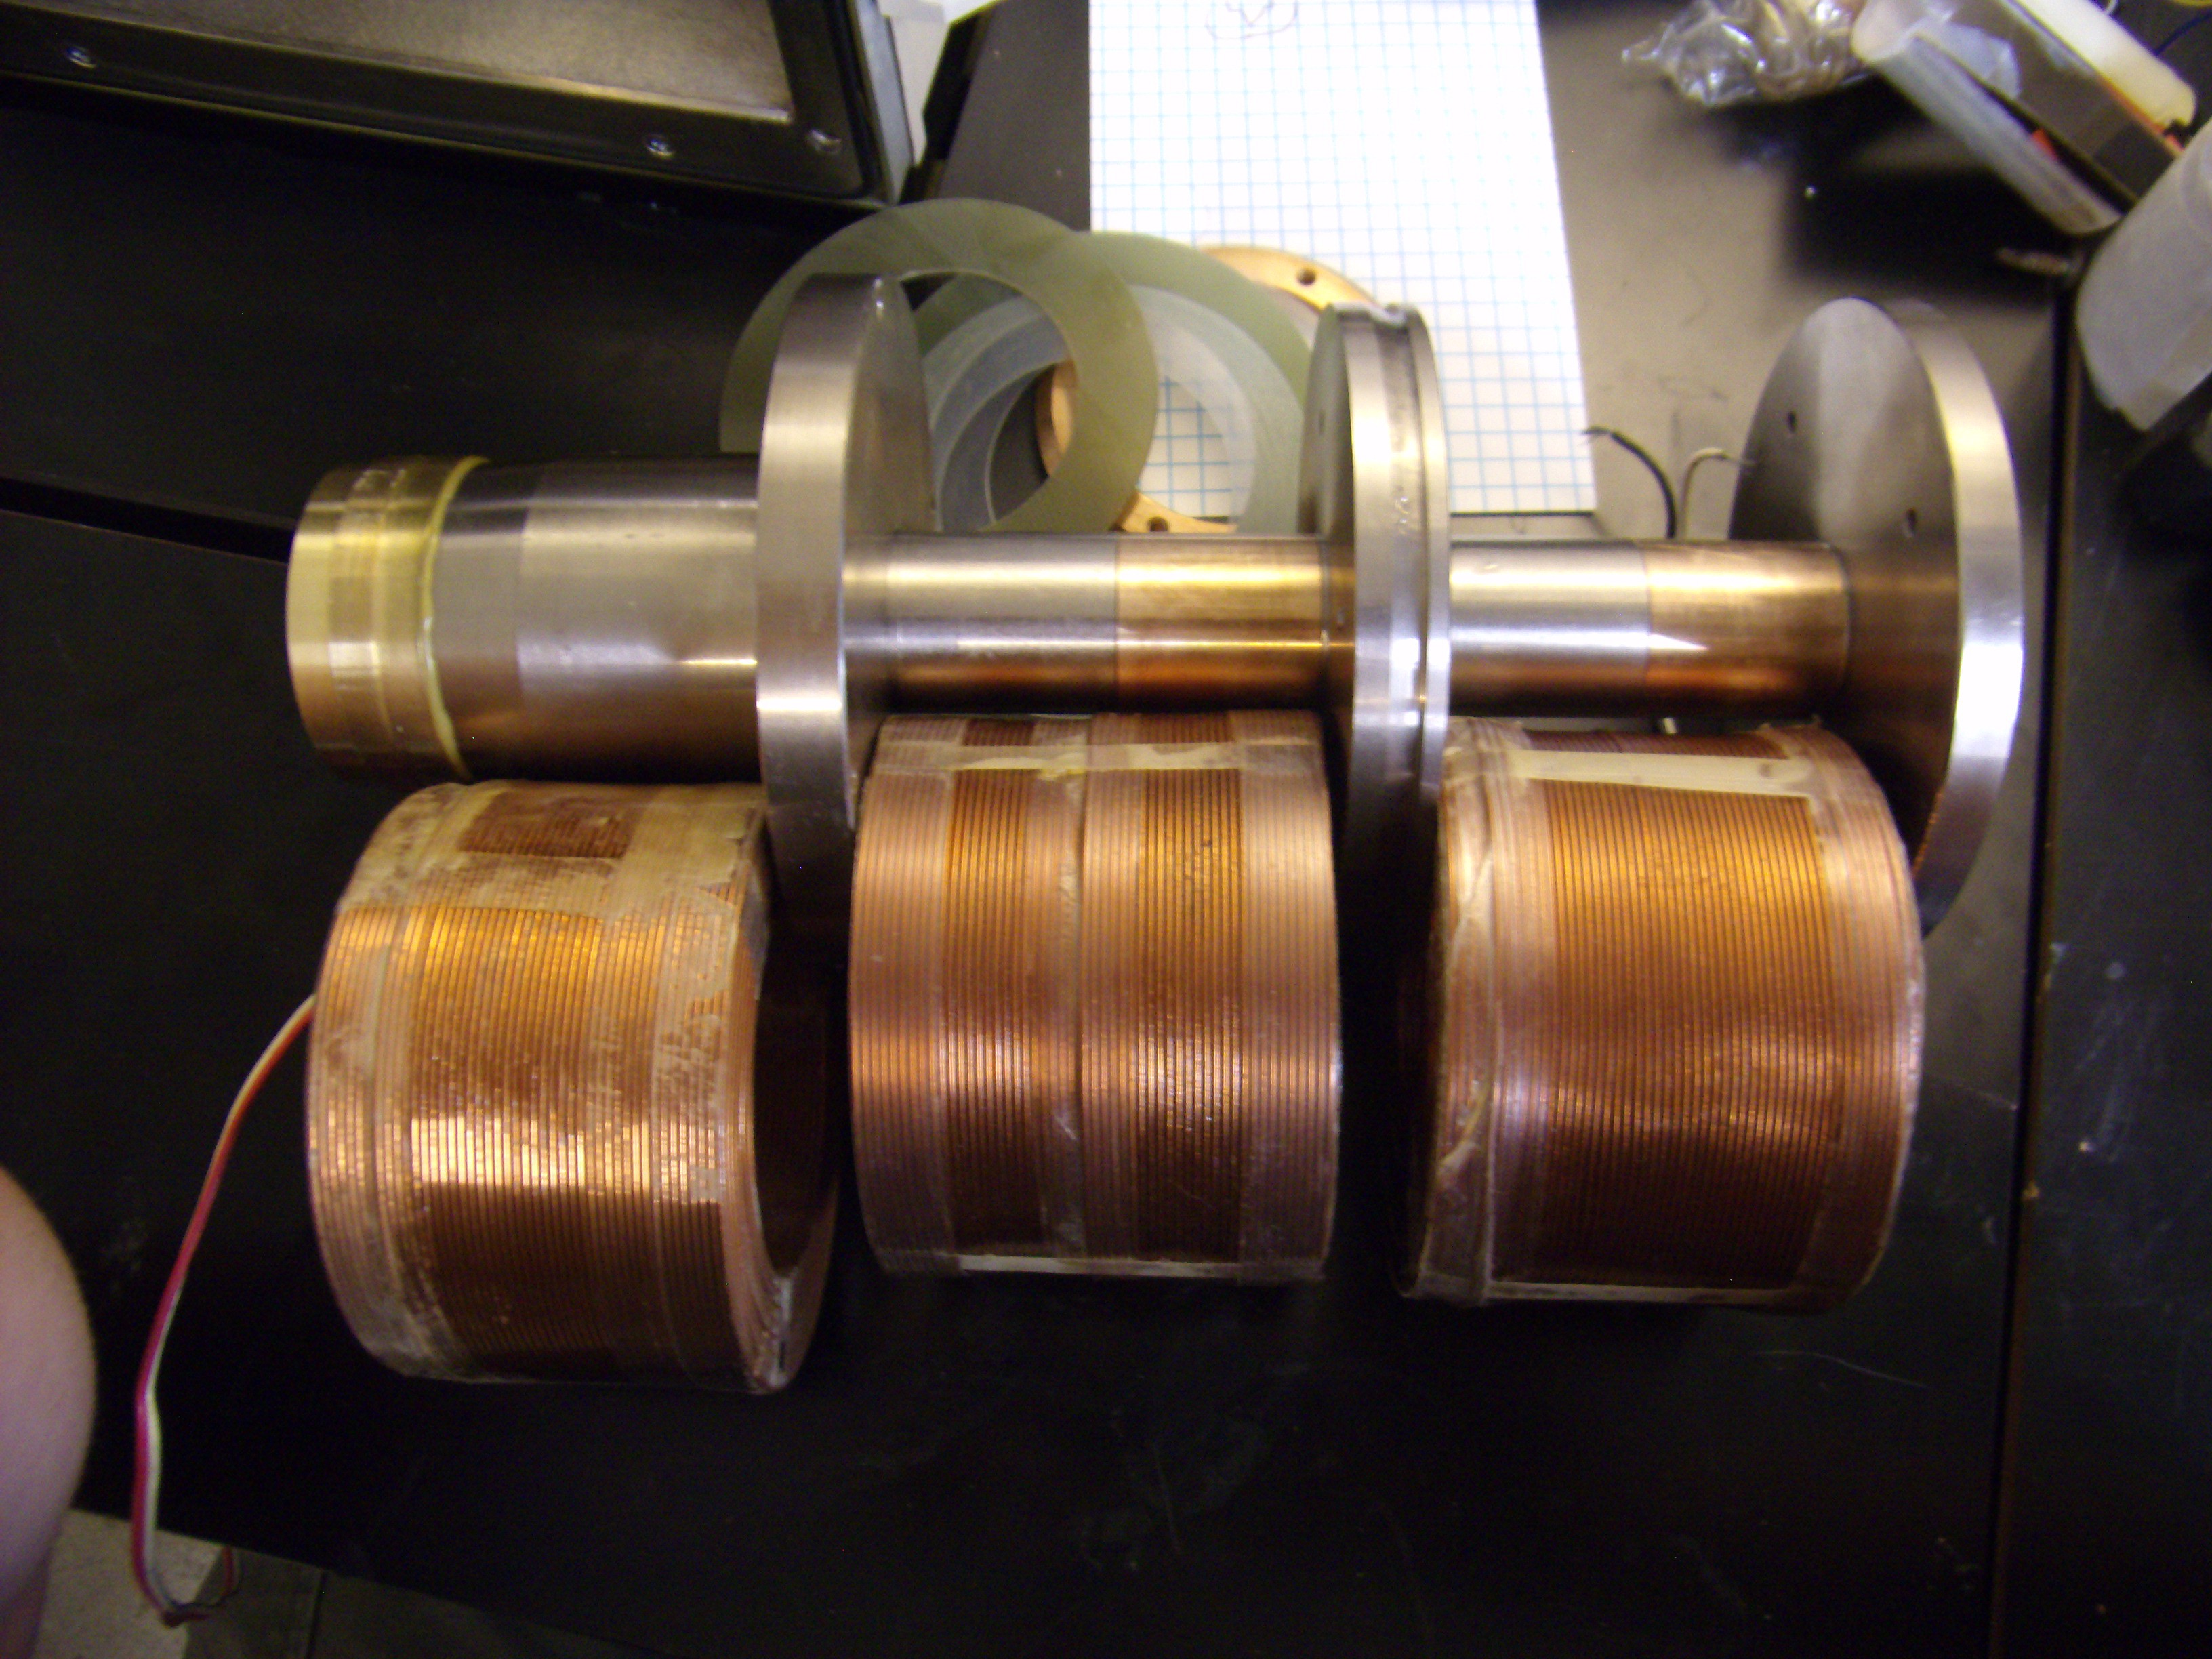
A project like this isn't for the faint of heart, but when you have an ISI-100A SEM that needs some control electronics and is missing some hardware just sitting across the street collecting dust, the light at the end of the tunnel gets a little brighter. It's been sitting unused for ~15-20 years in a school then museum; no one really remembers, so it needed a little TLC first. When I tore this thing down and realized just how simple the hardware is, I knew I had to take this opportunity to help design an SEM that others with access to a basic machine shop can build. Now all the maintenance and busywork has been finished, the microscope itself is now ready for some development.
Hate to throw this out, but for now, this is being powered by fairy dust, unicorn farts, and a budget that would make the poorest of students look like Donald Trump, so if there's anything you can spare, you just might save the lives of all our orphaned puppies. They really need some components:
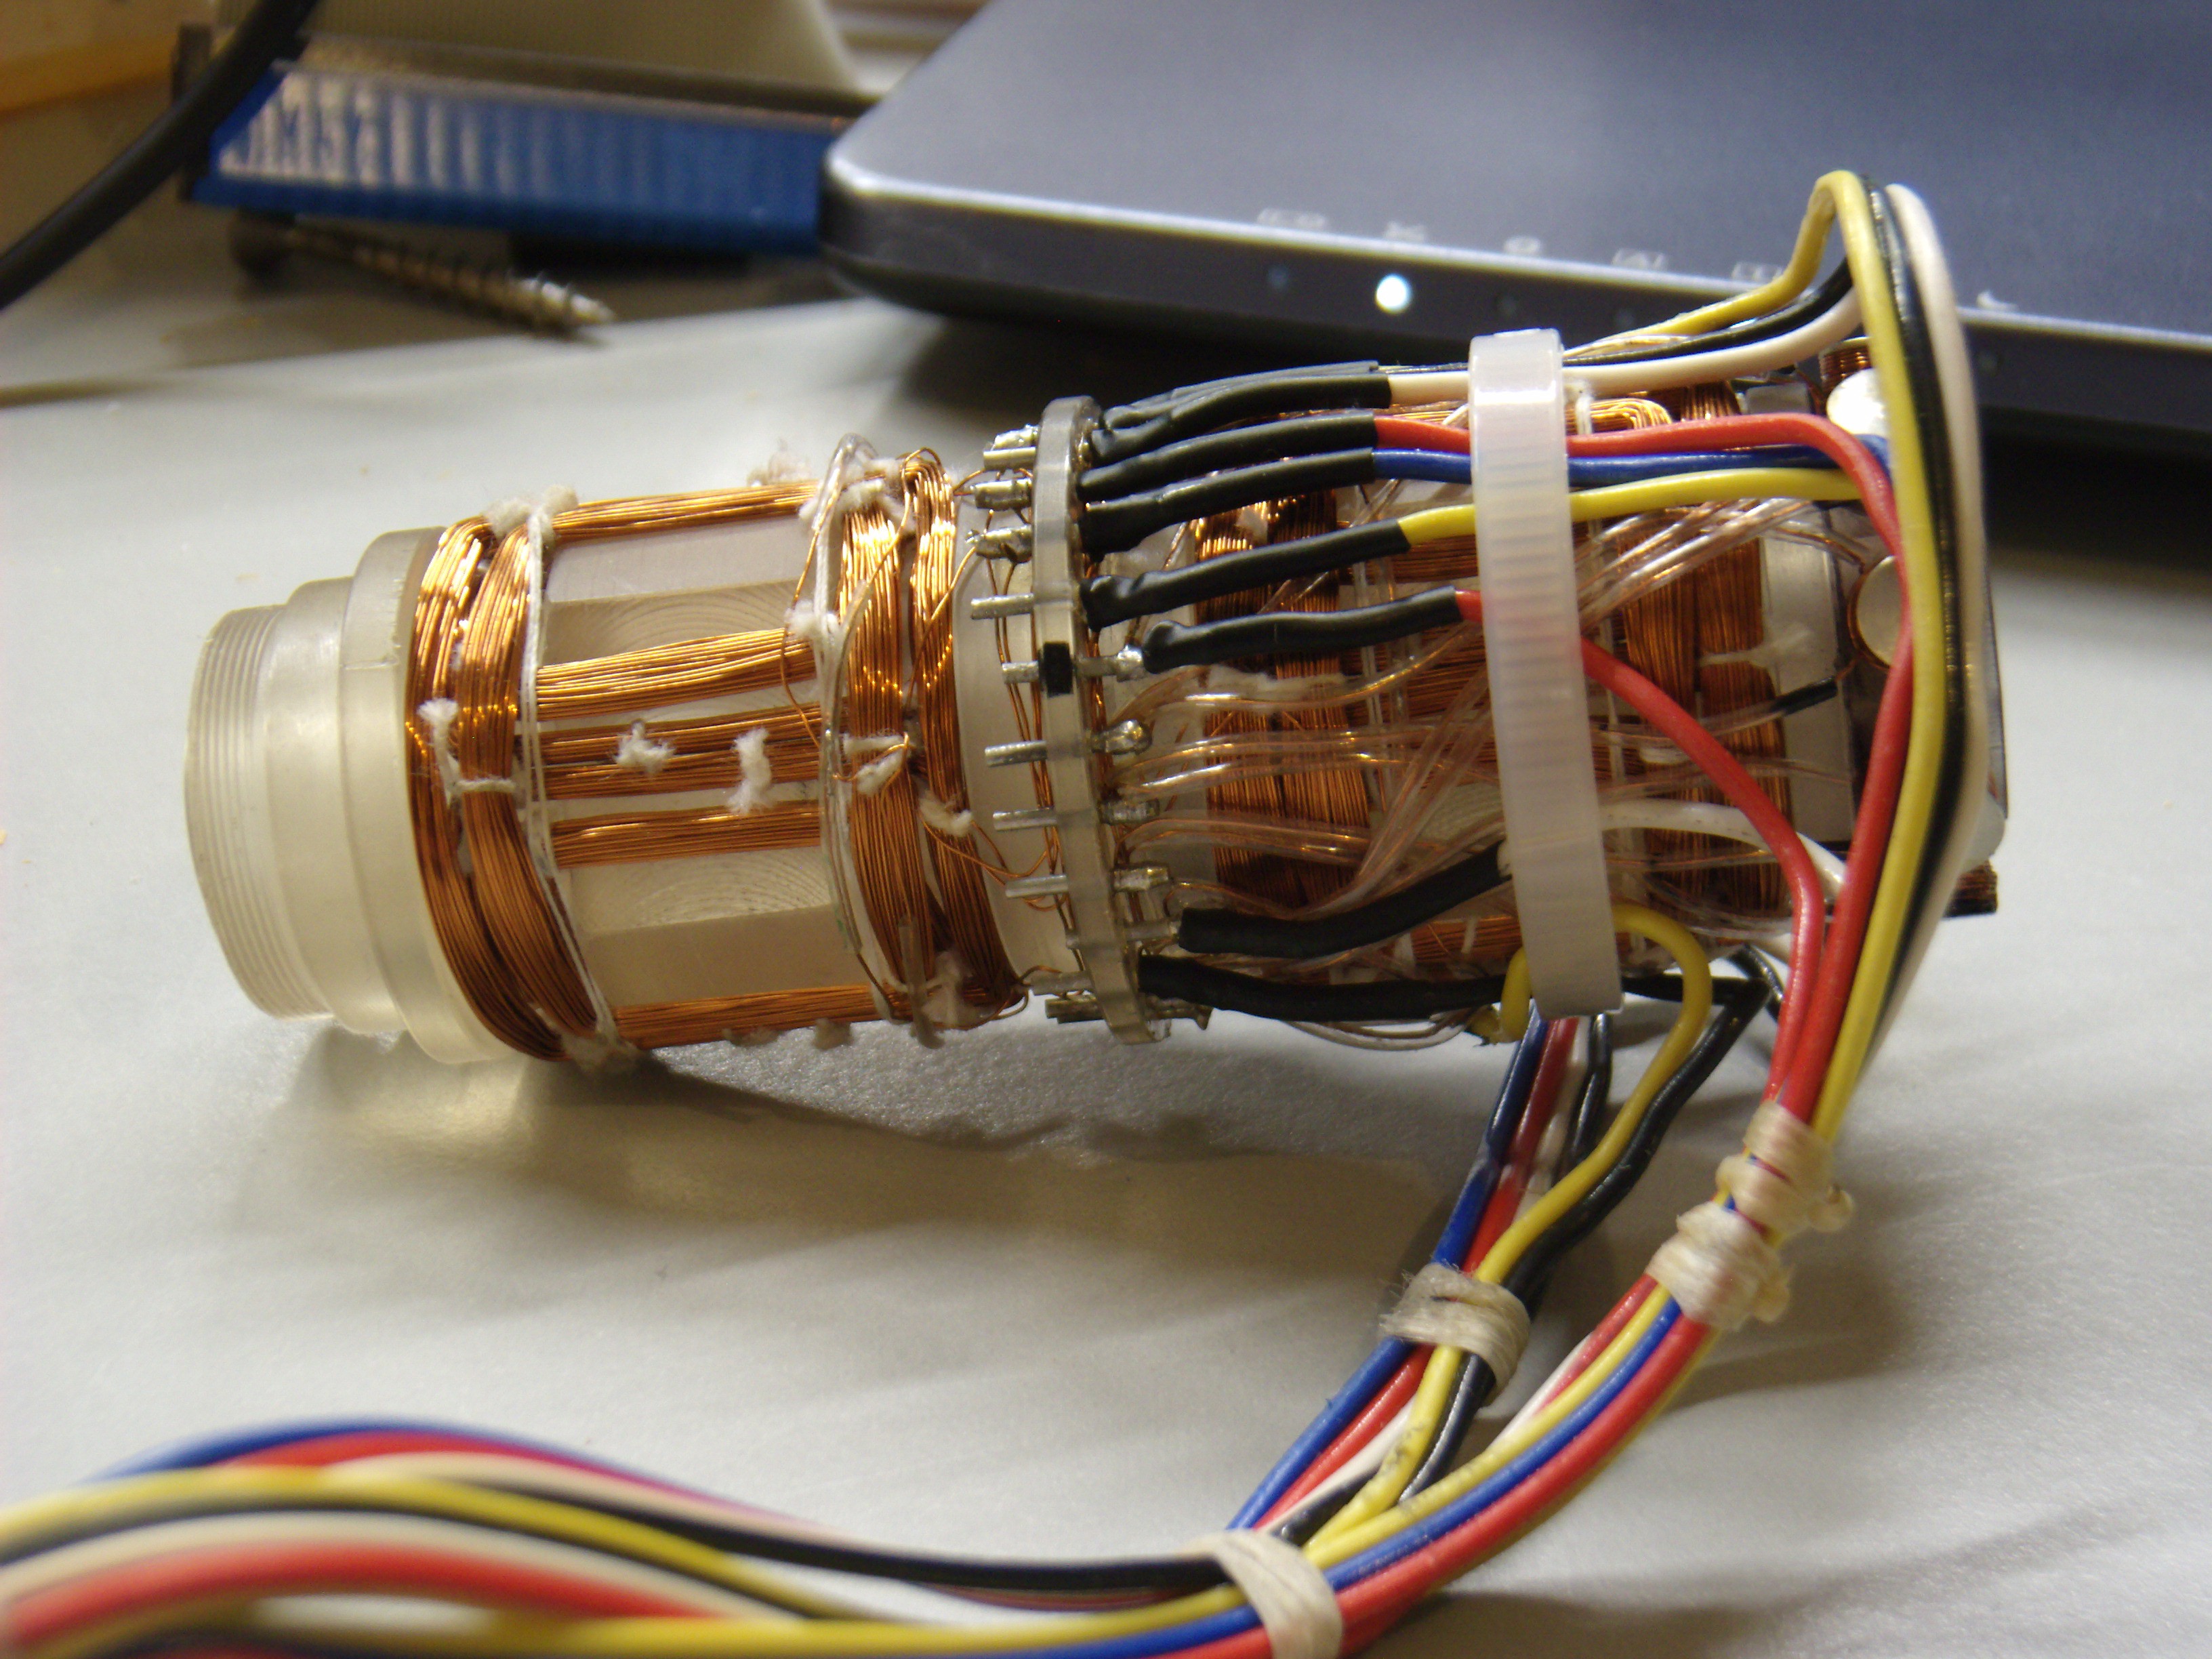
-ANY information on this microscope - I've reverse engineered most of the electron optics stuff and ET detector, but the backscatter detector, HV supply is still, unknown
-Some kind of fast ADC; I've got some slower, high-resolution ones I've mocked up and tested, but they're are only like 10 Ksps (though have 16 channels, those I'd like to save for other instrumentation). I've got an older 60MHz 100 Msps TDS100 scope, but It's not mine and I seriously doubt the owner will enjoy coming to the hackerspace and seeing that.I'd like to use something someone could simply buy without mucking.
-Vacuum grease - a friend 'borrowed' a used tube from his place of employment (I swear officer, it wasn't me, I'm unemployed... no really), but after having to cut the tube open to extract every last bit, it's safe to say I'm out.
-Thin tungsten wire - I got a filament, but I have no idea how long it'll last, if it works at all
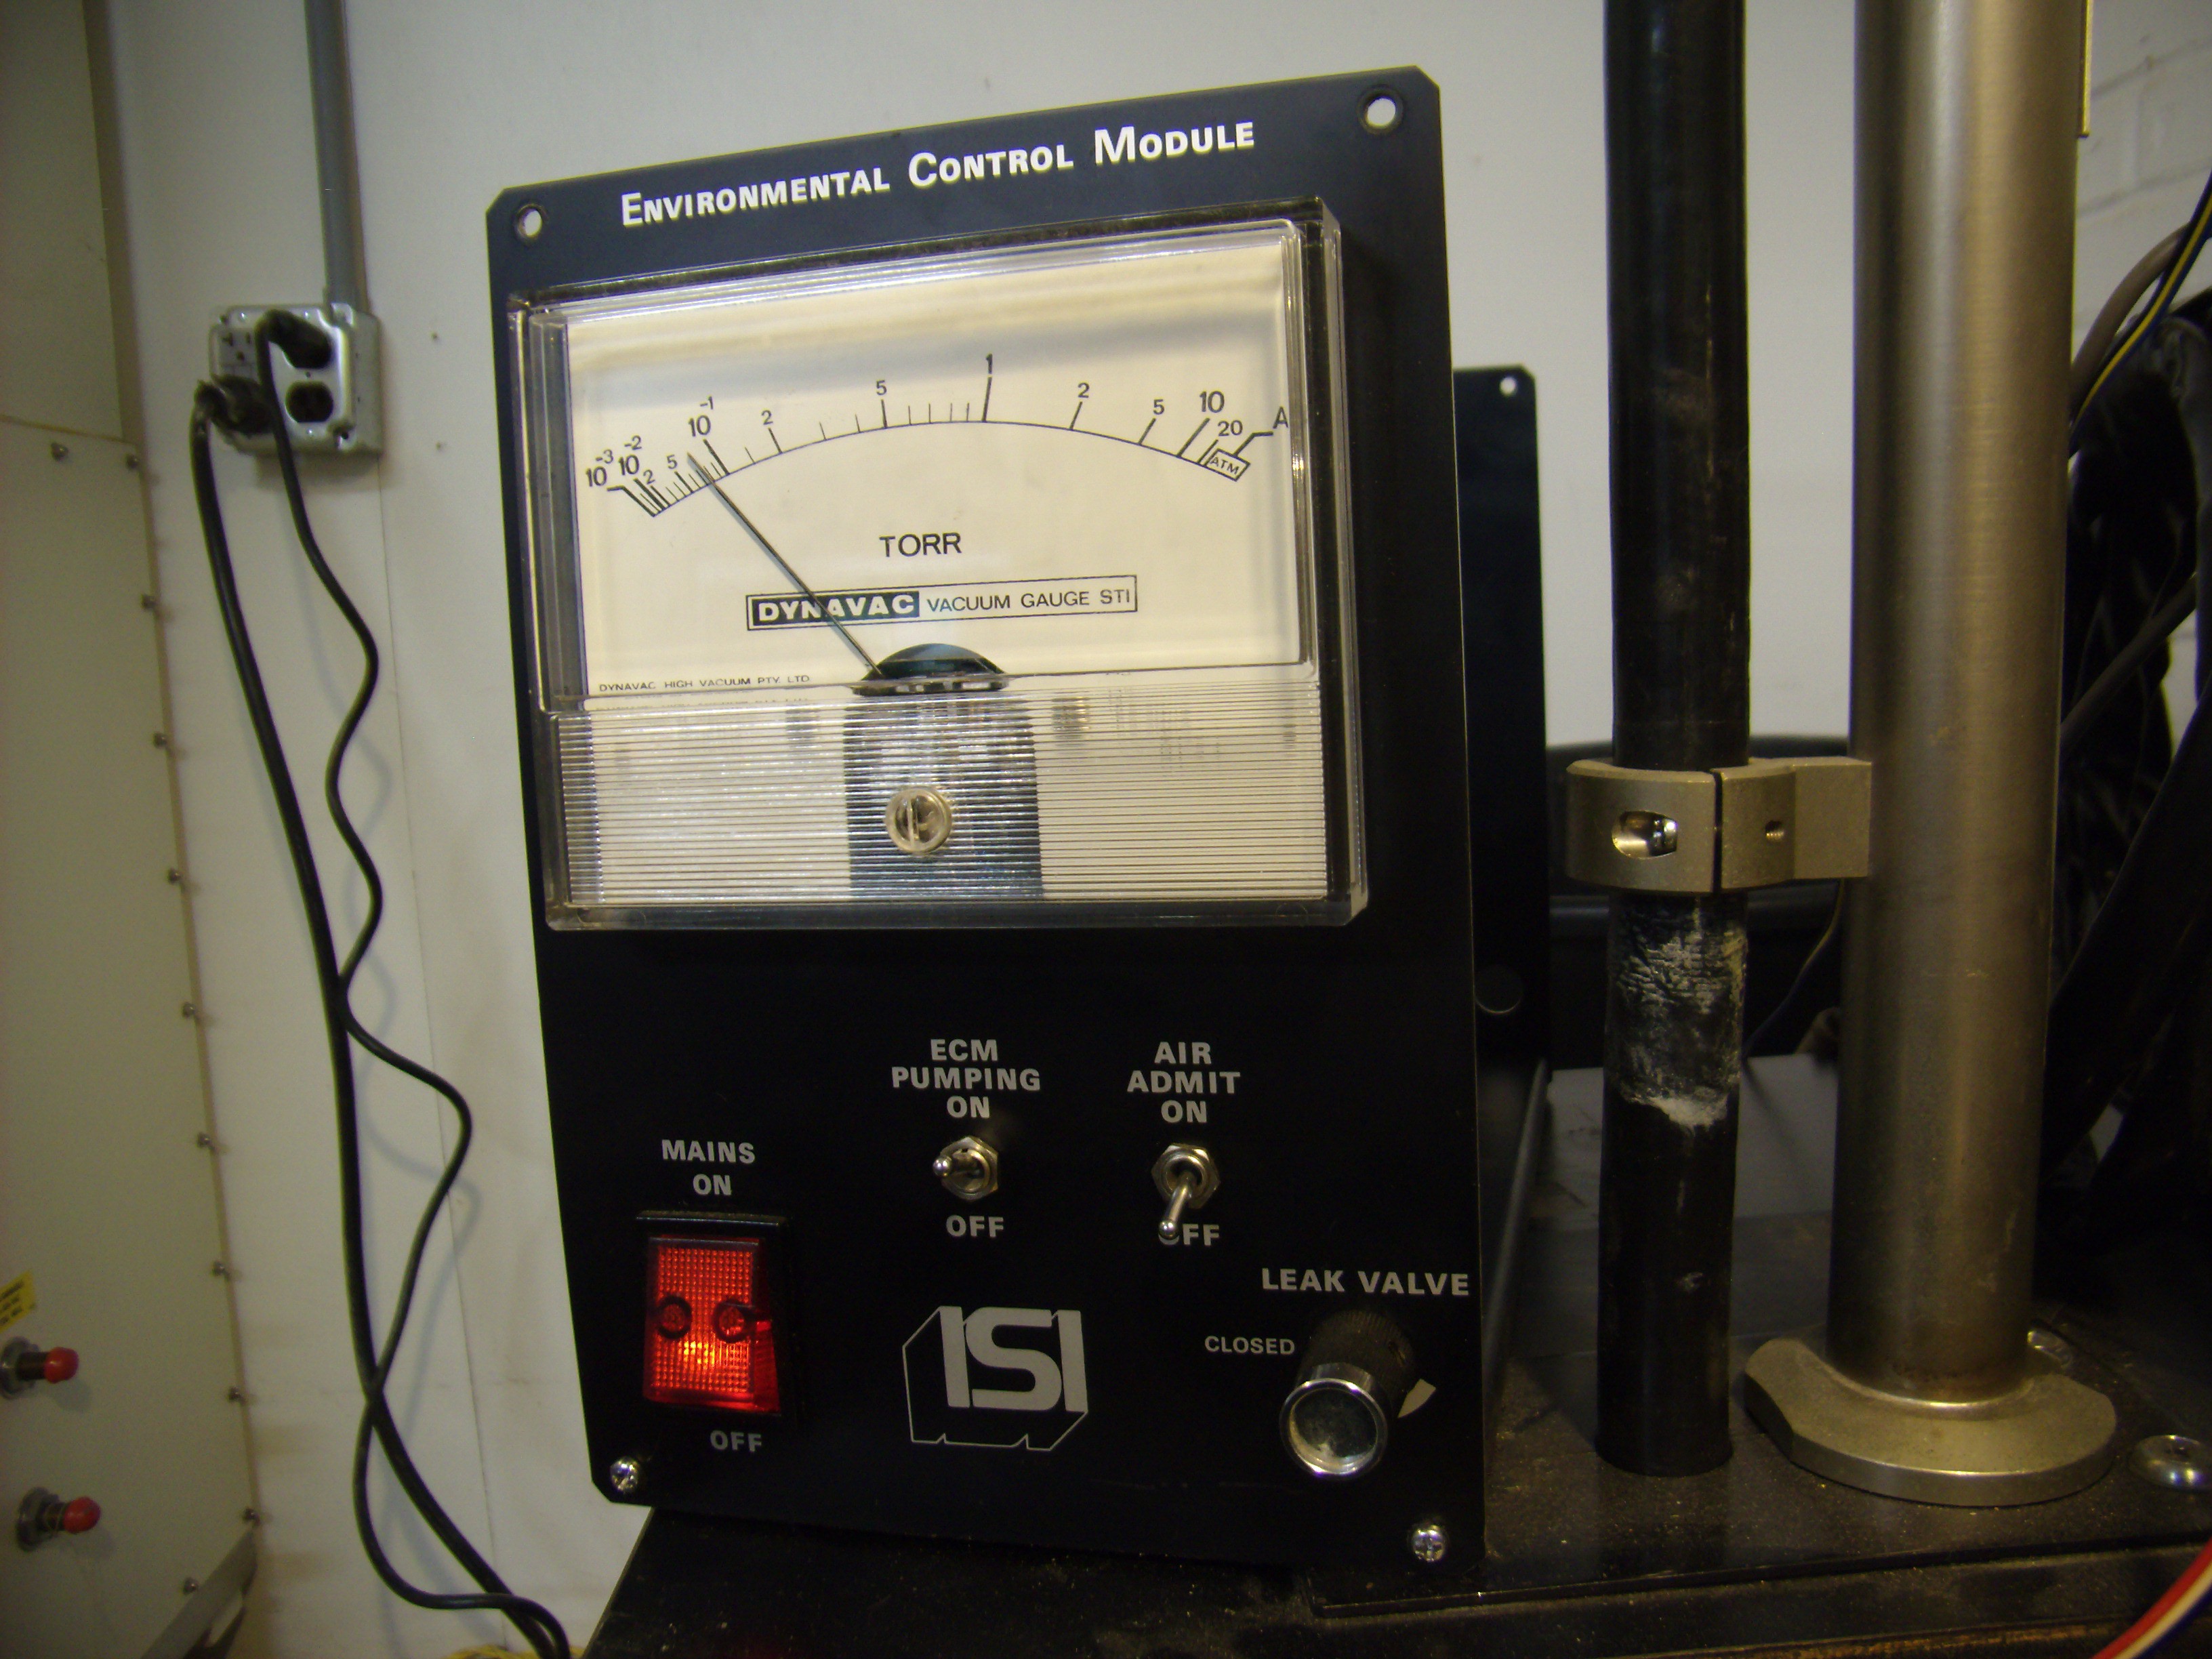
-Some kind high-vacuum gauge - I've got my old Edwards low-vacuum piranni gauge, but it is waaay out of whack since the backstreaming incident with my mirror coater. PROTIP: Always assume that, if the power goes out while pumping down, and there's no safety valve, the bottom of the vacuum chamber gets flooded with oil.... so don't mount the gauge THERE. Thankfully, though, I've got a lower-vacuum thermocouple gauge now that kinda works - it twitches all over the place most of the time. Some percussive maintenance usually helps. But I still need a high-vacuum gauge.
-Anything else at all
So please, think of the puppies :)


 Morning.Star
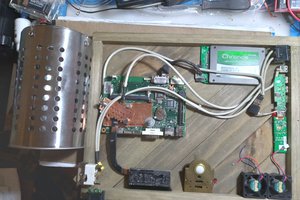
 Starhawk
 Jorj Bauer
 neohackerjd
Challenging project, and good luck. A long time Electron Microscope Field Service Company is liquidating lots of TEMs, parts, accessories and even service manuals. Also parts for SEMs, and other lab equipment spanning decades of different production lines. Philips, Zeiss, JEOL, Amray, and more. Auction will continue to have more listings added throughout September.
https://www.slapsale.com/ss/#!/philips-em420-electron-microscope-199684
https://www.slapsale.com/ss/#!/auctions?ilt=1&sid=40479
Their twitter page @ScientificInst2