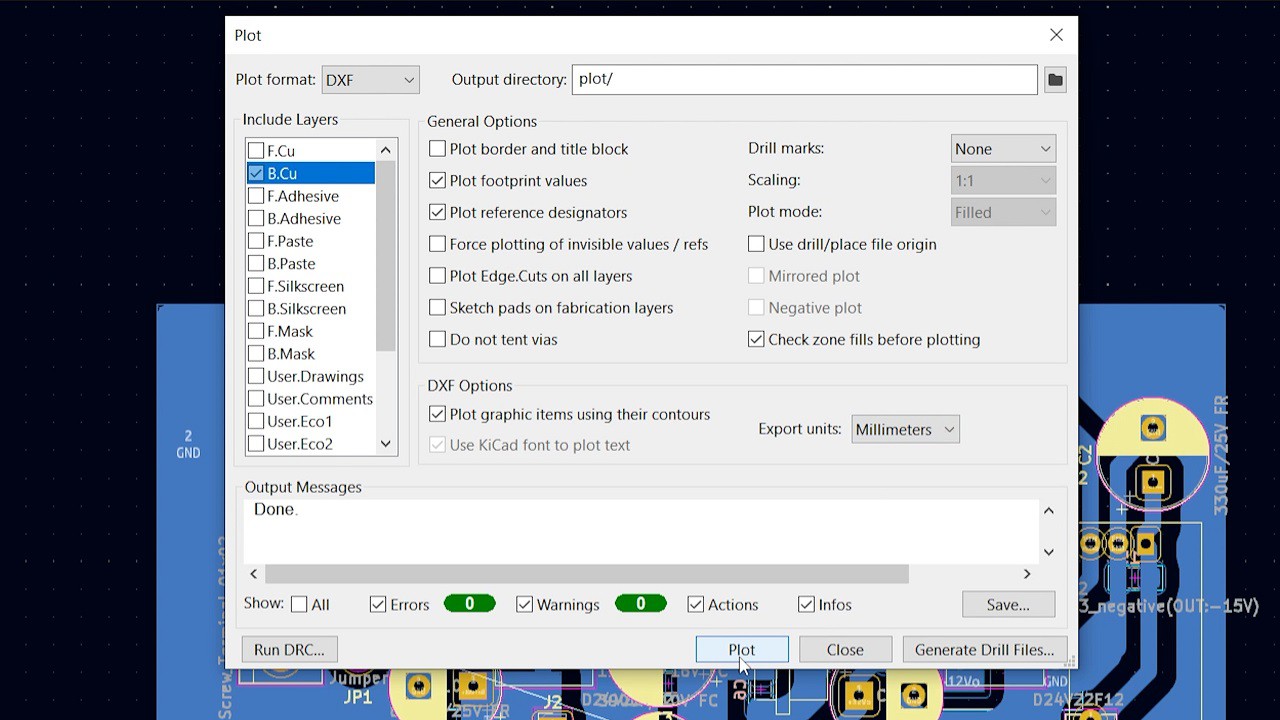
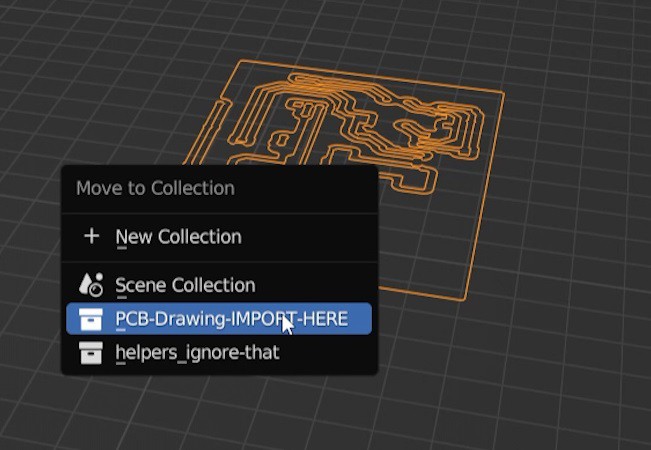
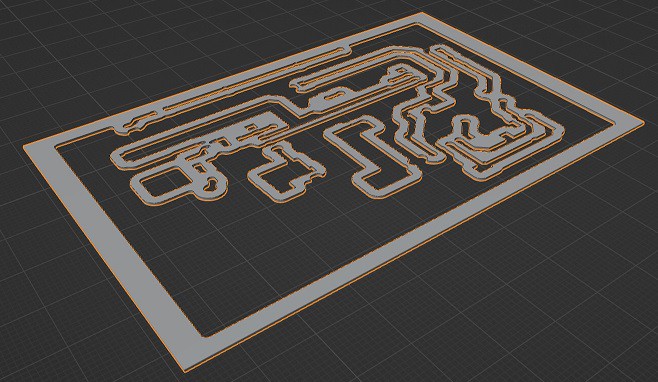
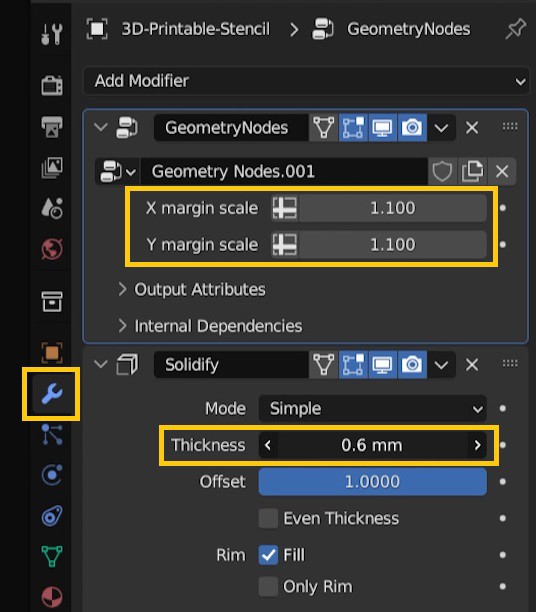
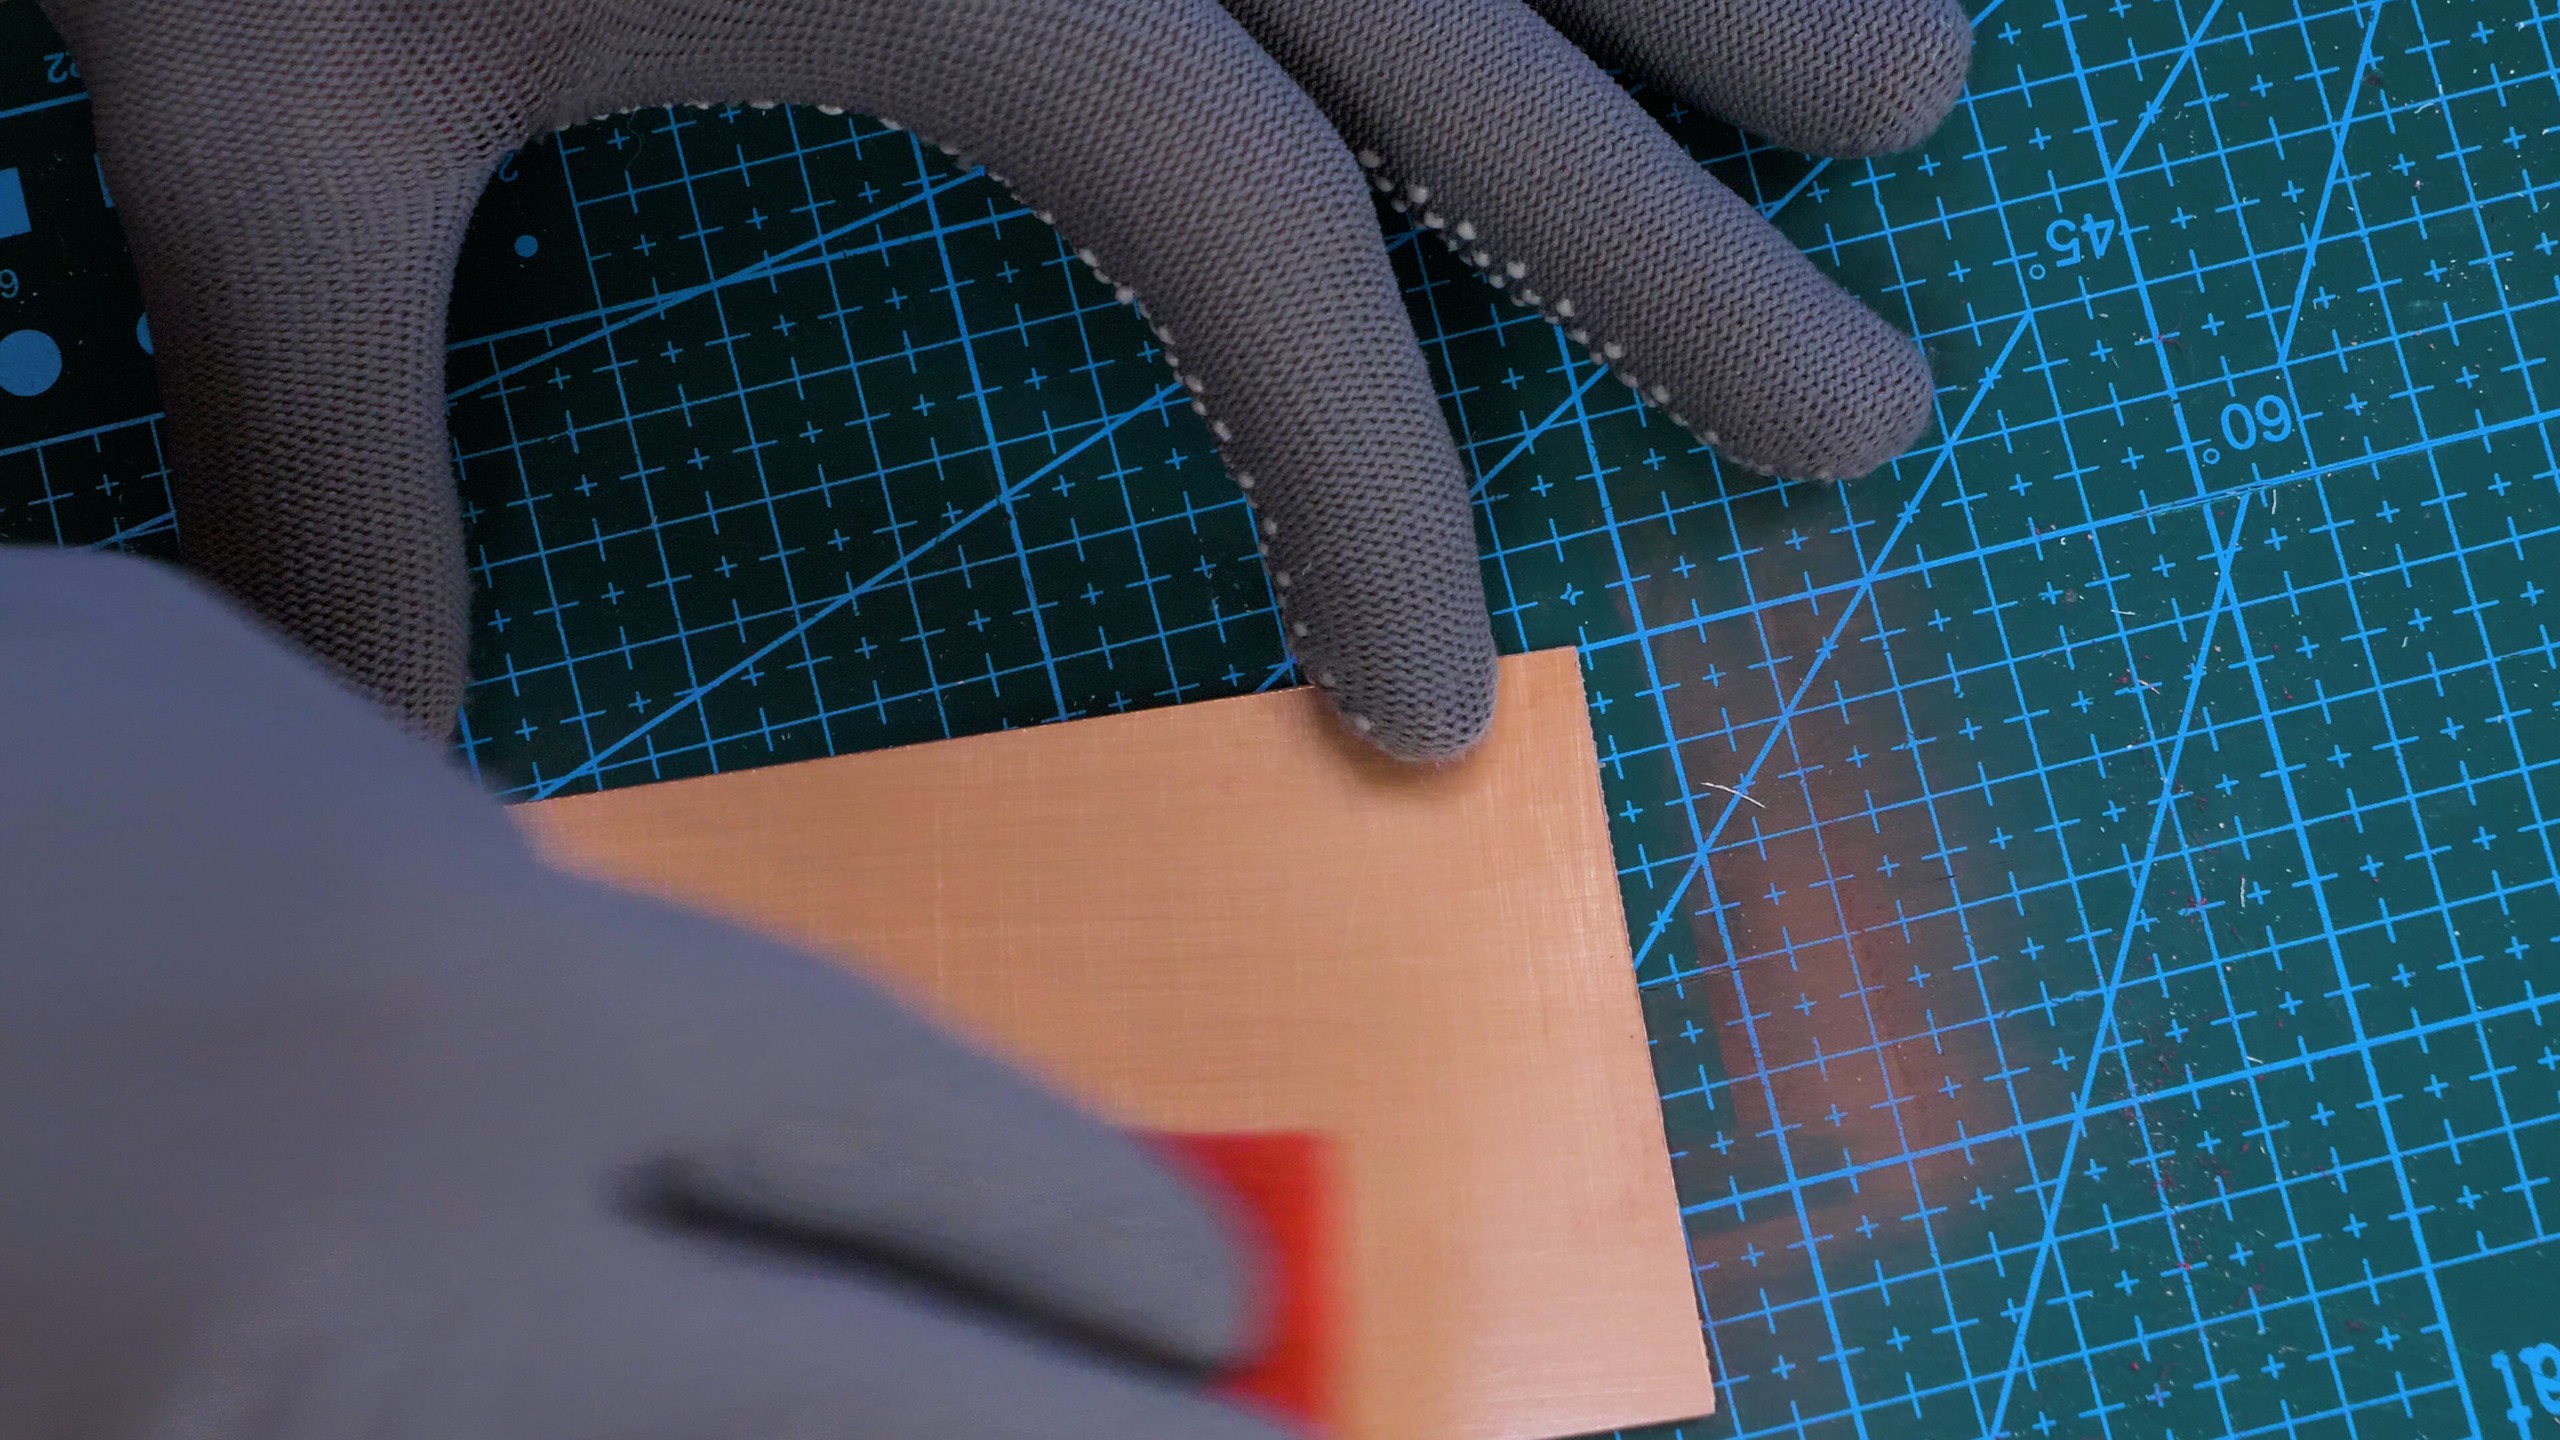
I'd like to show how to prepare a PCB with 3D printed stencil and UV soldermask used as an etching mask. This process is pretty quick and doesn't require chemicals to develop the etching mask.
Pros:
- no chemicals besides the soldermask, isopropyl alcohol and etchant are required
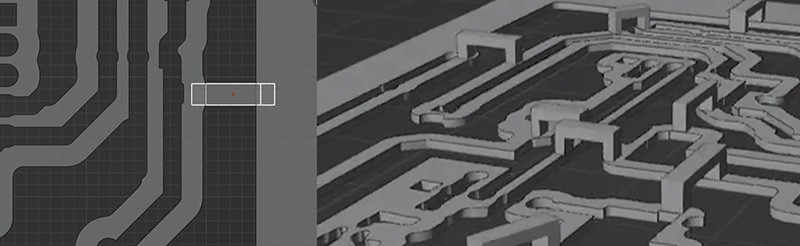
- the stencil completely blocks UV, making it hard to overexpose the board; it also completly passes the UV in uncovered areas, making the exposure faster than with a plastic film
- the stencil is reusable
Cons:
- not suitable for fine-pitch components
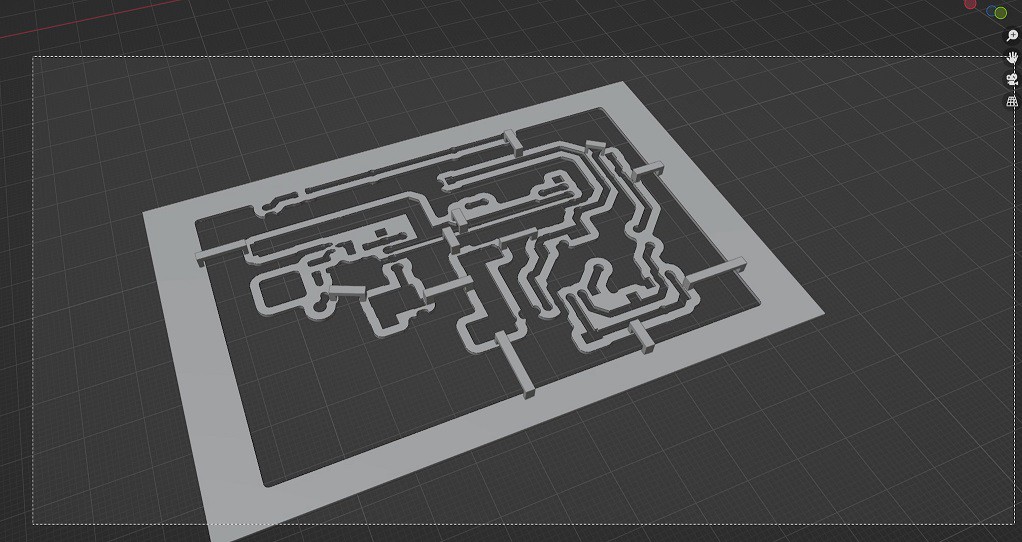
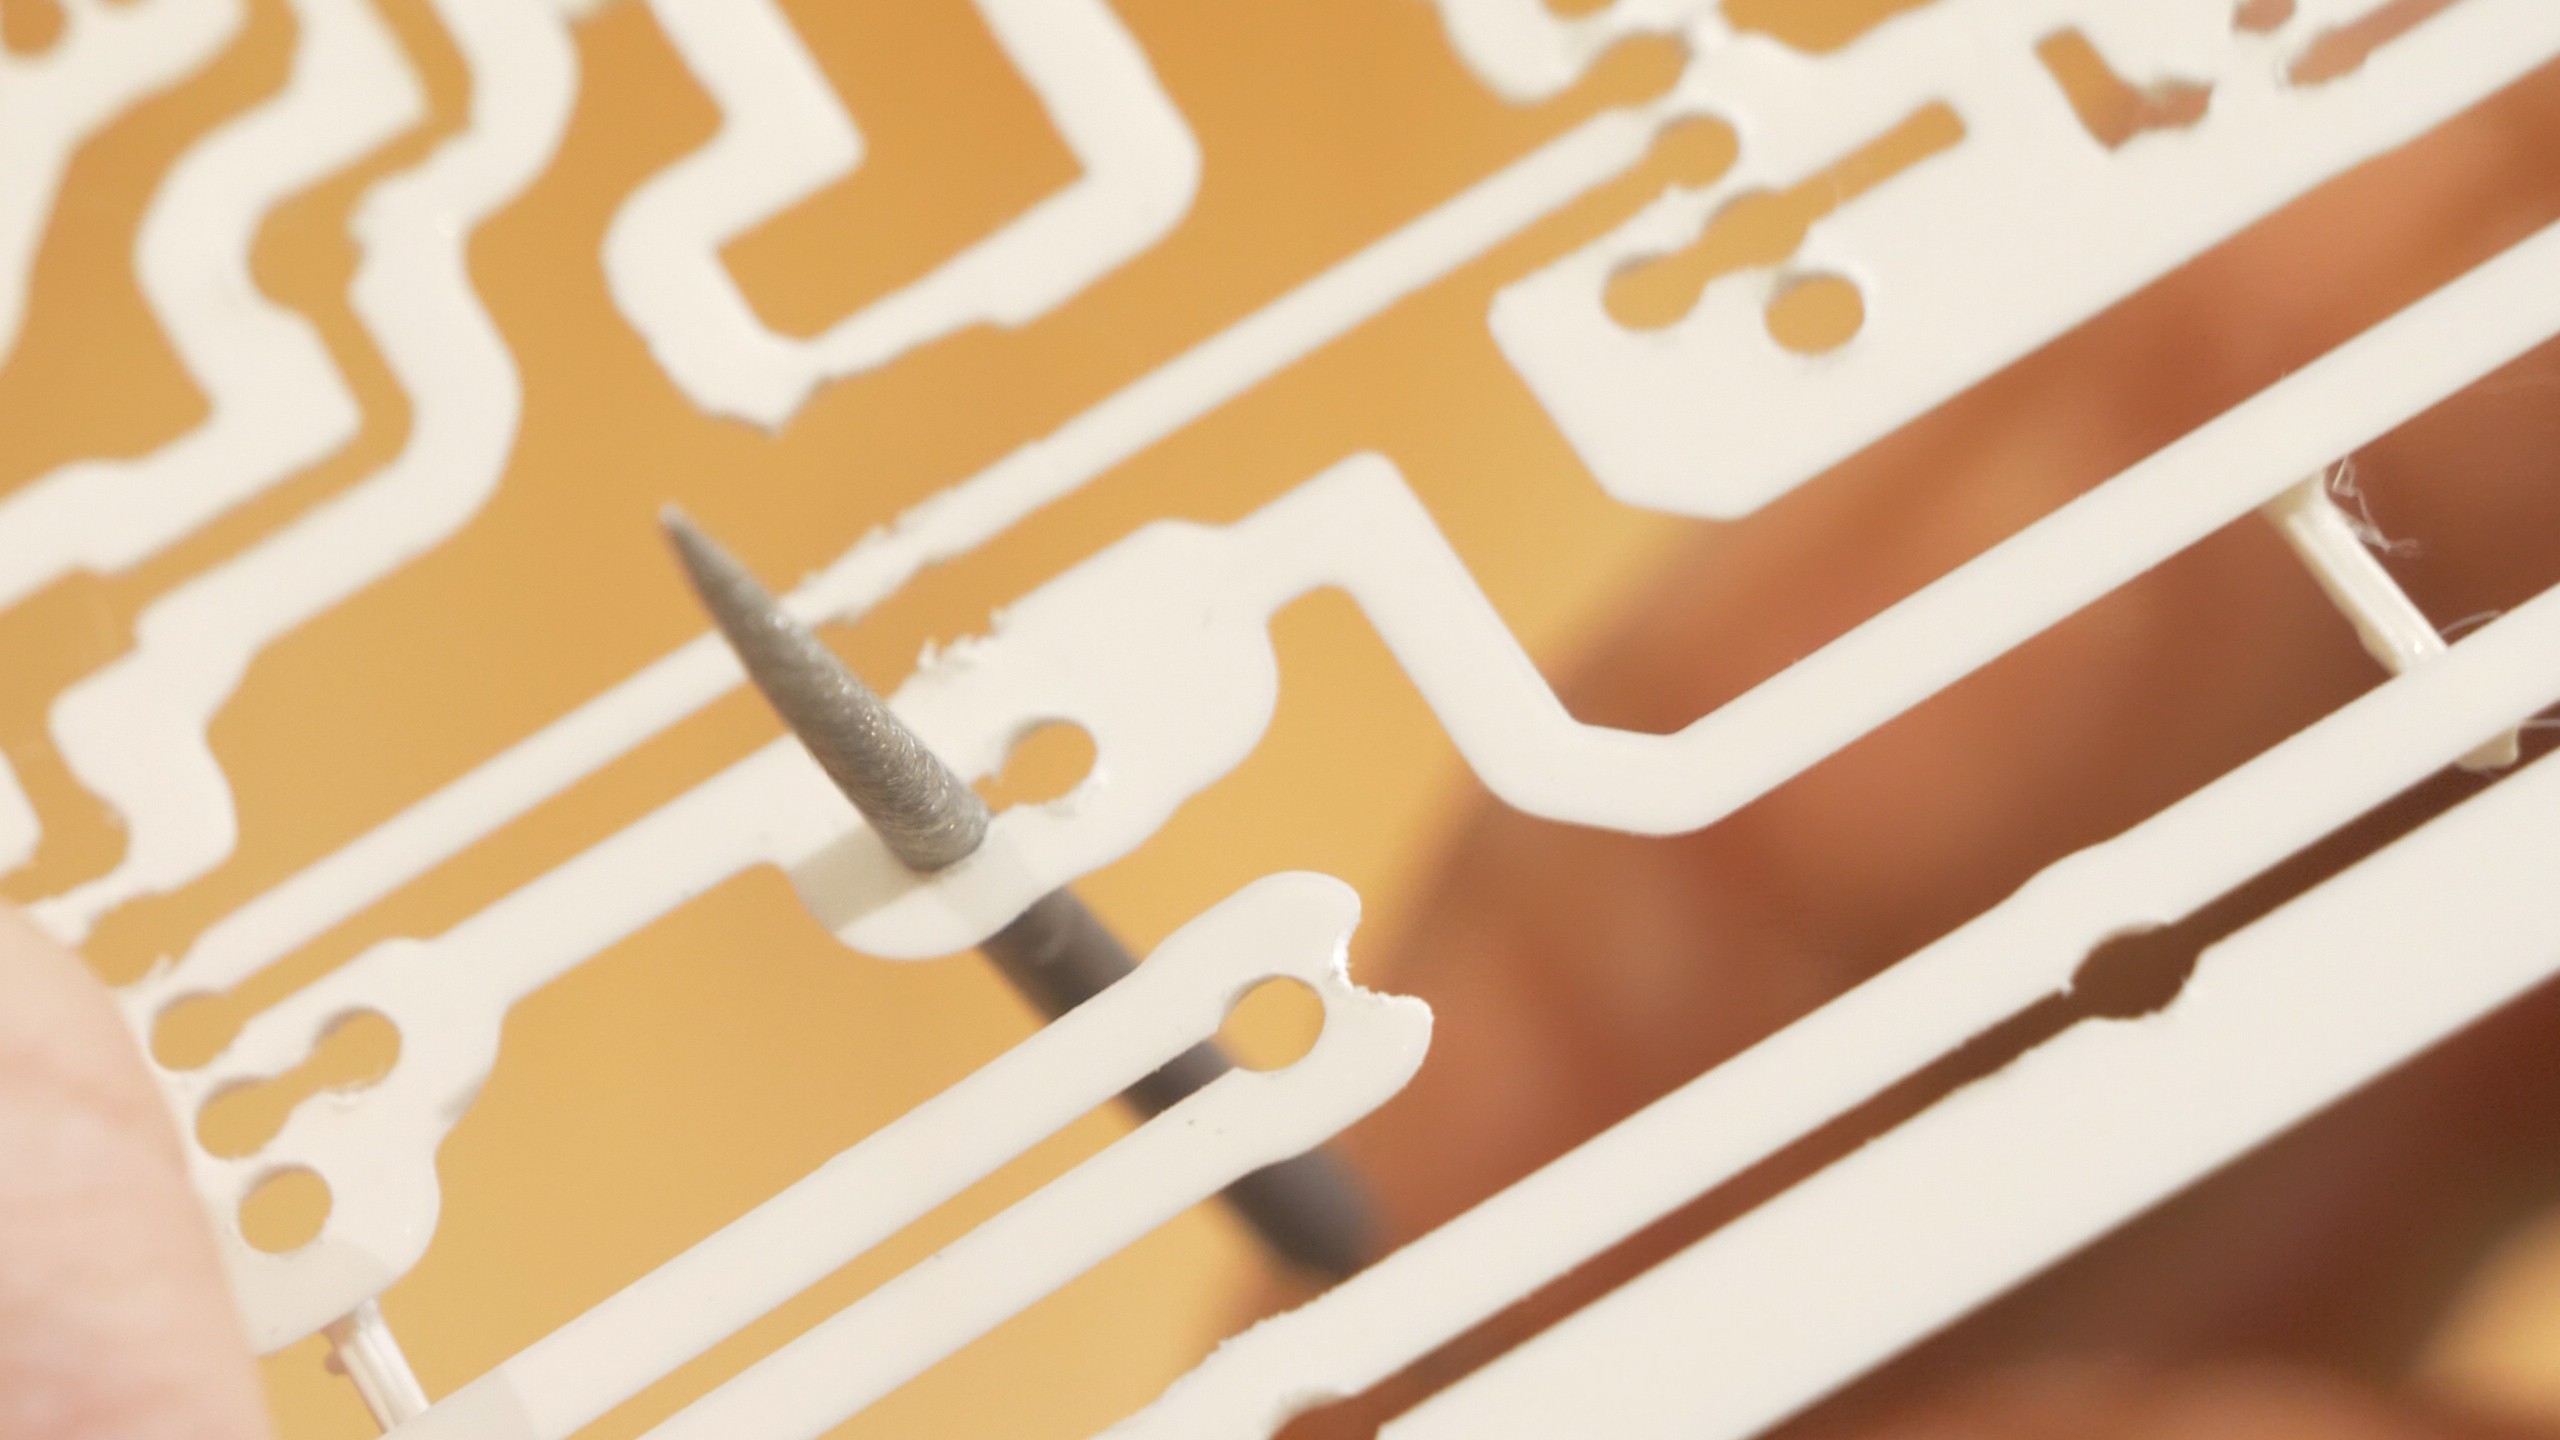
- requires adding "bridges" to the stencil to keep it from falling apart
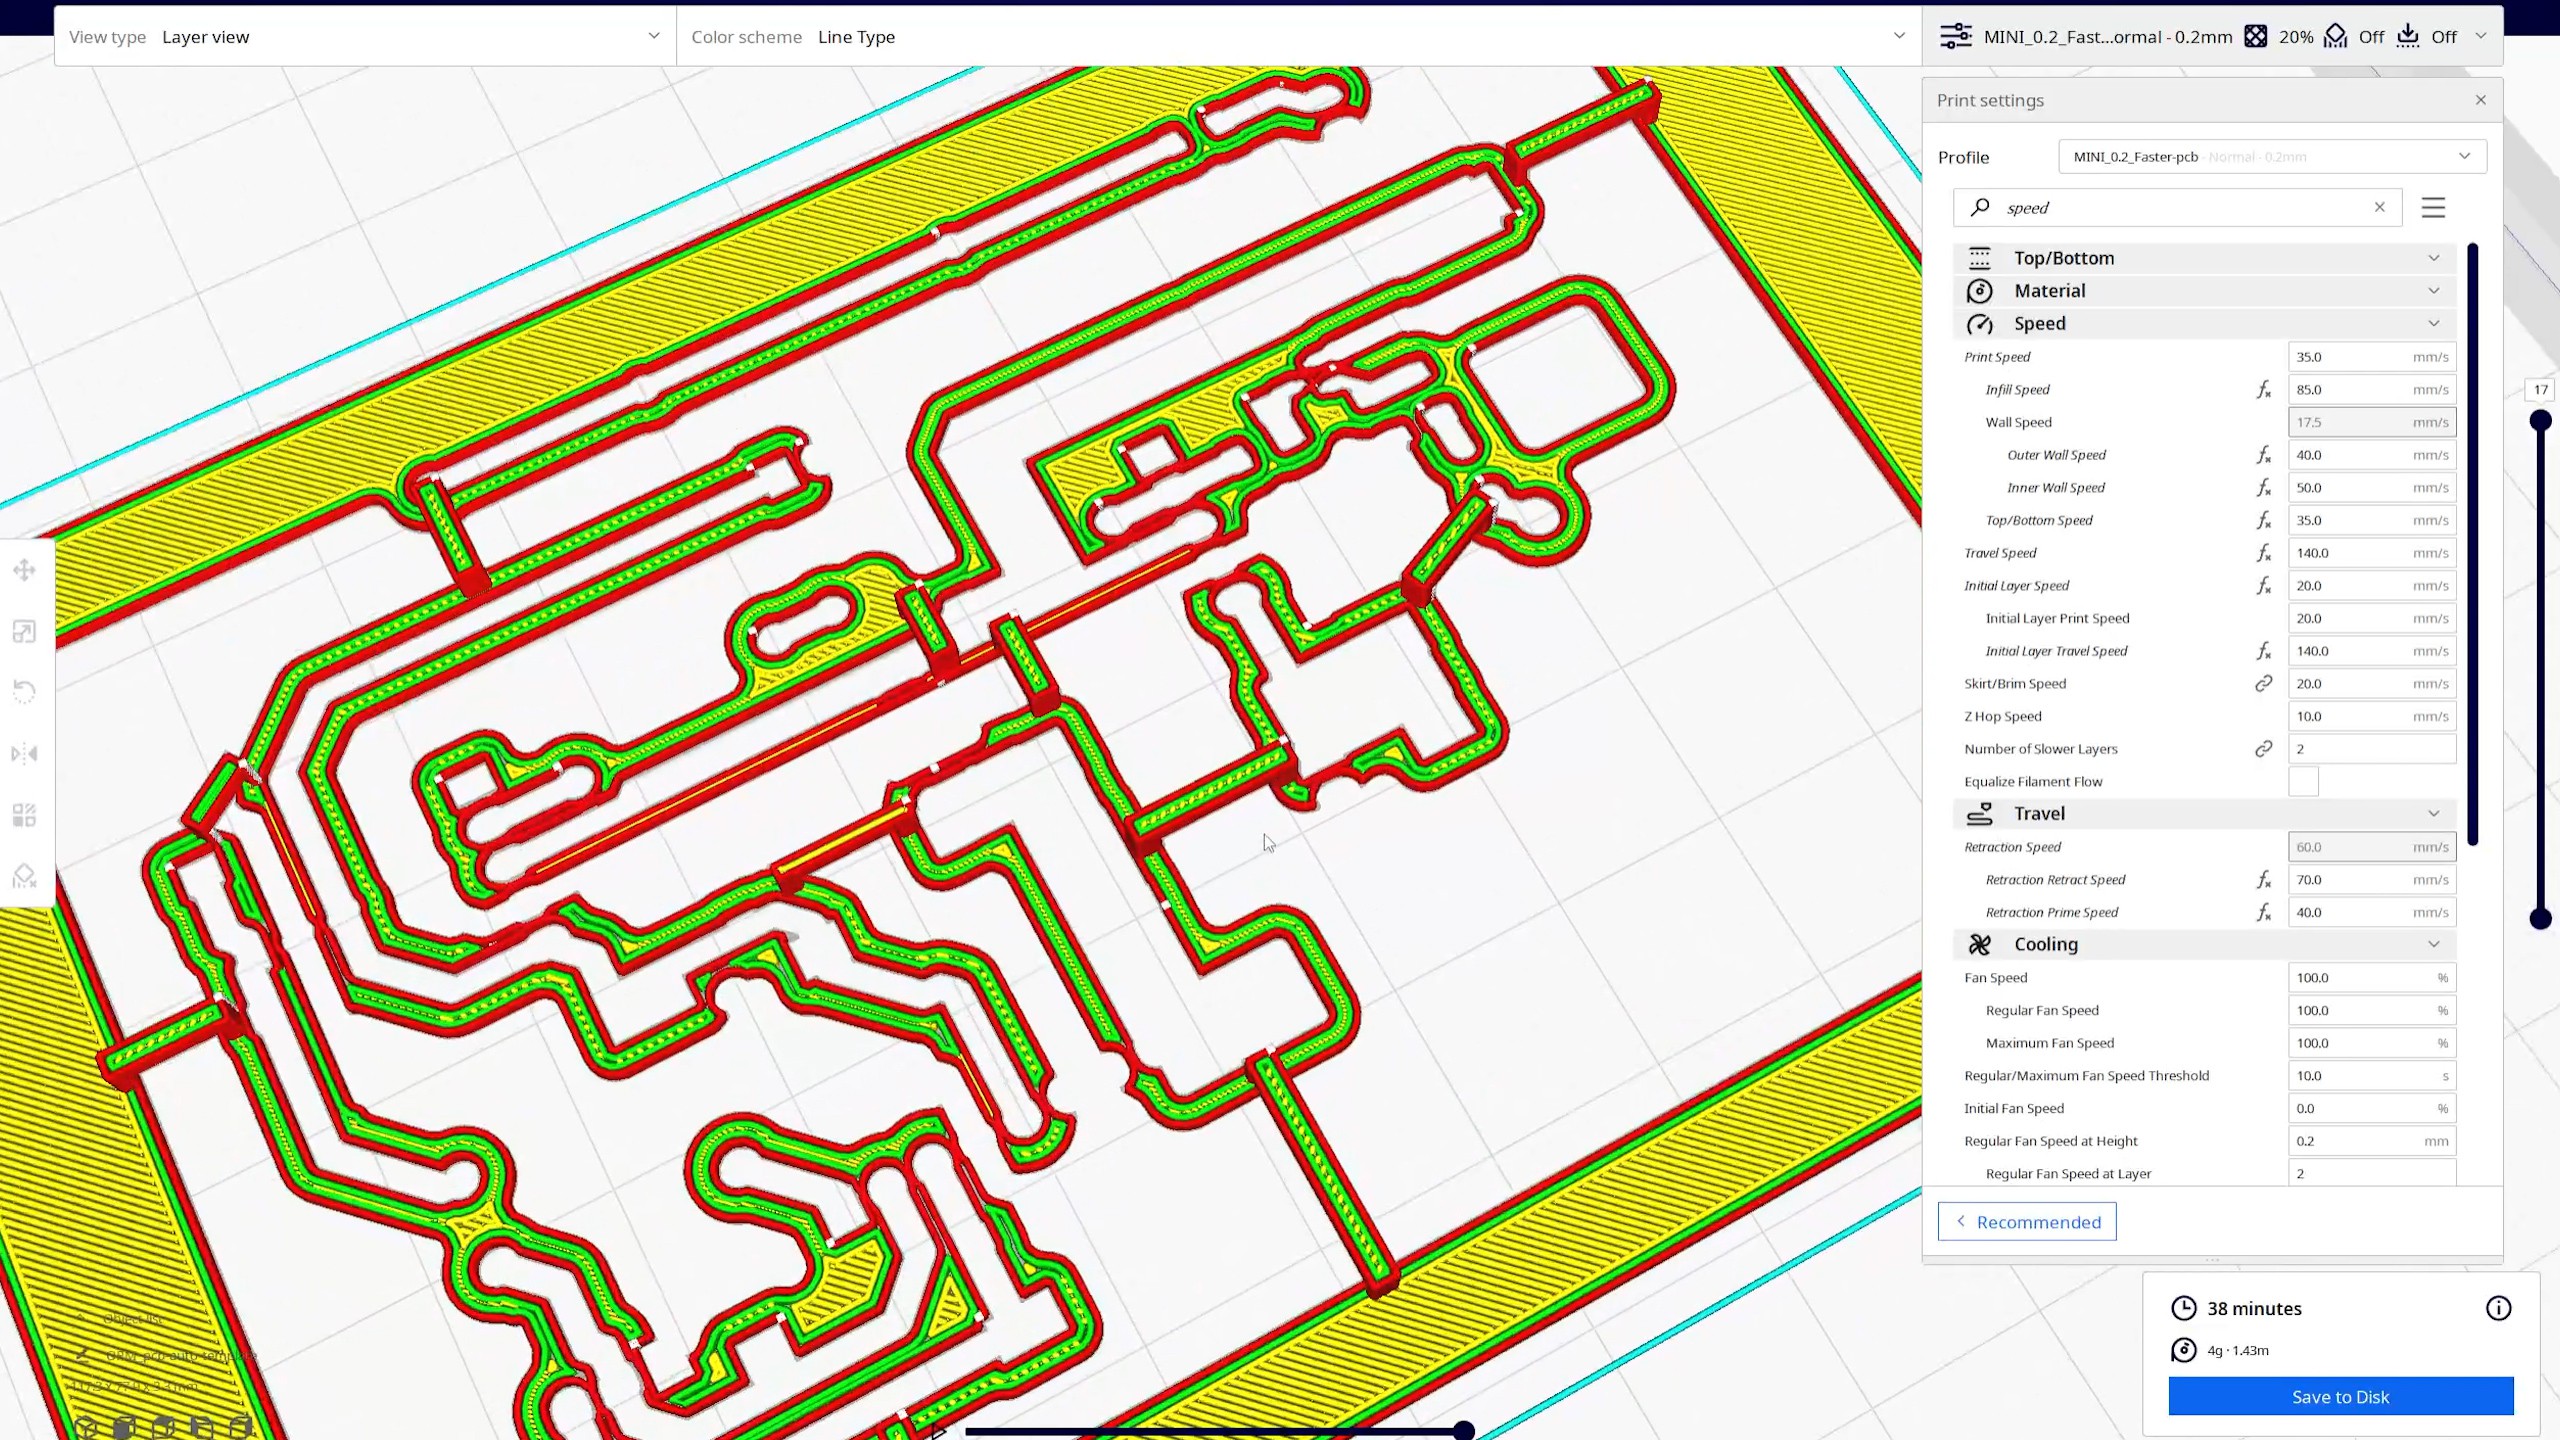
I created a step-by-step guide in this video:

 Joshua R. Taylor
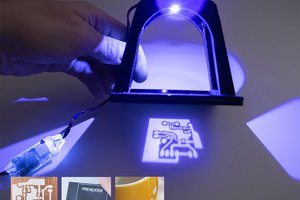
 Brian Brocken