 Nikolai Ovesen
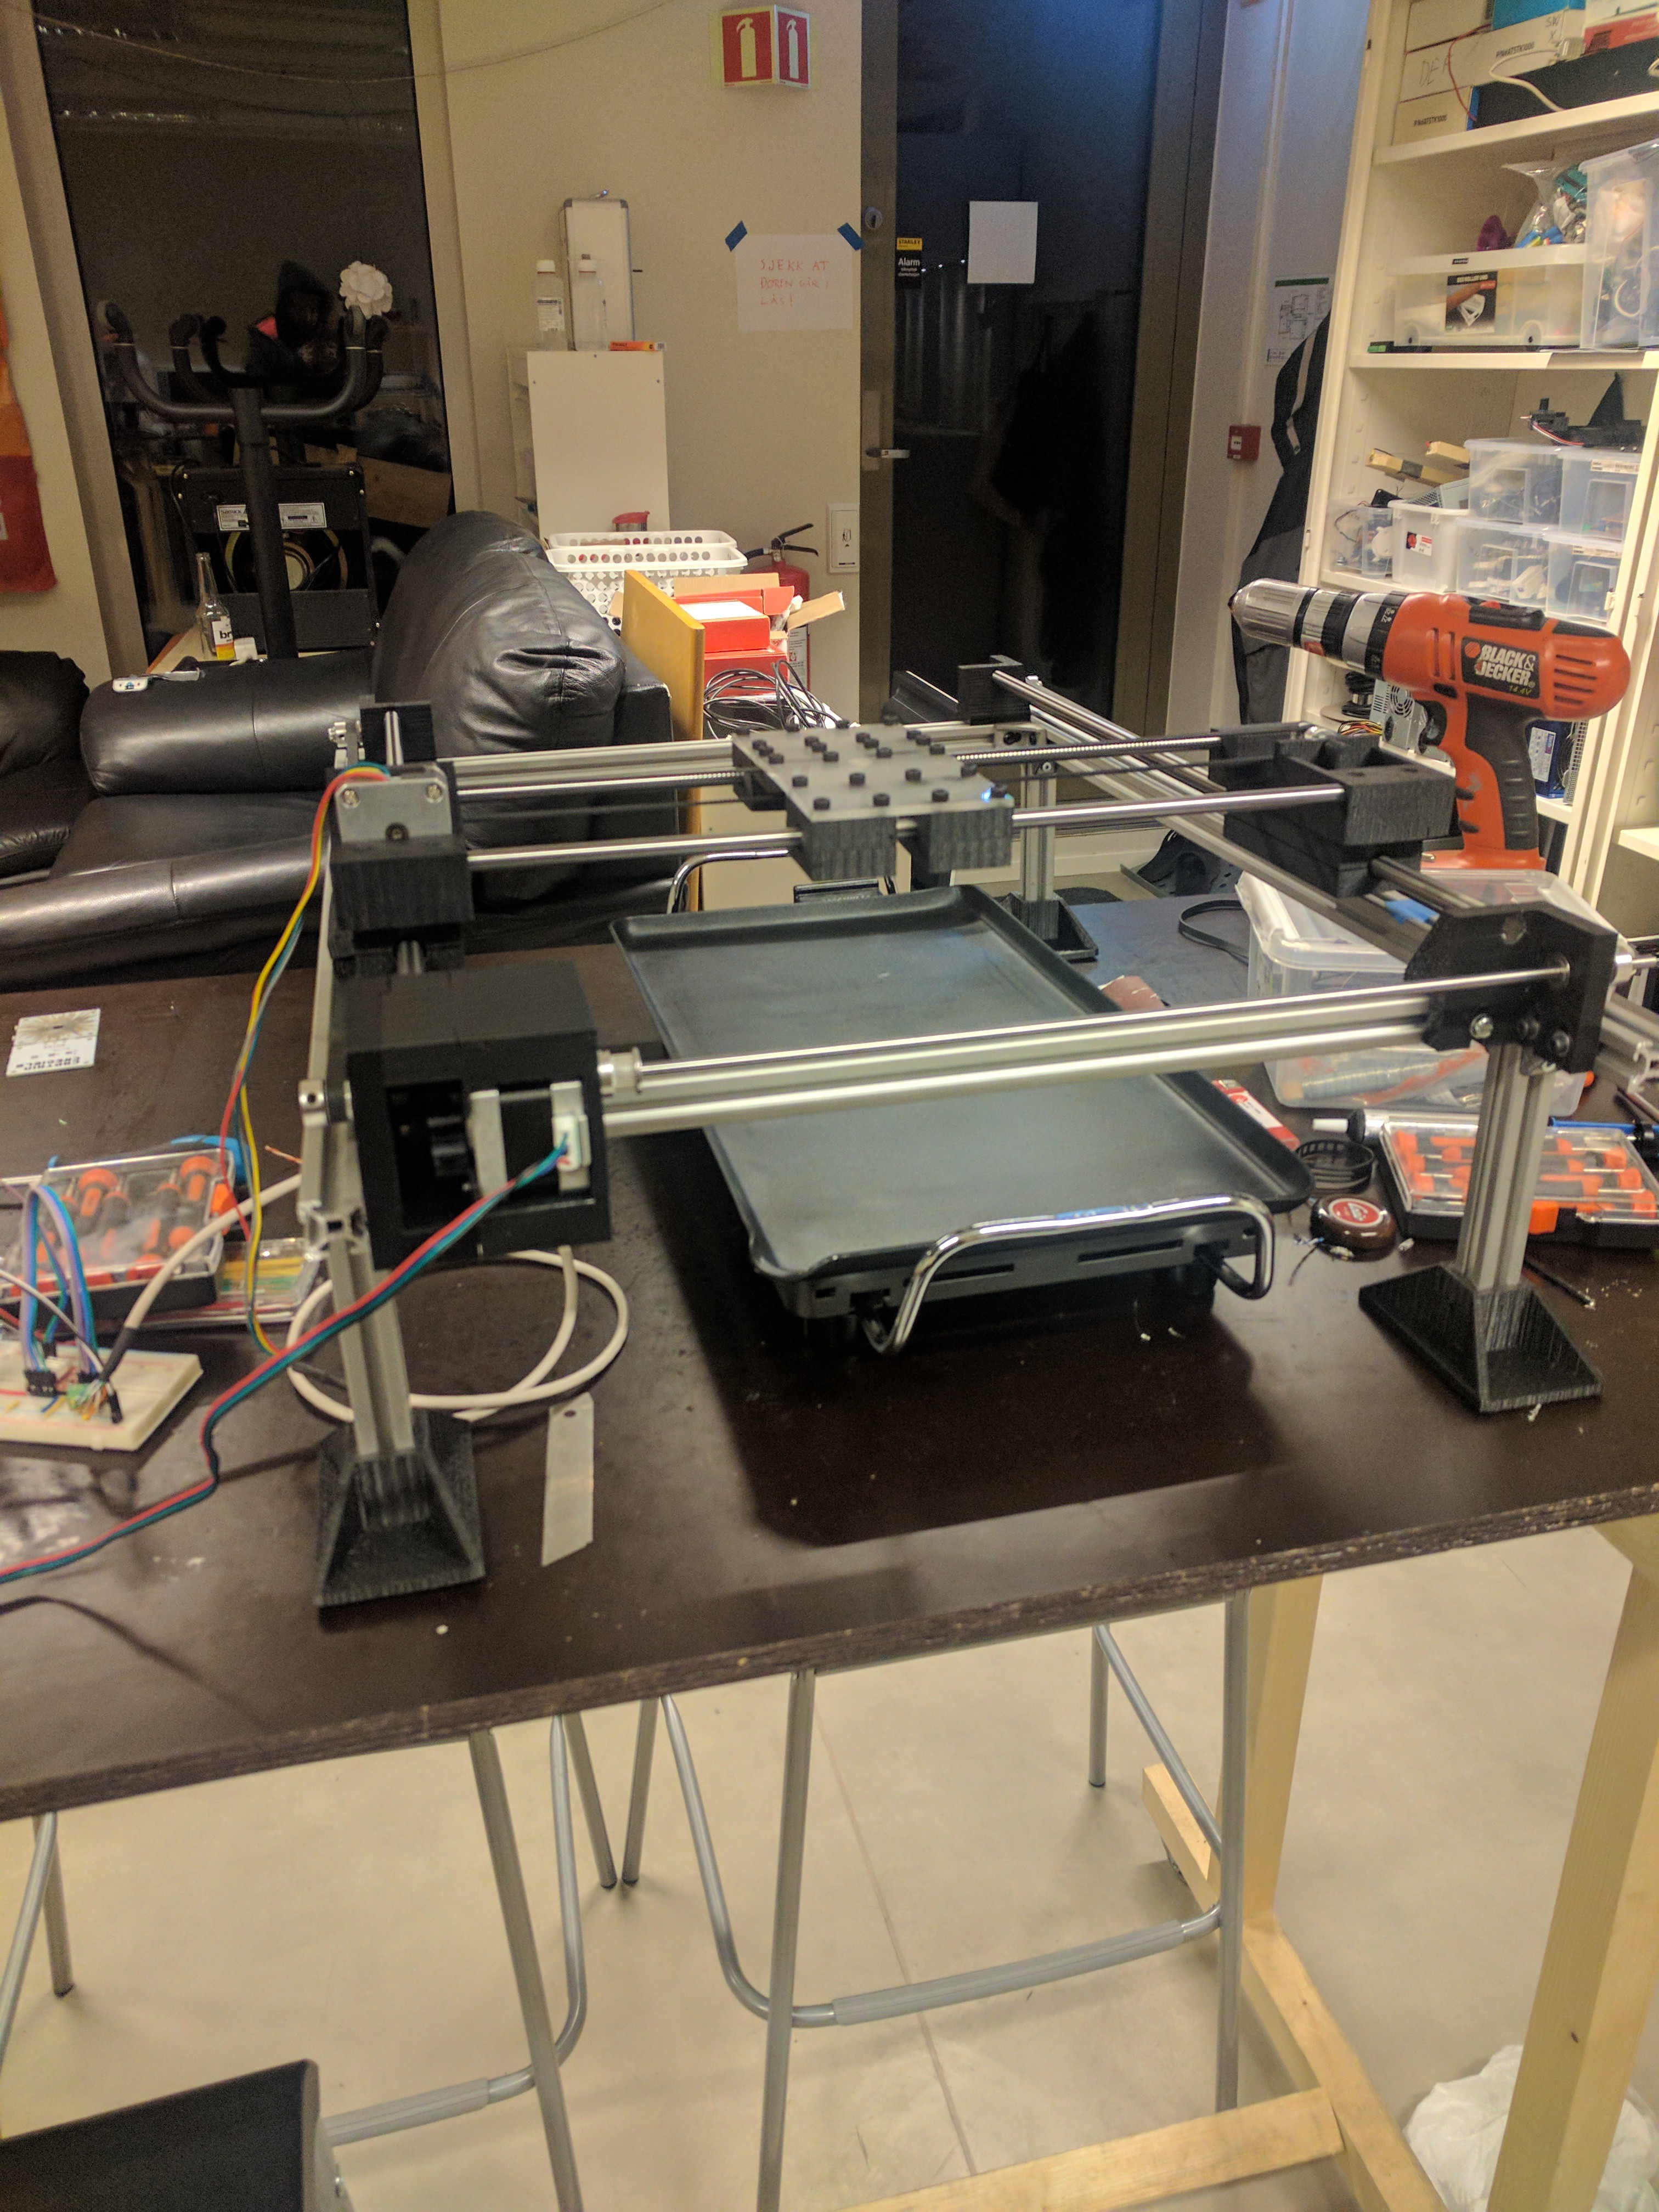
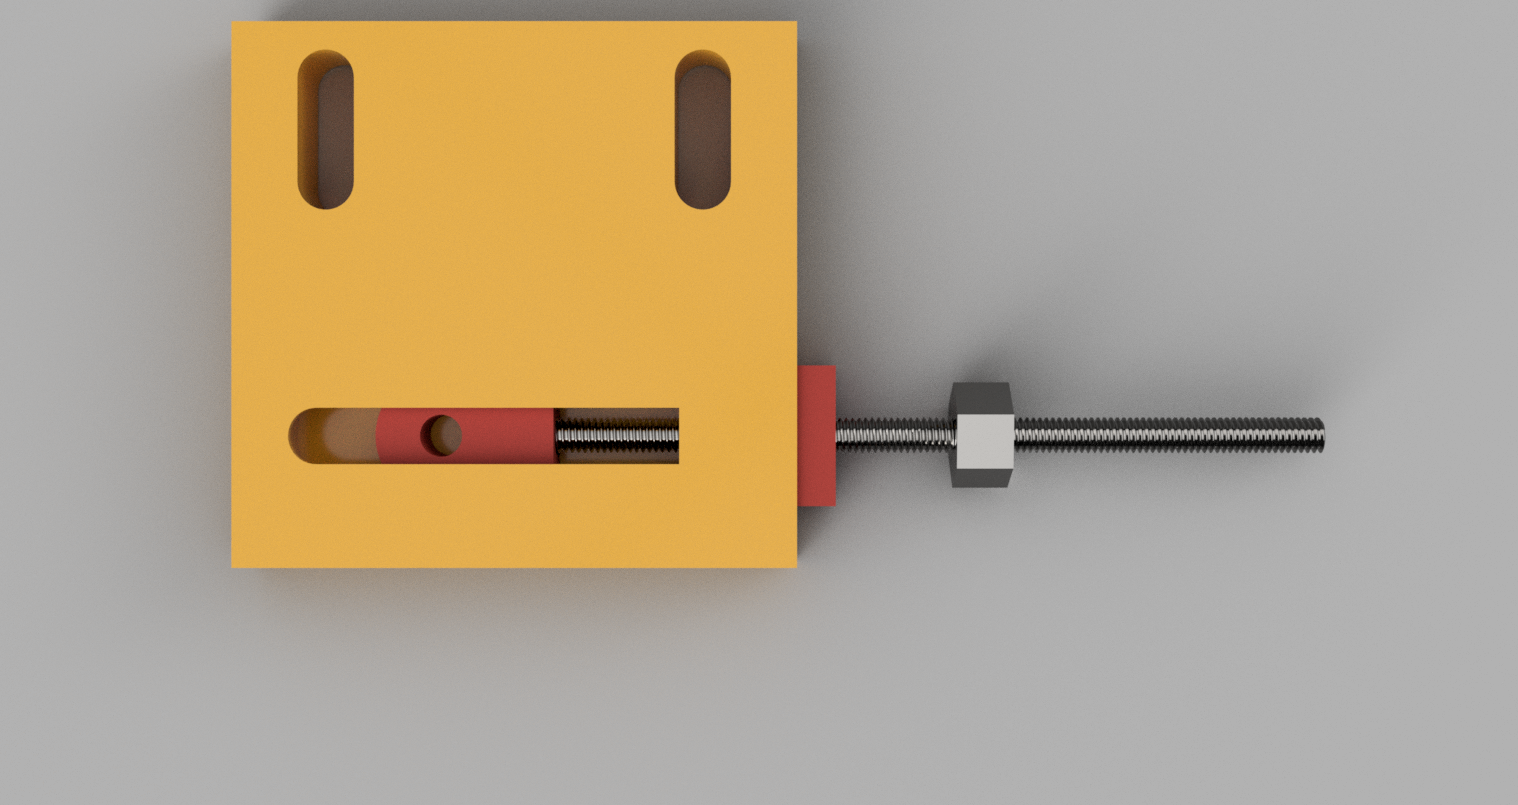
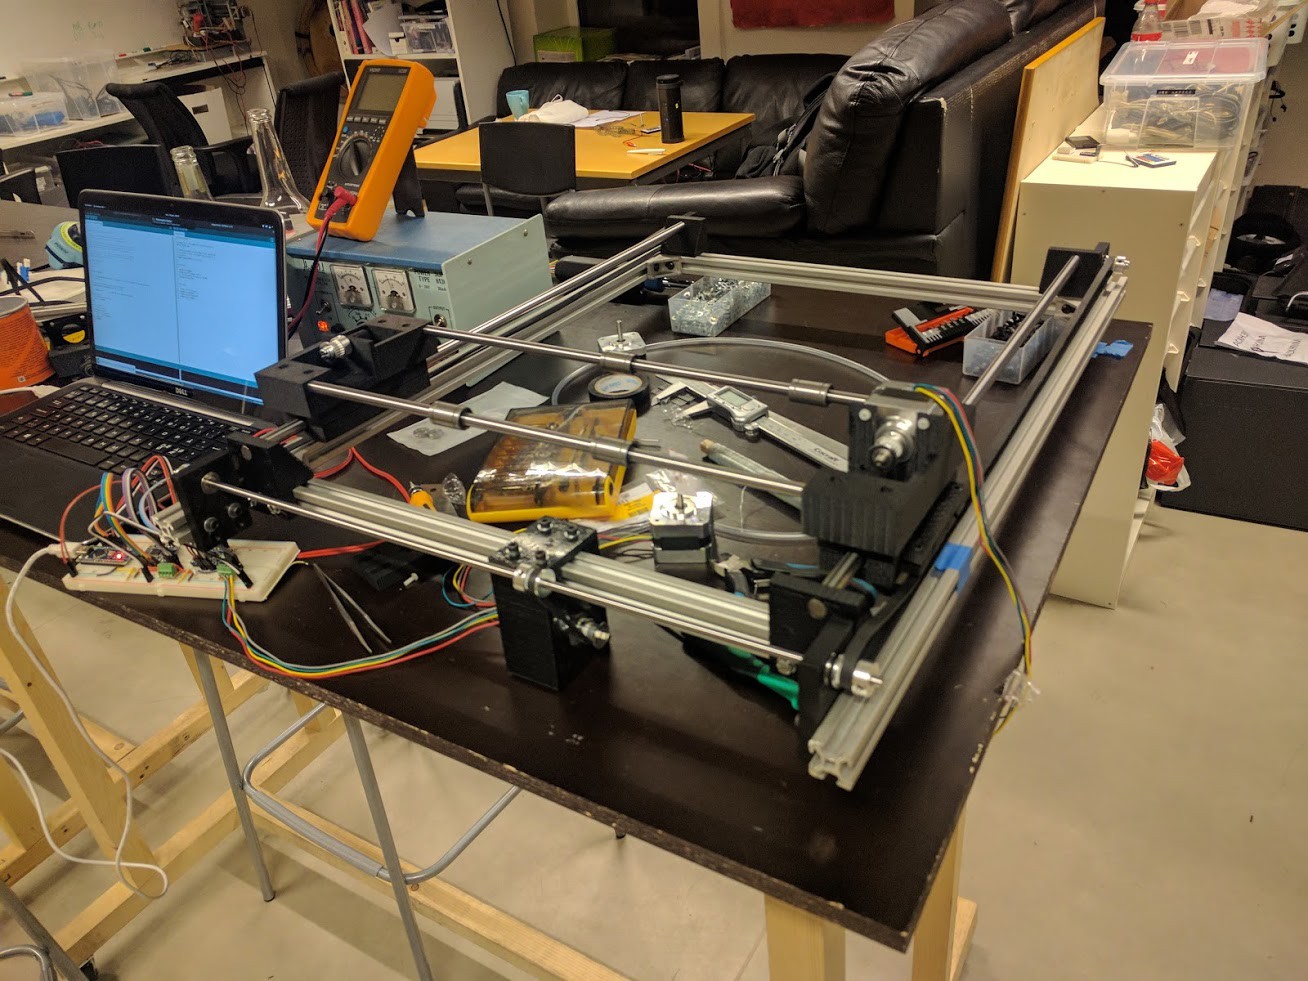
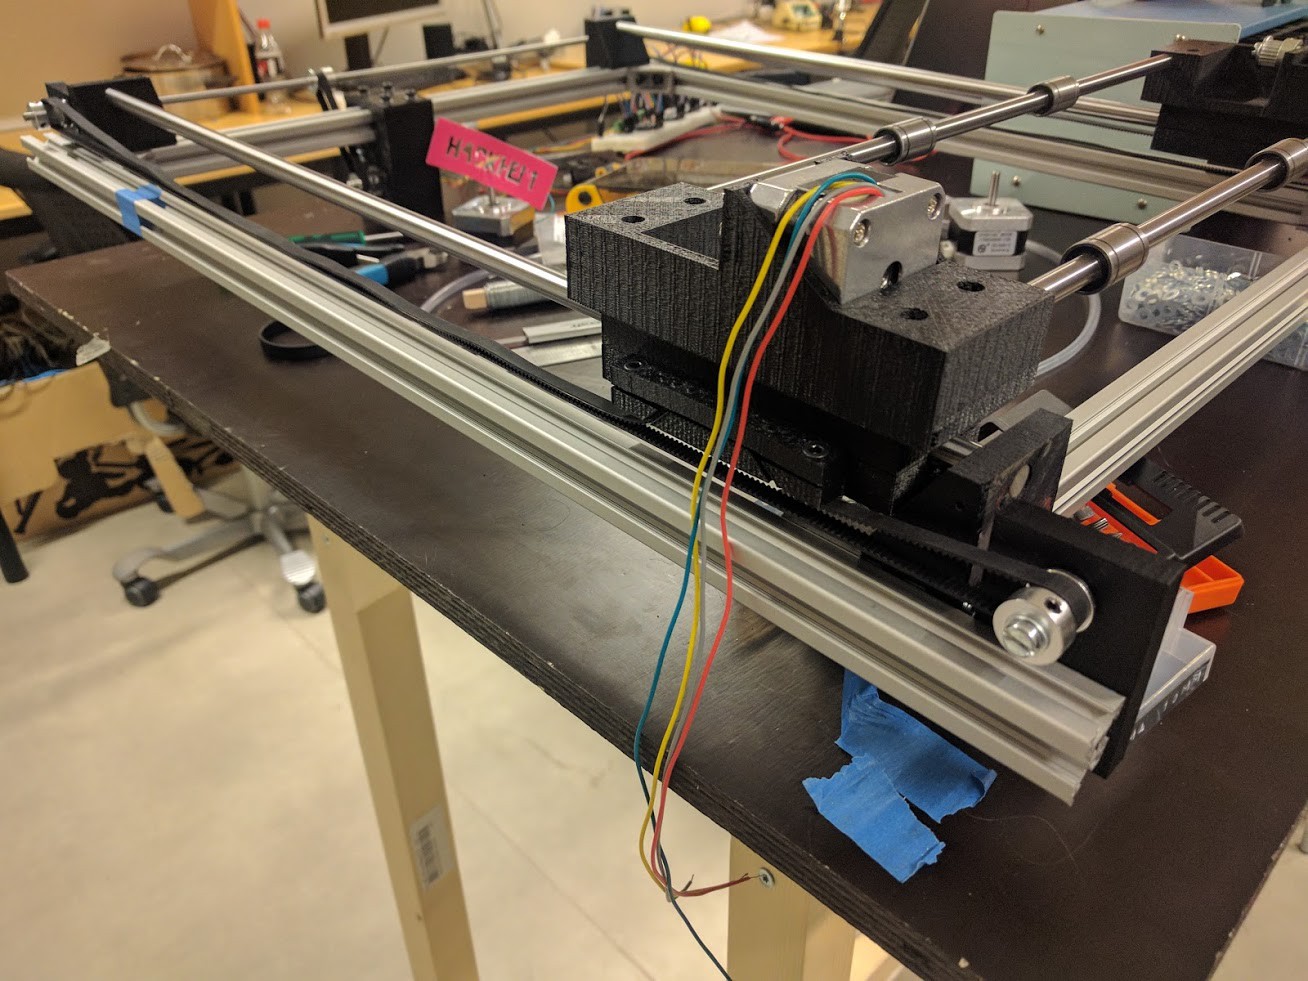
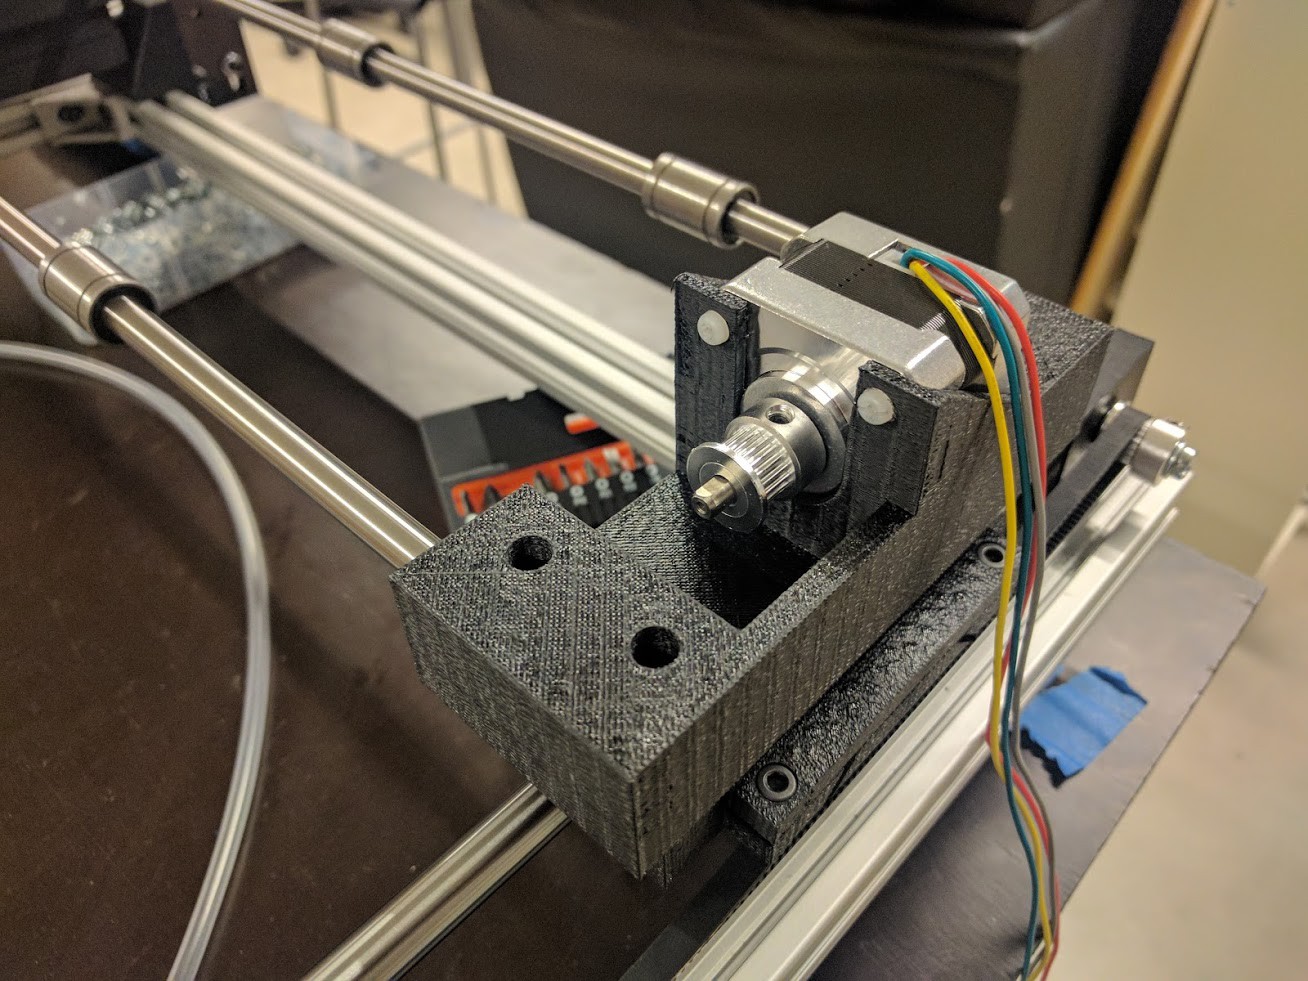
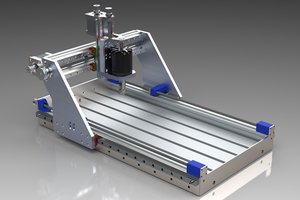
Alright: so what I am attempting to do is to build a two axis CNC that spits pancake batter onto a hot metal plate.
I'm diving into this project with minimal knowledge of this sort of stuff from before, I have pretty much no experience building similar things, I''ve tinkered and worked a fair bit on the 3d printers at the hackerspace I hang out at (hackheim) but thats about it.
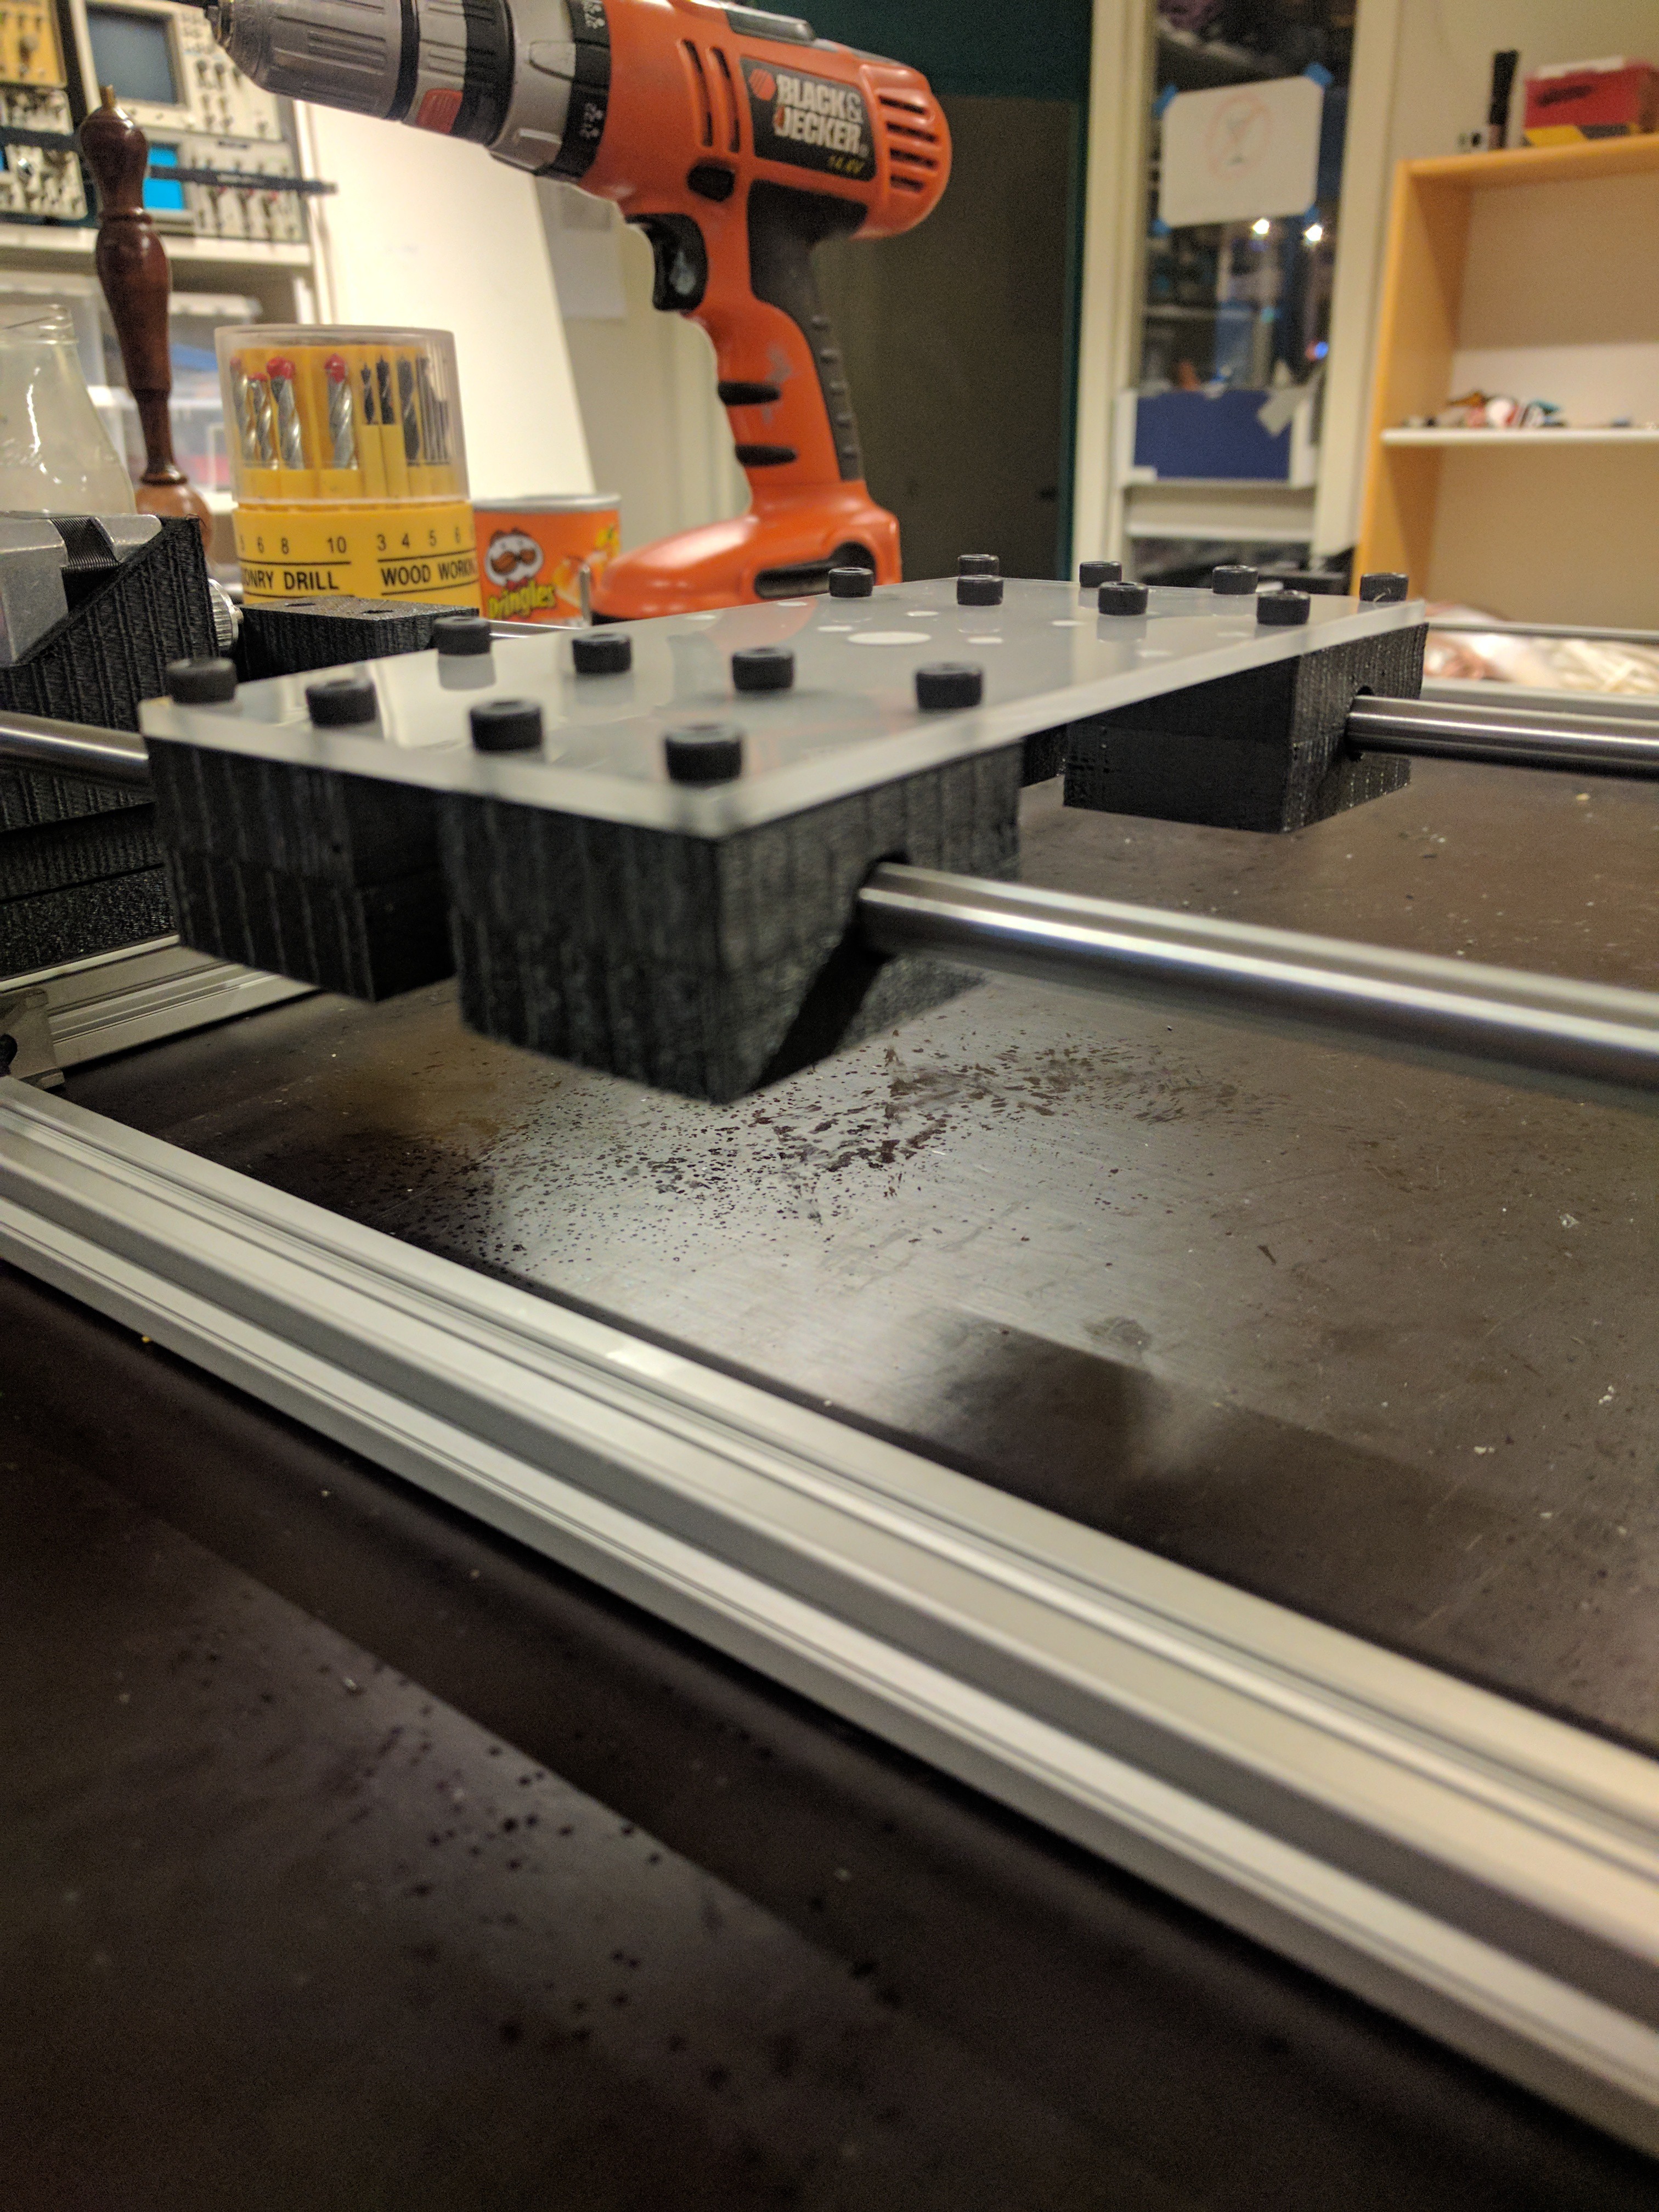
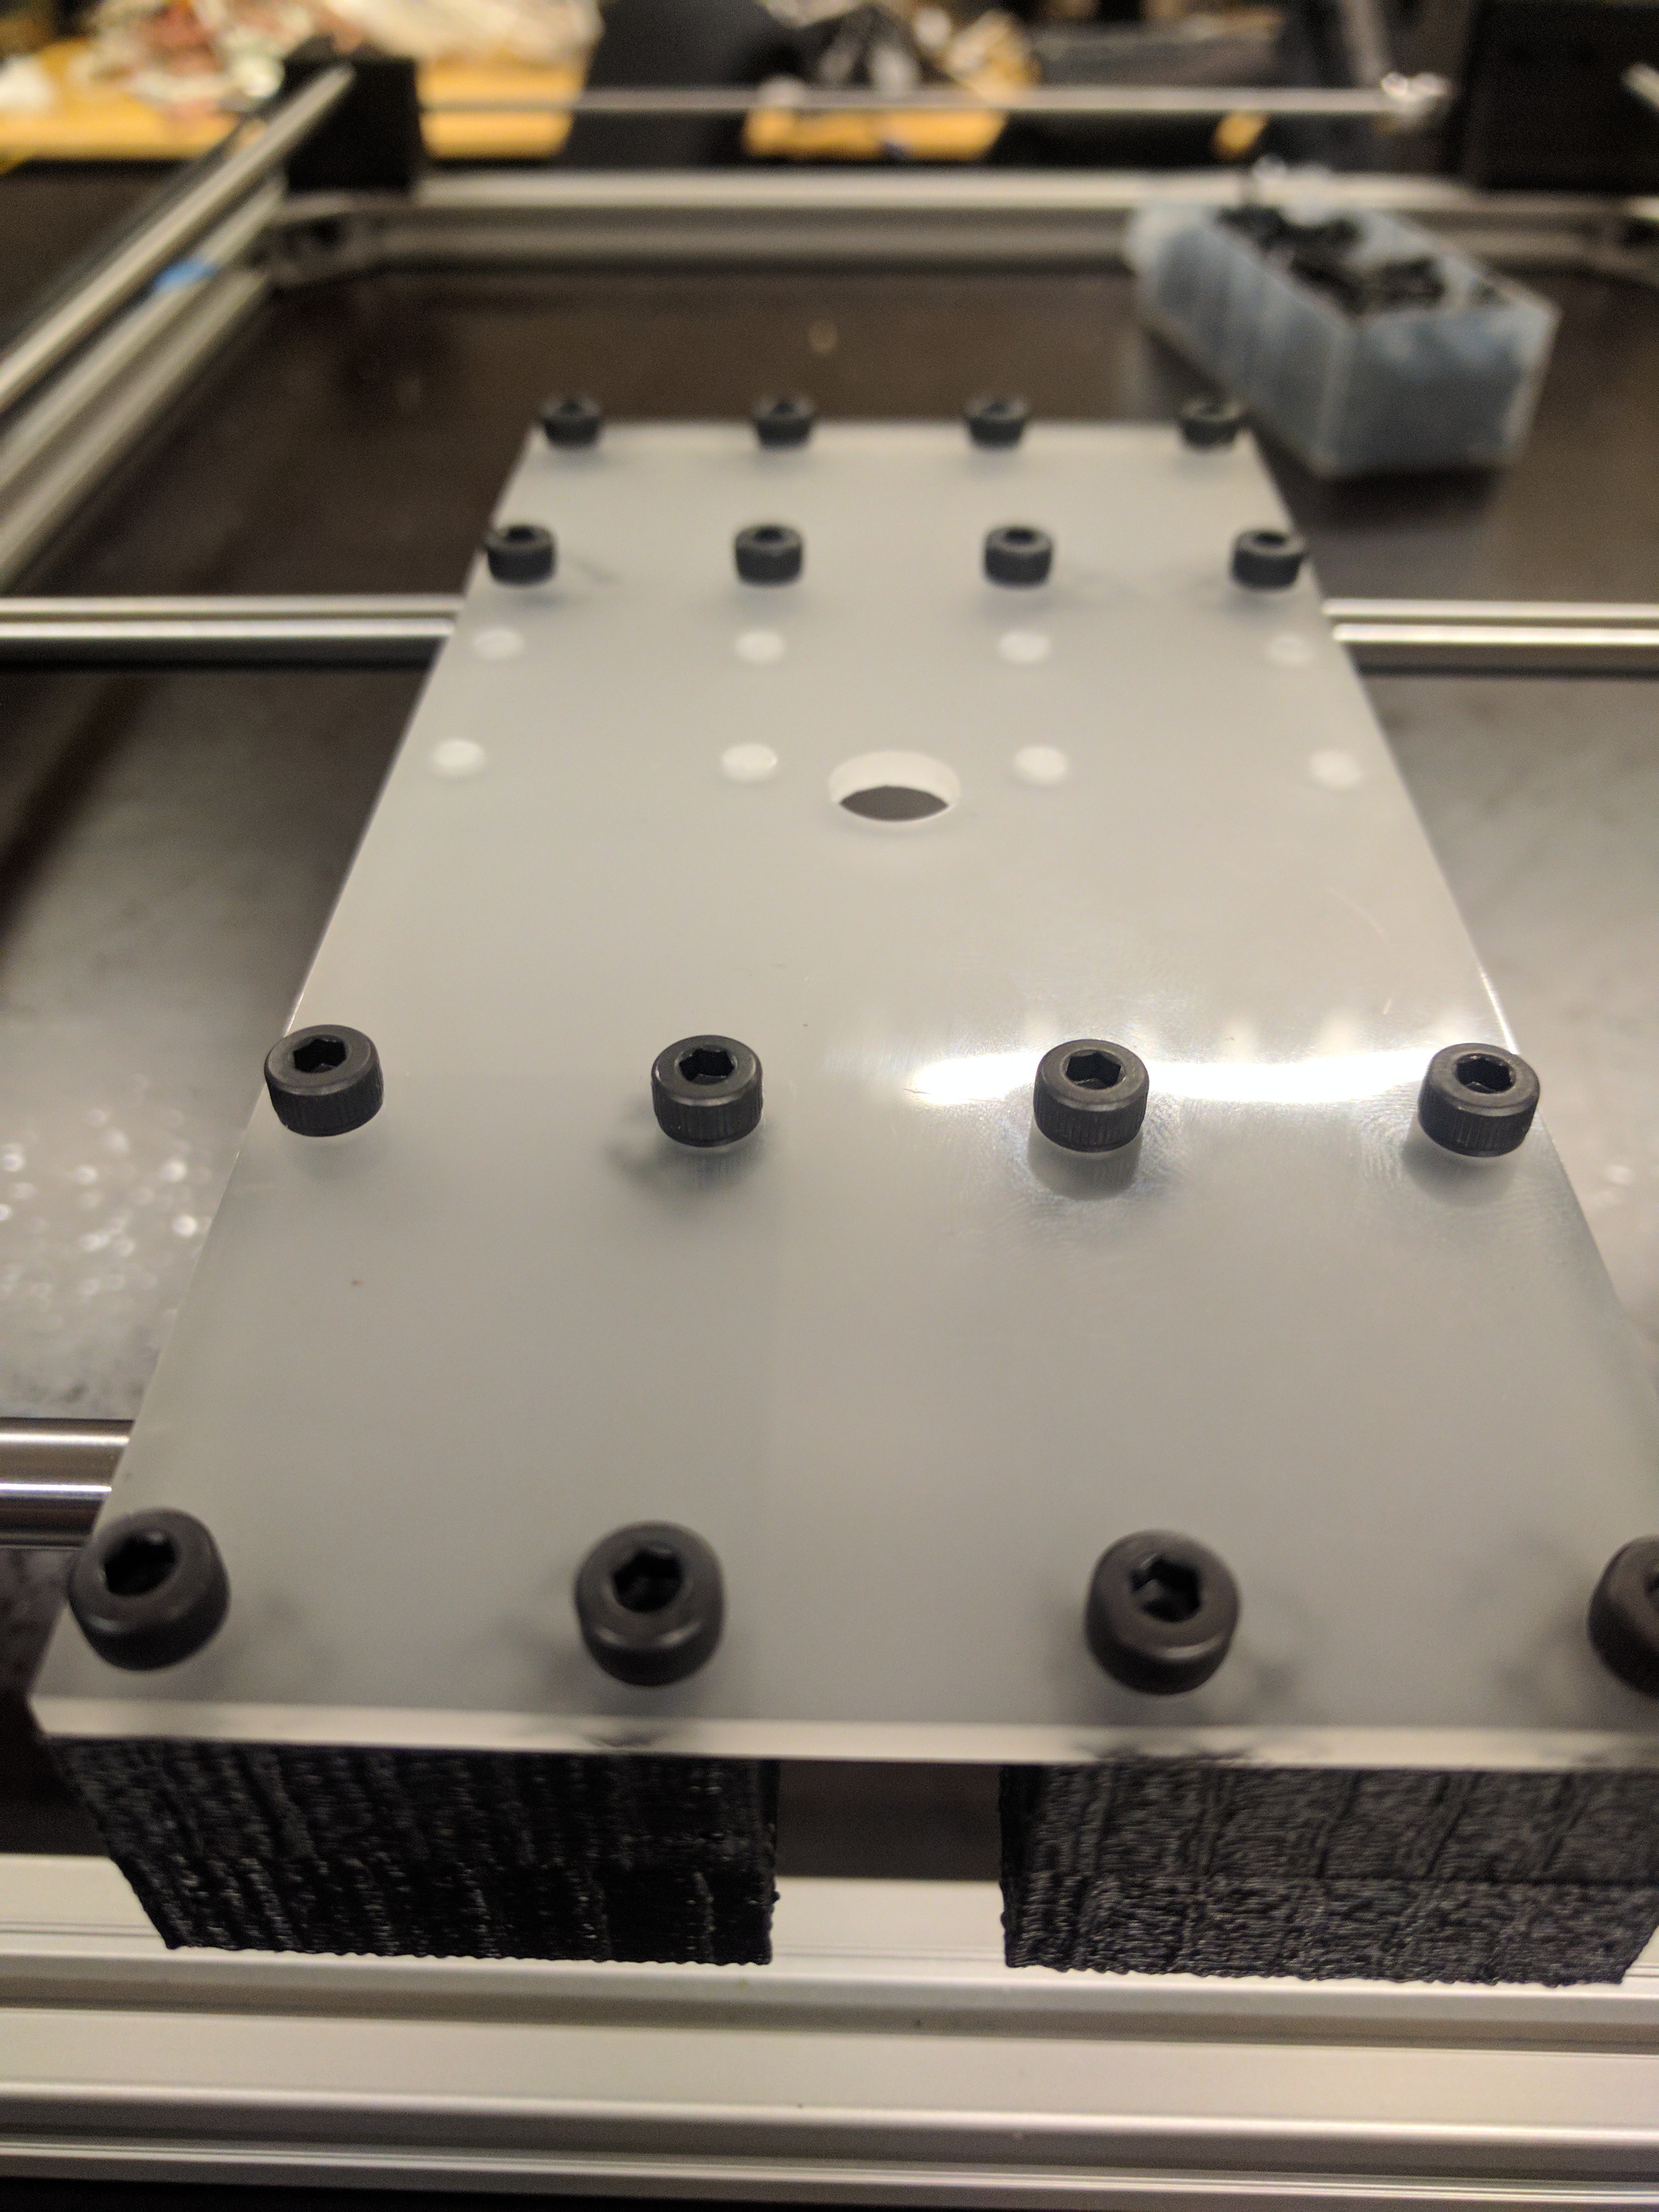
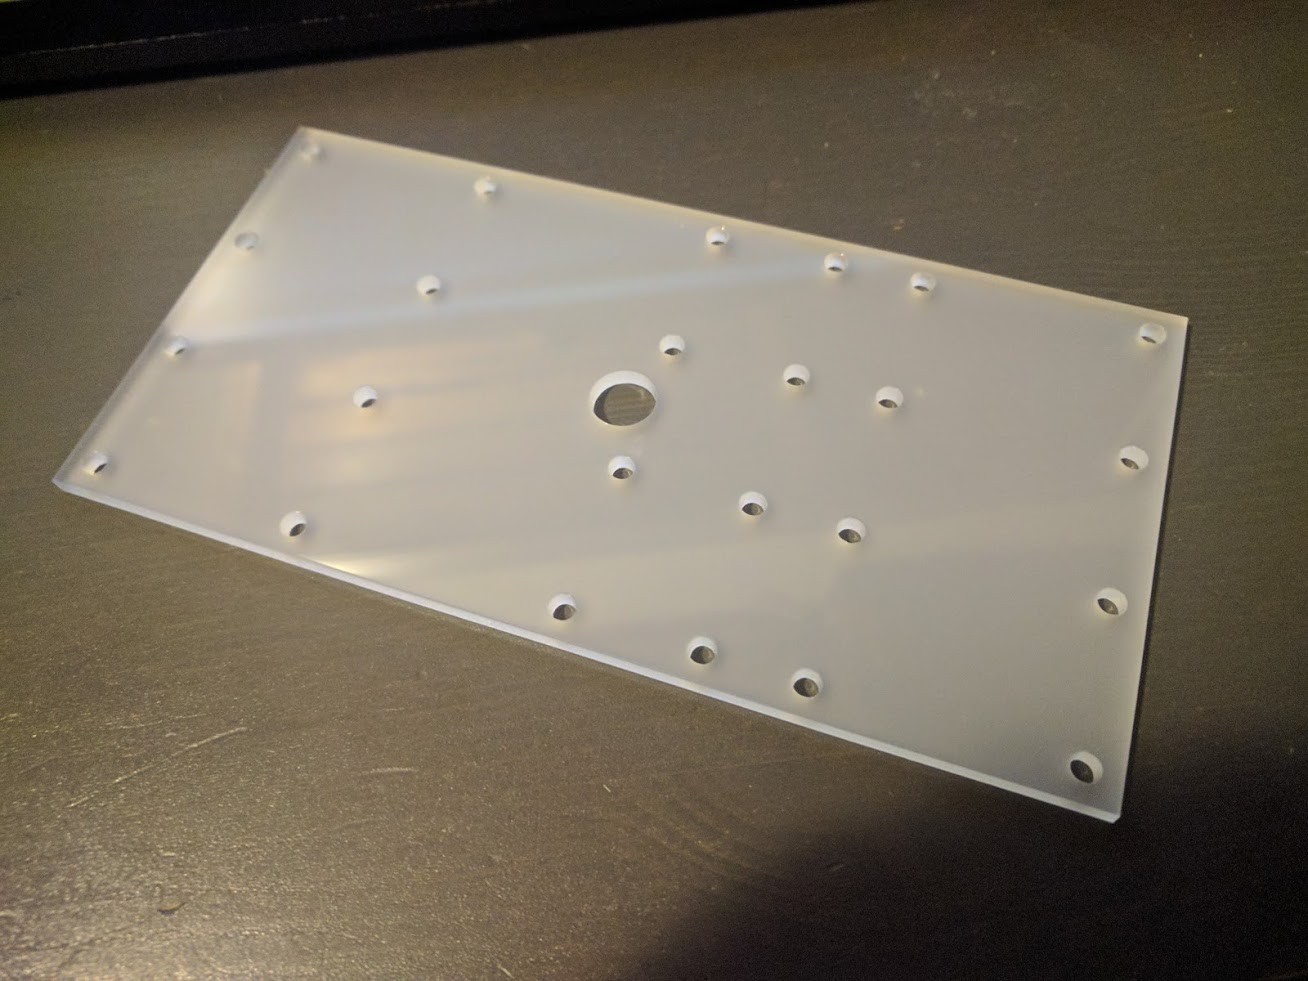
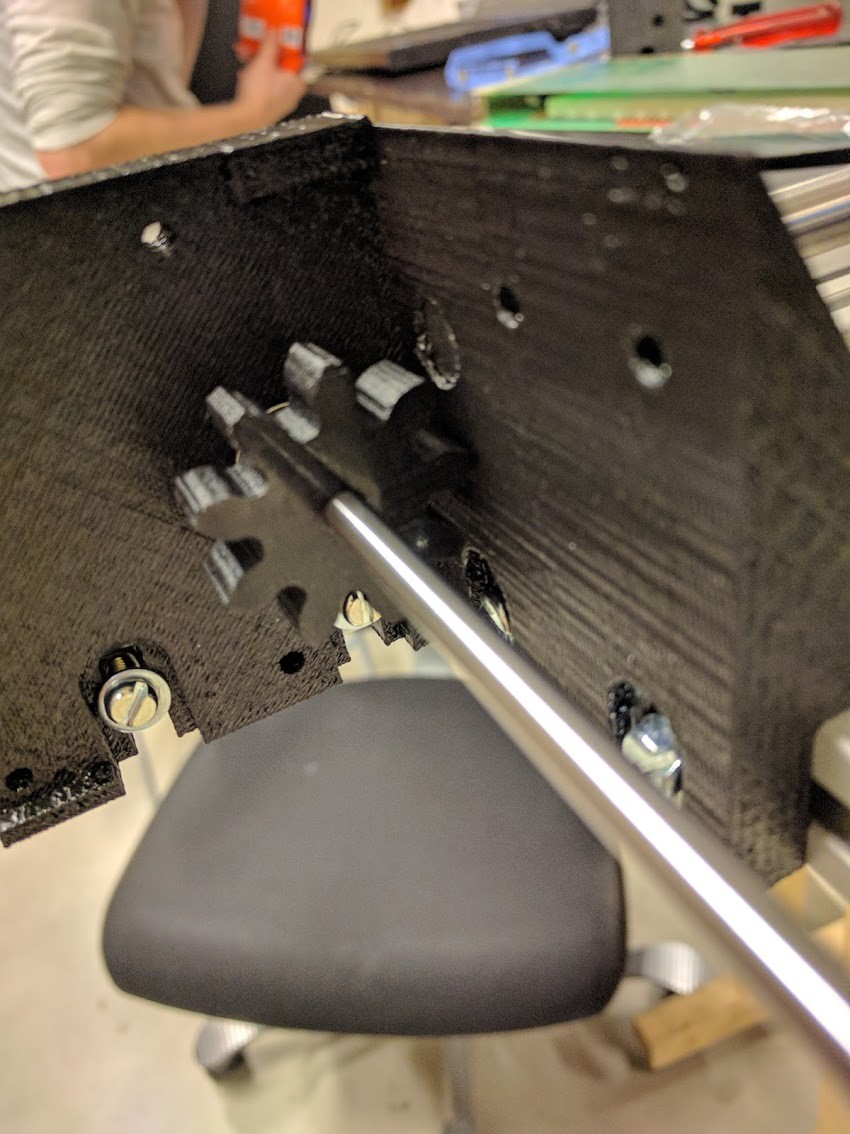
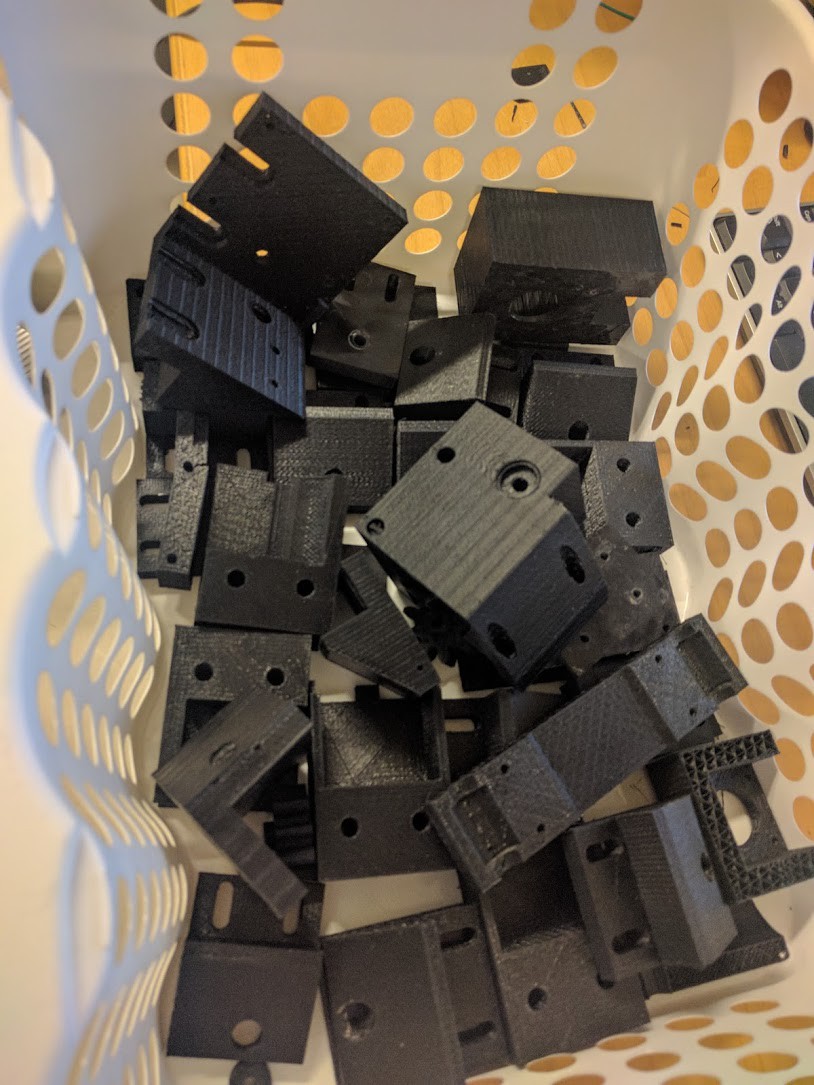
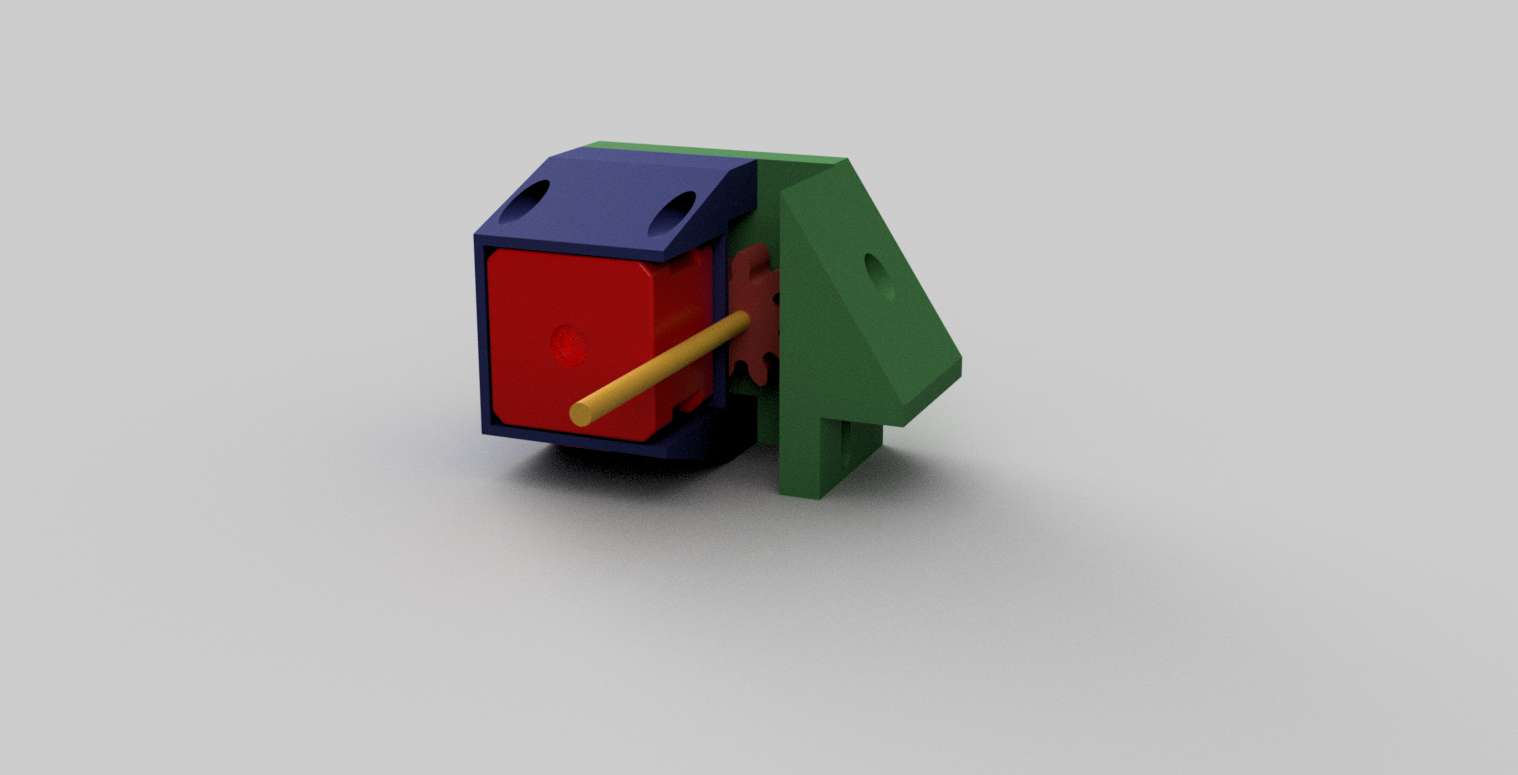
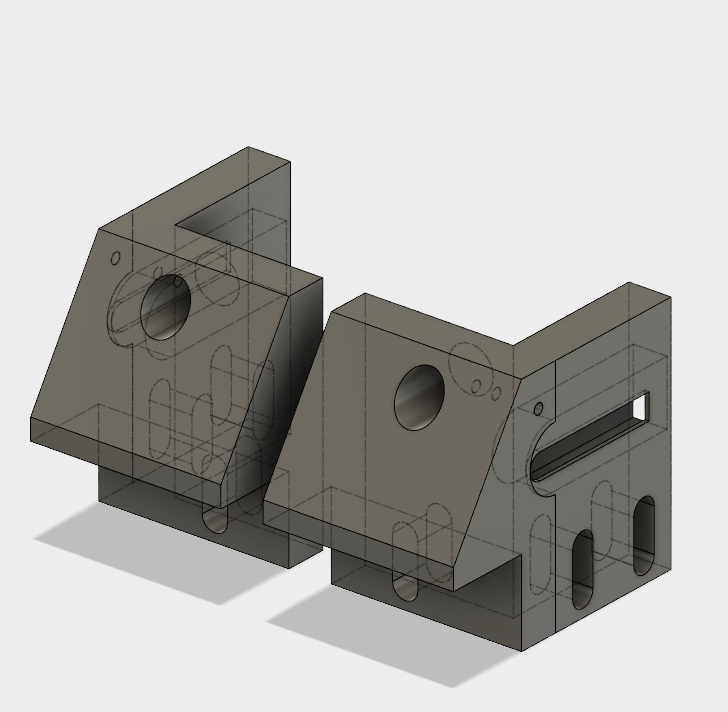
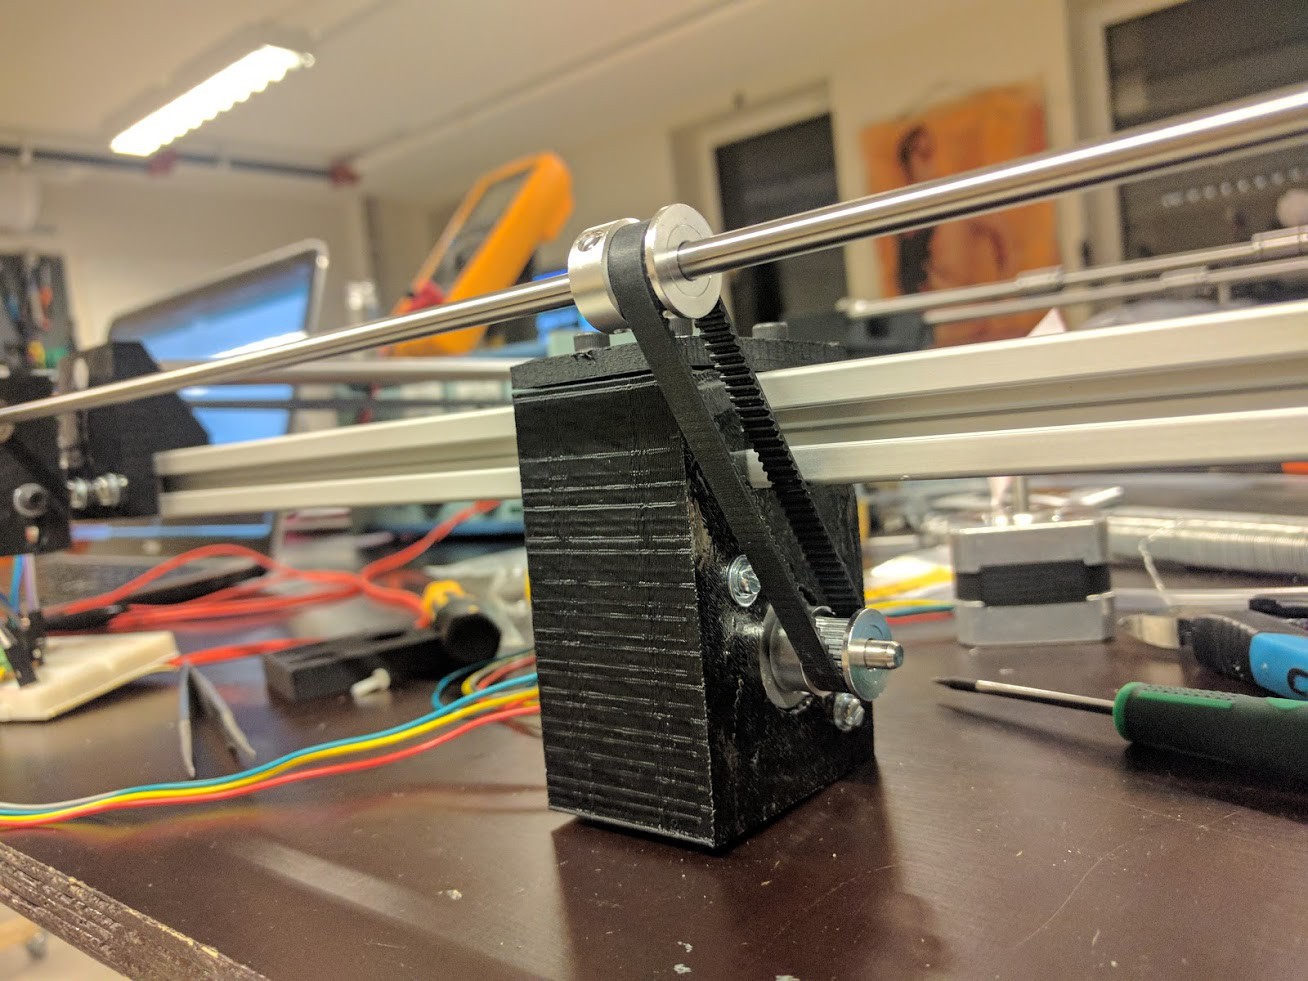
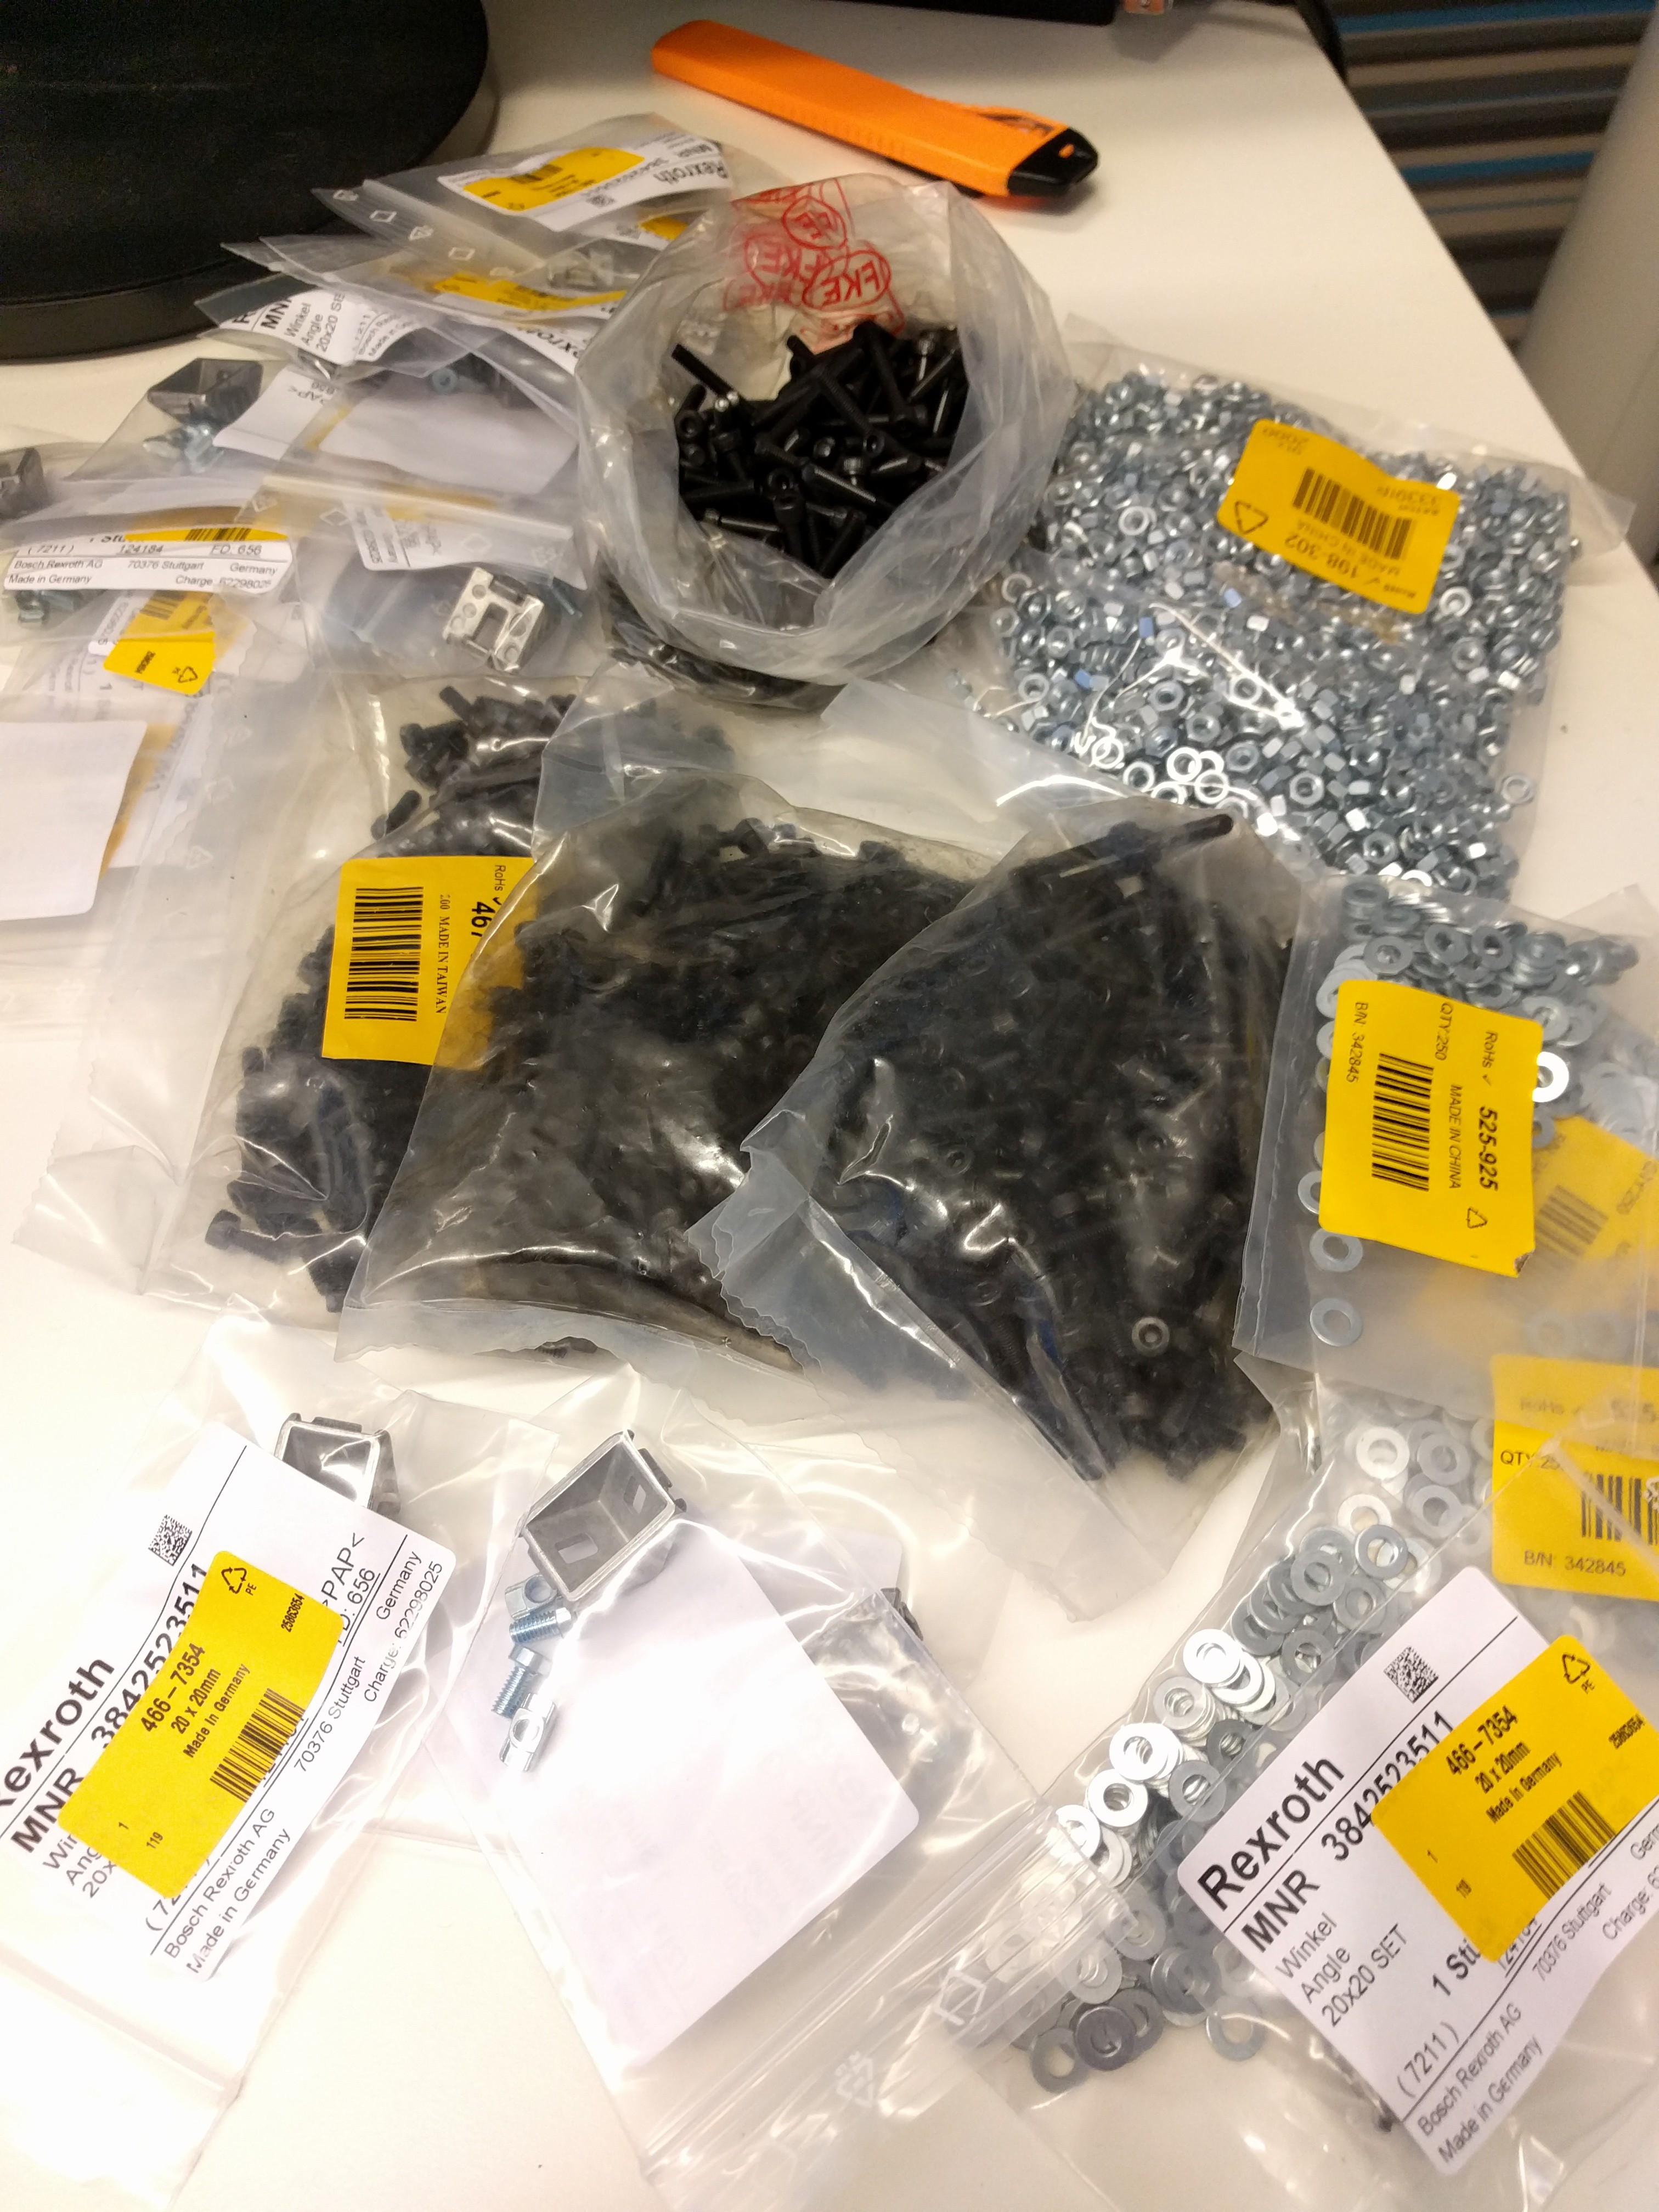
The main body itself will be built of 20mm aluminium profiles and I intend to design 3d print as many components as possible for the rest of the stuff, I've used Autodesk Fusion360 a fair bit the last year so this is good training when it comes to 3d modeling if nothing else.
I will start with the mechanical aspects of the project and once I have that sorted I'll start looking into the electronics and whether I'll use a premade PCB or design my own.
I tend to dive into projects letting them unfold as I work on them so no fancy pants plans of what I'll do ahead of time.


 Oscar S.
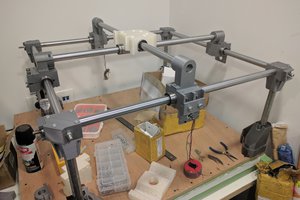
 Alex Gontmakher
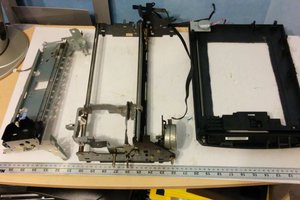
 Sebastian Lenartowicz
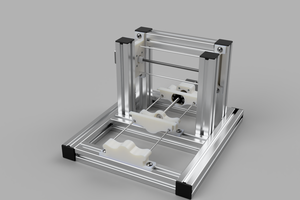
 Myles Eftos