Close
0%
0%

Wifi any 3D printer (probably)

Using ESP3D and ESP32 we can add built-in WiFI to any 3D printer with accessible UART

Public Chat
Similar projects worth following
Using the ESP3D project as a serial pass-through from wifi to serial we can print wirelessly to A 3D printer. The project covers flashing ESP3D on an ESP32 and hardwiring to our Ender. Lastly, we will configure a virtual COM port to glue it all together.

The project contains a full walkthrough of installing and configuring ESP3D.

Although specifically for the Ender 3 V2 any 3D printer with accessible UART could be configured to print via WiFi

Although in the scheme of things 3D printers are quite modern they still talk in a historic language, serial. Serial communication (RS232) has been around since the 60's to communicate between terminals.

Most 3D printers have a USB port that allows serial communication across USB, Although this is serial communication it is not as easily accessible to microcontrollers as traditional RS232. Complicated host protocols need to be established with usually quite expensive controllers, in fact, it is probably cheaper to blow the dust off an old computer.

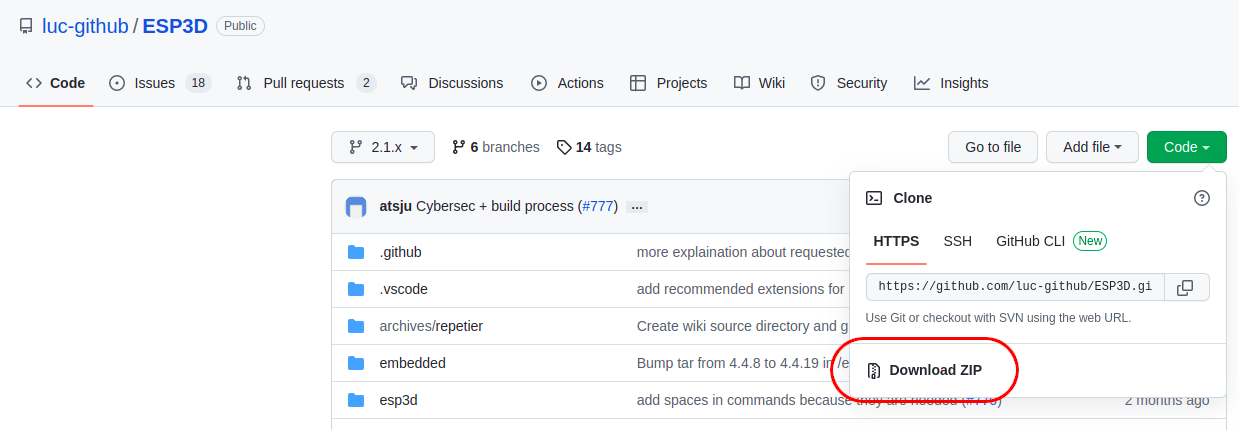
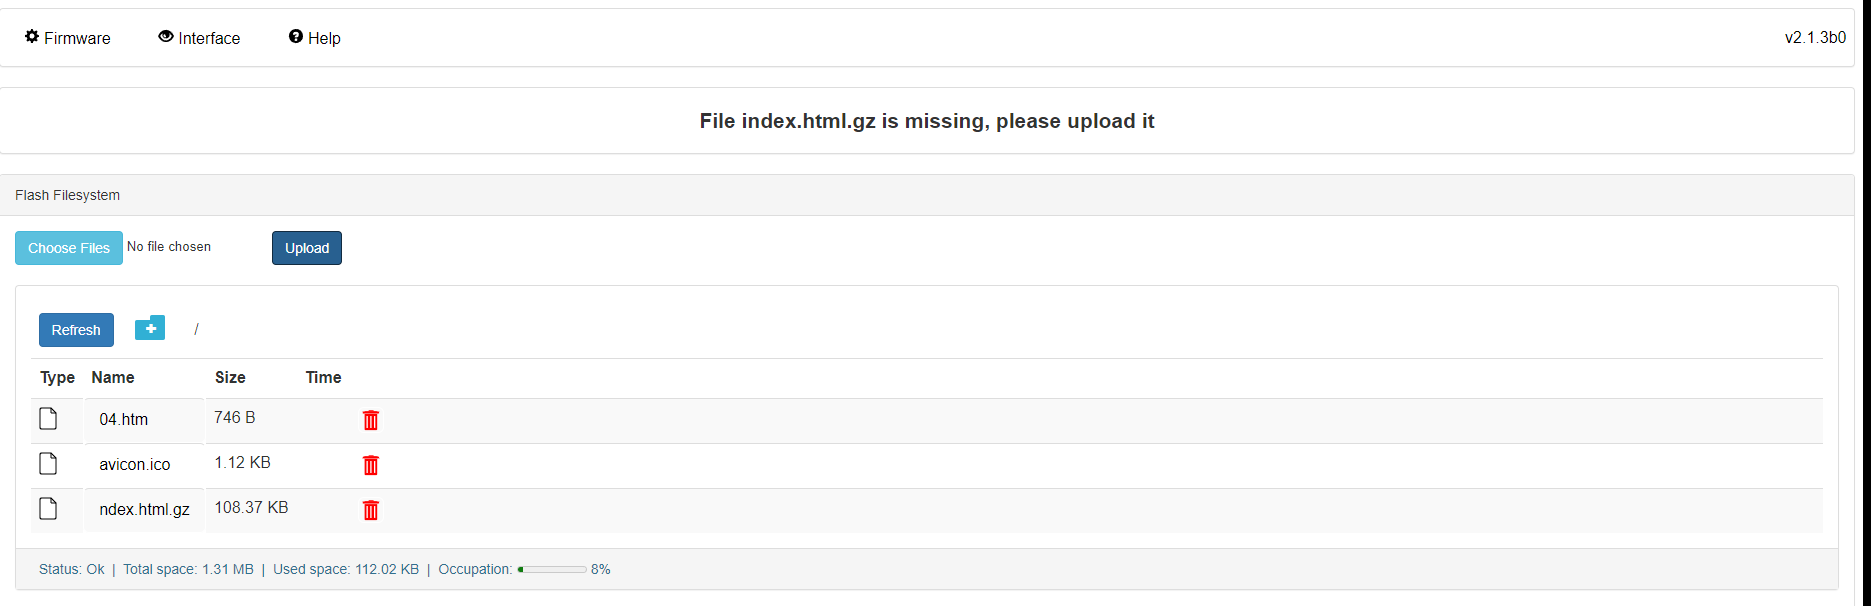
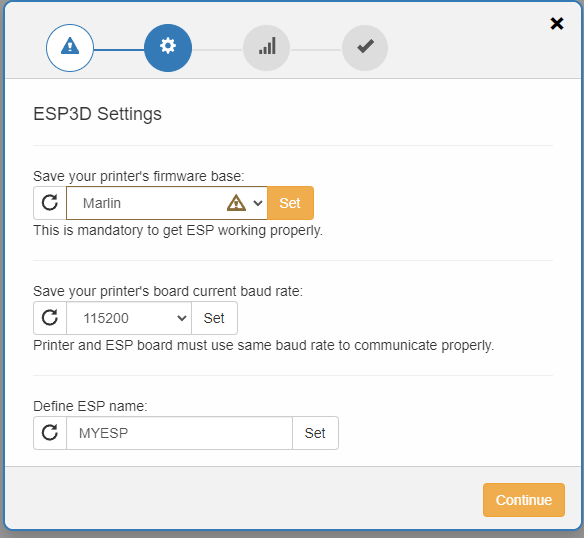
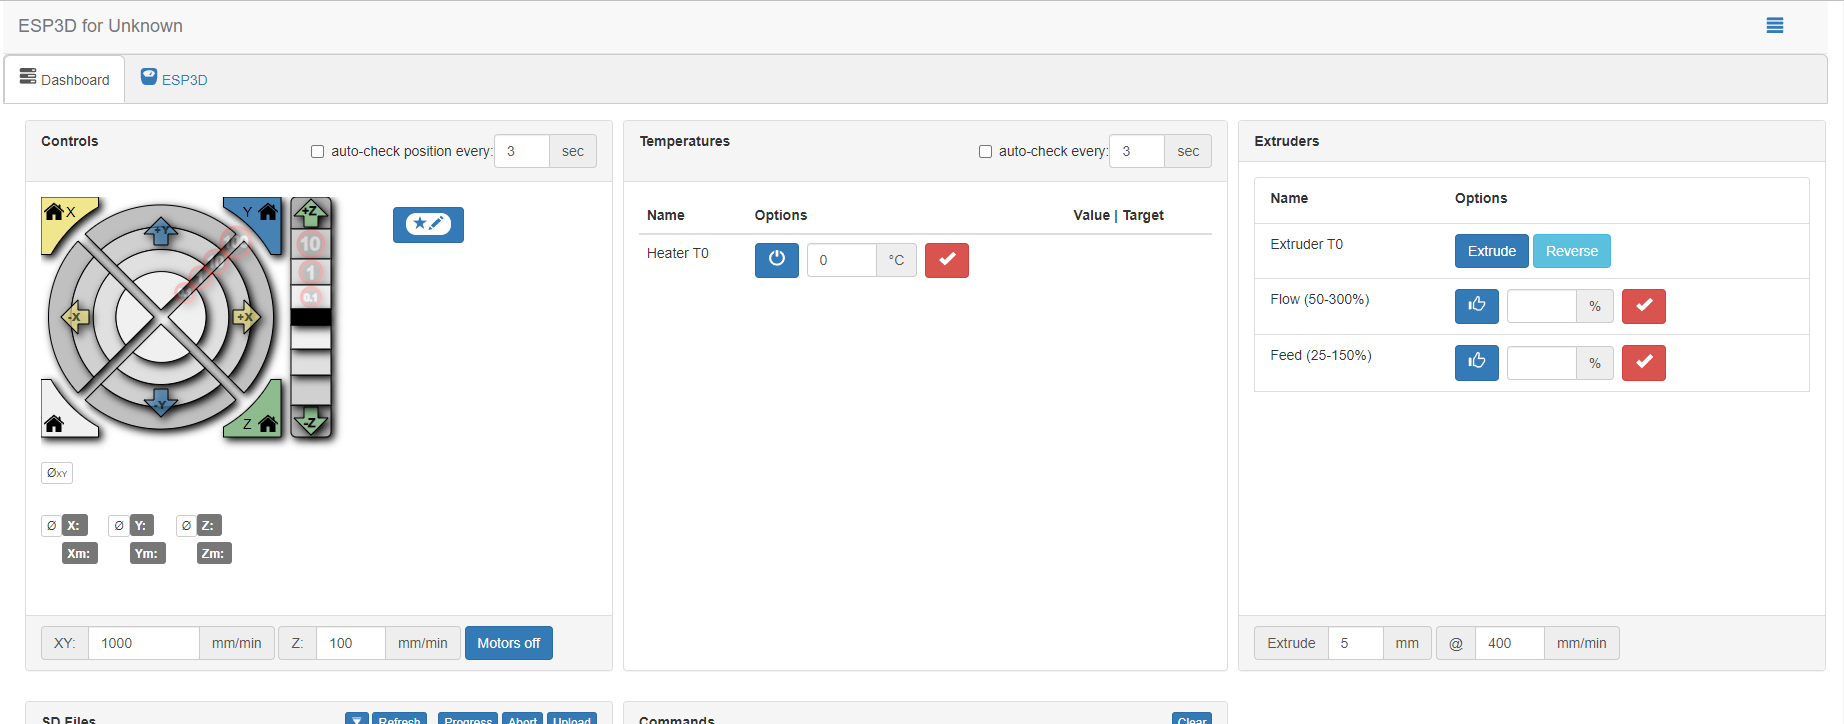
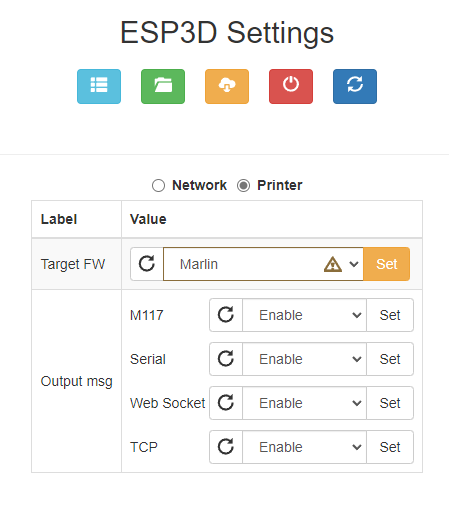
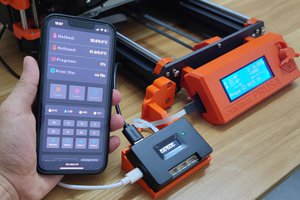
In this build, I will step you through configuring ESP3D a WEB UI that provides WiFi access to your 3D printer serial port. Hack your printer to connect and finally configure a virtual com port. 

  • 1 × ESP32
  • 1 × Hookup wire
  • 1 × 3D print (optional)

  • 1
    The low down

    3D printers use serial to communicate. Slicing software or Ocotprint wants to talk to a COM port. As we are adding WiFi to a printer there is no COM port as such so we will need to configure a few things to get the project working.

    1. Install ESP-3D on an ESP32 controller as a serial endpoint
    2. Hijack the serial coms on your printer. 
    3. Configure a virtual serial port on your PC

    I will start with installing ESP-3D. I will assume in this project you already have Arduino IDE installed and have uploaded to an ESP-32 previously. 

    If not, please complete these steps before continuing. 

  • 2
    Flash ESP32 with ESP-3D

    1. Download ESP-3D

    Download ESP-3D from here: https://github.com/luc-github/ESP3D

    Unzip the file somewhere you can find it easily. 

    2. Open ESP-3D in Arduino.

    Browse the download for the esp3d folder, within this the sketch esp3d.io can be found, open this file. 

    3. Pull the trigger

    With your ESP-32 connected and selected in your boards try and flash the software. 

    I very much doubt there is a single Arduino IDE install that is the same as another so you could have a lot of dependency errors when you try and flash the firmware or you may have none. 

    For me, I just had two:

    Websockets:

    https://github.com/Links2004/arduinoWebSockets

    ESP32SSDP:

    https://github.com/luc-github/ESP32SSDP

    Once these libraries were installed I could flash the ESP-32

  • 3
    Configure ESP-3D

    Once you have successfully flashed the ESP shortly afterward a new AP will appear in your list of APs called ESP3D. Connect to this AP the password will be 12345678. This will open a captured portal page in a browser, there will be an error on the page. 

    Click on Choose files and navigate to esp3d/data select all the files and upload them. 

    After the upload, the files should appear in the ESP3D UI.

    Reboot the ESP-32 

    You should now be presented with the first-time configuration. 

    Choose Marlin, no other settings need to change here (E3V2) click Continue 

    On the next screen you can configure your WiFi

    If you would like to connect to your local WiFI enter your AP and credentials otherwise leave the settings as they are to connect to the ESP-32 directly. 

    Click Continue

    You will now be presented with the ESP3D full UI.

    Click on ESP3D at the top of the UI. 

    From the top of the window click Printer

    Select Marlin from the dropdown and click Set

    An extra tab should now appear at top of the UI. 

    This is as far as we can go with ESP3D for now. 

View all 6 instructions

Enjoy this project?

Share

Discussions

Similar Projects

Does this project spark your interest?

Become a member to follow this project and never miss any updates