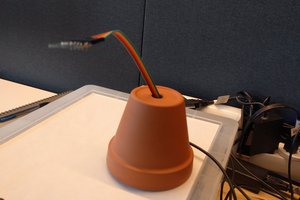
Fytó is a smart planter that can easily turn your plant into a pet. It comes with built-in sensors that measure everything from light exposure to soil moisture which can trigger six different emotions that will communicate how your plant is doing. The emotions are displayed on the front screen.
Are you a phytophile? Just add your plant to Fytó, it will start communicating with you.
Our Pet and It's Emotion
Our pet comes with 3 basic senses.
- Soil Moisture
- Temperature
- Light Exposure
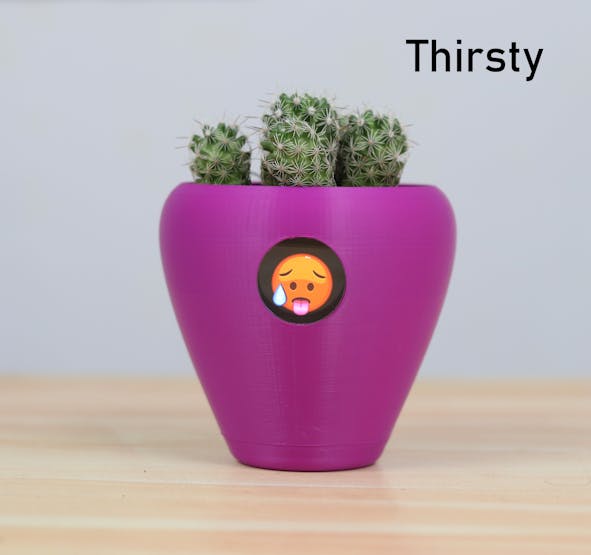
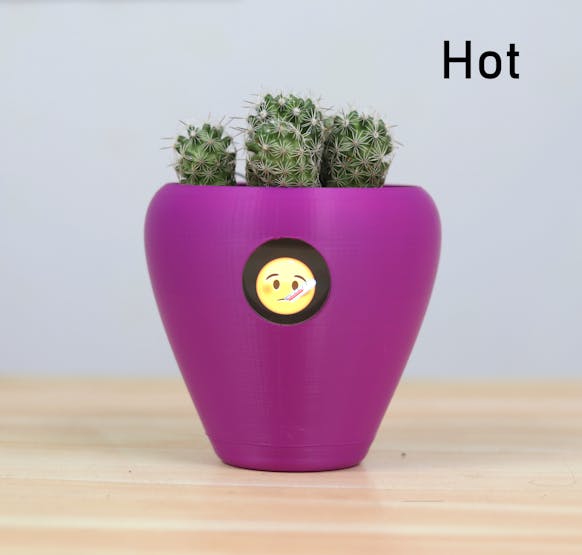
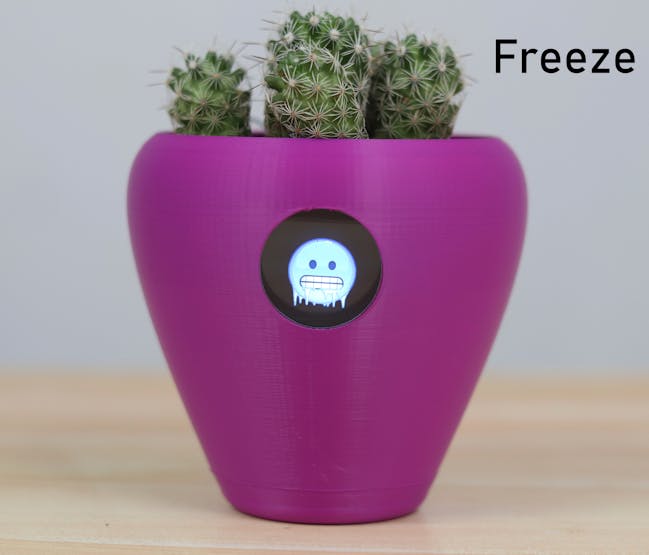
Fytó displays 6 expressions which are directly related to our plant's health.
- Thirsty : Fytó displays thirsty whenever the soil moisture is too for the plant and is looking for some water
- Hot : Displayed whenever Fytó is too hot
- Freeze : When the temperature drops too low, Fytó needs some warmth
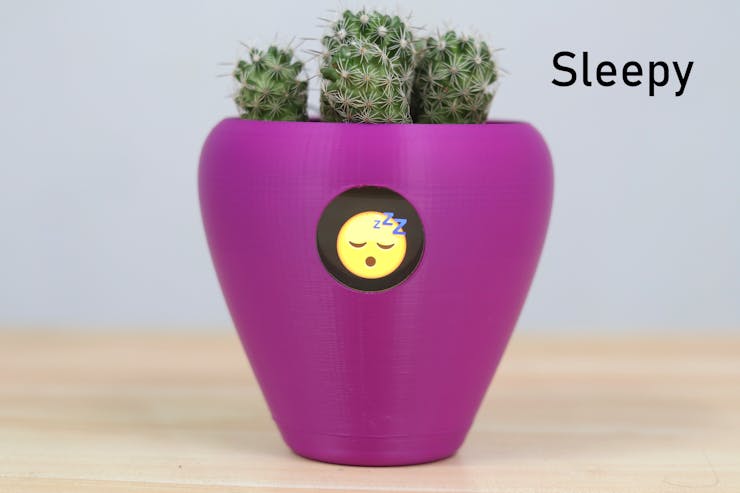
- Sleepy : When the light exposure is too low, Fytó is too sleepy
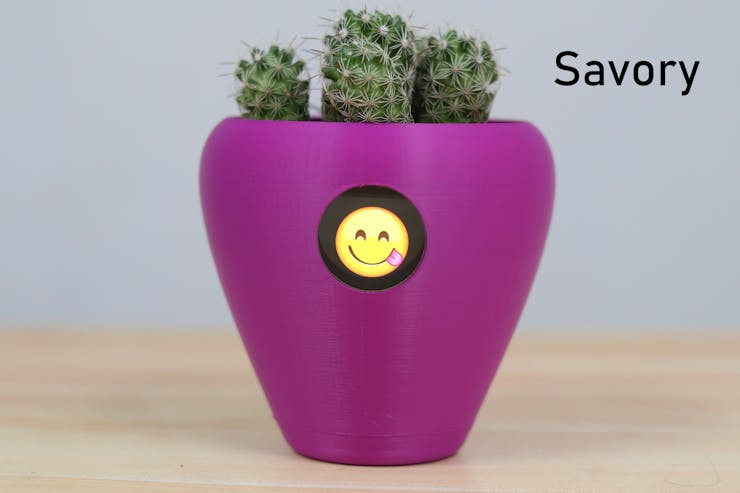
- Savory : When the plant gets some water, it's too delicious na?
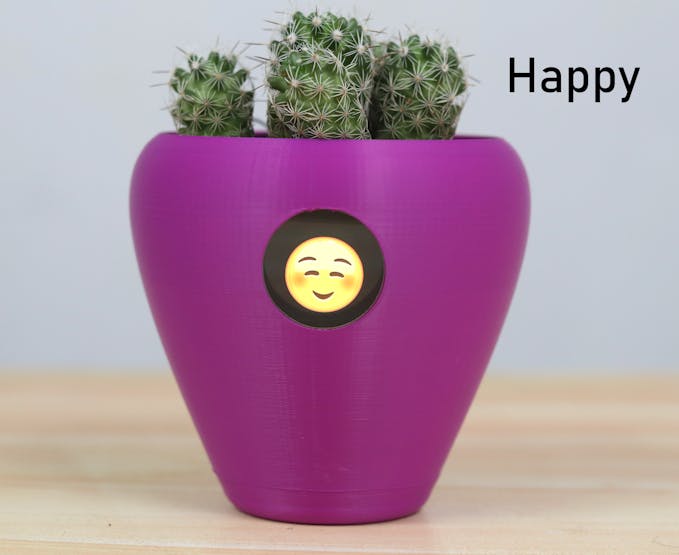
- Happy : When everything is perfect, Fytó is too happy
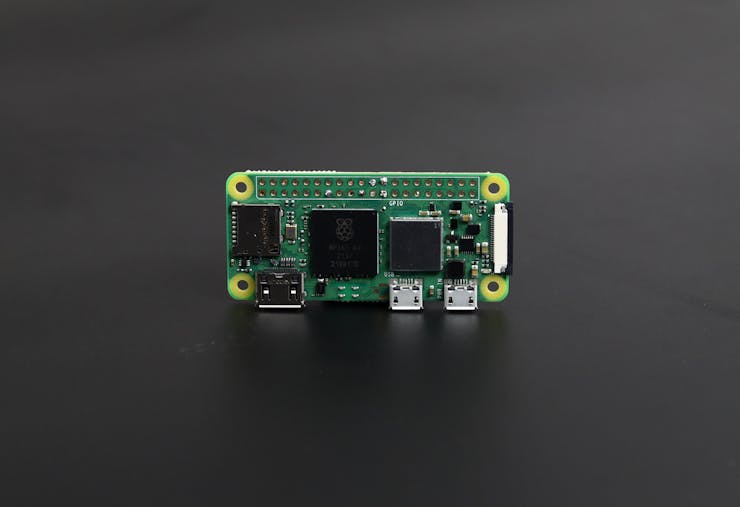
PI ZERO 2W(BRAIN)
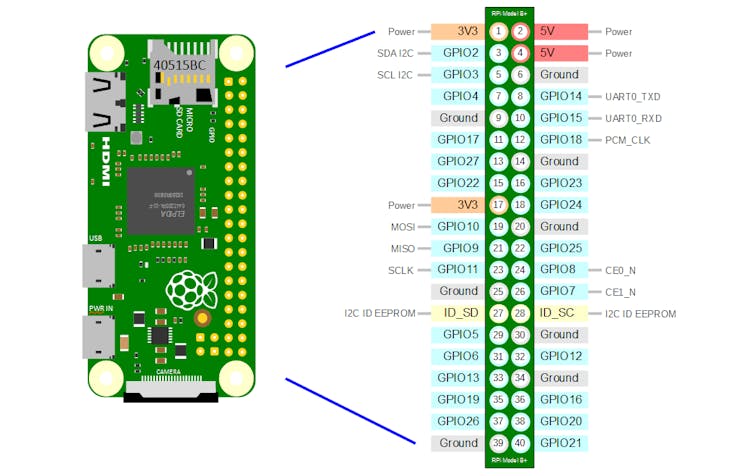
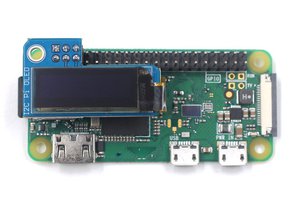
We will use Raspberry Pi Zero 2W, as the controller for this flower pot. We have different generations of Raspberry pi includes PI3, 4 and zero and zero2w. The reason why we used is due to its smaller size and higher performance.
At the heart of the Raspberry Pi Zero 2W is a 1GHz BCM2710A1 with 64-bit ARM Cortex-A53 CPU with 512MB RAM. Quite frankly, this Pi is about four times faster than the original Raspberry Pi and is only a fraction of the cost of the current RPi3. So they can easily handle the GIF playing on the screen.
For setting up the Raspberry pi, please refer this documentation.
SENSORS WITH ADC
The sensors used in this projects are
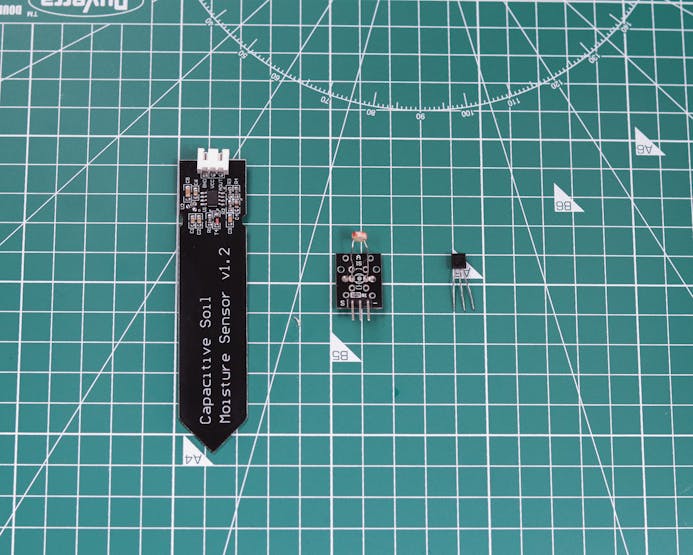
- Capacitive Soil moisture sensor - which is used to sense the soil moisture levels.They measures the soil moisture levels by capacitive sensing, rather than resistive sensing like other types of moisture sensor. The ability to prevent corrosion is because it is made of a corrosion resistant material giving it a long service life.
- LM35 temperature sensor - which is used to sense the temperature, you can use any temperatures sensor you want.
- LDR module - is used to detect the intensity of light, here we actually used ldr module which contains built in smd resistor. If you are using a bare LDR use a resistor for Pull down/ Pull up.
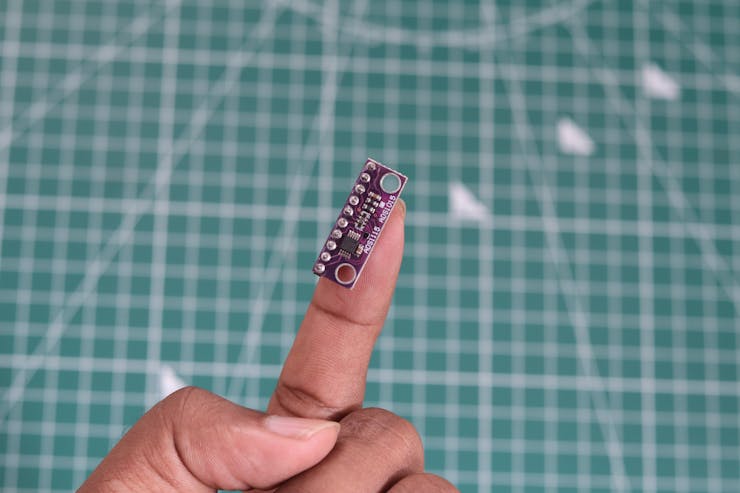
The main problem is that the Raspberry Pi cannot sample data from these analog sensors. In this case, analog sensors can be interfaced with Raspberry Pi using two ways. One is to use an external analog-to-digital converter; the second is to sample data from analog sensors using a microcontroller and transfer all captured data to Raspberry Pi via a serial interface.
Here we are going with the first case, to use an analog-to-digital converter named ADS115 ADC. It's a 16 bit ADC with high accuracy.
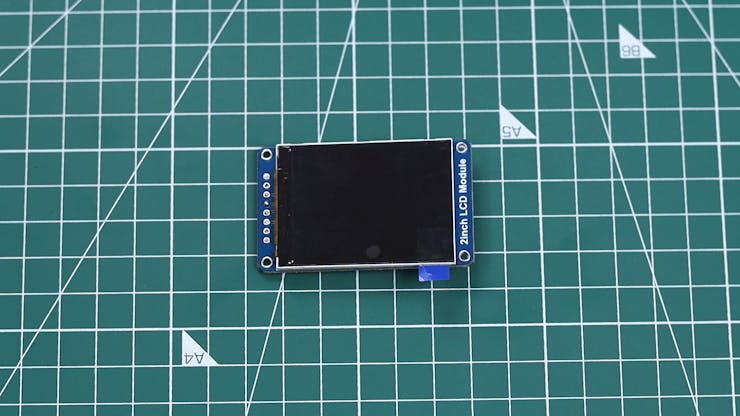
240×320, General 2inch IPS LCD Display Module
In our plan, first we proceeded with playing normal black and white emojis. So for that purpose the normal OLED display would be enough. This display with this particular emojis failed to accentuates the whole project. Then we changed to the coloured emojis, to display that we used this 2inch IPS LCD display module. IPS displays have superior high contrast, wide viewing angle, color reproduction, image quality etc. It only costs 13$, super cheap.
In the next setup, we will calibrate the sensors.
Calibration
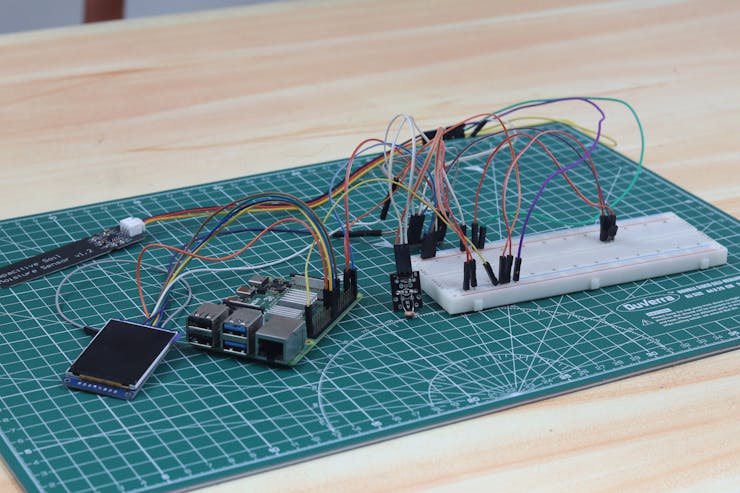
Calibration is important because it helps ensure accurate measurements, So we hooked up all sensors and the LCD module by means of jumpers and breadboard to the raspberry pi 4 to make testing and calibration much easier because Pi zero 2w has no headers.
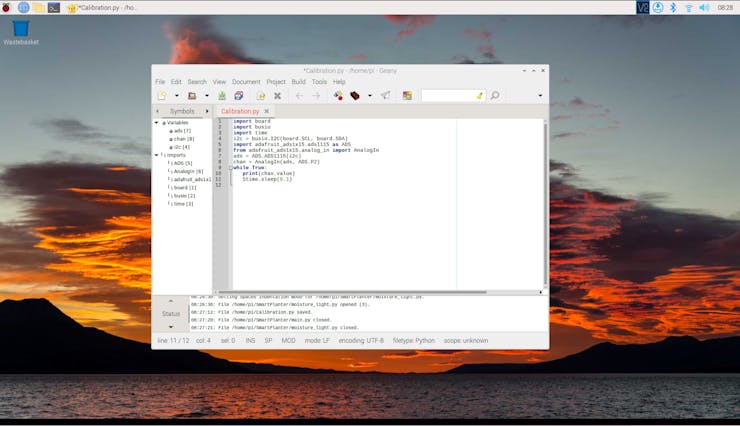
We wrote down a piece of python code in raspberry pi and figured out the max and minimum analog values of moisture and LDR modules (Please ensure the connected channel is correct in the code).
The code is updated and can play emojis on display according to the sensor values. Here...
 Coders Cafe
 IOTMCU
 Brenda Armour