 Kaushlesh C. ( KD9VFU )
The source code has been generated using Visual Studio Code with PlatformIO Extension. Follow the steps and links to set up the Development Environment.
Setting up environment
Install Git-SCM. Download the latest version of Git using the link Download Git for Windows. After downloading Git-scm, follow the instructions and install git. Git-SCM is necessary for Visual Studio code, and download the latest codebase.
Install PlatformIO for Visual Studio Code
Microsoft Visual Studio code supports extensions. PlatformIO is one of the extensions. PlatformIO makes it easy to program any microcontroller. As we are using ESP-32 it makes it a breeze to program with PlatformIO. Link to installing platform IO on Visual Studio Code
Here is a list of my favorite Visual Studio Extensions that will make programming easier.

Download the code from the Git repository.
After setting up your development environment, download the latest code from the git repo.
Link to Boondock Github
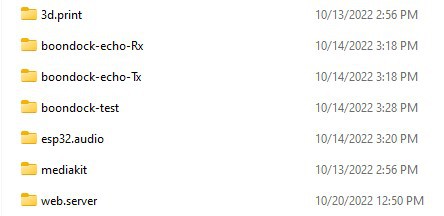
The repository has detailed instructions for each folder. Here is a summary.
- 3d.print : Has the STL files to print the Boondock Echo case
- boondock-echo-Rx : Source code for Rx only mode
- boondock-echo-Tx : Source code for Tx only mode
- esp32.audio : Common Source code
- web.server : Source code to setup your web-server.
Compiling the uploading code
Considering you have already assembled your Boondock Echo, you need to connect Boondock Echo using a micro-USB cable to start programming.
Click here for Boondock Echo Assembly
In Visual Studio, open the folder named esp32.audio. The next step is to update the server information in the config.h file

Change the server names, usernames, and passwords, and compile the code. The image below shows the buttons to compile and upload the code.
Click here for details on how to set up server, getting the right serverName, mqttUser, mqttPassword
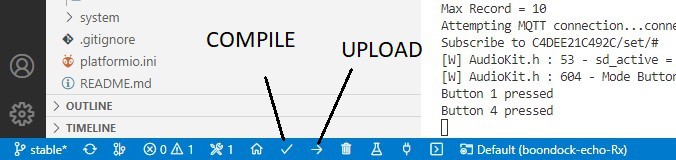
Once successfully compiled, your Boondock echo is ready to use.
Discussions
Become a Hackaday.io Member
Create an account to leave a comment. Already have an account? Log In.