 Brian Wyld
Electronics:
The project uses an existing board, which has the MCU, LoRaWAN radio and an accelerometer. It was designed for low power operation, and can run in a 'standby' mode at <20uA whilest keeping RAM contents.
- MCU : STM32L151CCU6
- radio Lora using SX1272, PCB antenna (+8dbm)
- accelero ST LIS2DE12
- altimeter (temp+pression) ST LPS22HB
- microphone I2S : Knowles SPH0641LM4H-1
- light sensor : phototransistor KPS-3227SO1C
- MOSFET drive output PWM pour speaker
- 2 LEDs (one red, one green)
- GPIO (eg for button)
- 2x 2mm header connector mounting points for UART and I2C (GROVE type connector footprints)
- header 2 pin for 2.4-3.6V DC (no LDO)
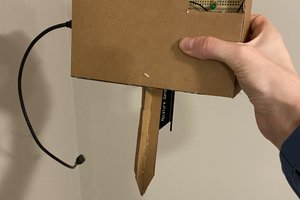
I used the EVE LiSOCl2 3.6V AA sized battery with flying lead/2 pin header to power the board, and packaged it in the case that was created for the product (injection moulded 2 part case with incorporated silicon seal - supposedly ok for IP67) and the mounting bracket that goes with it (see the photos)
Mechanical:
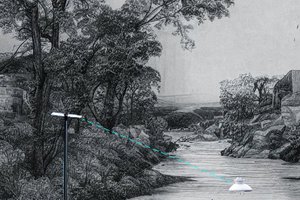
The principle is to make the device's inclination depend on the water level, and determine the inclination using the accelero. 2 ways of doing this were envisaged:
Option 1 : rotation by pulley
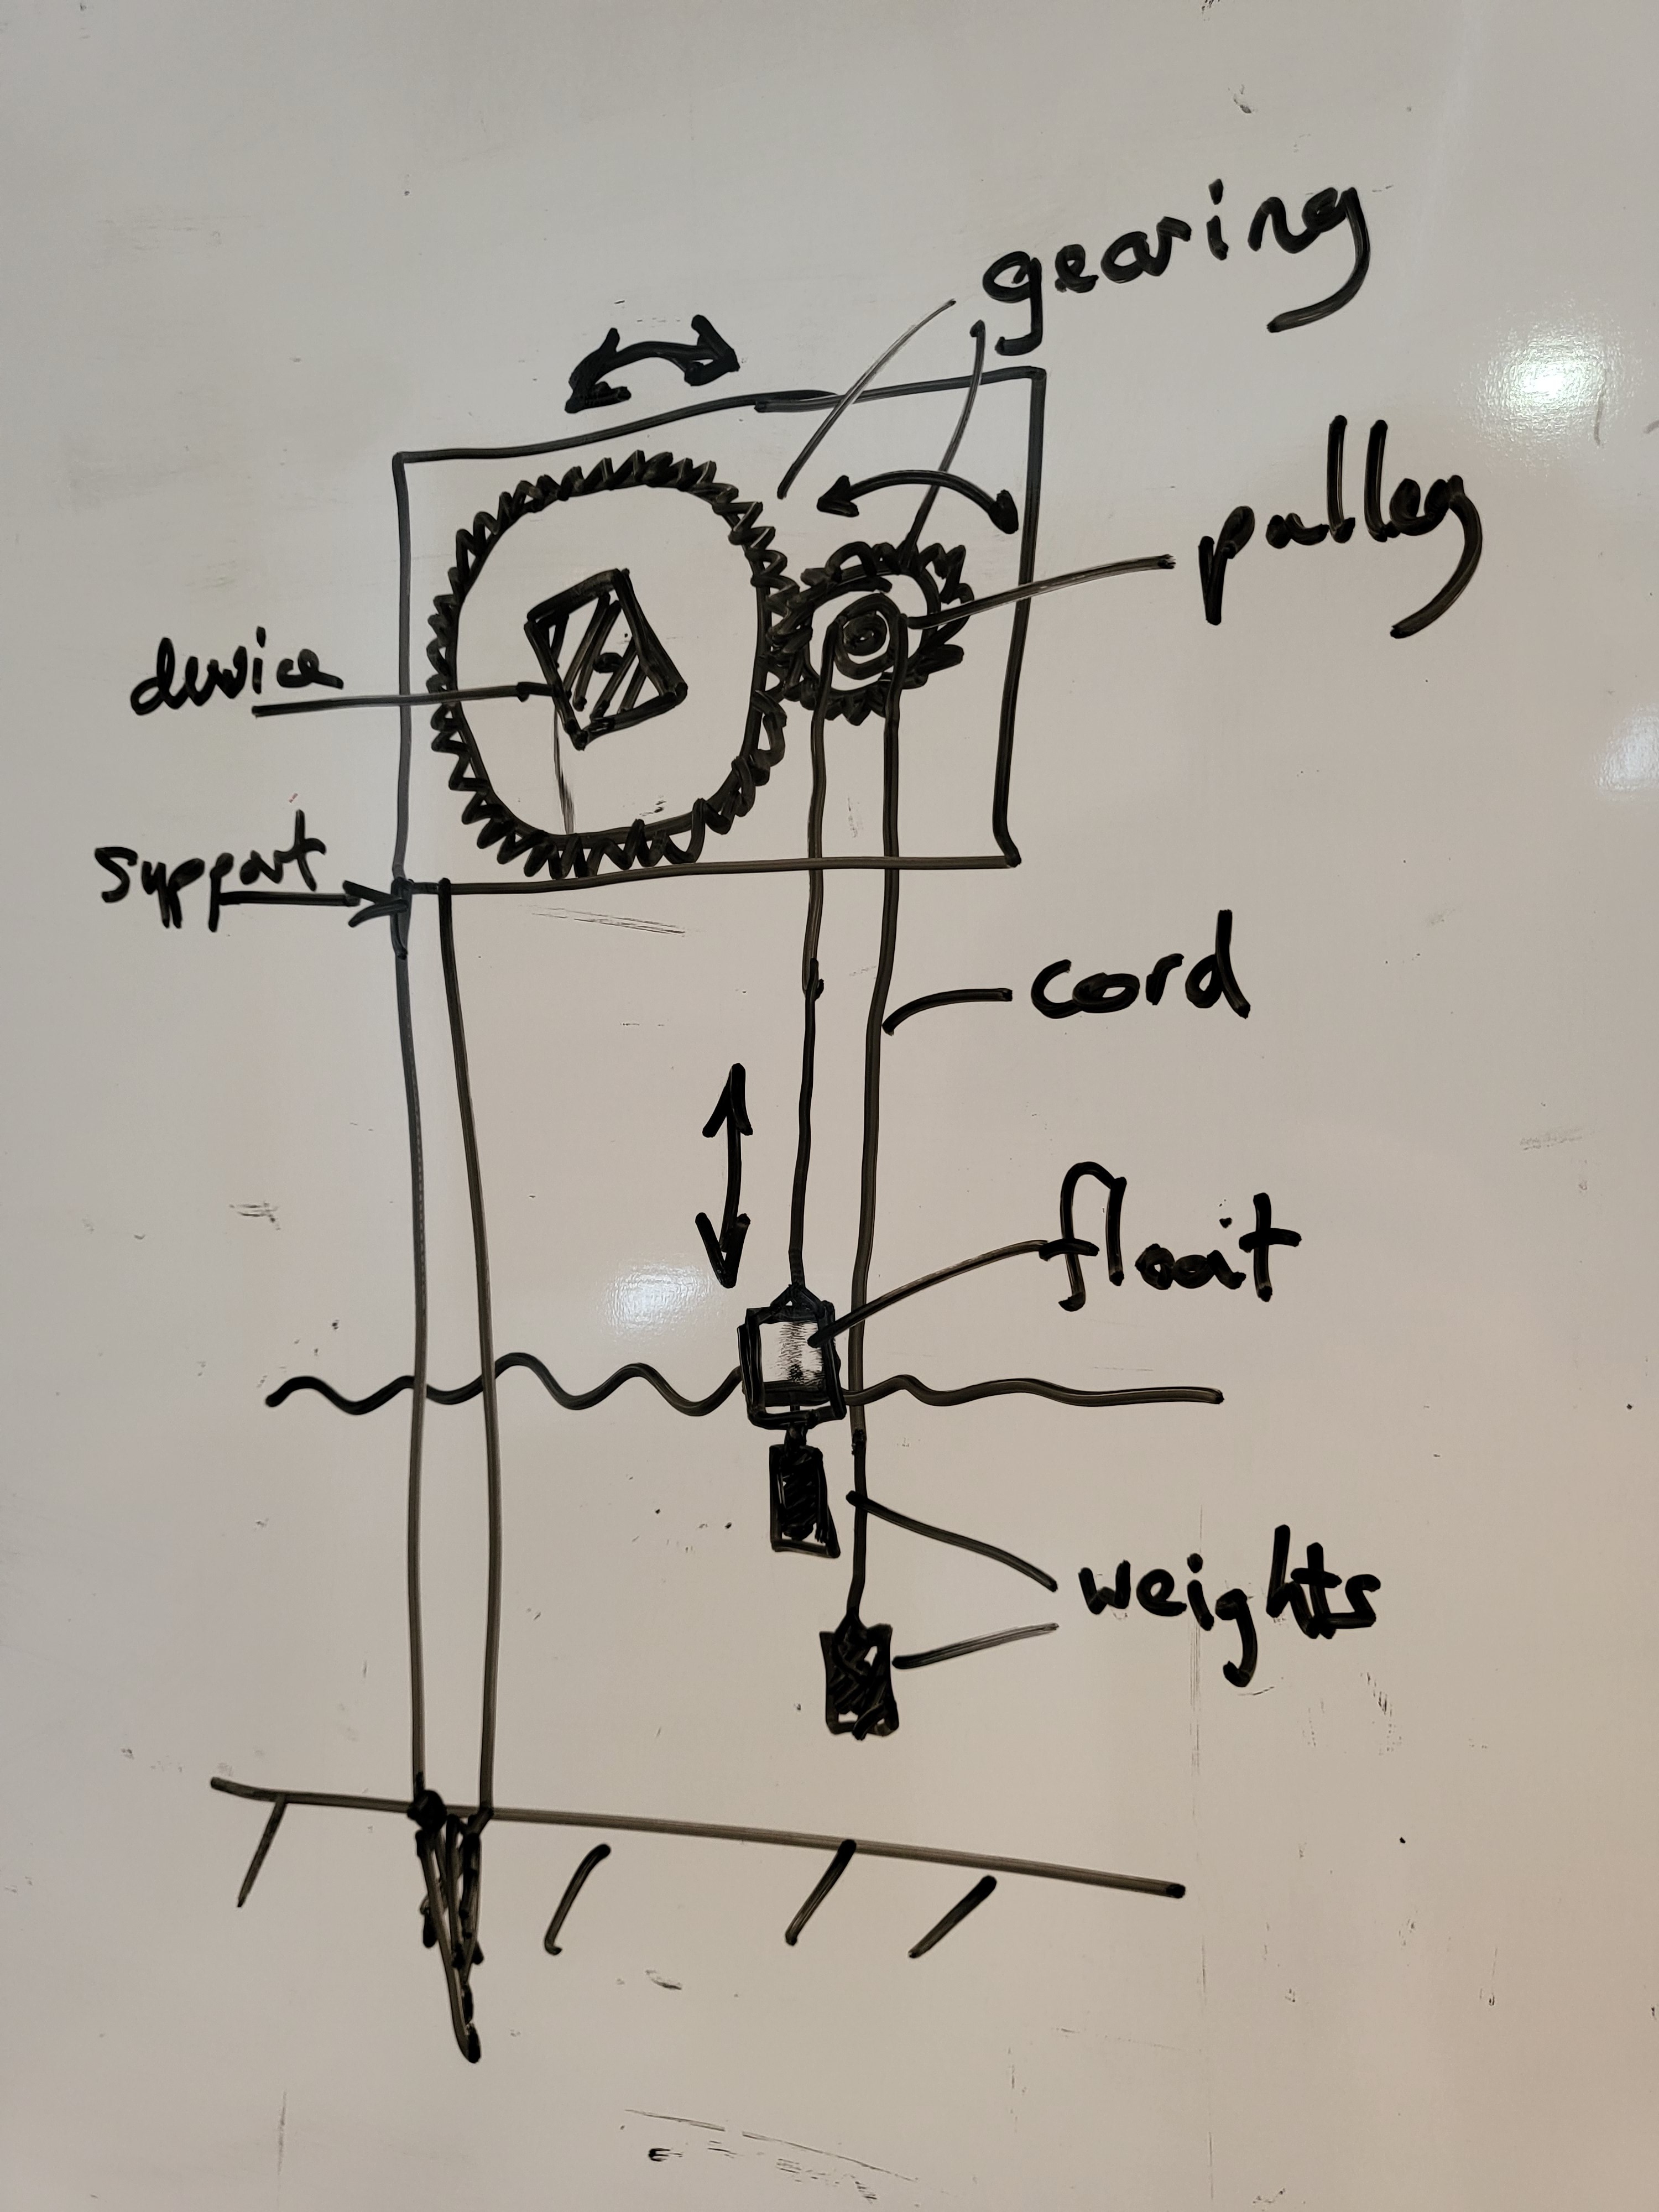
The device is mounted on a spindle, rotated by gearing from a pulley with a cord with a weight on each end. One of the weights is slightly heavier, and has a float attached. Both weights are in the water - the slightly heavier one should stay at the surface level due to the float... Water level change moves the float, leading to the cord rotating the pulley and hence rotating the device who's inclination is read using the accelero...
Advantage is that the device can be far above the water and the mechanism requires limited space.
Disadvantage is the cord/pulley/gearing mechanism is quite complex, will get wet (from water on the cord) and potentially corrode/block.
Option 2 : rotation by arm
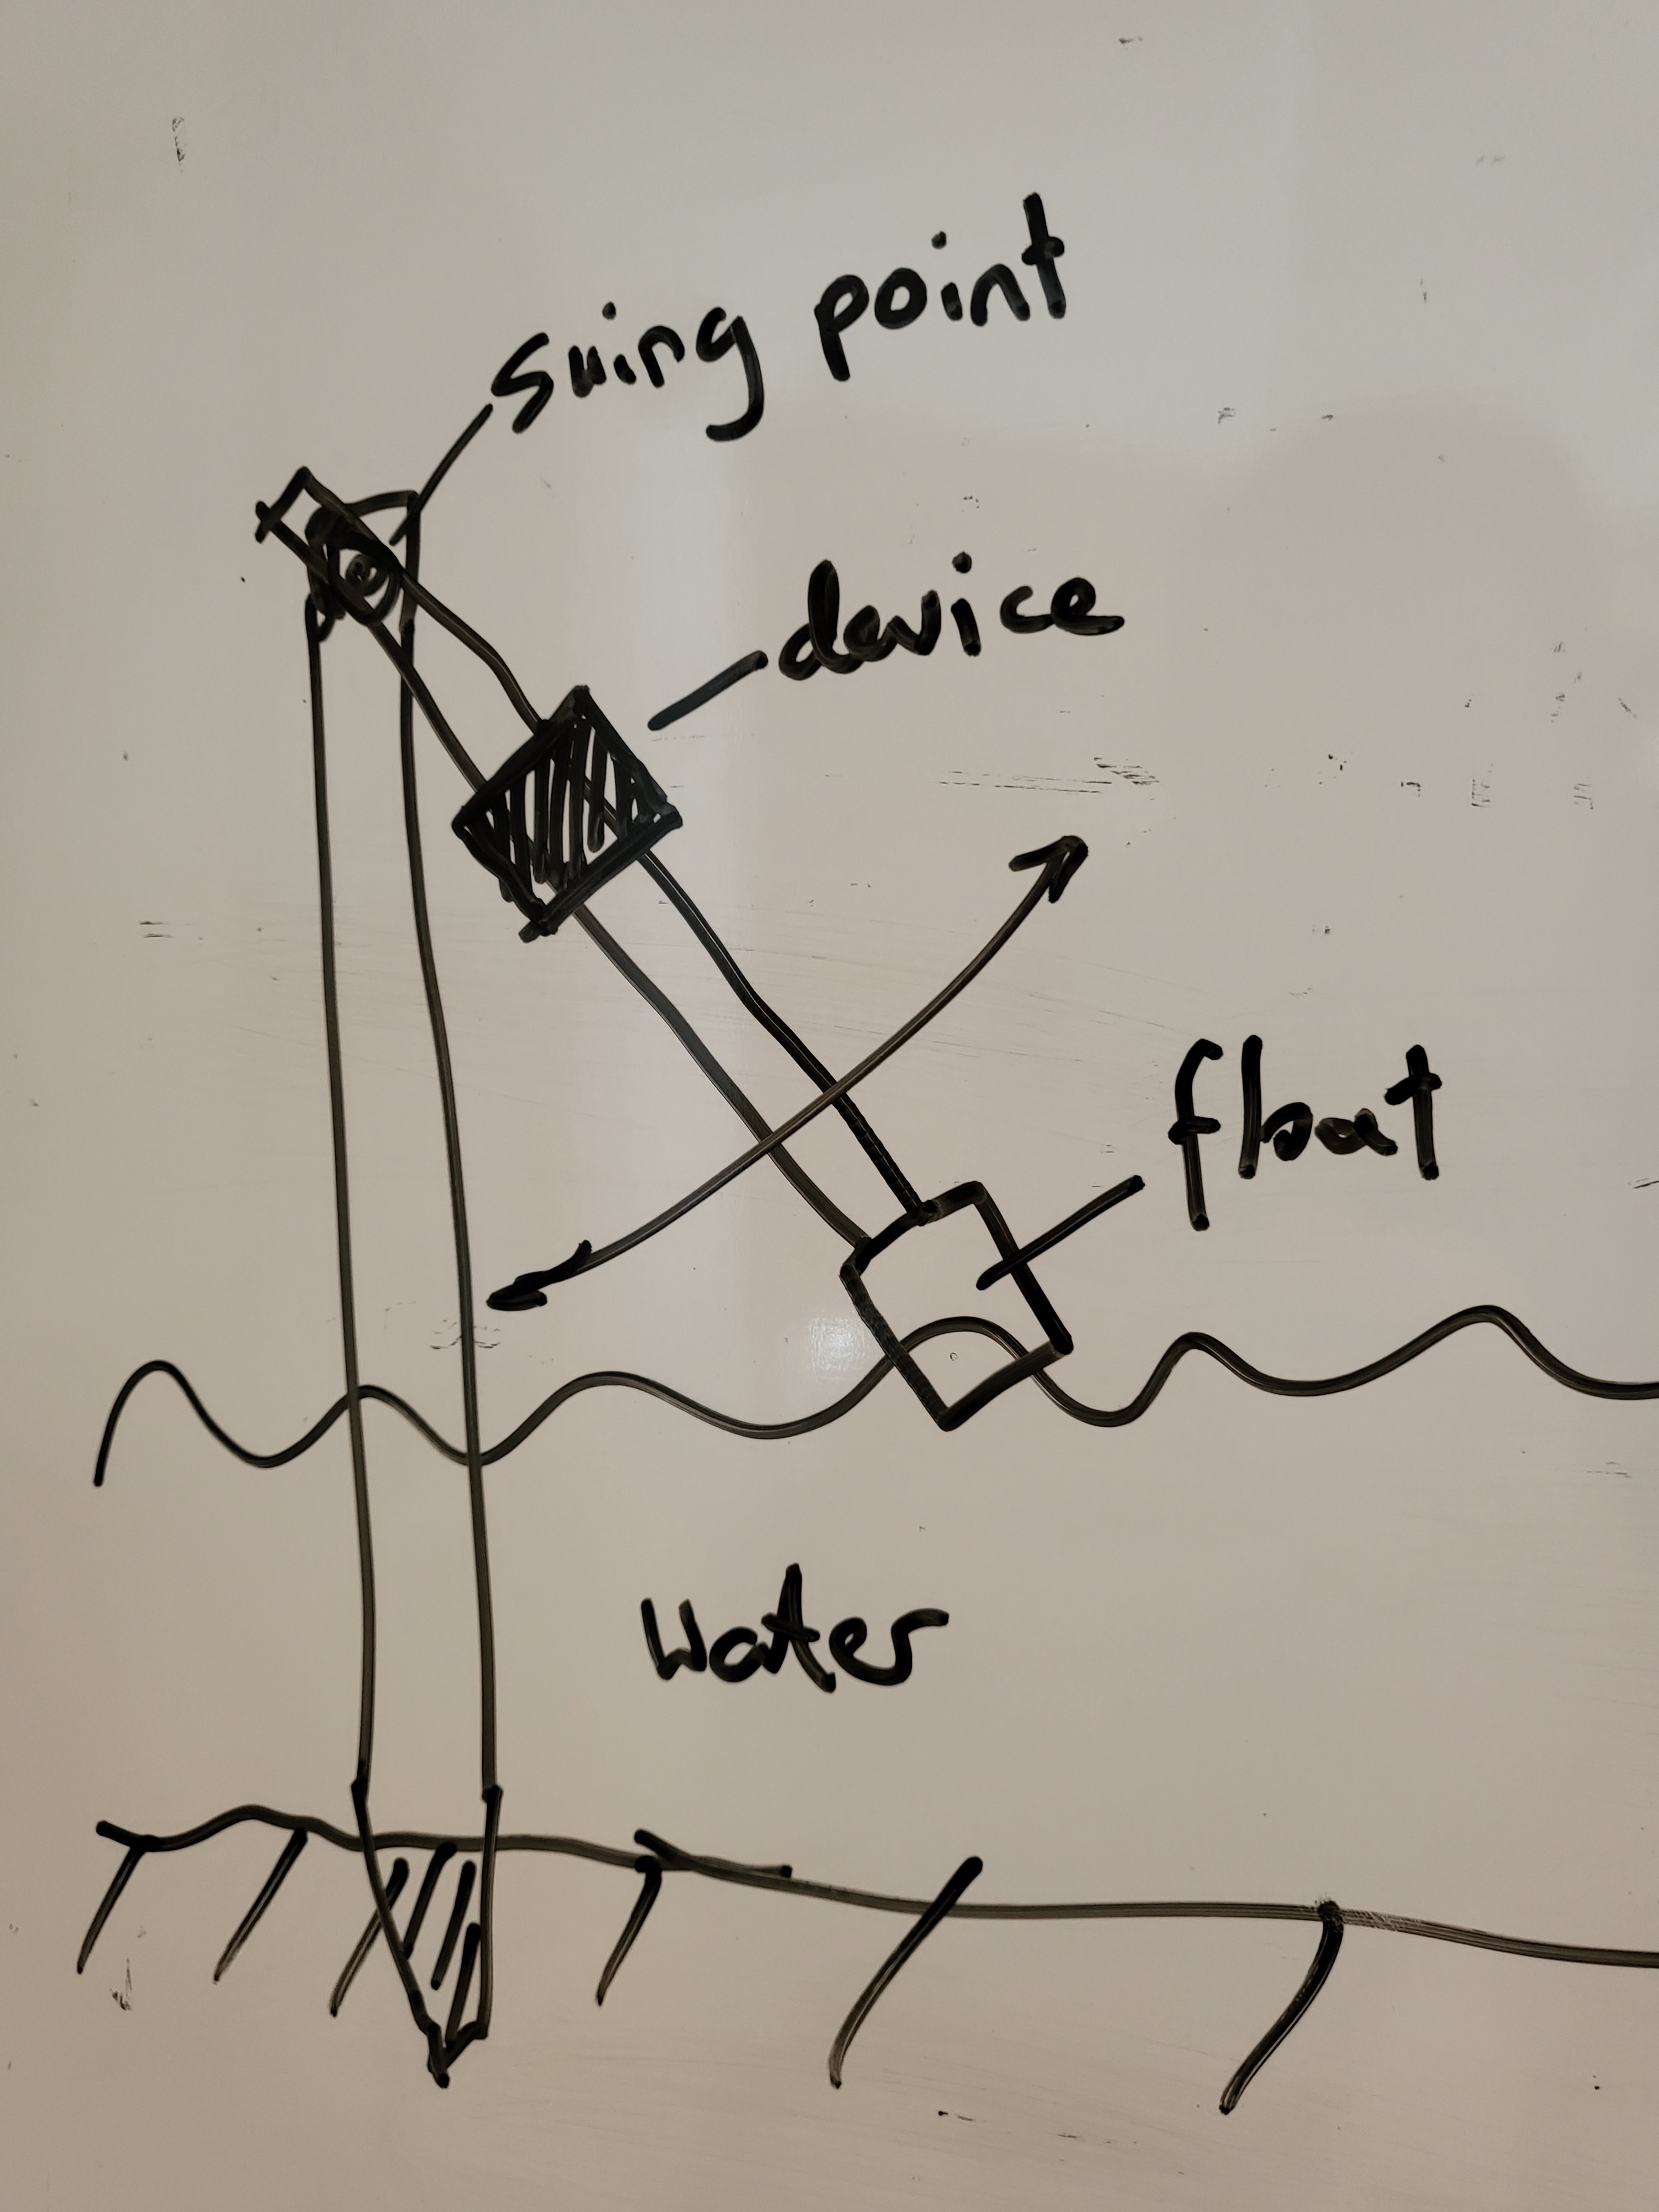
The device is mounted on an arm, fixed to a hinge on a post on one end and with a float on the other. As the float moves up and down, the arm rotates up and down round the hinge and changes inclination.
Advantage is the simplicity of the mechanism, the disadvantage is that high water levels may submerge the device...
Currently only the 2nd option has been tested.
Firmware:
The firmware for the device is based on existing project code which was already open sourced on github by the company that developed the initial versions (Wyres). This firmware is based on the Apache MyNewt RTOS, with enhancements to get a good low power operation on the STM32L151. All the source is on github.
An 'application' level code runs the device as a 'io control' unit, with a config to send readings every 15 minutes over LoRaWAN in a binary TLV formatted packet.
Setting up the LoRaWAN network requires just configuring the device on your choice of LNS (I use TheThingsNetwork - TTN - as its easy and free) and ensuring you have a lorawan fgateway in range...
The firmware allows for a UART to be connected with a basic console (at reboot) for config, and log output.
Backend:
A server side project defines a docker set with:
- a python script running an MQTT client to receive data from the LoRaWAN TTN cloud, and decode/transform the values into a water depth value
- influxDB to hold the sensor data
- grafana server to display the data
To setup your own project, you should just need to deploy this docker set to any docker host and configure the TTN MQTT details to subscribe to your own TTN project.
 Mirko
Mirko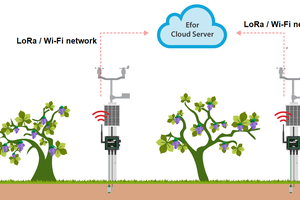
 ssla-couk