 jegatheesan
Its bad for kids to sit in a place and play games in Pc's. When come to Play station and other interactive things its cost high. So with less resource and some more work i plan to build a joystick for my child to play by hump and walk. Its finish and she enjoy very much.
0%
0%
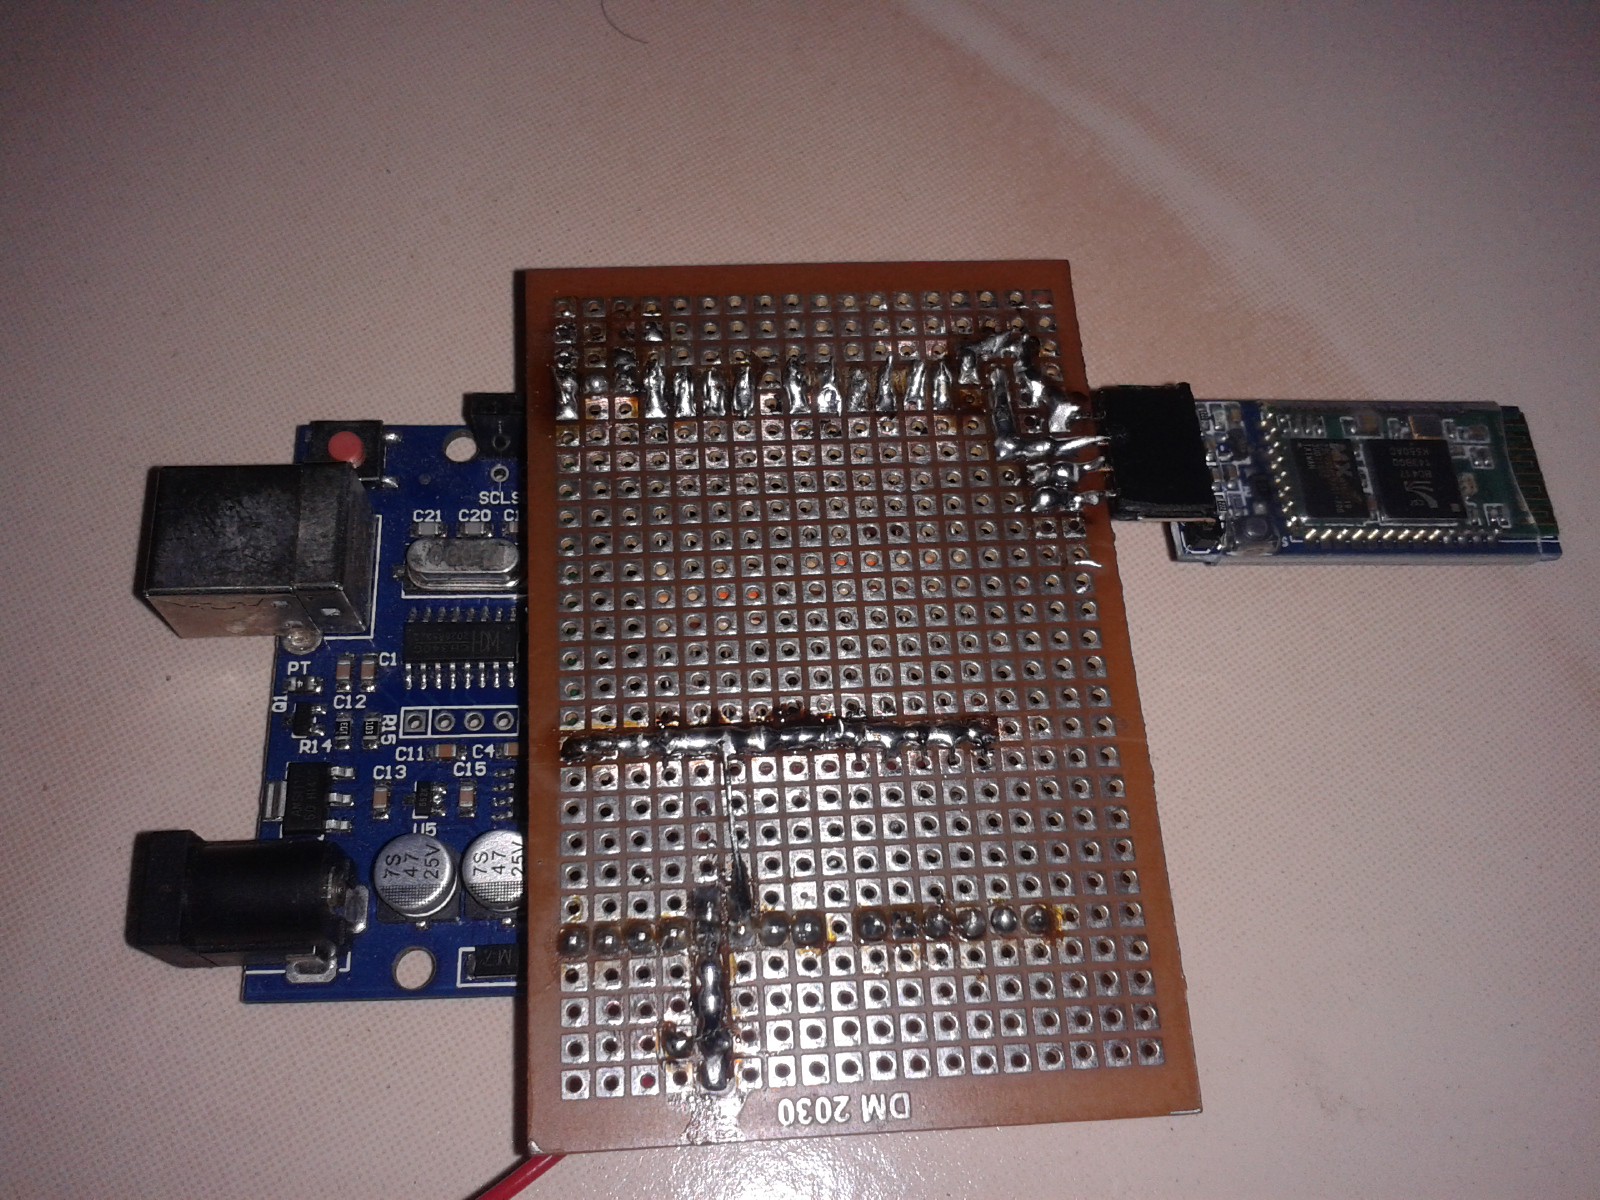
Full function Wireless joystick Rug for PC
I like to make cheap joy stick for all gaming and application purpose in Computer for my child. By jump and move around she play drums.
Become a Hackaday.io member
Already have an account? Log in.
Just one more thing
To make the experience fit your profile, pick a username and tell us what interests you.
Pick an awesome username
hackaday.io/
Your profile's URL: hackaday.io/username. Max 25 alphanumeric characters.
Pick a few interests
Projects that share your interests
People that share your interests

 Jessica
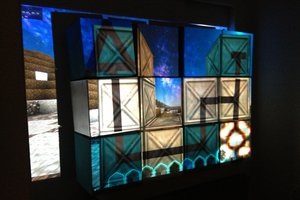
 skyberrys
 Mike
Mike
 Casual Cyborg