pammyleong
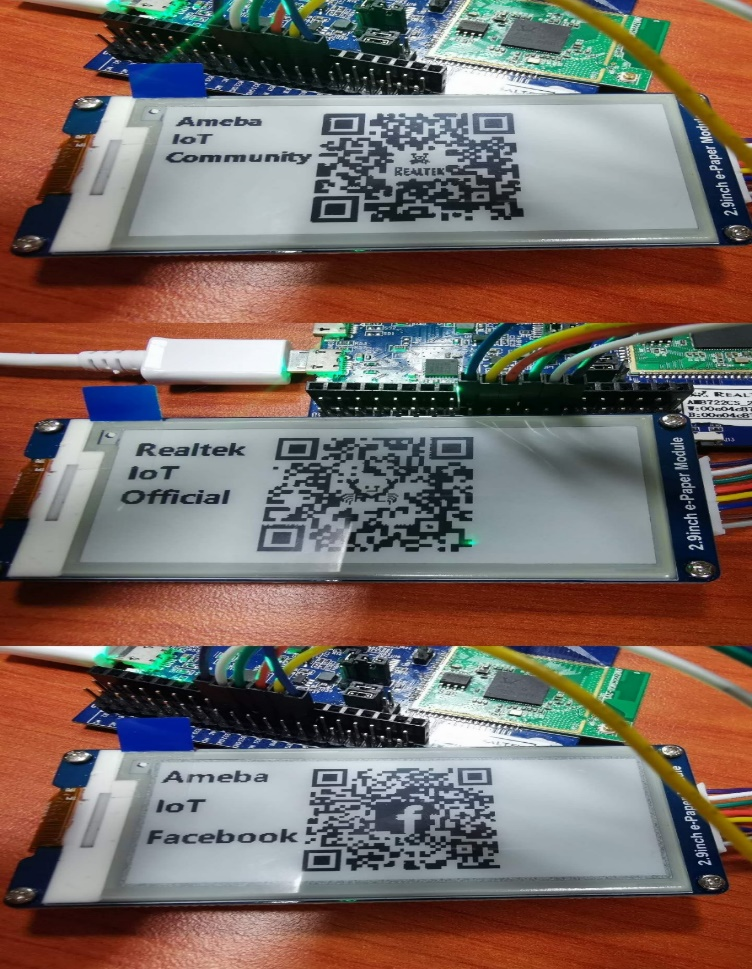
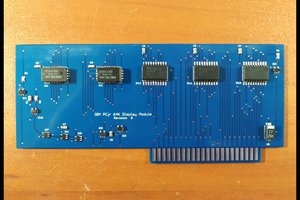
Front view of the e-Paper Module:
Uses Ameba RTL8722 module to connect to a Waveshare 2.9-inch e-Paper module to display a few QR codes
Already have an account? Log in.
To make the experience fit your profile, pick a username and tell us what interests you.
Front view of the e-Paper Module:
|
Zip Archive - 58.86 kB - 08/22/2022 at 09:03 |
|
Add the following line to "Additional Board Manager URLs" under "Preference",
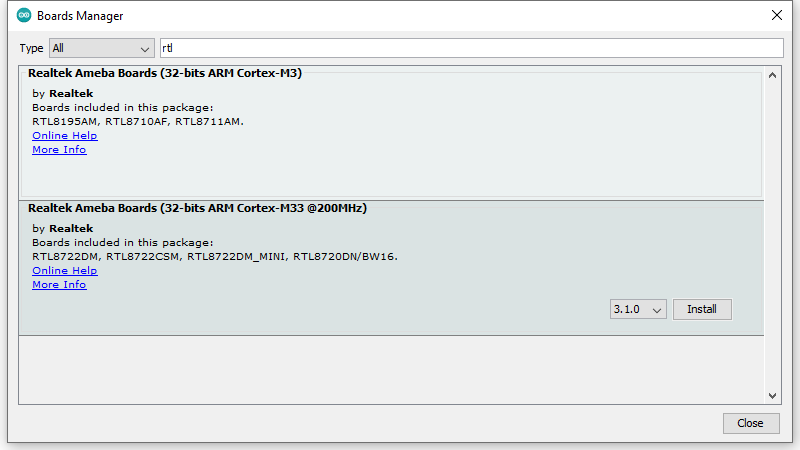
Next, go to “Tools” -> “Board” -> “Boards Manager” to install AmebaD package.
Find “Realtek Ameba Boards (32-bits ARM Cortex-M33 @200MHz)” in the list, click “Install”, then the Arduino IDE starts to download required files for AmebaD.
Take a look at the pin diagram.
AMB21 / AMB22:
AMB23:

BW16:
BW16 type C:

and connect accordingly.
Firstly, you need to prepare a picture/photo in the format of 296×128 pixels. We can easily find a photo resizing tool online.
Following the instructions on the website, then download the generated image in JPG format.
Secondly, we use the Image2LCD tool to transfer the downloaded 296×128 image into hexadecimal codes. You can visit this YouTube link to get detailed instructions.


 Dave's Dev Lab
 Splendide_Mendax
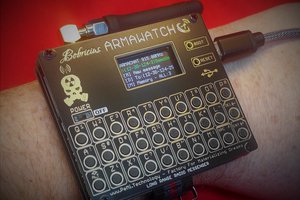
 bobricius