 Michael Gardi
The final assembly is pretty straight forward. I remounted the keyboard. I had already tweaked the keyboard location to correspond with the keyboard cutout on the top panel. I attached the keyboard encoder to the 4 inch cross-bar with a couple of #4 - 1/2 inch wood screws making sure that the 40 pin male connector on the encoder lined up with the 40 pin male connector on the underside of the keyboard. I made a 40 pin female to female IDC flat ribbon cable about 280 mm long and connected the encoder to the keyboard.
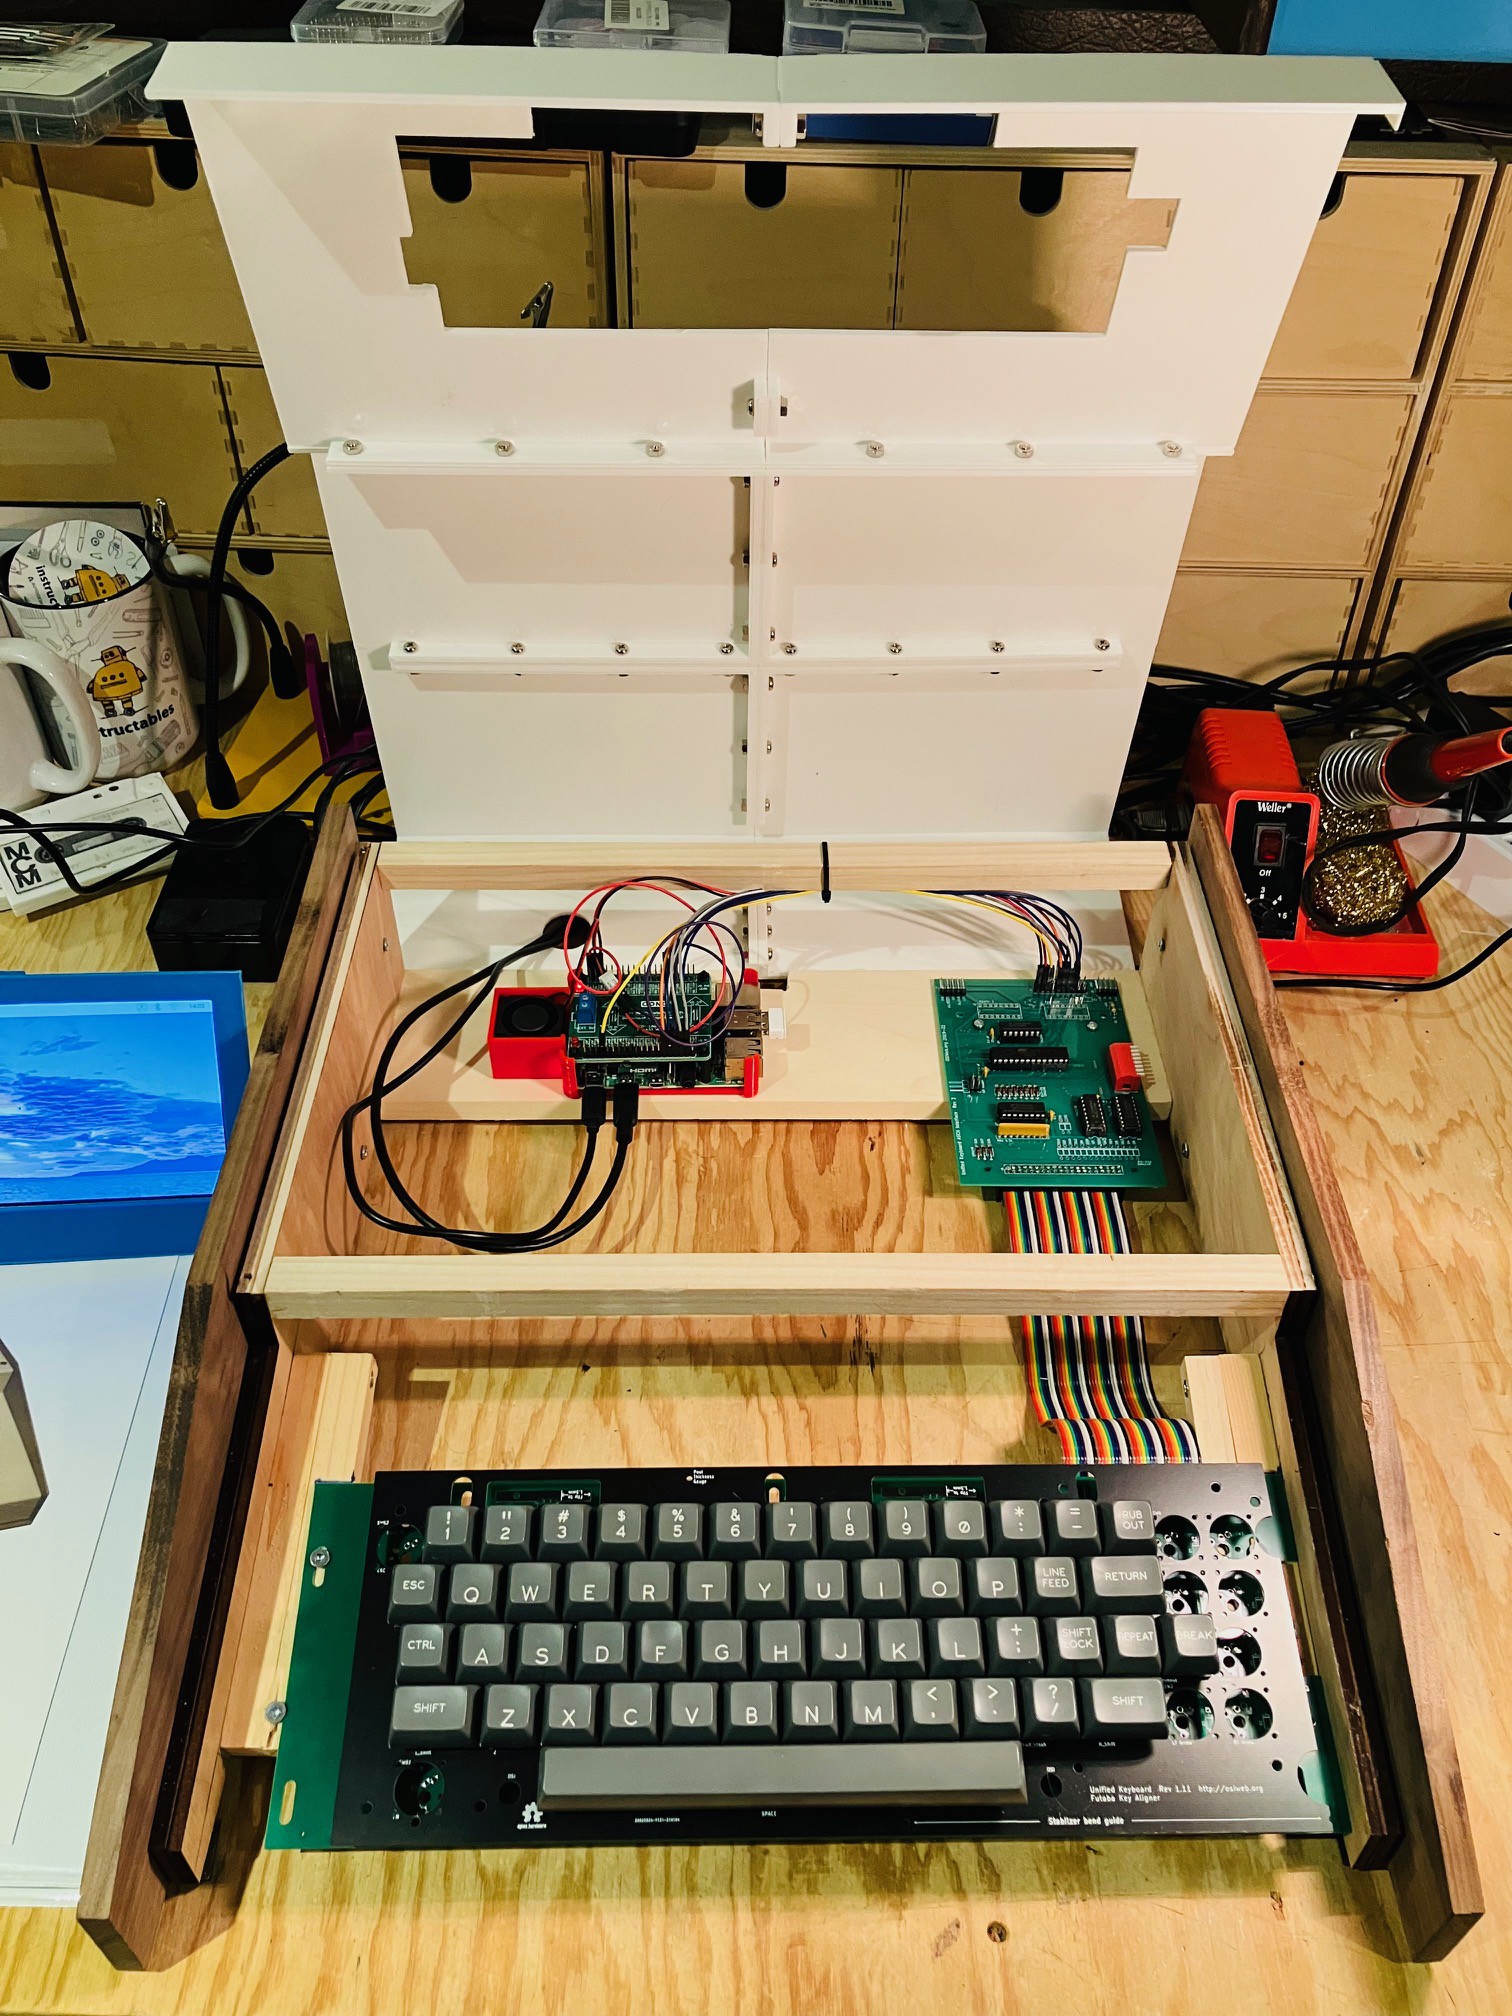
I also printed a "caddy" (red) to hold the Pi 4 in place and added a small 30 mm x 30 mm x 10 mm blower fan for good measure to keep things cool. The fan I used is from Amazon: GDSTIME 3cm 30mm x 10mm 5V DC Brushless Small Blower Cooling Fan, with Dual Ball Bearings. The fan and the keyboard will be run off of the Pi's power supply. The Pi and the caddy are secured in place to with two sided tape.
I ran the Pi power and HDMI cable in through the hole in the back of the case, then dropped the top panel into place.
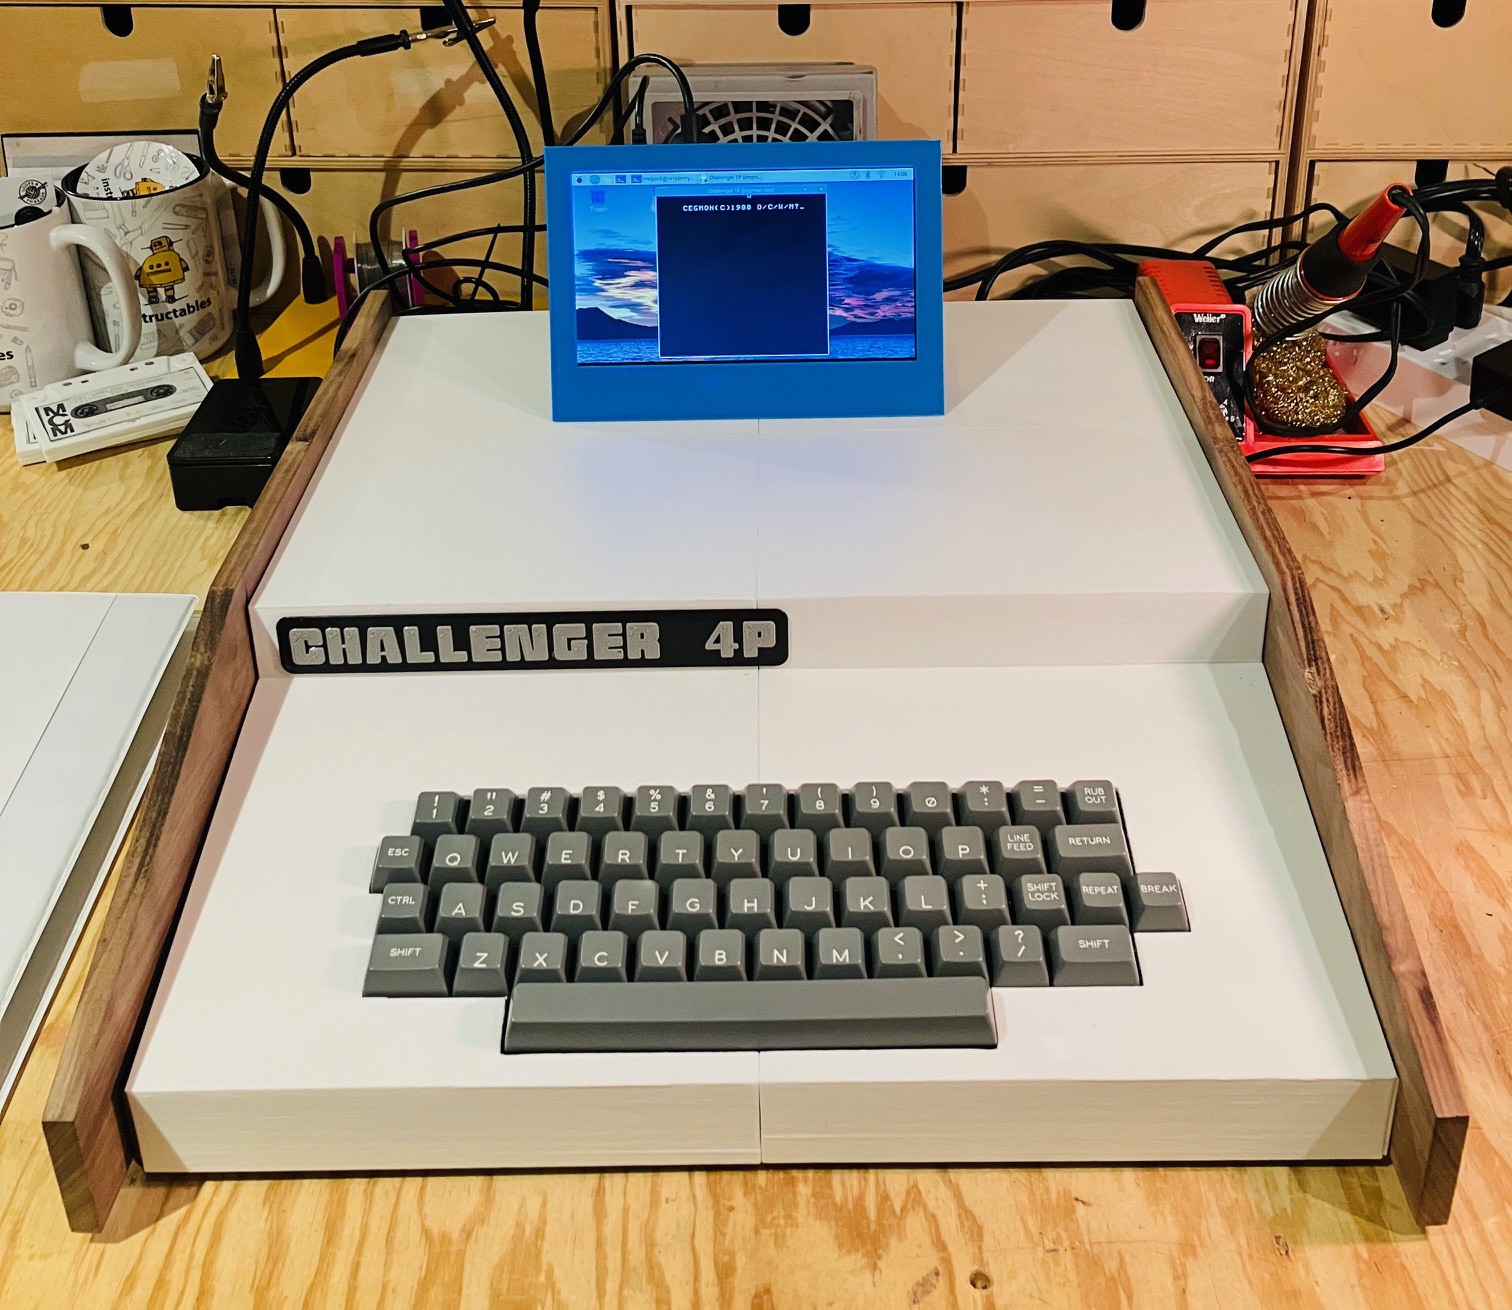
And that's it. There is still some work I want to do on the emulator, I am still waiting for the sheet metal version of the top panel, and I am still on the lookout for a period appropriate composite monitor, but the hardware is basically done.
Discussions
Become a Hackaday.io Member
Create an account to leave a comment. Already have an account? Log In.