 Atte Linna
What's it all about?
Background
This project started initially as a sidekick during my industrial design studies. In 2018 I stumbled upon the Hangprinter project which had an unique cable-driven motion system. Instantly I understood the potential of this concept over anything else what comes to expendability.
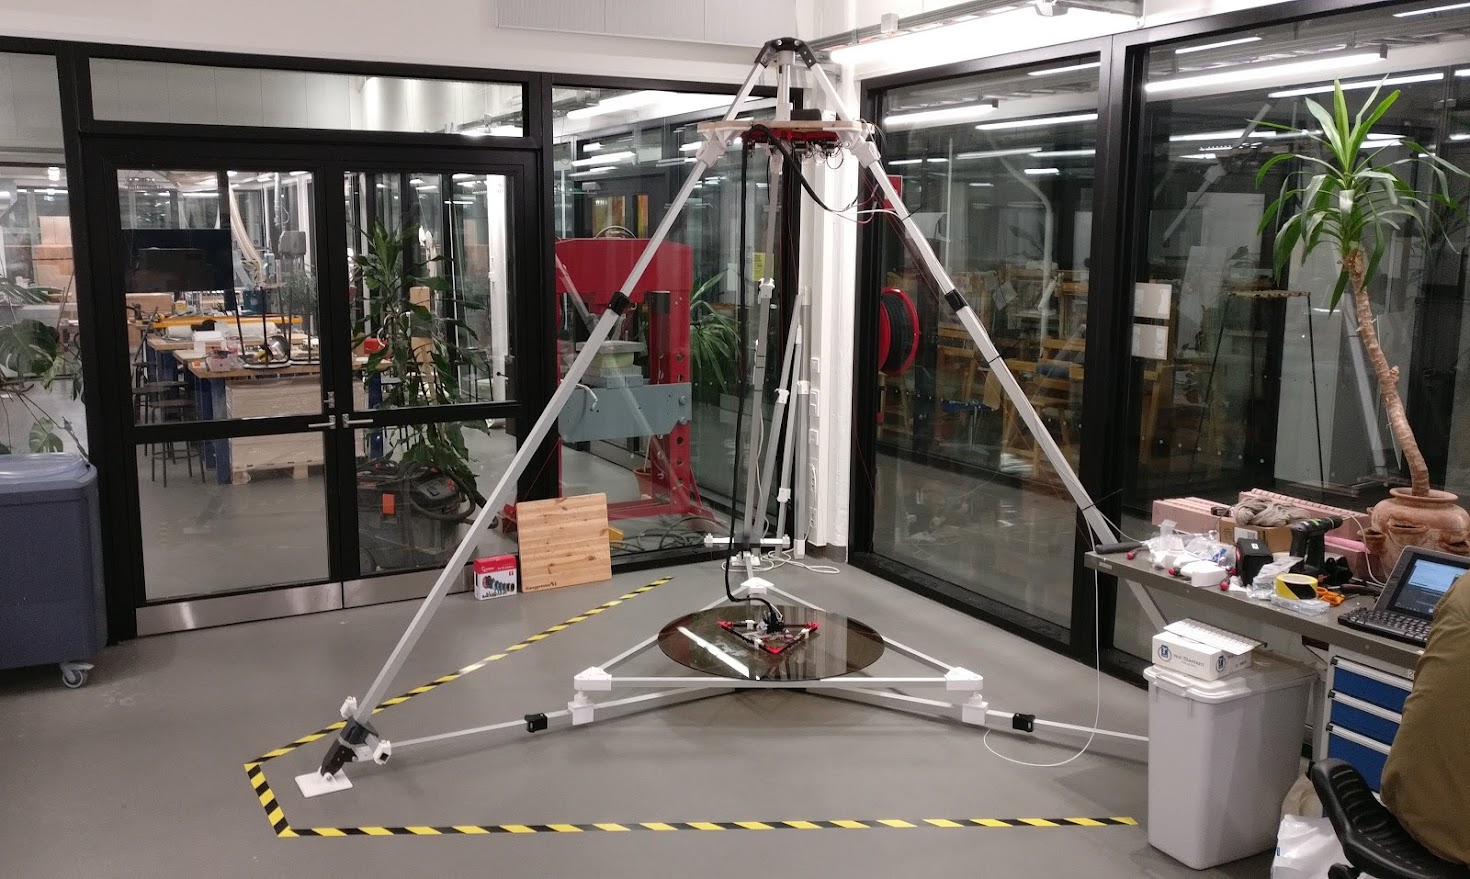
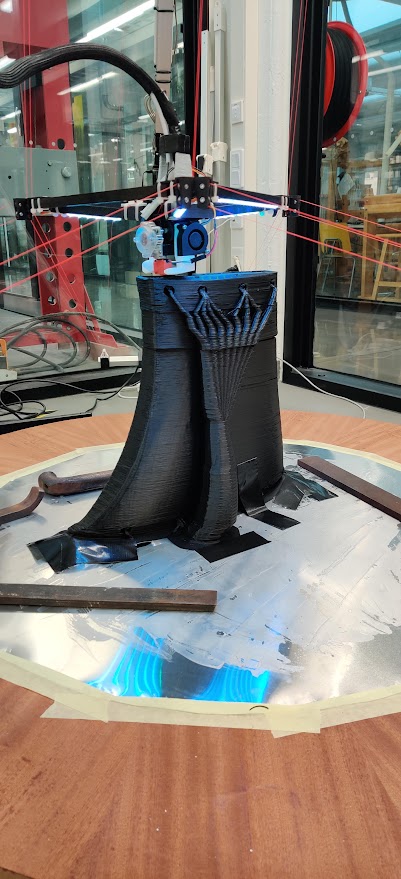
I built a Hangprinter v3.2 during the summer break during which I had access to the university's labs and workshops. The Hangprinter is meant to be attached to the ceiling of a room and having anchor points at floor level for pivoting the lines responsible for XY-movement. Ceiling attachment was right away out of question because of the high ceiling. So, I needed to start working on a frame design first.

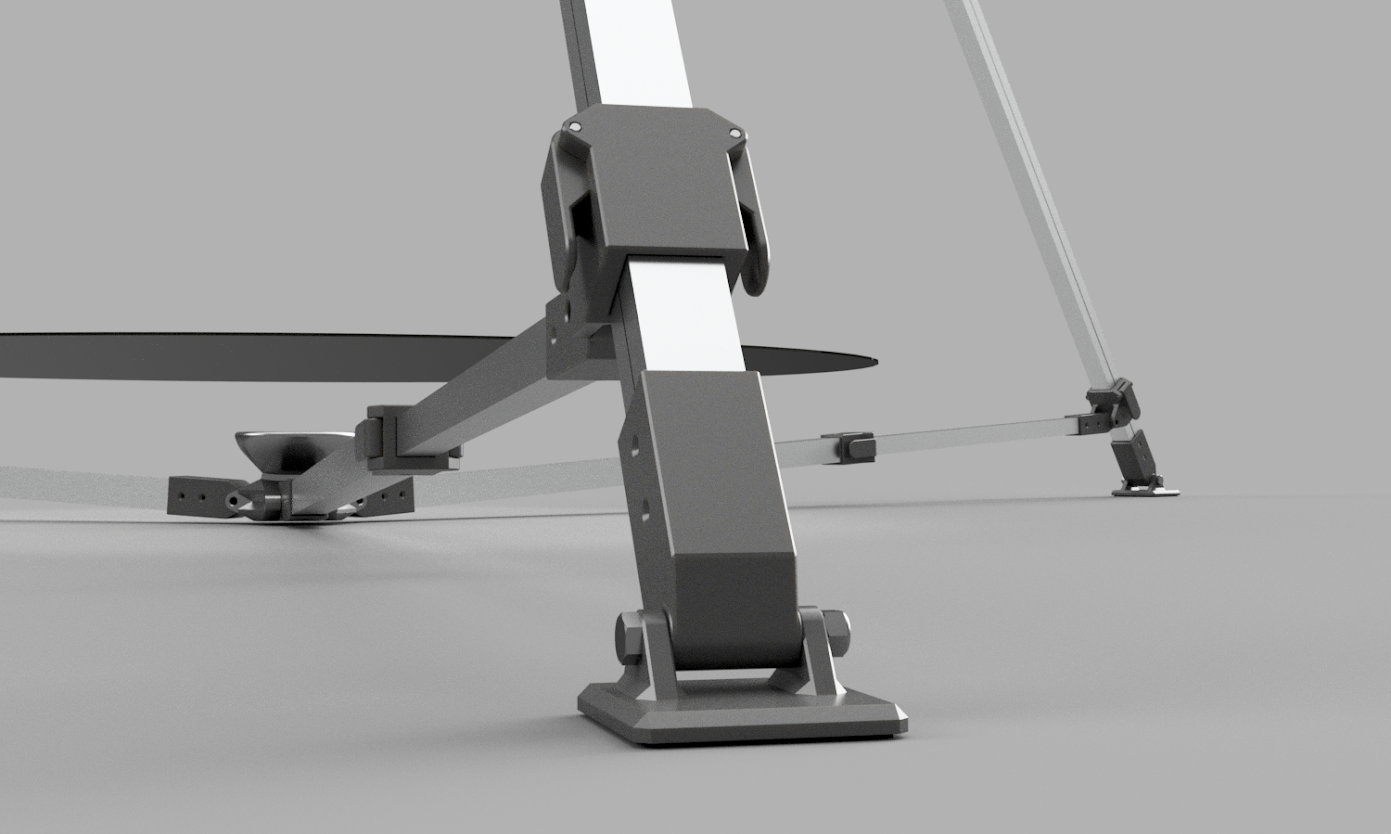
The outcome was a lightweight frame made of square aluminum profile. There was a smaller beam inside a larger one and a clamping mechanism locking them together in place. That way I could adjust the size of the frame. The print surface was a 8 mm thick tempered glass table top laying on top of height adjustable standoffs. These were meant for leveling the bed.
Calibration of the Hangprinter proved to be extremely difficult due to the non-linear kinematics which required exact measurements of the anchor points and line lengths. I don't want to imagine what it would have been without a frame. Luckily nowadays Torbjorn has developed an auto-calibration system based on visual position feedback of the end effector and some nice scripts.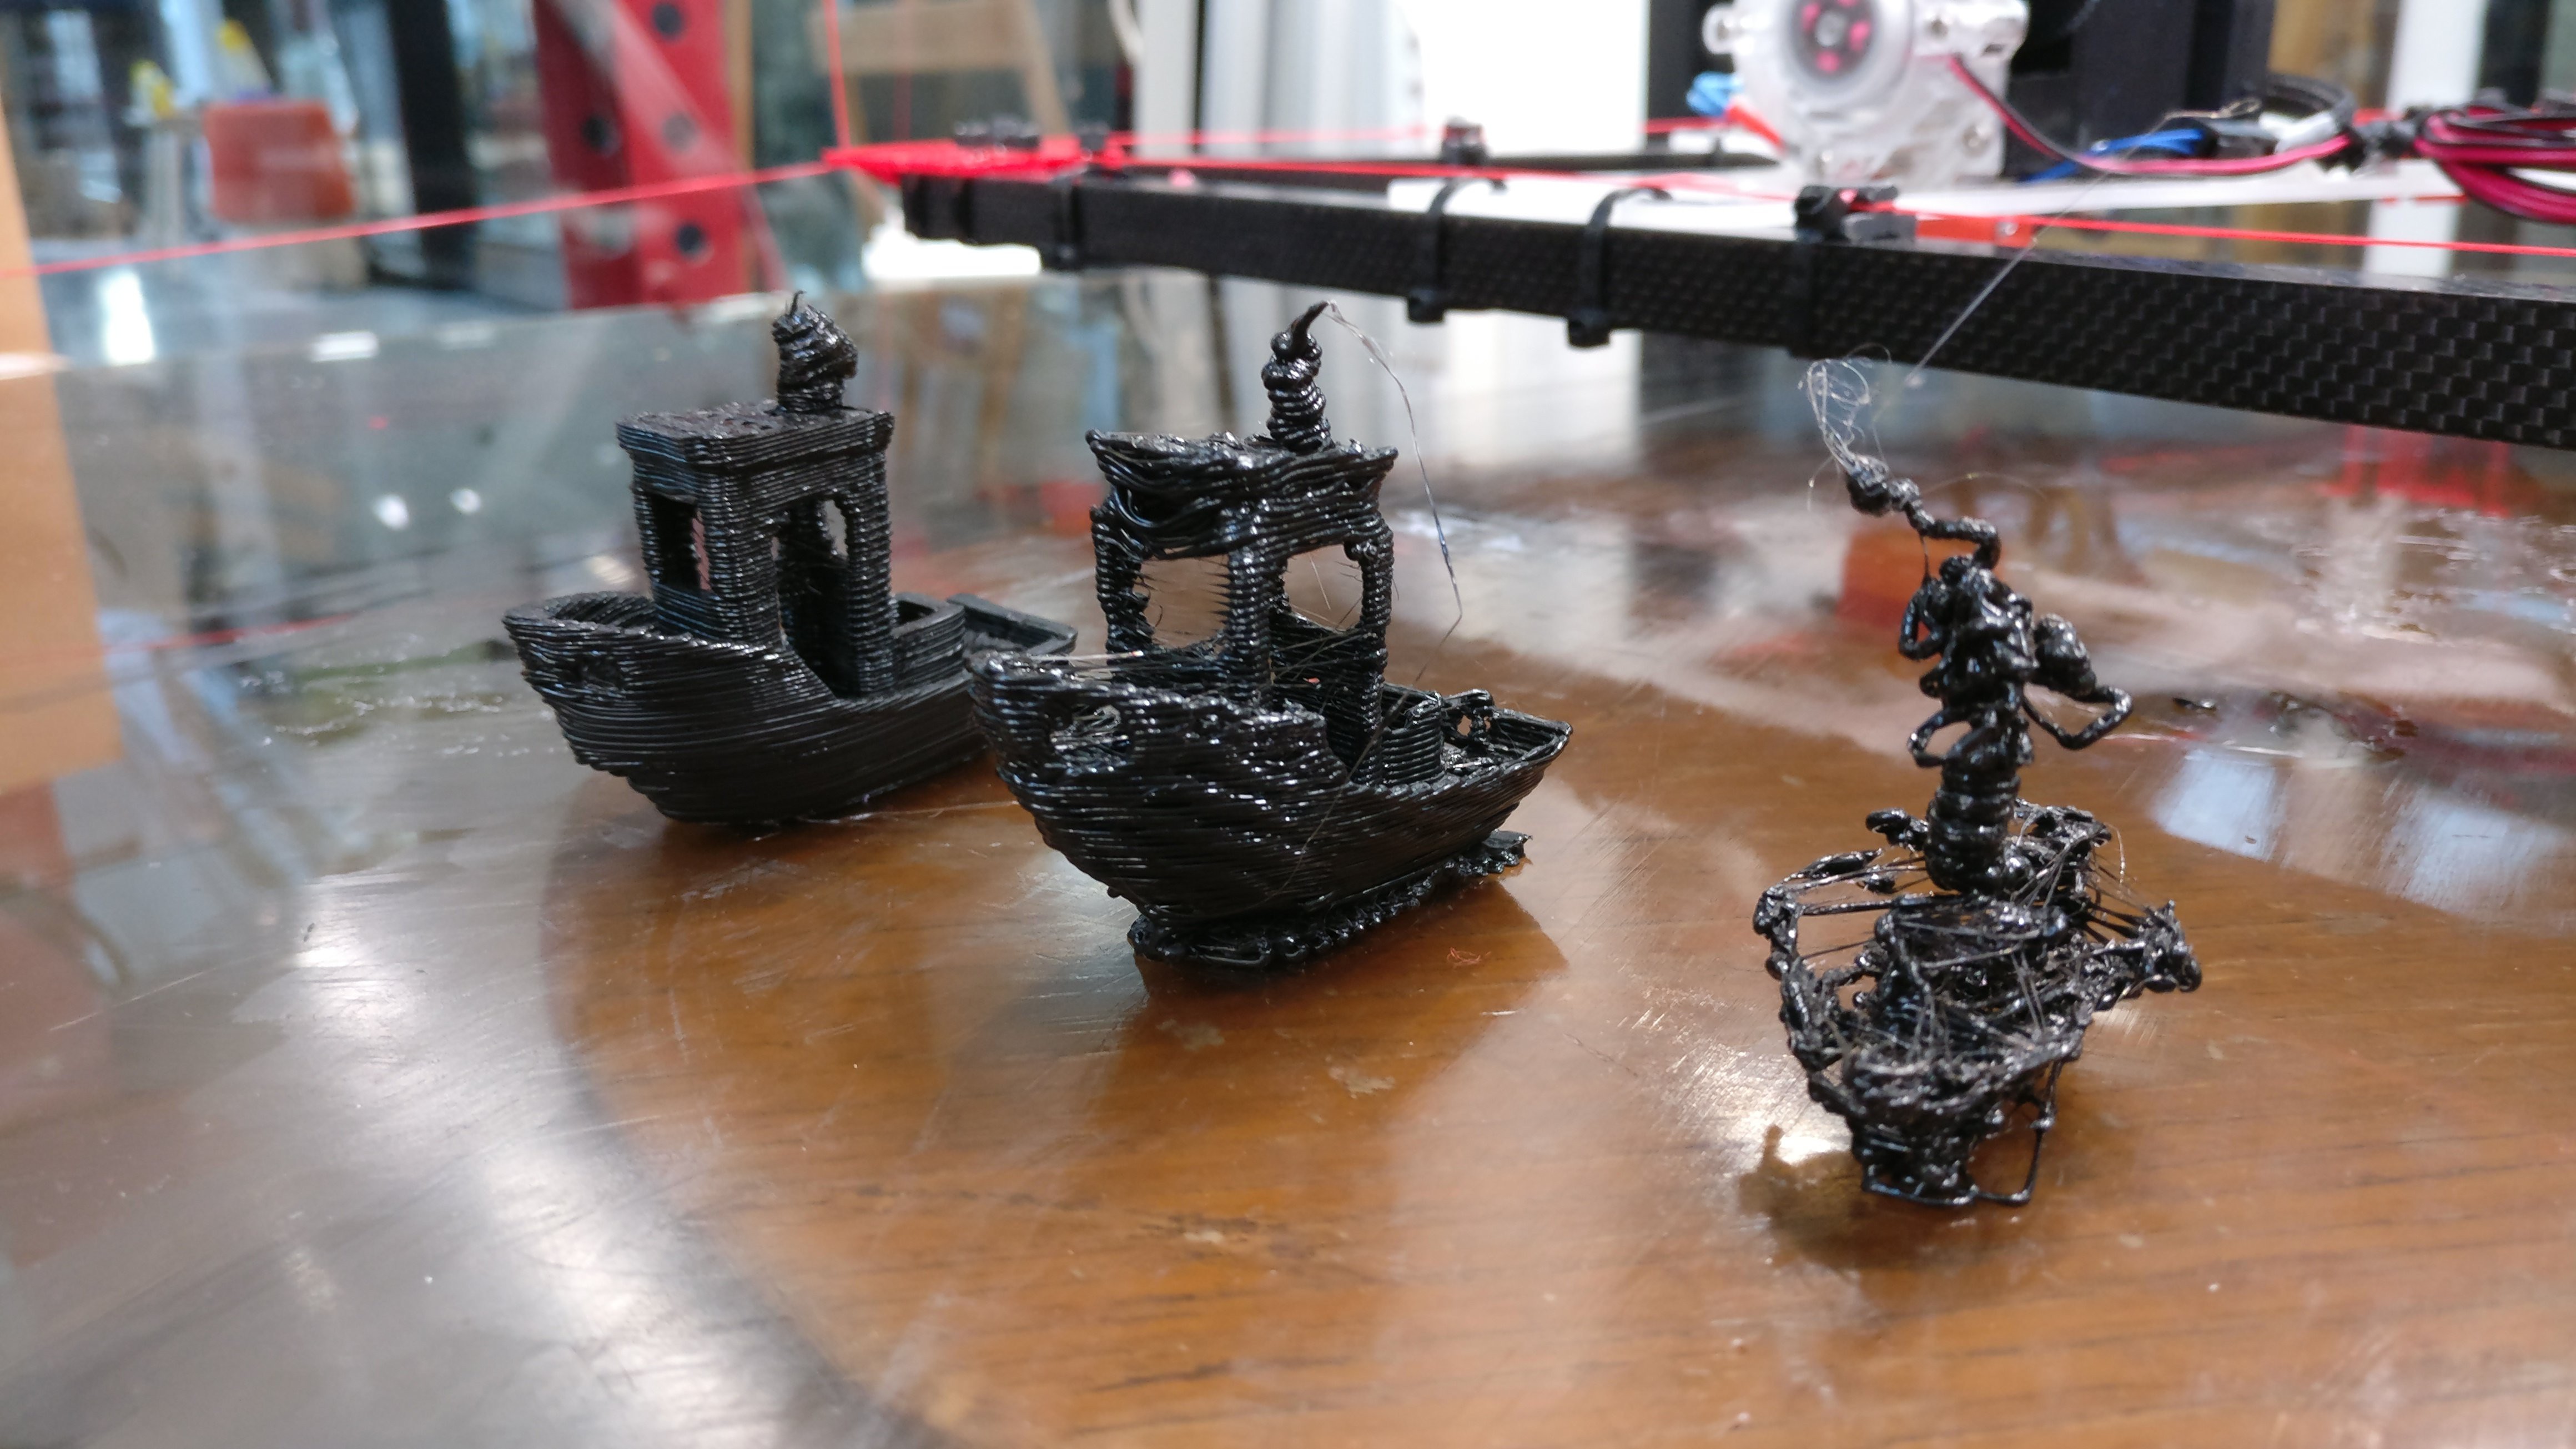
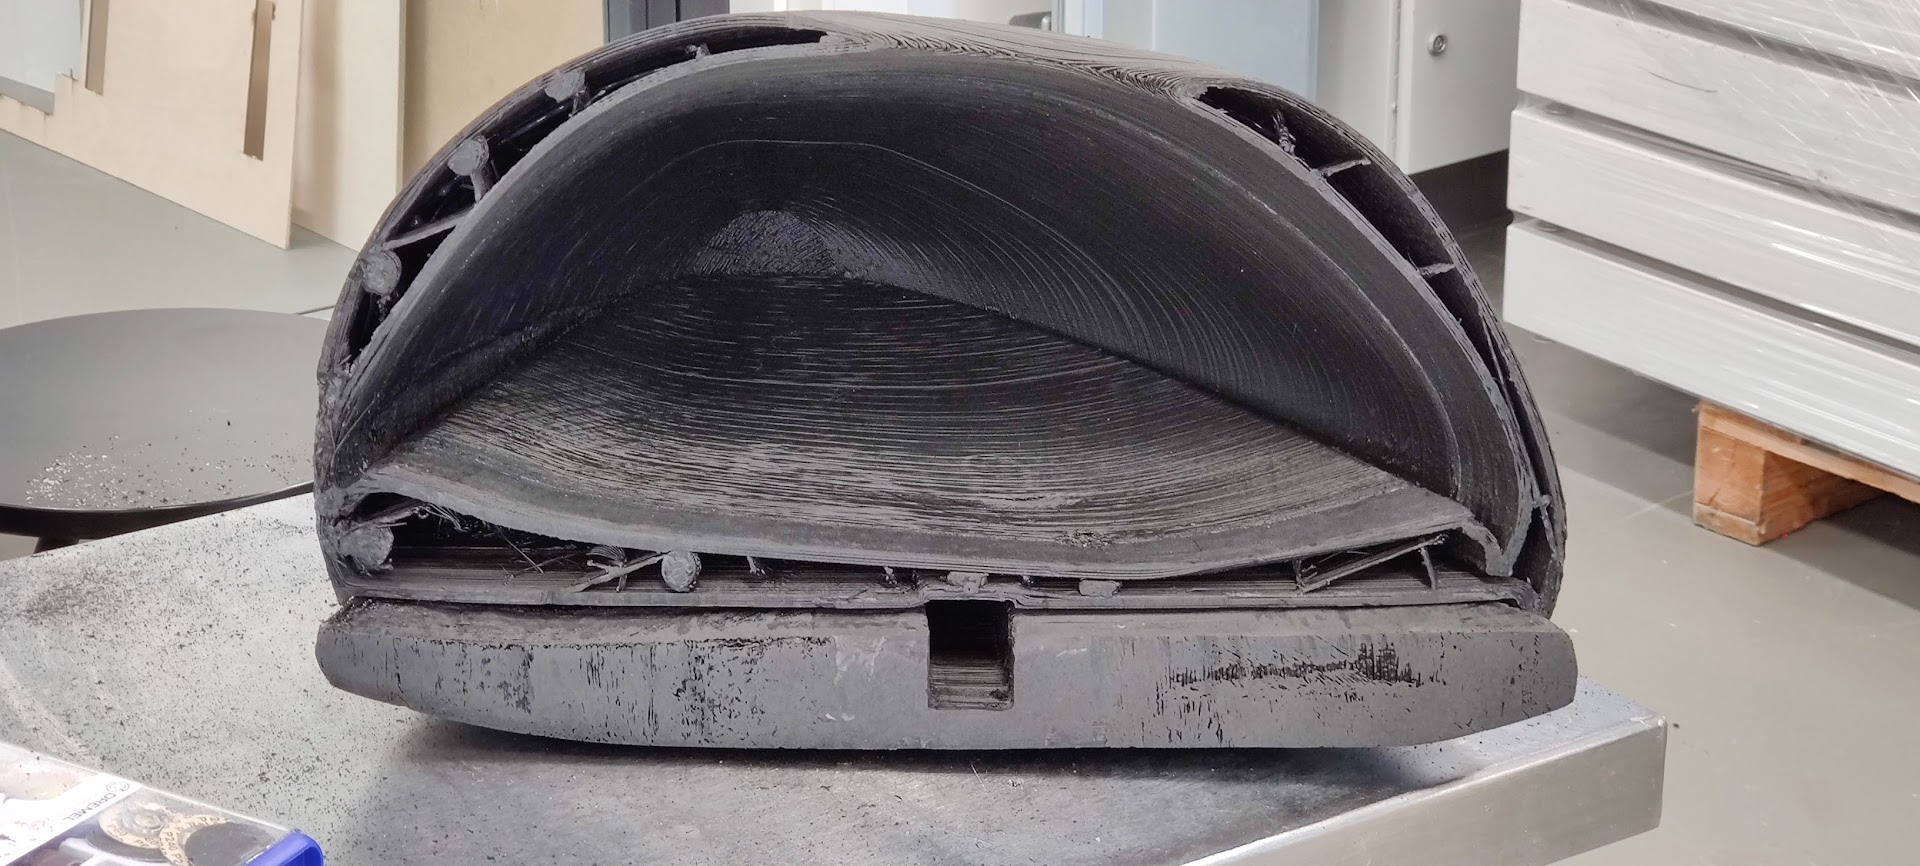
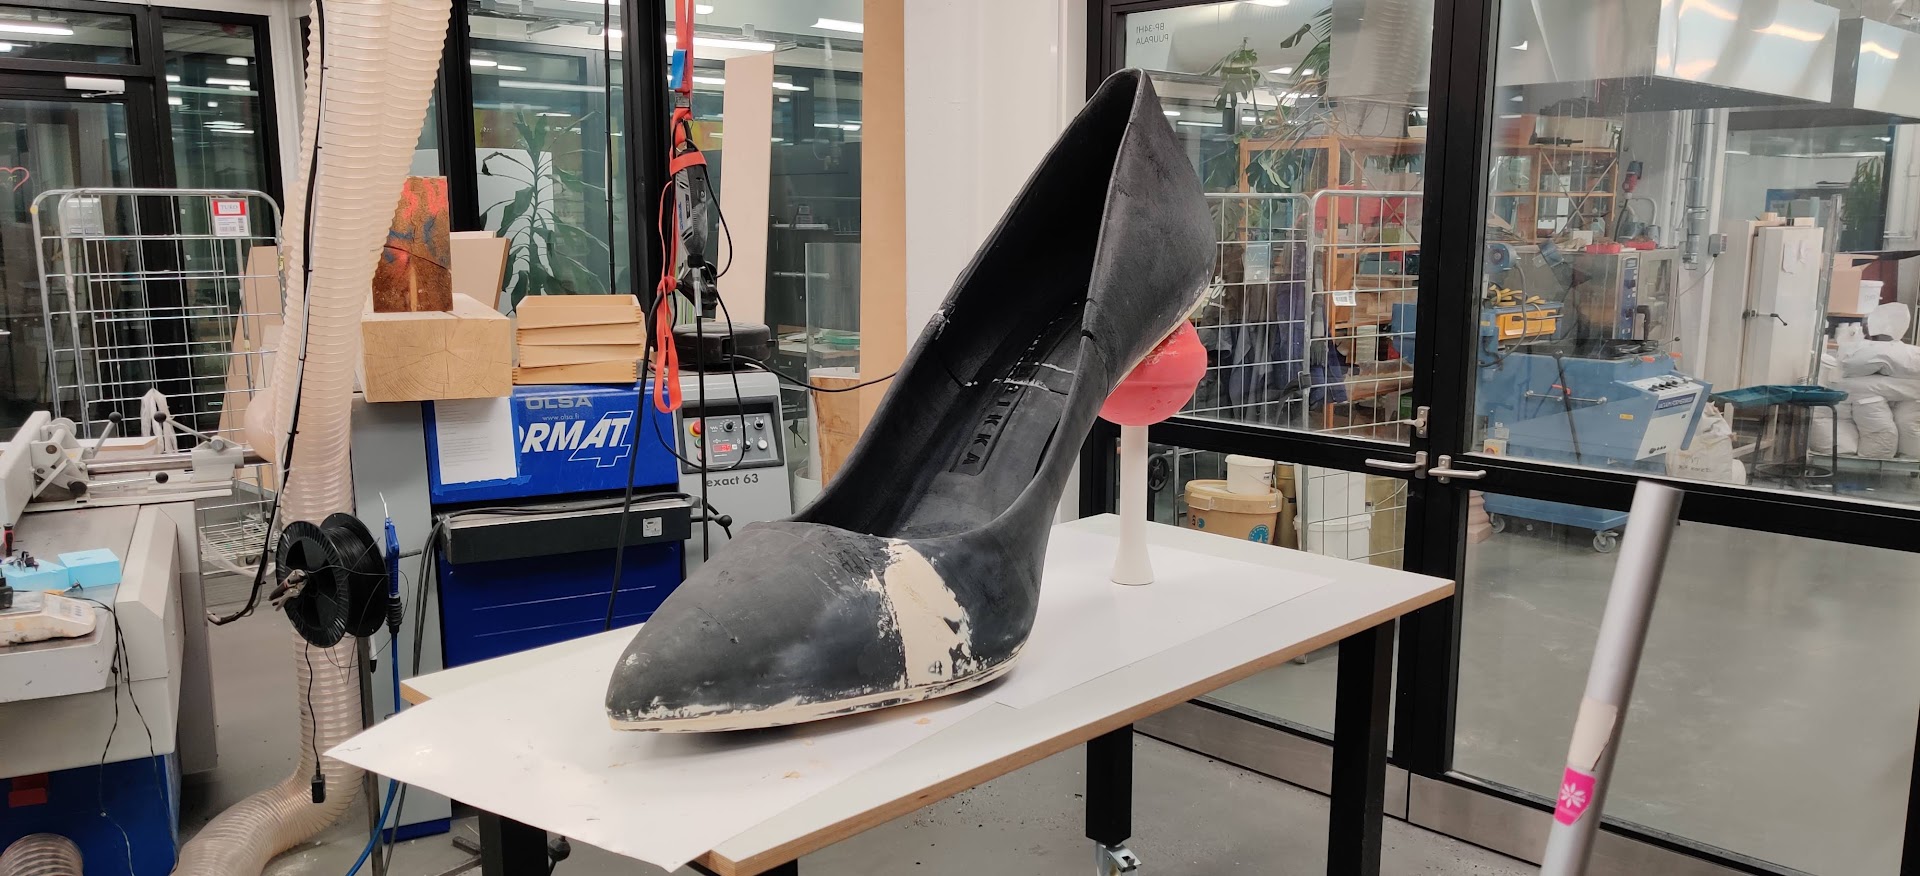
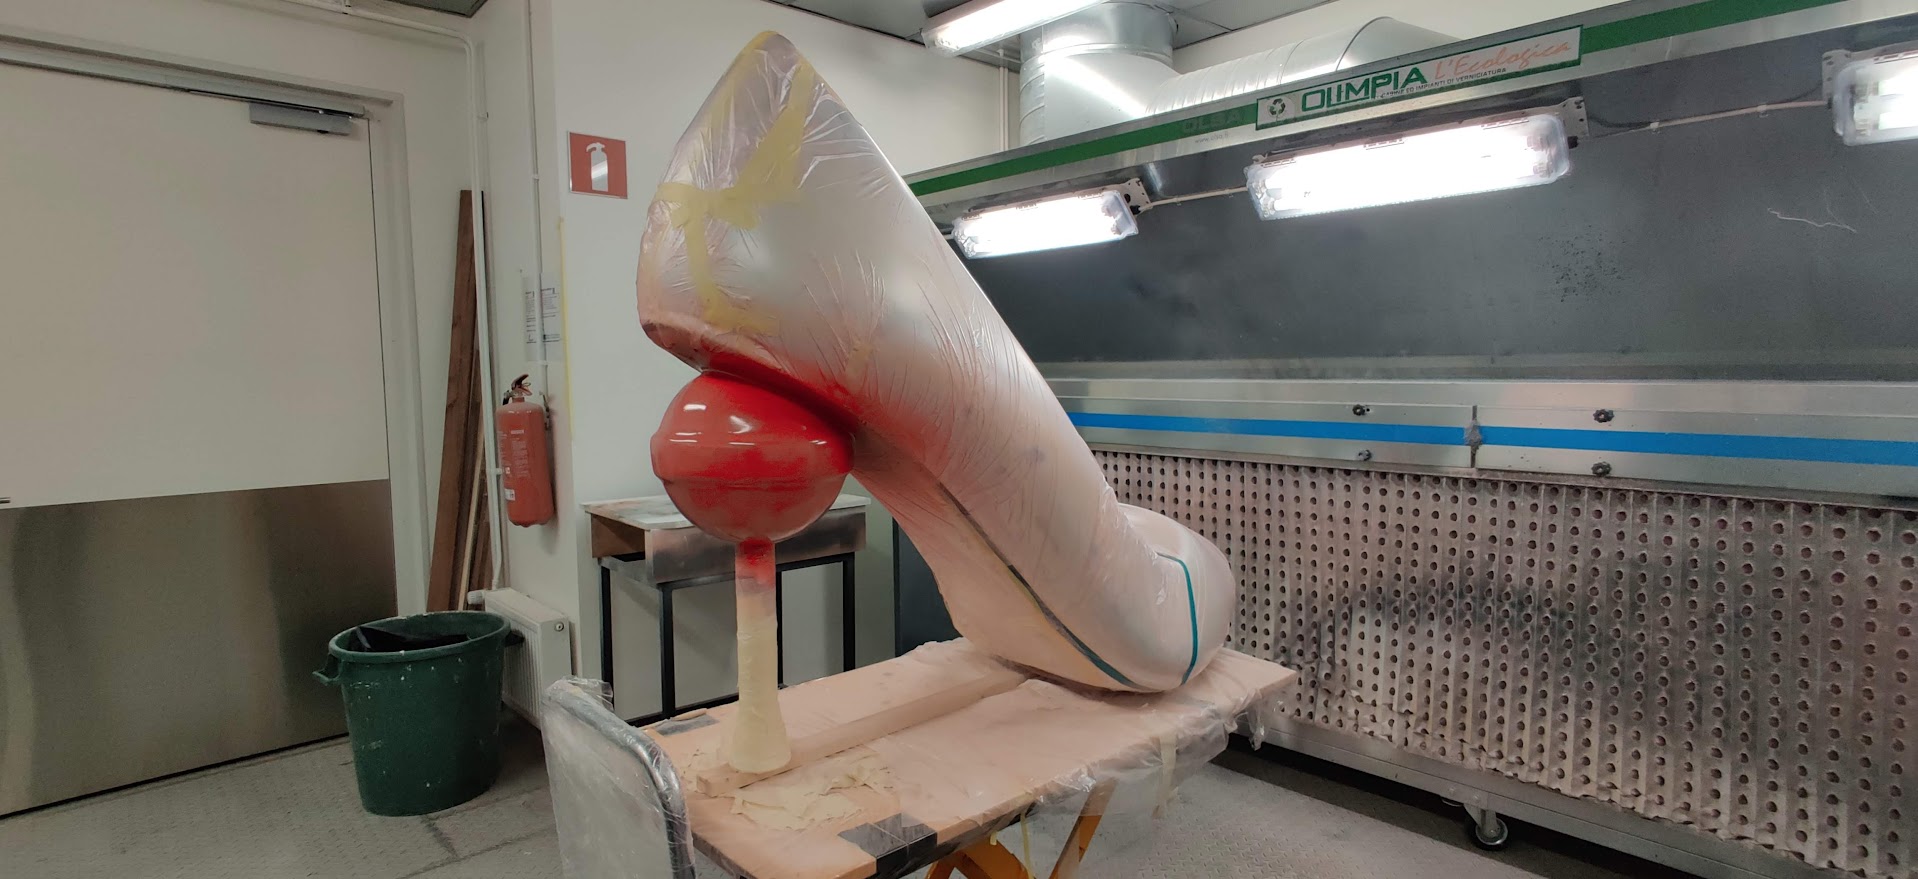
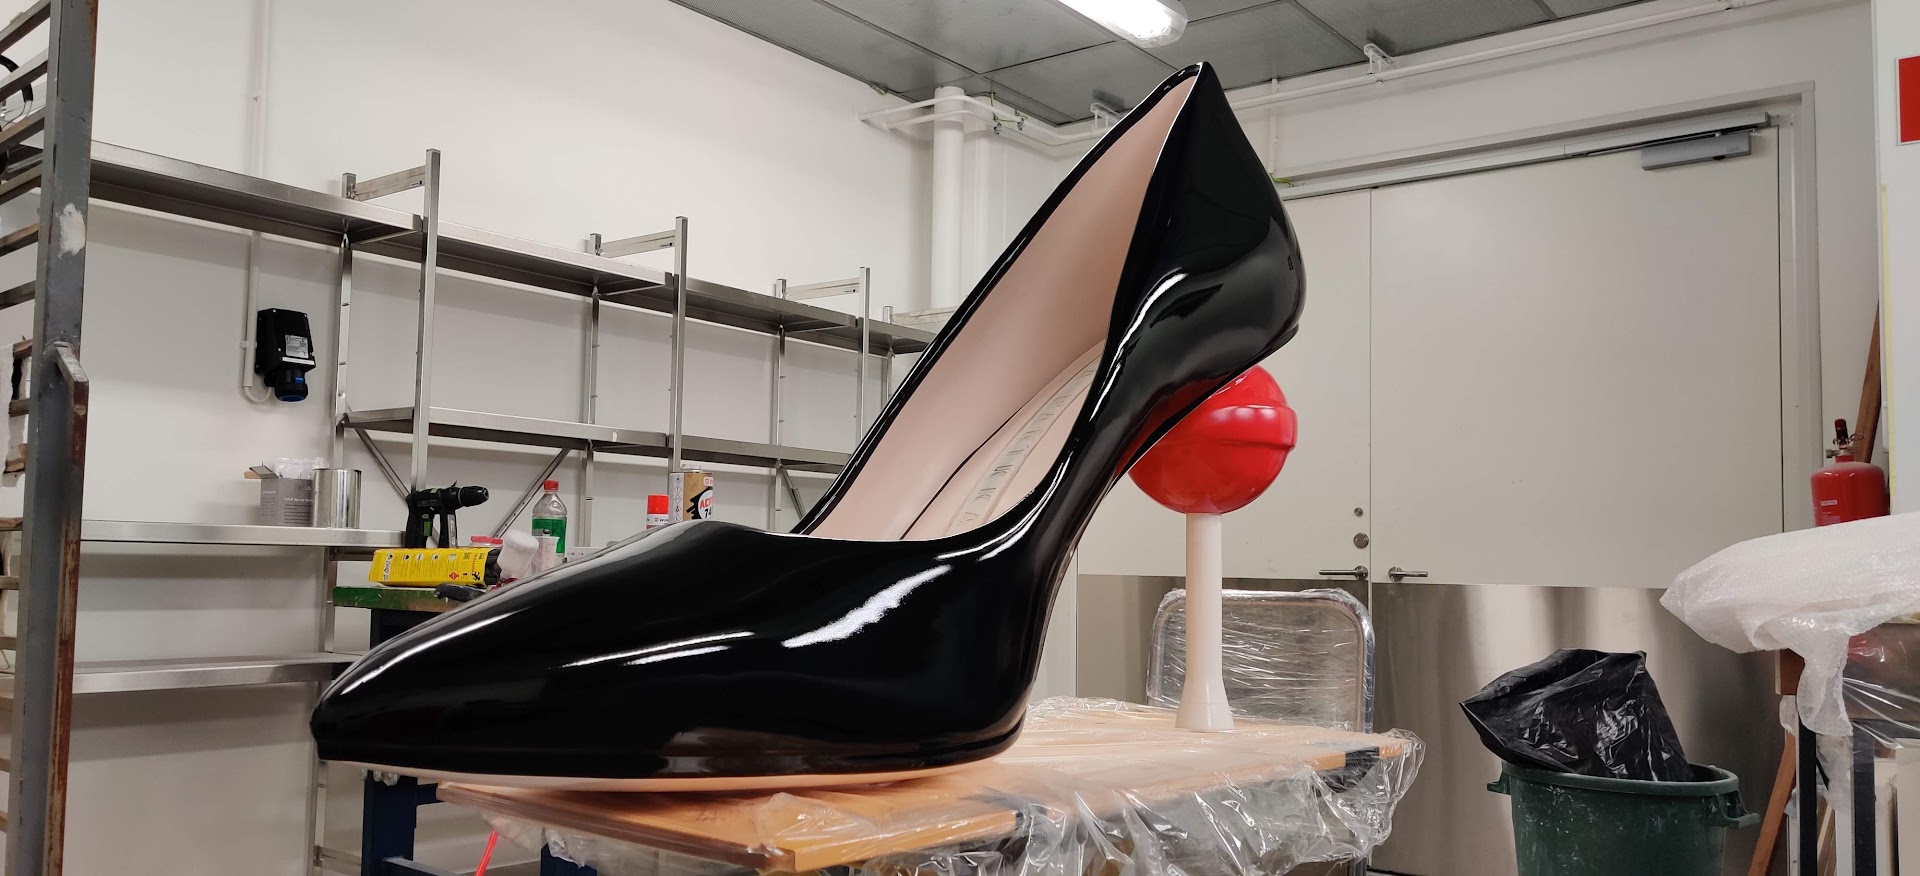
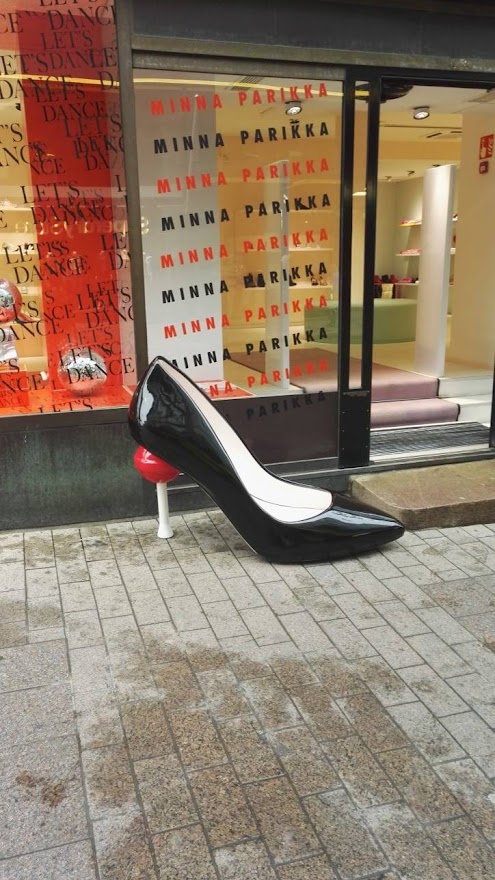
After first prints the frame was enhanced with a couple of tweaks here and there. Then in 2019 we got the change to use the printer first time for a commercial print project for the Finnish shoe designer Minna Parikka. She wanted to have a huge 1 meter tall replica of her iconic Joan high heel to be placed in front of her flagship store in Helsinki. We accepted the challenge and it took the printer (and us) to the limits of what was possible. But at the end of the day we were very proud of the outcome.


From FDM extrusion to FGF extrusion
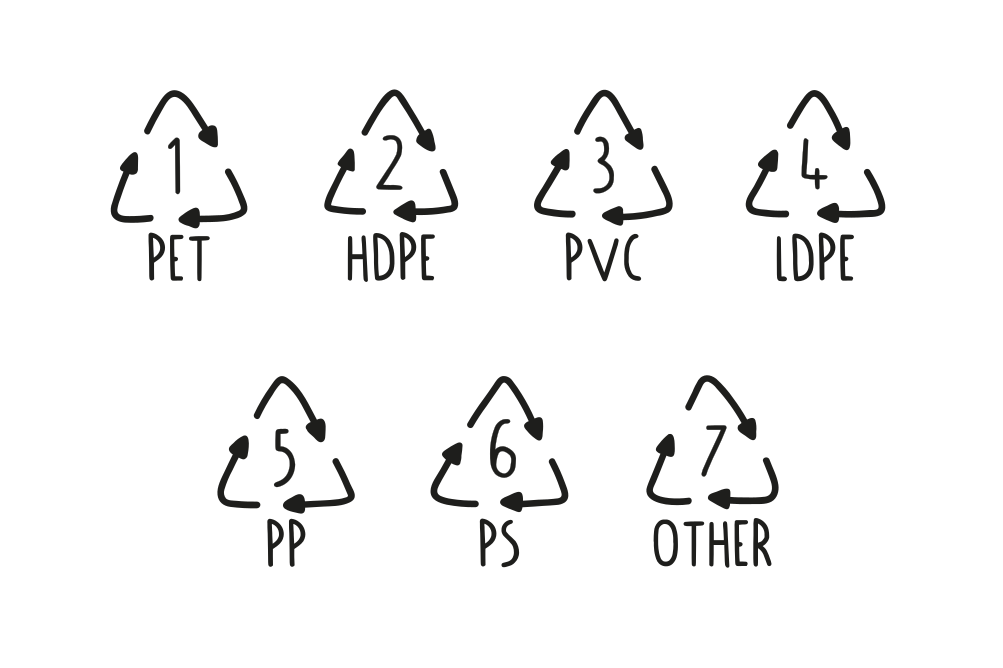
At this point we still used a FDM extruder for printing. Which in hindsight was a mind-blowing lesson for us. Once we started calculating how much money and resources were wasted by not being able to reuse print supports and failed prints, we pretty fast concluded there is no future for FDM in this class of 3D printers.
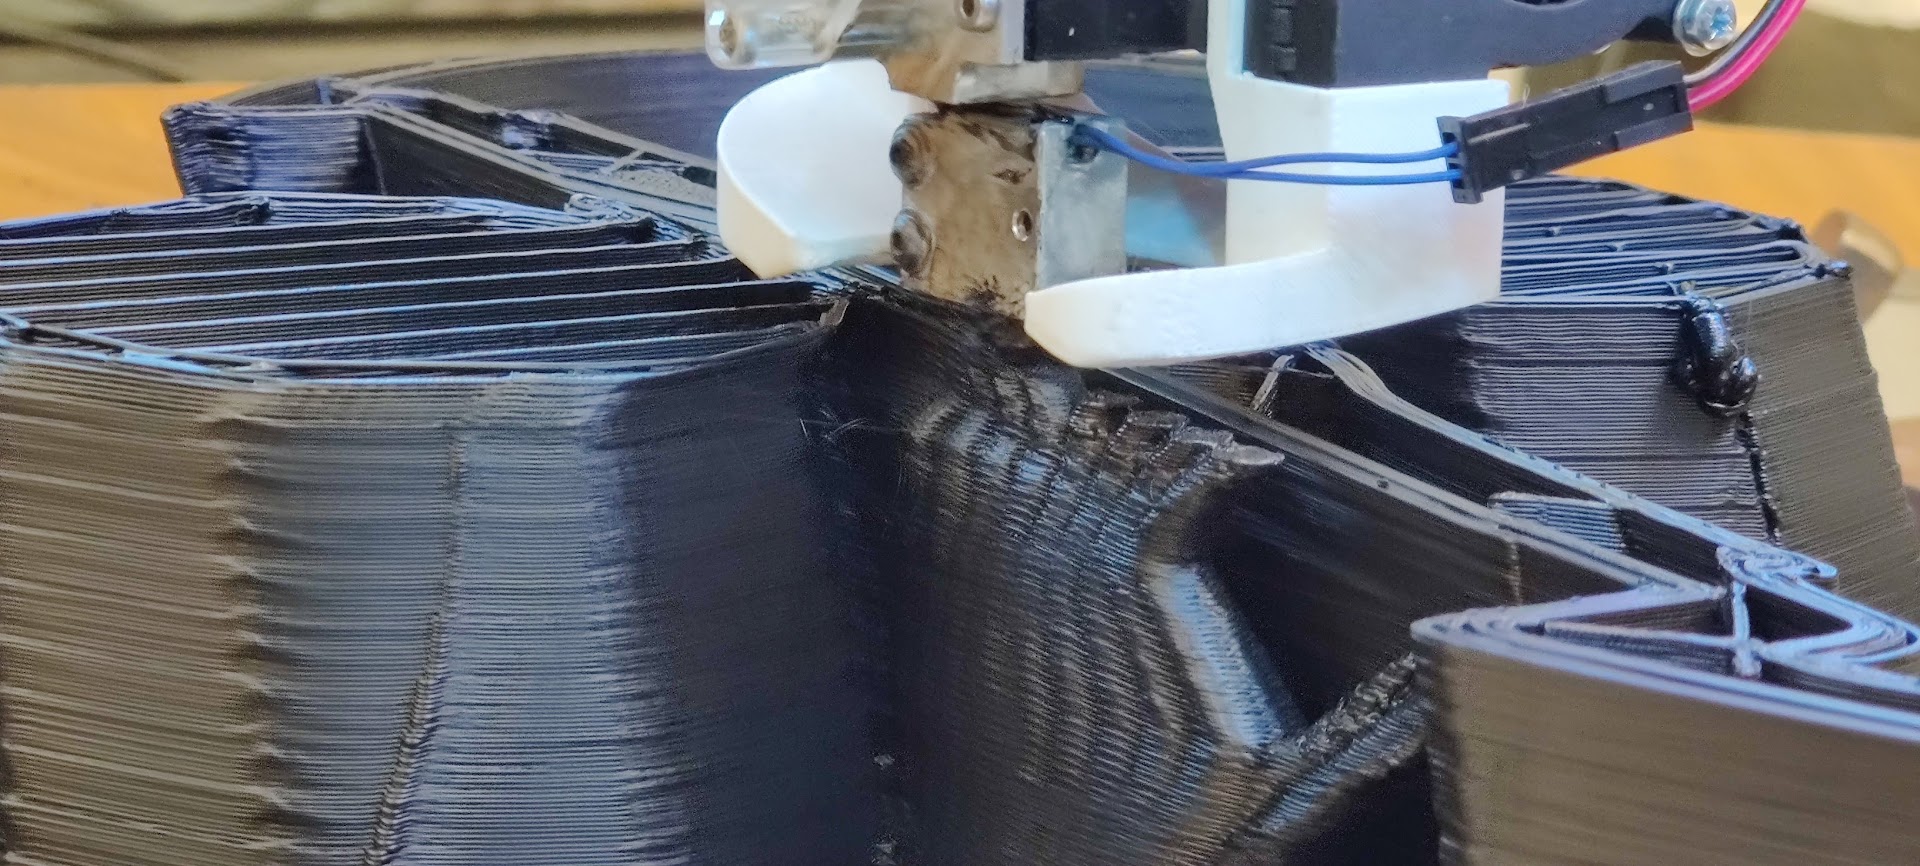
In 2018/19 first pellet extruders for 3D printers popped on the surface, like the Mahor Pellet Extruder. After going through some reviews and having had a look on the CAD models we considered it too small for our intensions. Commercial pellet extruders like the Pulsar extruder were closer to our specs, but unfortunately they were completely out of our budget. Instead we decided to develop our own based on the 16 mm compression screw from RobotDigg. Out came our Badass Pellet Extruder.
You can check early steps of the development on the RepRap Forum
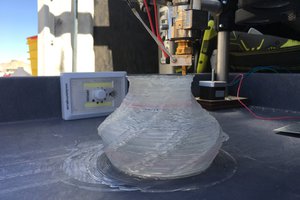
After the initial design & development stage we were pretty quick to get first extrusions with plastic flakes. But now we lacked a printer sturdy and strong enough for the pellet extruder :) Together with a new end effector made of steel we were looking at around 10 kg of mass. It was way too much for the Hangprinter to bear. This is when development of the Bloft Mk2 started. It had to be designed from scratch, with semi-industrial application in mind from the beginning.
The Bloft Mk2
We founded Bloft Design Lab in 2019 to start commercial development of the printer. In early 2020 we were chosen to participate in the Baltic Sea Challenge agile experiment by the City of Helsinki to test the 3D printability of marine/beach plastic waste for which the experiment was setup to find new recycling methods. The plastic that was collected by volunteers at the Helsinki shoreline was injection molded into standard tensile strength test specimens. These were tested at our university's material test lab. The results revealed only marginally...
Read more »


 Sam Smith
 Swaleh Owais
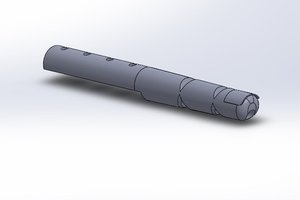
 Alan Chambers
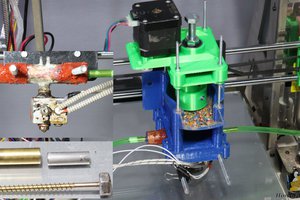
 Norbert Heinz