 Peter Lyons
So I was having issues flashing my Elite-Cs for a while but with some time away from the project and some help from discord I discovered two key problems. One of my MCUs was mounted to the wrong side of the PCB and that was screwing everything up. The other PCB seemed to have some short or problem, but once I pried the MCU out of the socket I was able to flash it properly again.
So this necessitated 2 additional PCB build-outs. I'm now at 3 PCBs I screwed up. Since I have 10 it's no big deal and the other ones could probably be troubleshot and repaired if I had more patience but I am keen to get this keyboard working so I can really get a sense for the switches and 1x4 keywell geometry.
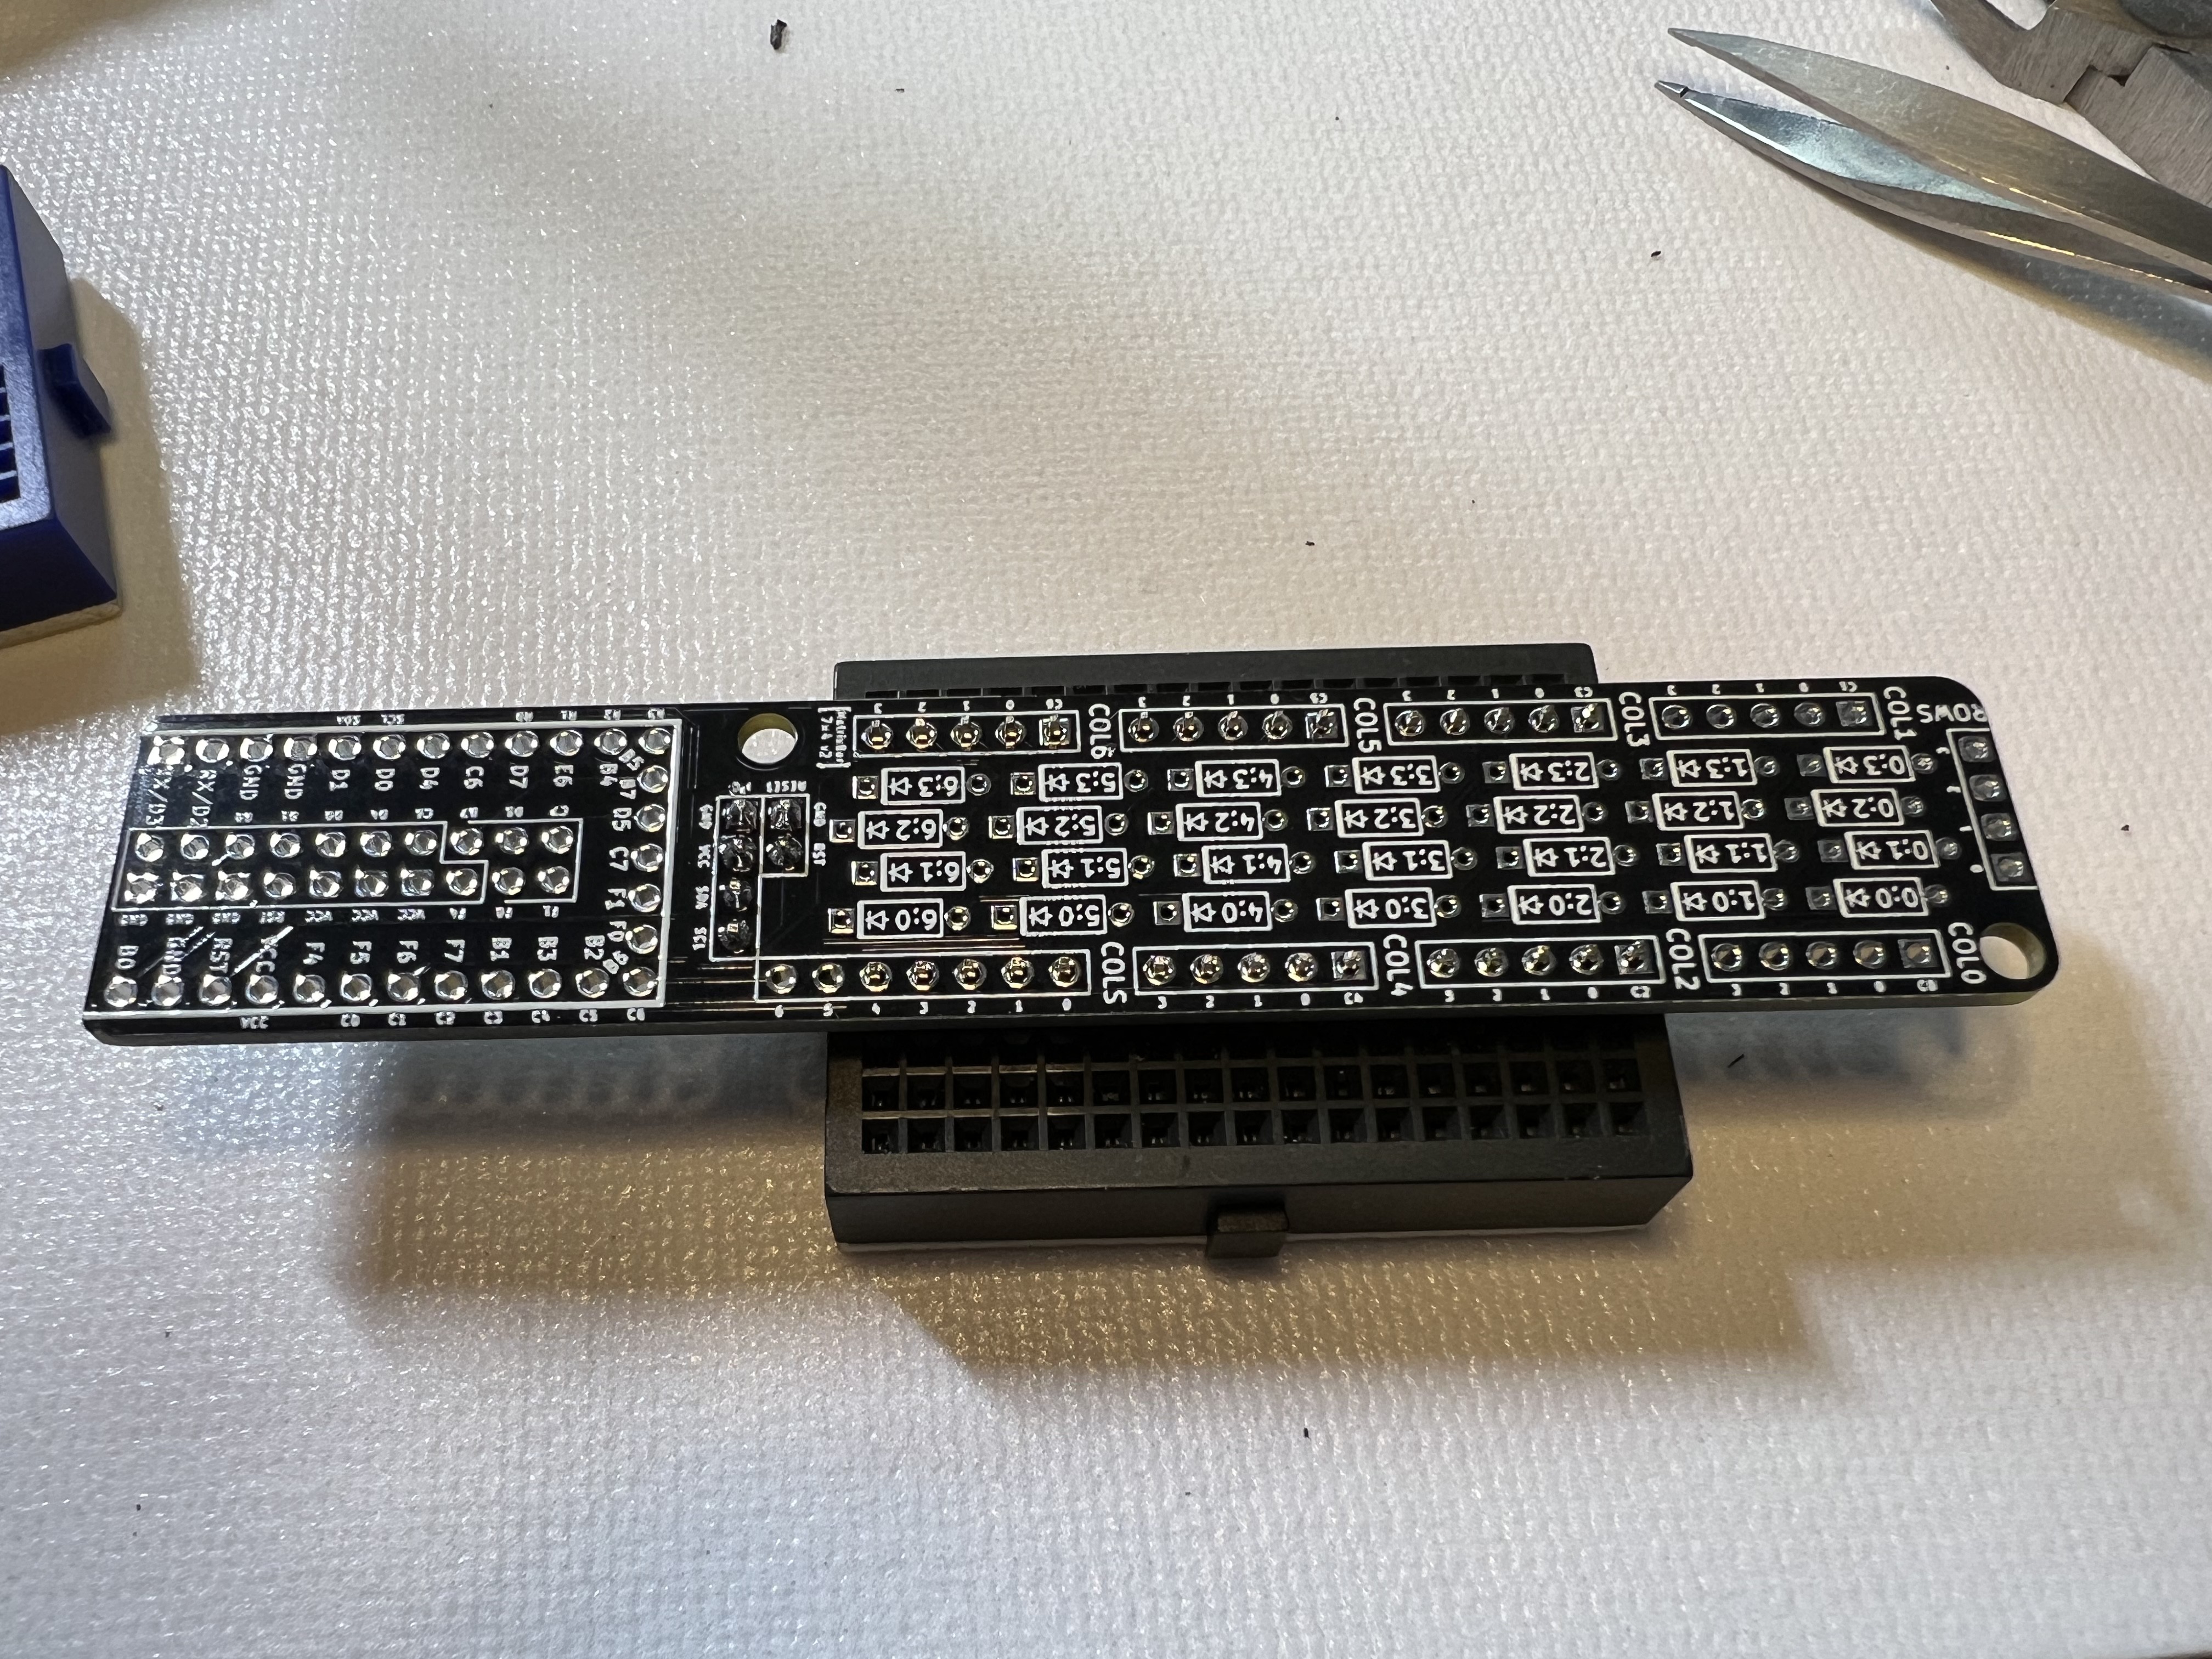
So I did 2 additional rounds of dupont pin header soldering, MCU socket soldering, and diode soldering. Note to self: that order seems to be the best: first get all the pin headers on using breadboards for support, then get the MCU socket pins on, and do all the diodes last. In particular, it's way easier to do the I2C and reset pin headers before the MCU sockets are soldered on.
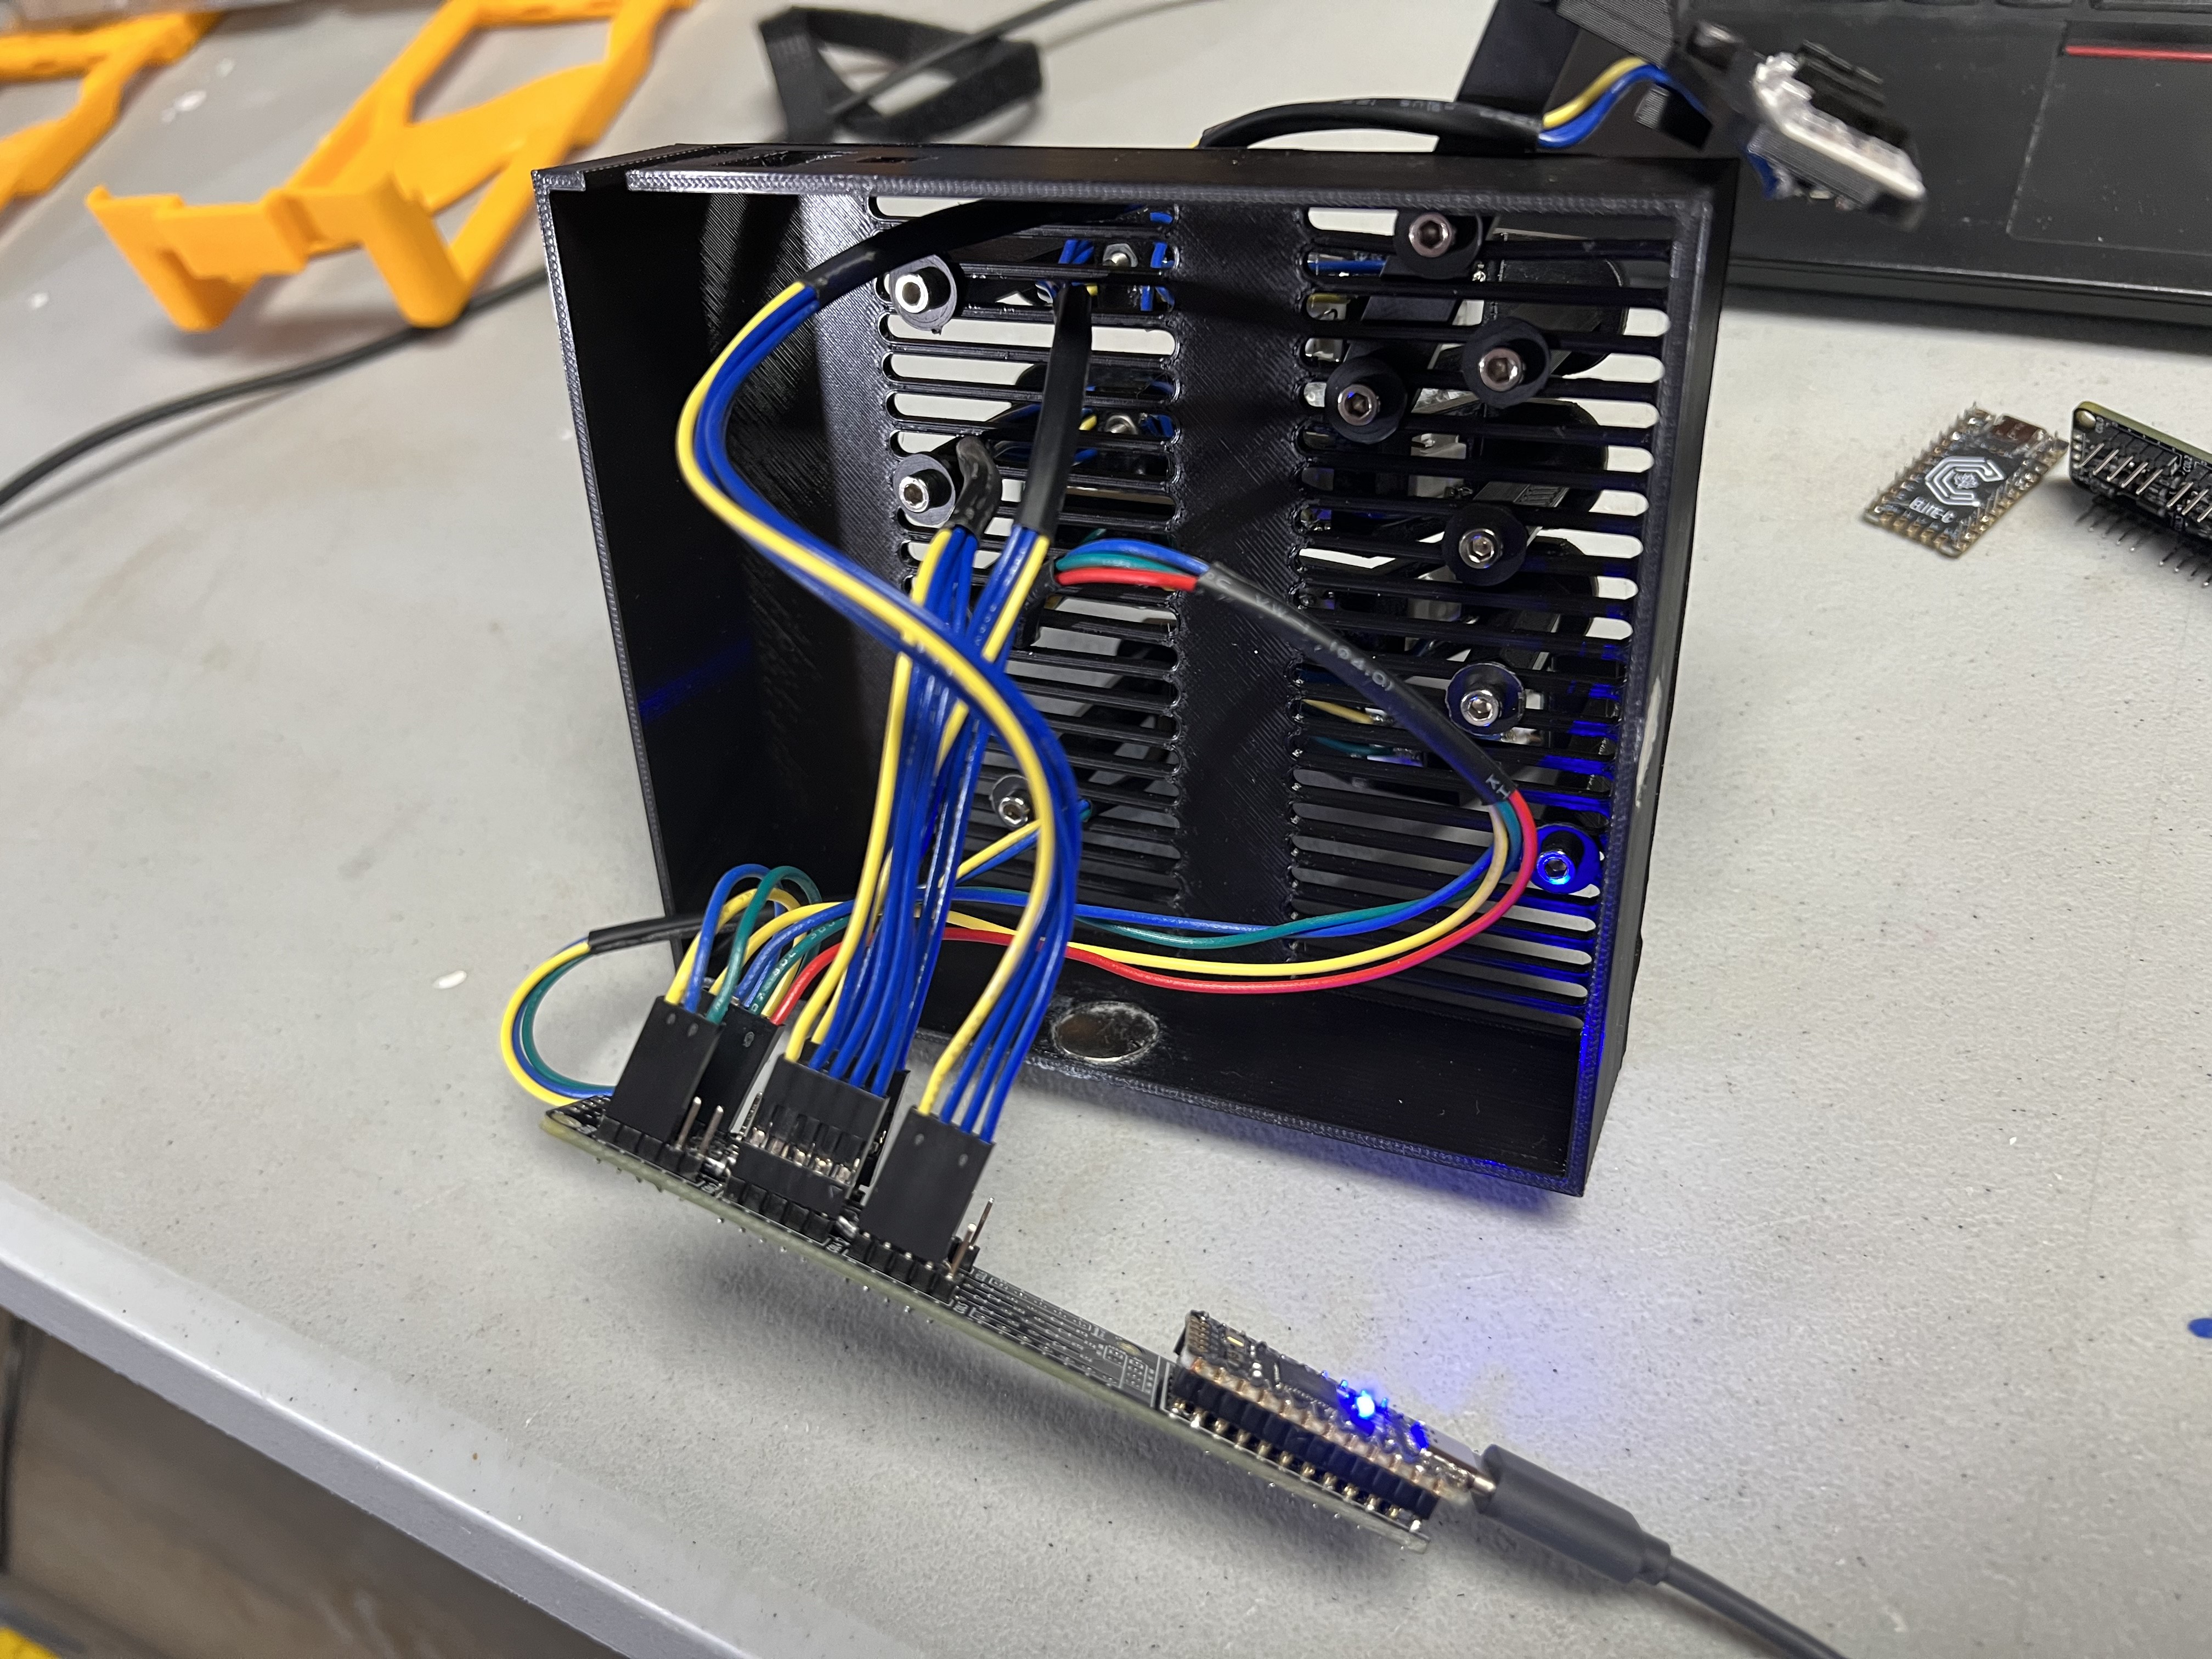
So now I have all the keywells built and 2 working PCBs. I've gone through and confirmed on my test firmware that each key types the correct letter and all the wiring lines up as I like with the home made cables and pin header layout on the PCB.
So now just in terms of completing a build it's adding some dupont wires to 2 RJ9 jacks and 2 reset buttons. Getting the wiring right for the RJ9s is always tricky as its asymmetric. But generally this should be straightforward.
In terms of design rework, I need to move the USB cable hole about 6mm further from the corner. My CAD didn't account for socketing the MCUs. Also, this was obvious in my CAD but I didn't notice that the slot on the base plate is not long enough to fit the reset button. So I need to relocate the reset button mounting hole also. Sadly this means another slot box 3D print which is a 5+ hour print, but no easy way to hack around it.
Discussions
Become a Hackaday.io Member
Create an account to leave a comment. Already have an account? Log In.