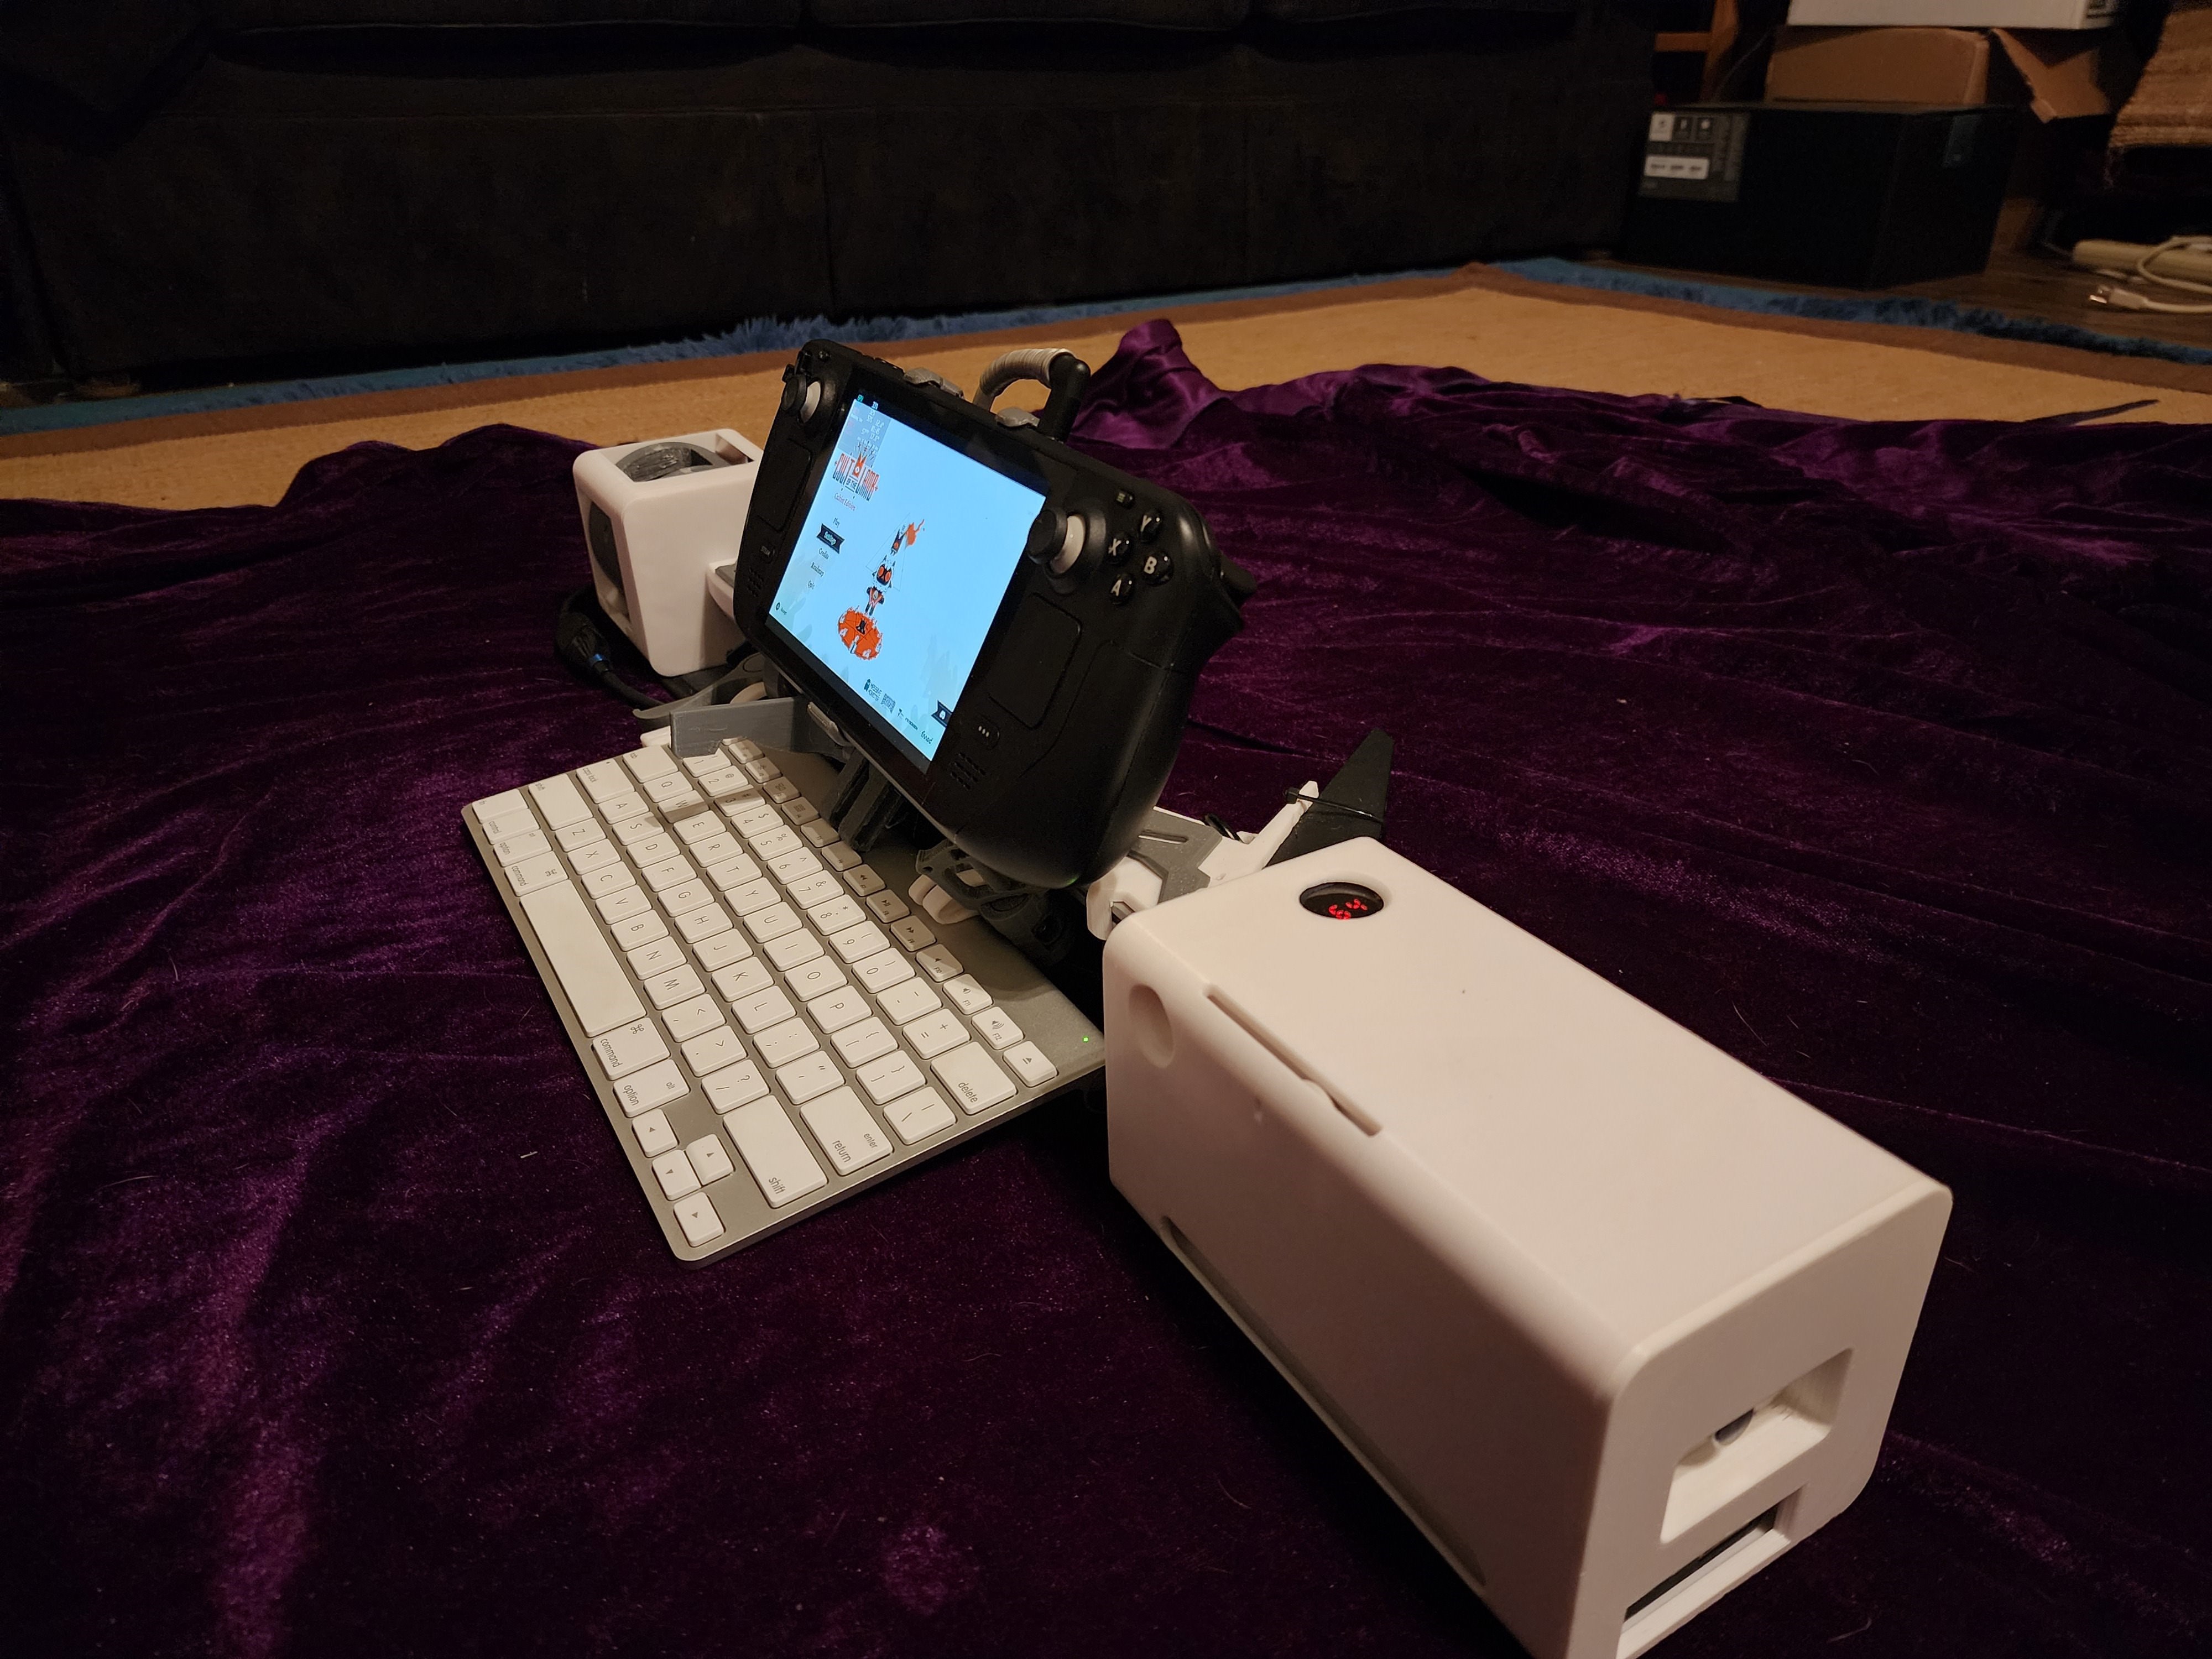
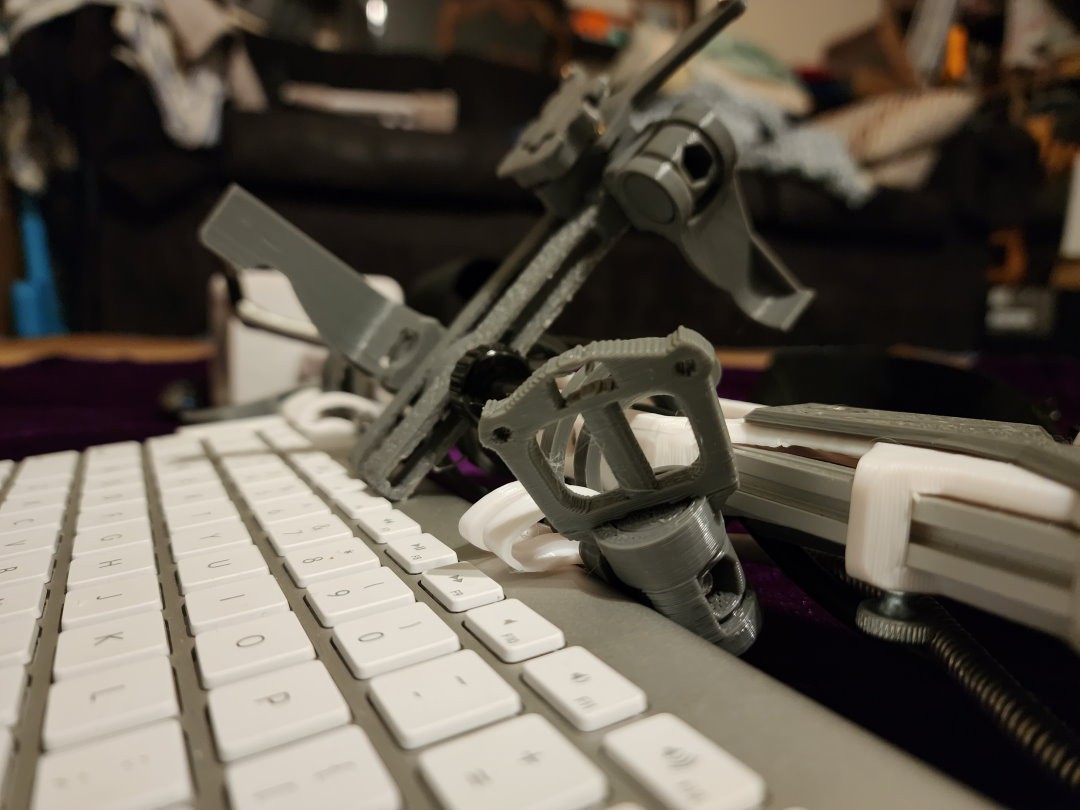
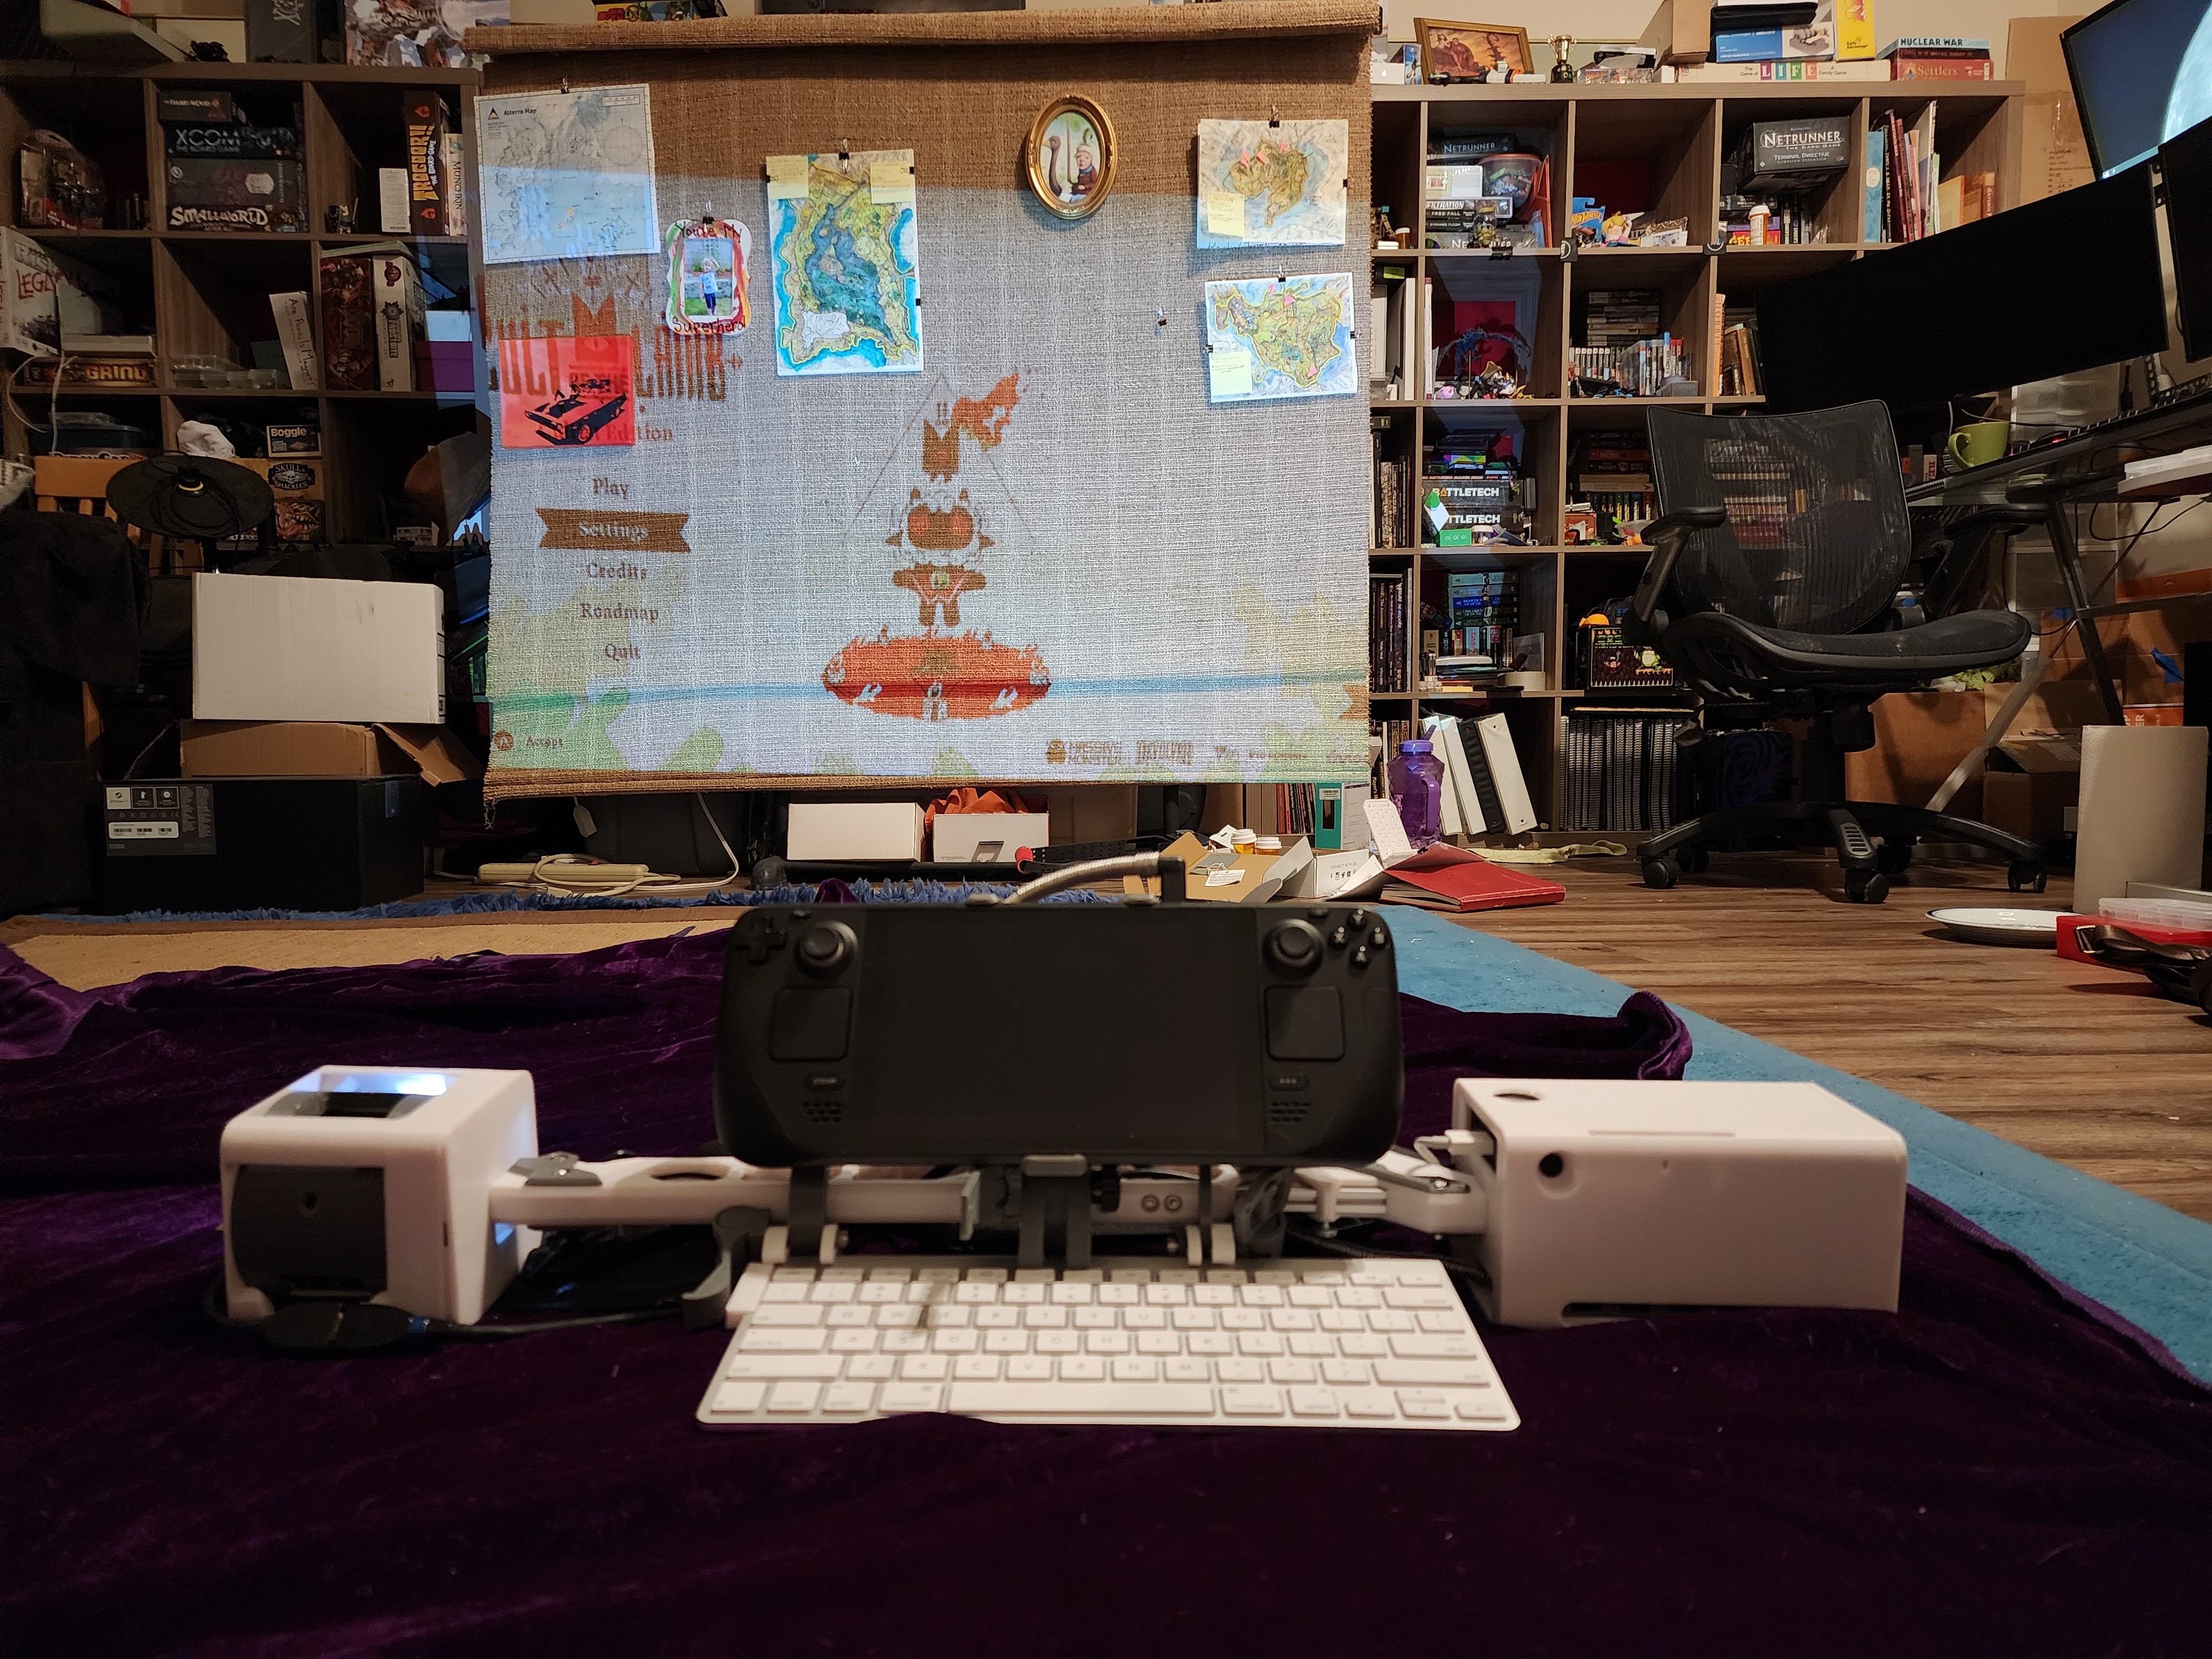
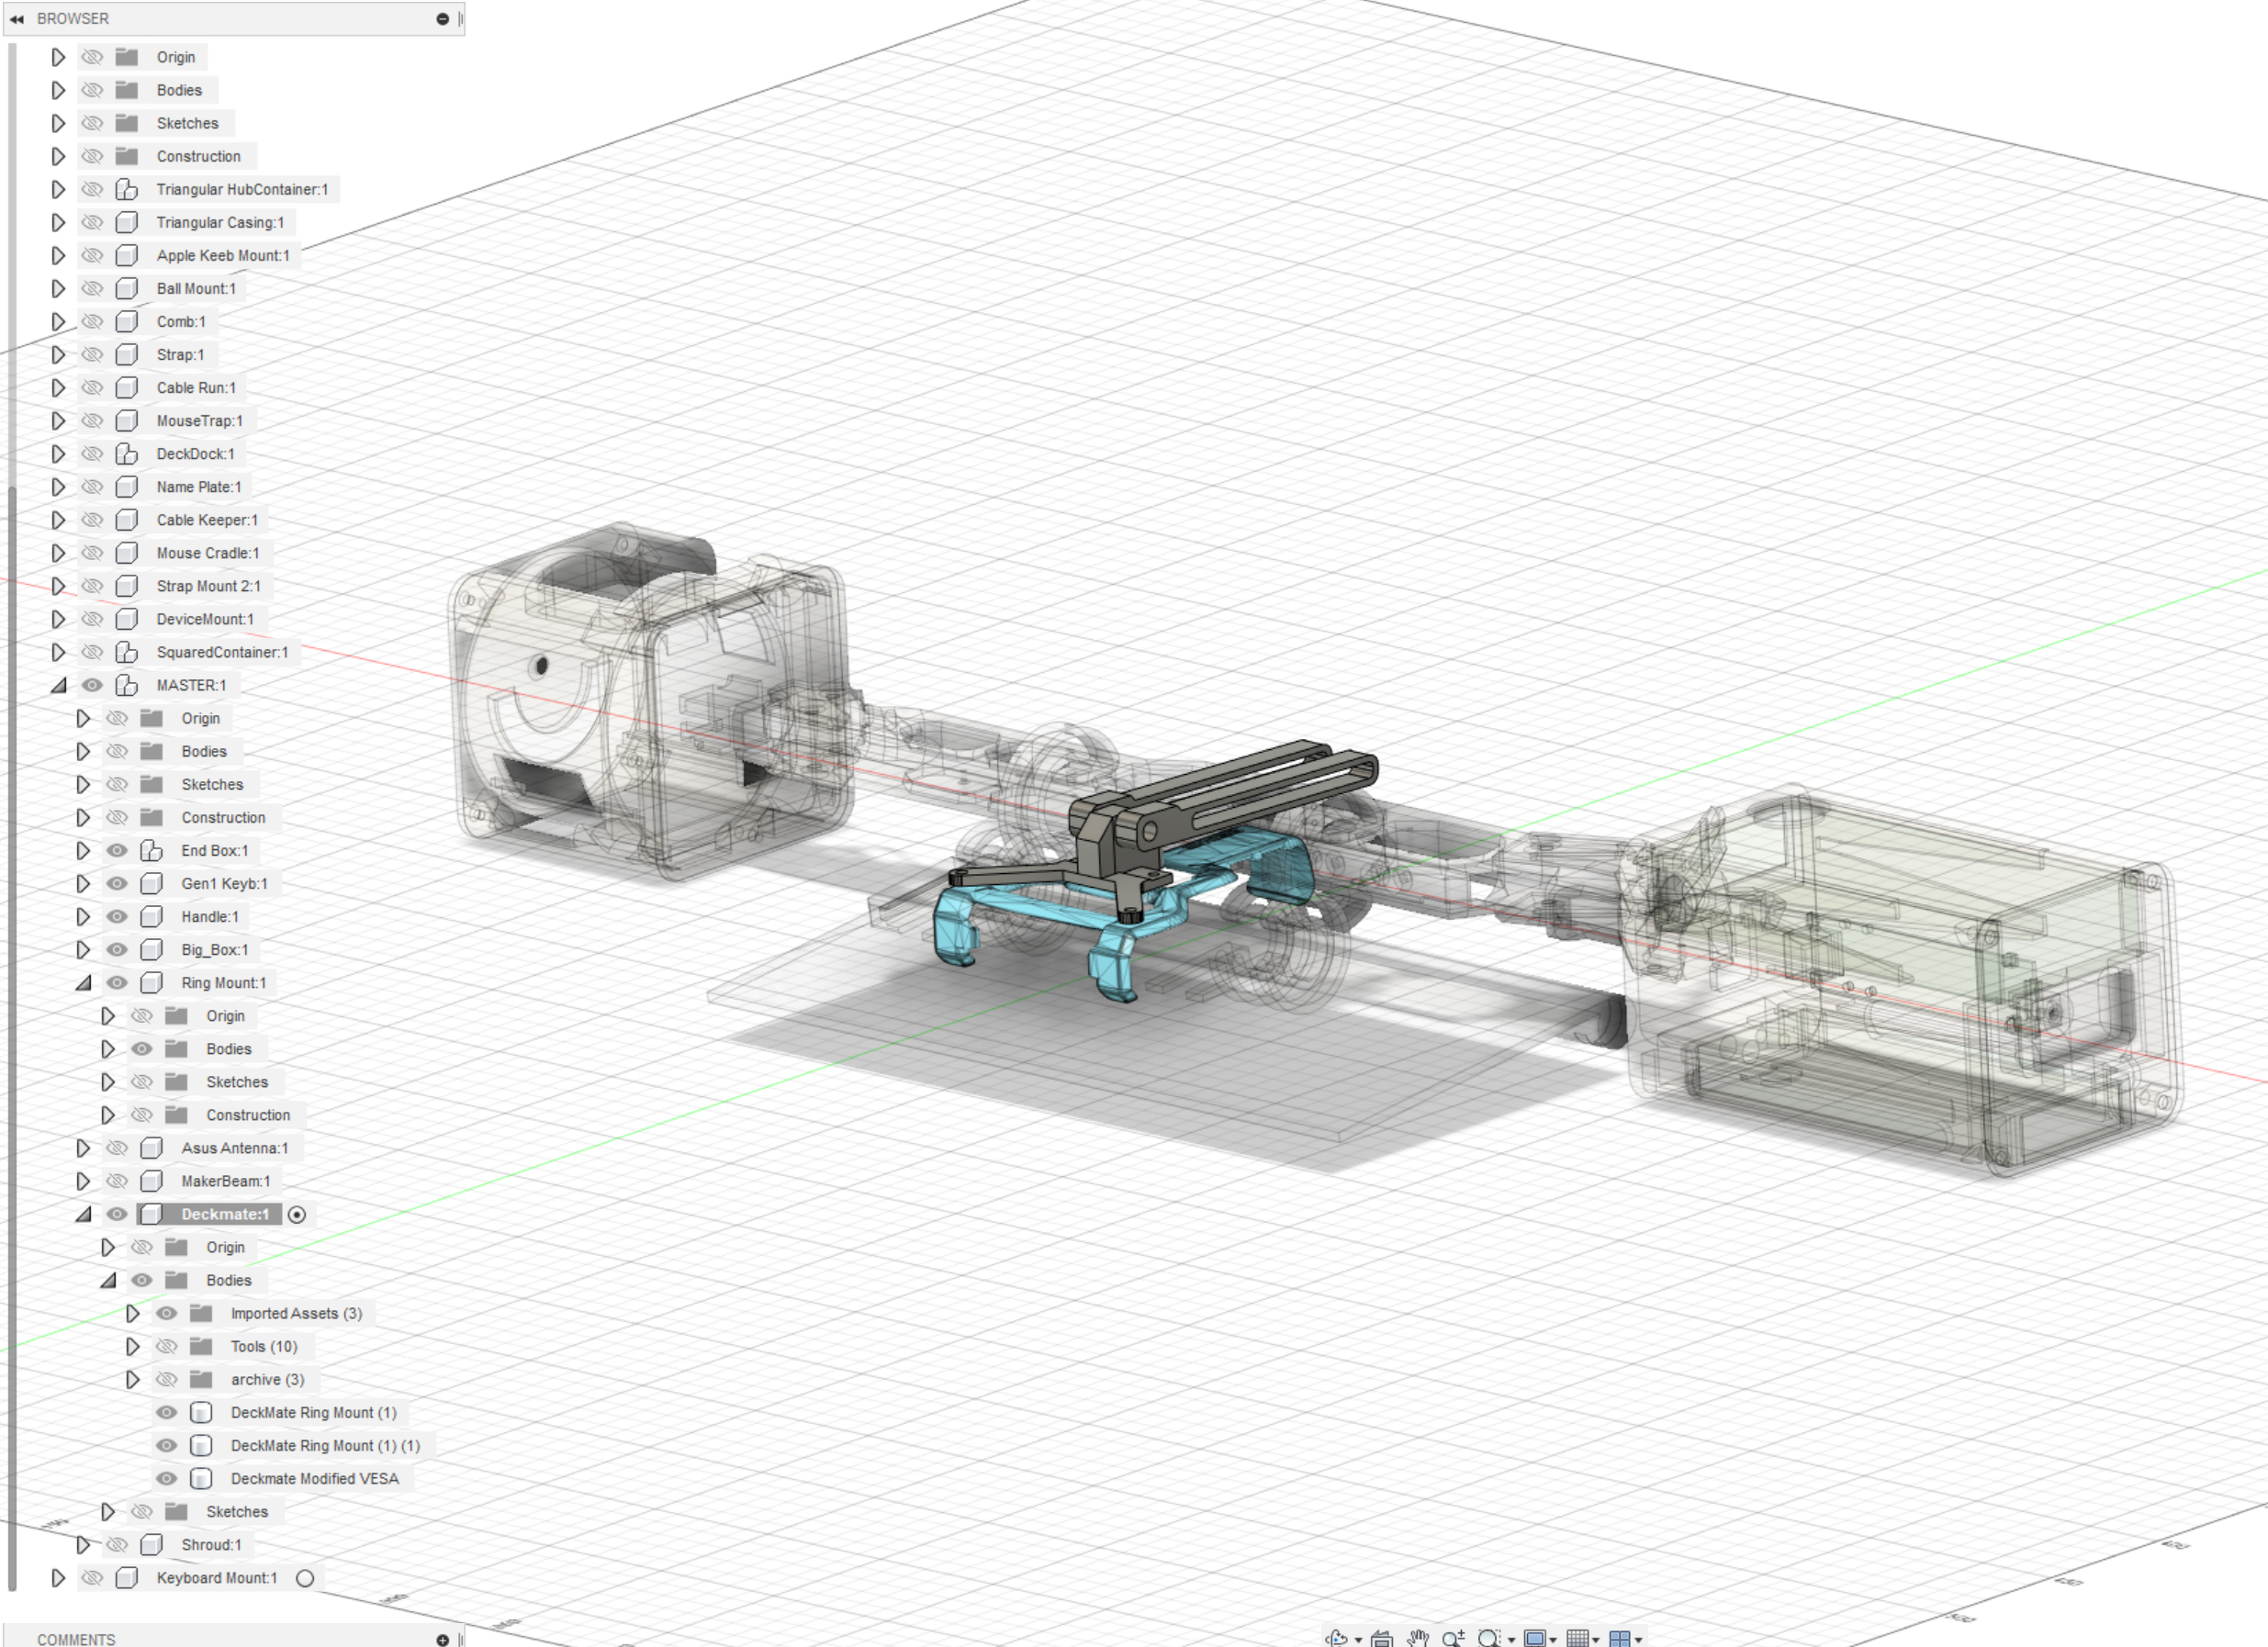
 Sp4m
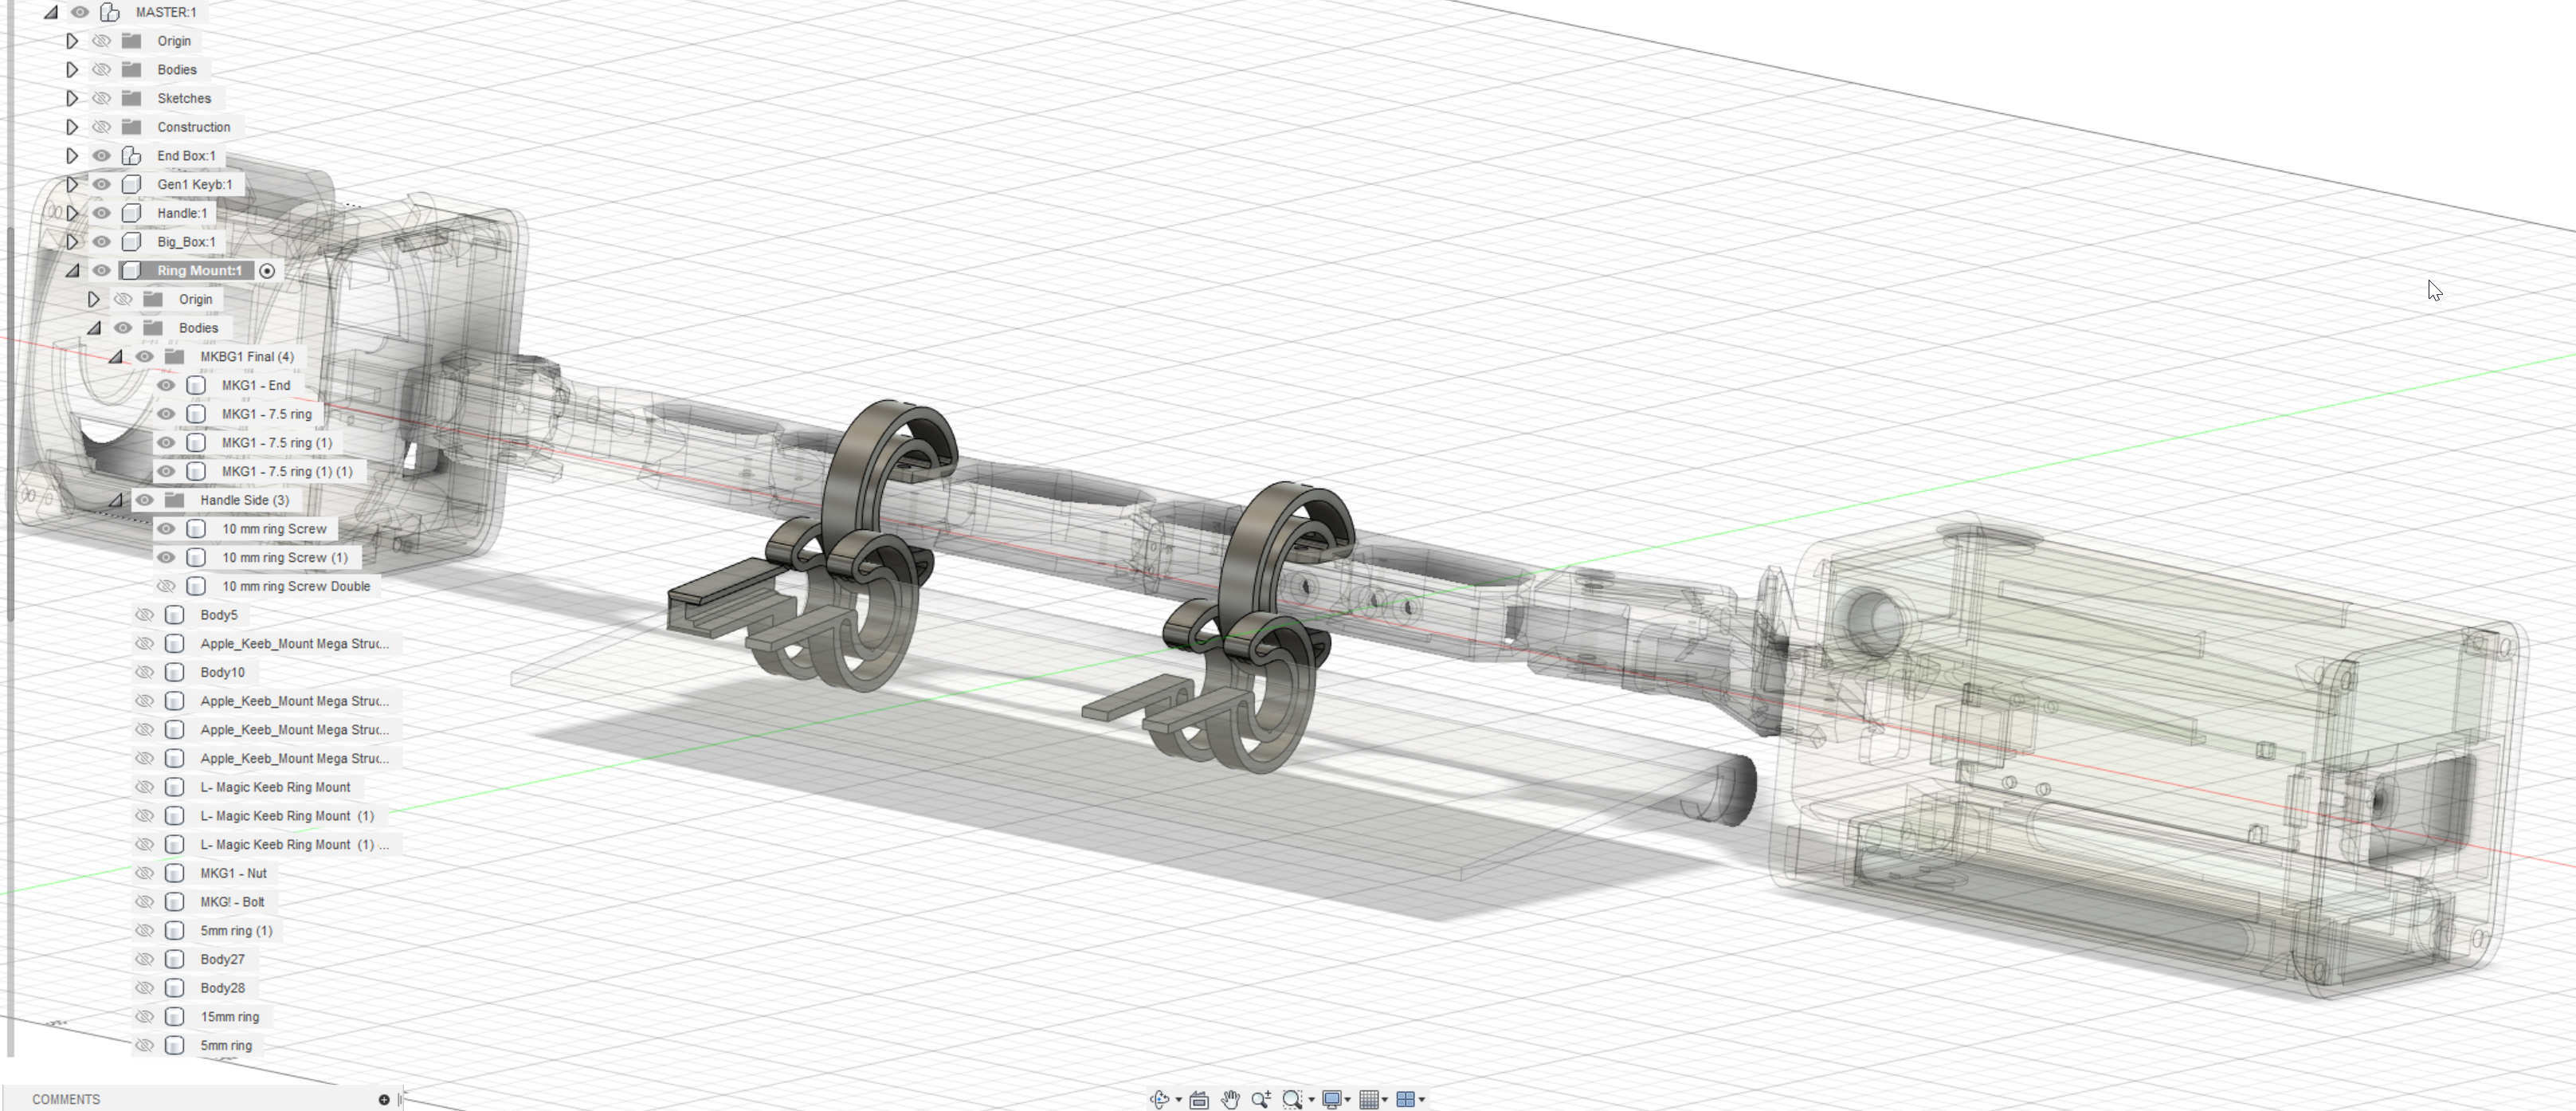
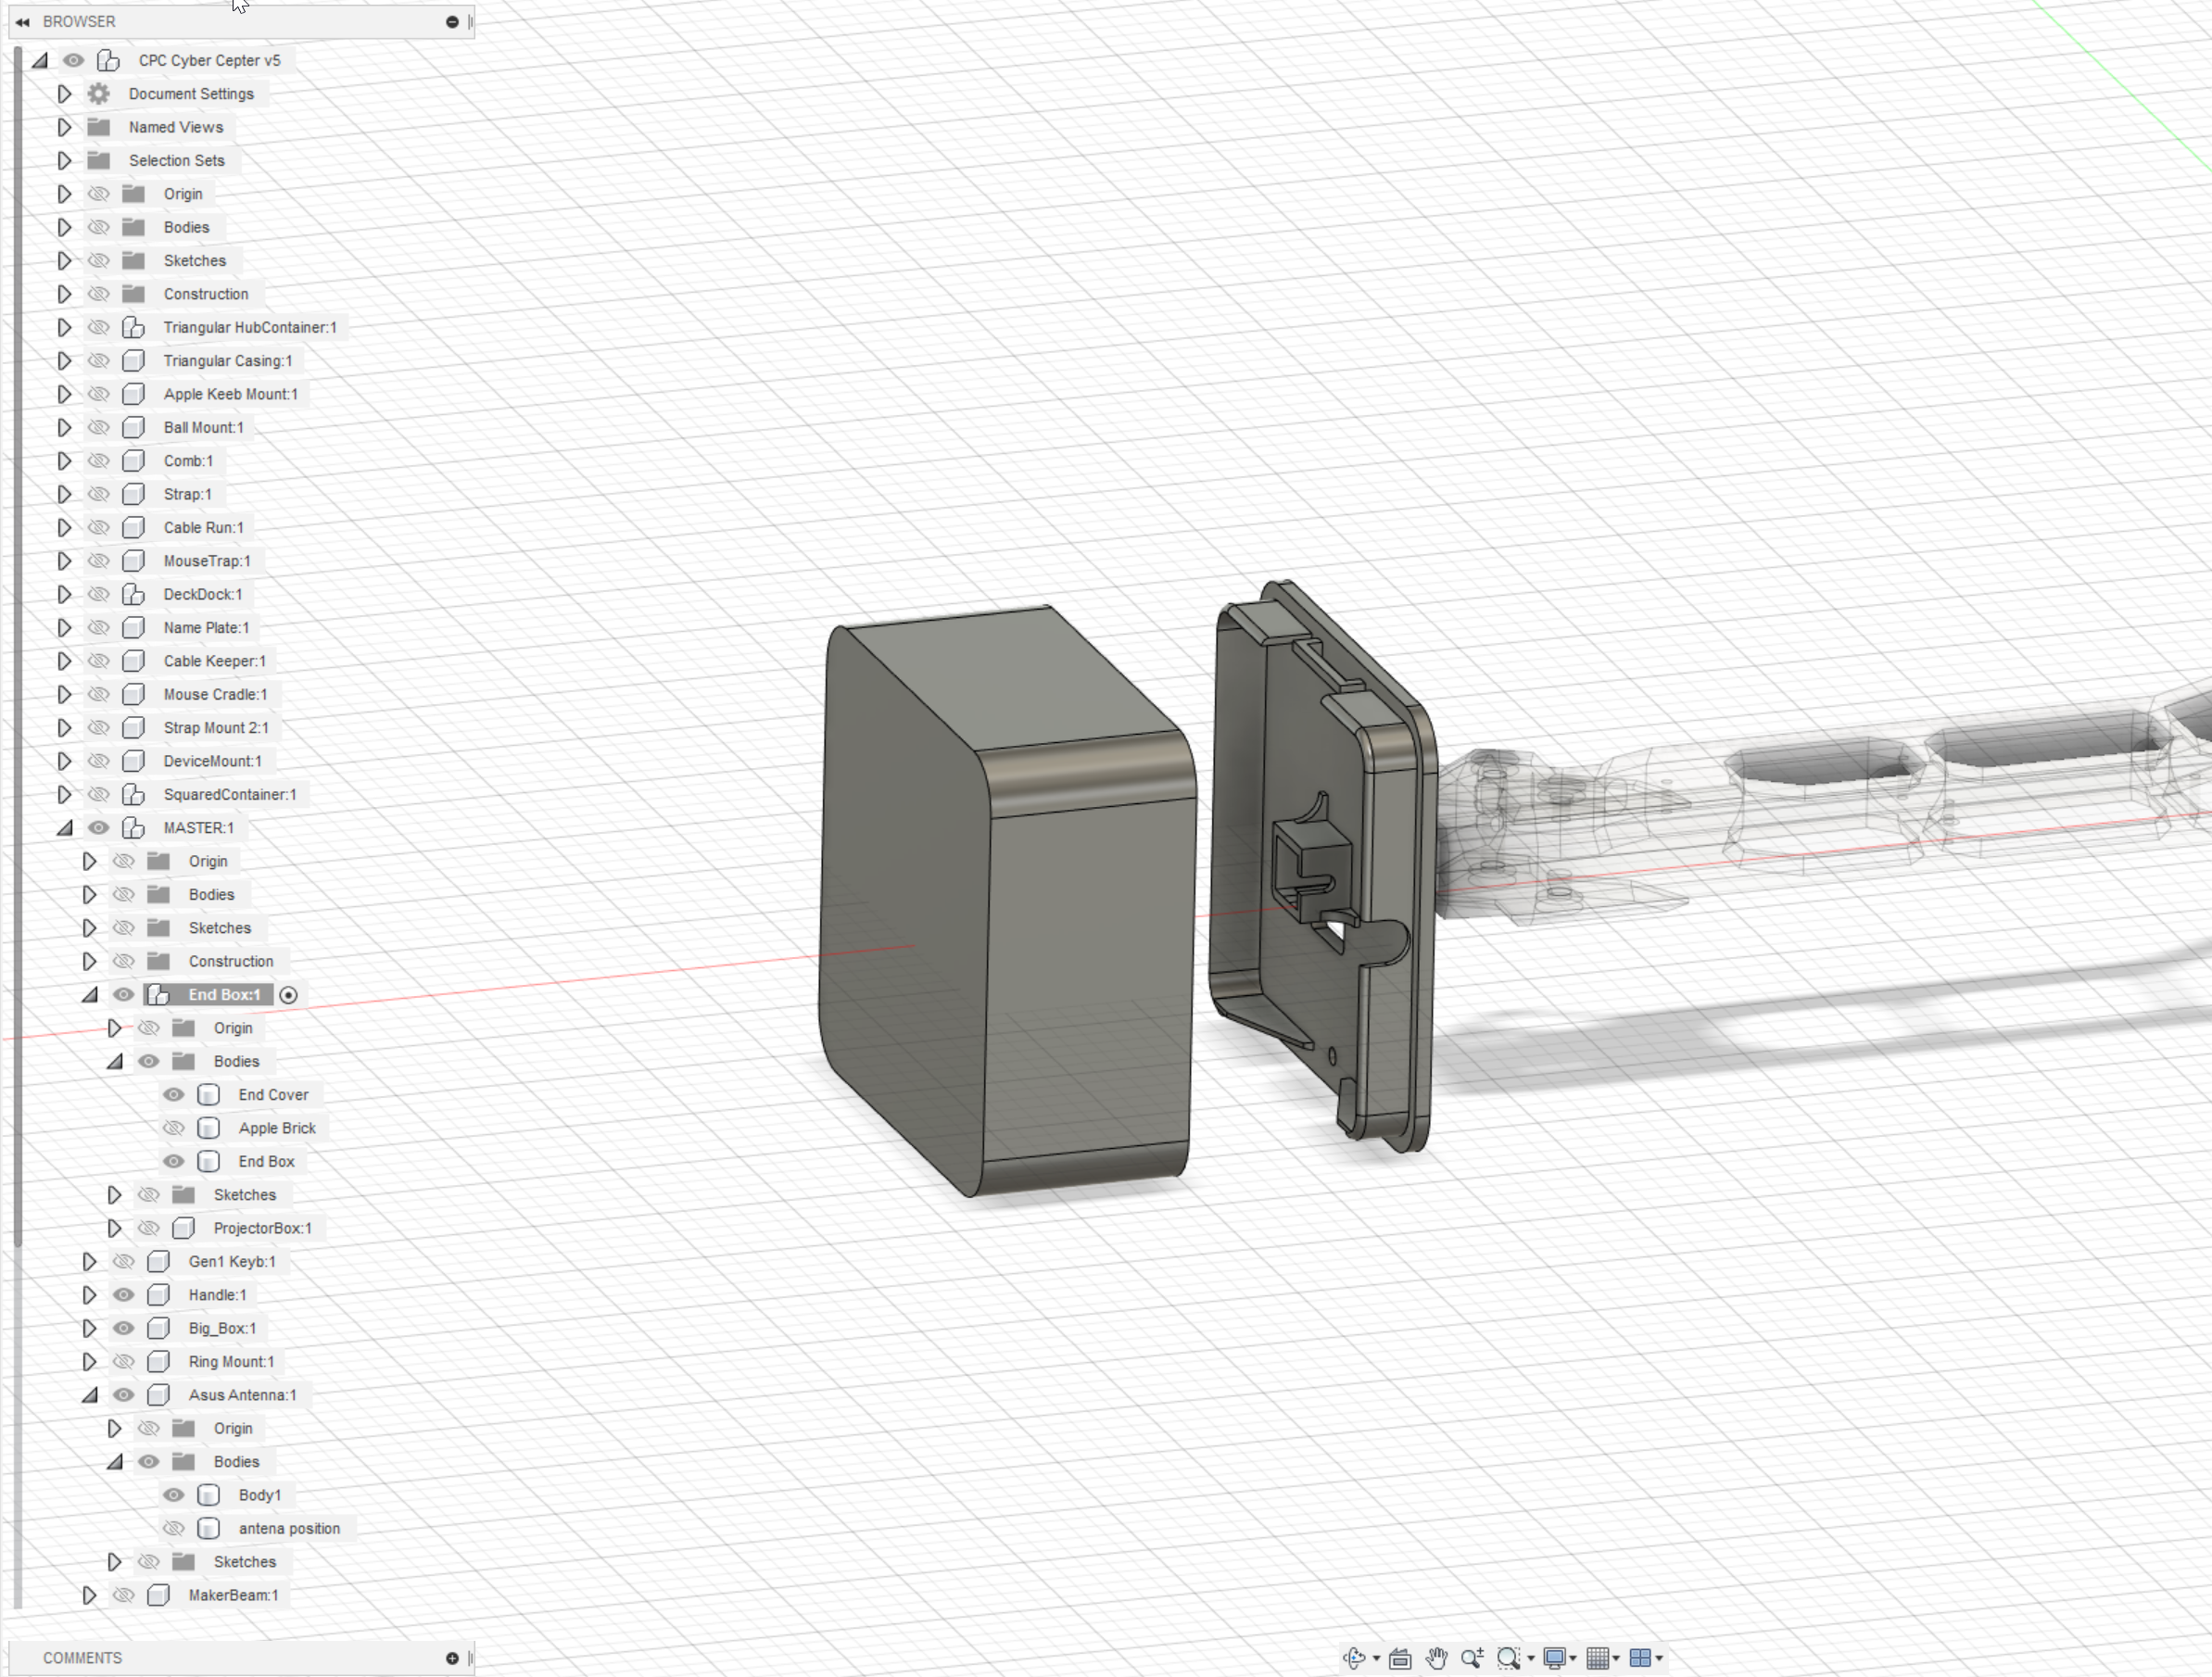
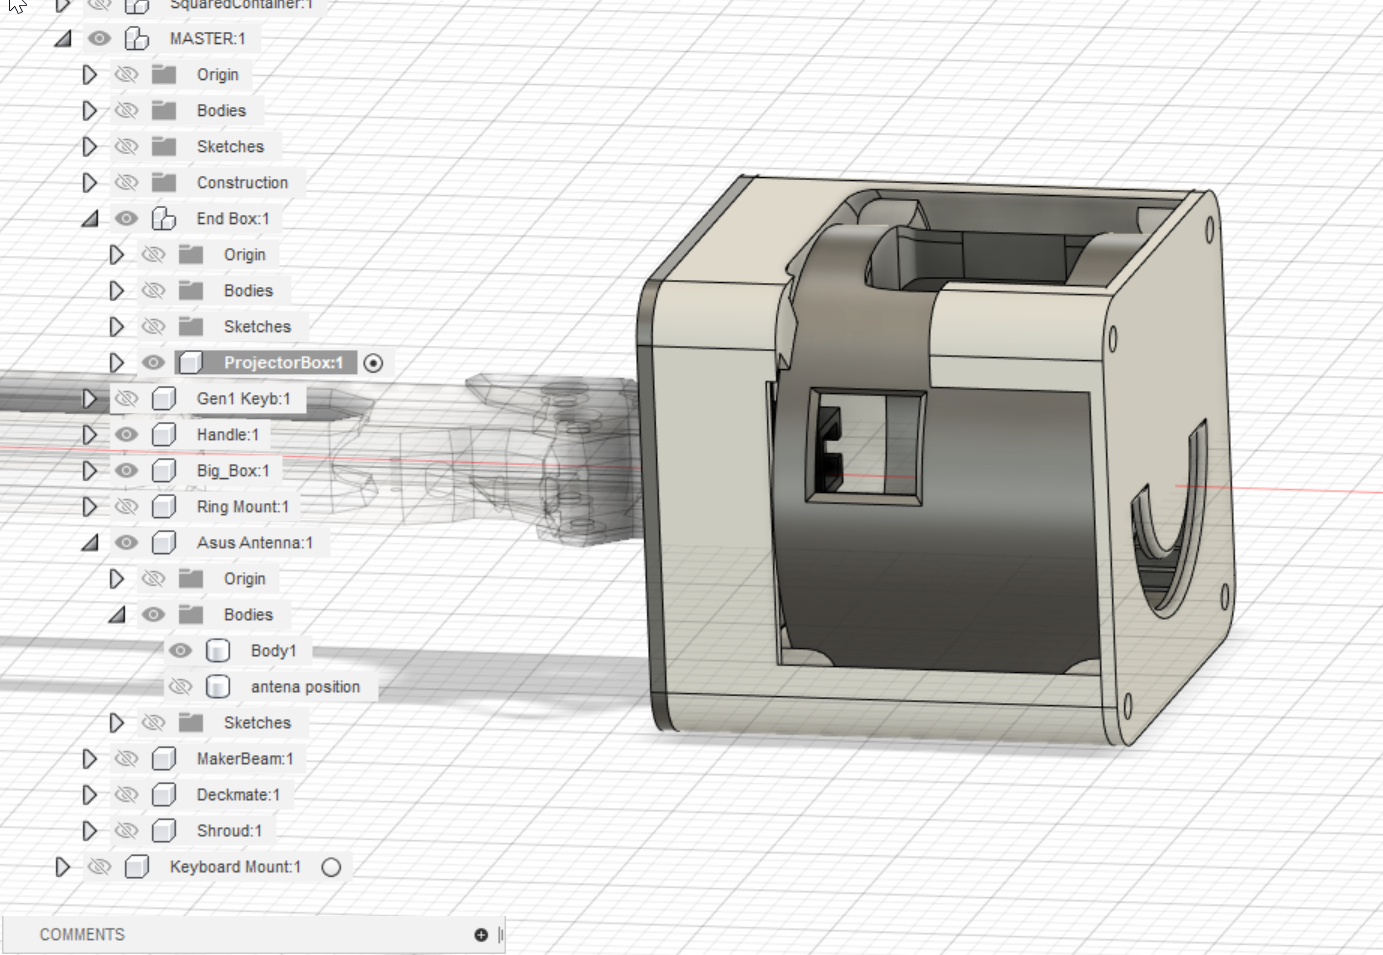
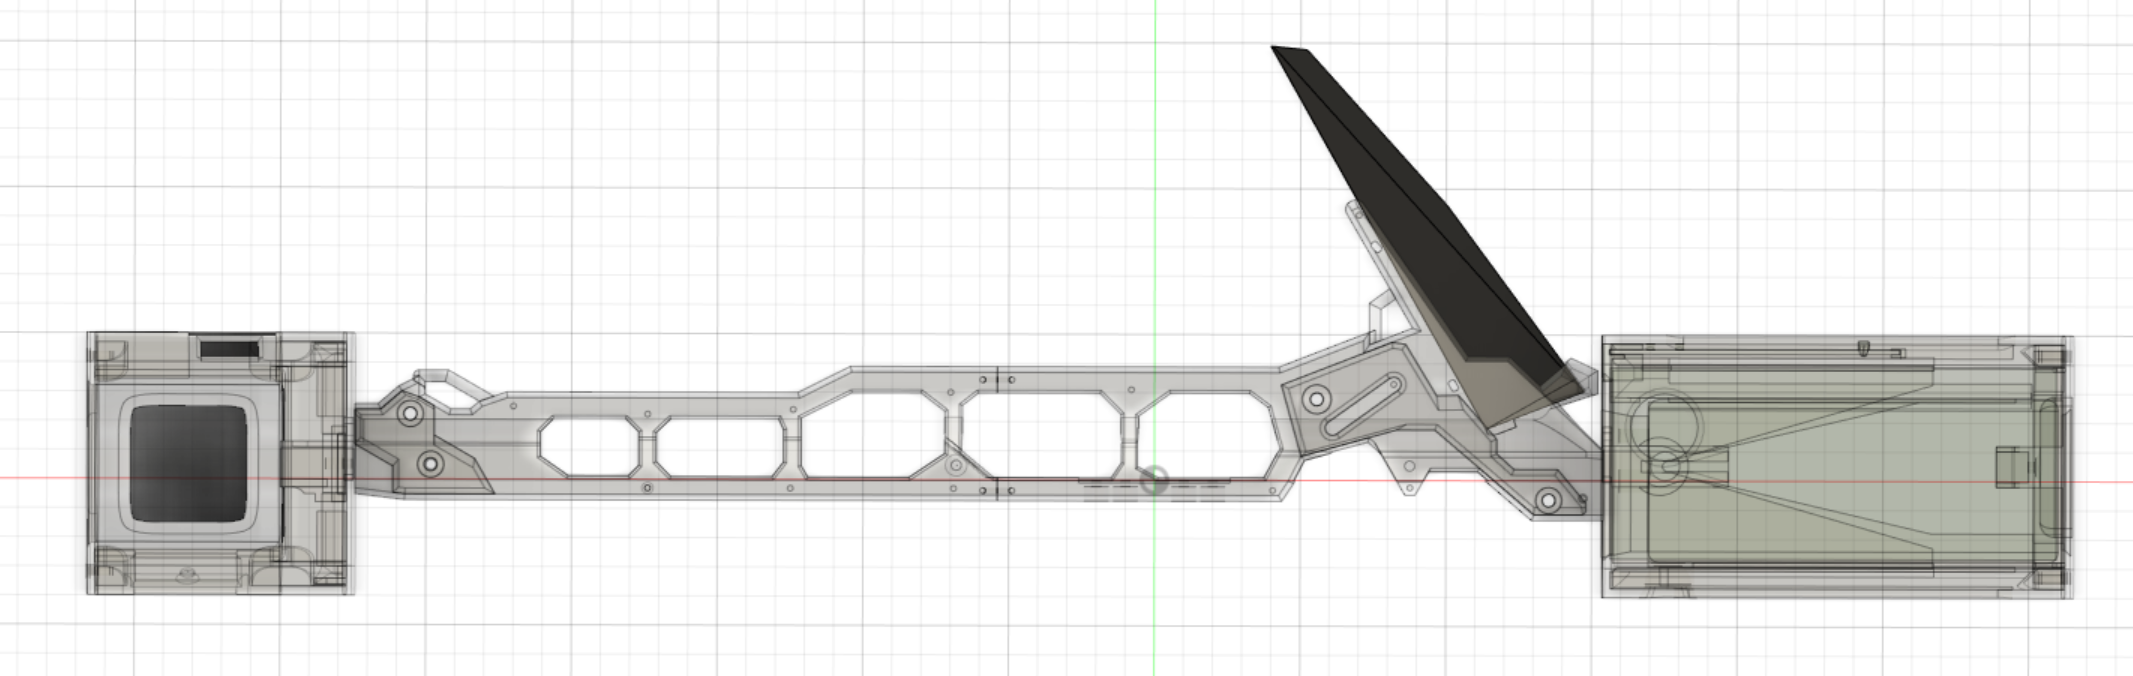
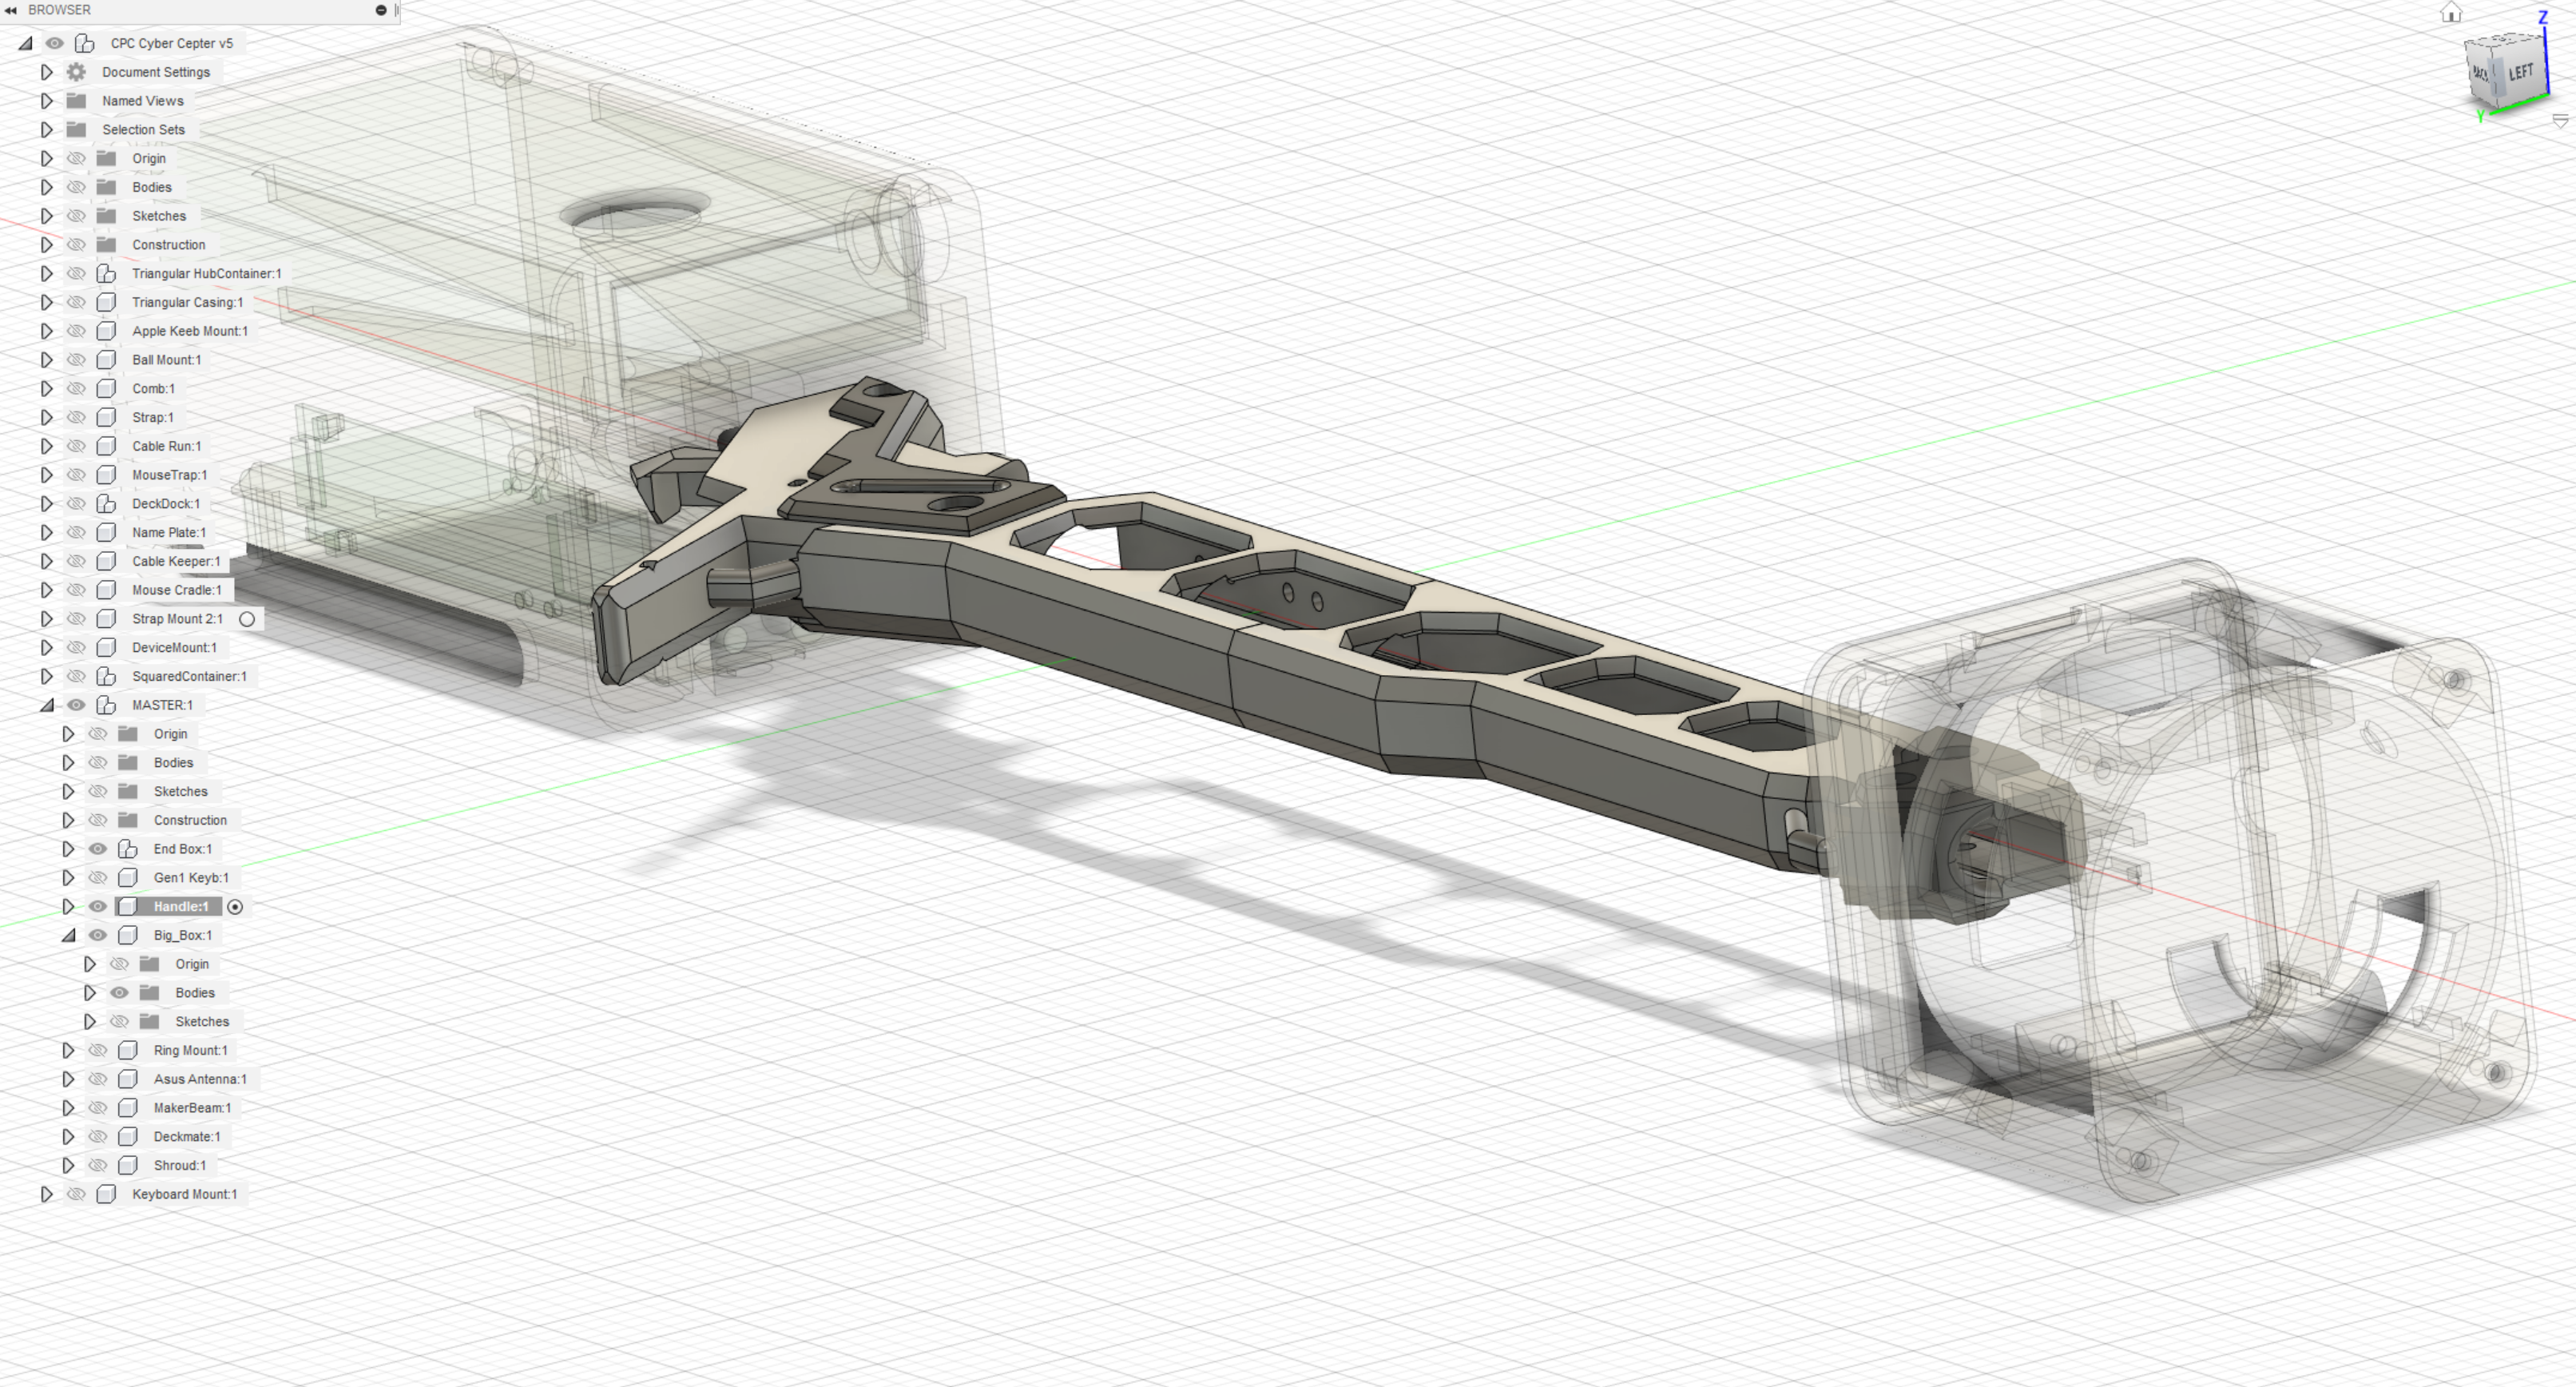
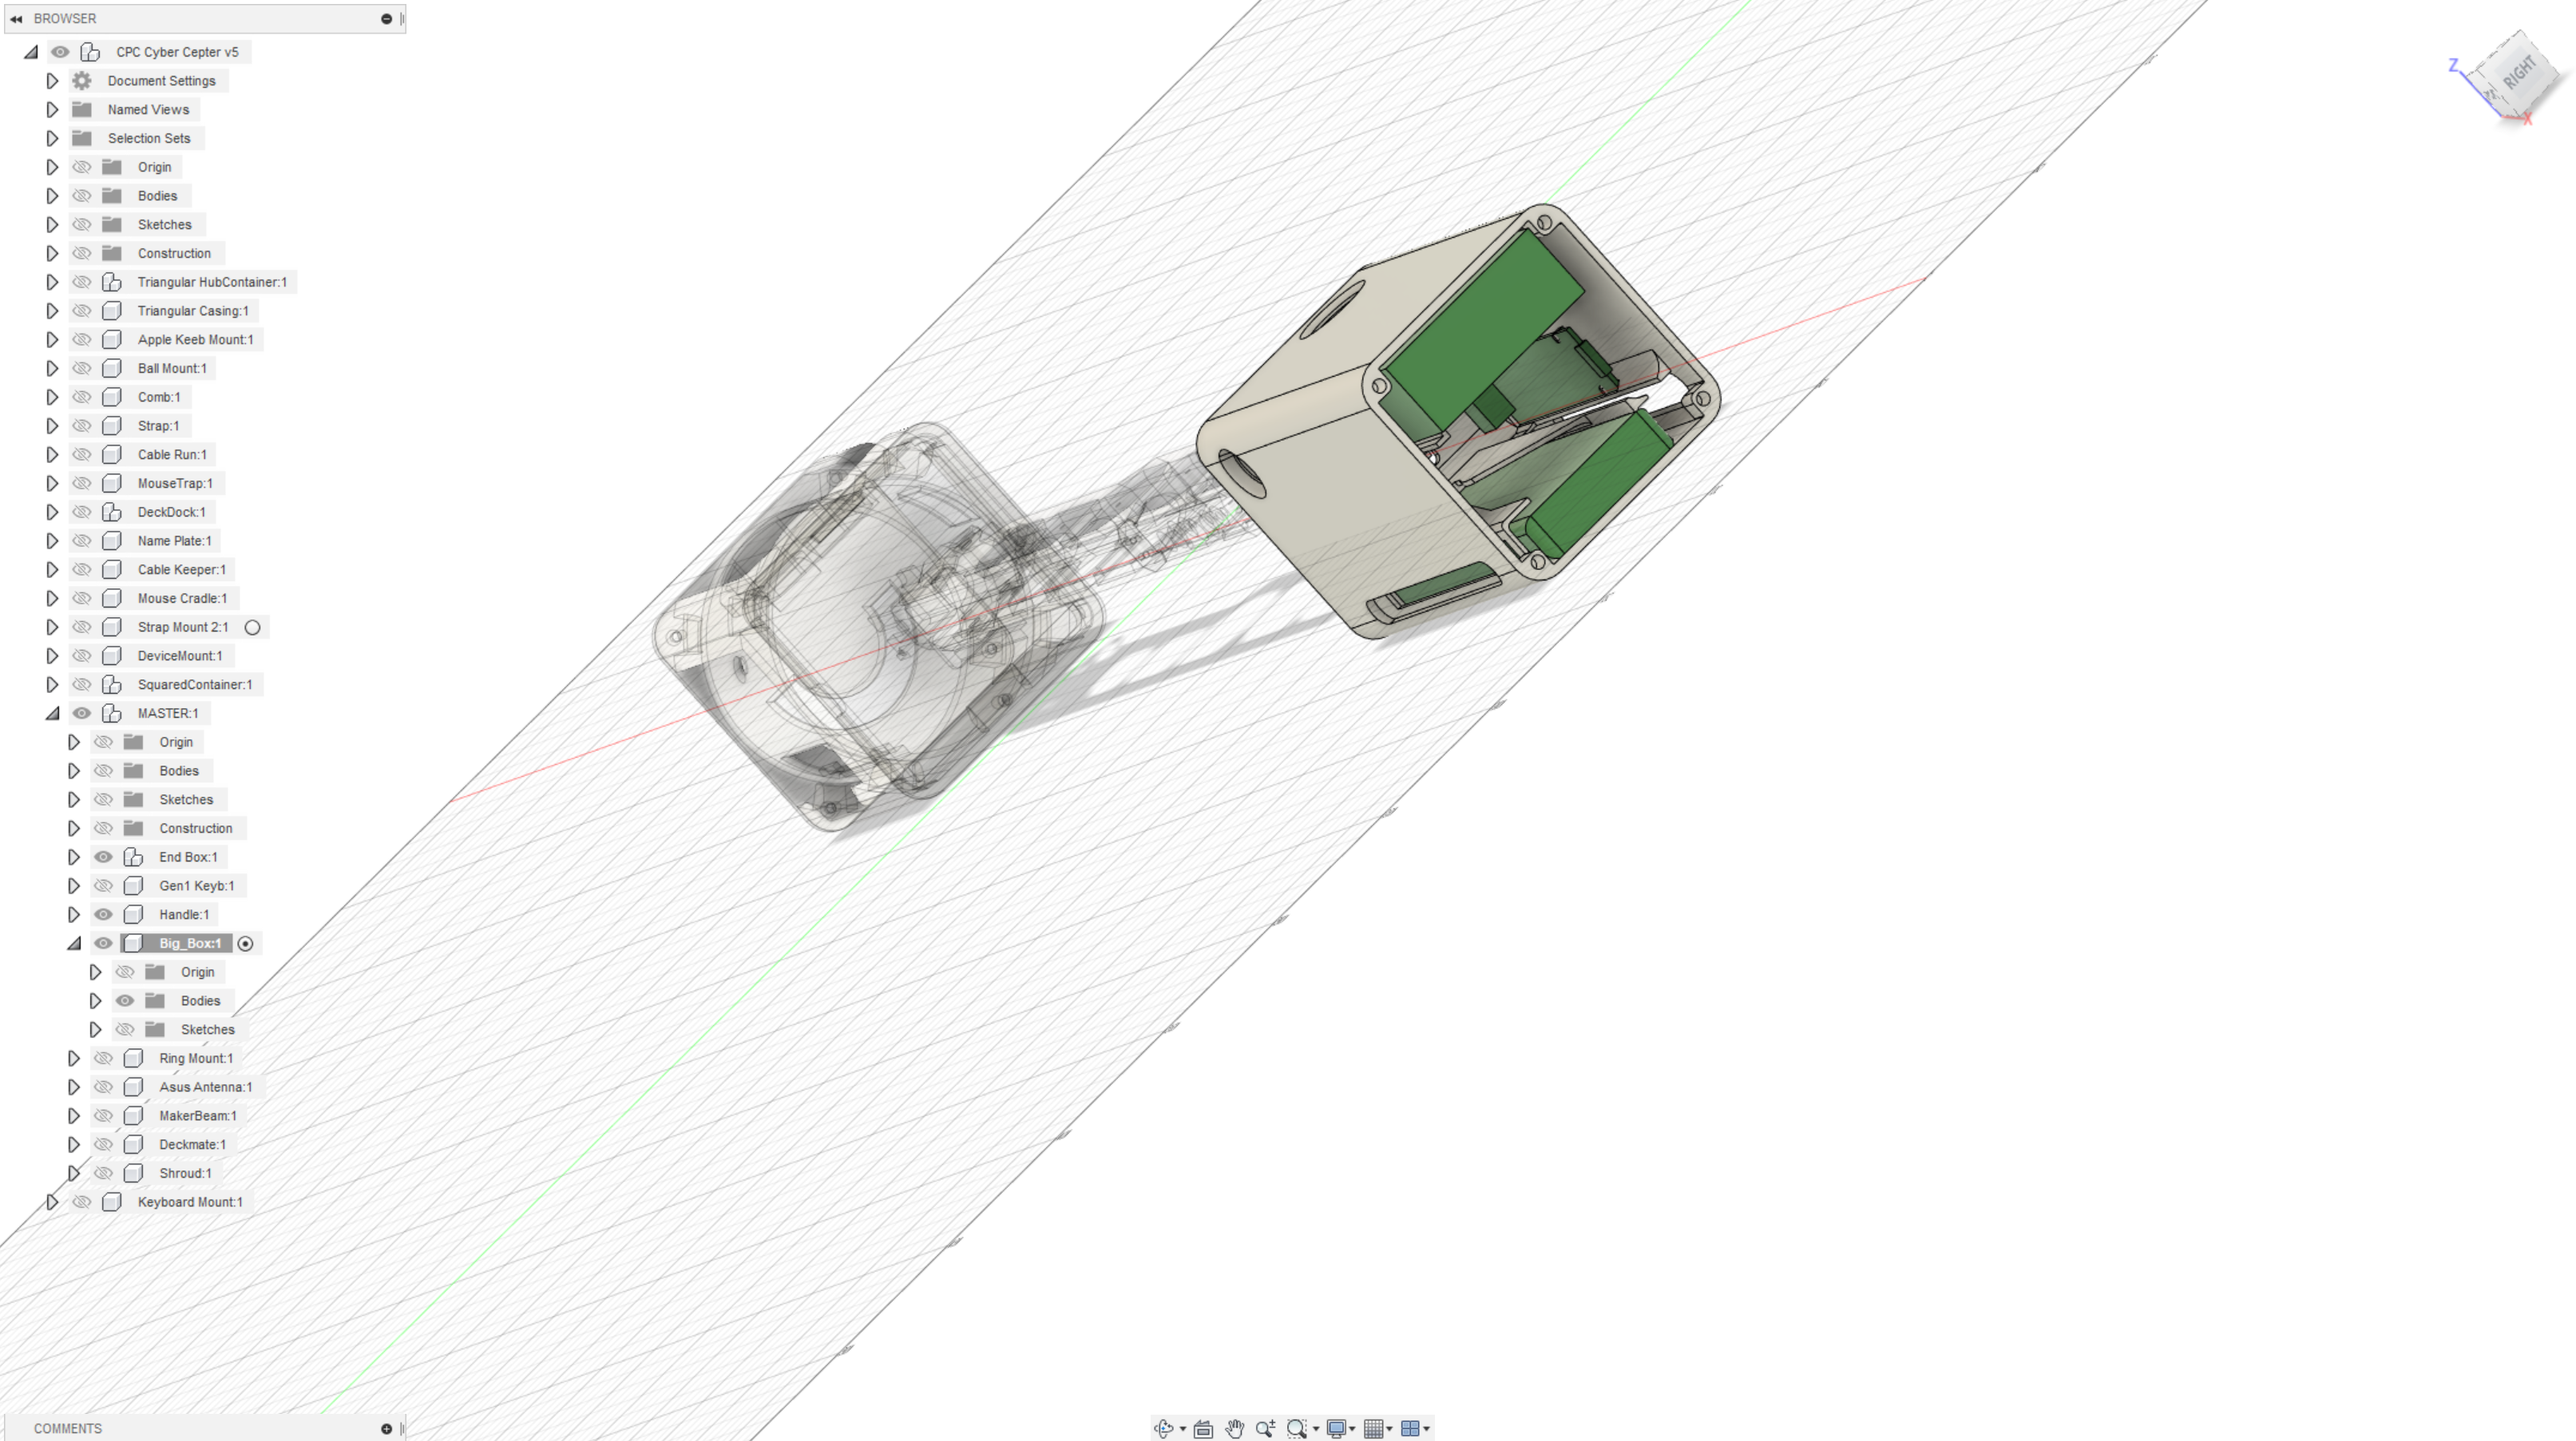
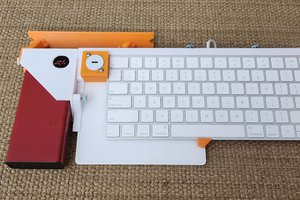
Sp4mCPC-Cyber Cepter is a Comprehensive Peripheral Cluster on-a-stick.
It provides any connected device with a suite of peripherals, like mouse, keyboard, multiple LAN options, wifi-scanner, and external display via pico projector, VR HMD, or traditional monitor.
Since it doesn't have a dedicated computational core, I consider it more of a Cyberdock.


 Auron
Auron
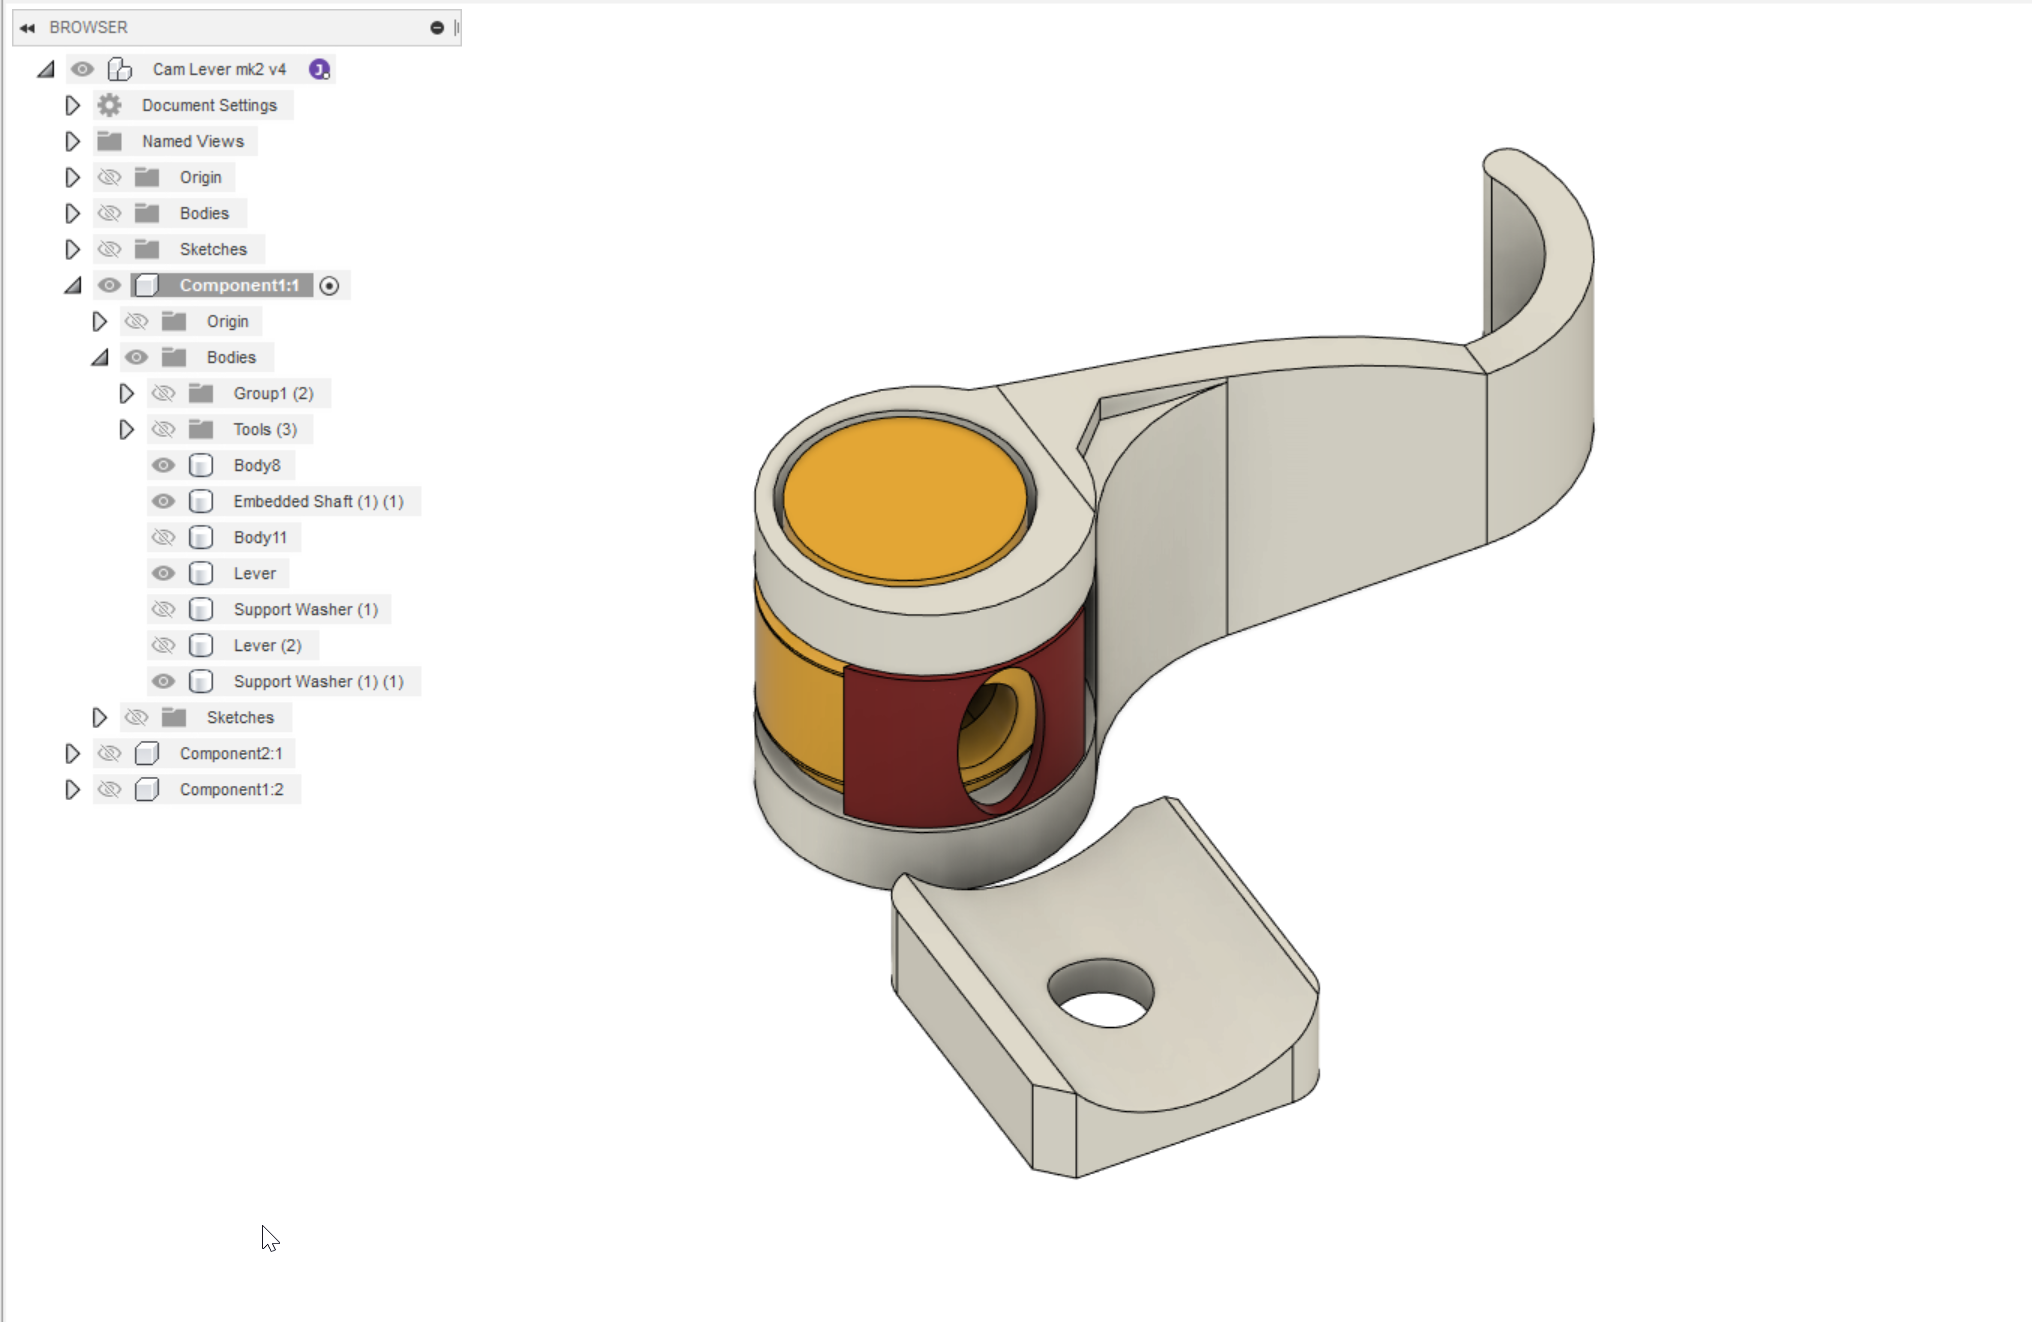
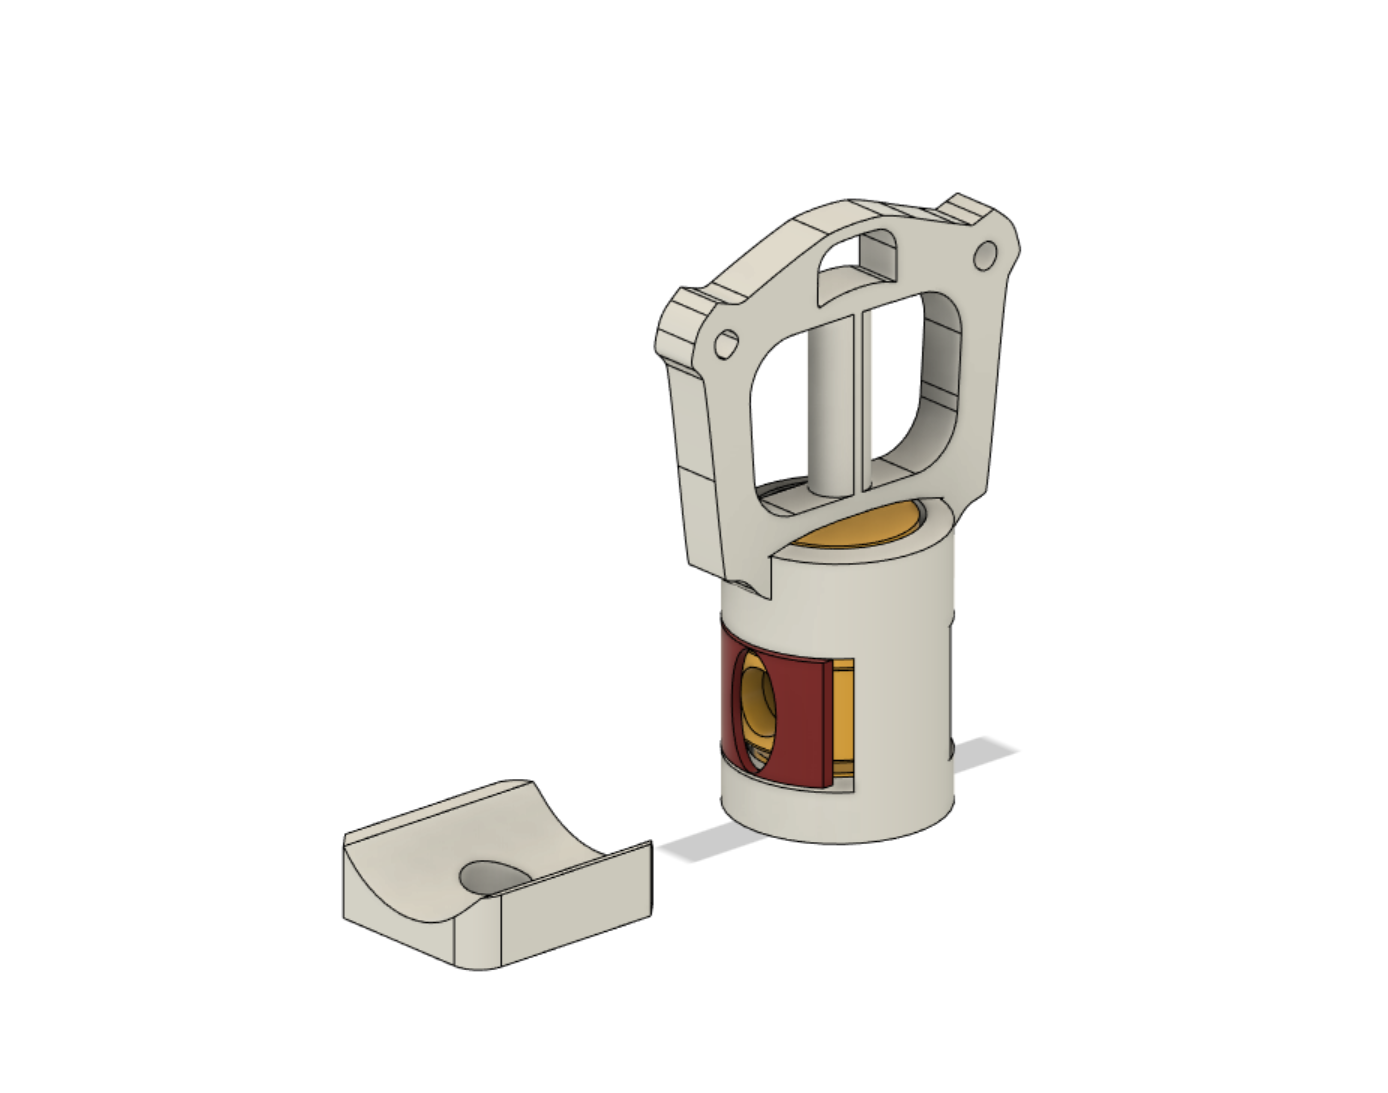
 Tom Nardi
 Magic Robots