 Charles Stevenson
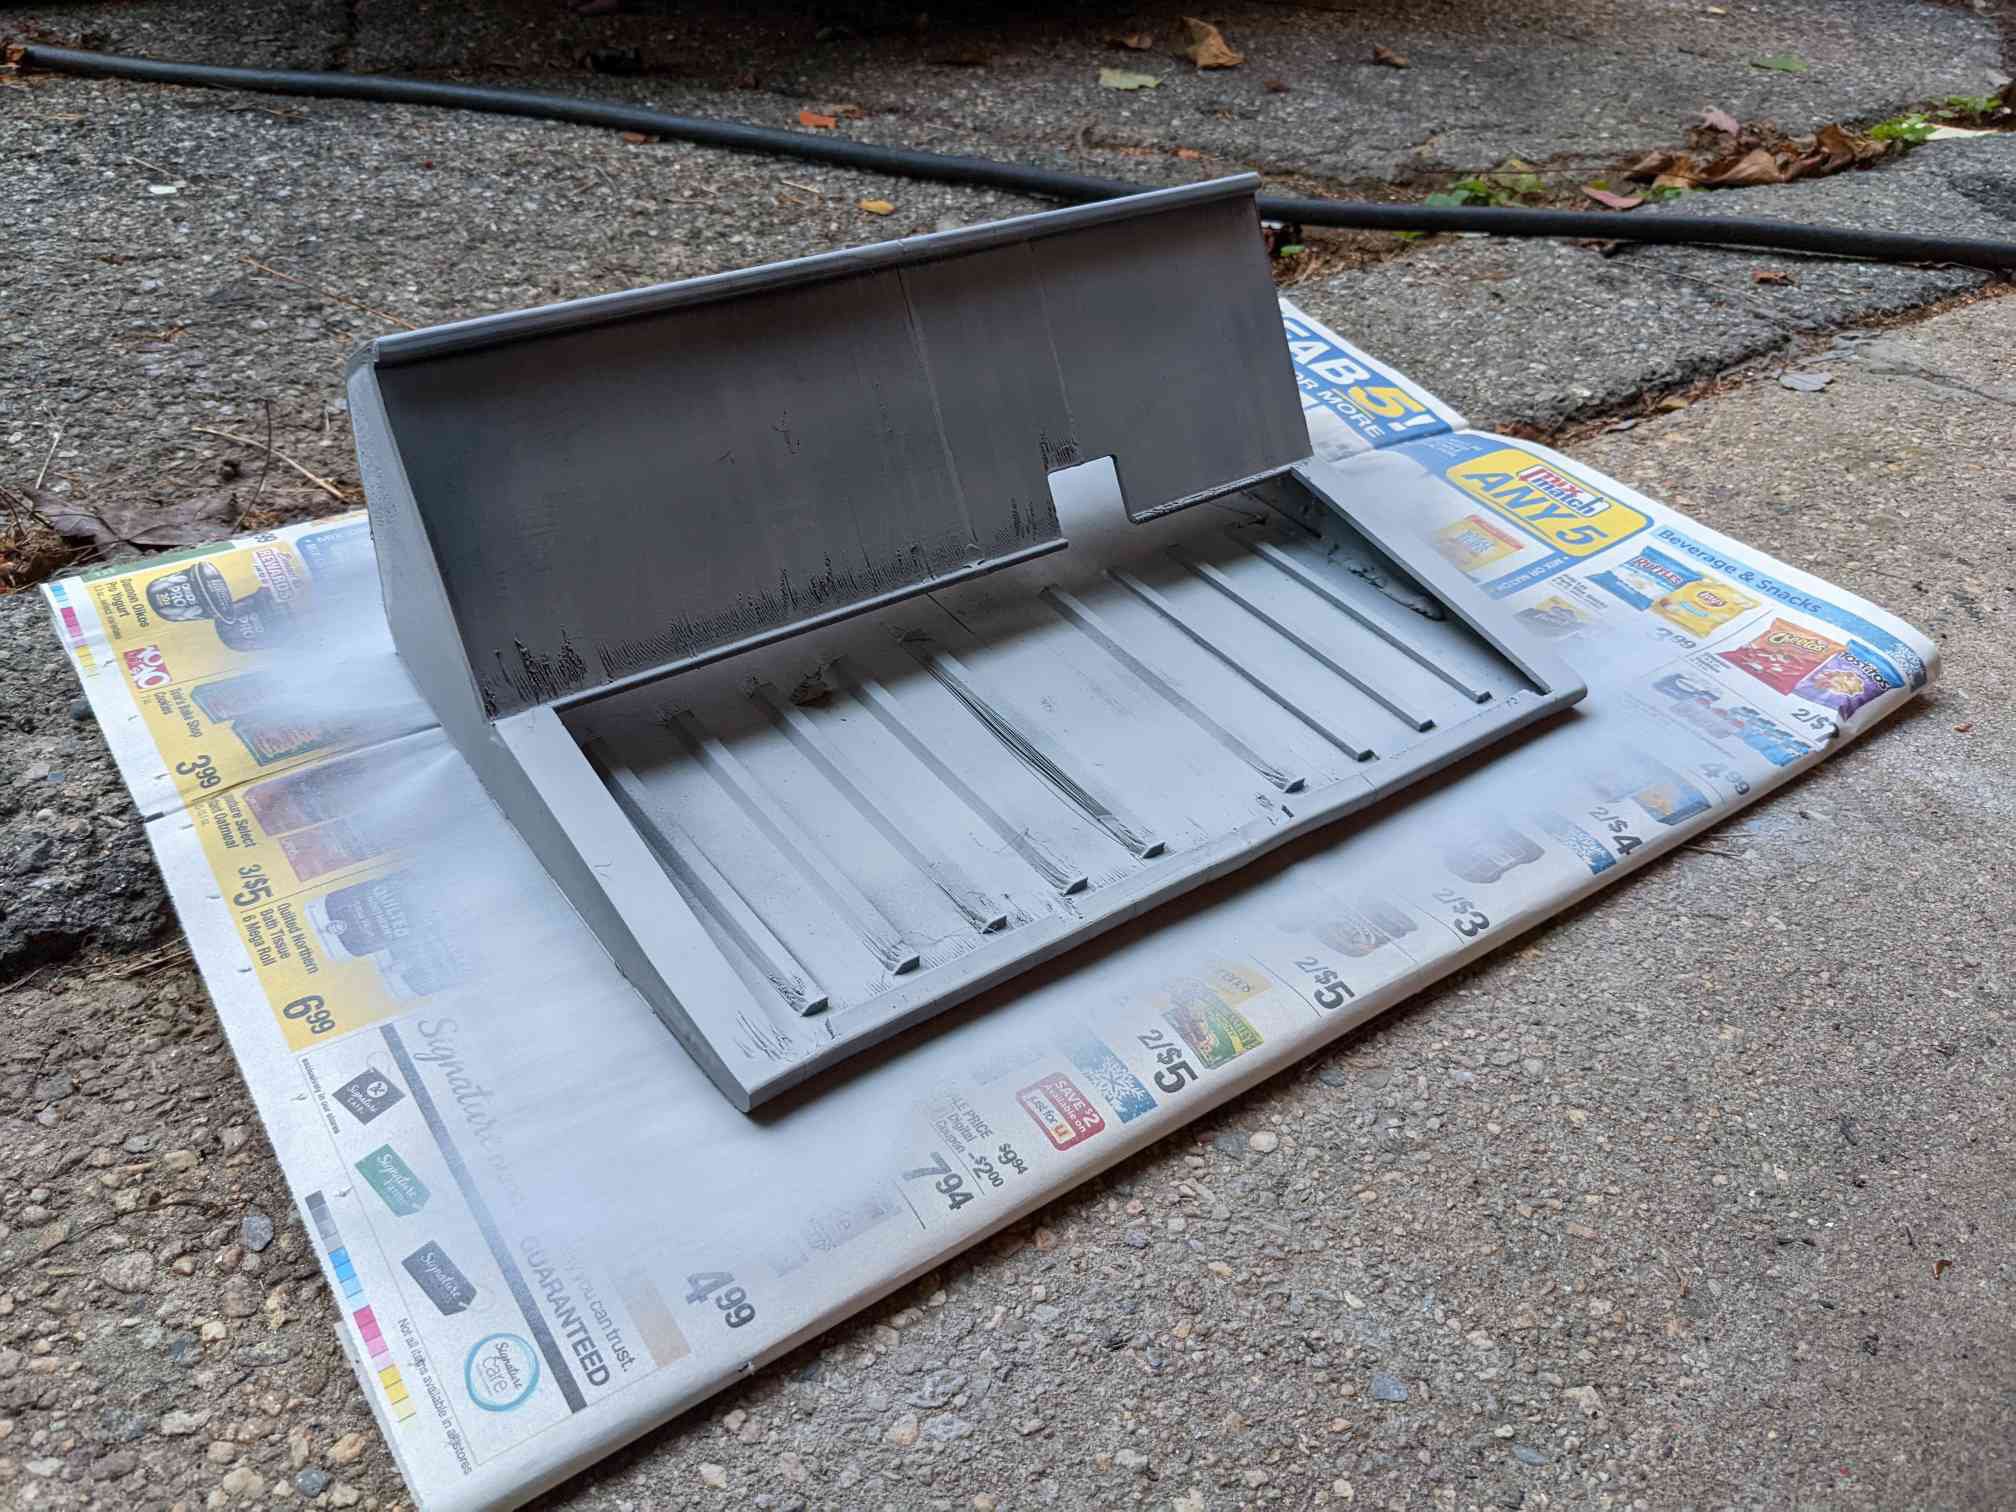
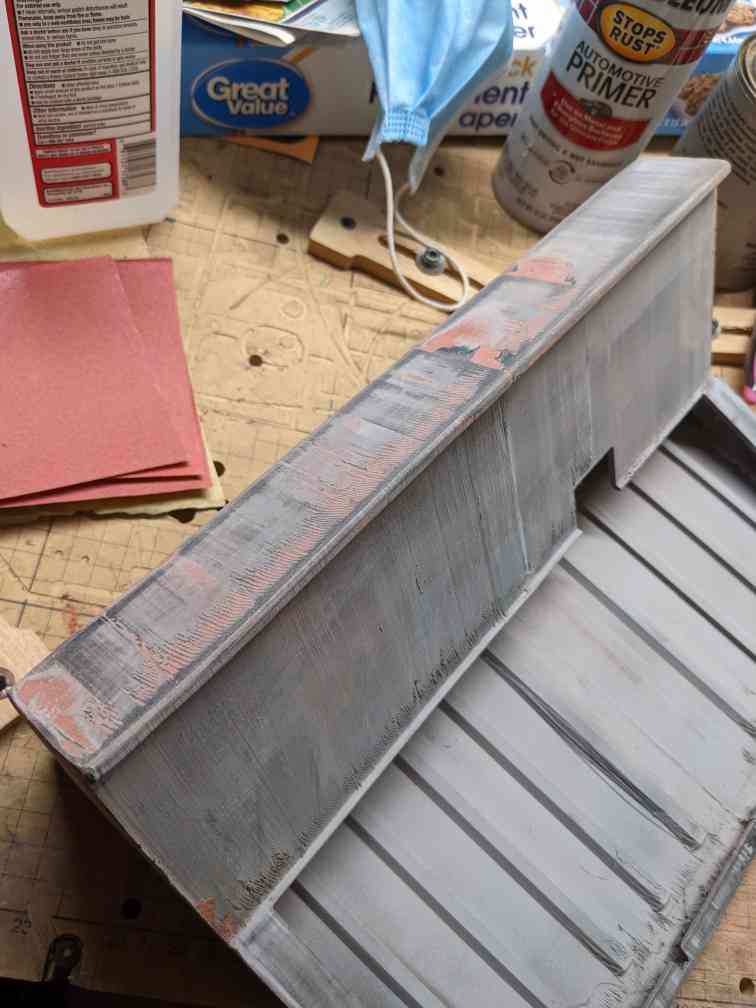
I sprayed the PETG with automotive primer, filled some defects with spot putty, and sanded it. I've added another coat of primer. The vibration of the sander caused the epoxy to separate from the PETG along a few glue lines which is disheartening to me. I'll try gluing it up again tonight and painting it tomorrow. I'm thinking of using automotive undercoating which is a rubberized durable coating. I also found a can of orange paint that might go well with the keycaps.
As a backup plan and hopefully something that will come out better I started tinkering with the design as something I could print entirely on the resin printer in 4 pieces that would glue together. Lessons learned from the FDM experiment show that some sort of rods/pins between the segments would be helpful so I've added holes for 3mm carbon fiber rod. Lychee slicer said 4 hours and the Photon Mono SE says 7 hours. I guess either way when I wake up I might see something like this with any luck! I am thinking of using the CNC to cut either plexiglass or fiber-reinforced plastic as a bottom plate.
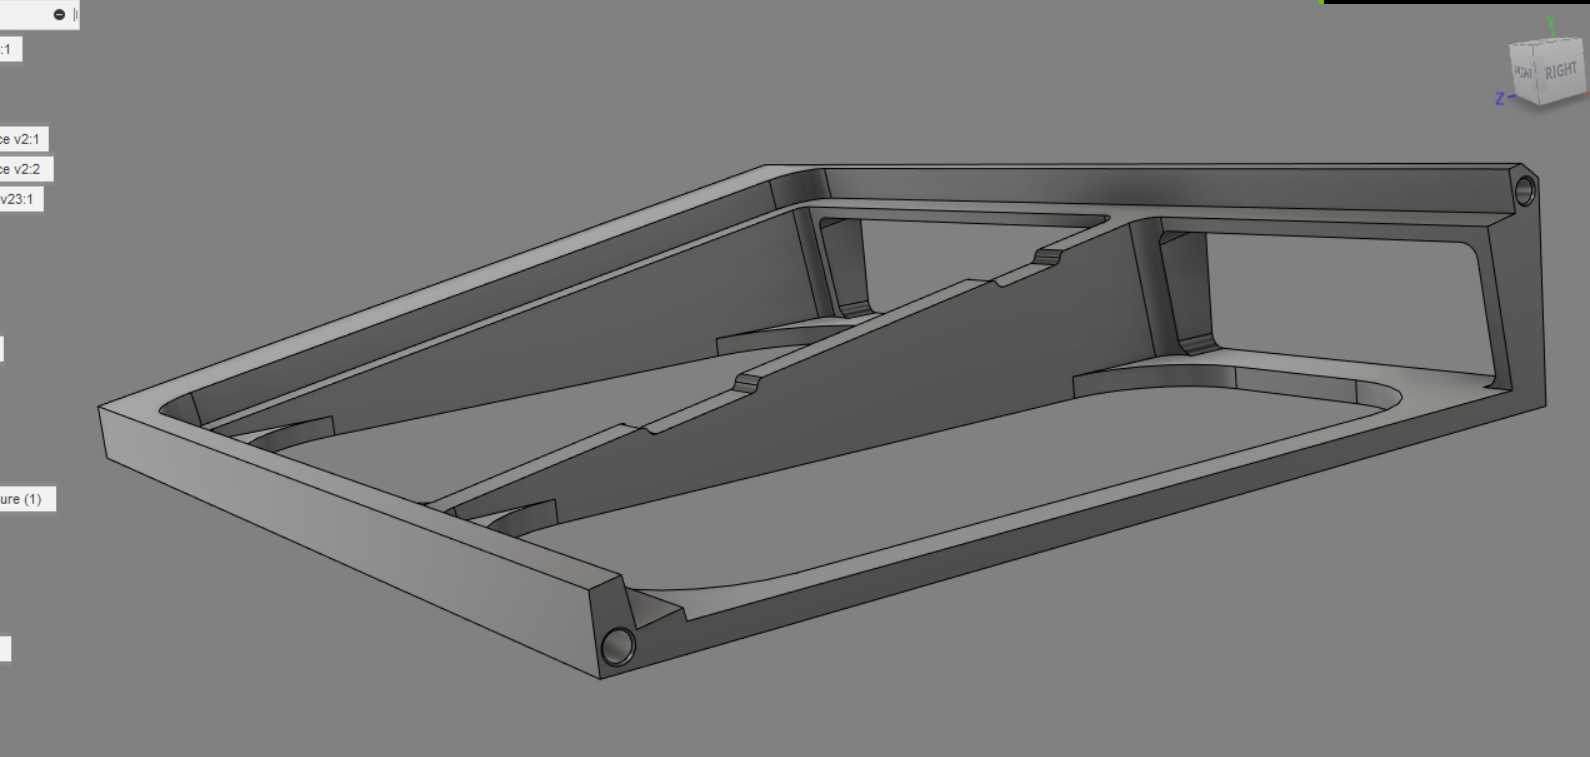
Edit: forgot to upload the F360 screenshot
Discussions
Become a Hackaday.io Member
Create an account to leave a comment. Already have an account? Log In.