Close
0%
0%

The CyberScribe

A cyberdeck for writing, made from a Snickers tin box.

Similar projects worth following
This is a simple cyberdeck with a 7.9" widescreen touch LCD and a stylus, mounted in a hinged Snickers candy bar tin covered with carbon fiber vinyl wrap. Unlike a lot of cyberdeck projects, it was made without using a 3D printer. I wanted a deck that could be easily built from off-the-shelf parts without special tools or equipment. After all, in a post-apocalyptic world, a working 3D printer with all the necessary supplies might be hard to come by!

The Snickers tin I used for the project is an NFL-themed candy bar box in the shape of a locker that I picked up at a thrift store for $1. The photo in the gallery is actually off ebay, since I had neglected to take a picture before I covered the box with carbon fiber wrap.

The tin fit the 7.9" Waveshare screen perfectly, and had plenty of depth to house the power bank and Raspberry Pi 4.

The power bank has a capacity of 5200 mAh and is made by Adreama.

The keyboard is from a used Bluetooth keyboard case cover that was meant for an iPad Mini, which I bought for a few dollars at the same thrift shop where I got the Snickers tin. The internal battery for the keyboard was dead, so I wired it to the Pi's GPIO pins to get power.

The carrying handle is a drawer pull.

The tin box and screen bezel are covered in a carbon fiber vinyl wrap.

I intend to use the cyberdeck as a distraction-free writing tool for National Novel Writing Month (NaNoWriMo) in November.
  • 1 × Waveshare 7.9-inch Capacitive Touch Screen LCD Amazon: https://tinyurl.com/2j5hhby2
  • 1 × Raspberry Pi 4 - 8 GB
  • 1 × Bluetooth keyboard case cover keyboard dimensions: 7.5" x 3.25"
  • 1 × Raspberry Pi 4 heatsink kit
  • 1 × Snickers tin or similar box with hinged lid Dimensions: 8.75" x 3.75" x 2.75"

View all 16 components

  • Kill Switch

    cmdln09/29/2022 at 17:20 0 comments

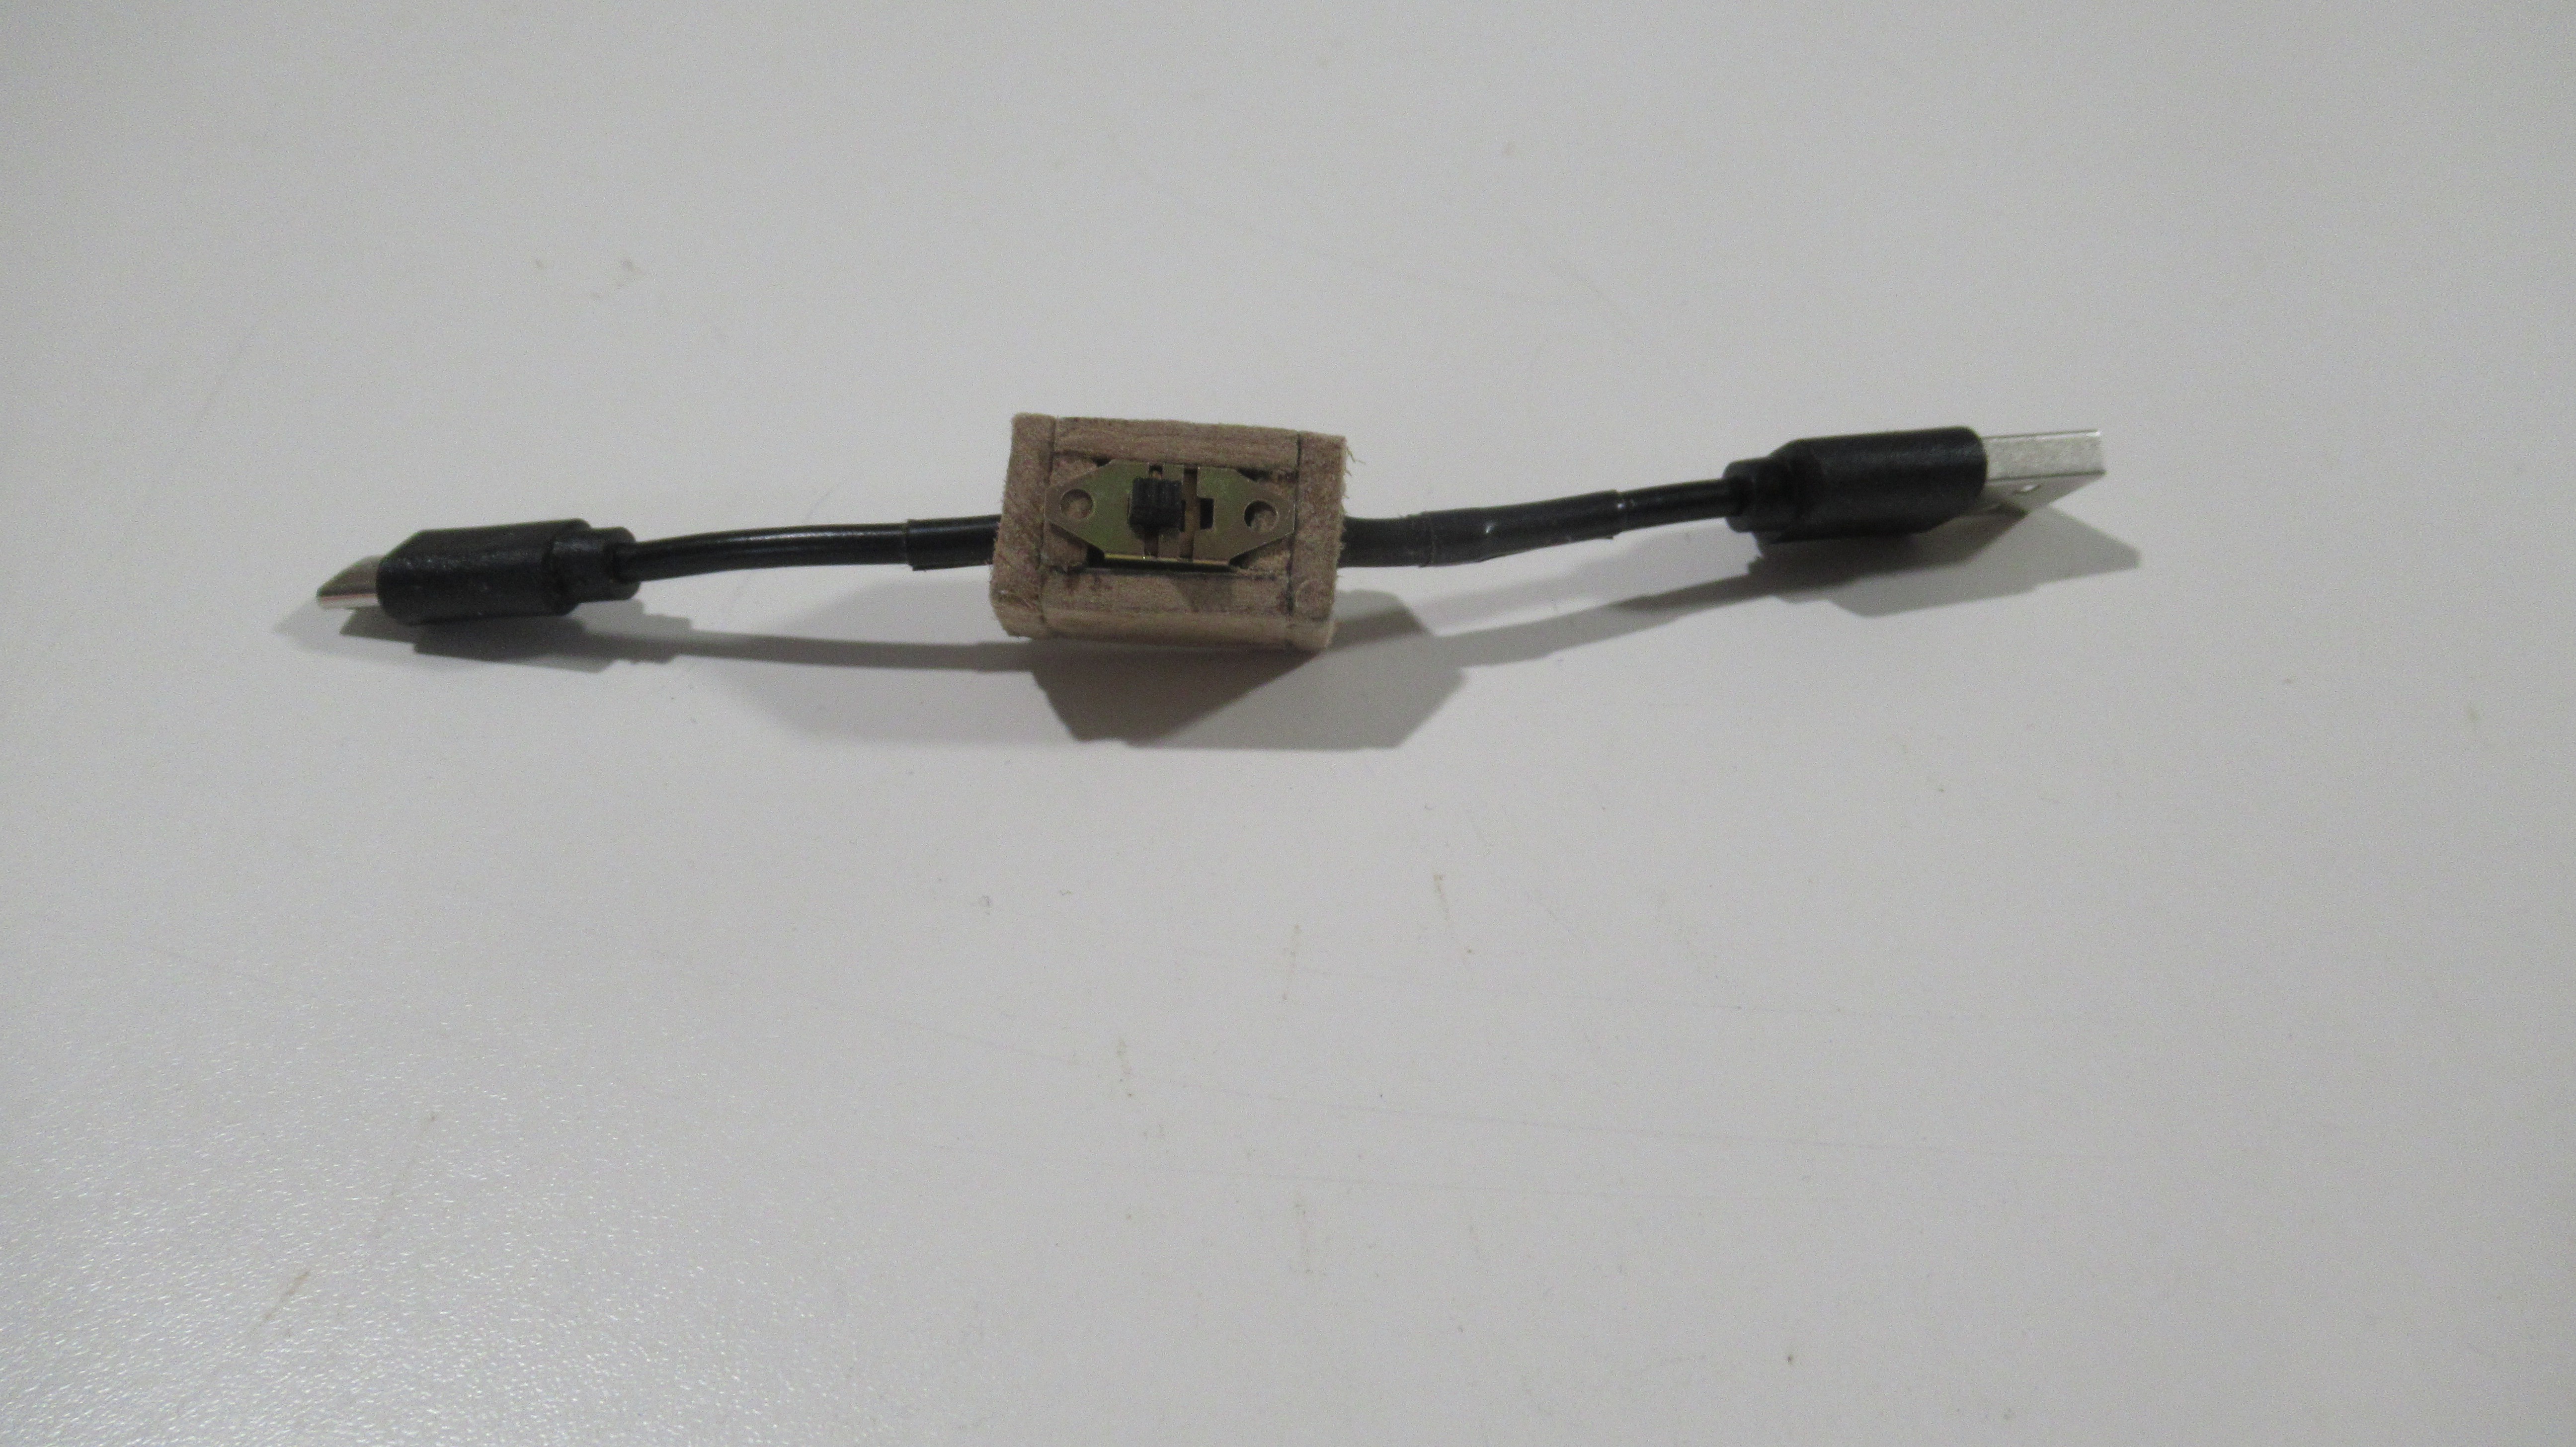
    In the photo gallery, you can see that I used a short USB-C cable to connect the power bank to the Pi. Since the Pi is drawing some current even when it's off, I had to always disconnect the cable after shutting down the Pi to prevent it from draining the power bank. I thought about putting an on/off switch on the cable, so I cut a USB-C cable in half and wired a slider switch to the +5V wire. I also build a little box for the switch using some scrap pieces of Masonite. I works, but It's a bit bulky. If anyone has suggestions for a better way of cutting the power or a more streamlined switch, let me know.

View project log

  • 1
    Cut Holes for Ports

    Cut holes in the box for ventilation, power bank ports, USB-C power port, and USB-A port. Cover the ventilation hole with mesh. Mine came from a RAM access port cover for an old 2009 iMac. I used double-sided foam tape to attach it.

  • 2
    Cut Bezel

    Cut the aluminum panel to fit in the tin box. Then cut a window in the panel to fit the LCD screen. I used a jig saw to cut the panel to fit the box and a nibbler tool to cut the window for the screen, as it allowed me more precise control.

  • 3
    Drill Holes for Standoffs

    Screw 1.5" brass standoffs to the LCD screen and place the screen into the box. Mark the location of the standoffs in the bottom of the box and drill holes for them, but don't secure the screen to the box yet.

View all 15 instructions

Enjoy this project?

Share

Discussions

Ale o co chodzi wrote 02/04/2024 at 10:52 point

how long this dev work on one charge

  Are you sure? yes | no

betaraybiff wrote 09/30/2022 at 15:49 point

This looks great, love the use of the candy tin as a case.

  Are you sure? yes | no

cmdln wrote 10/01/2022 at 06:41 point

Thanks! I was initially going to use another candy tin (for Bentley's English toffees), but I decided the box was too nice to start cutting holes into it! Another trip to the thrift shop got me the Snickers tin.

  Are you sure? yes | no

Similar Projects

Does this project spark your interest?

Become a member to follow this project and never miss any updates