Close
0%
0%

Cricut Hacking

Putting Marlin 2.x on the Cricut Expression because, well, why not?
Also, some reverse engineering on CRV001

Similar projects worth following
I was always interested in cricut machines, vinyl/cloth/paper cutting cartesian robots that came with cartridge libraries. I bought one for twenty bucks and was immediately frustrated by it. So I erased the firmware and went to work. Much of the work of figuring out the hardware had been done already. How hard could it be?

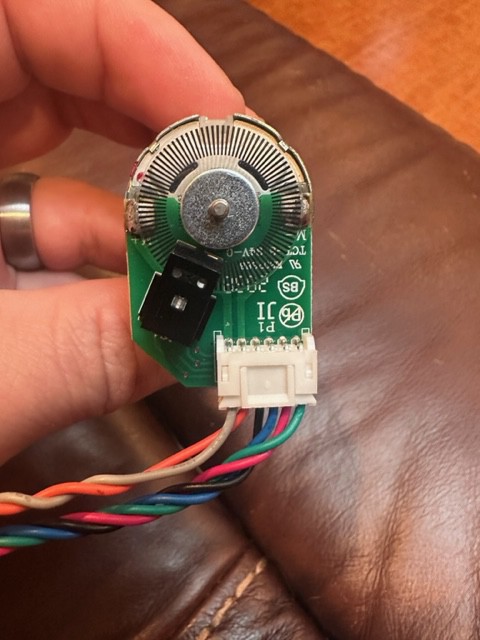
If you've played with the Cricut expression hardware, you're probably aware of the FreeExpression project, which is an open source firmware for the Cricut Expression and Cake machines. Unfortunately, although I could get it to compile, it never initialized the display, the keyboard didn't work, lots of other things didn't work.

So I set out to make it work, with the following theories:

Writing my own firmware from scratch would be a pain.

Grbl and Marlin already existed, and there's very little difference between a laser engraver and a vinyl cutter (both have engage head and PWM pressure/intensity).  This project details the steps along the way.

optiboot_flash_atmega1281_UART1_115200_16000000L_B5.hex

A bootloader which makes it easier to flash from Arduino or PIO - Hold down STOP when you power on and it will wait forever for programming. You can release STOP after power on (pretty much faster than you can release), there's no need to keep holding.

hex - 1.58 kB - 09/29/2022 at 00:38

Download

  • Cricut Explore/Air mainboard investigations.

    J.C. Nelson10/30/2022 at 17:13 0 comments

    While I'm still not certain the goldenshine/Expression V2 board is an official Cricut offering, I went on to acquire a "bricked" AIR and explore and a mainboard. The MCU on later models appears to be aV850ES/Fx3 MCU provided by Microchip Technology https://www.renesas.com/us/en/document/mah/v850esfx3-user-manual-hardware?language=en&r=1055686, which means we could absolutely write some firmware for it, but looking at it, we have only have a few points to interface with the hardware.

    The motors in these are DC servos with encoders driven by an Hbridge chip that's not complex. 

    The Bluetooth is provided by a relatively normal bridge, also by Microchip Technology, which can be found here: https://fccid.io/T9J-RN42

    This might be fun to code for even if I can't take over the V850.

    It's not clear to me yet how much code lives on the V850, what lives in the bluetooth bridge, and how much is in the cloud.

    There's a ten pin header with cable that looks just like the old keyboard, and a ribbon cable. If they're carrying on the same design, the ribbon activates/controls pressure on the cutting head (which is odd). I won't know where the cable goes until I open up one of mine.

  • The Cricut Expression 2 (A different beast)

    J.C. Nelson10/12/2022 at 02:52 0 comments

    I picked up a "for parts" Expression V2 and took it apart and this machine doesn't even look to be descended from the Expression V1. The truth is, without taking apart a maker or whatever the new ones are, I can't be sure - it could be that Cricut did a cutover to the new model, but this thing feels like a misstep.

    The chip at the core of it is S5P2020X01 from Samsung, a system on a chip that drives the TFT display with its touch screen (which I'd still almost bet on being an XPT chip). It sports a winbond flash chip for the graphics (and probably just shovels them onto the screen) and a few others.

    The board has the eight transistor setup that the CRV001, Expression, Create, and Cake use, but that's pretty much the end of the similaries.

    The PCB says "Golden Shine GS-M-1," doesn't have any of the cricut silkscreen marks or the trademarks or any of that.

    I'd almost bet this being a Chinese remake of the Expression, one-upping it, that Cricut bought and marketed. 

    Time will tell, when I get my hands on a newer version. 

  • The Cricut Keyboard, Explained

    J.C. Nelson10/07/2022 at 23:15 0 comments

    I'll be the first to admit, the keyboard made no sense to me. Not that the FreeExpression code failed (sort of, once I switched to the cake version). Sometimes, the obvious isn't obvious (to me). I have said I gave up on the CRV001. I was simply tired of fighting the hardware. But the more I thought about it, the more the keyboard represented an opportunity to examine it and understand how it worked.

    FreeExpression's comments are *exactly* correct if you aren't me. Let's look at the CRV001 keyboard and make some sense out of it.

    Here's the card edge connector (which is a 10 pin header in the Expression:

    The key things we need to know: Power, Ground, a separate pin for STOP, one to enable the LEDs, a clock pin, a data pin, and five data pins numbered 0-4. How does this work? The data pins are mapped to a port and read as a set (0-4) and each corresponds to one row (You probably will note there's an 0-4 numbering on the right side). The two chips are serial to parallel shift registers...and here's how it works.

    You raise the data line for a 1, and toggle the clock pin. This makes the 0 output of the top SR turn on, which leads to the LED set, which can then be read. Clock it again, the 1 goes to the second column output and if the switch is on, you'll read it on the corresponding data pin, Keep clocking forward, eventually you can read all 14 columns.

    How do you address the LEDs? They're column 0 and 1. 

    There's not a great way to make a generic "Cricut keyboard" handler - the PCBs for the Expression V1 (and cake) are each moderately different from the CRV001.

  • Dial Weirdness

    J.C. Nelson10/04/2022 at 01:59 0 comments

    According to the FreeExpression source code, all the dials are PF0, PF1 and PF2 (A0, A1, A2). But no matter what I did, my test sketches came back with nothing but 0 for reading dials. What to do? Break out the multimeter.

    There must be multiple revisions of the Expression V1, because the two LEFT dials (speed/pressure) are connected to PF1 and PF2, respectively. PF1...must be set high, and that results in valid ADC data from the two left dials, which I want to be...speed and pressure (adjusting feed rate and laser strength, respectively). 

    One side effect of this is that the readings, while falling into specific ranges, will need to be averaged, and only change that persists over time be registered as changing values.

  • The CRV001 LCD, Explained

    J.C. Nelson09/30/2022 at 01:44 0 comments

    I took the LCD apart and recognized it as some sort of simple parallel interface.  After some futzing, here's the pinouts, working:

    // LCD is a HD44780, 16, 2.
    // Numbering from the LCD board itself
    // PIN  | LCD FUNCTION
    // 01   | GND
    // 02   | VCC (5v)
    // 03   | RS
    // 04   | RW
    // 05   | EN
    // 06   | D4
    // 07   | Data5 7 R
    // 08   | Data6 6 B
    // 09   | Data7 5 Y
    // 10   | BACKLIGHT 4 W

  • Note on Cricut CRV001 Hardware

    J.C. Nelson09/29/2022 at 19:18 0 comments

    In case someone else is playing with this. The CRV001 has an ATMega128 MCU (fewer timers), a 1x16ish LCD. The steppers work the exact same, the pen test sketch doesn't work at all (it's doing something, but I can't tell what) and the LCD sure seems to be a 4 bit parallel style. Hopefully more on that later.

  • Bug Fixes. Boring. Necessary.

    J.C. Nelson09/29/2022 at 02:55 0 comments

    The next stage was a ton of debugging to find out that I literally didn't remember that PORTA and PORTC are pointers, and if one builds logic off a comparison...it's probably good to make sure you're comparing the same thing.

    This made the Y axis behave perfectly well, and let me test a few things about how my gcode would work. I have an X limit switch, so the machine would always G28X to home that, but Y is whatever the user says it is. G92 is our friend, letting us SET the positions, so G92 Y0 lets us tell Marlin "Start from right here." 

    There is no X axis, and I got to looking at the different modules, and realized there's not a ton of difference between Marlin's laser tool (M3, M5) and a cutting head with an "ON" pin and a "PWM" pin for pressure.

    This let me set a few more pins correctly, and somewhere along the way I defined the beeper pin so tones work.  

    At this point, I had to step back and re-evaluate what happens next.

    LaserWeb is an electron app that converts SVGs to gcode and can send them, and I began working on a machine profile for the expression, and cut a test heart.

    Yep.

    A  heart.

    I learned so much, but the key thing I learned was that my used Cricut came with an extremely dull knife. I have ordered a new one off amazon.

    That lead me to look closely at the keyboard code in FreeExpression. If I can get the +/-/Ok buttons working, Marlin's three button menu will work, and of course it would be cool to have the arrow buttons on the right hand of the keyboard work to move the axis.

    The keyboard will come in two phases:

    1. Understanding how the keyboard works and getting a sketch that can read it.

    2. Integrating that code as a button handler in Marlin.

  • Steppers - "Doing it the Hard Way."

    J.C. Nelson09/29/2022 at 02:44 0 comments

    The Cricut steppers are attached to direct transistors. I mean, you can see them on the motherboard, where you'd expect a stepper driver to be. Why do they do this? I have no idea. But Marlin doesn't support such drivers.

    Solution: Virtual steppers.

    Using the same model as the TMC steppers, I created a new driver type (TRANSISTOR) and added a TransStepper class for X and Y, assigned to appropriate ports and using a variant of the same code that FreeExpression used to move the steppers.

    The X axis worked pretty much perfectly once I put in a delay. The Y axis did not because I had a stupid bug I didn't find until much later.

    I could load an Arduino sketch with the TransSteppers and smoothly roll both axis.

    https://github.com/MarlinFirmware/Marlin/tree/46674d0b29d2c11068aba50251b27d0c129f0eb6

    Shows adding a driver type, although it didn't work right until much later, because...fastio.

    Marlin has one FASTIO definition for this class of MCU, and the fastio pins are NOT the same in the 64pin version as the 100 pin. I'm guessing the previous boards were a 100 pin package.

    So I wound up looking at MegaCore's definitions and producing a 64 pin fastio.h defnition.

    This allowed endstop to work, and a bunch of tweaks to make the X axis home in the right direction.

    This machine doesn't have a Y min, but I picked a pin that wouldn't do something evil and defined it as Y min because Marlin doesn't like machines without Y endstops.

    I'll have to look at belt printers, which wouldn't have one, and see what those do.

  • LCD - Never bet against Programmers being Lazy.

    J.C. Nelson09/29/2022 at 02:17 0 comments

    I SHOULD have been tackling the steppers. Or the endstops. But what I didn't understand was why the FreeExpression project didn't use the LCD that comes with the hardware. A quick look at the FreeExpression code gave me the pinout for a modified (to use a different LCD) connector, and looking at the OLED code for the cake version, it used SPI in a very simple mode.

    Now, a quick look at the cake, expression, CRV001 and expression v2 motherboard said these things were all closely related, and I made a bet that no matter what, they were probably STILL using SPI for the other LCDs.

    If you already have a working layout for the motherboard, don't mess with it just to change LCDs. So I did the most boring thing possible.

    I installed u8g's library in Arduino, opened the hello world example, and looked at the supported devices.

    The Expression V1's screen is yellow on black, basically a black and white LCD. There's simply not enough free pins in the header for it to be running in parallel. It was unlikely to be even a four bit.

    With a little trial and error, I hit the right combination, using MegaCore's pin names (PIN_PE7, for example). And the LCD booted up. I now knew that the LCD for the Expression was a U8GLIB_NHD27OLED_BW supported device.

    Adding a new display type to Marlin isn't terribly well documented, but there's a commit in my git repo - https://github.com/MarlinFirmware/Marlin/tree/f9b88e1688482b1eeb549e1c199ebfb247818106

    Shows most of how it's done.

    Keyboard? No. no, no.  But LCDs working, that was a start.

  • Minimal Marlin (Otherwise Known as It Compiles)

    J.C. Nelson09/29/2022 at 01:55 0 comments

    The project picture for this pretty much gives away that I have the LCD working (and in fact, a bunch of this little machine functioning) but I'm entering logs pretty much in the order I tackled problems. I had a bootloader that no longer punched me in the face each time I tried to update (it's in the Files section if you want to pick it up). 

    Next, I cloned a fresh version of Marlin. There was already an atMega1281 environment, though there were a few problems, and I did the basics of adding a new "board" to Marlin - tacked in a board number, added it to pins.h, and cloned a pins file from an existing 1281 board.

    And I faked pretty much ALL the pins. The goal was to get SOMETHING compiling and then move on from there. I did a lot of *bad* things to get it compile, but soon enough it did, and I could hook up a serial monitor and get a view with PINS debugging.

    BTW, at this point, I could already see the signs that something was fundamentally wrong in Marlin's fastio, but I didn't know what, or what to do about it.I had a Marlin of sorts running and that was a good foundation.

    How did I know we had a problem coming? Because I was fairly certain what the endstop pin was for the X axis, and in Marlin it always showed as open, pin watch didn't show changes, but in test arduino sketches, I could absolutely (correctly) read the endstop.

    I set it aside as a problem to tackle next, committed the bare environment bugs and all, and moved on.

View all 11 project logs

Enjoy this project?

Share

Discussions

Crathen wrote 02/26/2024 at 04:49 point

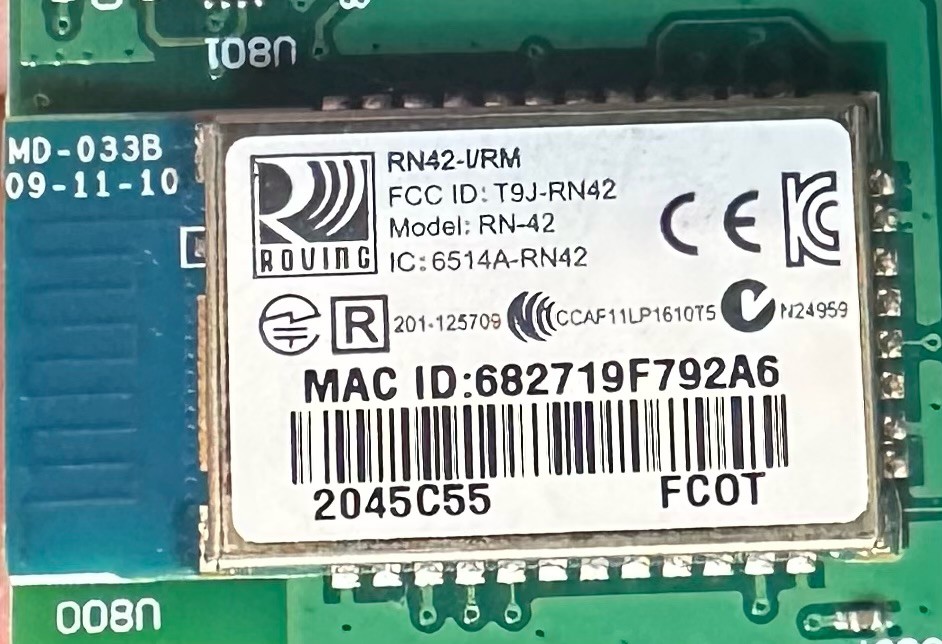
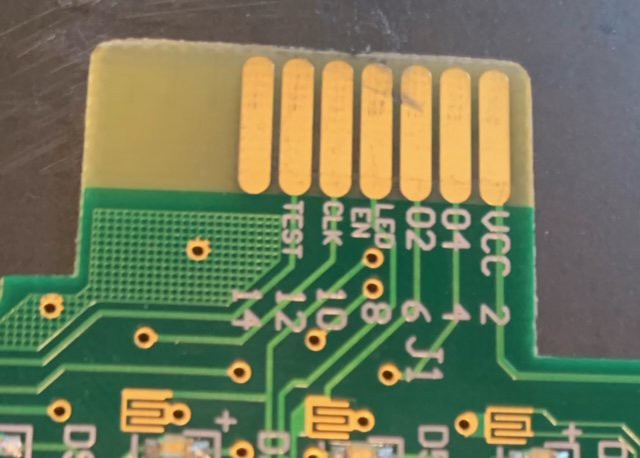
i am trying to get my expression V2 working, honestly dont know where to start as i cannot find any info for the samsung SoC

  Are you sure? yes | no

Joe Camel wrote 01/14/2024 at 03:55 point

I have flashed my gen 1 expression with FreeExpression, very thankful to the people behind that project but I think using Marlin is the best route to take.

  Are you sure? yes | no

qtron wrote 04/19/2023 at 15:11 point

cant wait to see what U end up doing with it.. apart from Cricut's original intentions!

  Are you sure? yes | no

Similar Projects

Does this project spark your interest?

Become a member to follow this project and never miss any updates