Intent
I'd been building a bunch of tiny devices around the house with a "used future" aesthetic,and going overboard applying a tutorial at Emily's Electronic Oddities (Make 3D Prints Look Like Distressed Painted Metal). The Hackaday contest provided a reason to get started on a Cyberdeck, and more importantly: a deadline. My criteria for the final product were pretty broad:
- Made from parts I already had (...mostly).
- Modular - I'd be adding to this over time, and it was going to need a number of attachment points. This is as much to add future improvements as it is to allow for my haphazard design/build process, and provide some flexibility around my many inevitable errors.
- Look like it's been bounced off of every surface from here to Nivalis.
- Have SOME kind of use at the end, even if it's just setting up in my condo lobby to SSH into the troublesome information screens.
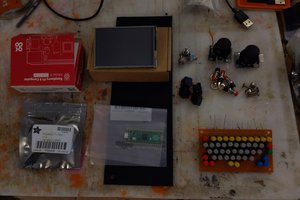
Parts
- Raspberry Pi 4 (2gb) - the most powerful SBC I've got, so I had no idea what to do with it.
- Pi Sugar S Plus - power supply. No idea if it'll run a 7-inch monitor as well.
- BM43 40% keyboard PCB/plate - seems the ideal form factor for a Cyberdeck
- DSA 2077 Keycap Set - this and the keyboard were picked up around the same time, with "future deck project" in mind
- Knurled inserts, riveted bolt threads, M2.5/M3/M4 bolts - those riveted bolt threads are going to do a lot of heavy lifting toward the "modular" goal
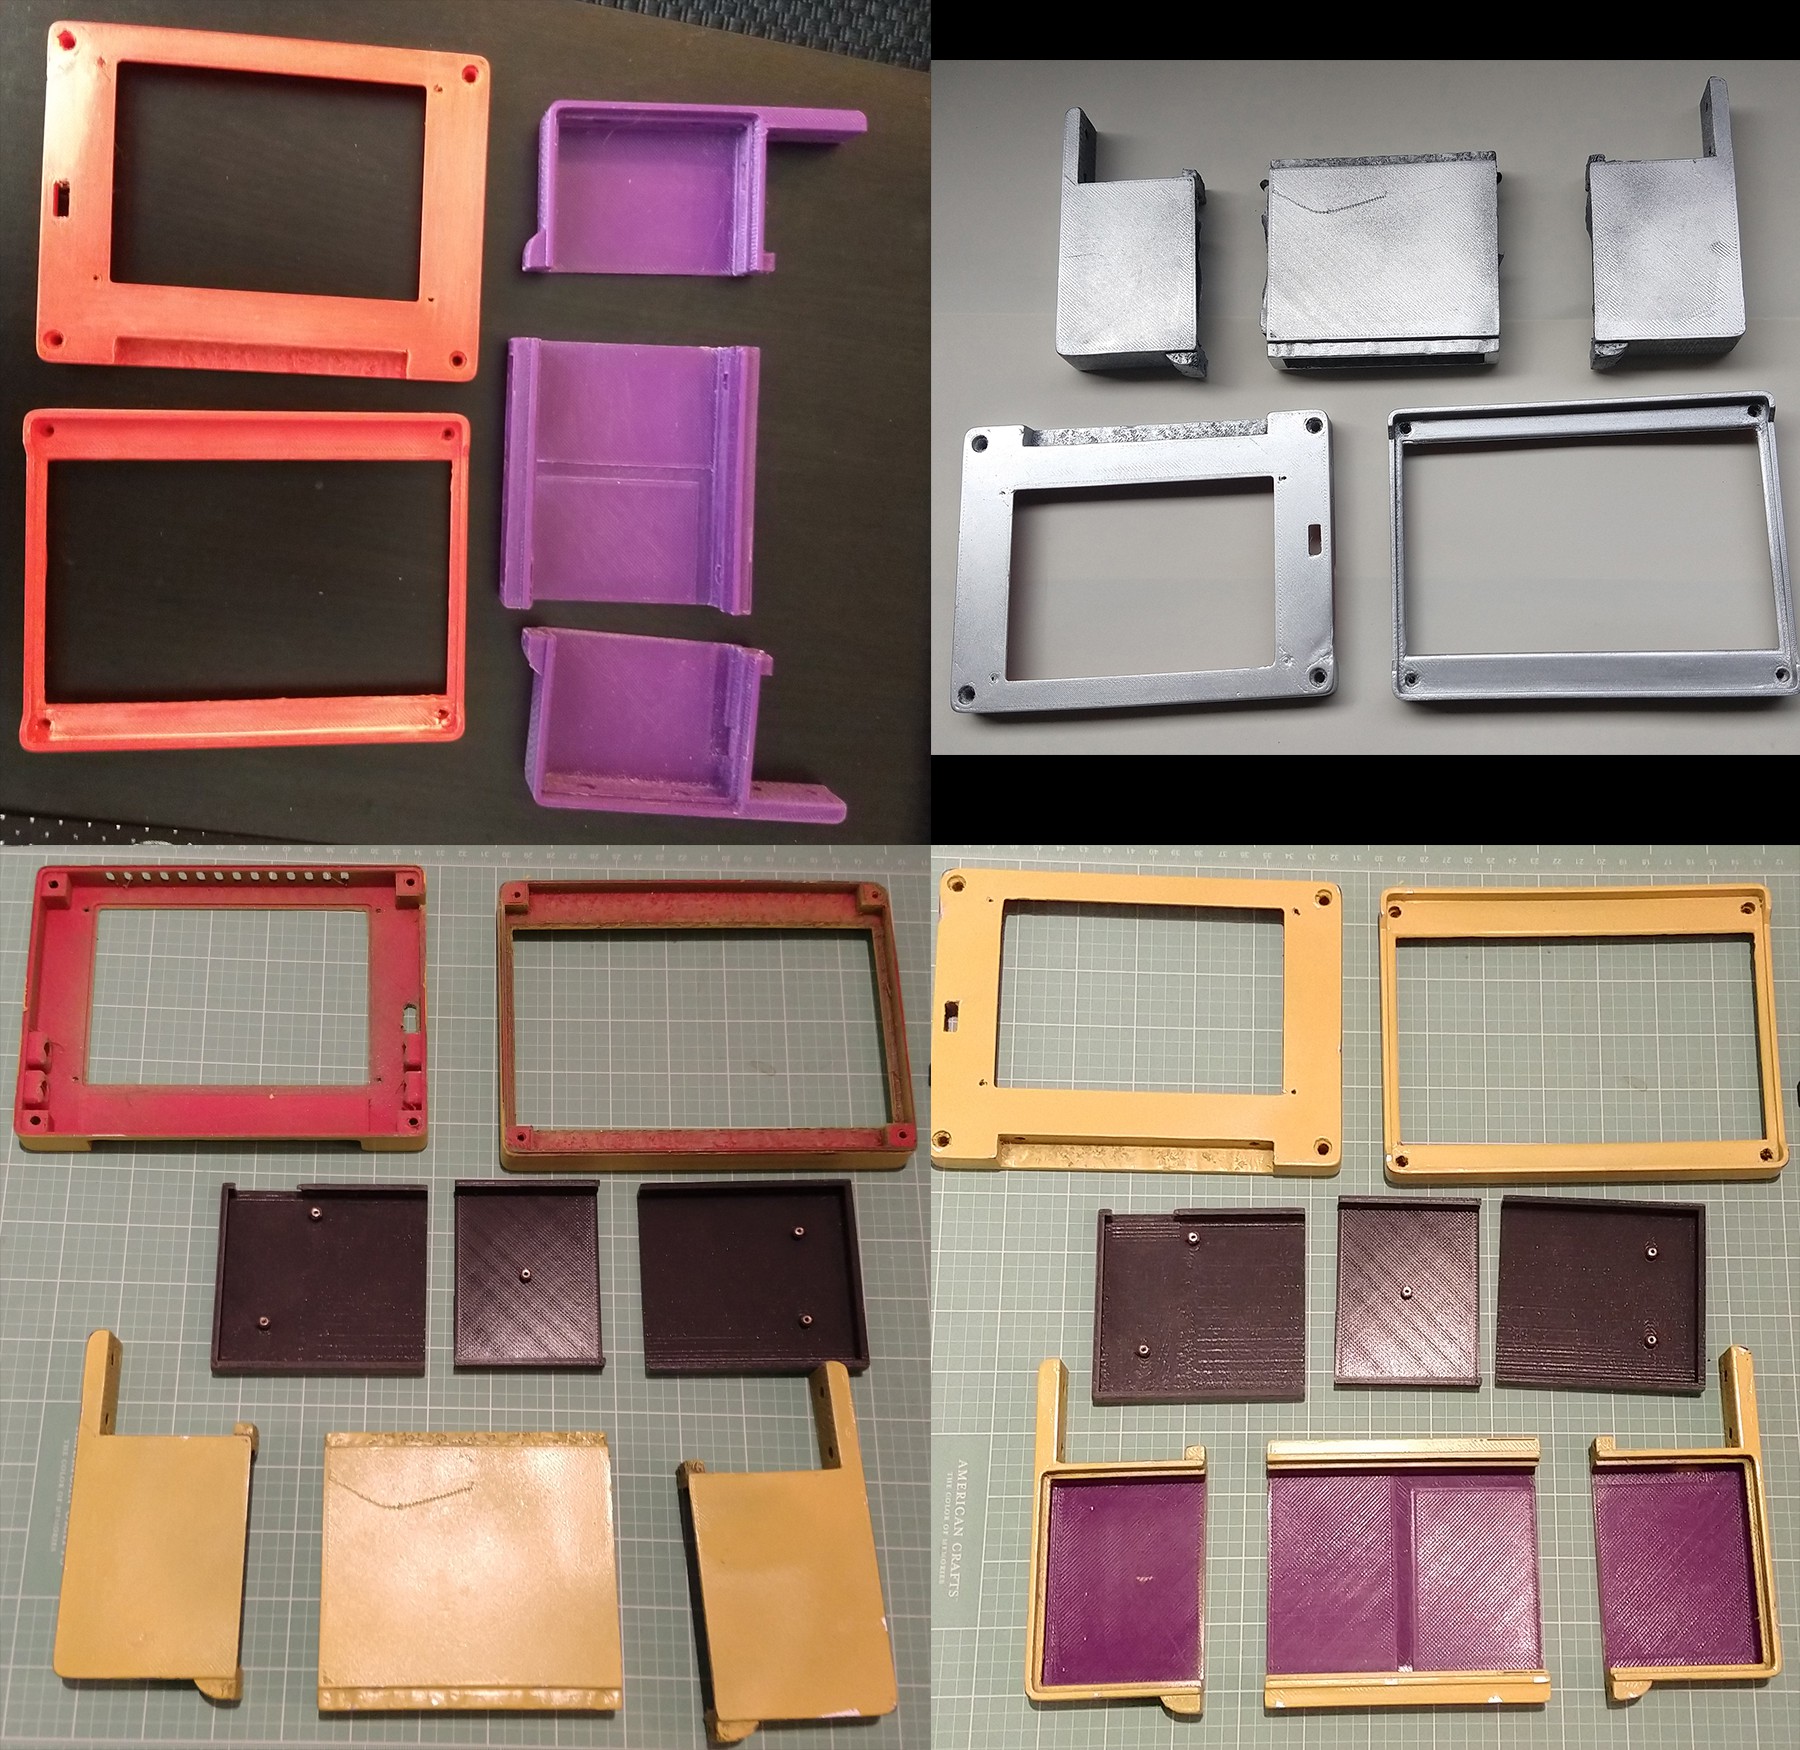
- 3d printed parts - I've gone through a bit've eSun PETG on this. A calibration error on my first set of parts set me back a bit. The only colours that stayed unpainted were black and the grey PLA keyboard insert tray.
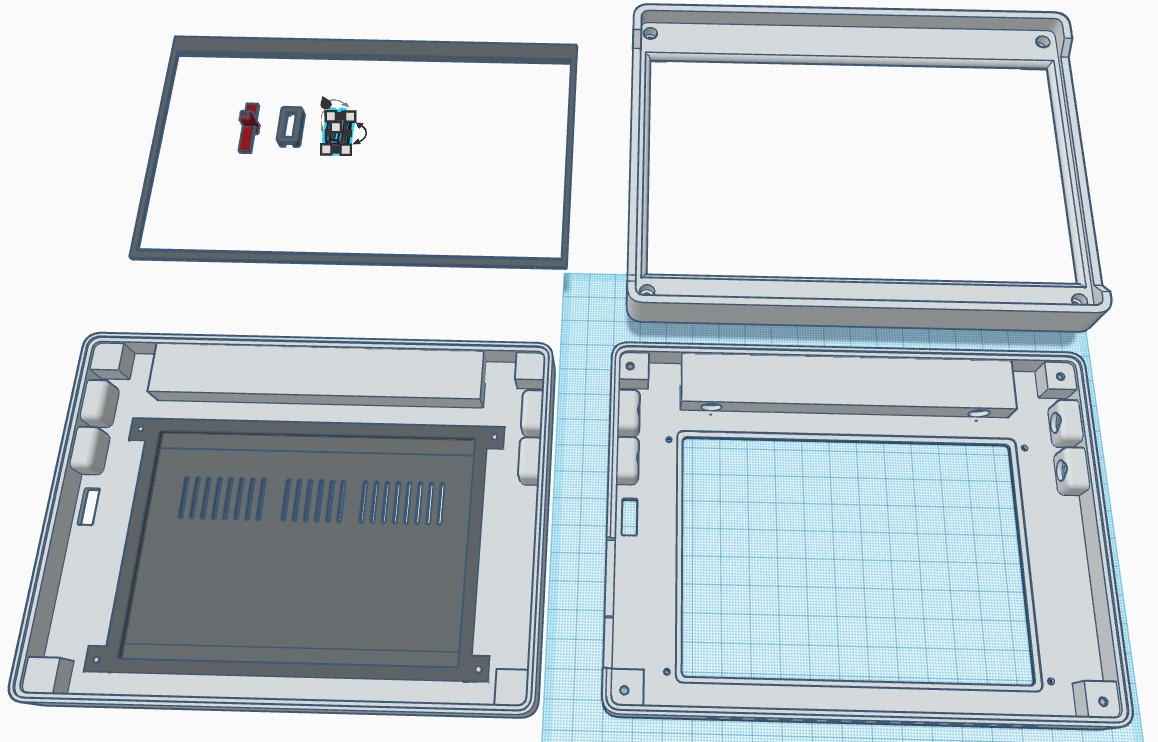
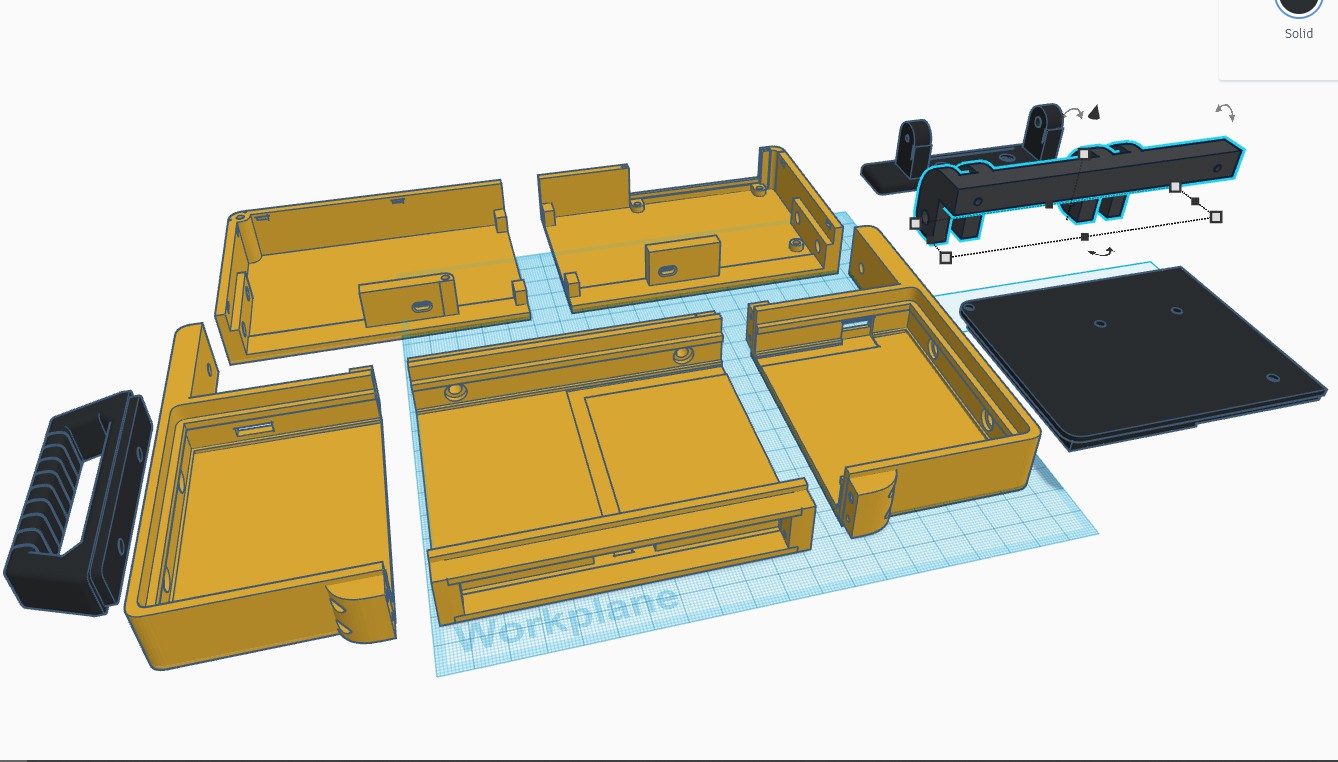
Process
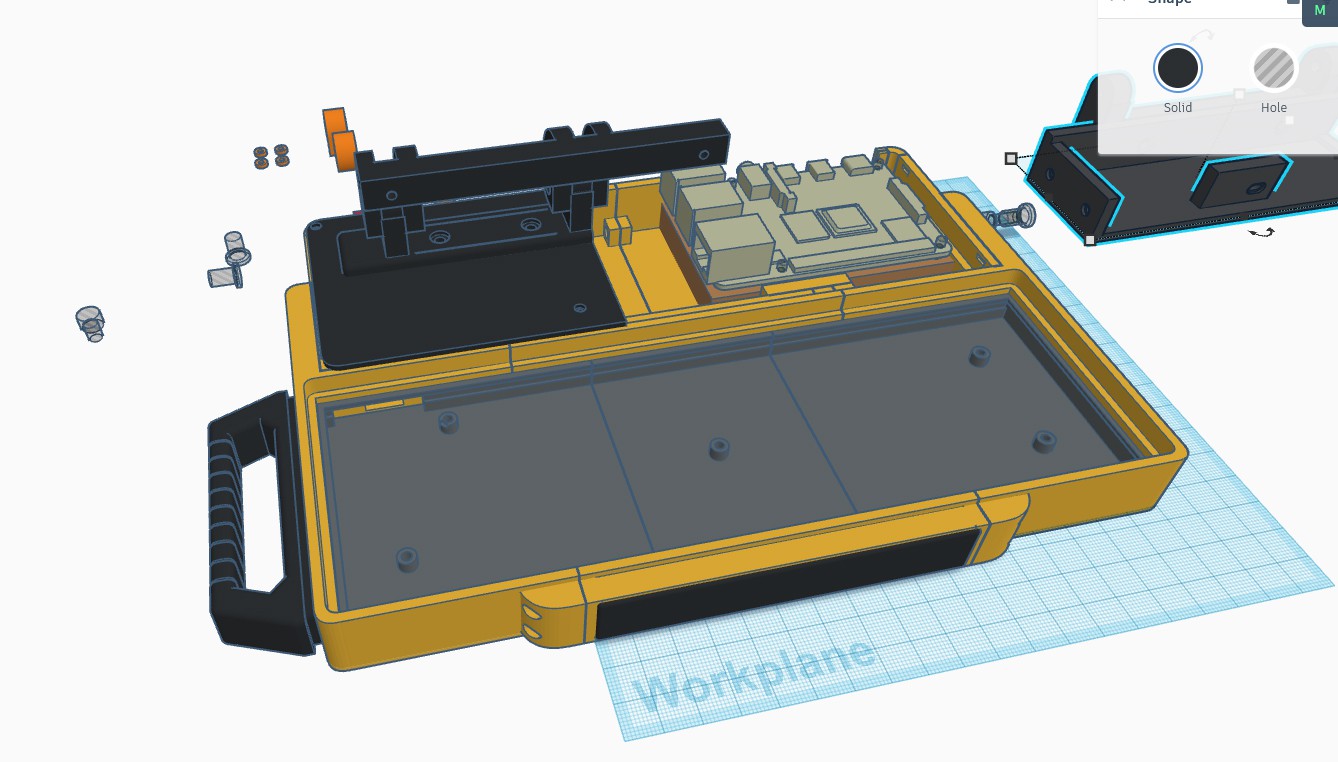
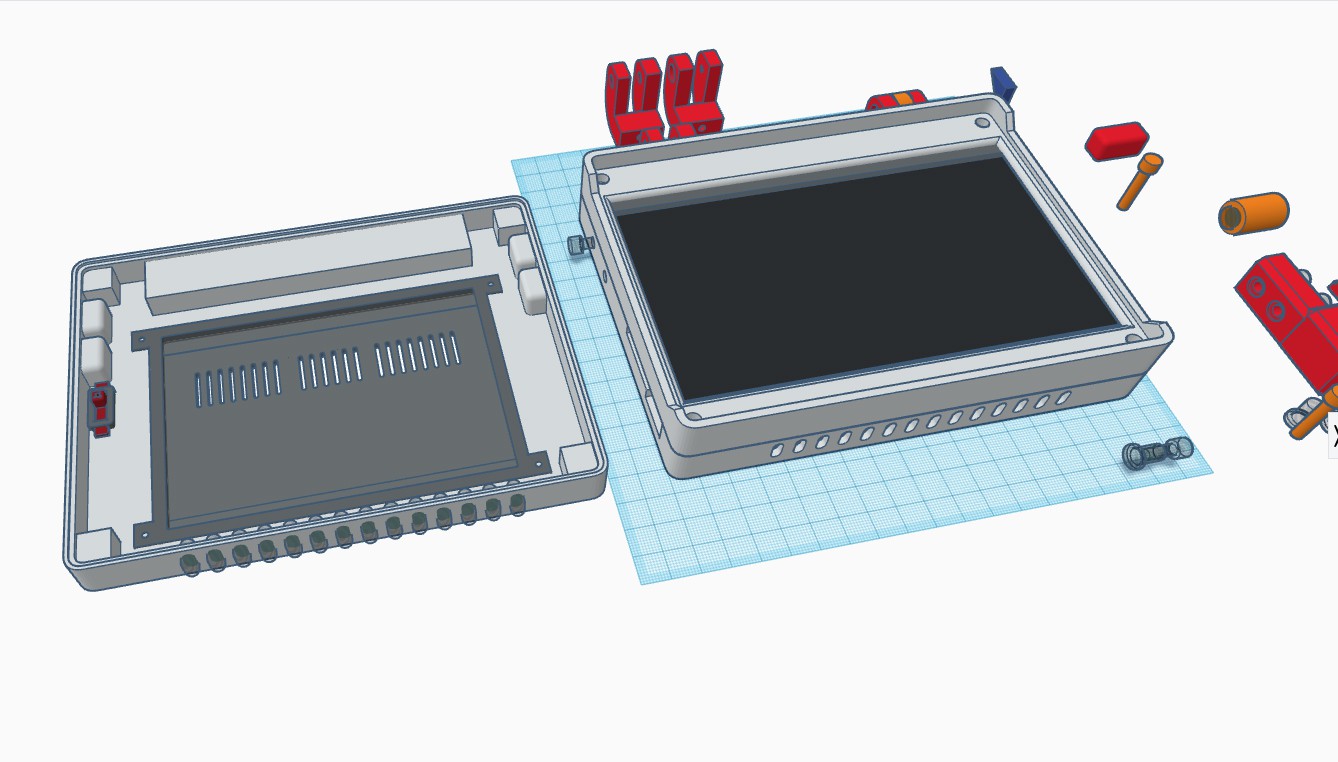
Tinkercad. So much Tinkercad.
Problems and lessons learned
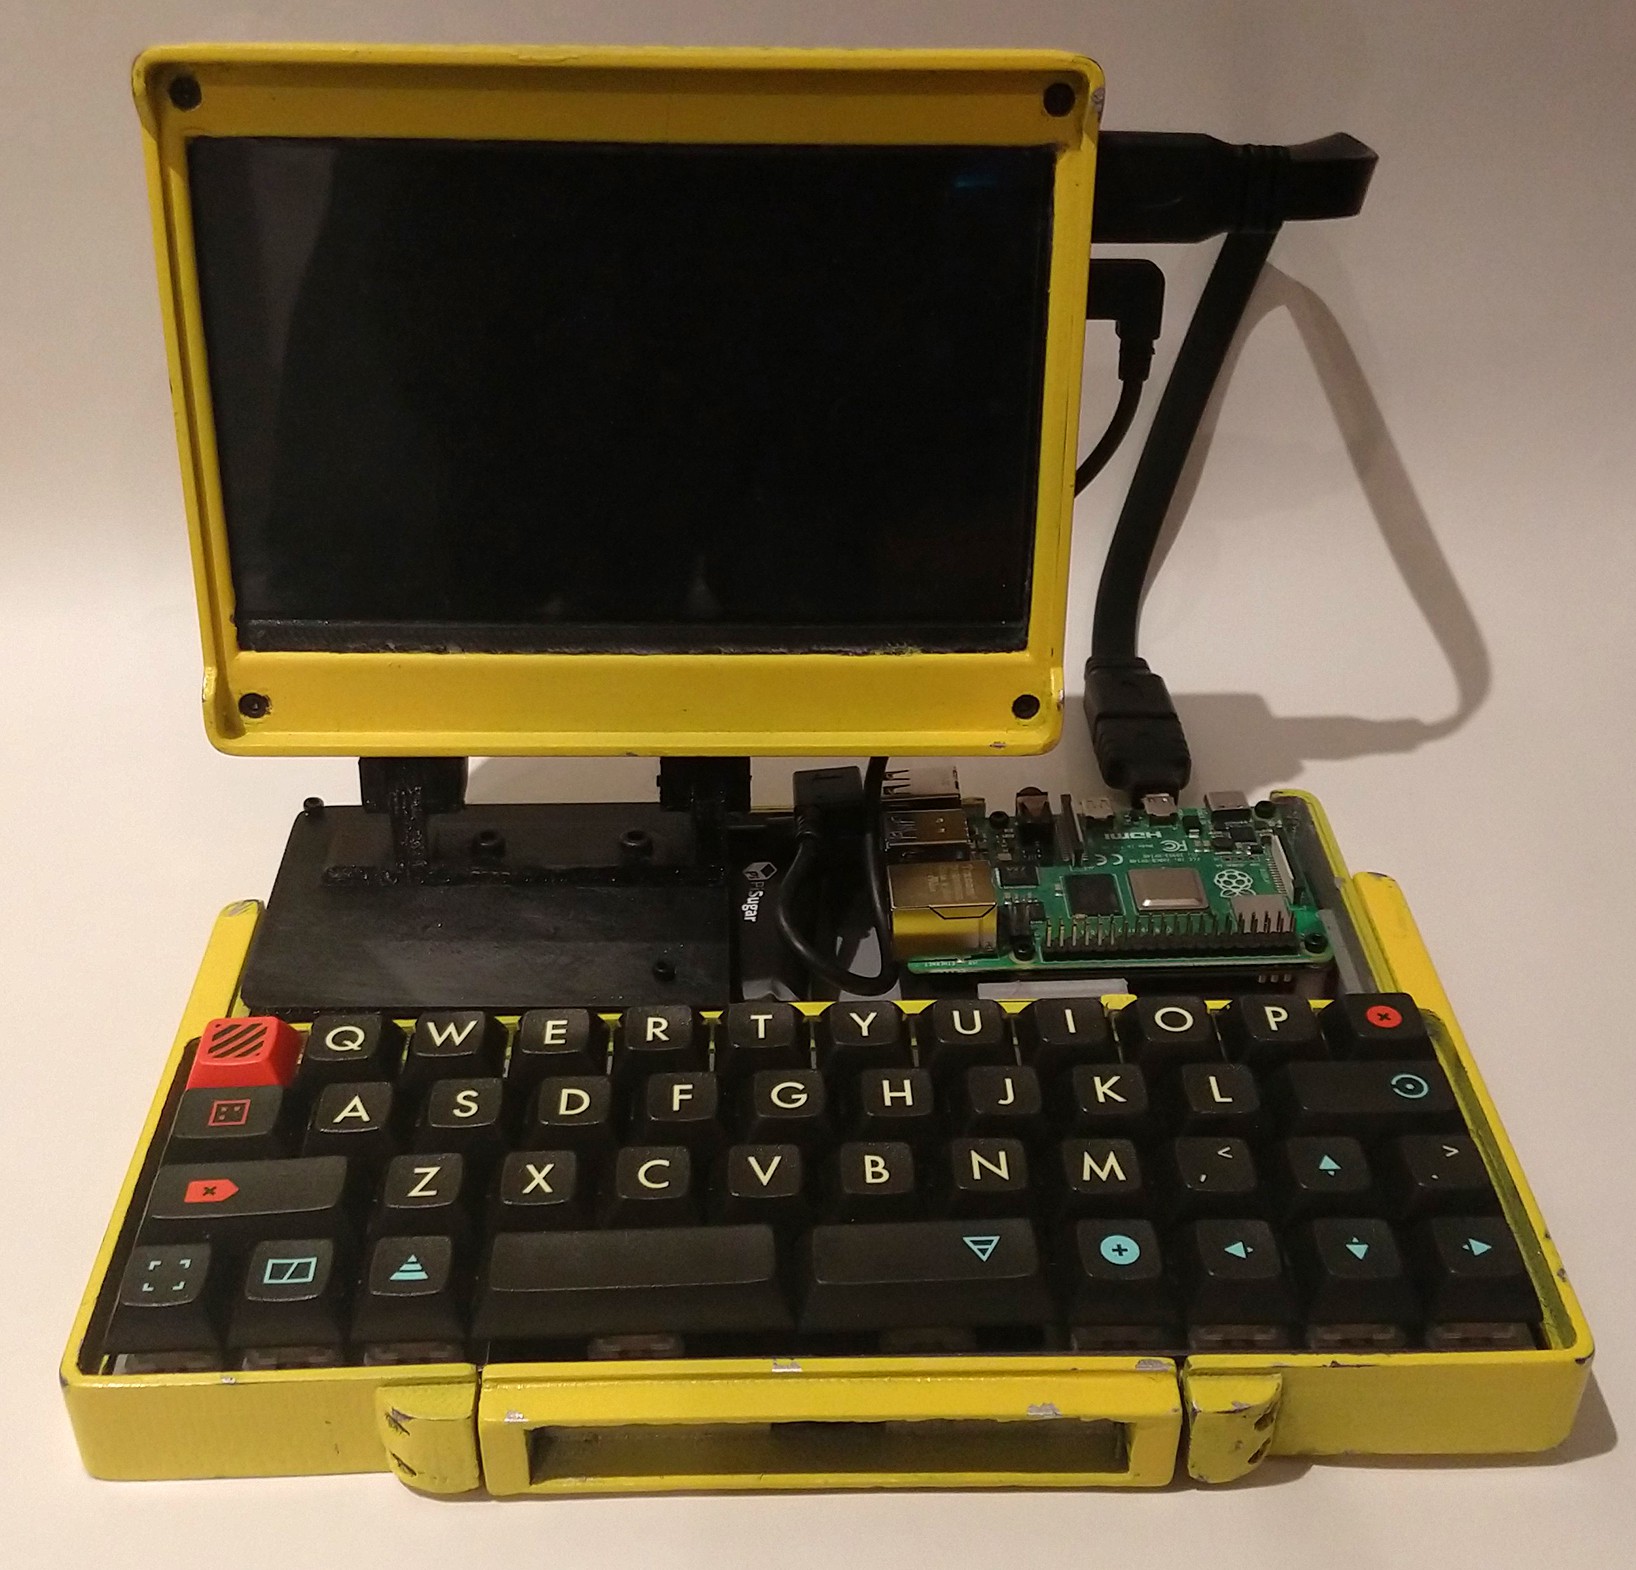
Well, it looks like junk. That's what I was going for, but there's a number of issues that really add to that effect to an extreme I'm not fond of. There's clearly a problem with the part fitting.
- Gaps between parts are probably an issue with tolerances I didn't account for. This thing fits tight, and it's a lot of what's keeping the keyboard assembly sturdy is pressure.
- Pretty sure the issue isn't the 3d printer calibration (...this time), as the monitor parts fit great. No tension, everything just goes together.
There are things that haven't been finished, in order to meet deadline.
- The Pi needs a proper housing. I intend to pop a sound card on top, and haven't taken those measurements yet.
- Likewise, the PiSugar power switch needs a housing. It's an incredibly fiddly mechanism, and is both very tiny and quite close to the HDMI out. It's going to take quite a bit of detail work.
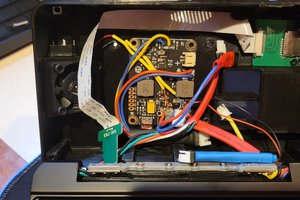
- The cables are awful. The intent was to use more appropriate lengths, with angled connectors where necessary (like the micro HDMI), but those haven't come in yet. I did want exposed cables, but not looping around the thing. The idea is to have them attached via the mount points and taped together, to keep them close to the body while still having a certain "visible externals" look
And then there's the general hardware issues.
- The PiSugar 3 Plus seems to have problems powering the keyboard and monitor. Not sure if the battery needs a fuller charge or if it's just a limitation of the hardware, but testing is required.
- I was hoping to run Steam Link on this, but it does not appear to work with arm64. Apparently there's a beta branch of the Link that I should check out.
Next steps
Well, fix the above problems, for a start. Next up:
- I meant to add a pointing device on the right side. Ideally a small, detachable (but probably wired) trackball, in the style of a 90s Toshiba...
 Patrick Tait
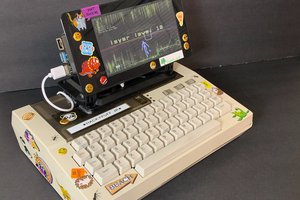
 Kal
Kal