 deʃhipu
When I was thinking what could kids make with the micro:bit, I remembered my #Mechatronic Ears project. The micro:bit has a built-in accelerometer, can easily control up to three servos (because that's how many pins are easy to access without an edge connector), and can be programmed in Python. So I decided to give it a try.
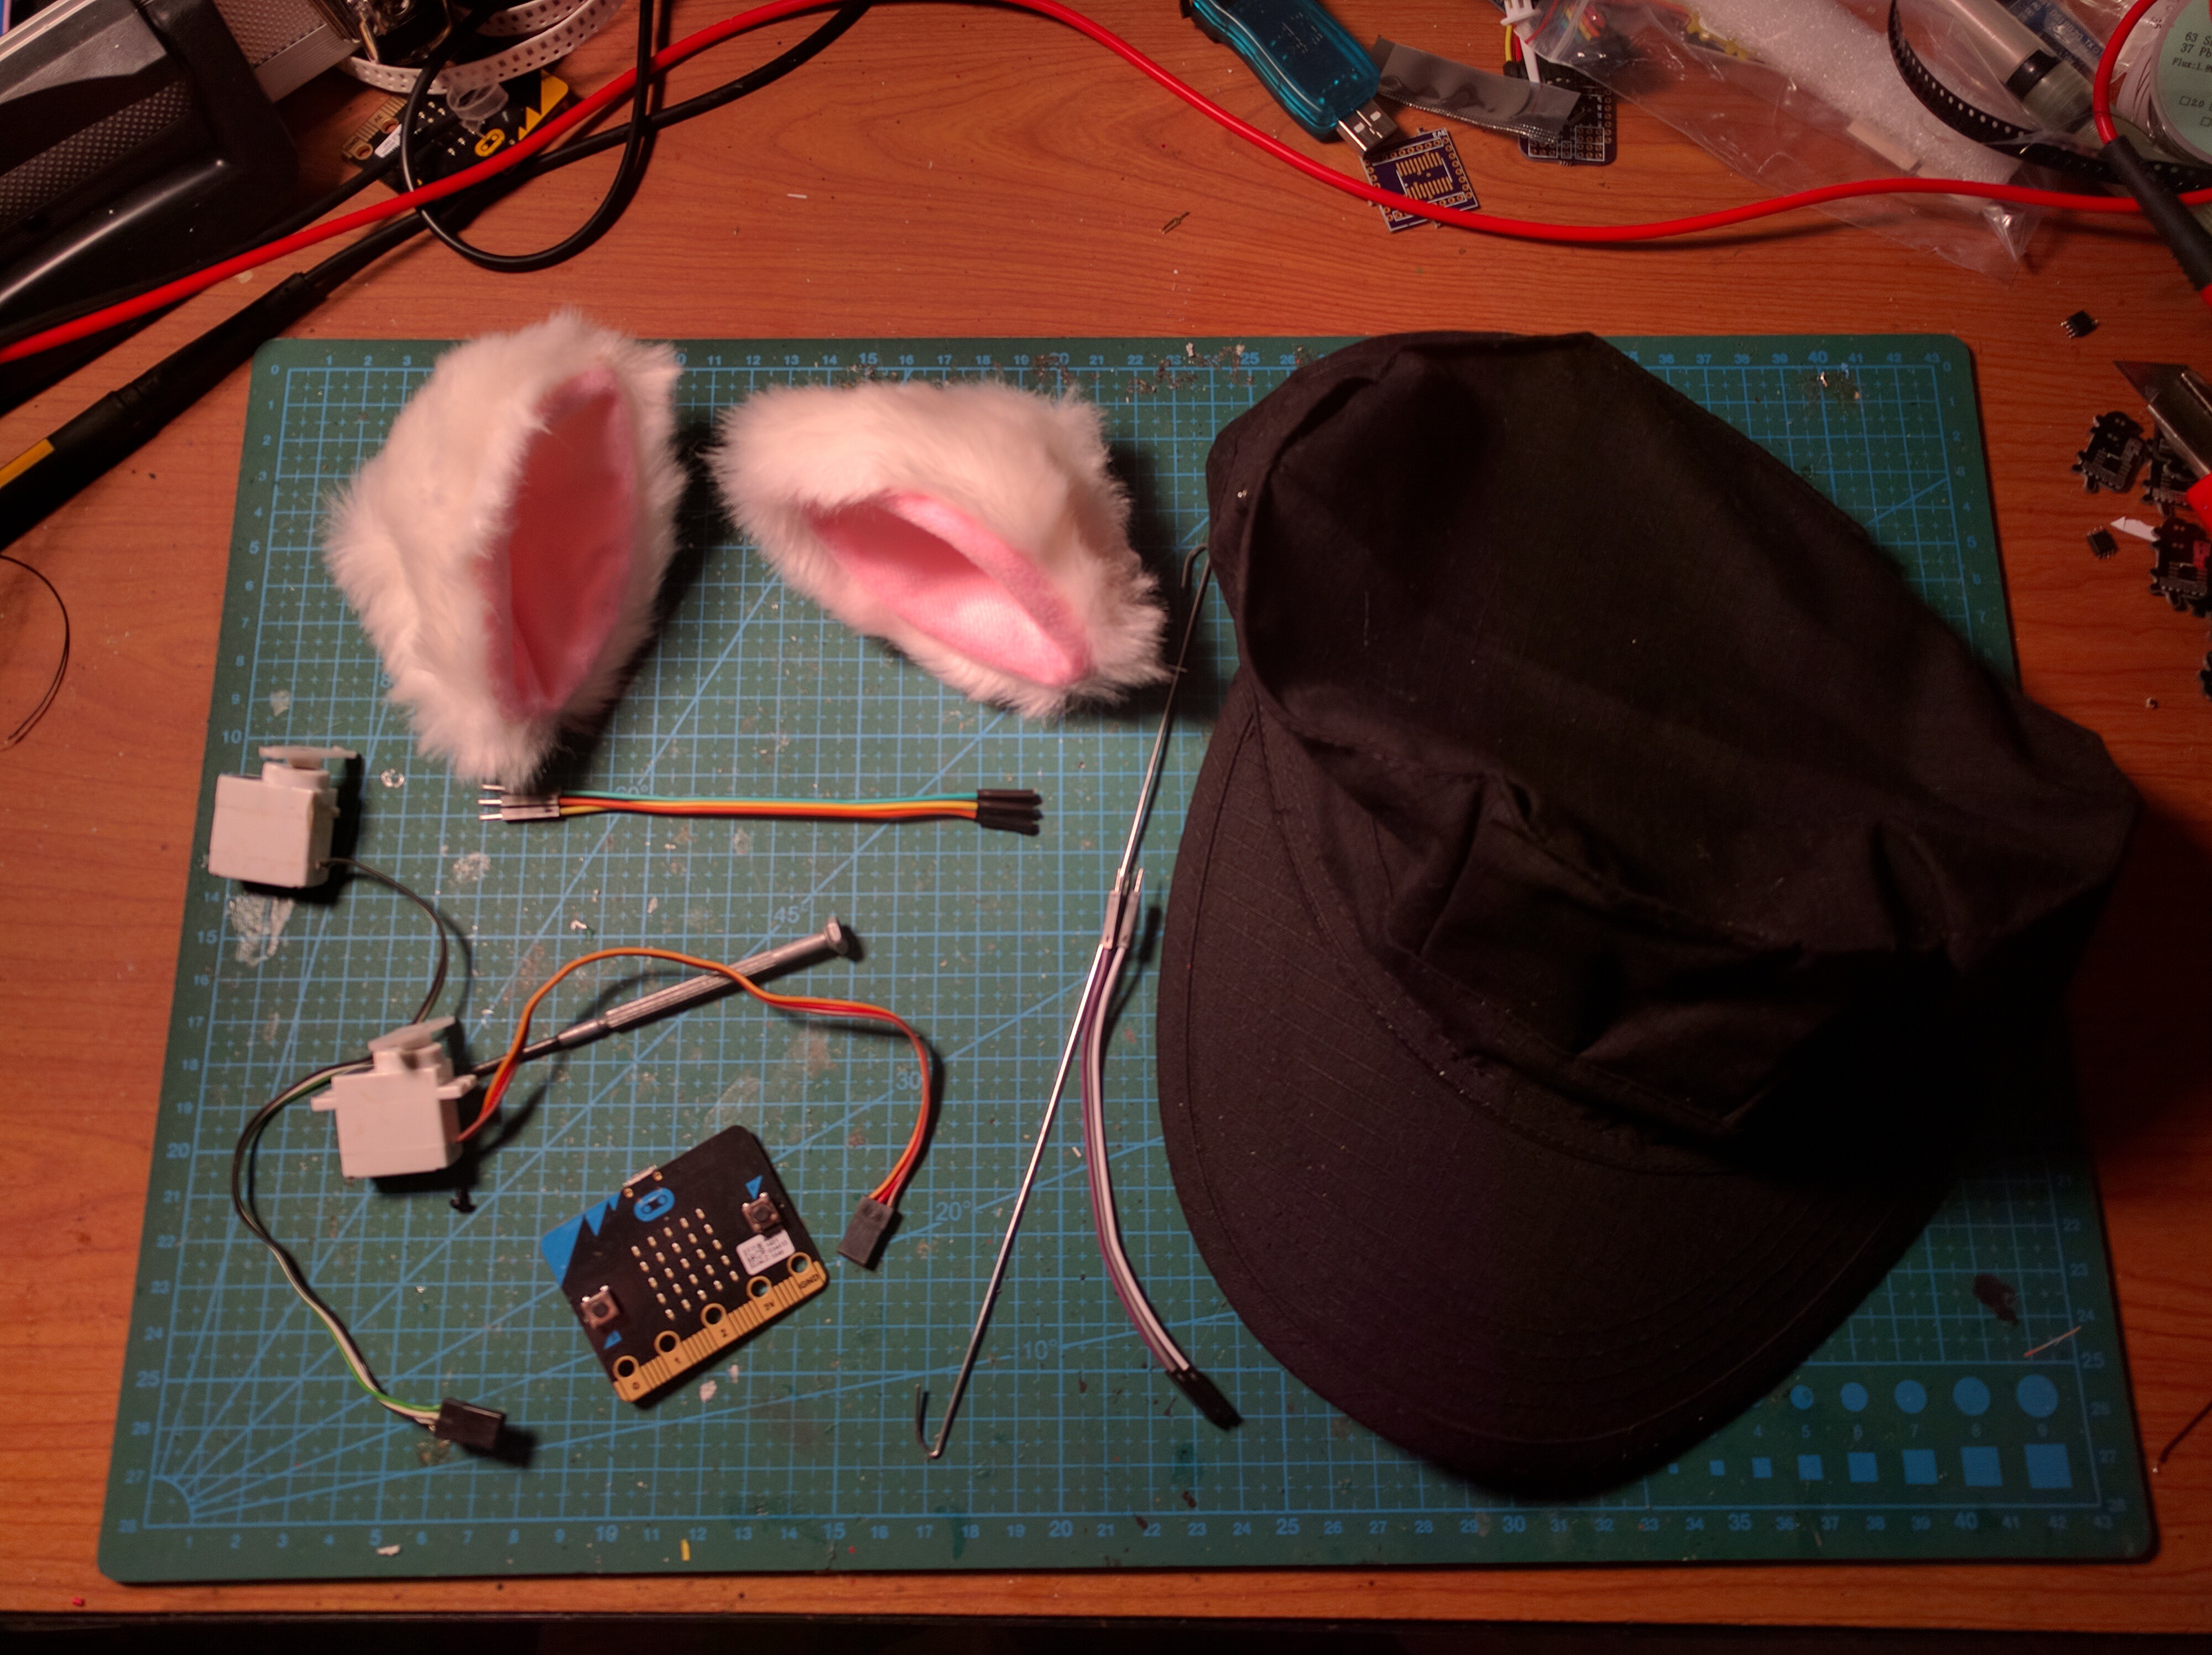
I started by collecting the materials: a hat, ears with hair clips (you can find them in any costume shop, or order from China), two 9-gram servos (the cheap SG90 would work just fine, but I didn't have any at hand, so I used some random beaten up servos left from my first robot experiments), a battery, some wires and a piece of steel wire.
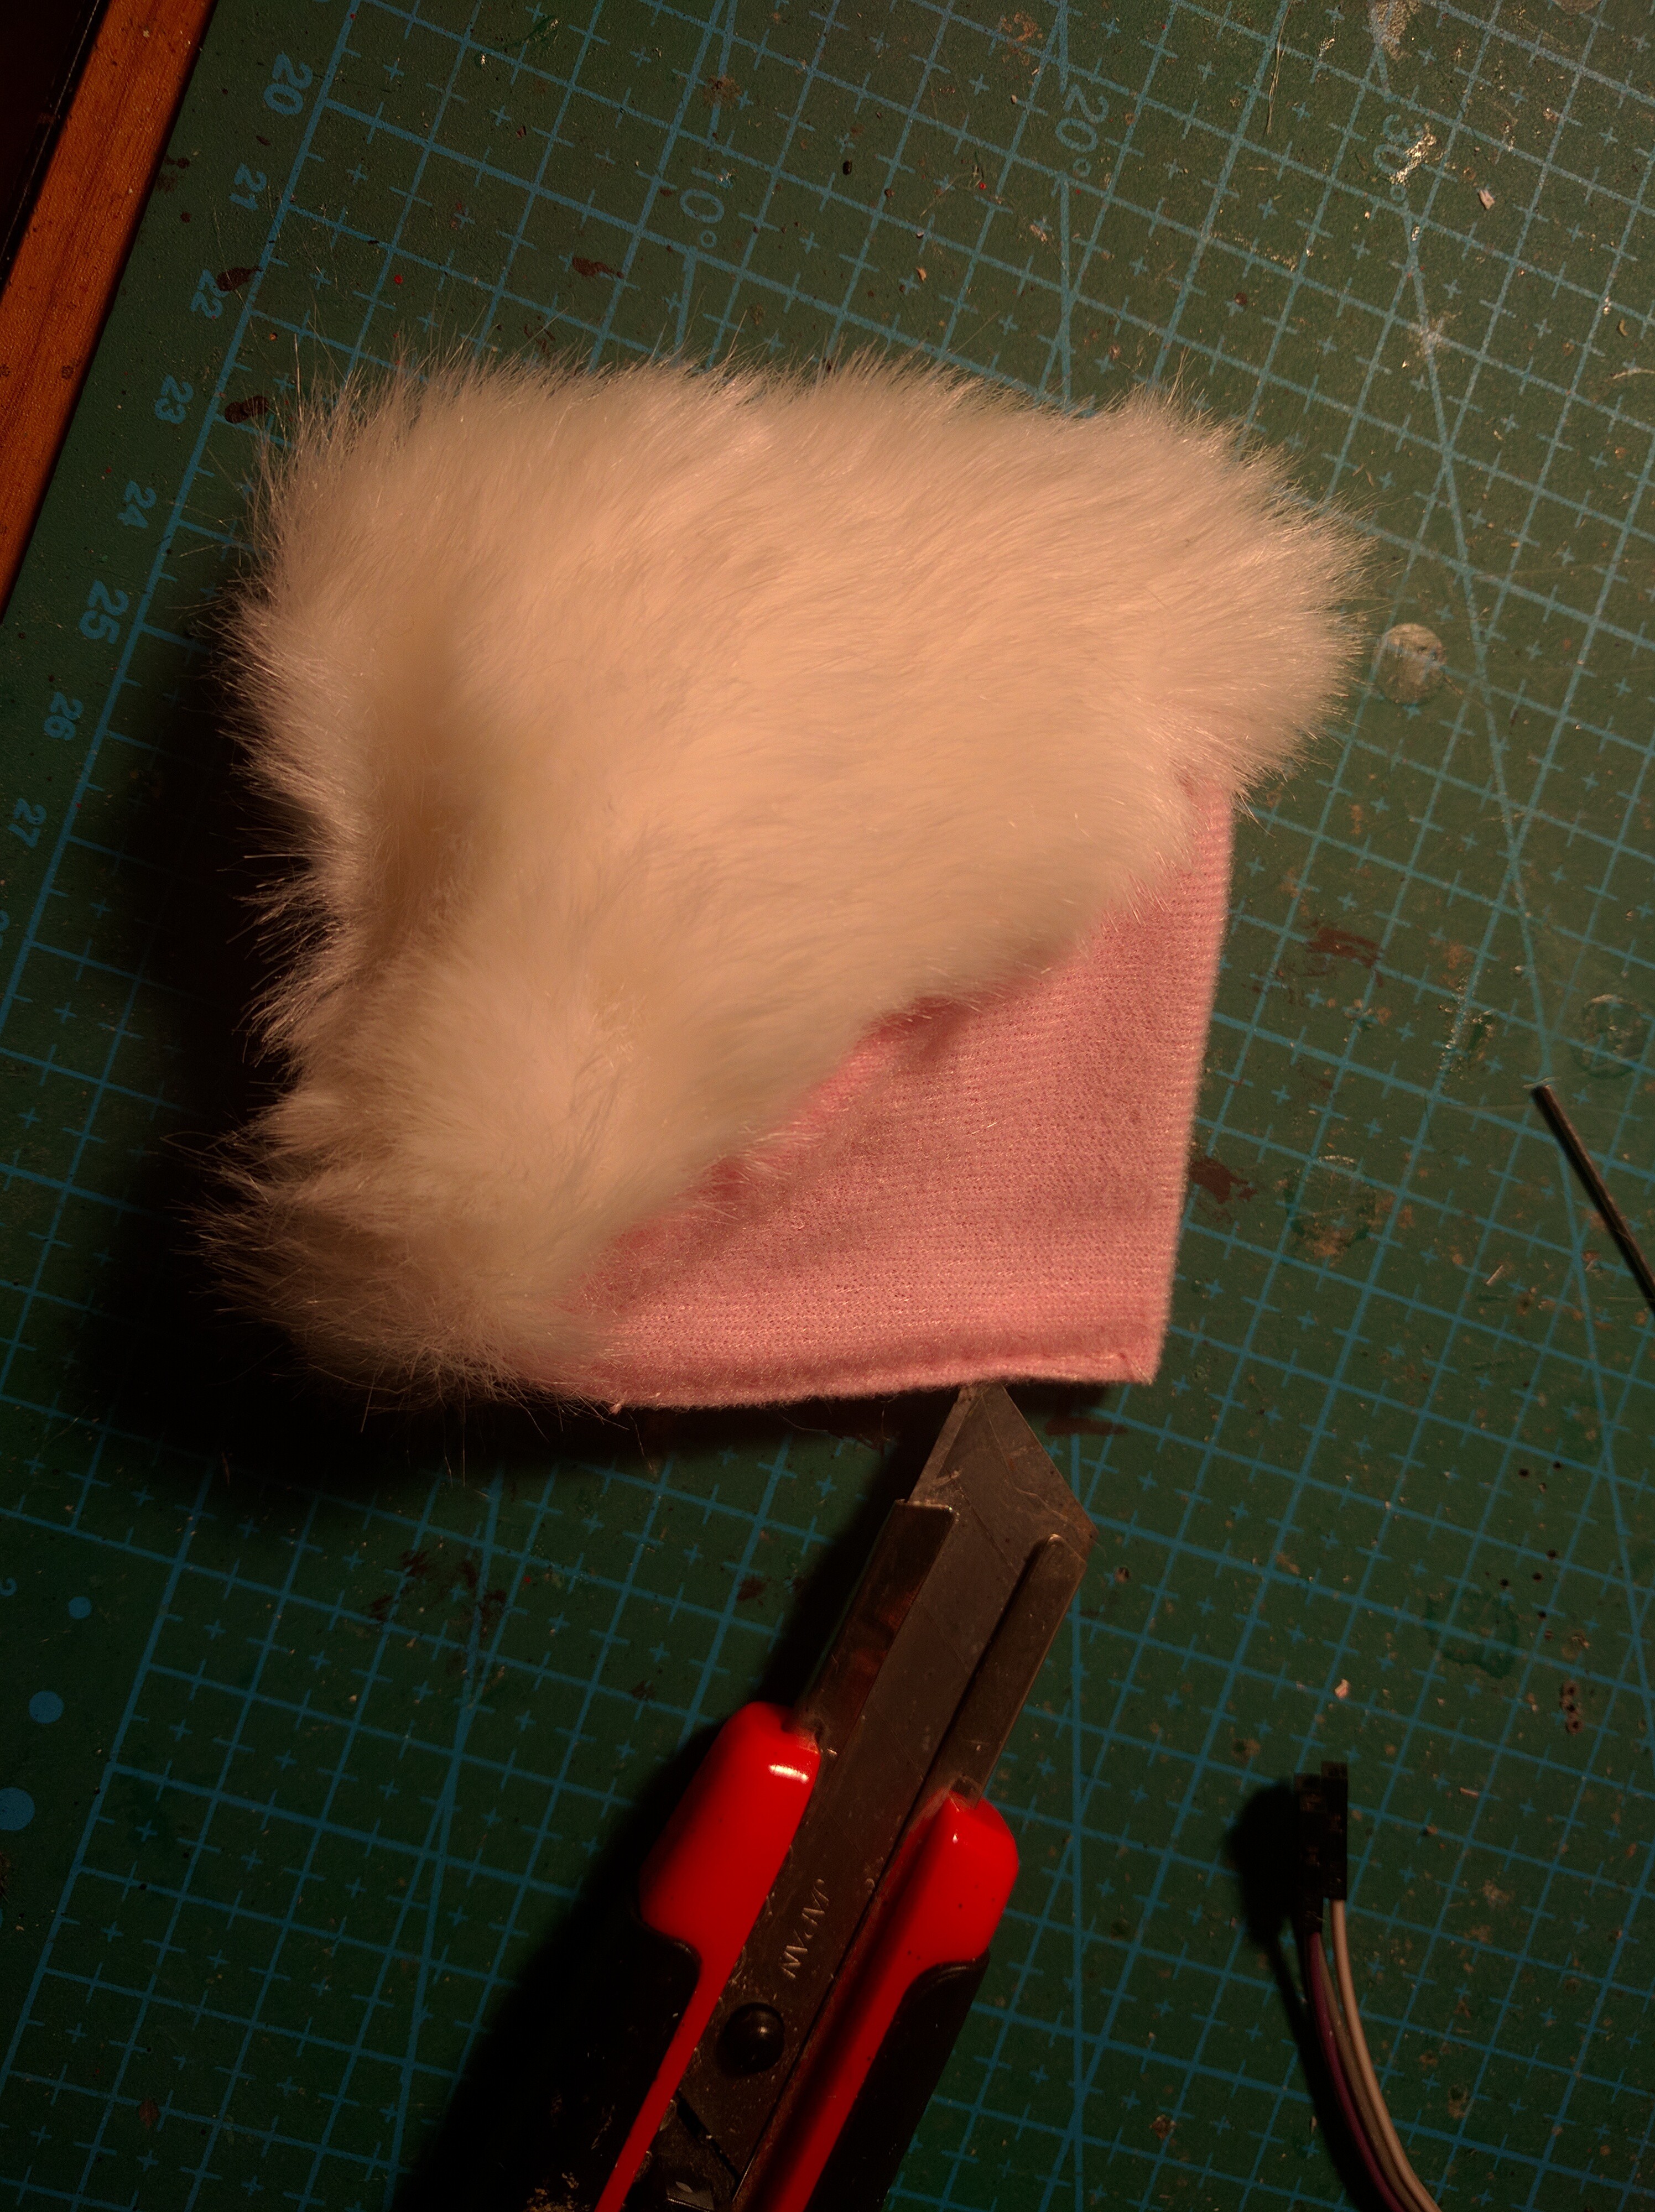
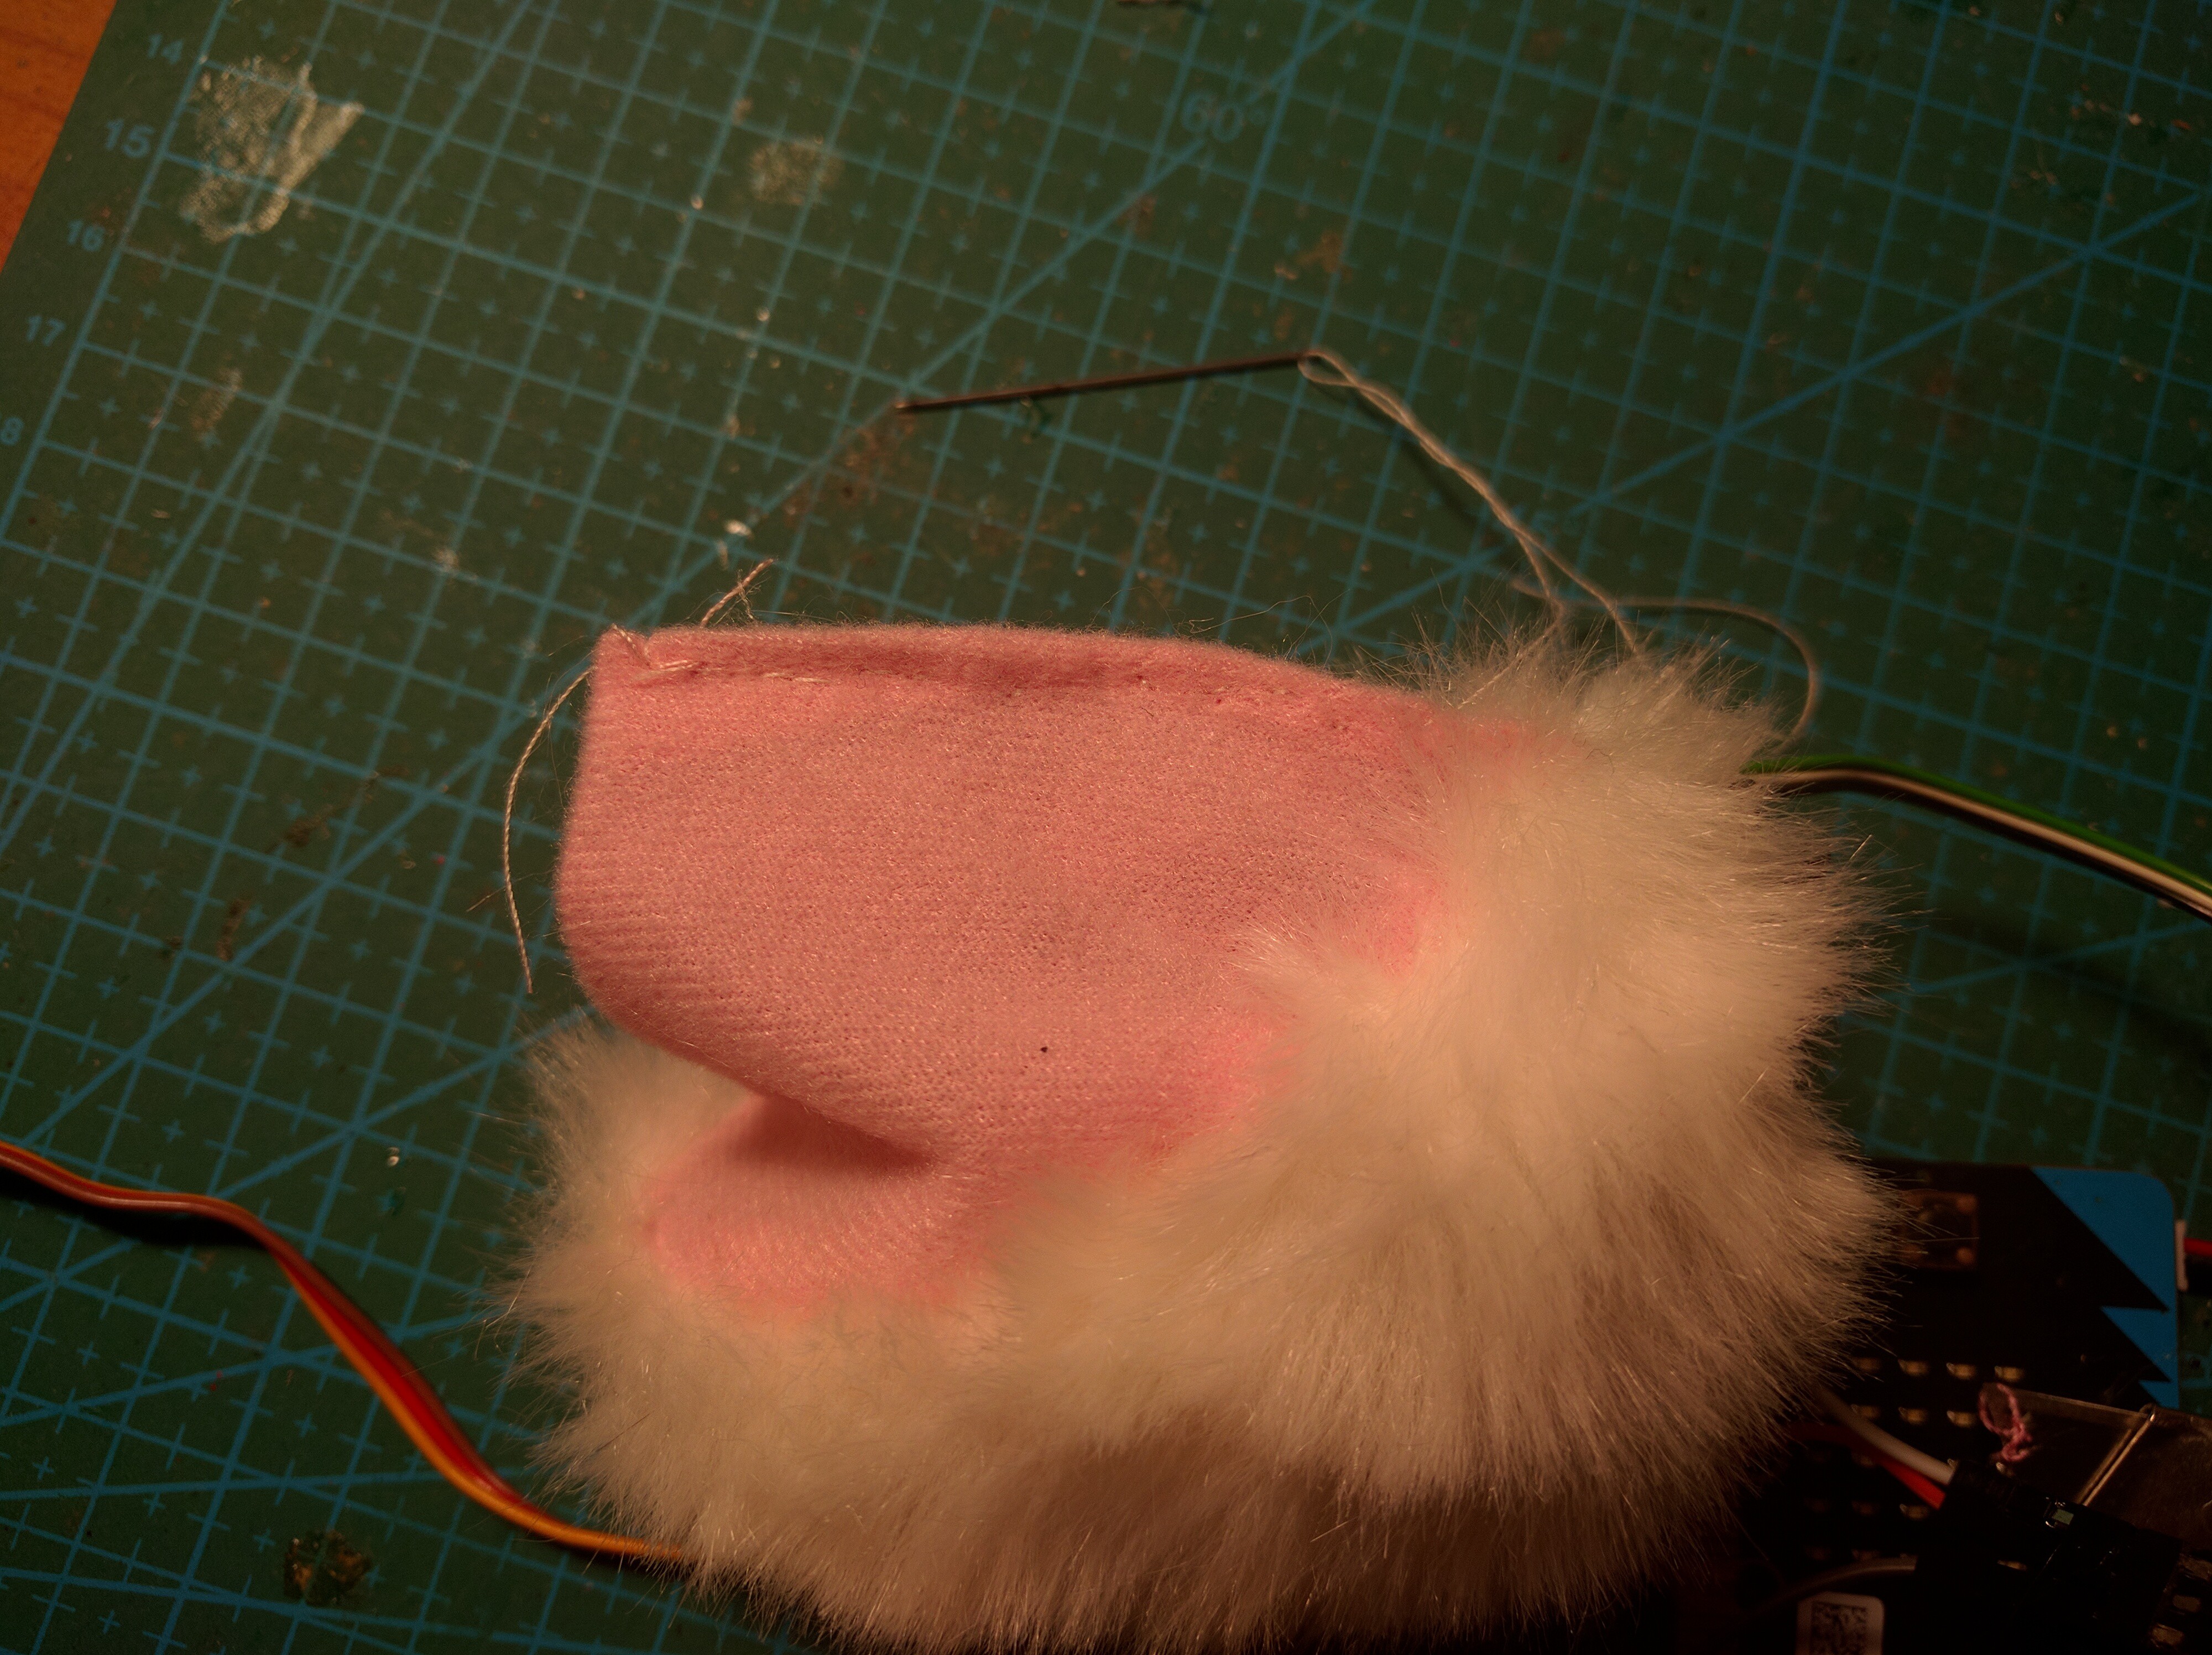
I started by opening the ears -- just cutting the thread on the pink inside. Be careful to only cut the thread and not the material -- we will need to sew it back together at the end.
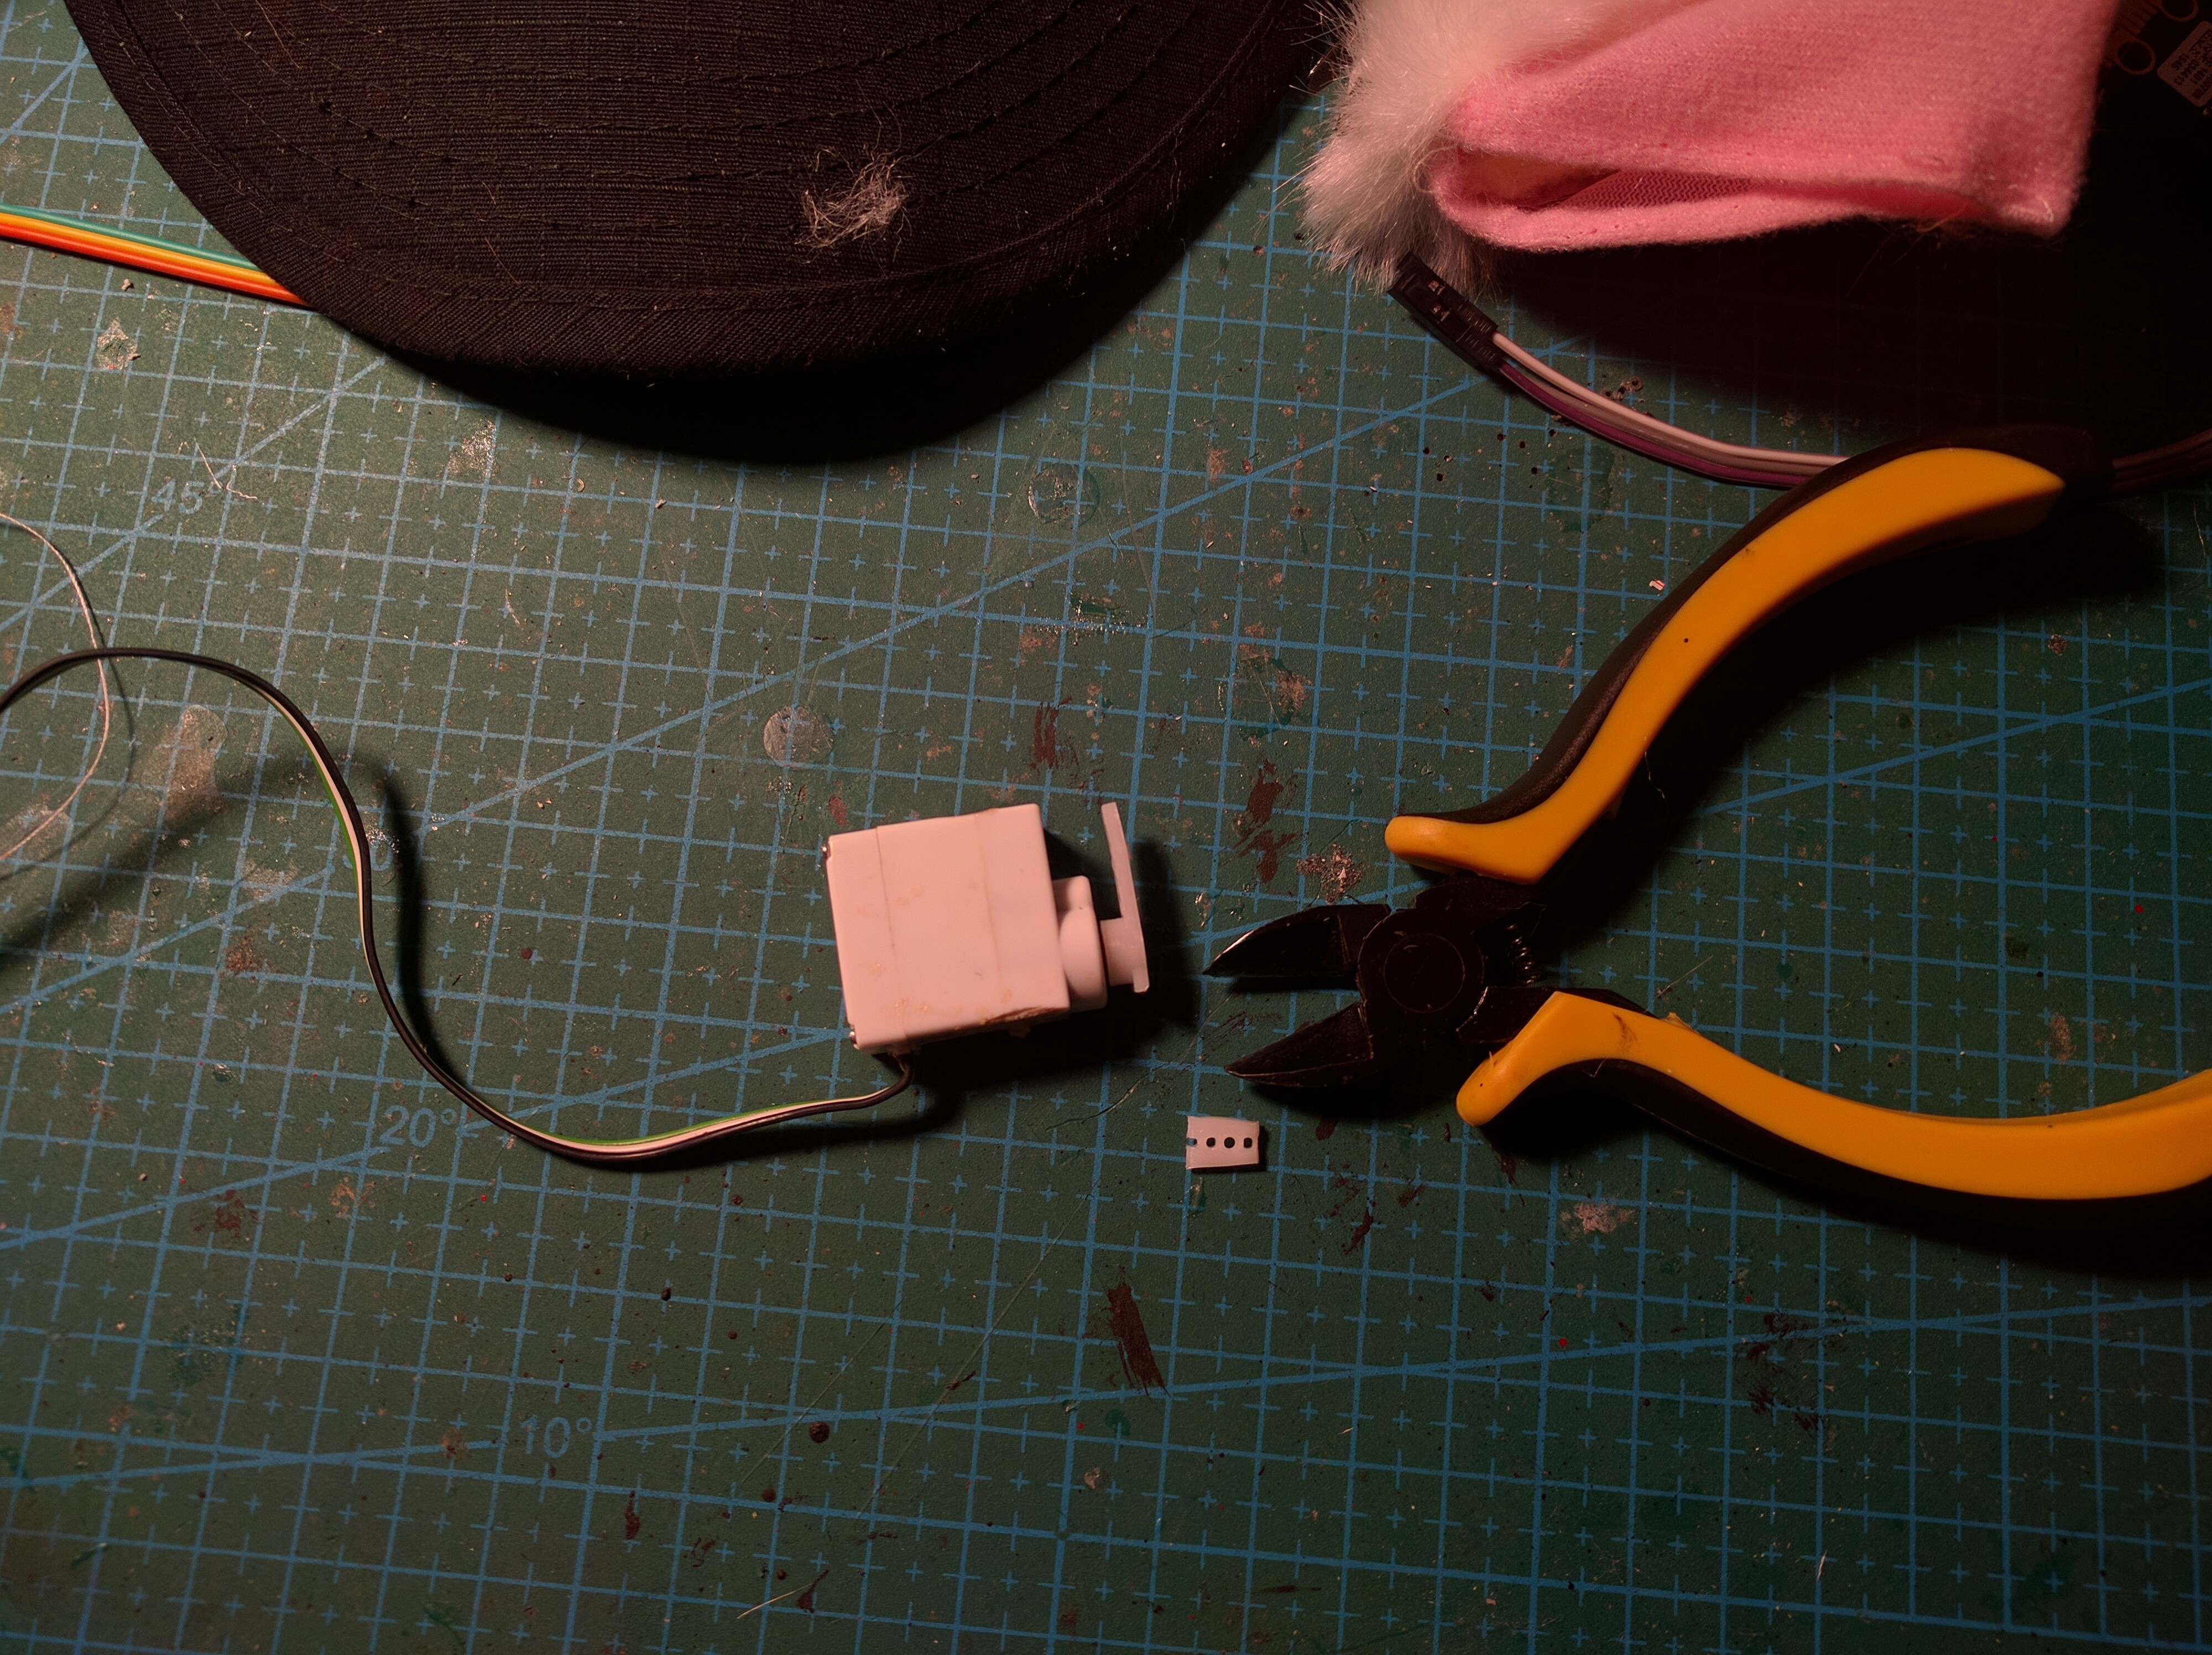
Next, I put the servo arms on the servos, and cut them to only have an arm on one side (I lost the original one-sided arms for them, you can use those for your servos, of course).
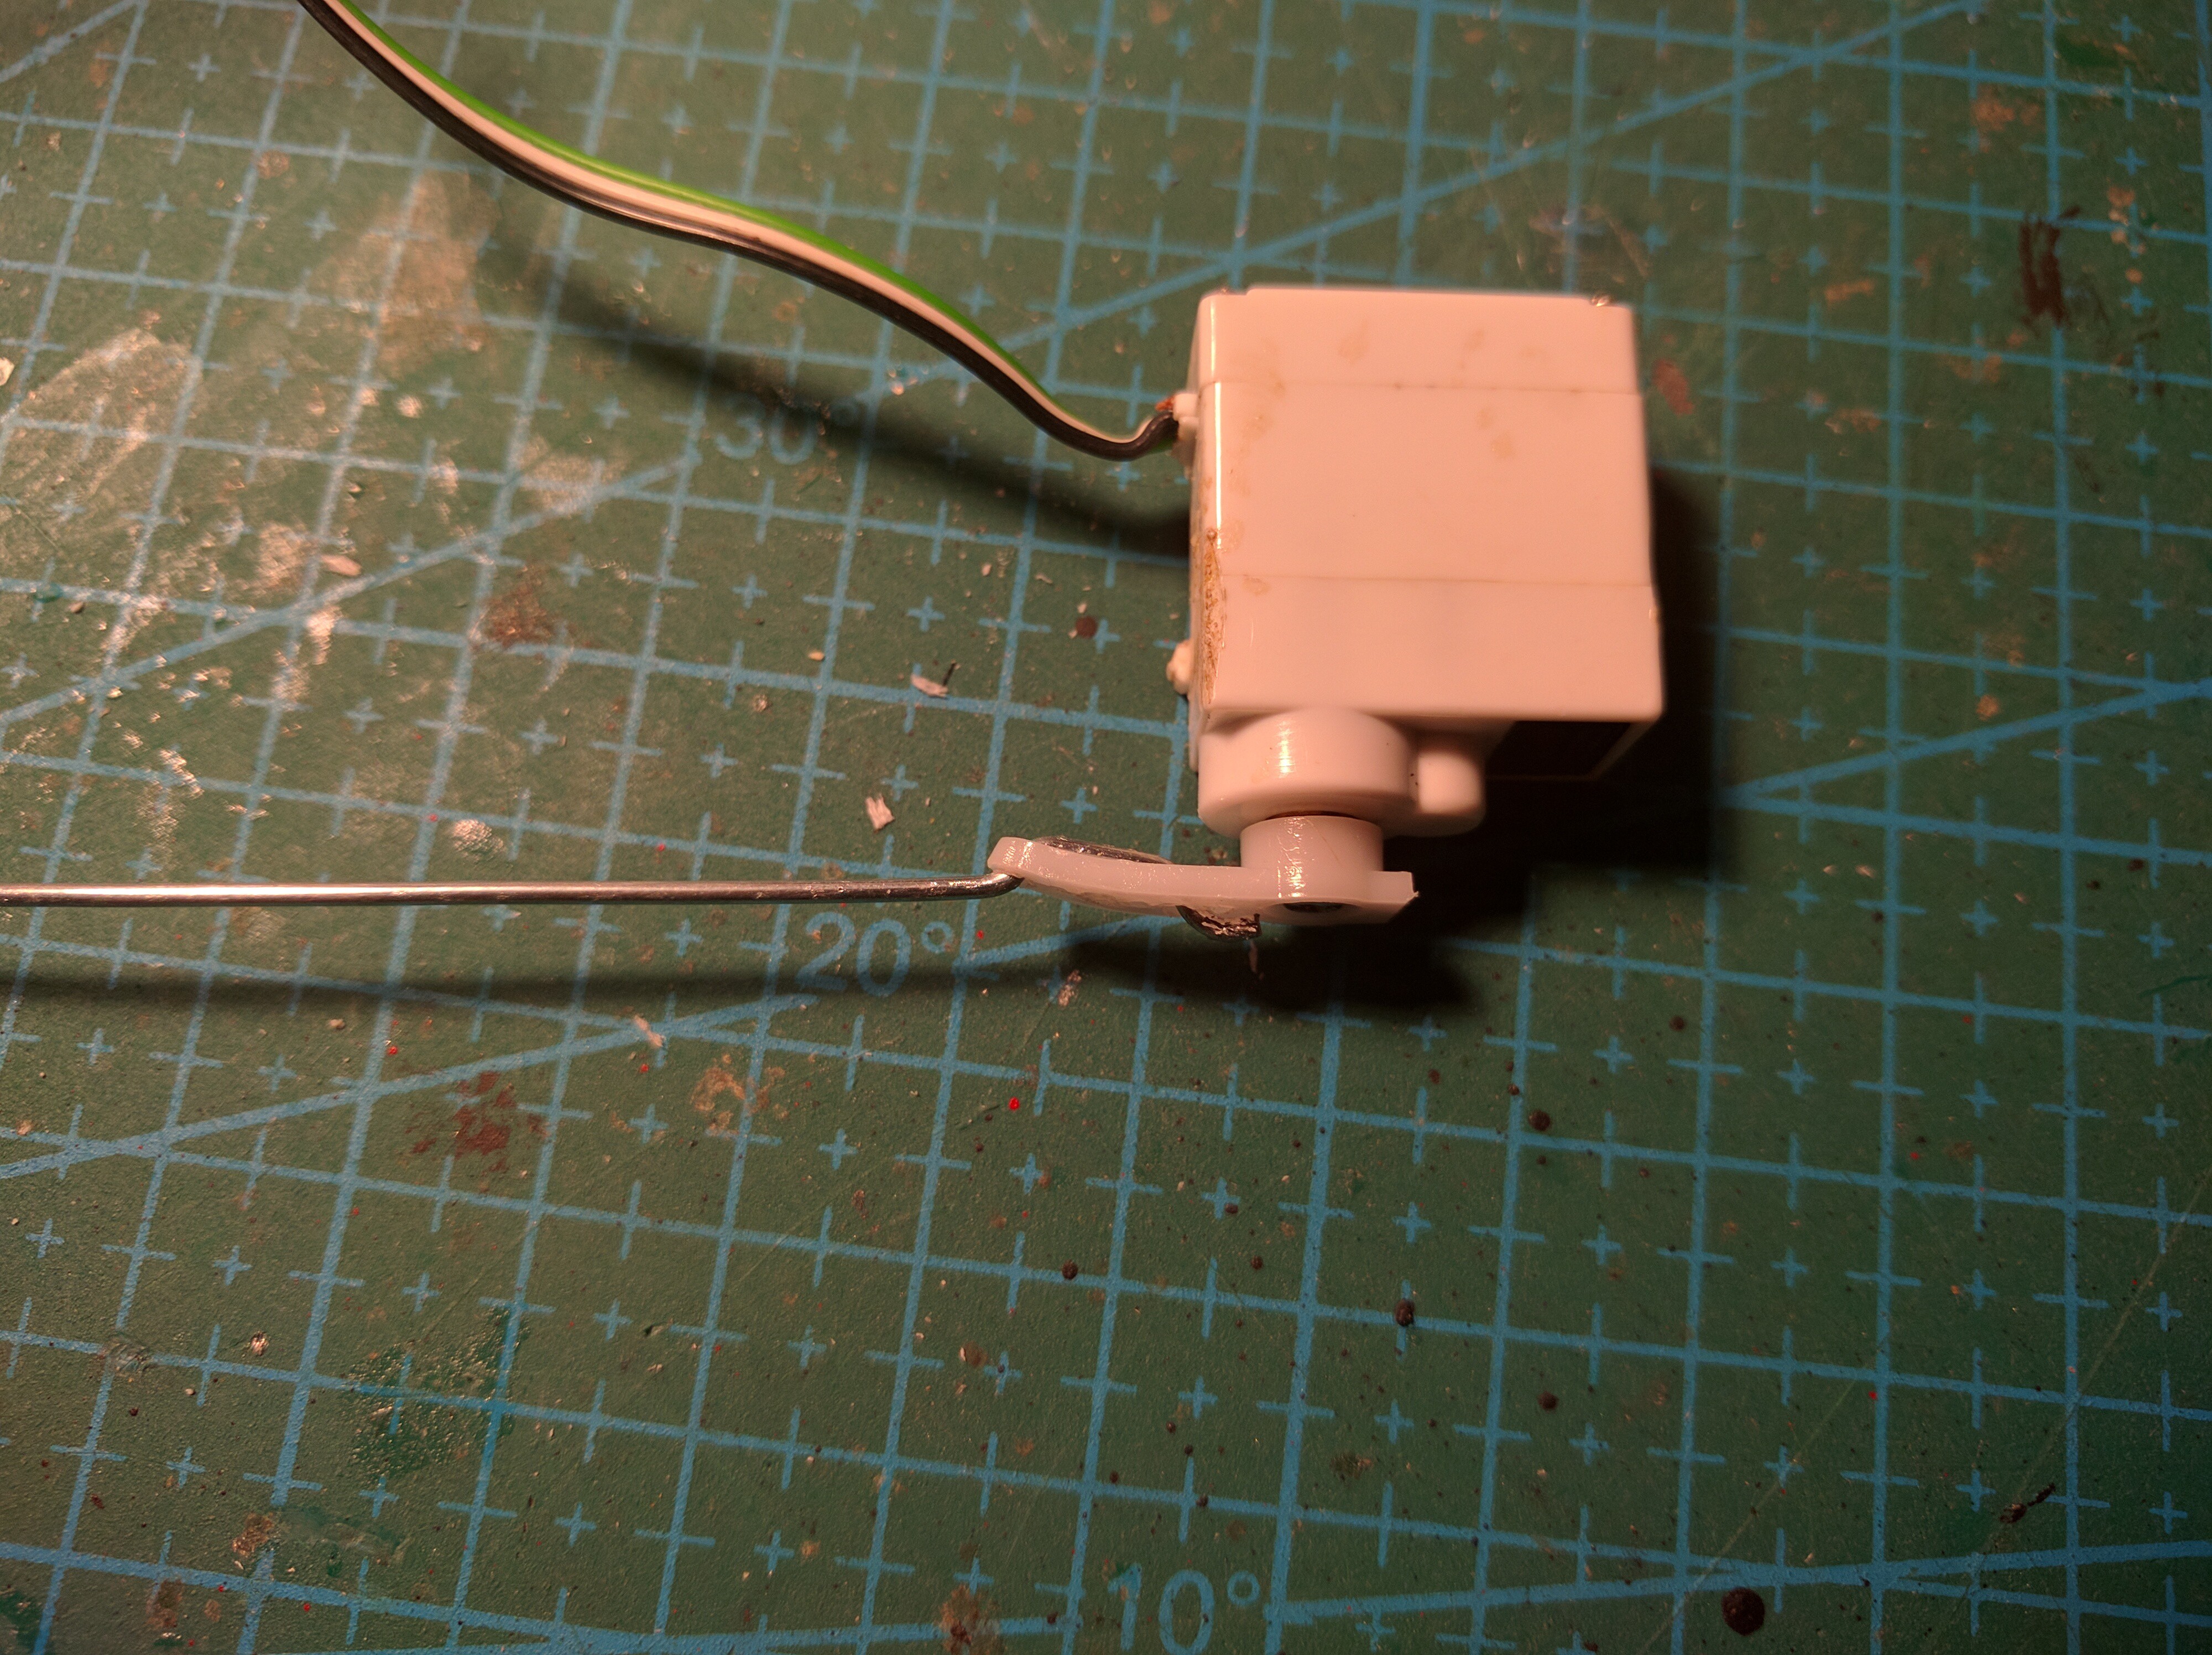
Next, I bent the steel wire, and put it through the holes in the servo arm:

Then I bent both ends again (using pliers), so that it sits tight.
I cut the wire to the length of the ears.
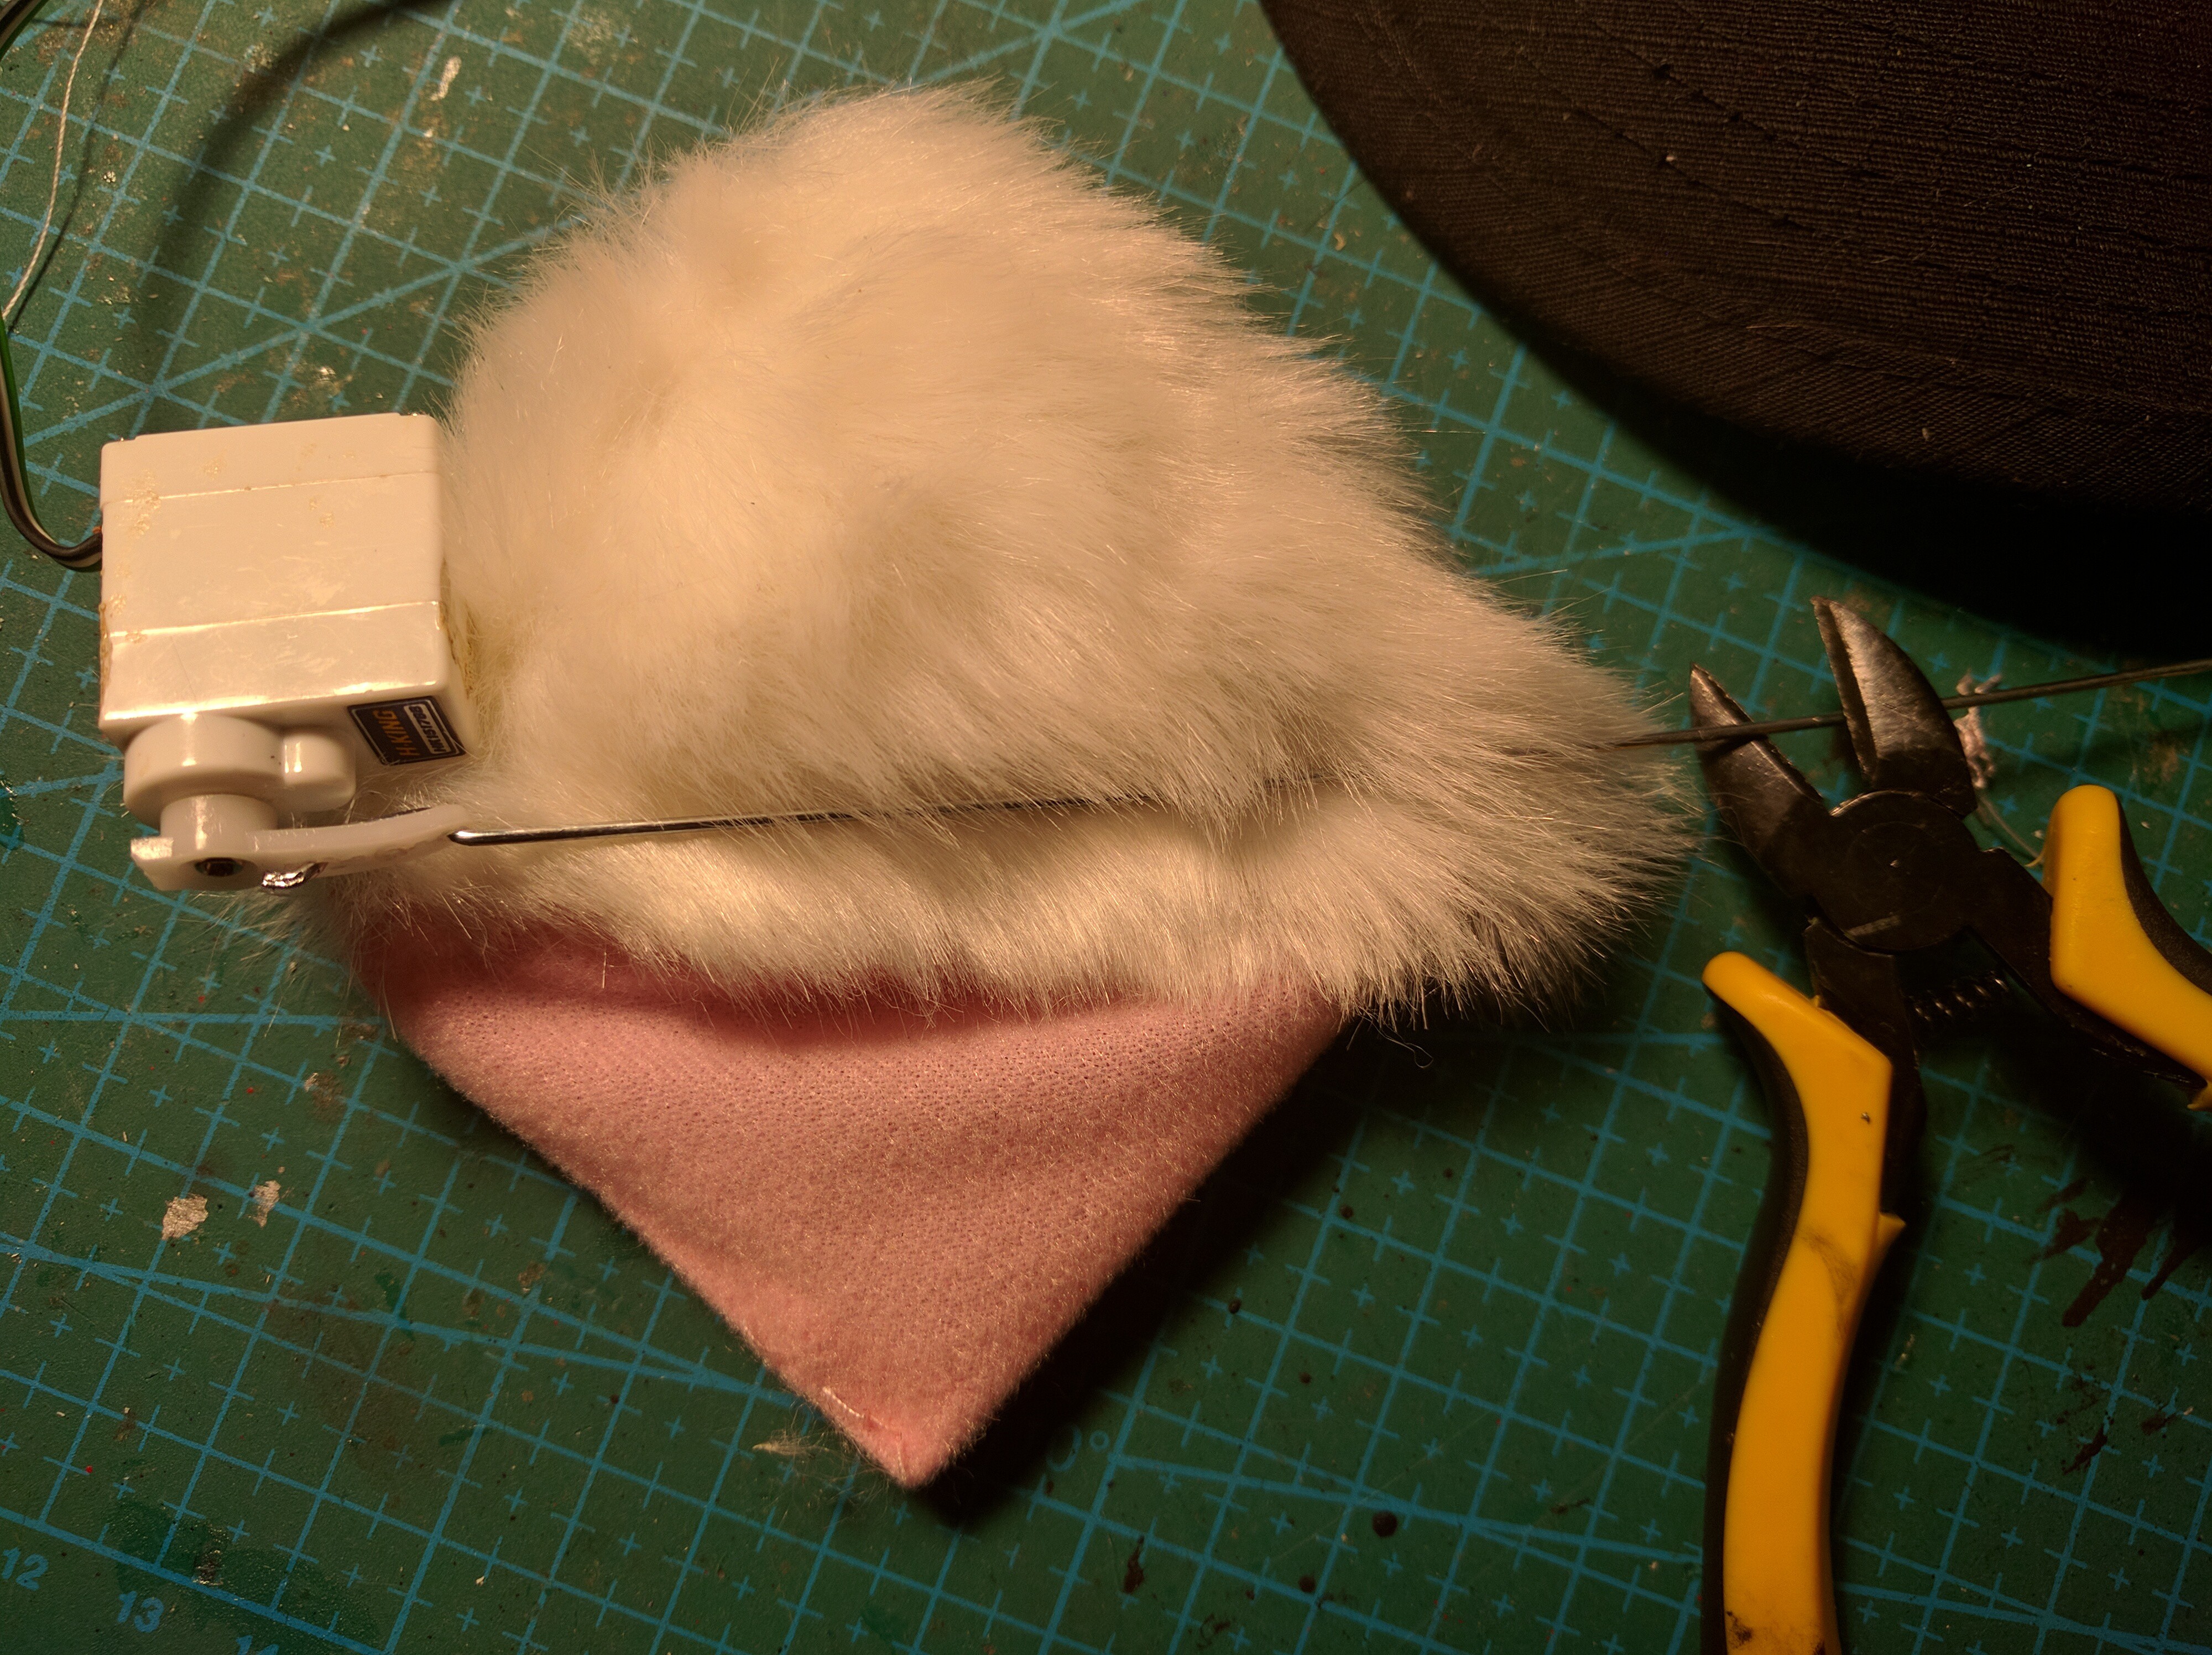
And I bent the wire into an arc, so that it can go along the edge of the ear (the wire is bent at the tip, so that it doesn't poke out). Then I put the servo with the wire inside the ear.
I initially wanted to sew both the serwo and the wire in place, but in the end decided to simply glue the servo to the bottom of the ear (where the hair clip is) with instant glue. Be careful to not get fur glued to your fingers. Then I fastened the steel wire to the edge of the ear, but only from the tip to about halfway towards the servo -- the rest has to stay loose, so that the servo can easily move.
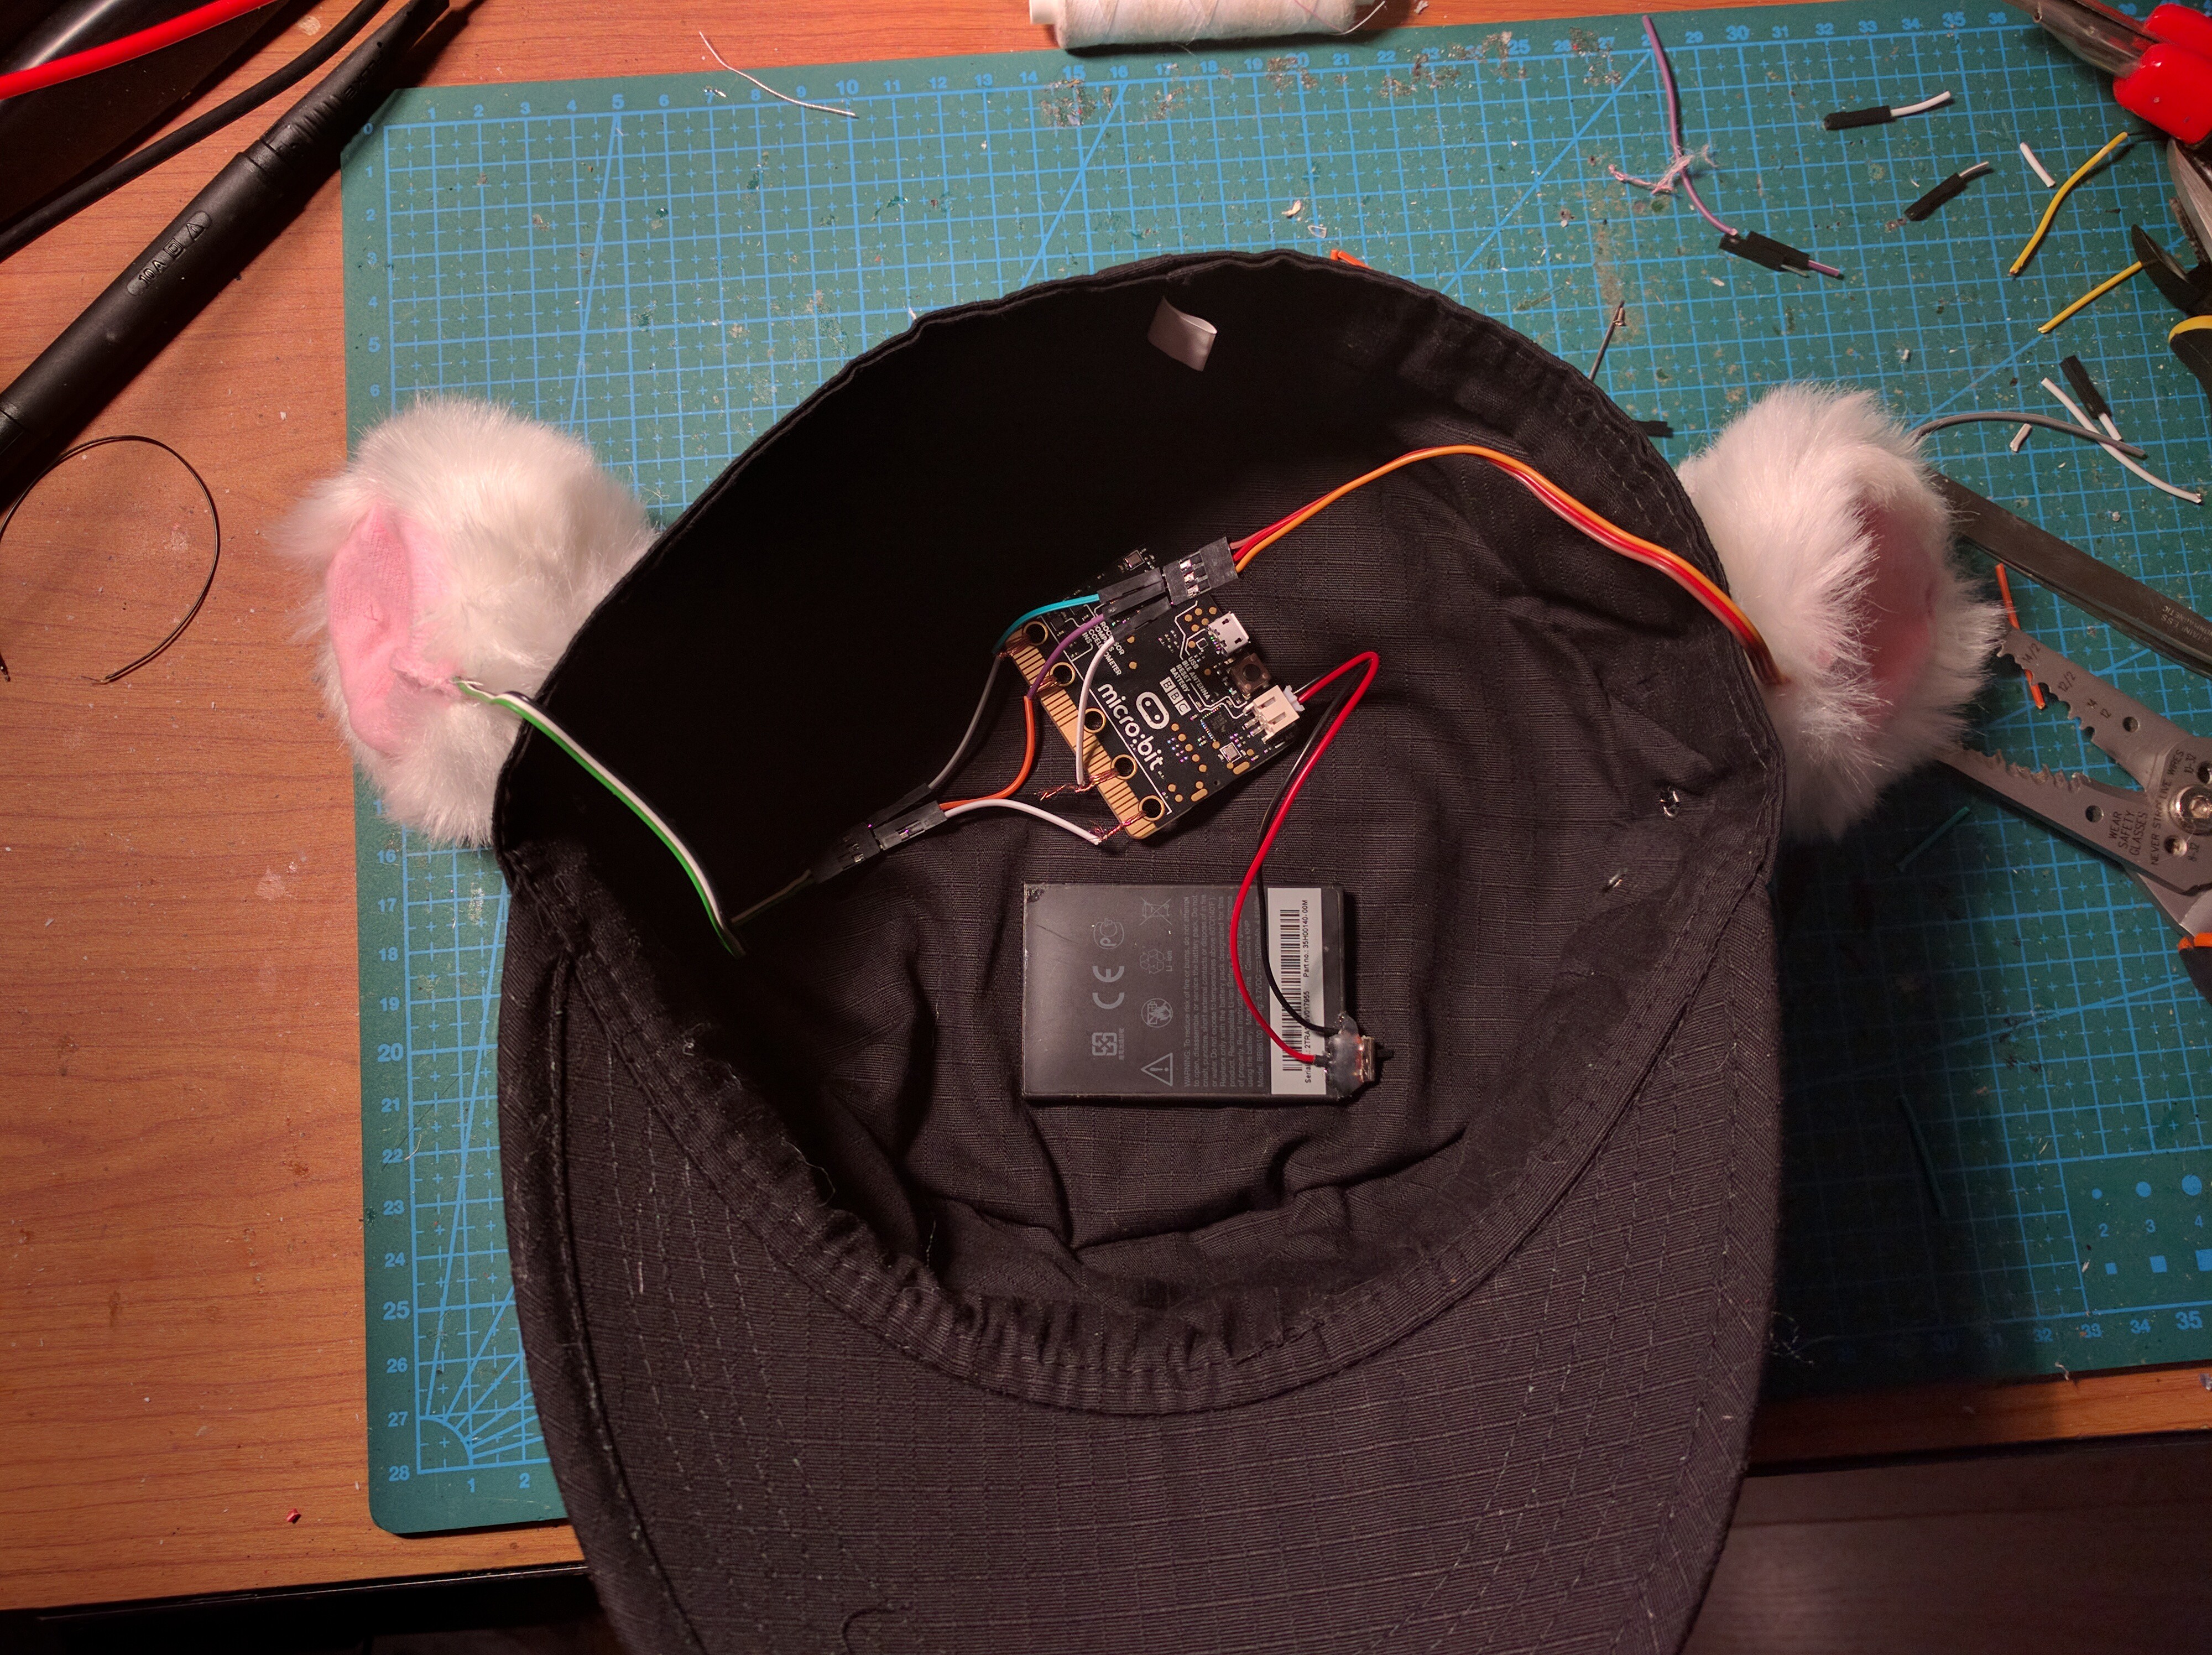
Next, I connected wires to the micro:bit.
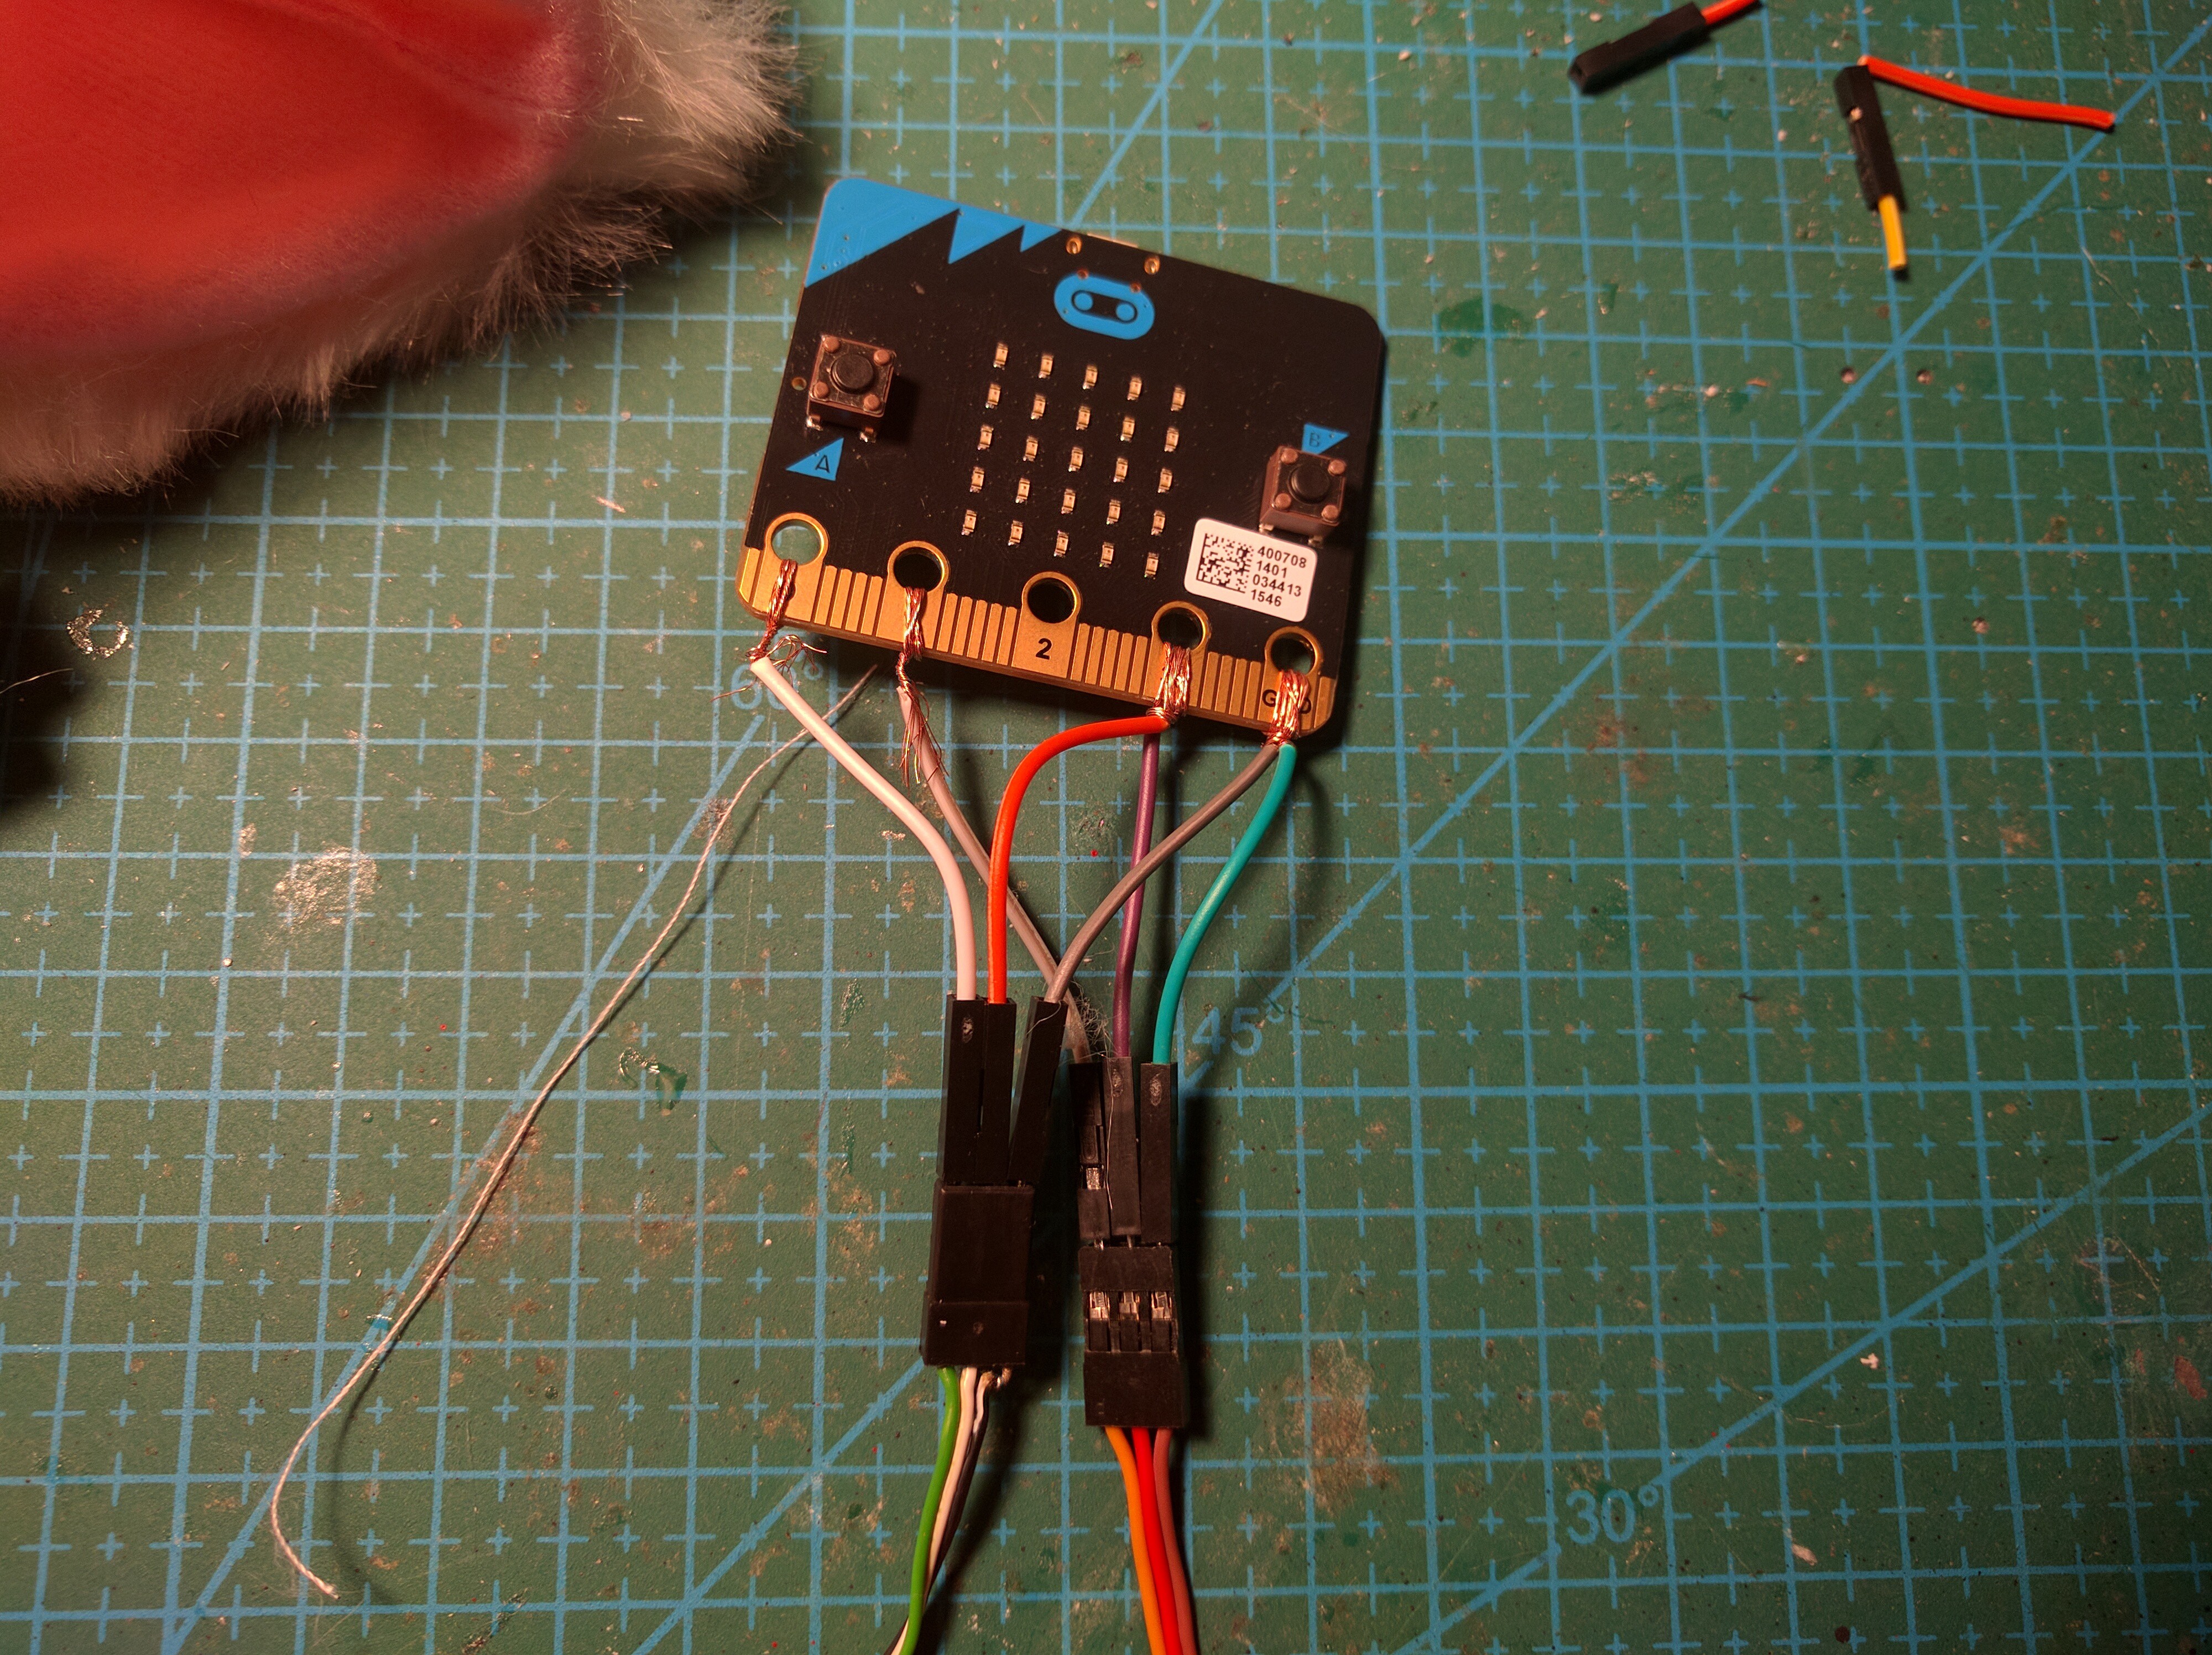
Next, a quick test using the servo code from #Micro:Bob.
You can see the servo "buzzing" when it's outside of its allowed range. I experimented a bit to find the optimal range for this particular ear, when it's not buzzing -- it was 120-180. Bending the wire a bit helped with the range. The second ear had range 0-90.
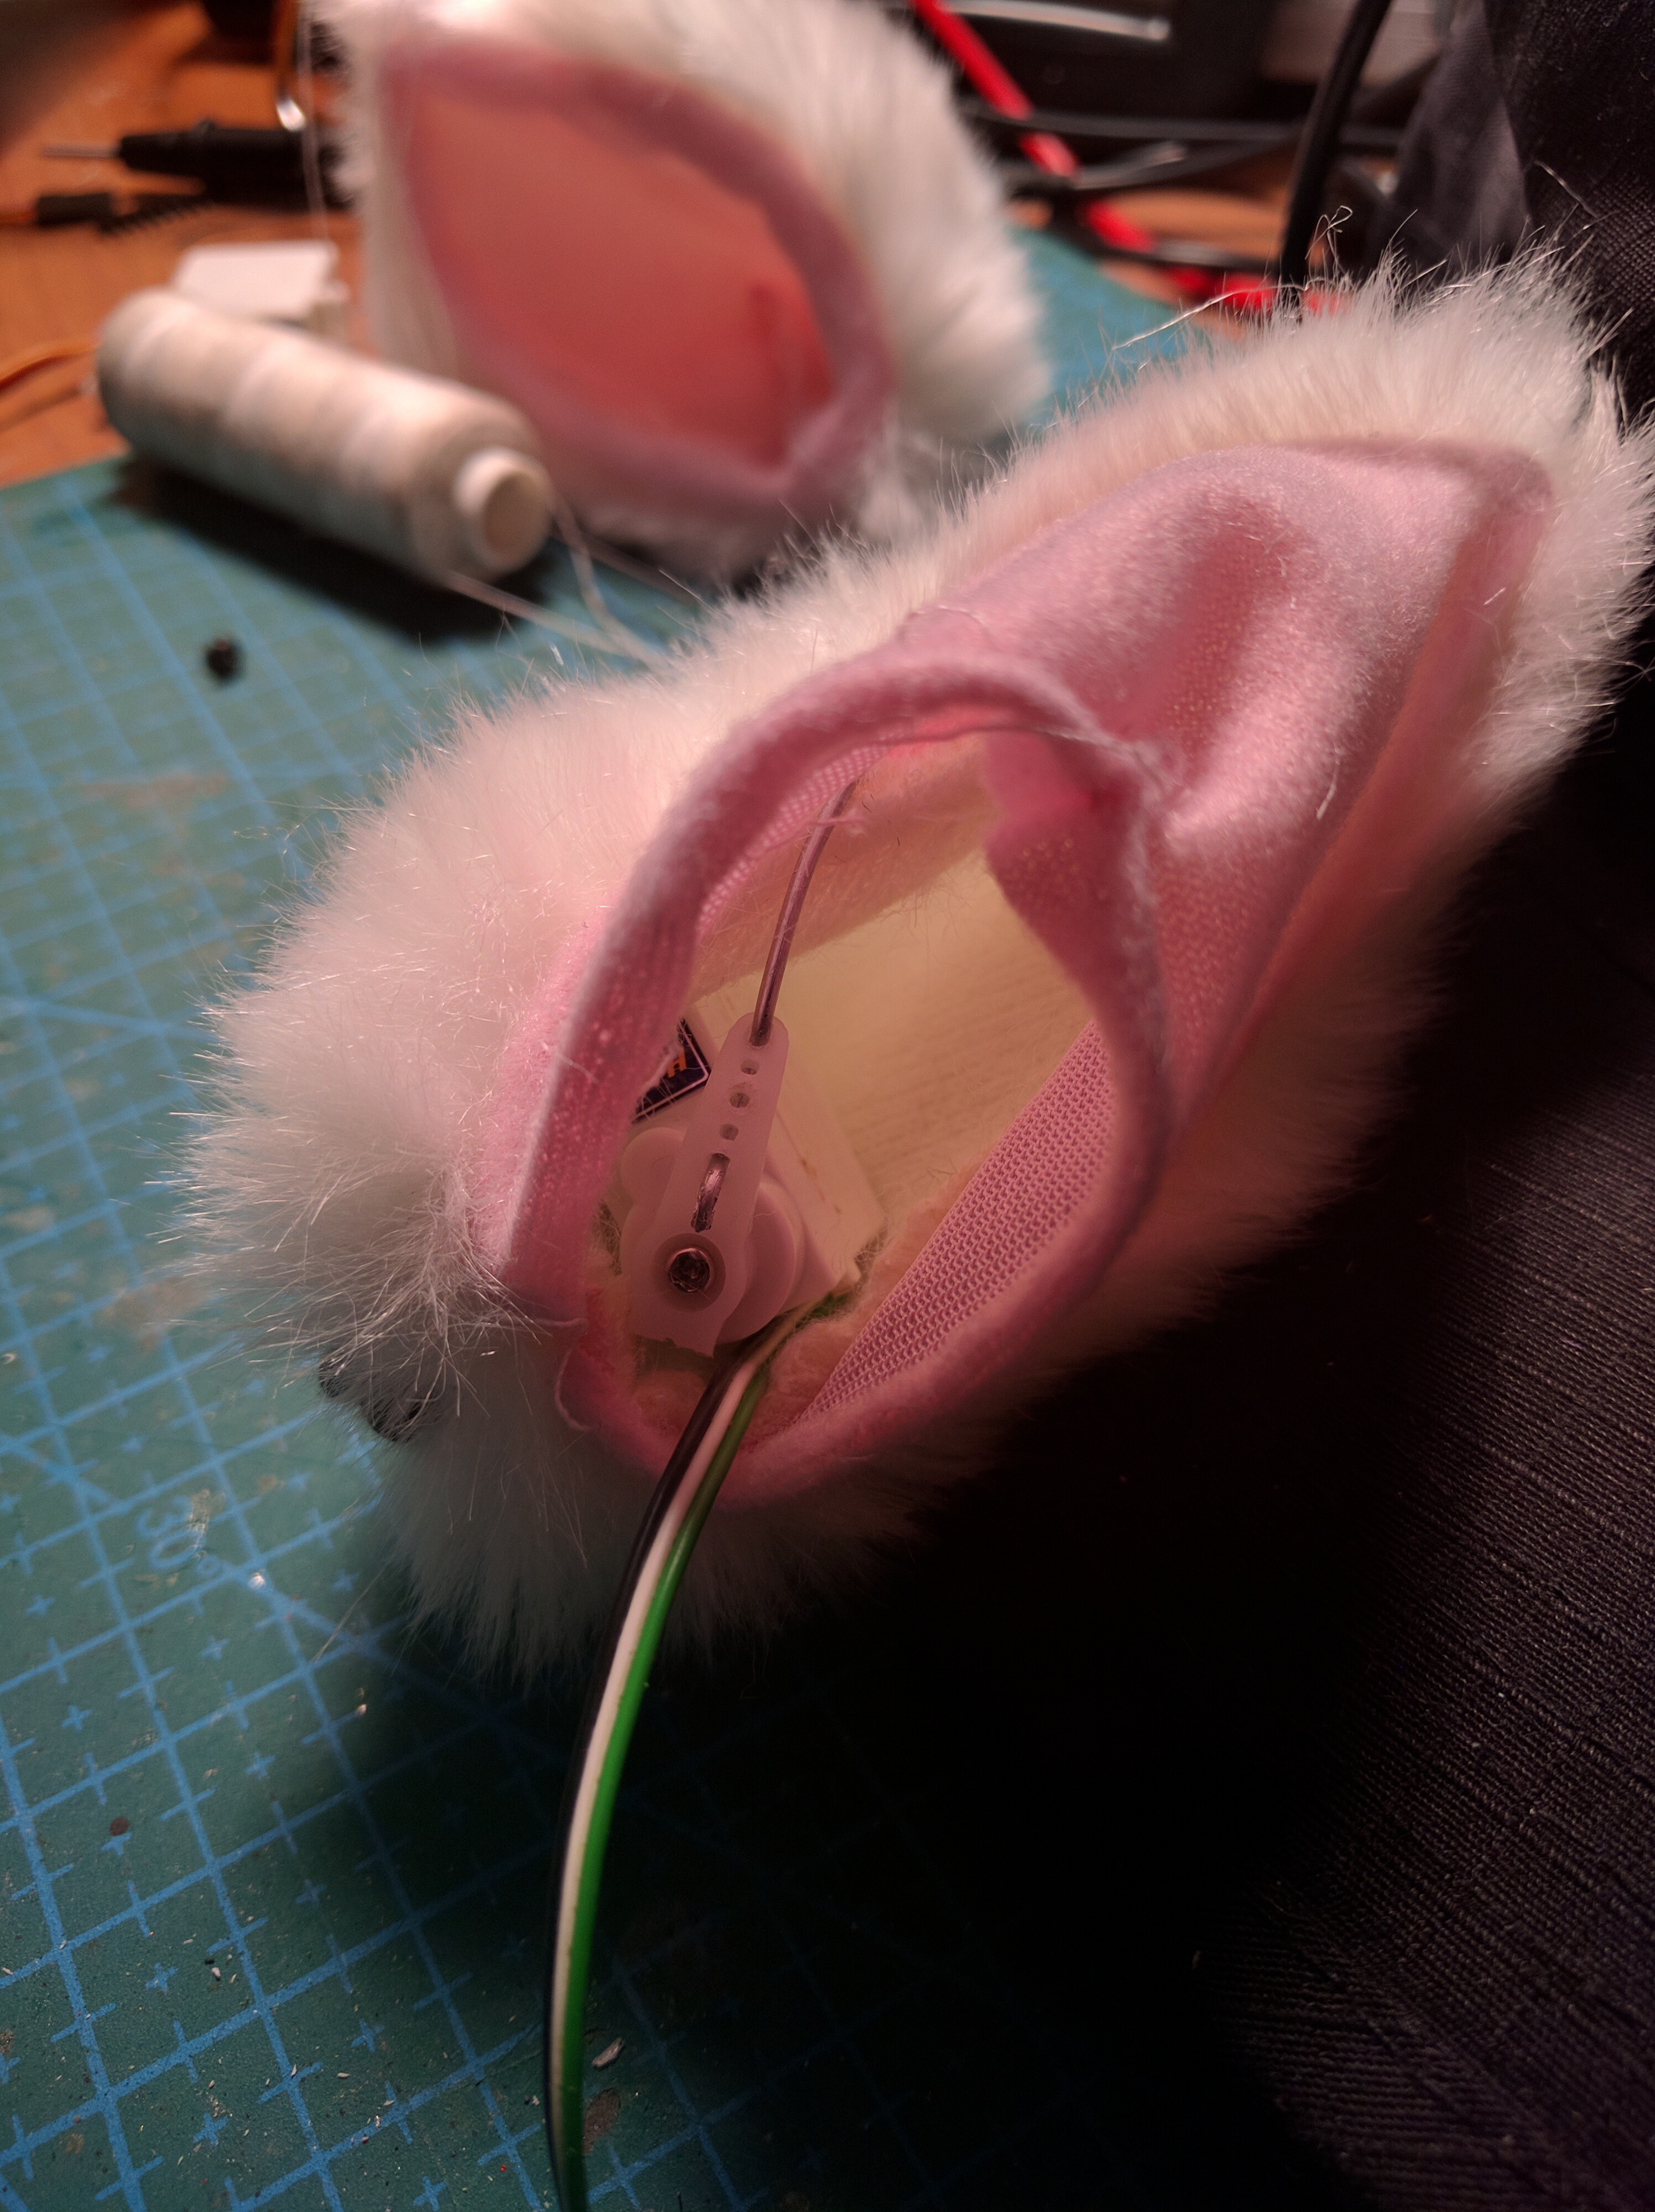
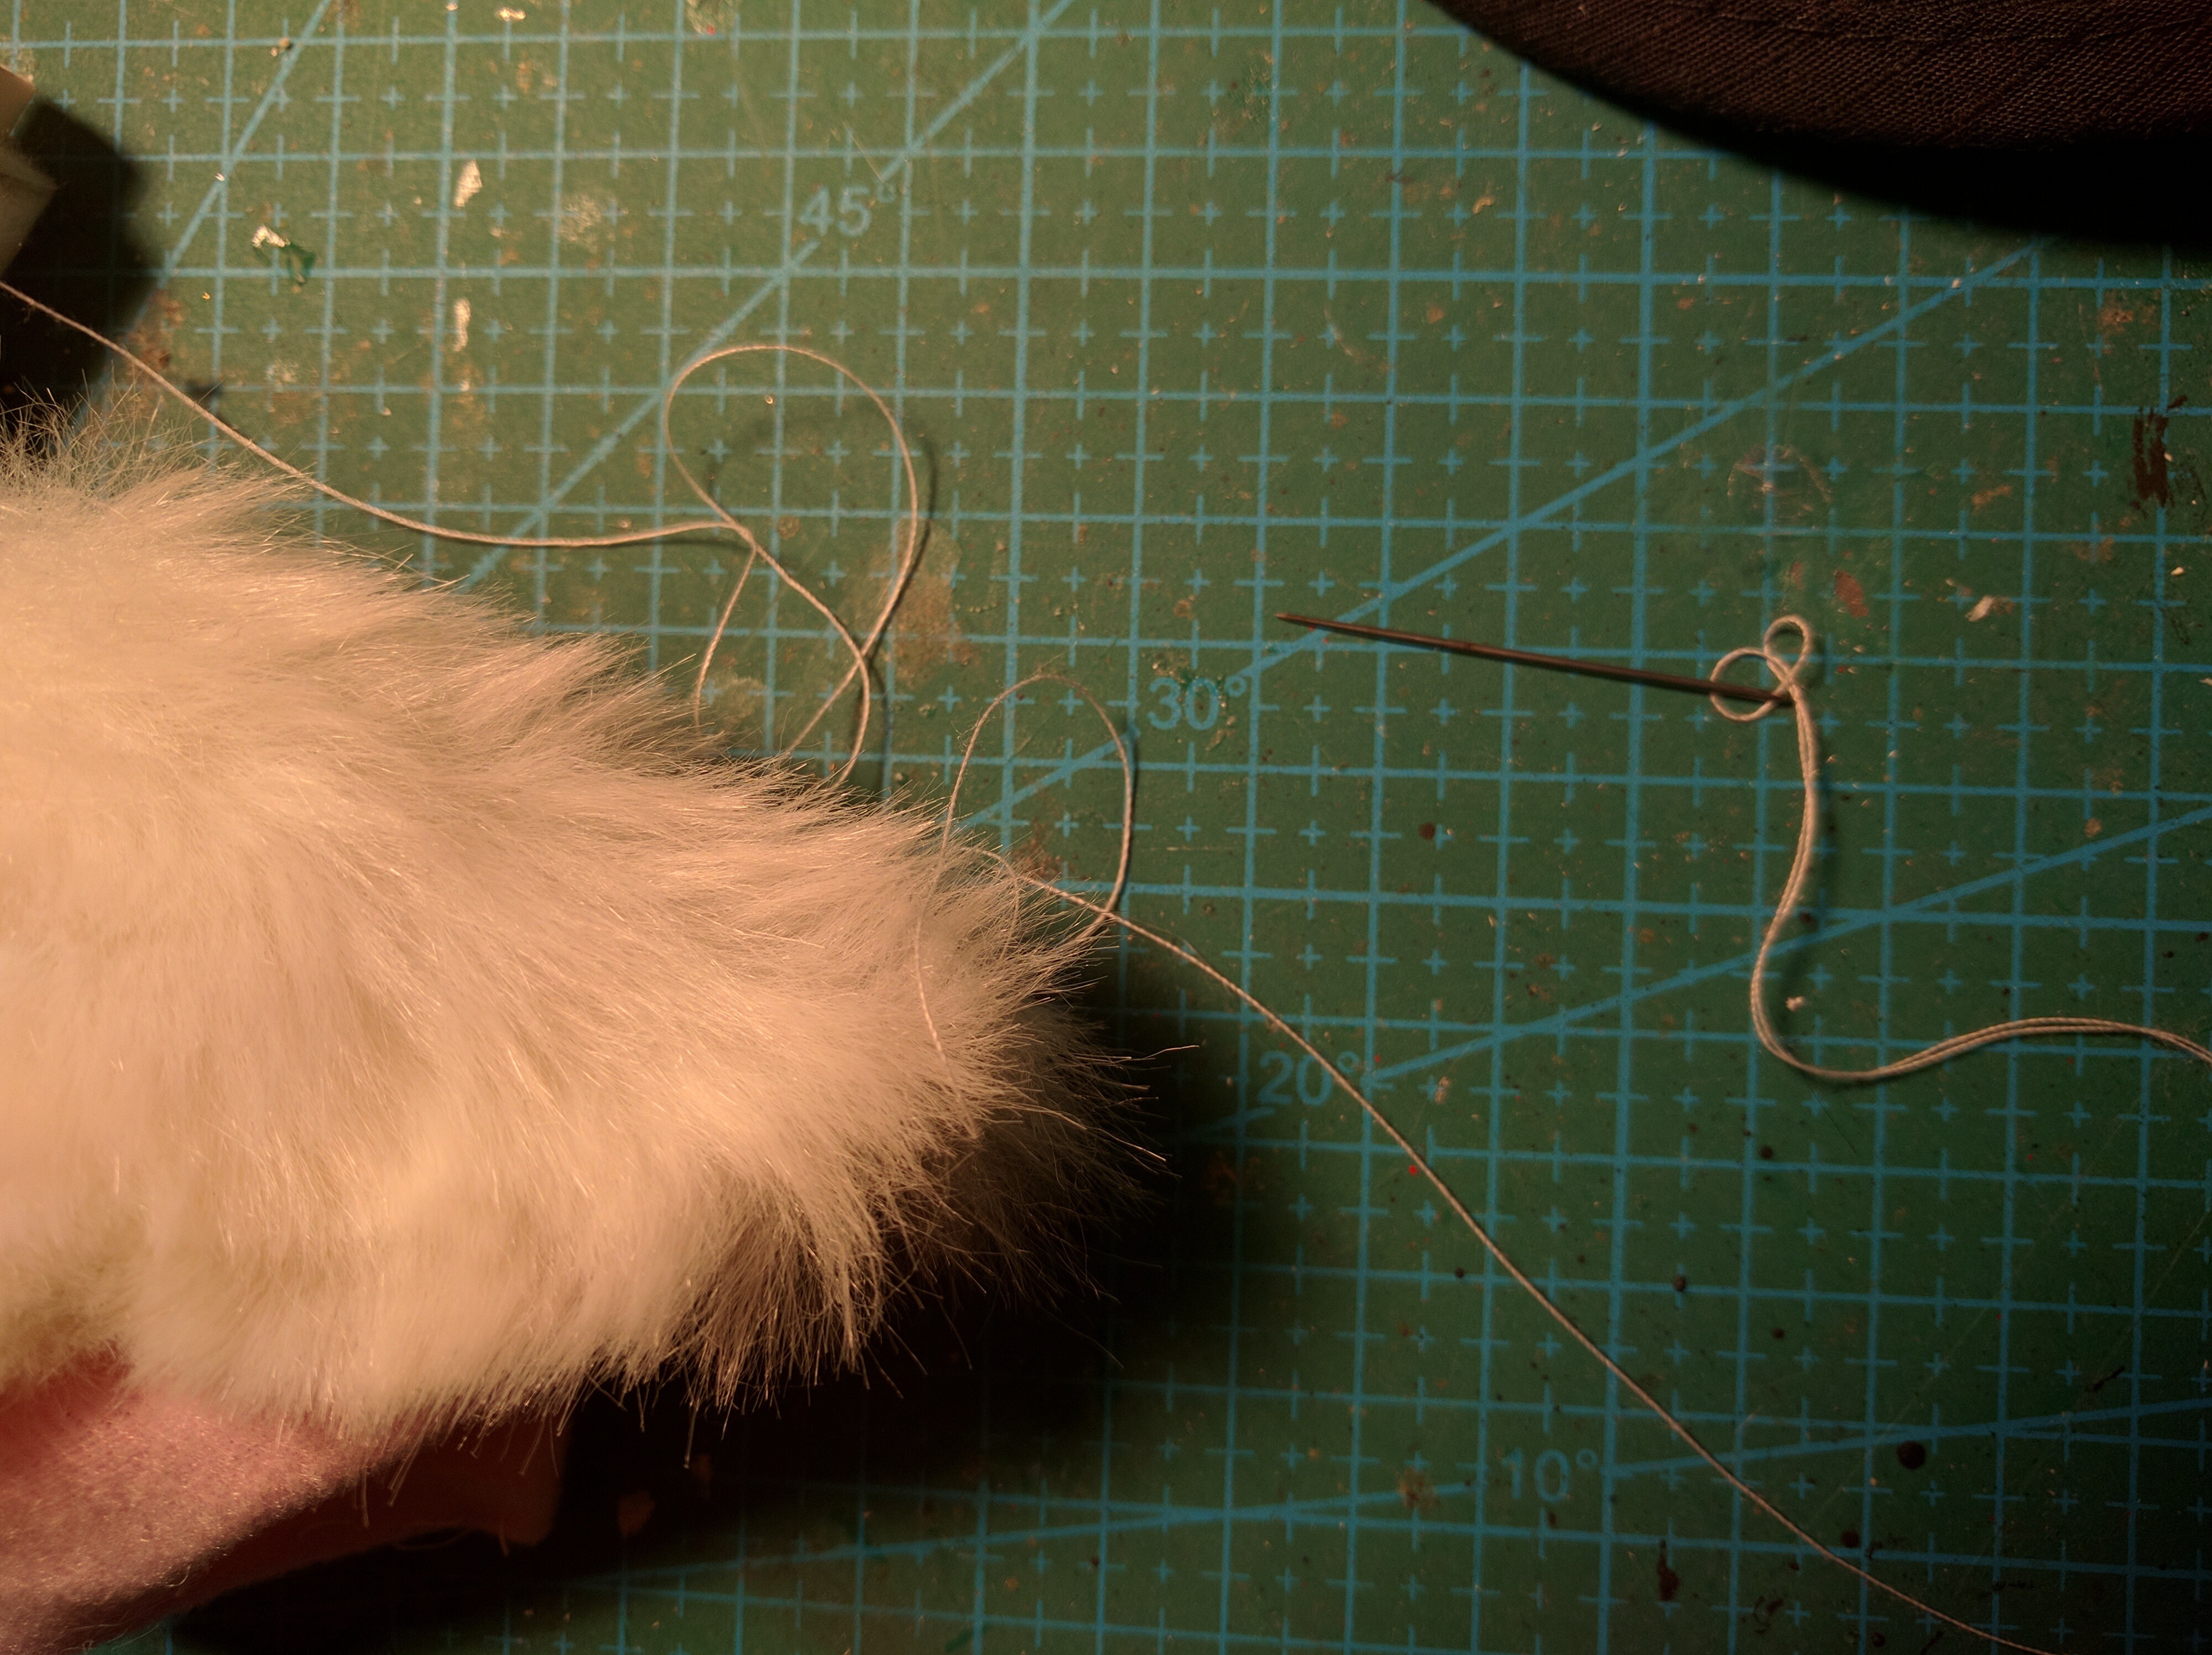
Finally, when everything was read, I sewed the ears up.
Once I had both ears, I attached them to the hat. In my case, I just used the hair clips, since the hat had holes in the right places already. You might need to sew them, or to make the holes for the clips, or to attach them in some other way.
The micro:bit and the battery go inside -- I will need to secure them there somehow, I will probably just use black thread.
Discussions
Become a Hackaday.io Member
Create an account to leave a comment. Already have an account? Log In.