 Colin Maykish
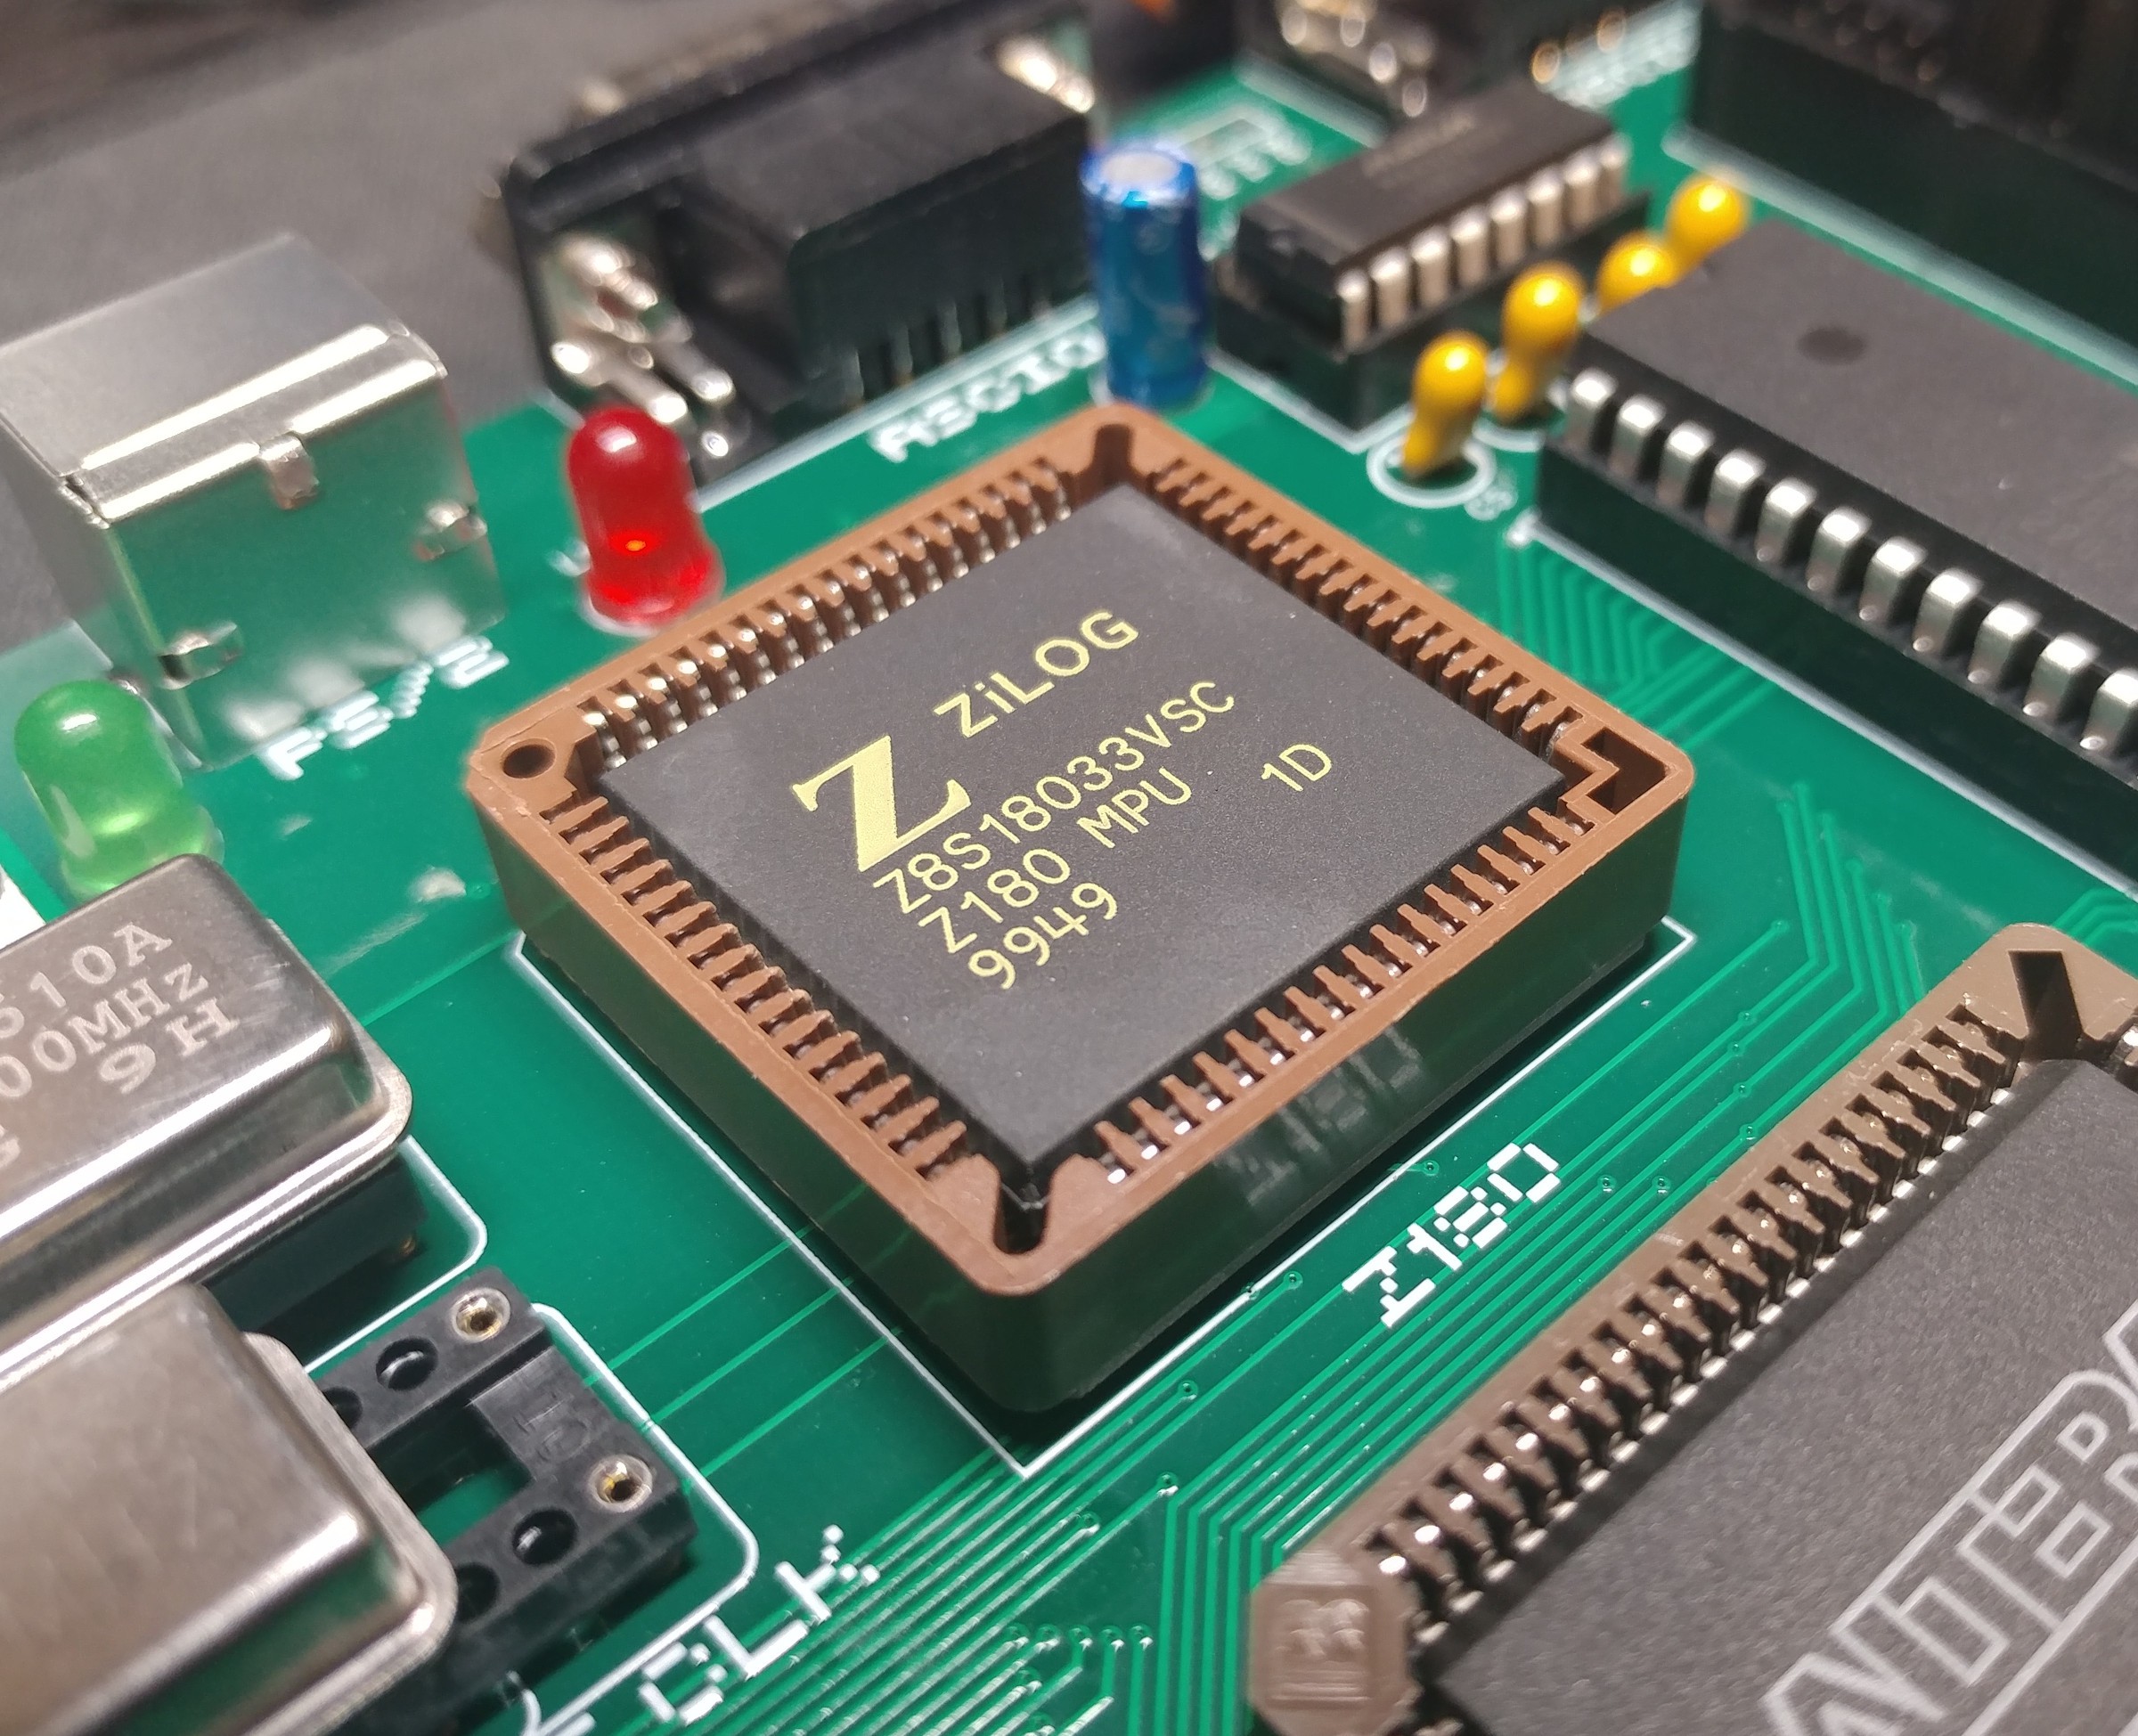
Hard to believe a month has passed already, but here we are. It's the end of Retro Challenge 2022/10. As expected, Flounder is far from a finished product, but I'm still quite pleased with the progress. I am going to continue development, but I want to outline the current state of the project as a summary of what I accomplished in this challenge.
Going back to the original plan, my goal was to build a Z180 computer and have a PCB manufactured. At a high level, that goal was a success. Flounder Rev 1.0a is a working system, but of course, not every area is as polished as the others.
Here's the rundown:
Core System
The CPU, memory, and the built-in Z180 peripherals are working great. The two serial ports with their RS-232 circuitry are functional, and the internal timer hardware is being used to generate a periodic interrupt. The one feature I did not get to was the MMU. Although both the RAM and ROM are 512KB devices, the CPU can currently only access the first 32KB of each chip. Fortunately, this update can all be done in software.
CPLD
Responsible for address decoding, the ASCI clock, PS/2 interfacing, and random glue logic, the CPLD has proved to be a reliable conductor for the rest of the computer. Just about every control signal runs through it and having JTAG on board for in-circuit programming has been incredibly convenient.
PIO
I have only tested the two 8-bit GPIO ports in output mode. Currently, an LED is hooked up to port A and when the periodic system interrupt fires, the PIO increments the LED display by one. I'd like to create some hardware to test the input capabilities as well, maybe even bit-bang SPI.
LCD
The 40x4 screen is probably the most polished of the peripherals. Both the hardware and software is approaching completion. I implemented autoscrolling and a nice API in C making this easy to use in software. The next step here is to modify the monitor program to make use of the LCD as its primary display. Currently, Flounder is still reliant on the serial port for some functions.
Keyboard
The clock and data lines of the PS/2 port are routed through the CPLD. In Verilog, I built a state machine to convert the incoming serial scan codes into a memory-mapped I/O device for the Z180 to read. The software side still needs some work. In C, I can read the last scan code from the CPLD and convert it to an ASCII character, but it would be nice to have an interrupt fire when a scan code is completely read. This would remove the polling and make the C code a bit cleaner in general. This is also a requirement to removing the serial port tether. I'll need a fully functional keyboard as well as an LCD.
USB Storage
I spent the least amount of time on the CH376S USB storage module. The circuitry seems correct and I was able to manually send the unit some commands and see the responses, but there is zero C code written to support this. Being able to load and save files to a USB drive would dramatically extend the software options for Flounder. This will be a priority in the near future.
Final Thoughts
In summary, there are no known hardware problems blocking further development work. The software side got less attention during this month, but it's much easier to build software with a working board than without one. I also spend most of my time at work writing embedded software which makes that task a little less exciting for me than the hardware development. Regardless, I'm really happy with the progress on Flounder in the last month. In hobby projects, it's easy to wander aimlessly from feature to feature or to constantly reinvent things that already basically work. That's fine most of the time. This is for fun after all, but sometimes it's helpful to impose an external timeline on a project to really make you pare down the features, reduce the scope and focus on getting something working. Doing just that for this Retro Challenge has gotten this project off the ground quickly with plenty of potential for future improvements.
Thanks to the folks at https://www.retrochallenge.org/ for hosting this challenge. I had a blast and I can't wait for the next one!
Discussions
Become a Hackaday.io Member
Create an account to leave a comment. Already have an account? Log In.