My motivations behind the upgrade
If you are about to start 3D printing and searching the internet for a printer the Ender 3 will come up immediately. This type of machine is a well-designed and popular, yet cheaply accessible machine. You can get one for under 100USD used, and you can achieve really great results if your printing parameters are dialed in properly. However, this low price has some disadvantages. This article will address Ender 3's noise issue. It won't improve the printing parameters of the machine, but it will make your printer a lot quieter and overall more fun to use.
There are multiple approaches to improving your machine. Some will say you should change the hotend immediately, others go with a direct filament feeding upgrade. It really depends on you which is the most annoying limitation and you should eliminate that problem with an upgrade. For example, if you want to improve your printing speed (so the flow rate), upgrade your hotend, if you want to print with flexible material you should use a direct feed mechanism. In my case the available place for the printer is a limitation (I don't want to hear the printer's noise all day), thus the noise issue became my #1.
Another important parameter is the price of the required upgrade. I often see people who spend more money only for the hotend upgrade alone than the price of the entire machine. I wouldn't find this approach necessarily reasonable: if you install a professional part to a hobby machine, very likely you can not use your new part at its full potential due to the machine's other limiting factors. So you got the urge to improve the machine in other areas too. This will cause a never-ending loop. Ultimately, the whole upgrade process could cost more than a brand-new middle-category printer, and the expected quality improvement may never come.
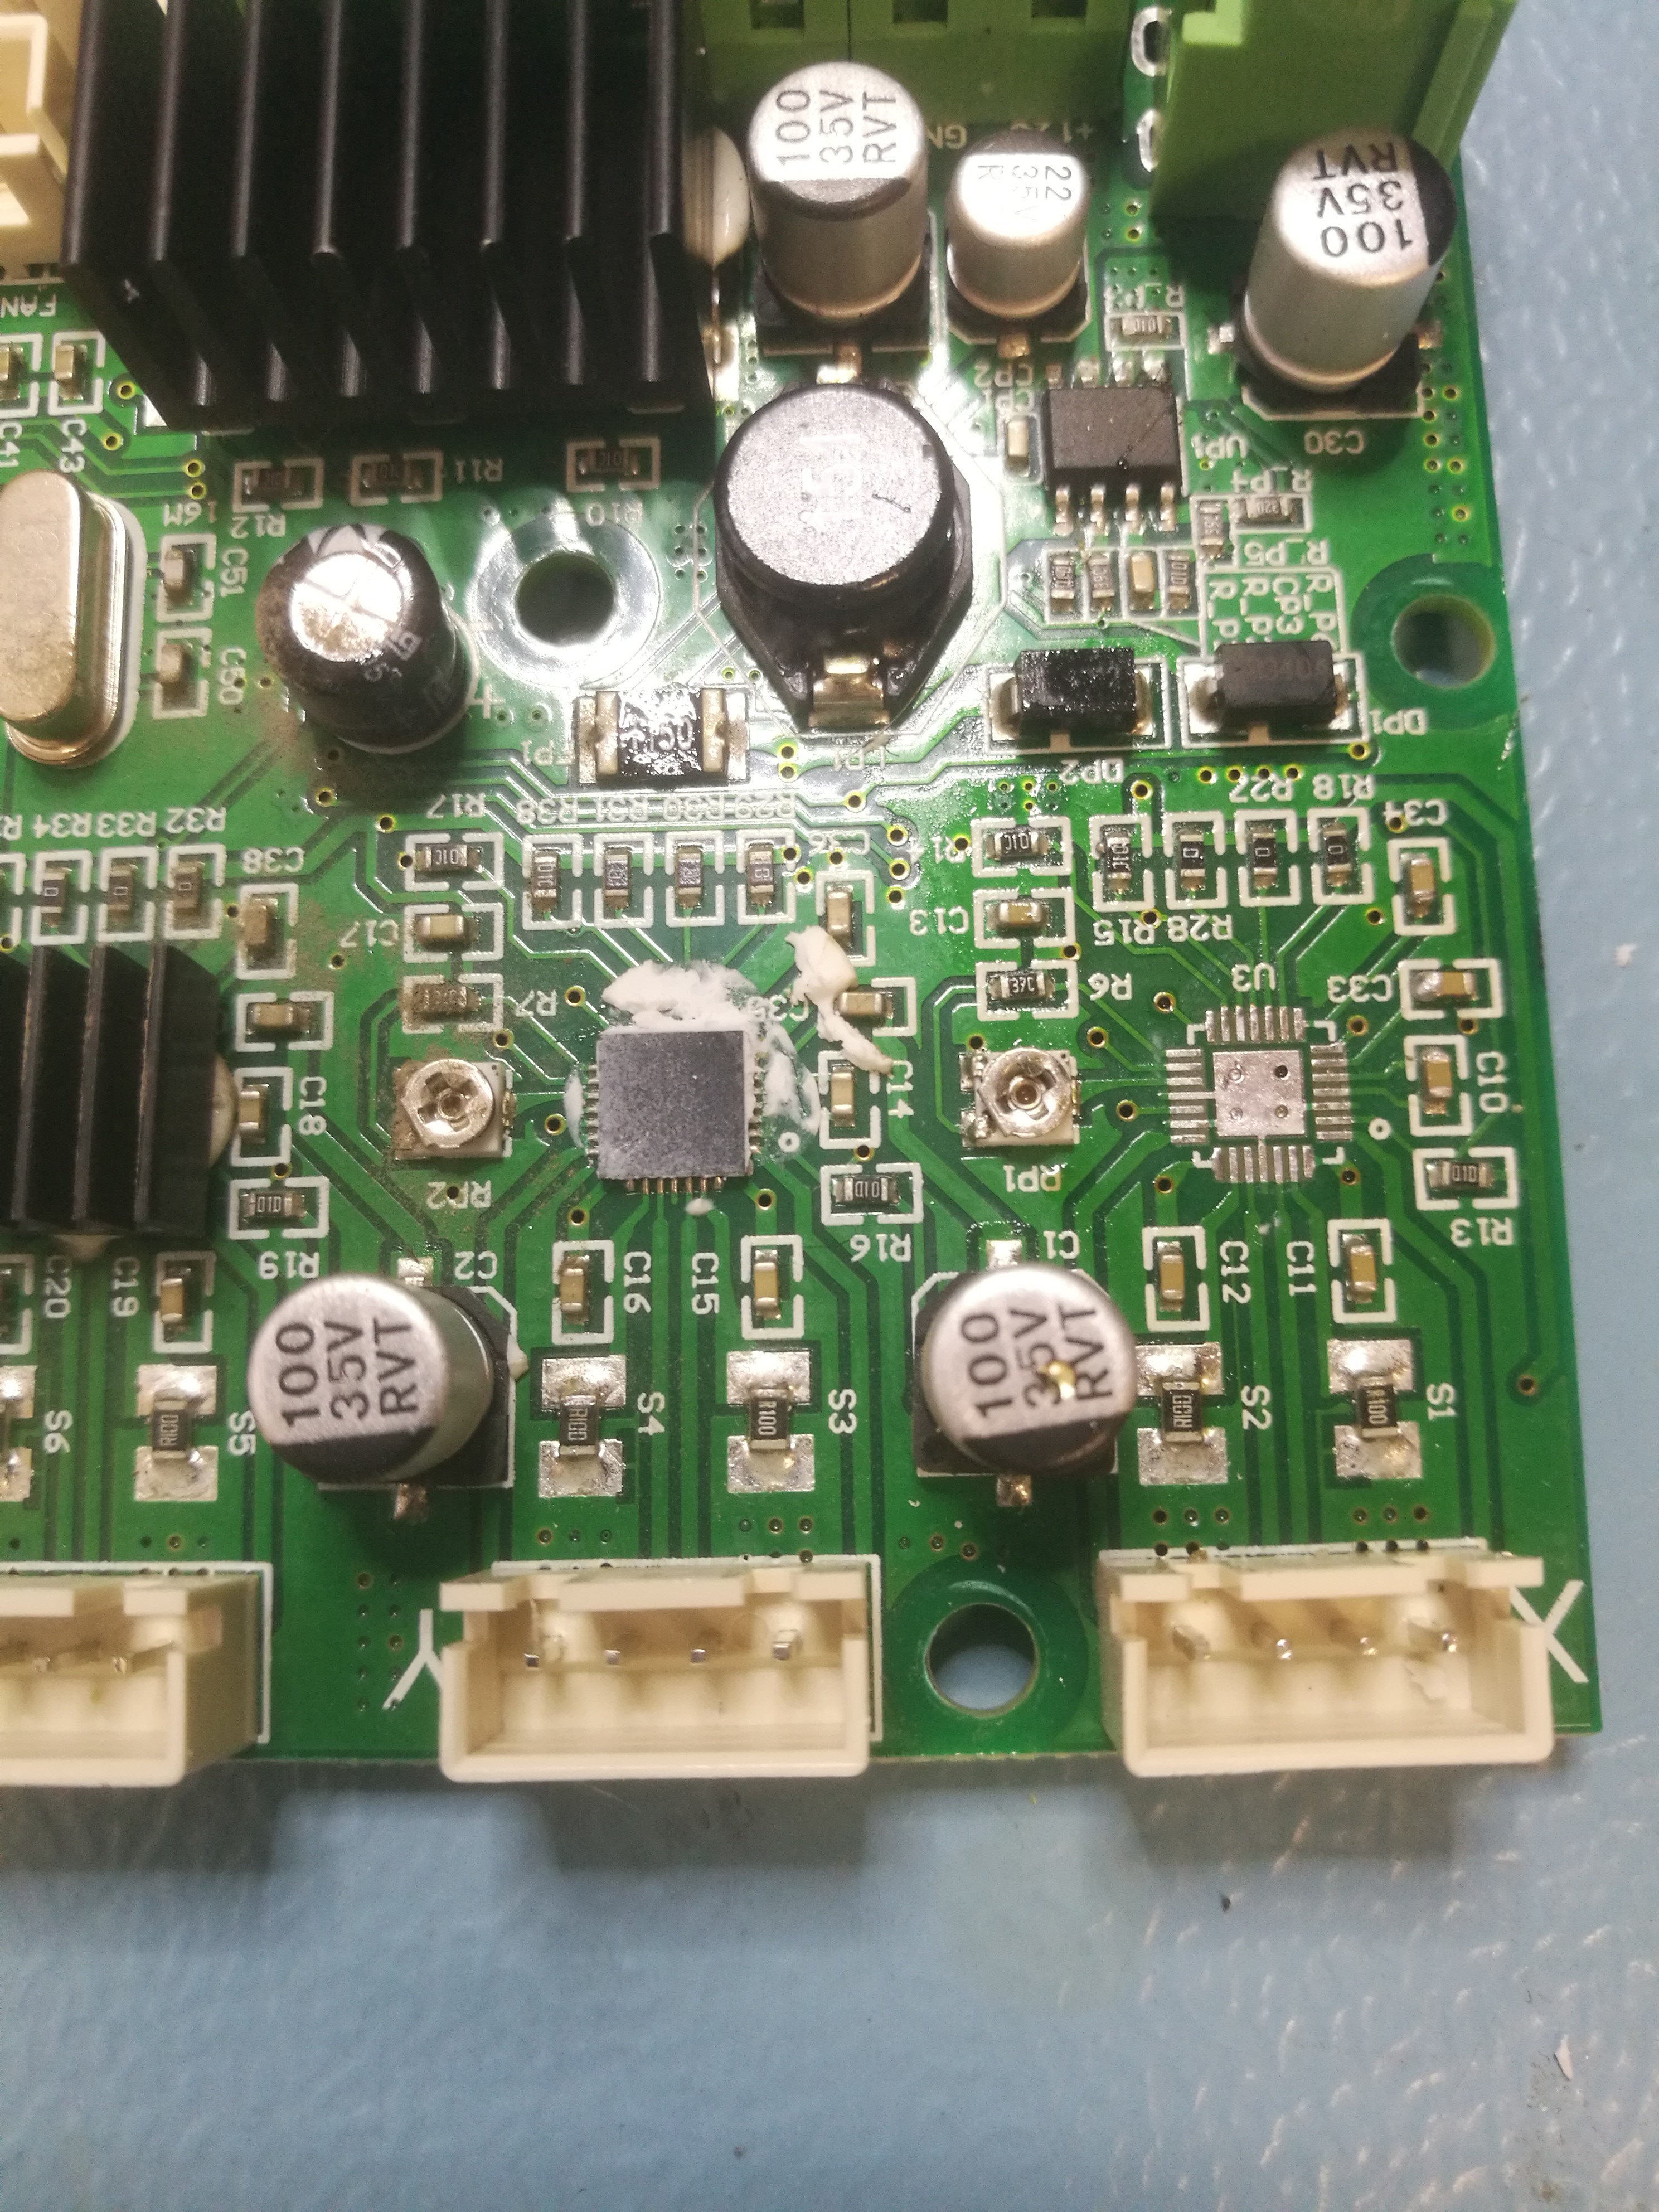
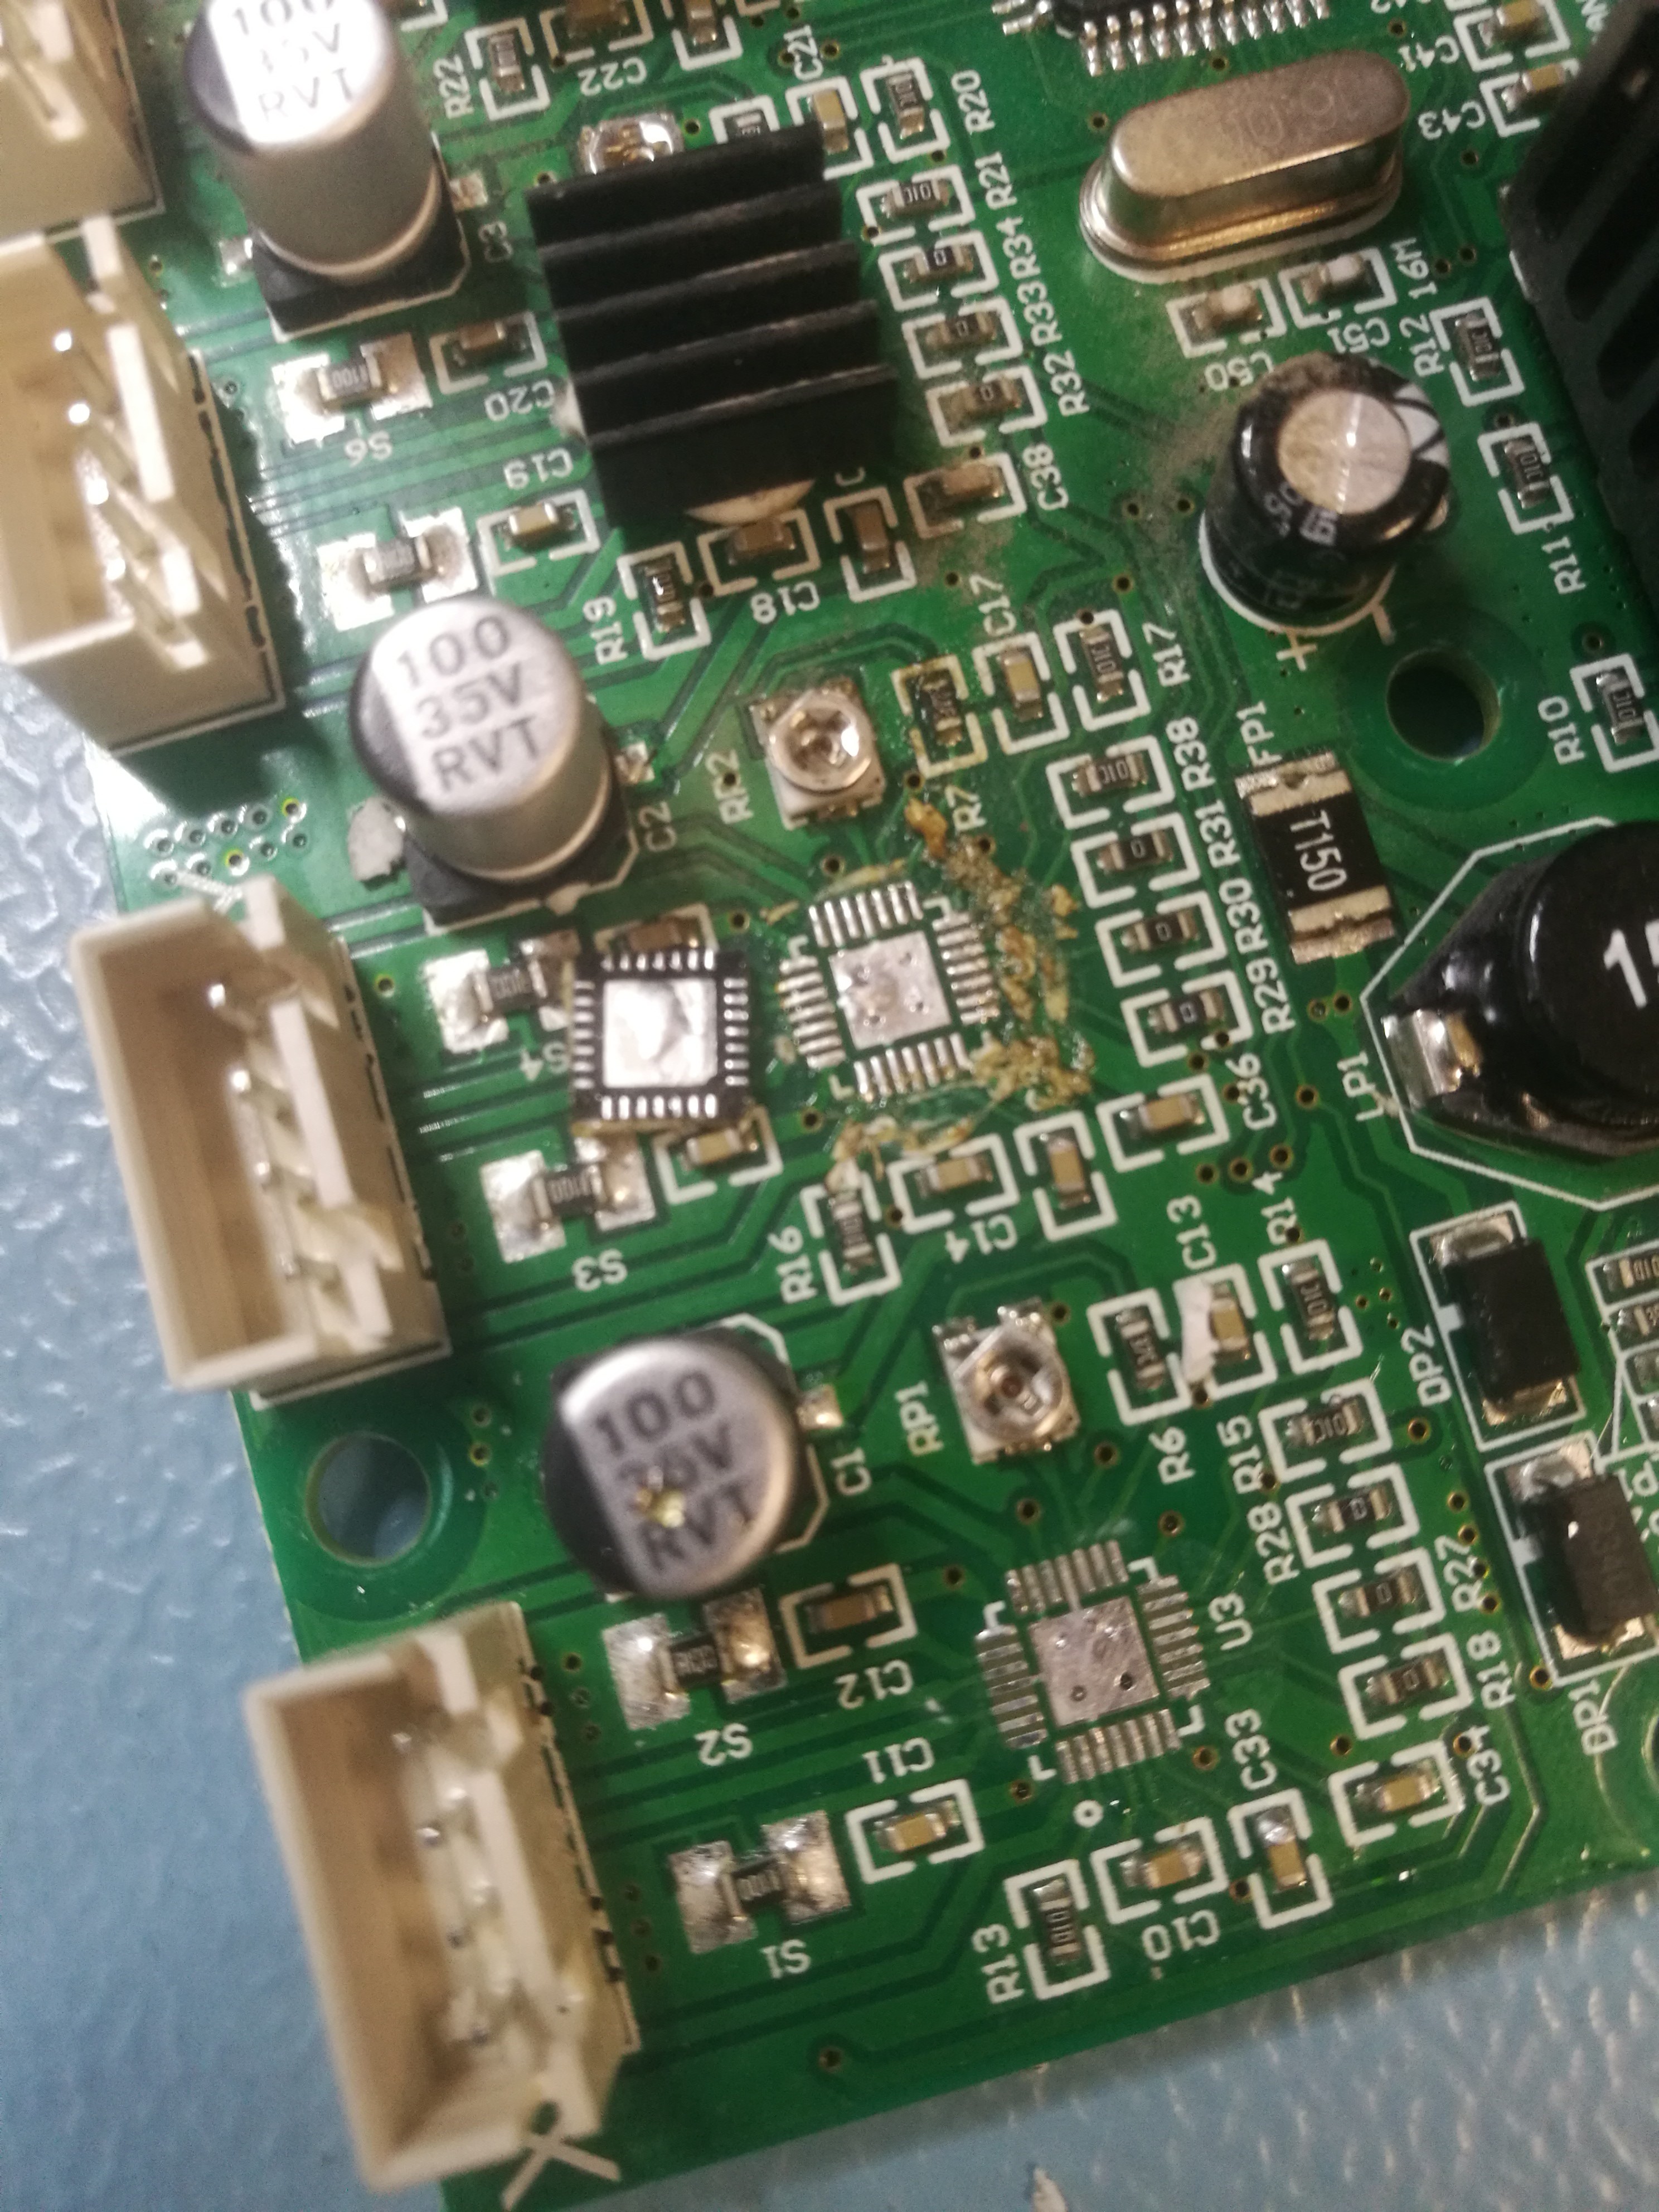
Lets talk about the noise upgrade. If you look for a solution for a more silent printer, the ultimate answer from the 3D printing community is, you should switch your main PCB. One of the most popular alternatives is "SKR E3 Mini", which has some additional advantages besides the silent operation. I looked up this kind of board and realized that its price would take apx. half of my machine and I don't really need the extra features. So before ordeing this board, I made further research and I found the TMC2208 device, which is intentionally designed to be able to change the older generation motor controllers like A4899. Whis is used by my default Ender 3 board (V 1.1.4). Since the printer uses the X and Y axises the most, initially I addressed to silence only these. The TMC2208 chips are around 2.5 USD so my upgrade costs a little more than 5 bucks (you need some additional capacitors as well) but it makes a world of difference. At this point, I should emphasize that for this upgrade you need proper soldering equipment, advanced soldering skills, and basic knowledge of electronics. If you are not confident of your skills or the process itself, you should buy an alternative PCB board in order to avoid damaging your machine.
Where do the noises come from?
The noises of the machine come from the fans, mechanics, and motors. The fans are easily replaceable and you can find a lot of alternative parts online. You only need to be sure about the correct size and voltage.
The noises from, the mechanics have the least effect on the overall noise. However, if you experience extremely high noise related to machine movements you should check it ASAP because usually, this is an indication of a major mechanical problem. Besides this, you should always do your basic maintenance on your machine (check and set the proper belt tension, lubrication of Z leadscrew etc.) this will keep your noises low and ensures the proper print quality. I don't really recommend upgrading the mechanics in order to make the machine more silent, because the stock solutions are really silent. And the...
Read more »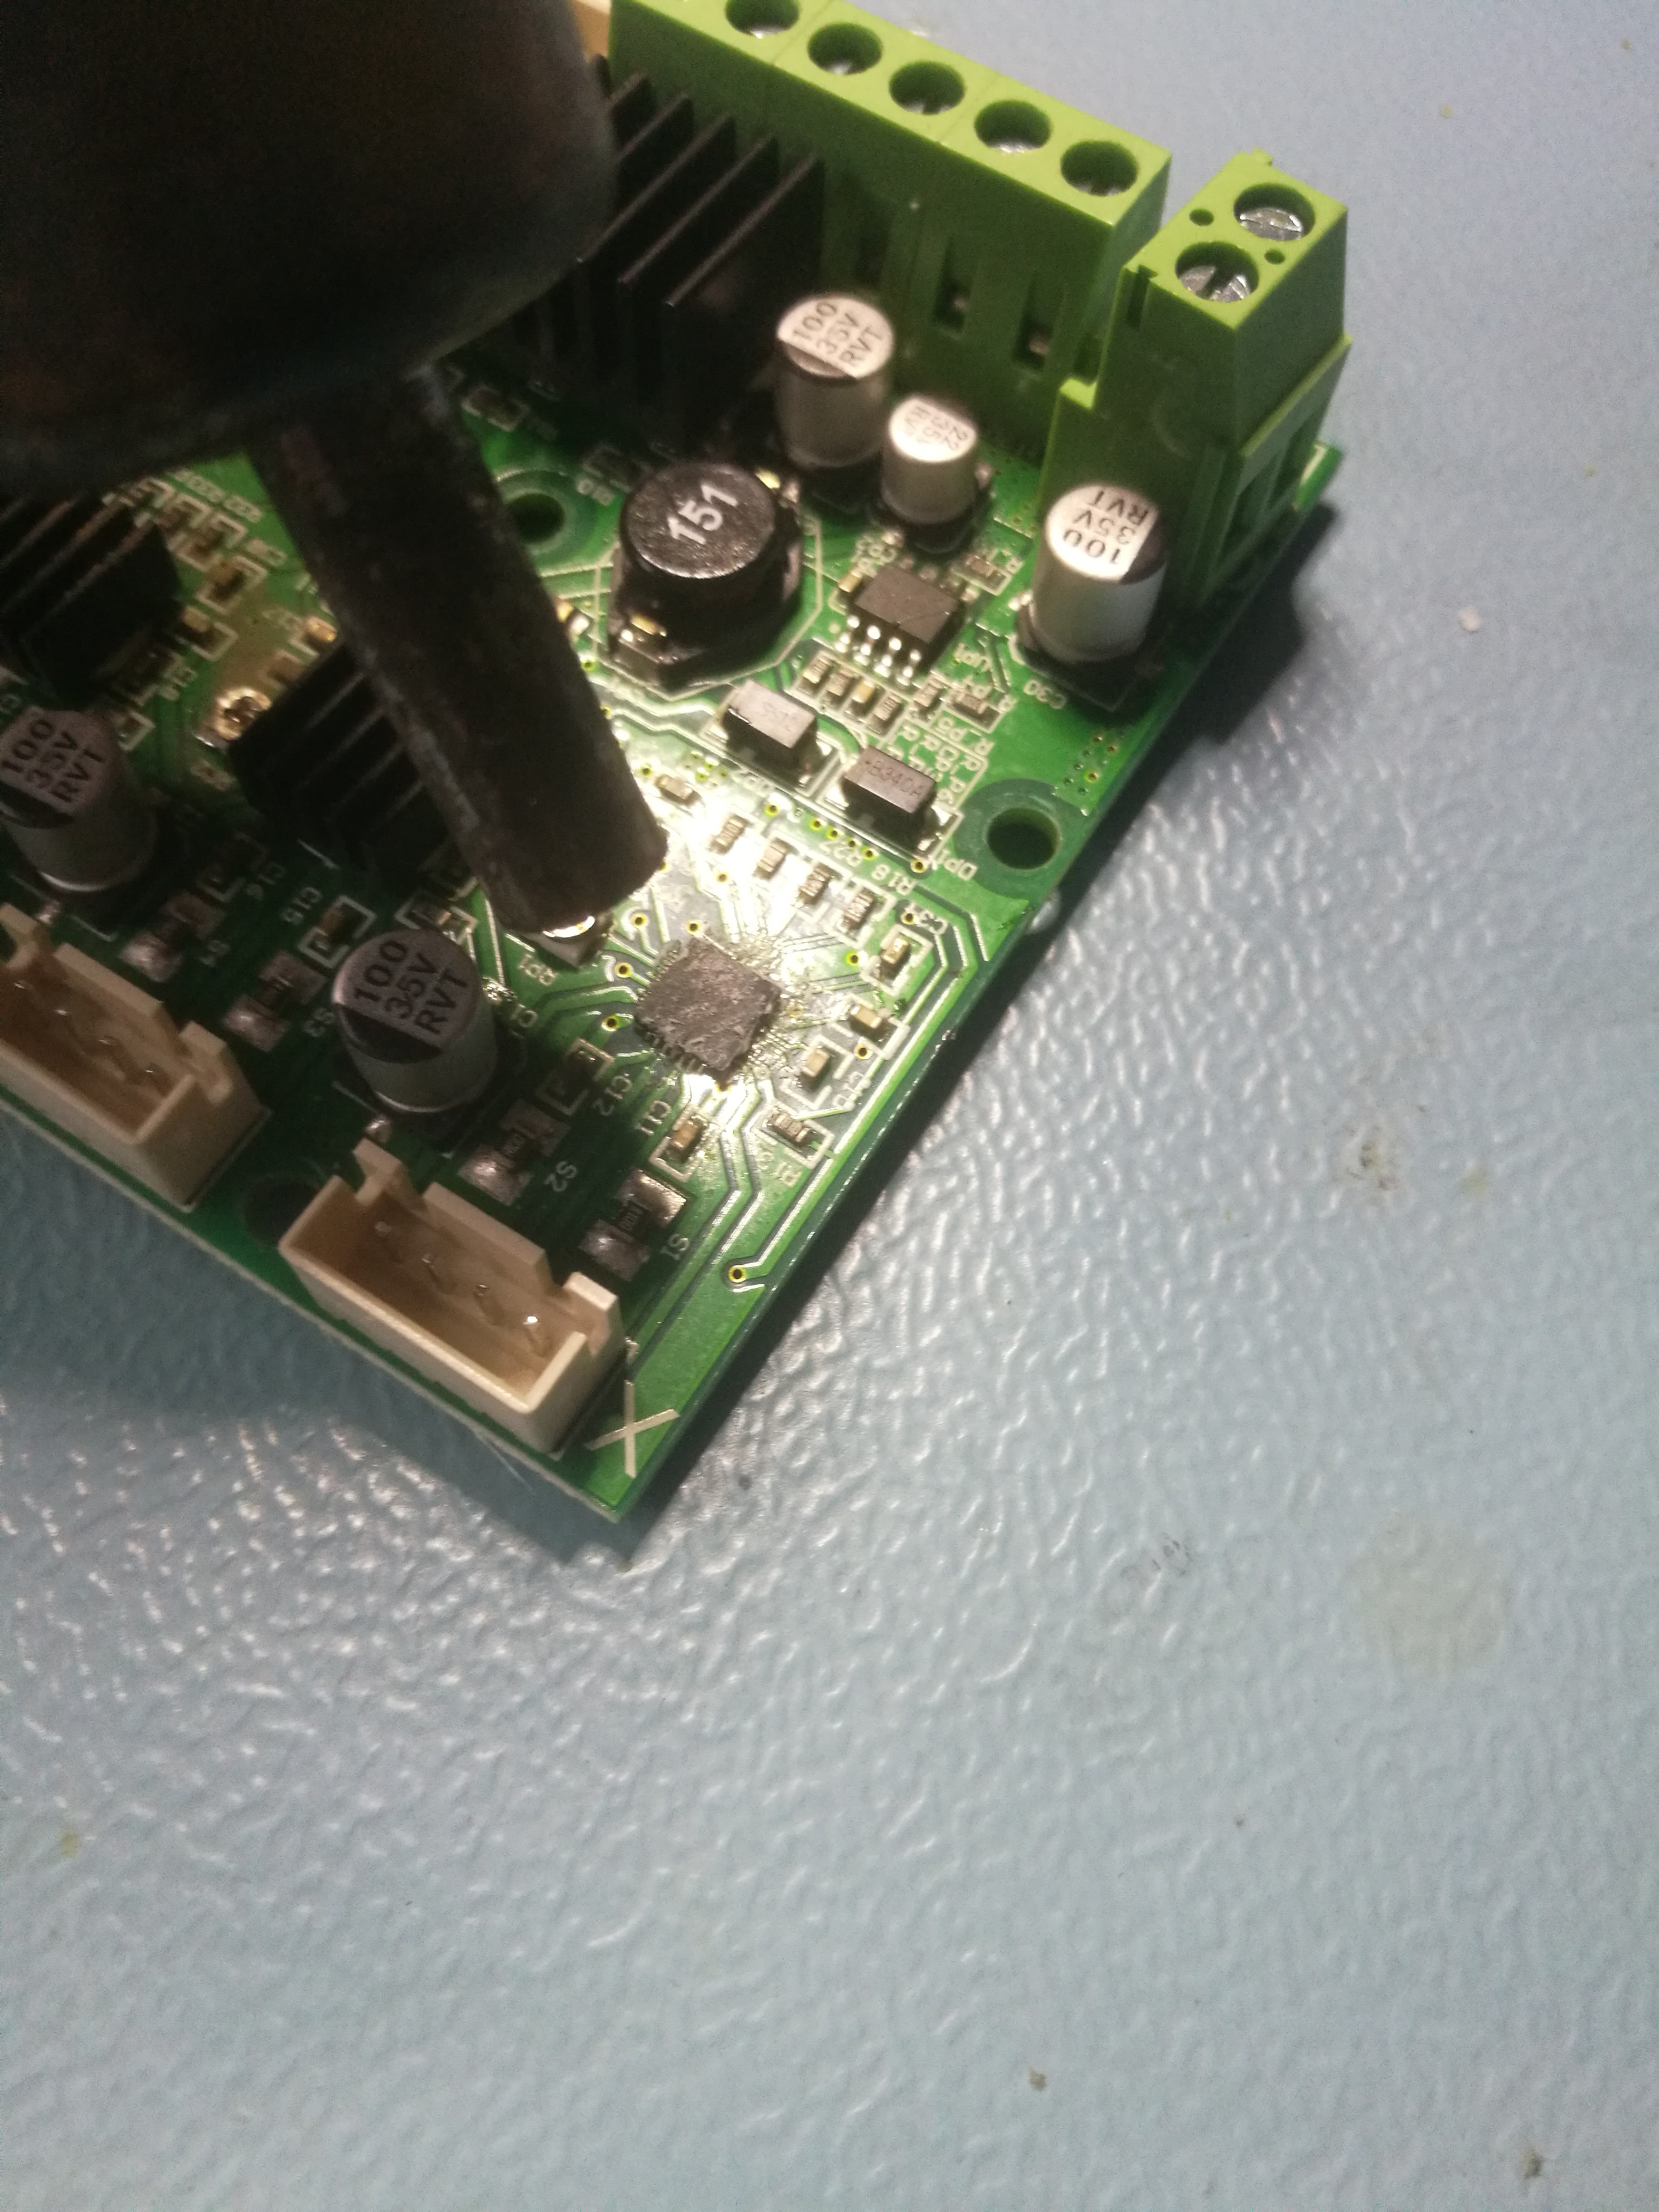
 anthony.webb
 Andy Lee
 setCREATE