 Joey Shyu
BPI-Pico-S3 has the same dimension as the Raspberry Pi Pico board, equipped with an ESP32S3 chip, an 8MB flash, 4-layer PCB, electroplated half-hole process, ceramic antenna, supports 2.4 GHz Wi-Fi and Bluetooth® LE dual-mode wireless communication, it's a development board perfect for IoT development and Maker DIY Projects.
Hardware interface

CircuitPython with Mu Editor

CircuitPython is a programming language designed to simplify experimenting and learning to code on low-cost microcontroller boards.
CircuitPython programming with Mu editor is the easiest way to get started. Install the software and connect the device to start using it.
Hardware Preparation
1. Mu editor supports Windows x64, Mac OSX, and Linux operating systems. Prepare a computer running one of these operating systems.
2. A development board that supports CircuitPython, such as BPI-PicoW-S3.
3. A USB cable that can connect the development board to the computer.
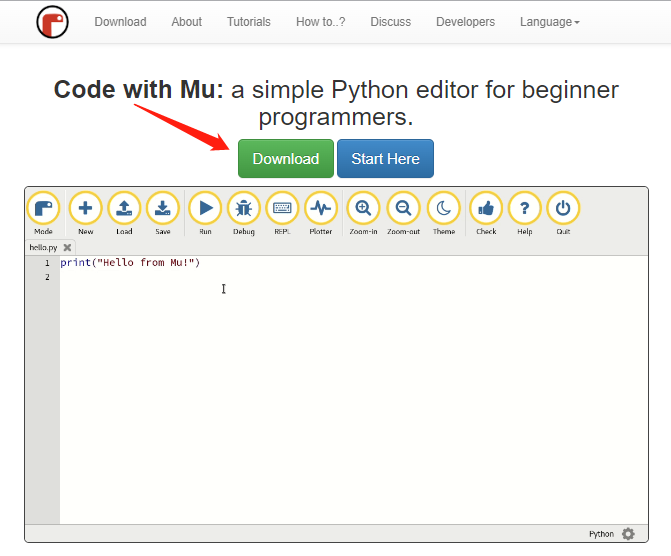
Download and install Mu Editor
1. Navigate to Mu Editor download page, and click the Download button to choose the operating system.
2. Select the operating system currently used by your computer, and click the Download button of the corresponding operating system to start downloading the installation package.
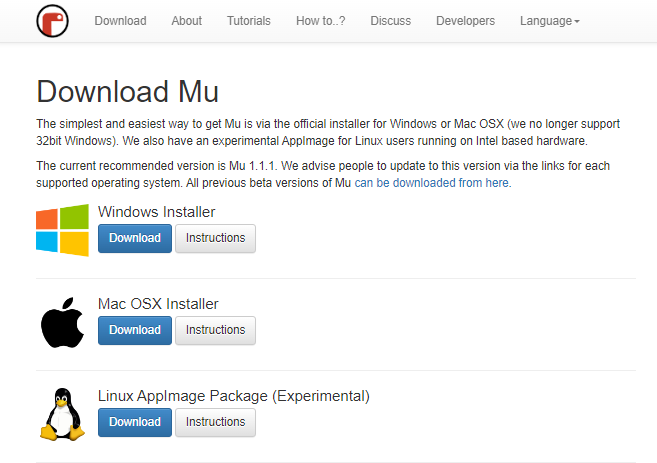
3. Click the Instructions button of the corresponding operating system to view the detailed installation steps, and install according to the instructions.
Establishing Connection
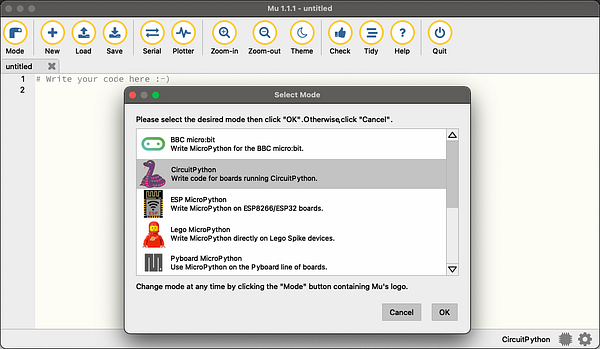
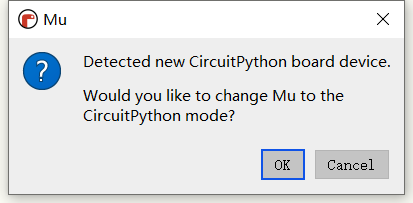
1. Start the Mu editor and change the mode to CircuitPython, if you have connected the CircuitPython development board correctly, you will be prompted to switch to this mode directly.
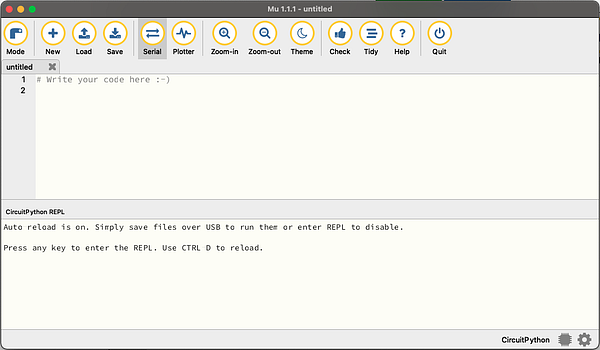
2. Click the Serial button and press any key to enter the CircuitPython REPL.
Edit code.py to Make the LED Blink
1. Click the Load button, select the code.py file on the CircuitPython development board, and click Open to start editing code.py.
2. Enter the following code in the editor:
import time
import board
import neopixel

pixels = neopixel.NeoPixel(board.NEOPIXEL, 1, brightness=0.1)

while 1:
    pixels[0] = (255,0,0)
    pixels.show()
    time.sleep(0.5)
    pixels[0] = (0,255,0)
    pixels.show()
    time.sleep(0.5)
    pixels[0] = (0,0,255)
    pixels.show()
    time.sleep(0.5)
    pixels[0] = (255,255,255)
    pixels.show()
    time.sleep(0.5)
3. Click the Save button, and the edited content will be saved to the CircuitPython development board.Reference Resources
- Adafruit: Welcome To CircuitPython 1
- Adafruit:CircuitPython Web Workflow Code Editor Quick Start
- Adafruit:CircuitPython Docs 1
- GitHub:CircuitPython-tricks
video demo on youtube:
- Official AliExpress
- SinoVoip Aliexpress
- Official Taobao
- OEM&OEM customized service: sales@banana-pi.com
Discussions
Become a Hackaday.io Member
Create an account to leave a comment. Already have an account? Log In.