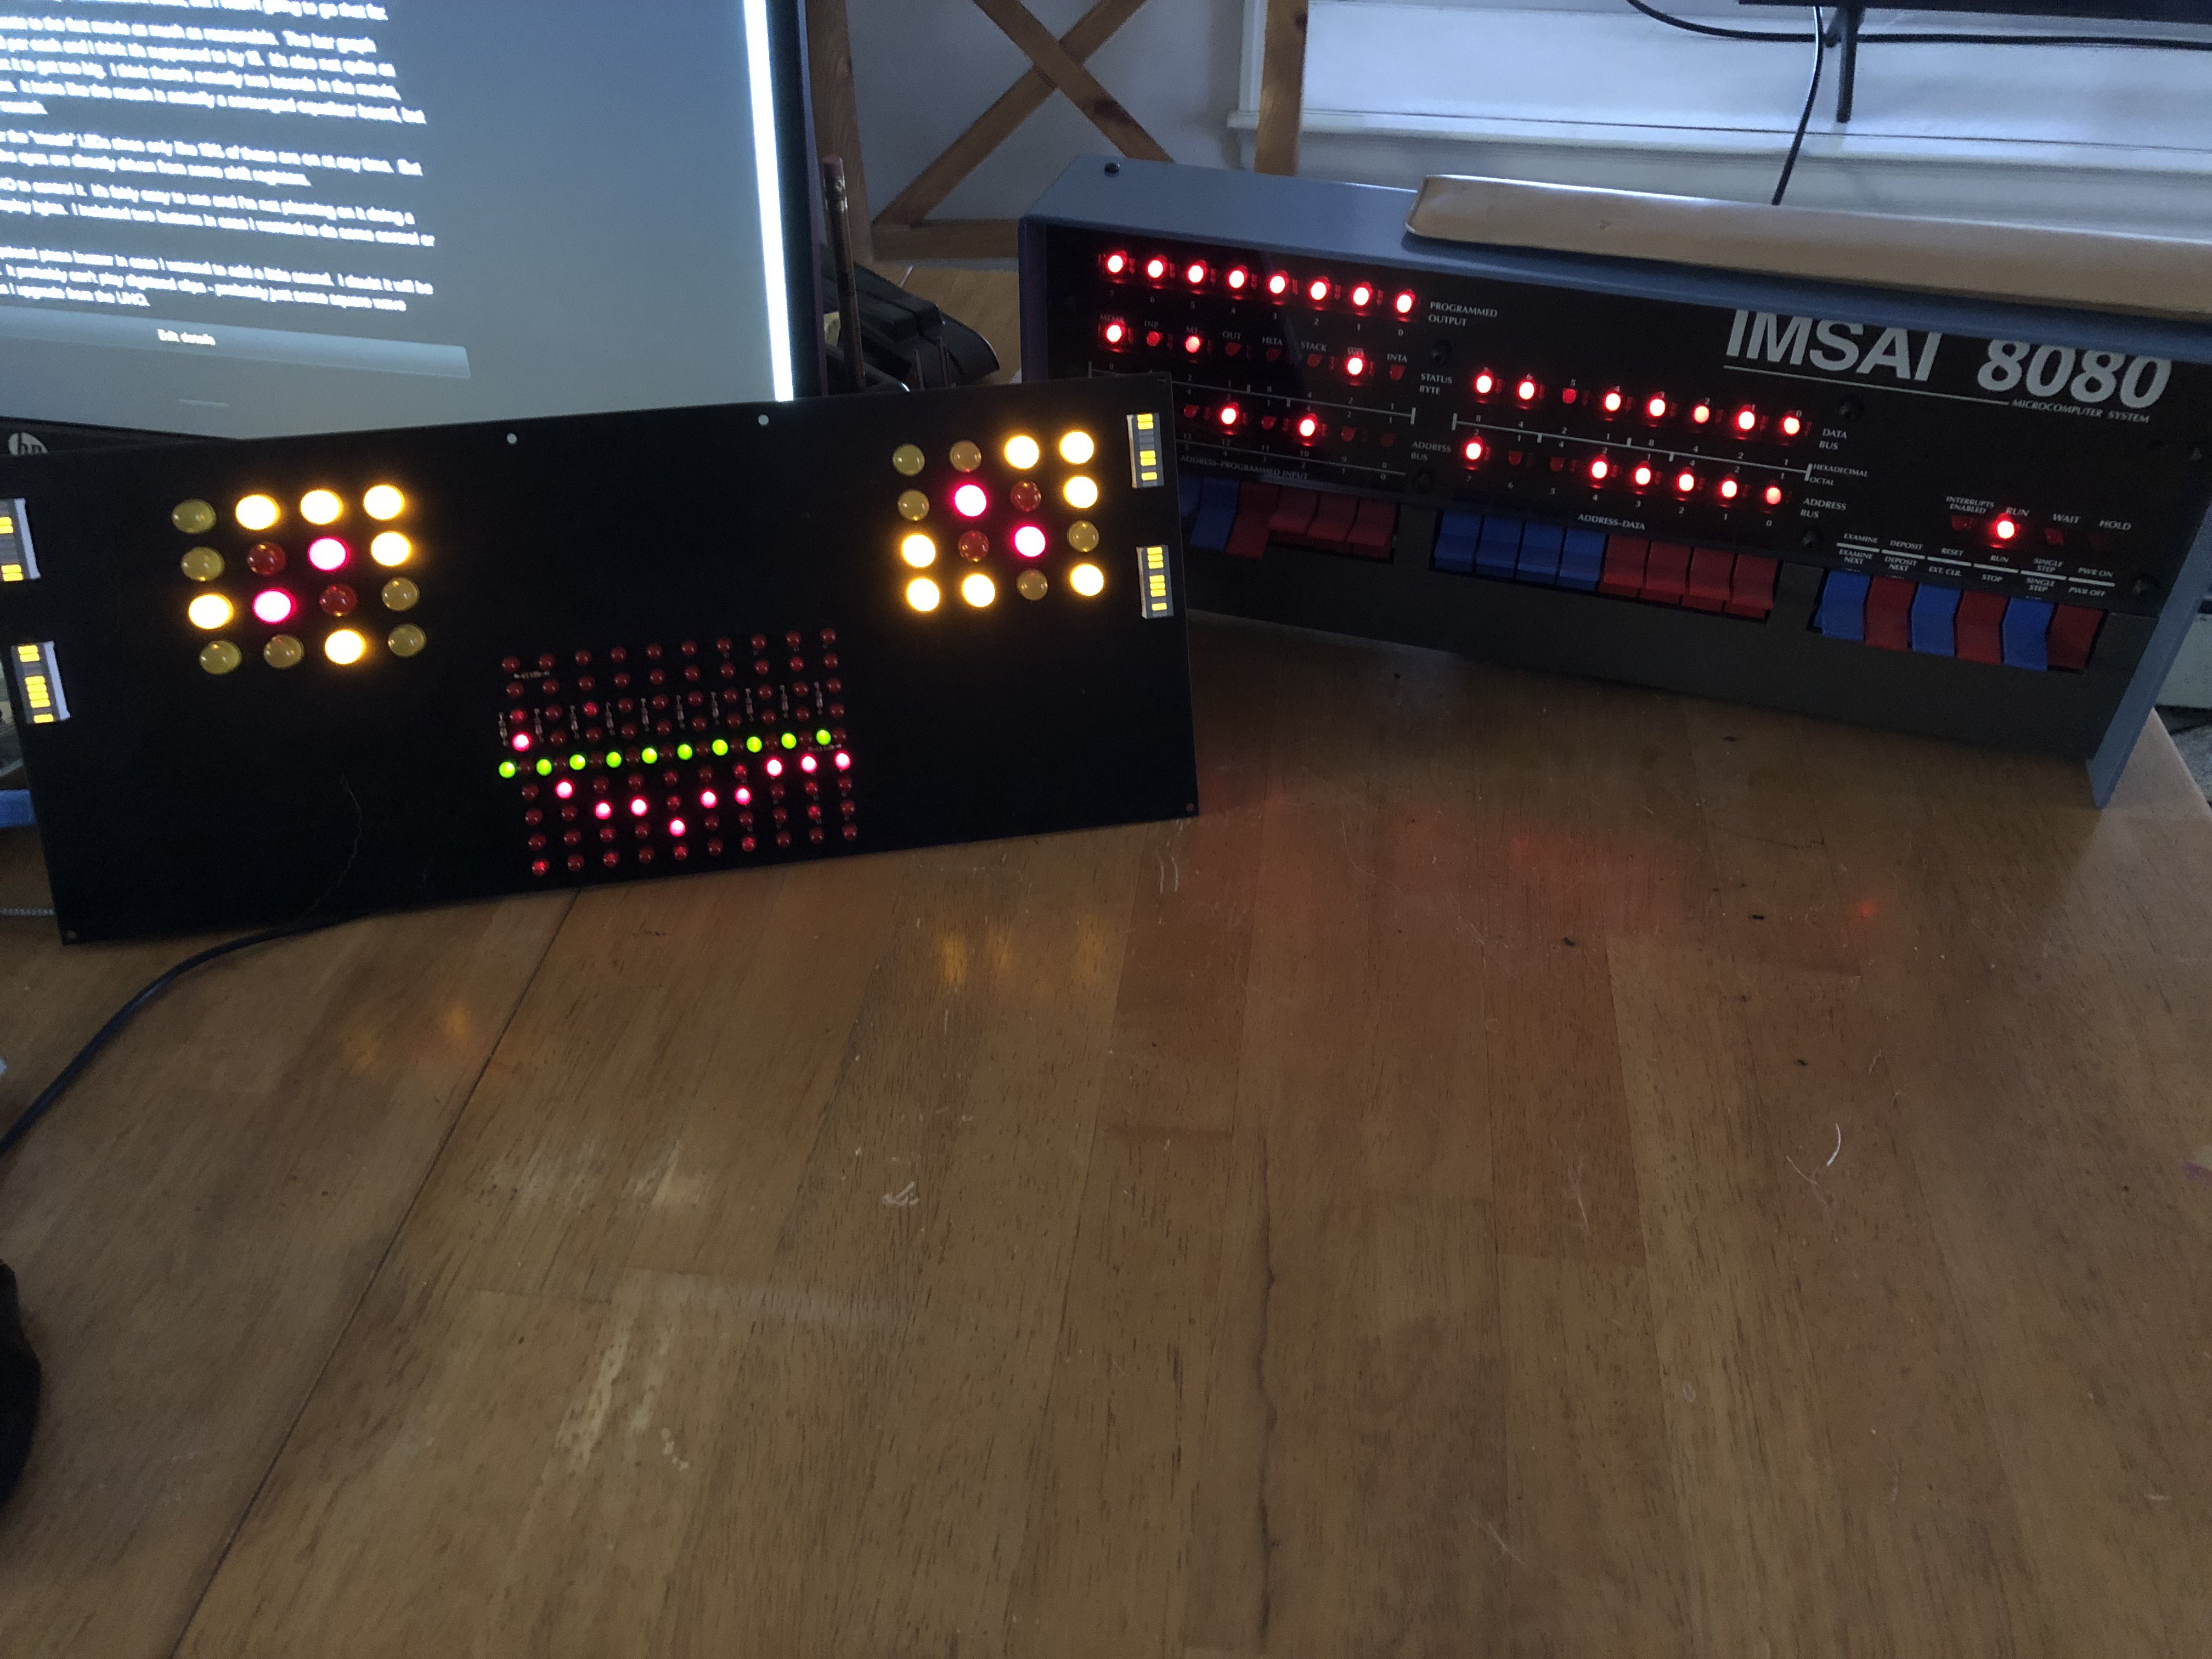
I took some screen captures from the movie, but I had no references to measure by. I took relative measurements instead based on my assumed LED sizes. I used what I thought was the right size LEDs - 5mm for the small ones and 10mm for the big ones. I'm pretty sure the bigger lights are actually incandescent bulbs, but I wasn't going to go that far.
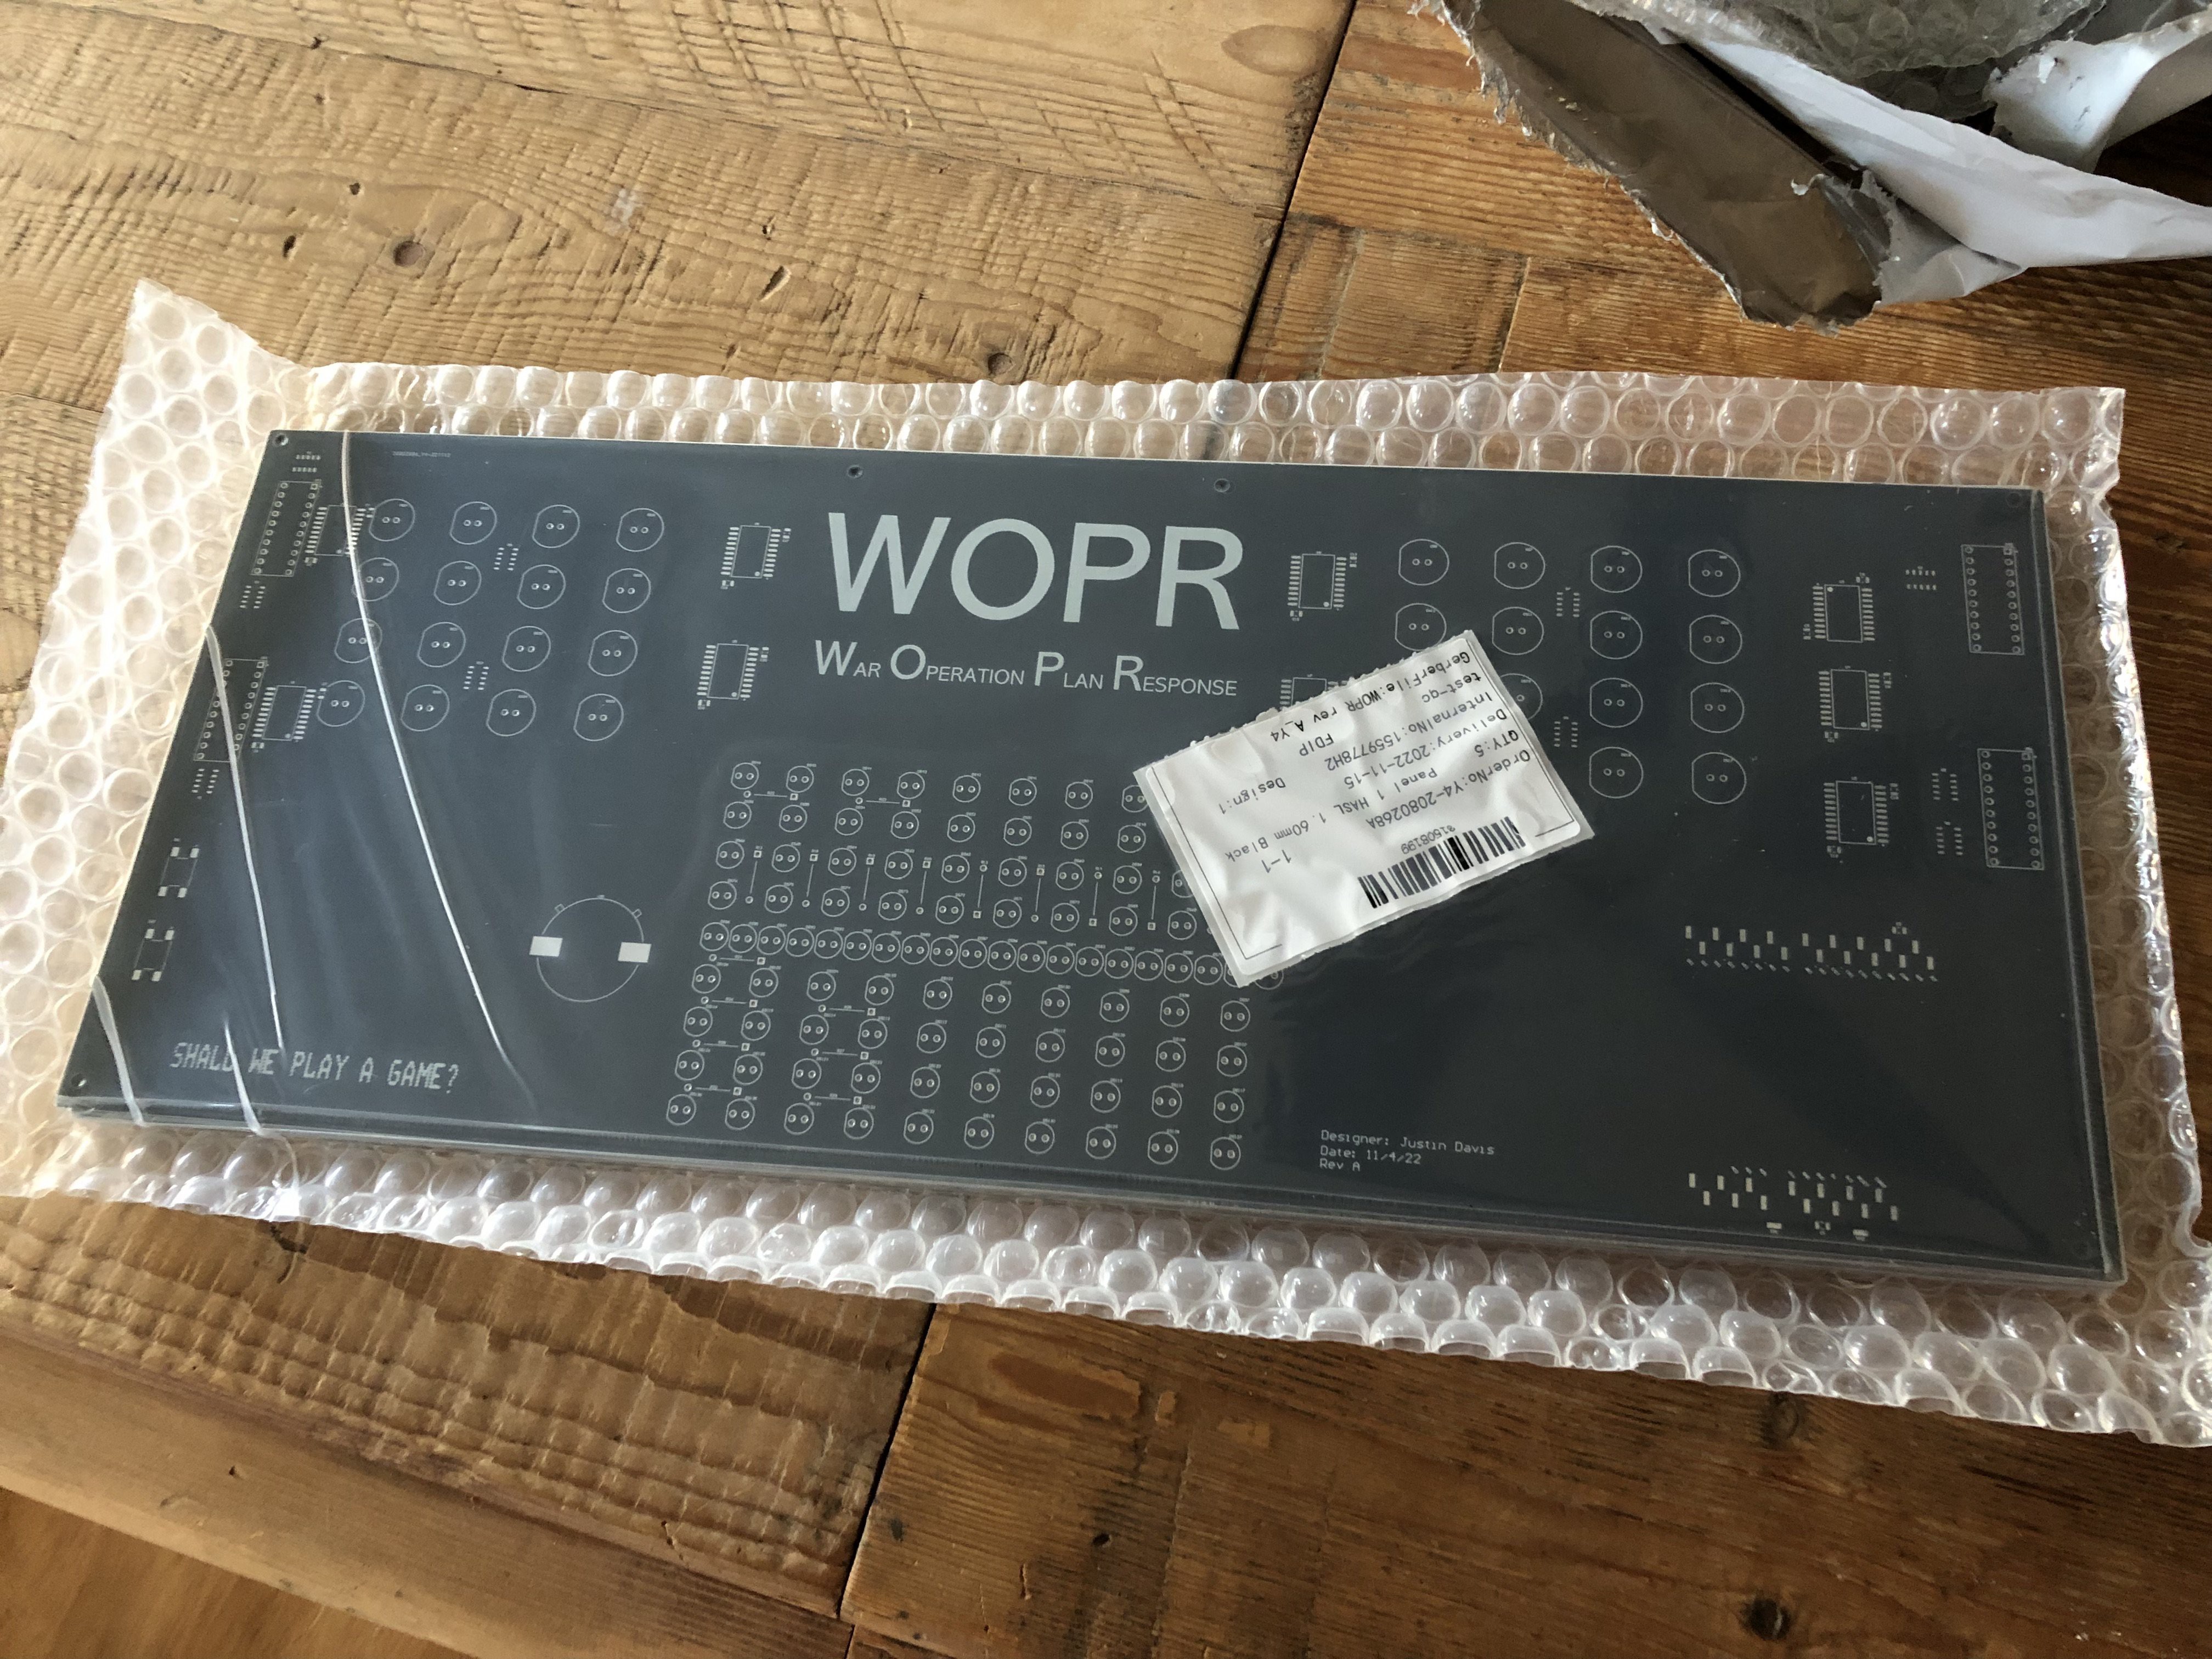
I tried to make it as screen accurate to the first movie as much as reasonable. The bar graph lights on either side are only 10 per each and I think it's supposed to by 16. It's also not quite as wide I believe, but I didn't want it to get too big. I think there's actually two boards in the movie, but I only wanted to make one. It looks like the mouth is actually a scrounged equalizer board, but I wanted to make one from scratch.
I'm using charlieplexing for the "mouth" LEDs since only like 10% of those are on at any time. But the bar graph LEDs and the eyes are directly driven from some shift registers.
I'm using an Arduino UNO to control it. It's fairly easy to use and I'm not planning on it doing a whole lot more than display lights. I included two buttons in case I wanted to do some control or program selection.
I also included an optional piezo buzzer in case I wanted to add a little sound. I doubt it will be very sophisticated. It probably can't play digitized clips - probably just some square wave frequencies unless I upgrade from the UNO.


 Kevin Arne
 deʃhipu
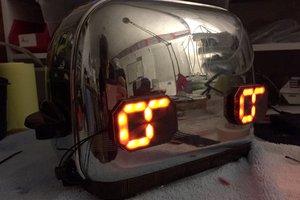
 Sarah Petkus
 T. B. Trzepacz
Awesome project, can't believe I didn't see it before now. Also can't believe I never noticed the LEDs on the WOPR were arranged to make such an obvious face...