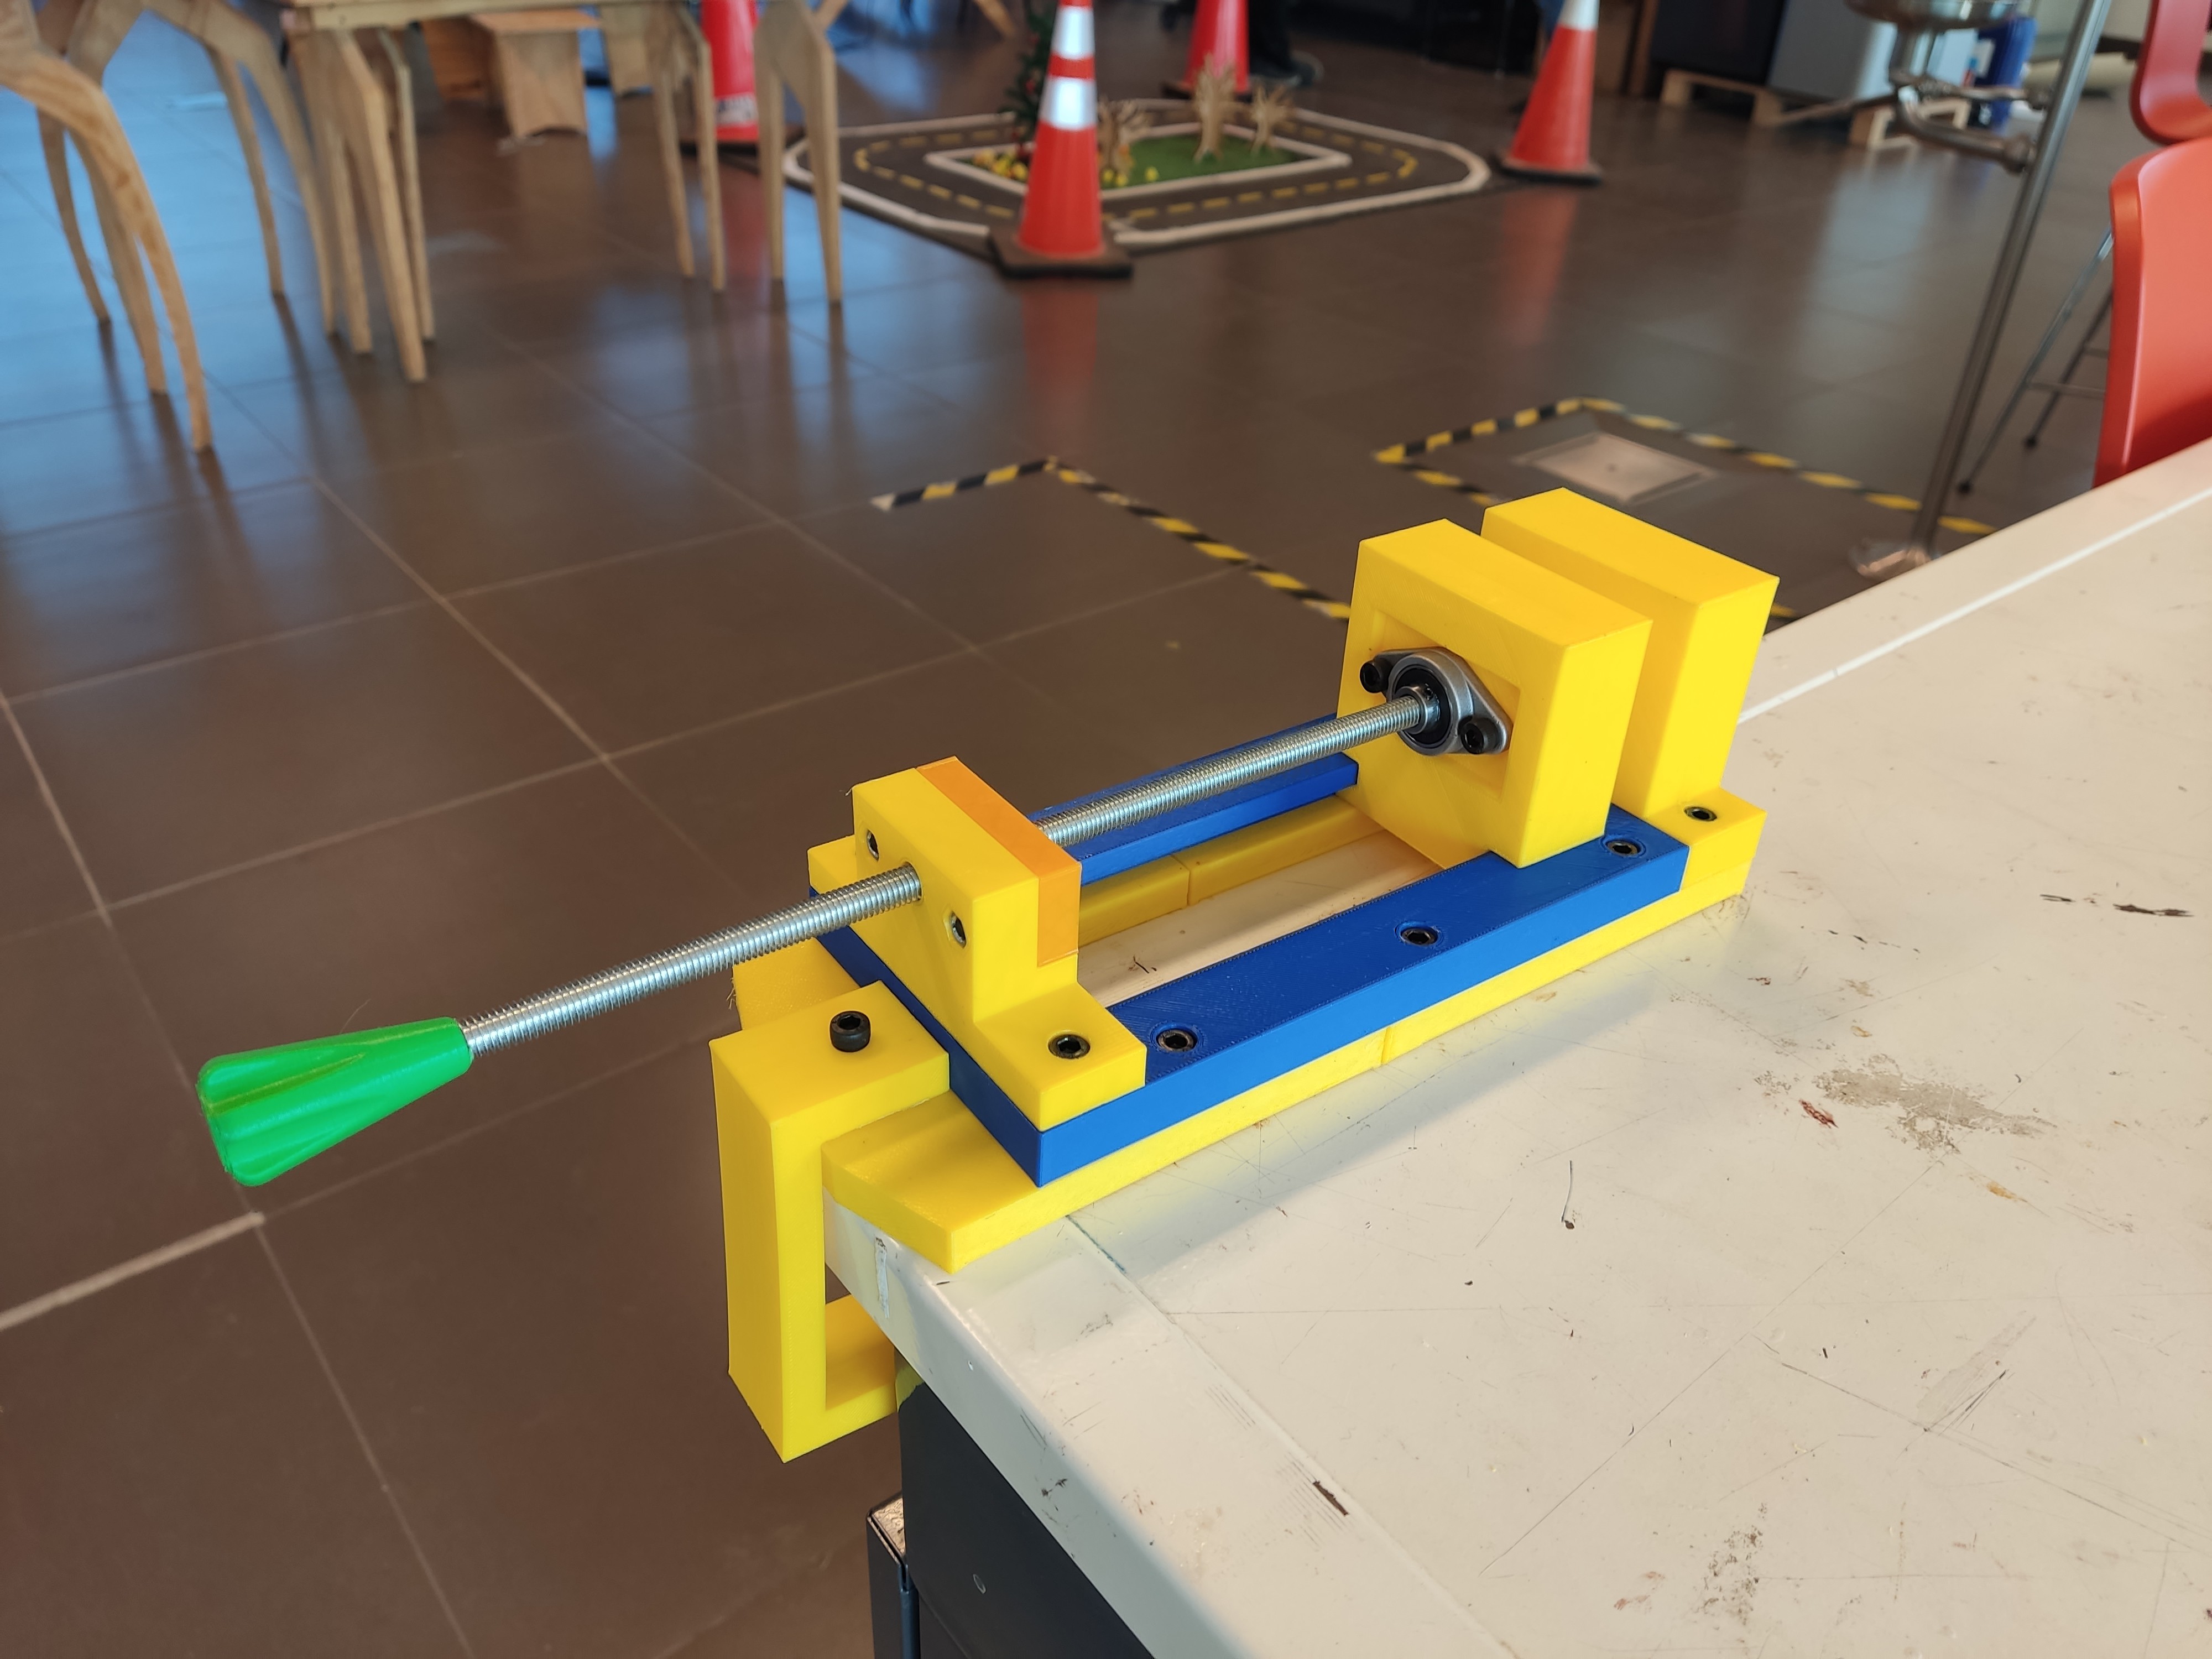
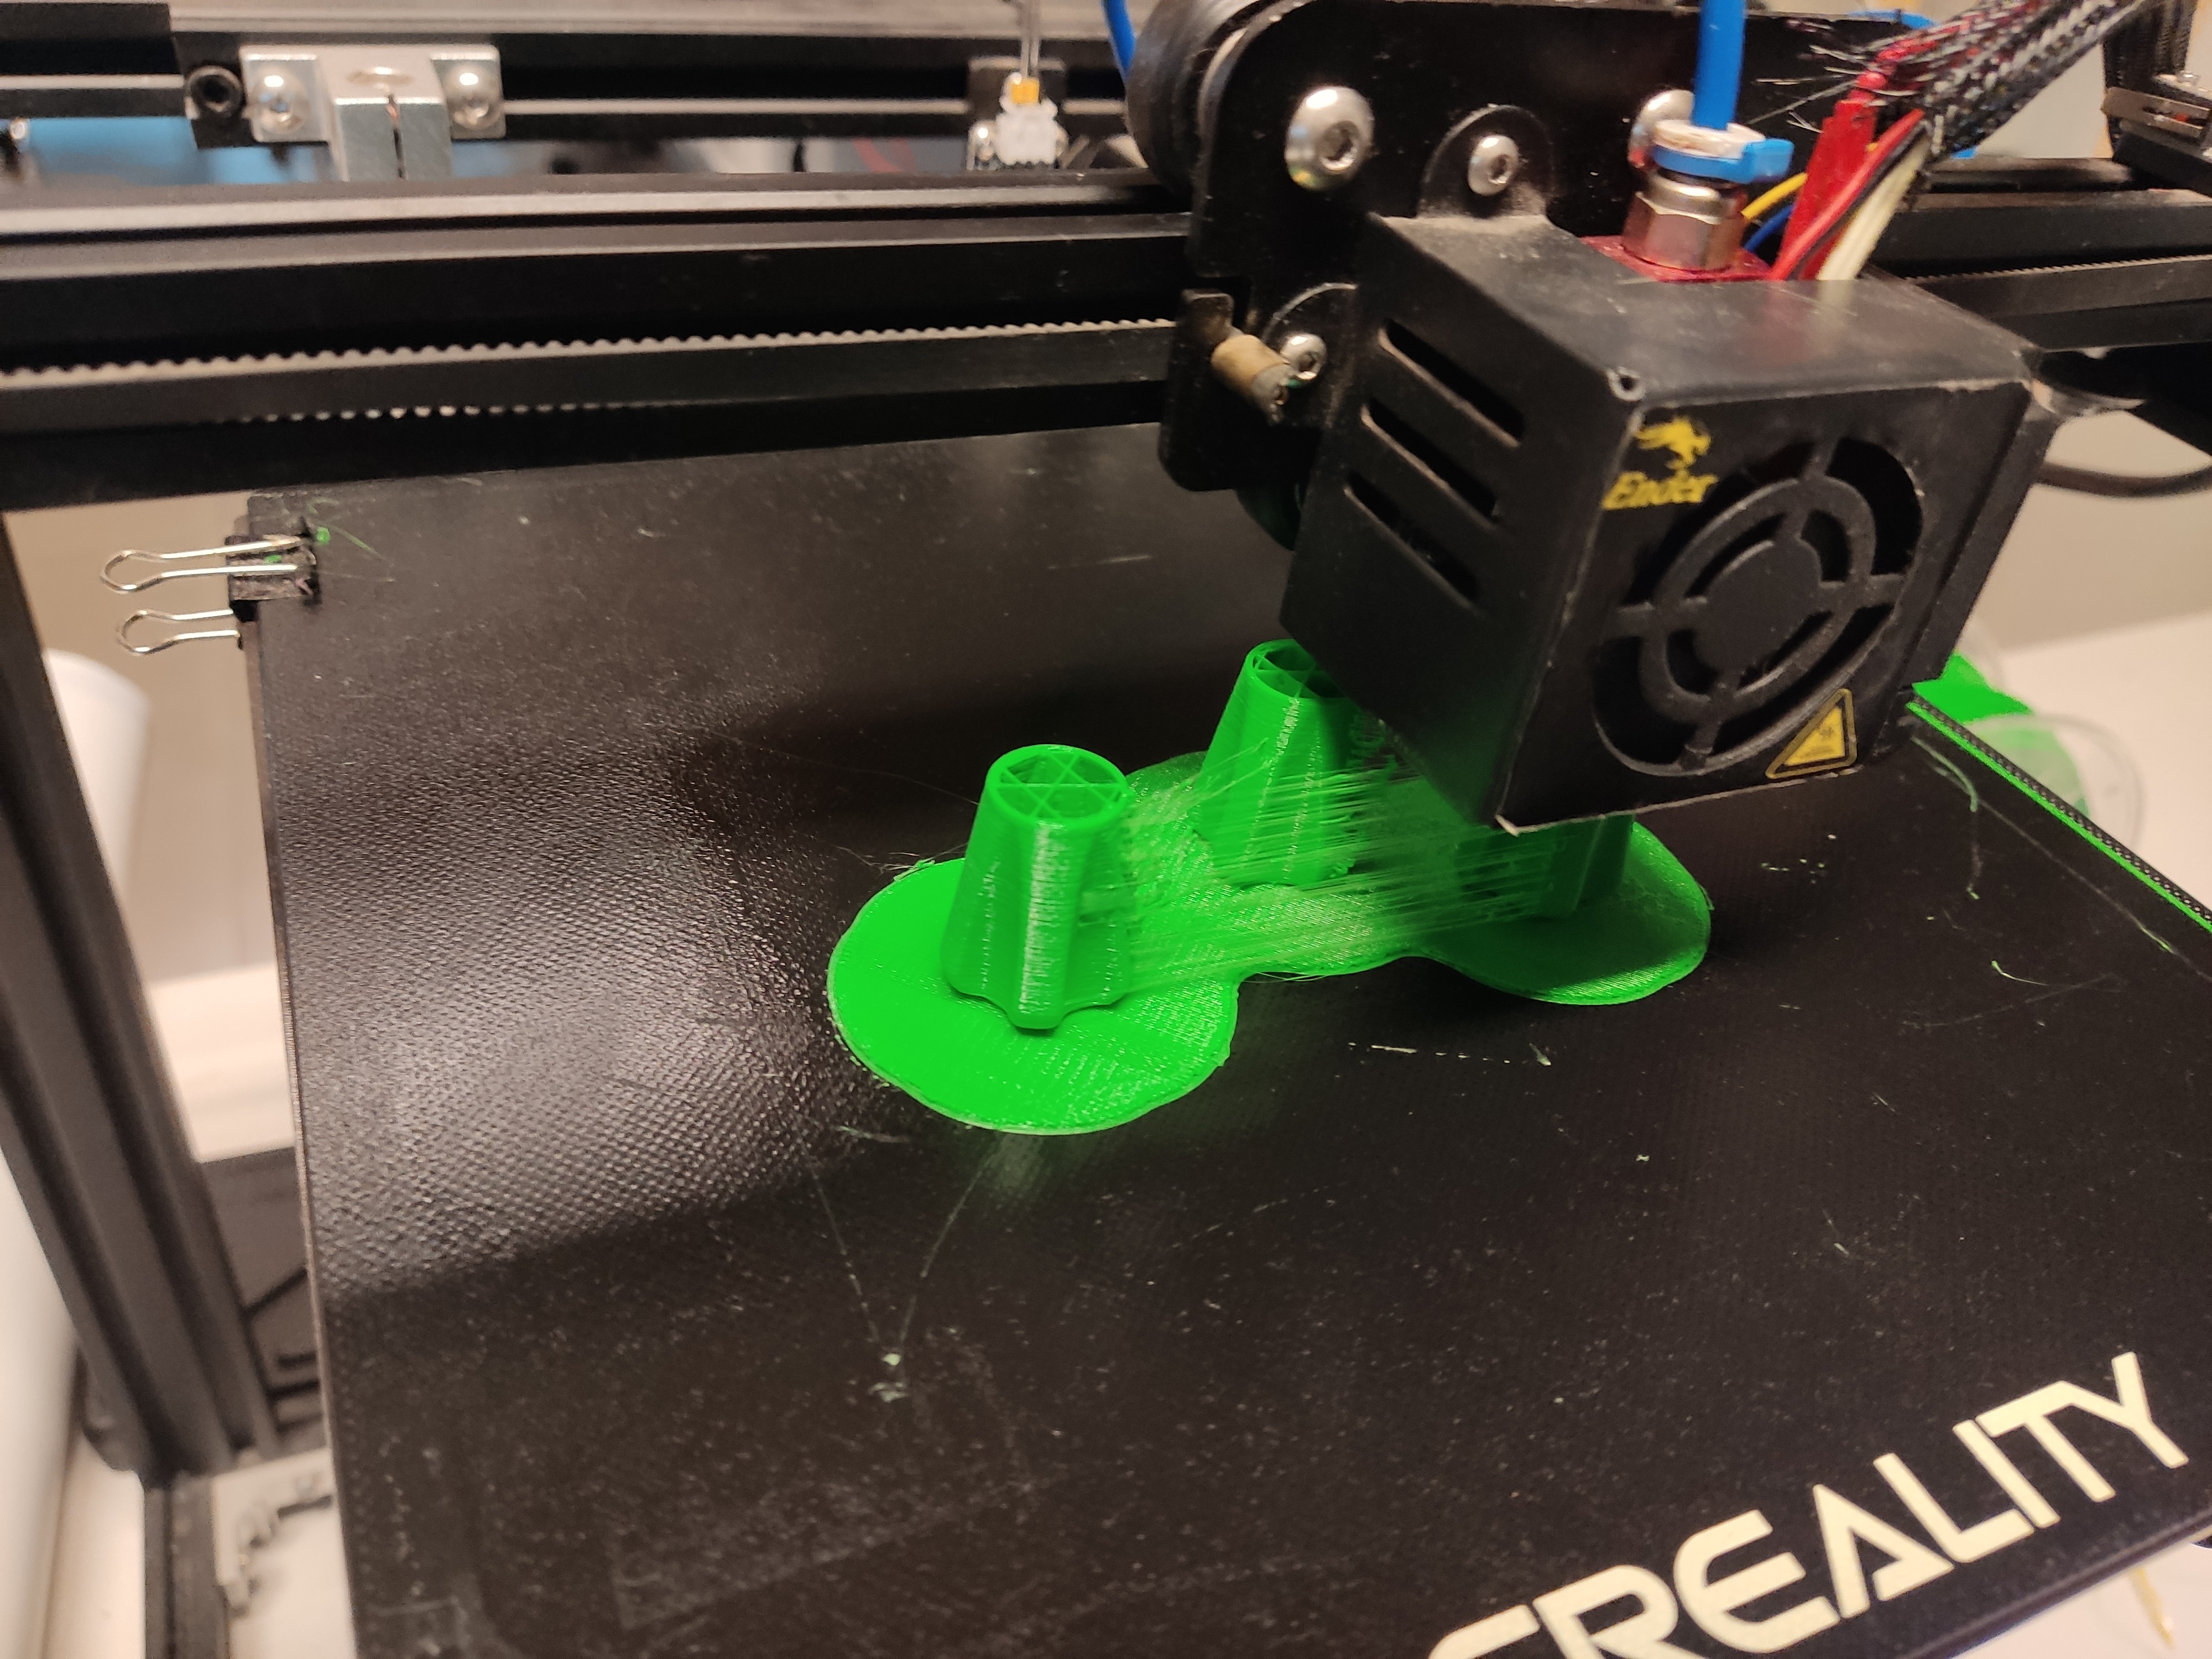
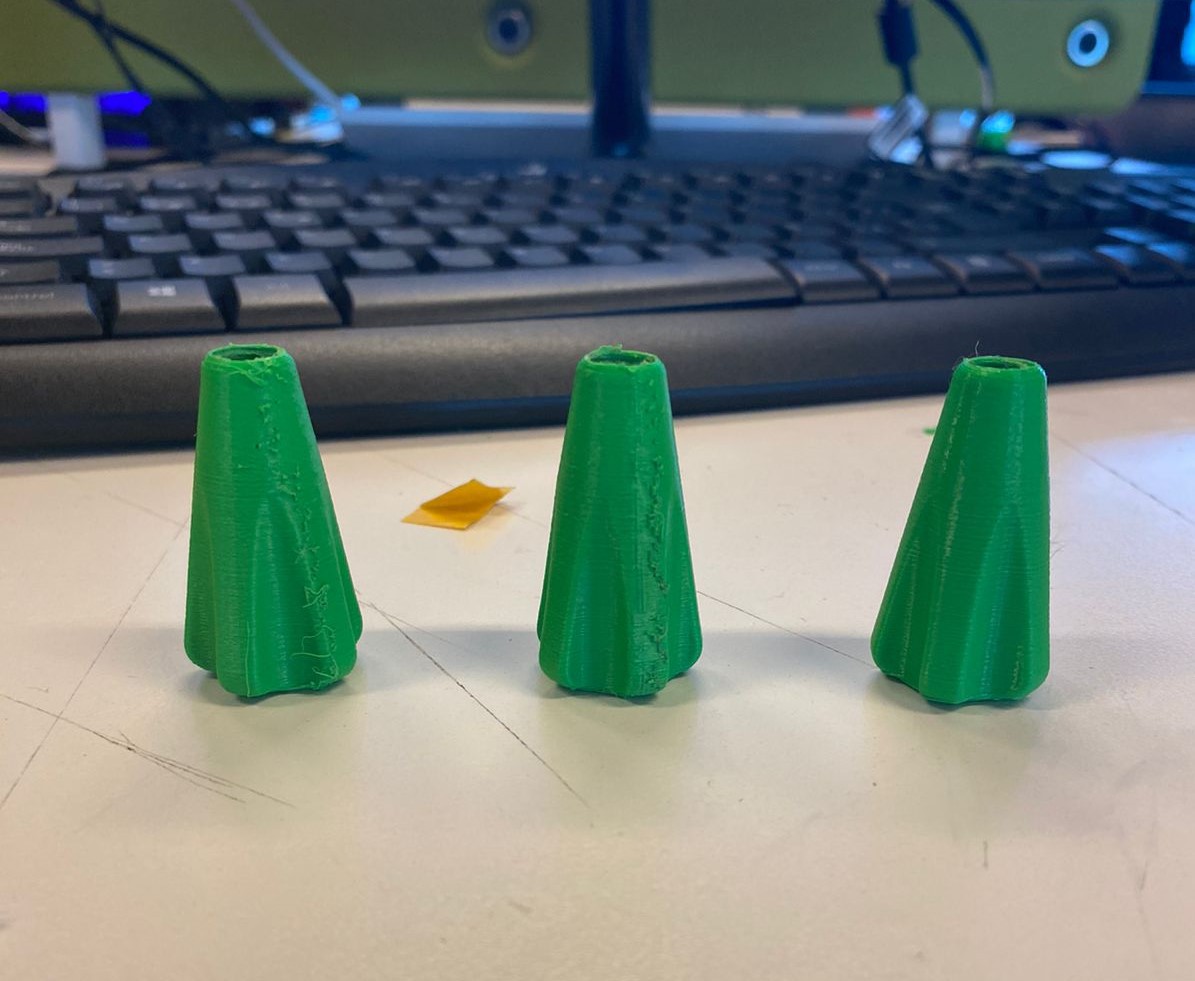
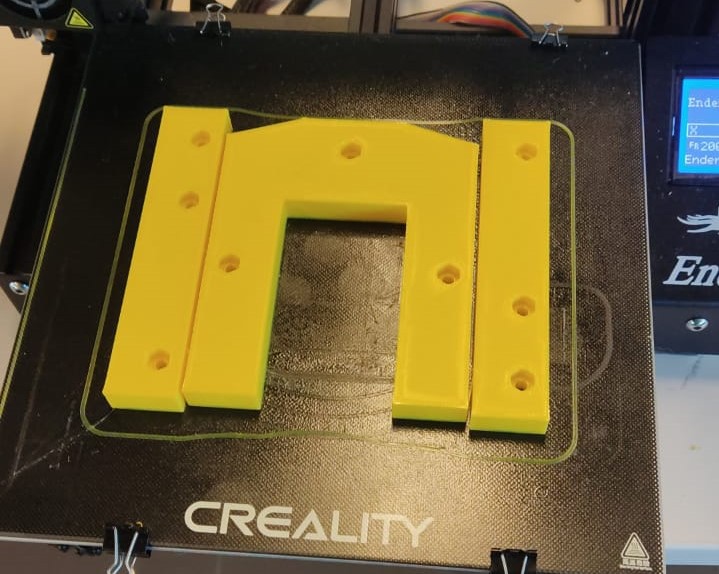
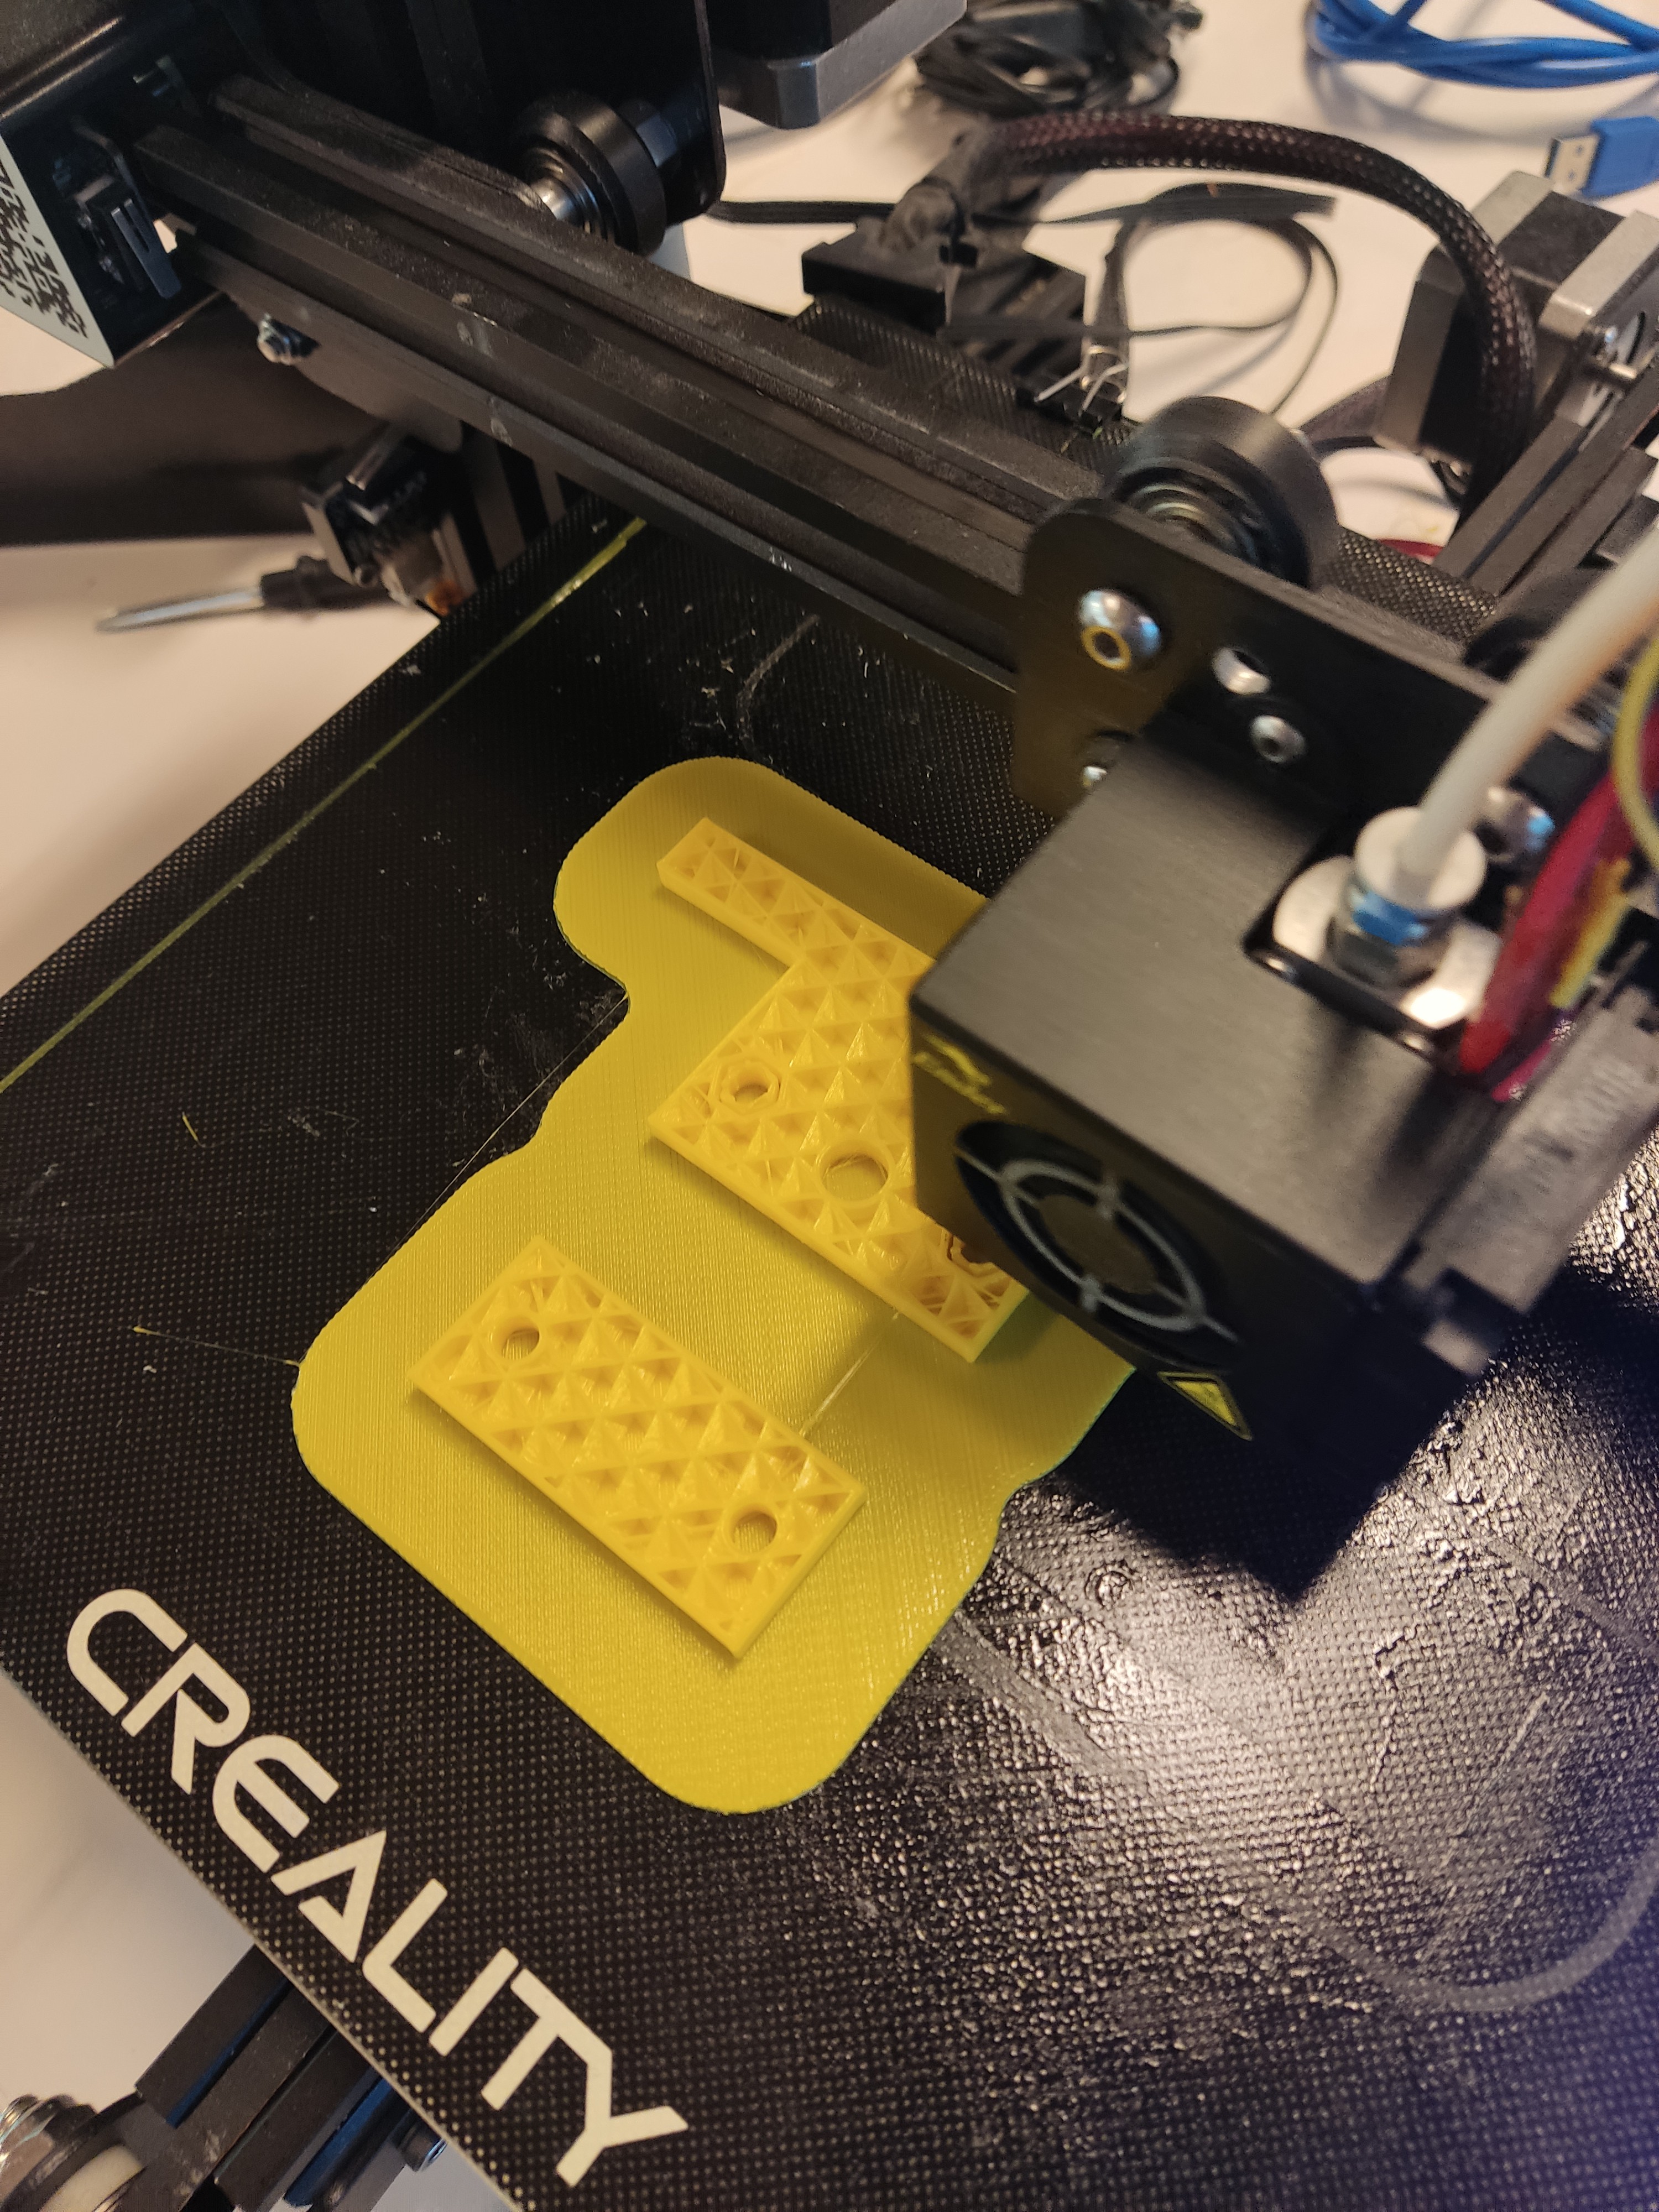
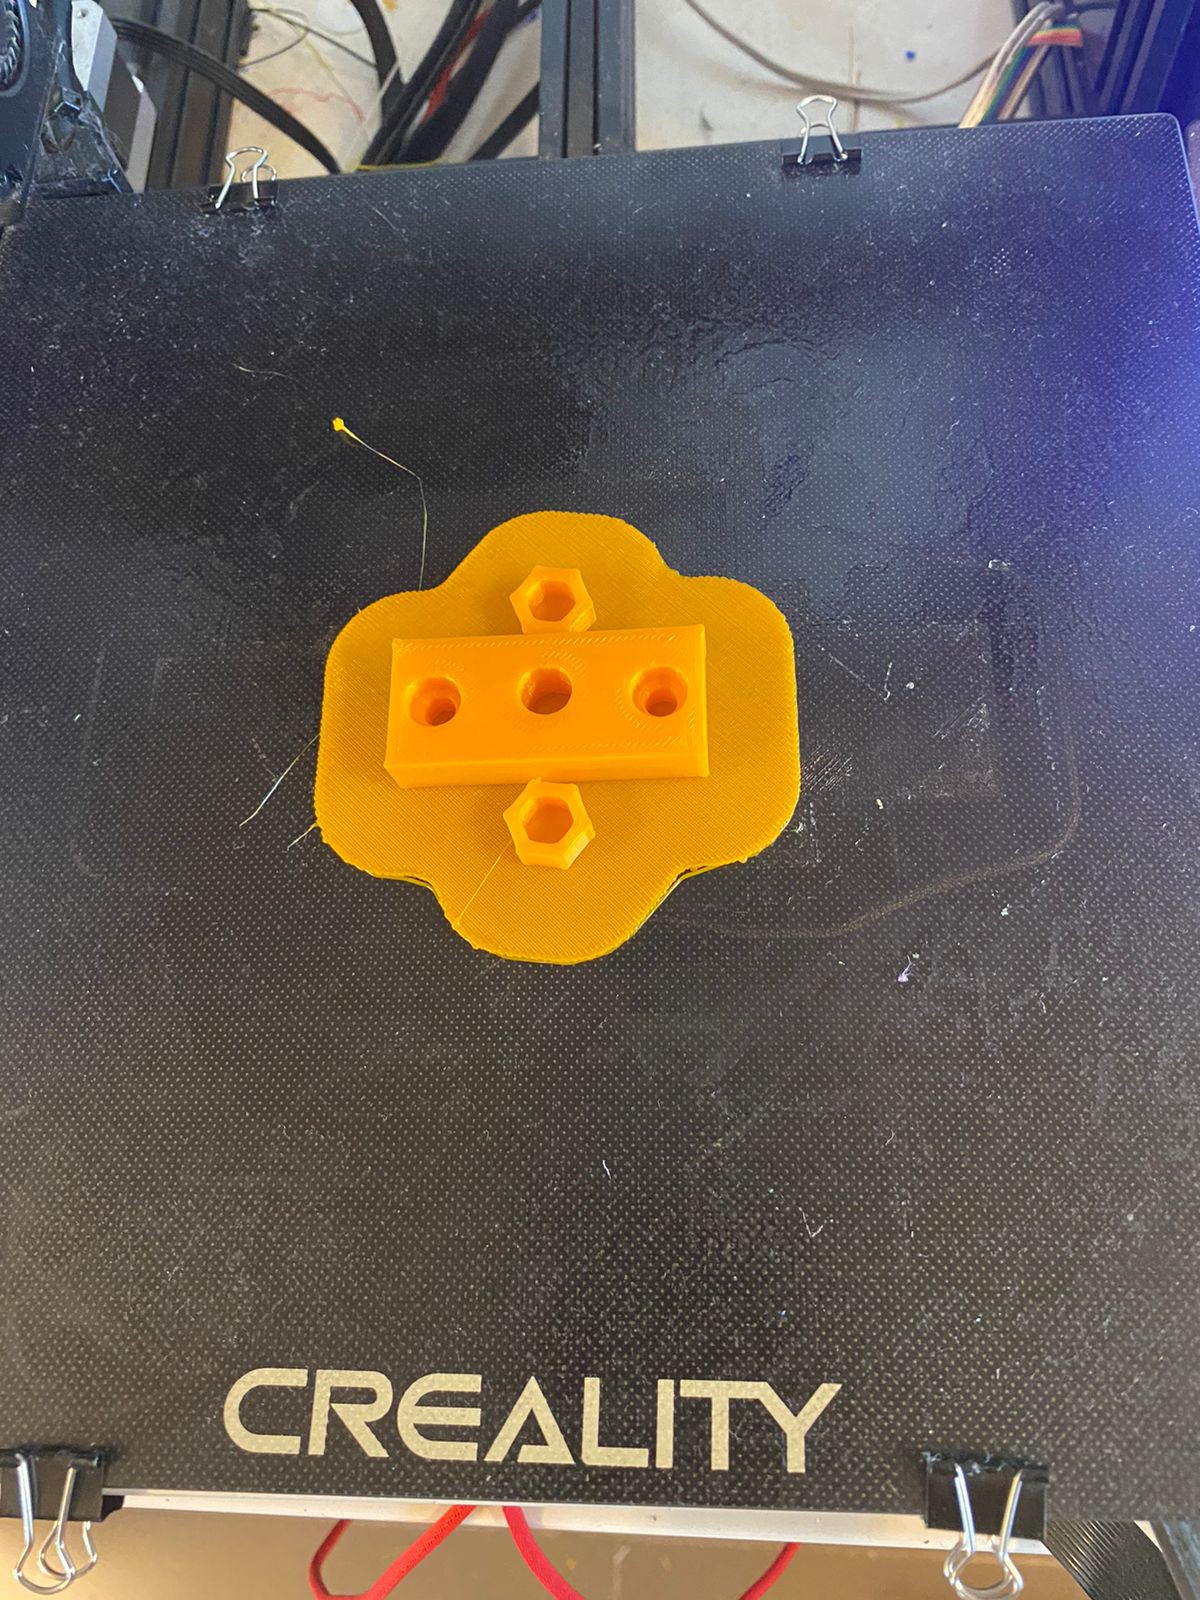
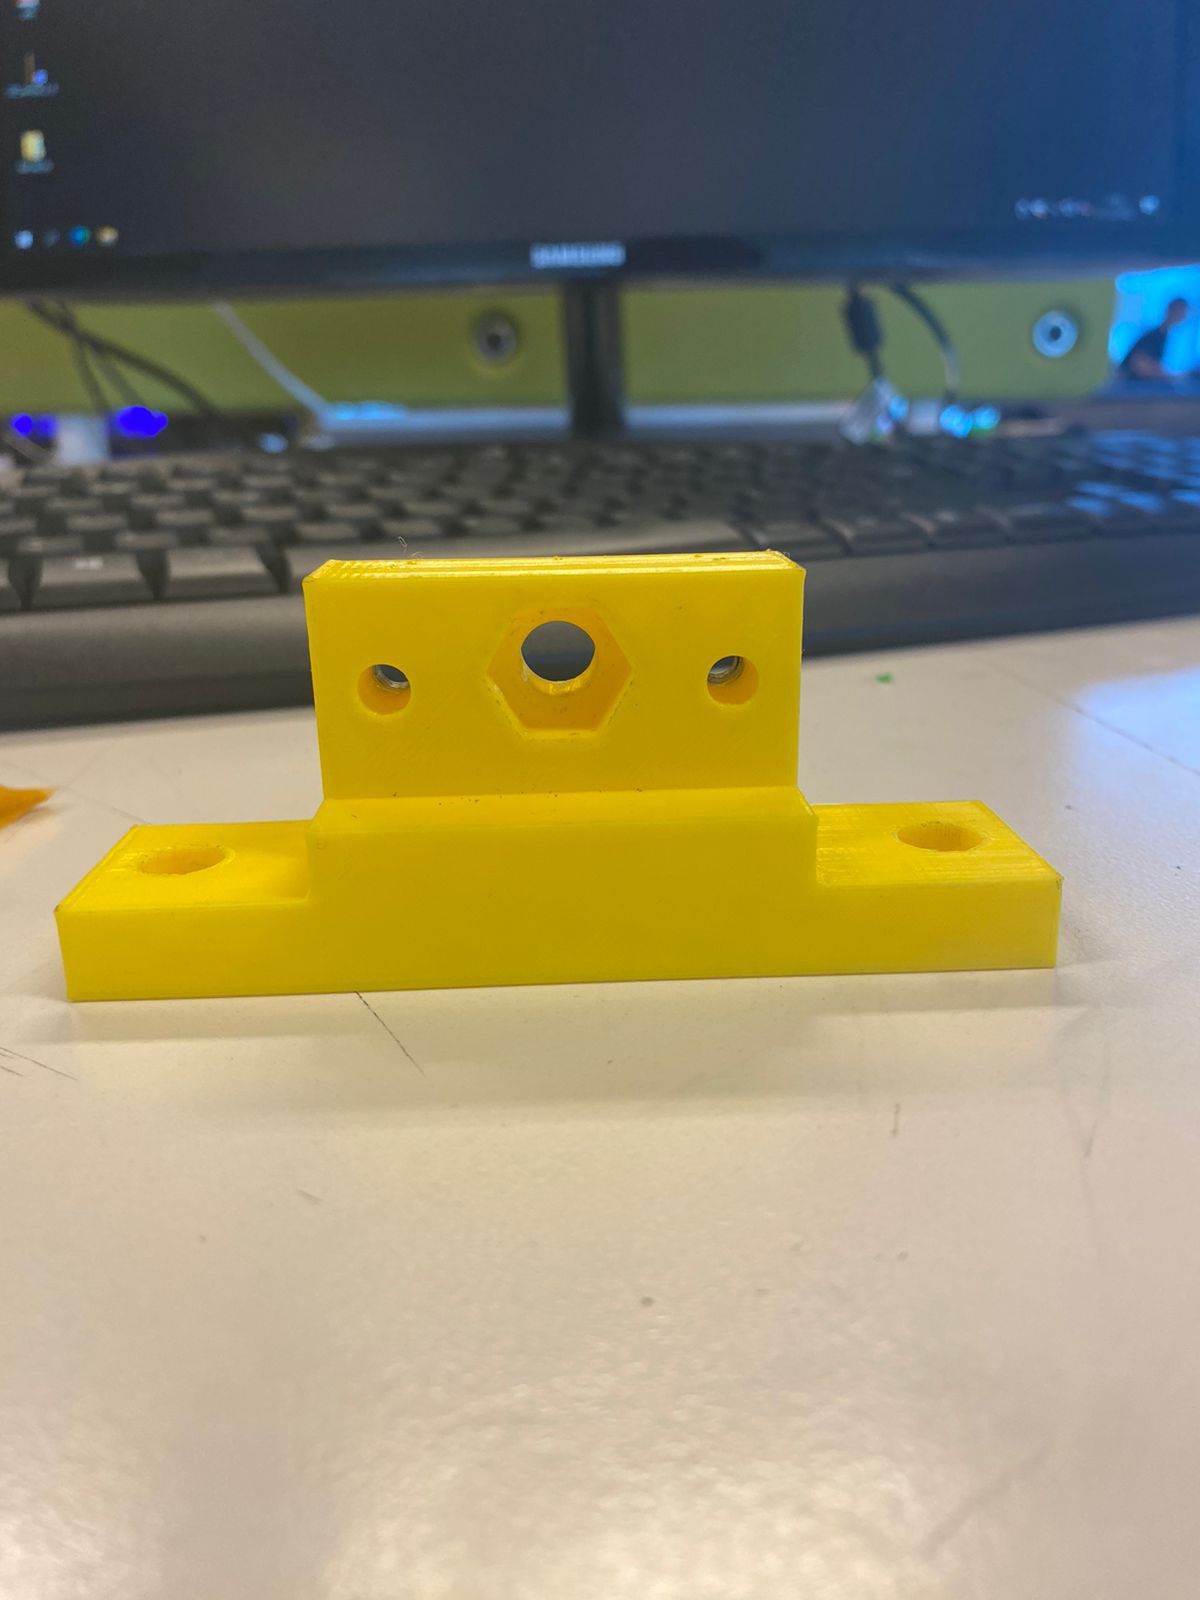
This 3D printed bench press features removable parts so you can change them if they fail or you need components with different requirements.
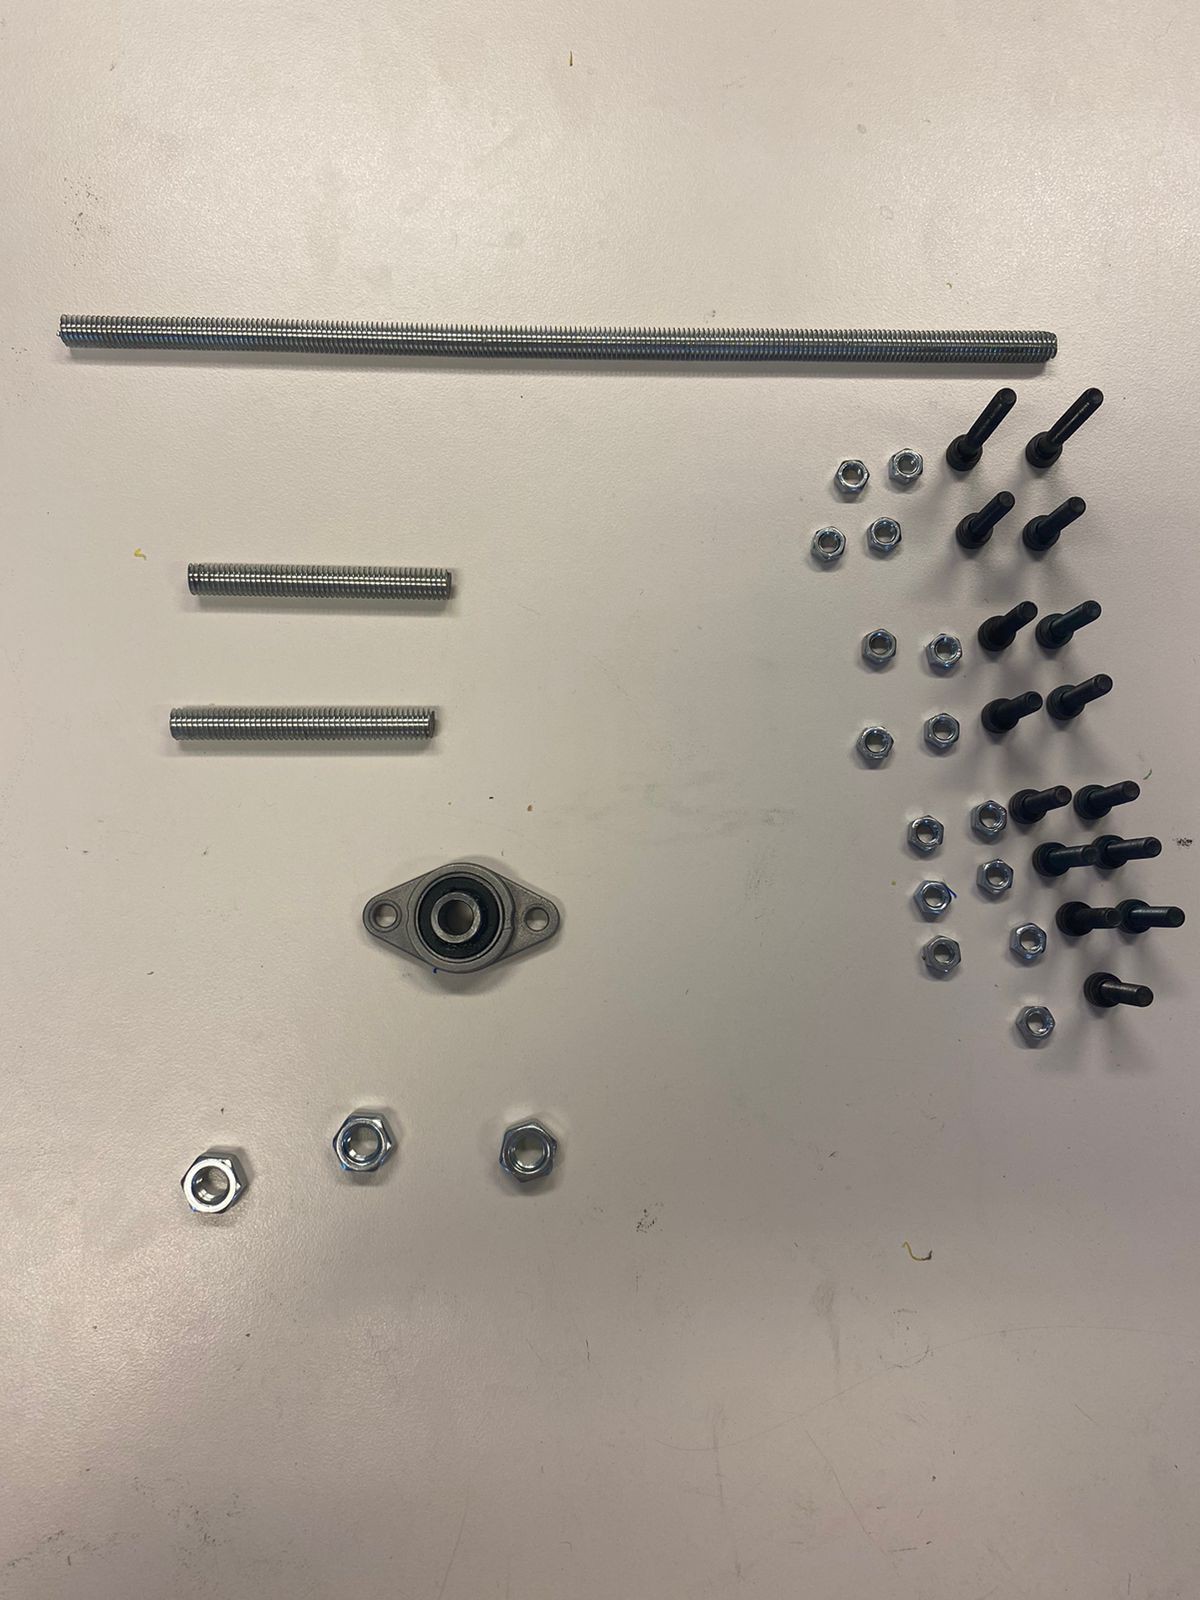
The 300 mm M8 thread transmits more strengh than other components used in different bench press, has a low cost and its easily findable in stores. The 300 mm lenght used gives a total aperture of 130 mm to the bench press
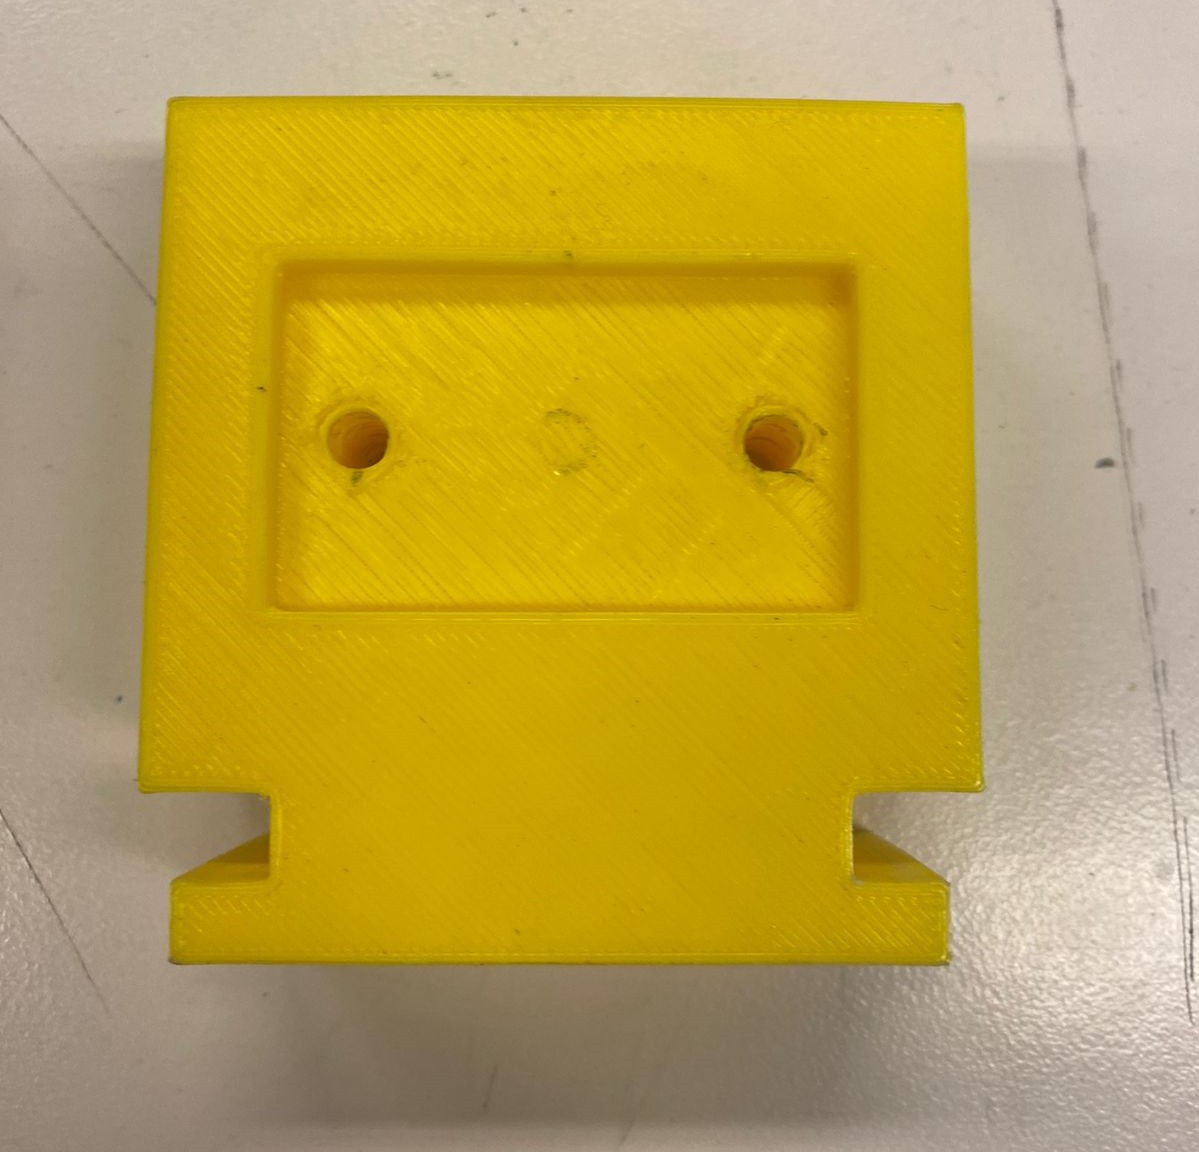
The M5 parker screws give the necesary strength to join the different components and hold them whiloe the bench is being used
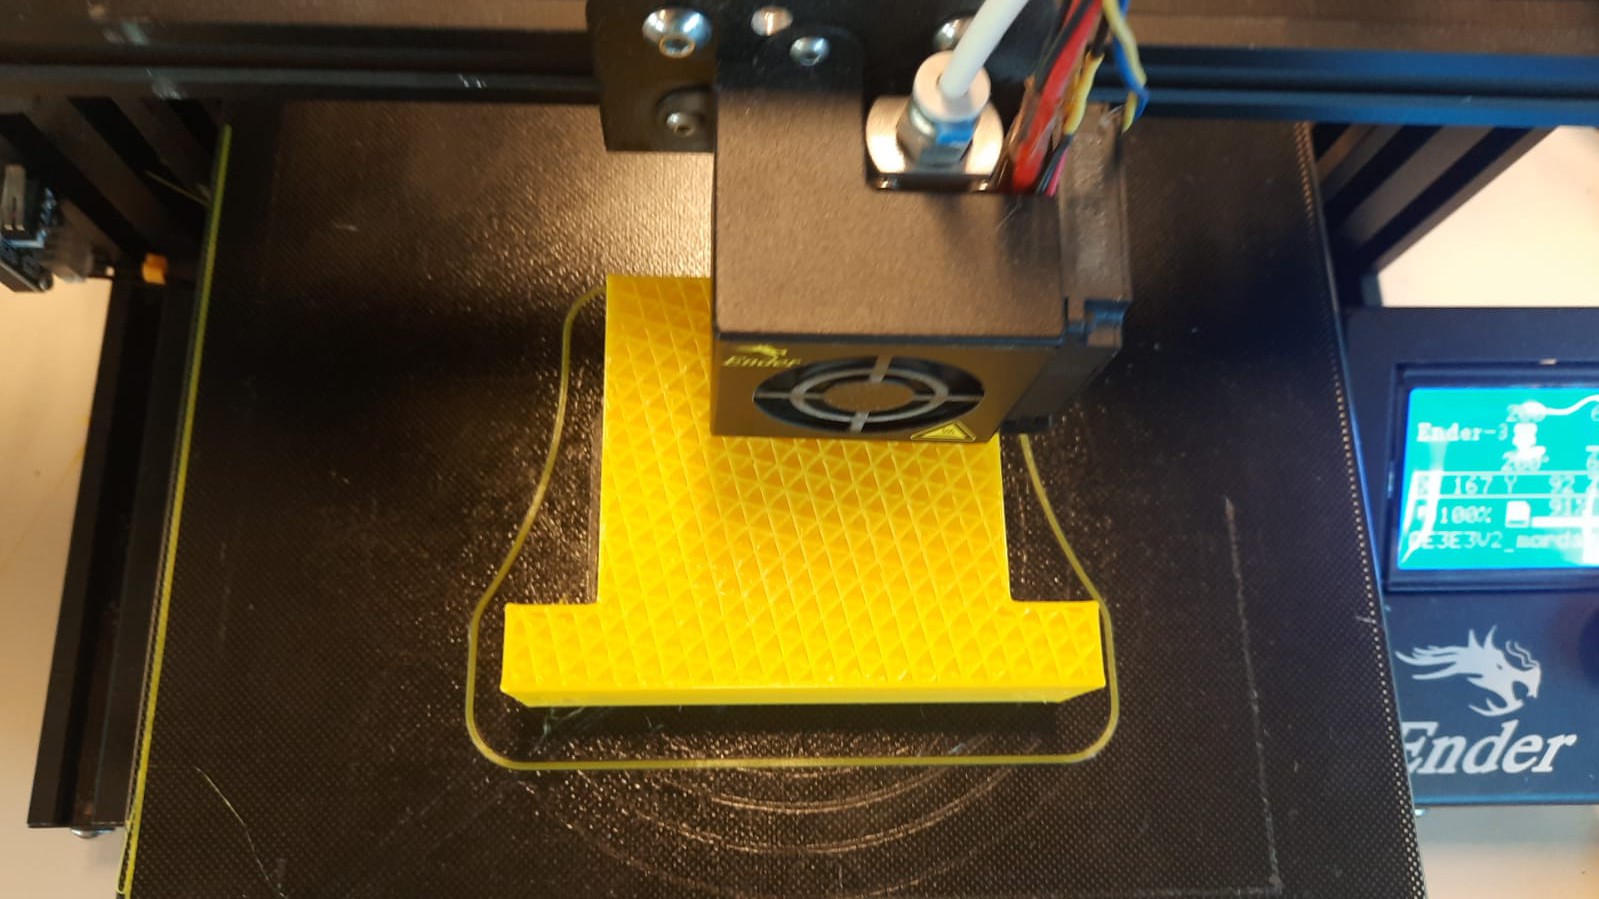
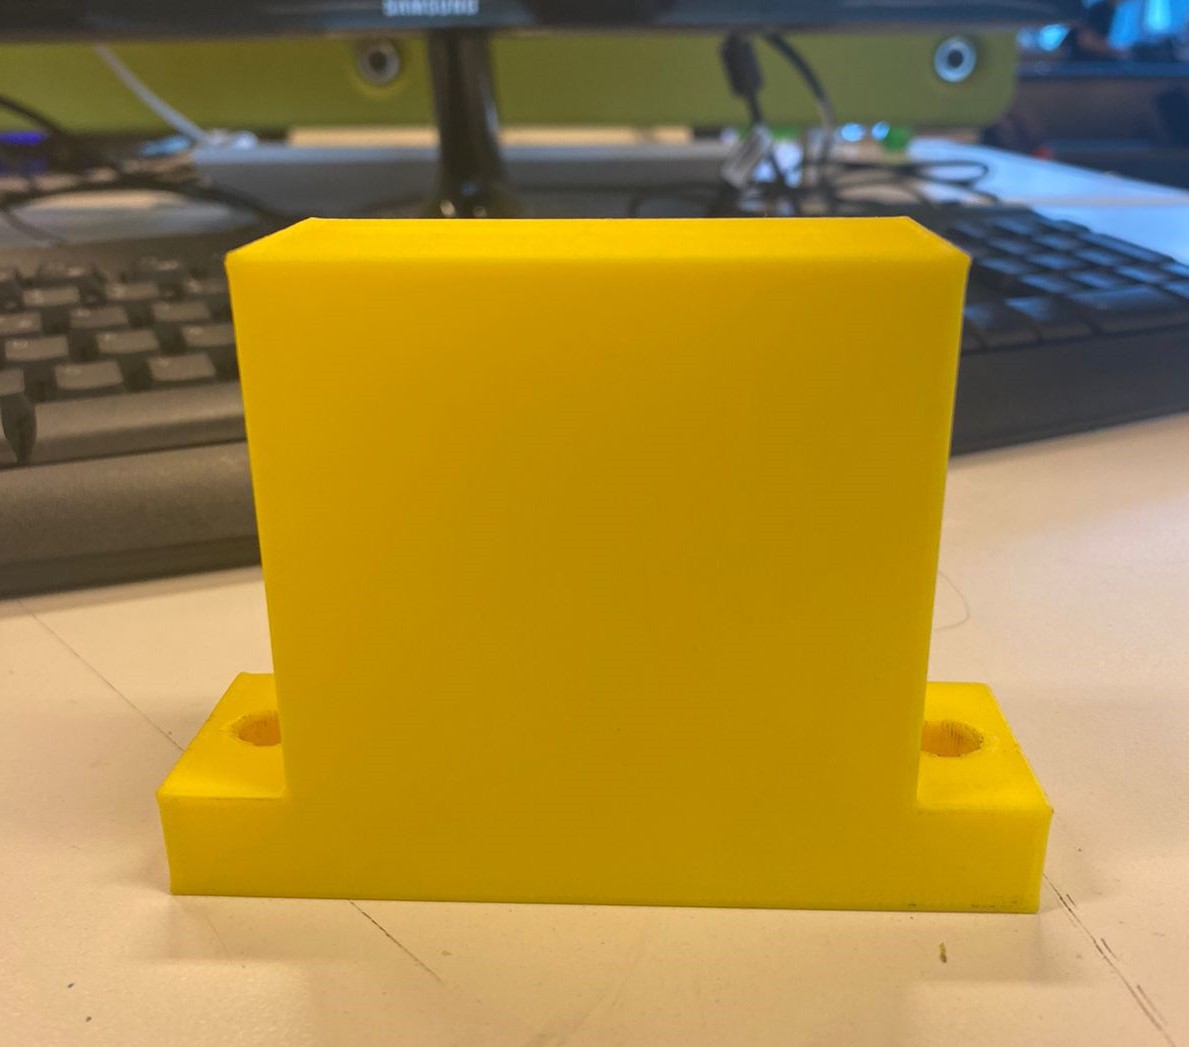
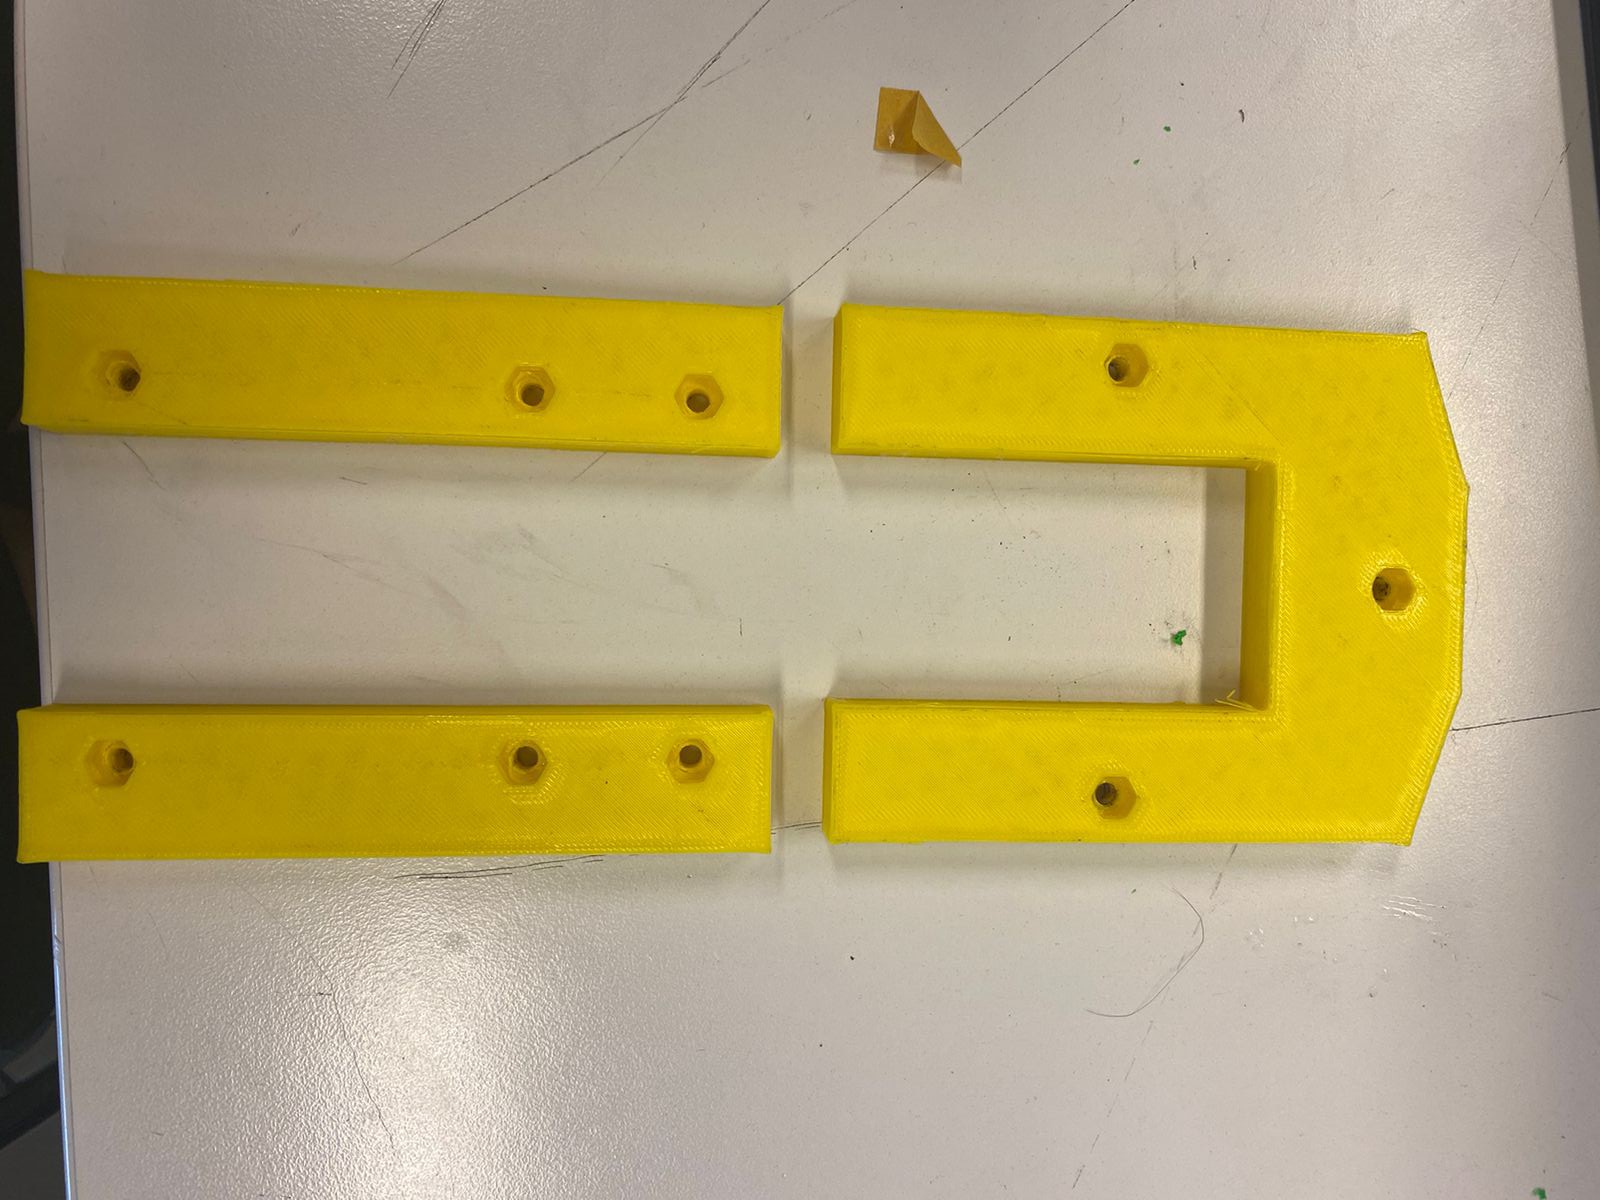
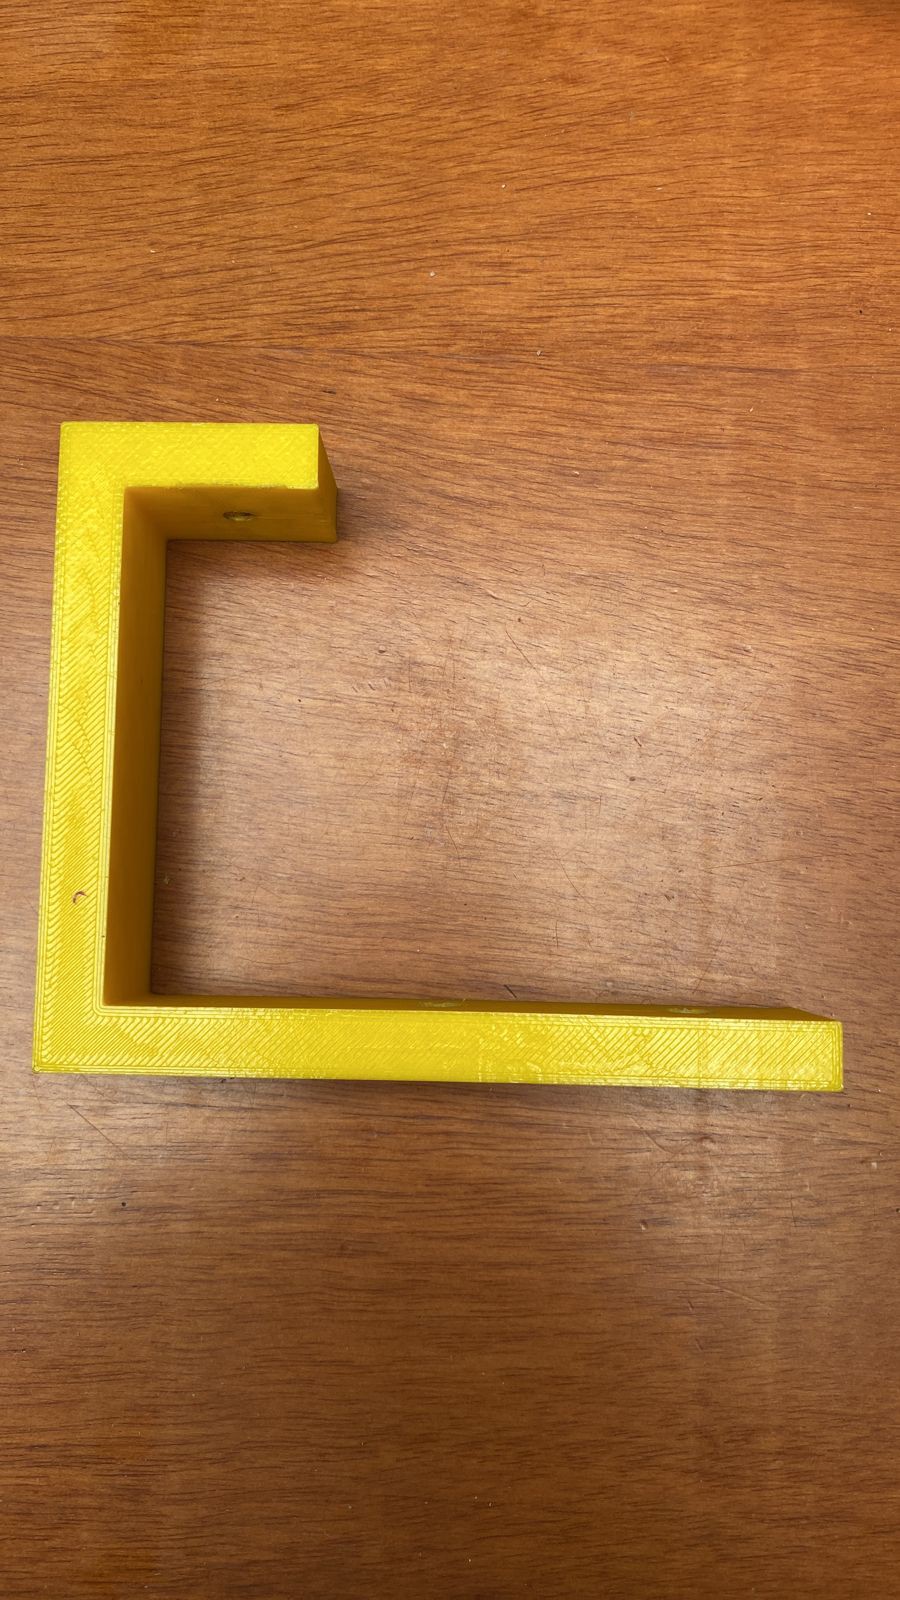
The 60x70 mm jaws can grab different size components
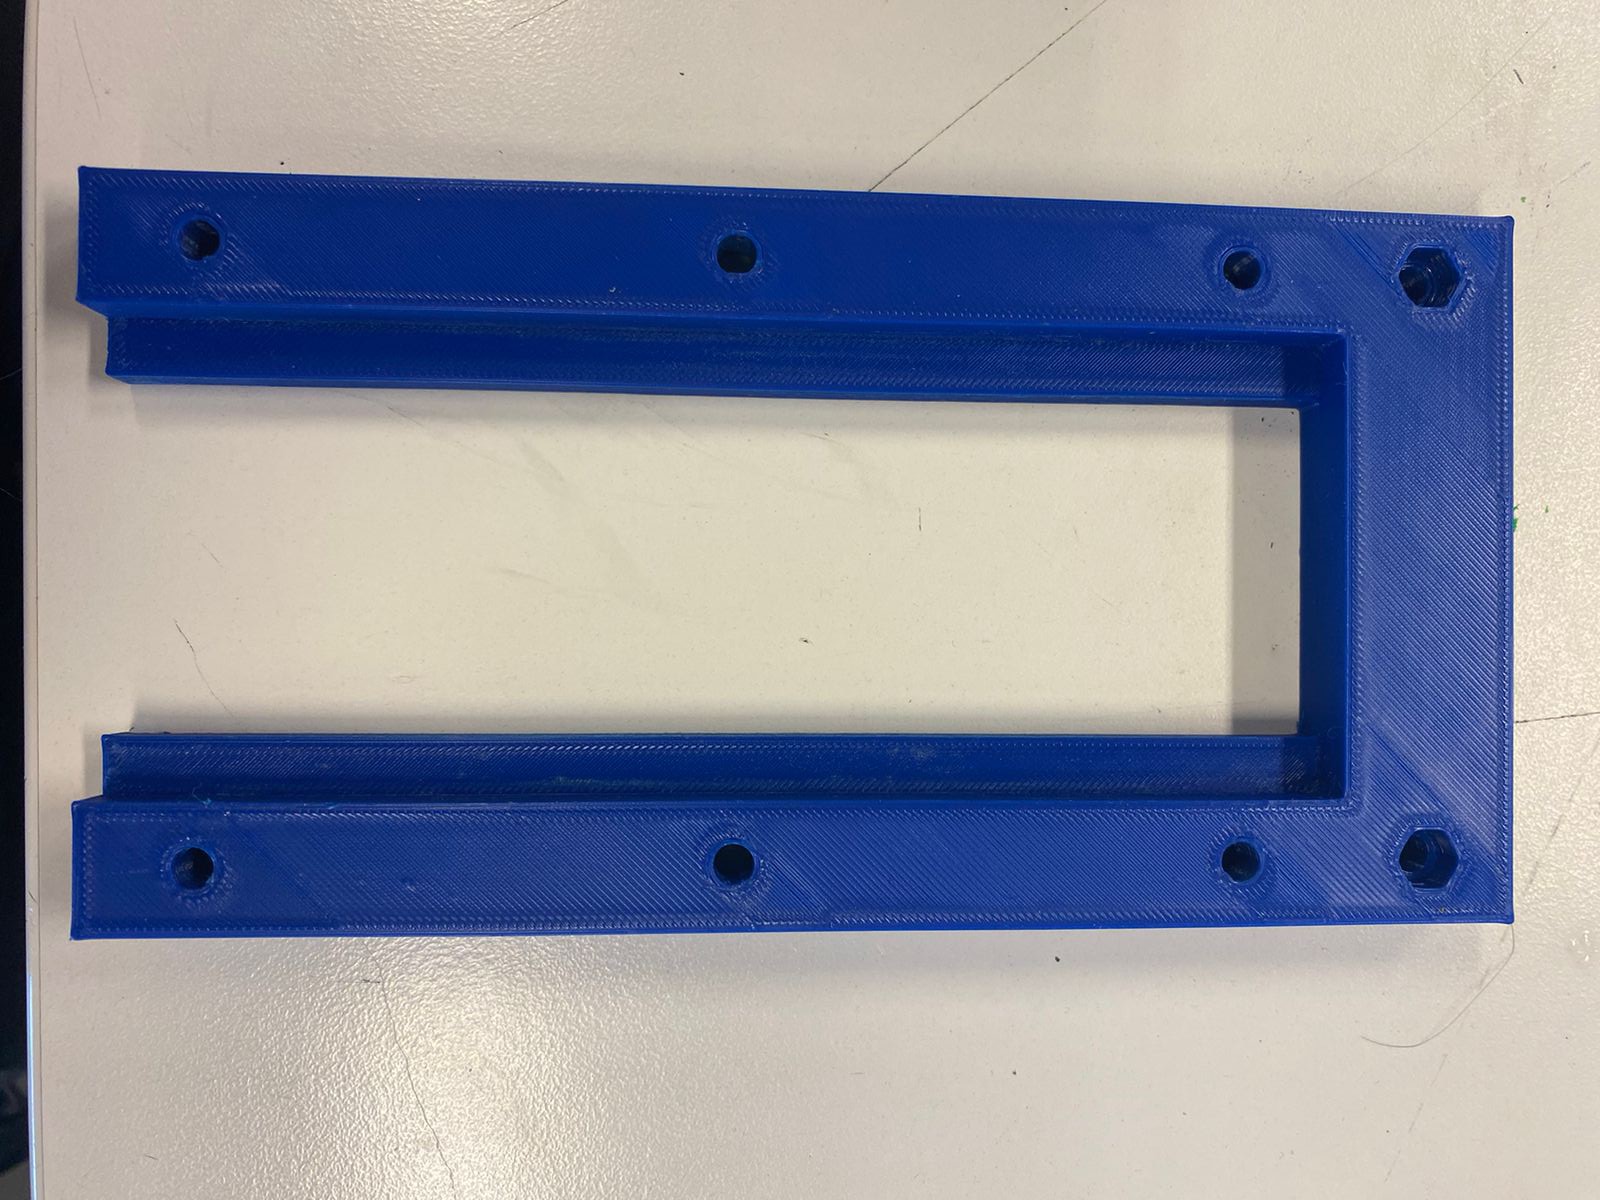
Total weight: 492 gr
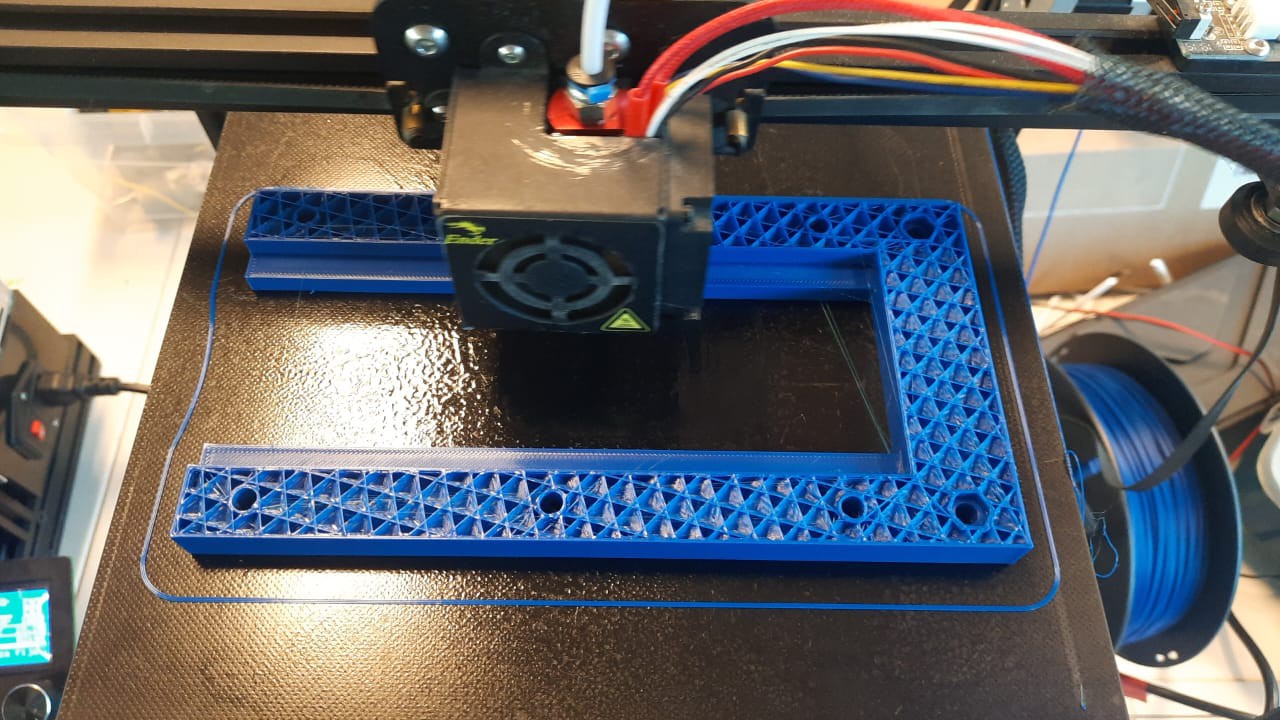
Total printing time: 24 hours aprox.
ESPAÑOL:
Esta prensa de banco impresa en 3D cuenta con partes removibles para que puedas cambiarlas si necesitas componentes con requerimientos diferentes.
El hilo M8 de 300 mm transmite más fuerza que otros componentes usados en otras prensas de banco. tiene un bajo coste y es fácilmente encontrable en tiends. El largo de 300 mm utilizado entrega una apertura de 130 mm a la prensa de banco.
Los pernos Parker M5 entregan la fuerza necesaria para unir los diferentes componentes y mantenerlos mientras la prensa está siendo utilizada.
Las mordazas de 60x70 mm pueden agarrar componentes de diferentes tamaños.
Peso total: 492 gr
Tiempo total de impresión: 24 horas aprox.

 icarus998
 Bram
Bram
 rohanoman
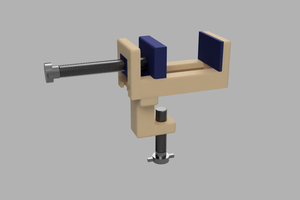
 joaquin dassori