 Fernando
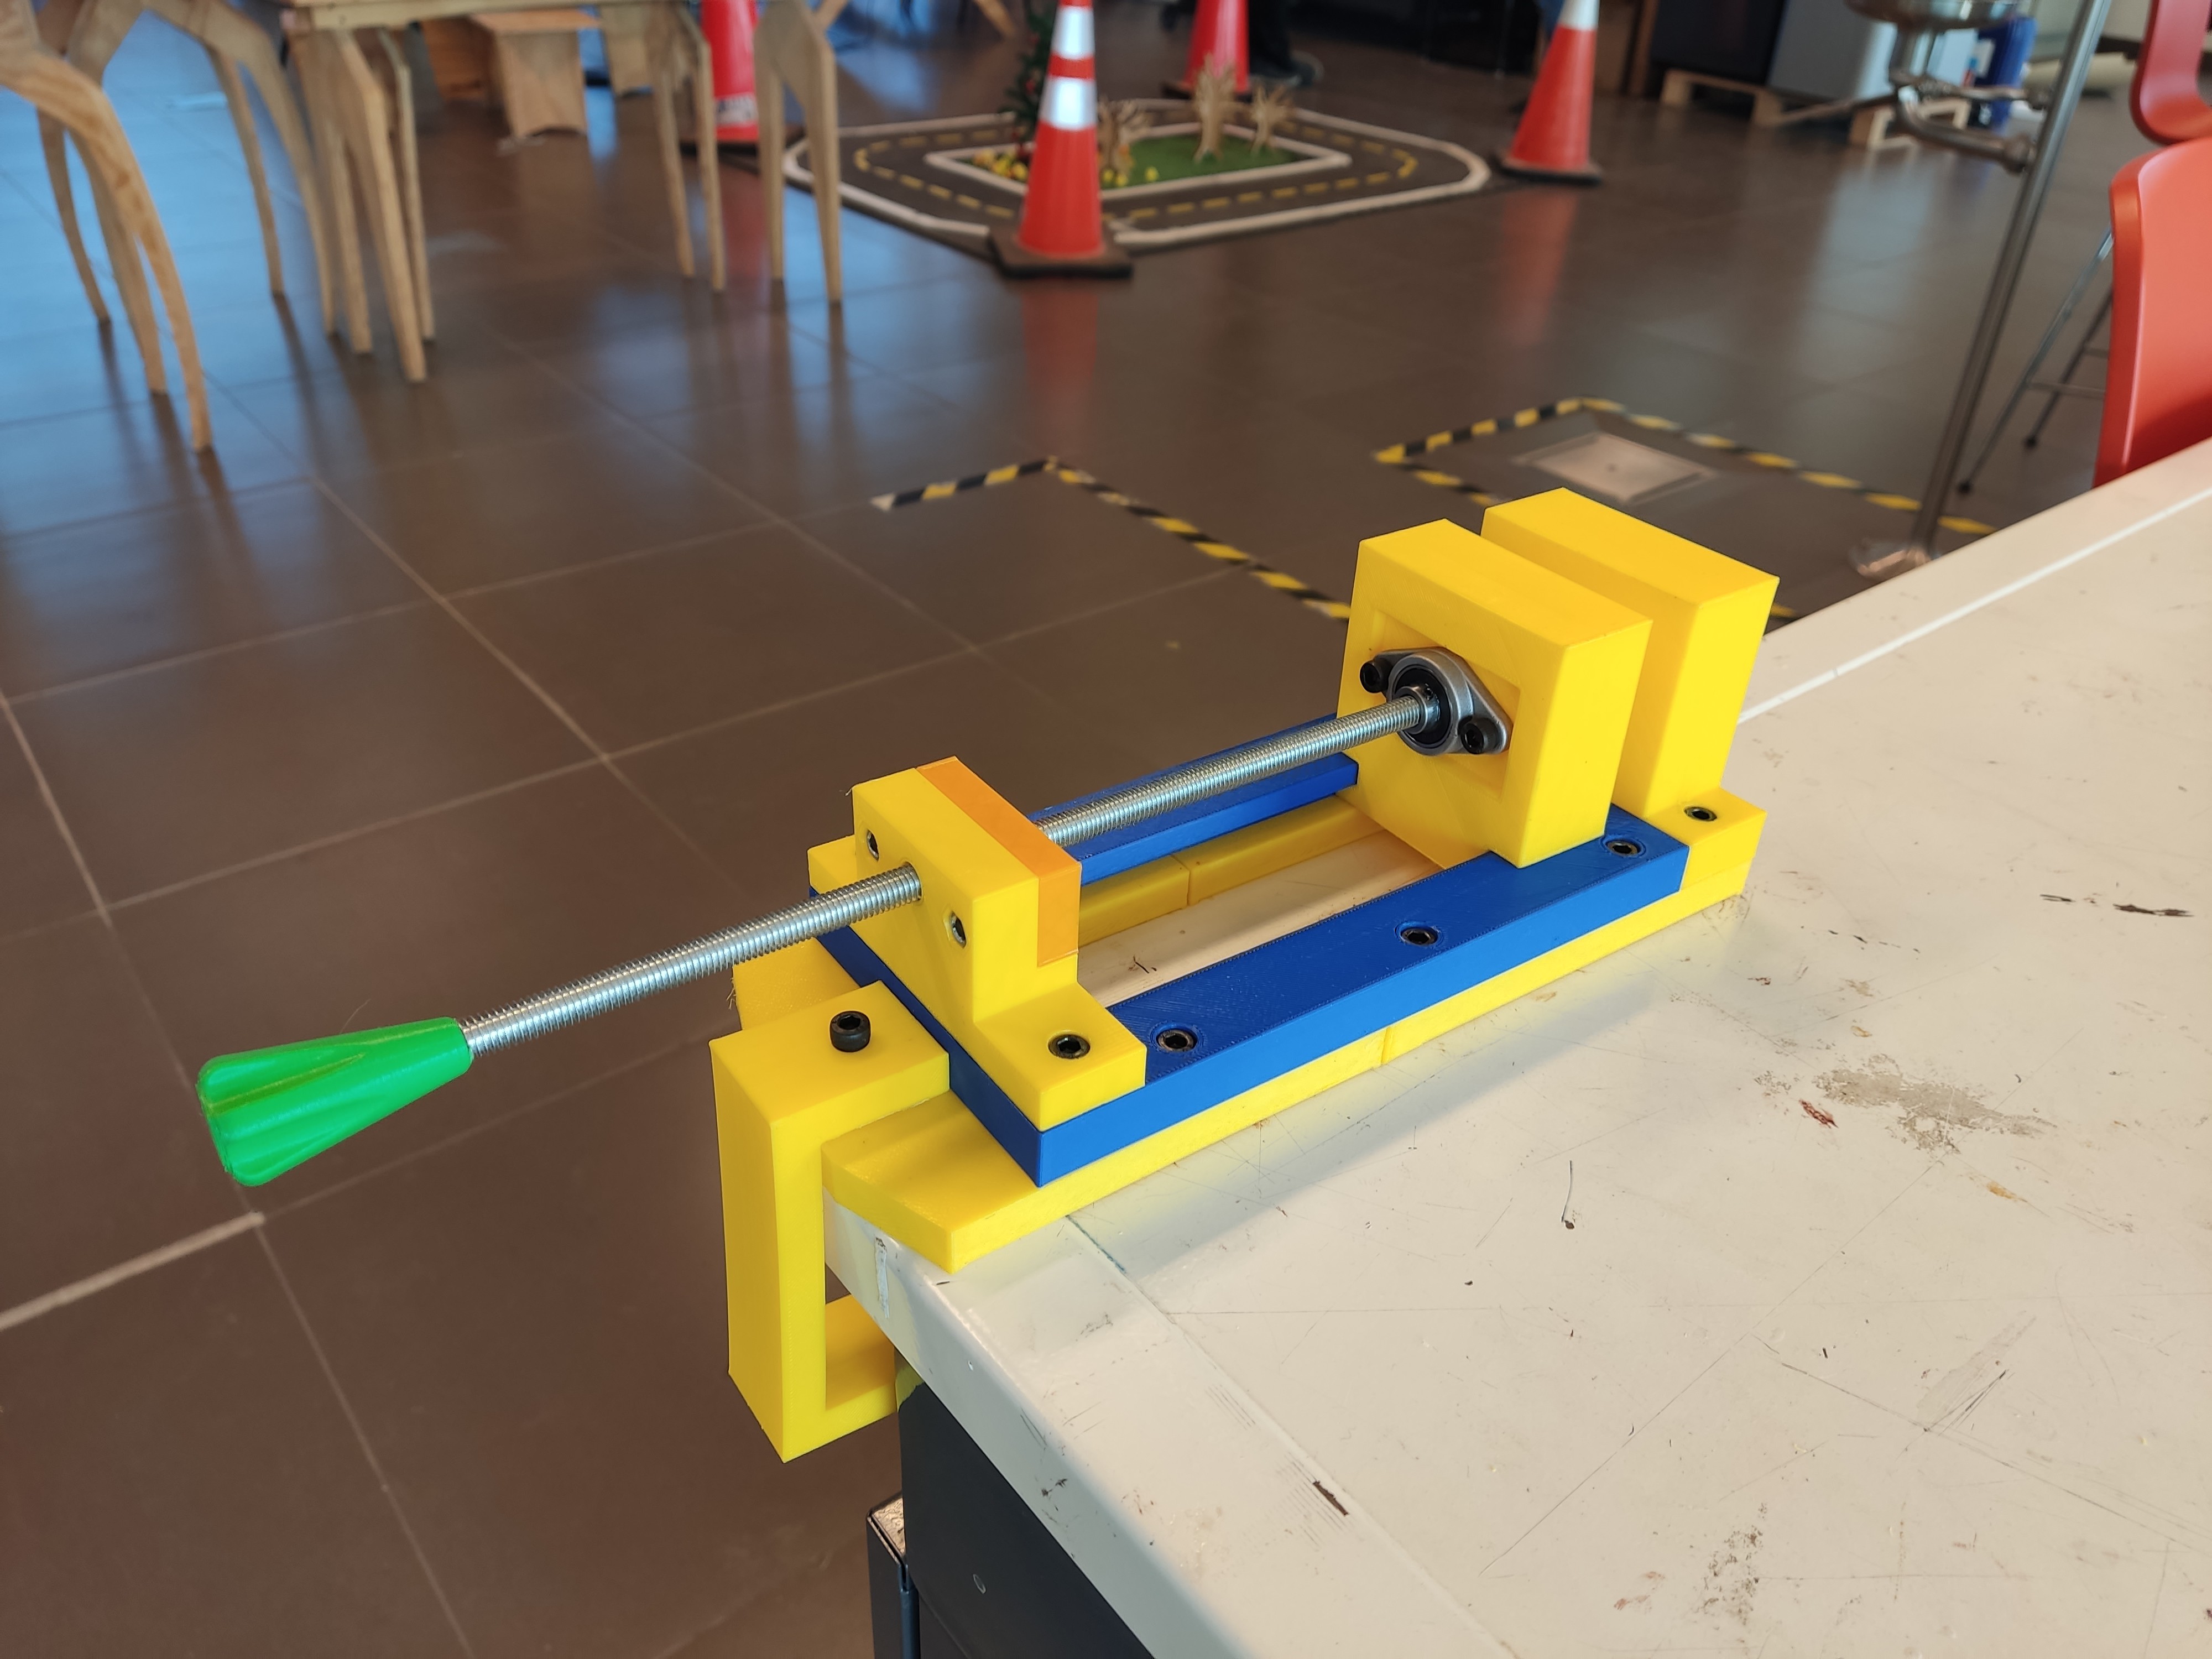
The final assembly is shown next.
Total weight: 492 grams
The main thread, the bearing and all the screws used are the following:
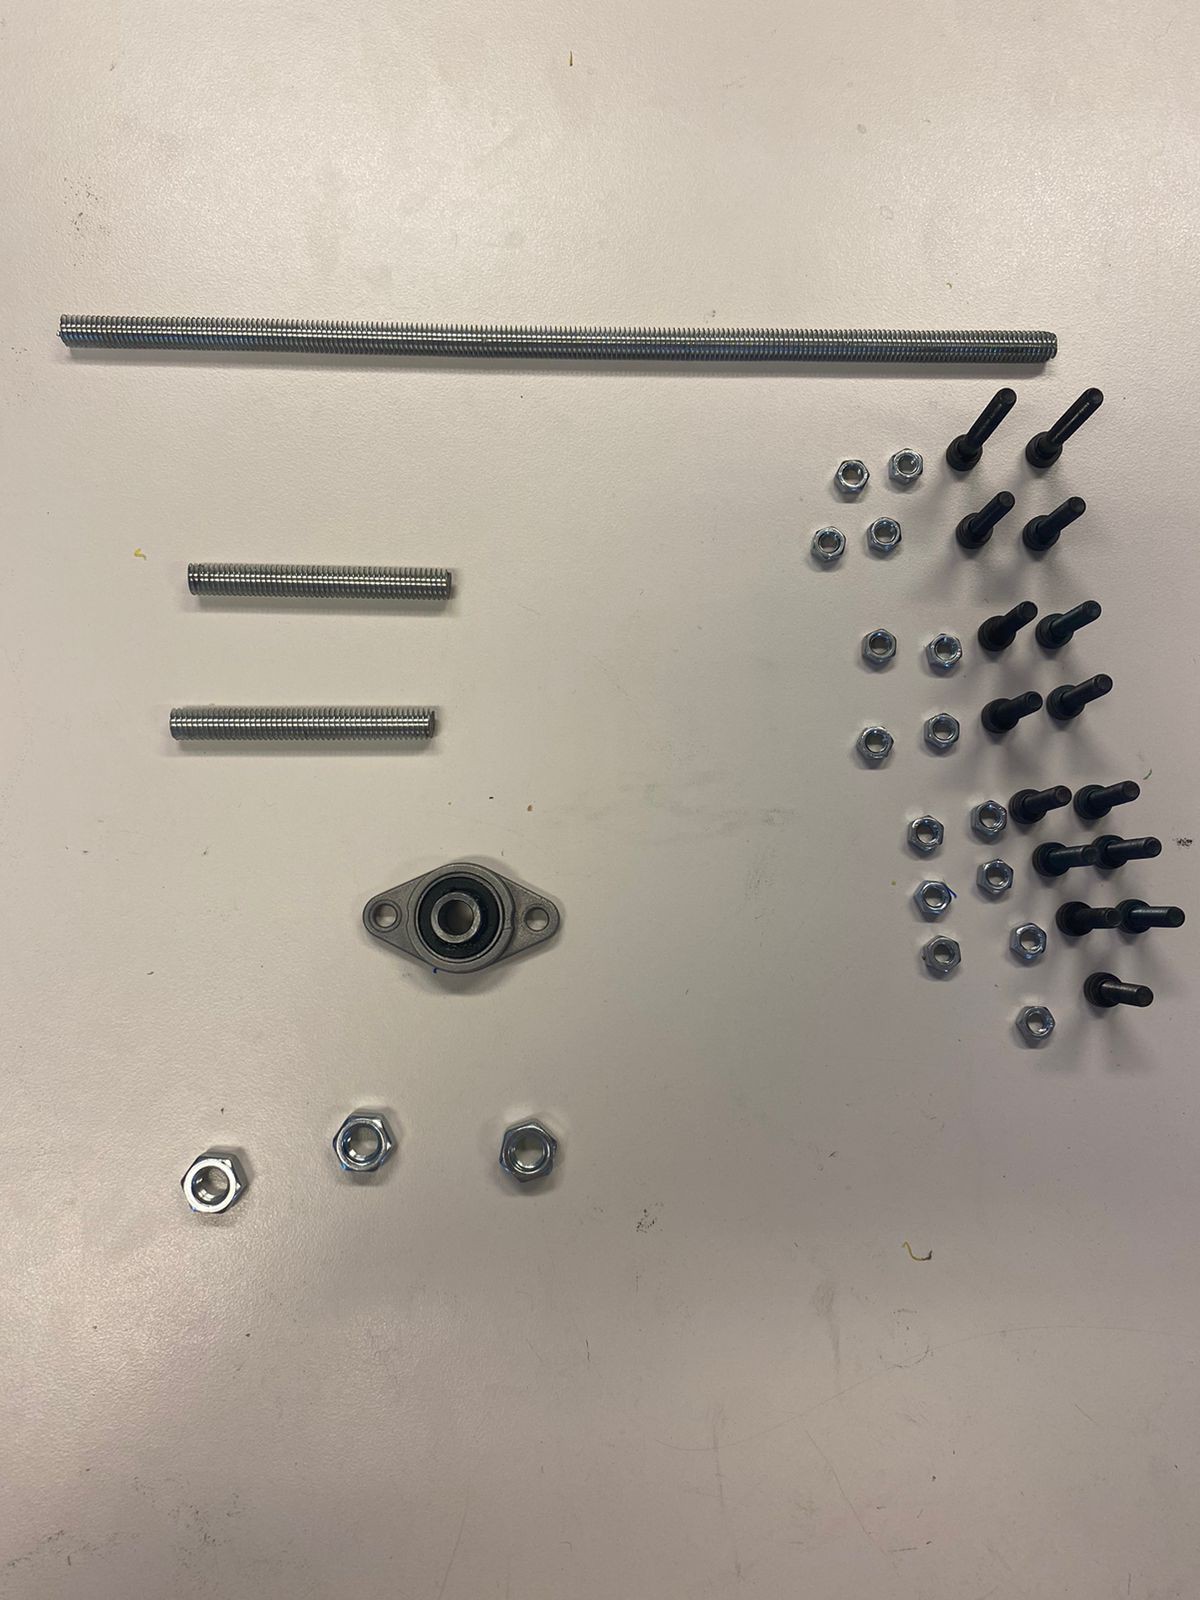
A total of one pillow head bearing, 3 M8 nuts, 15 M5 nuts and 15 M5 Parker screws were used.
As for the assembling itself, the first step consists on placing the rails over the base and the moving jaw over the rails (the moving jaw could already have the bearing put on), being careful on selecting the correct orientation for the rails. It is kind of intuitive so it should not go wrong. At the same time, the nut box and the fixed jaw can be placed on the ends of the base as it can be seen in the picture.
Then, all the M5 screws needed can be used to join the parts to the base. After this is done, the main thread should start entering into the nut box, and before it reaches the bearing from the moving jaw, the mut box cover should be placed. When the main thread is properly inserted into the bearing, its screws should be tightened. The nut box and its cover should also be tightened.
Lastly, the C-shaped component should be placed at the end of the base with a special shape (you will know which one we are referring to).
The design is quite self-explanatory, specially if you have the photo of the assembly by your side. If you see an hexagonal moulding, an M5 nut should go there. There is only one bigger moulding, which is of course for an M8 nut (the other tho M8 nuts go inside the slots of the rubbers).
Discussions
Become a Hackaday.io Member
Create an account to leave a comment. Already have an account? Log In.