 vlk
vlkFeatures:
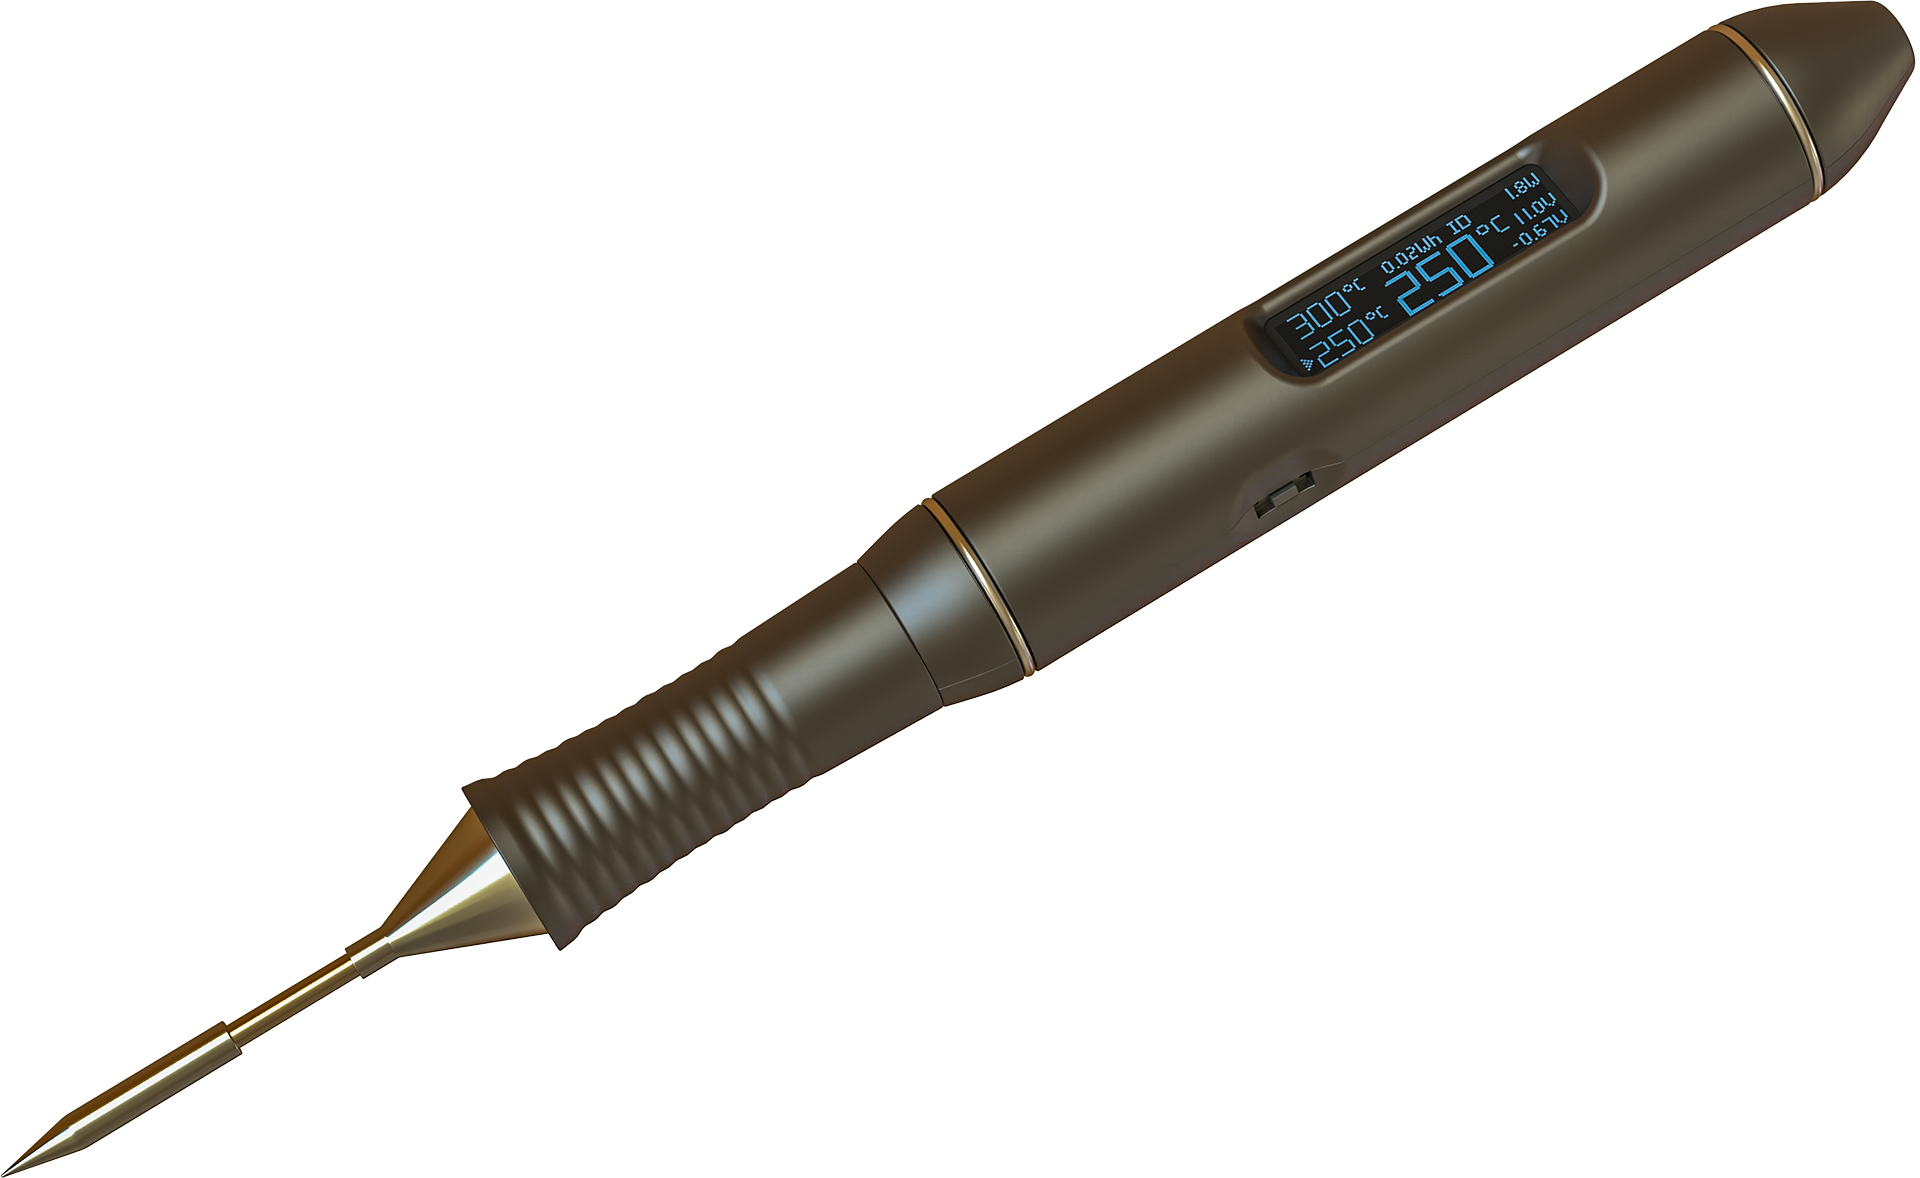
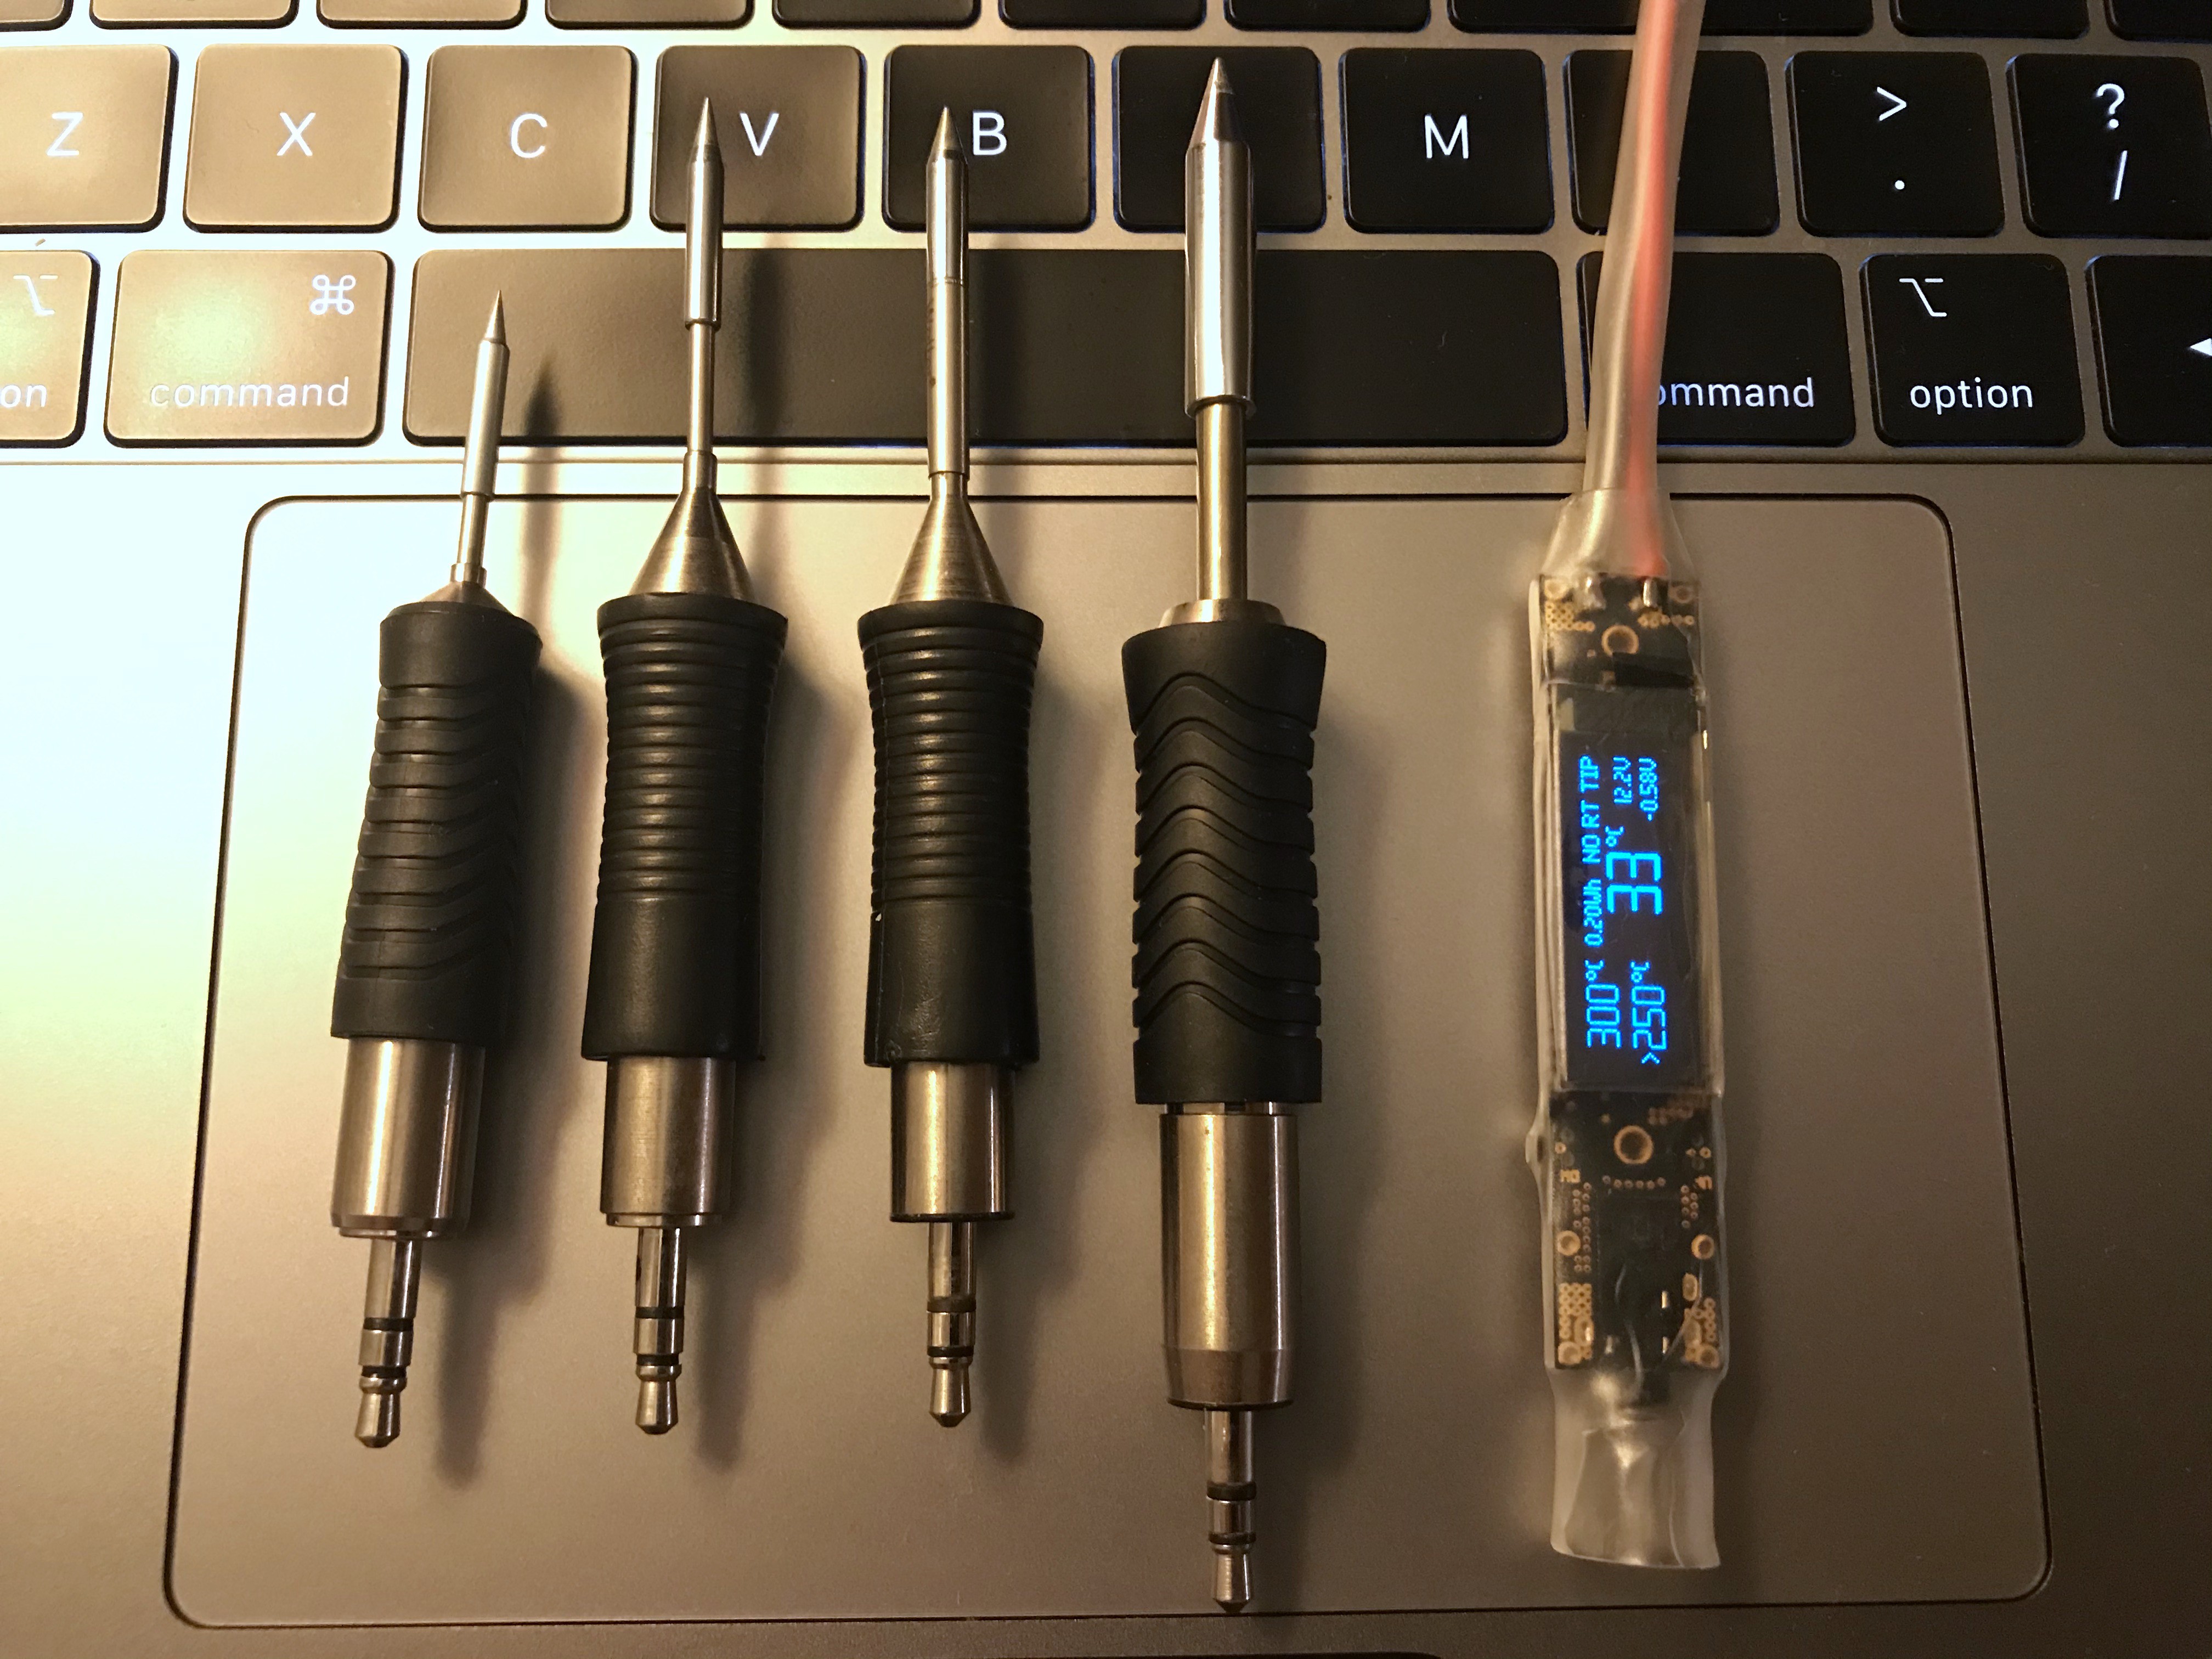
- very compact - will fit into handle
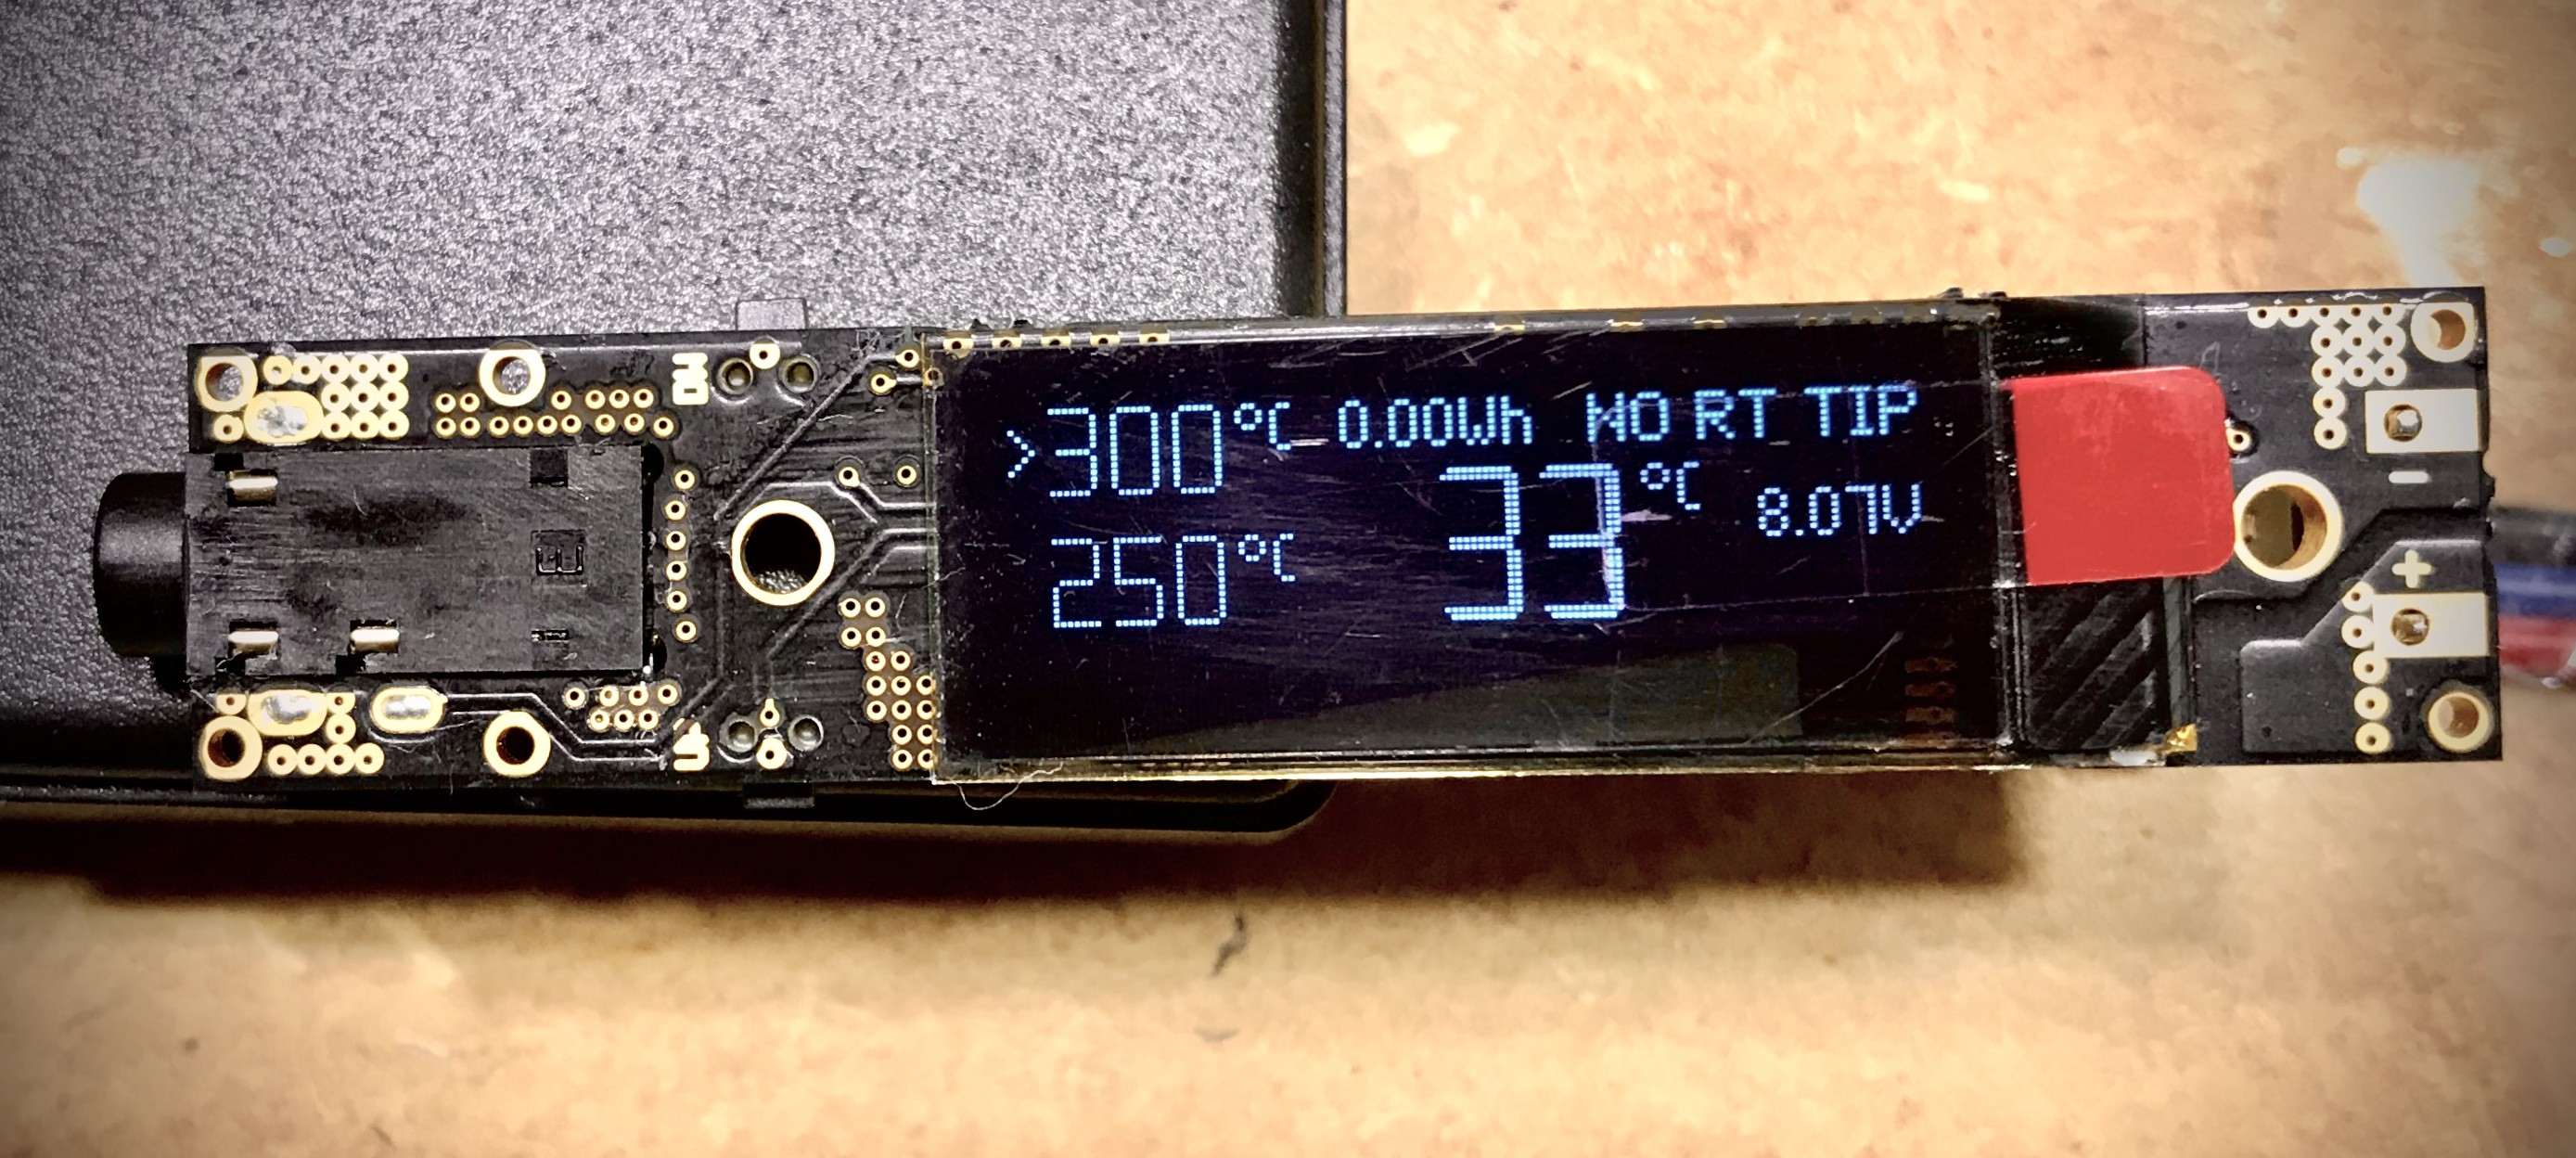
- display show status, preset and tip temperature, power, supply voltage, drop, ...
- two buttons
- automatic standby
- sensing supply voltage and tip current
- precise regulation with PID (PSD controller with some modifications)
- supply voltage is from 5V to 18V (best is 10-13V)
- designed to supply from LIPO battery 2S (7.4V max is about 18W) or 3S (11.1V max is more than 40W)
- calculating consumed Wh
- heat-up in 5sec from 25 to 400°C (with 40W limit)
- Idle current about 8mA
What is planed:
- case
- battery monitor (warn when battery need charge)
- configuration editor for some constants from PSD controller, power limit, ....
- open-source everything
Videos:


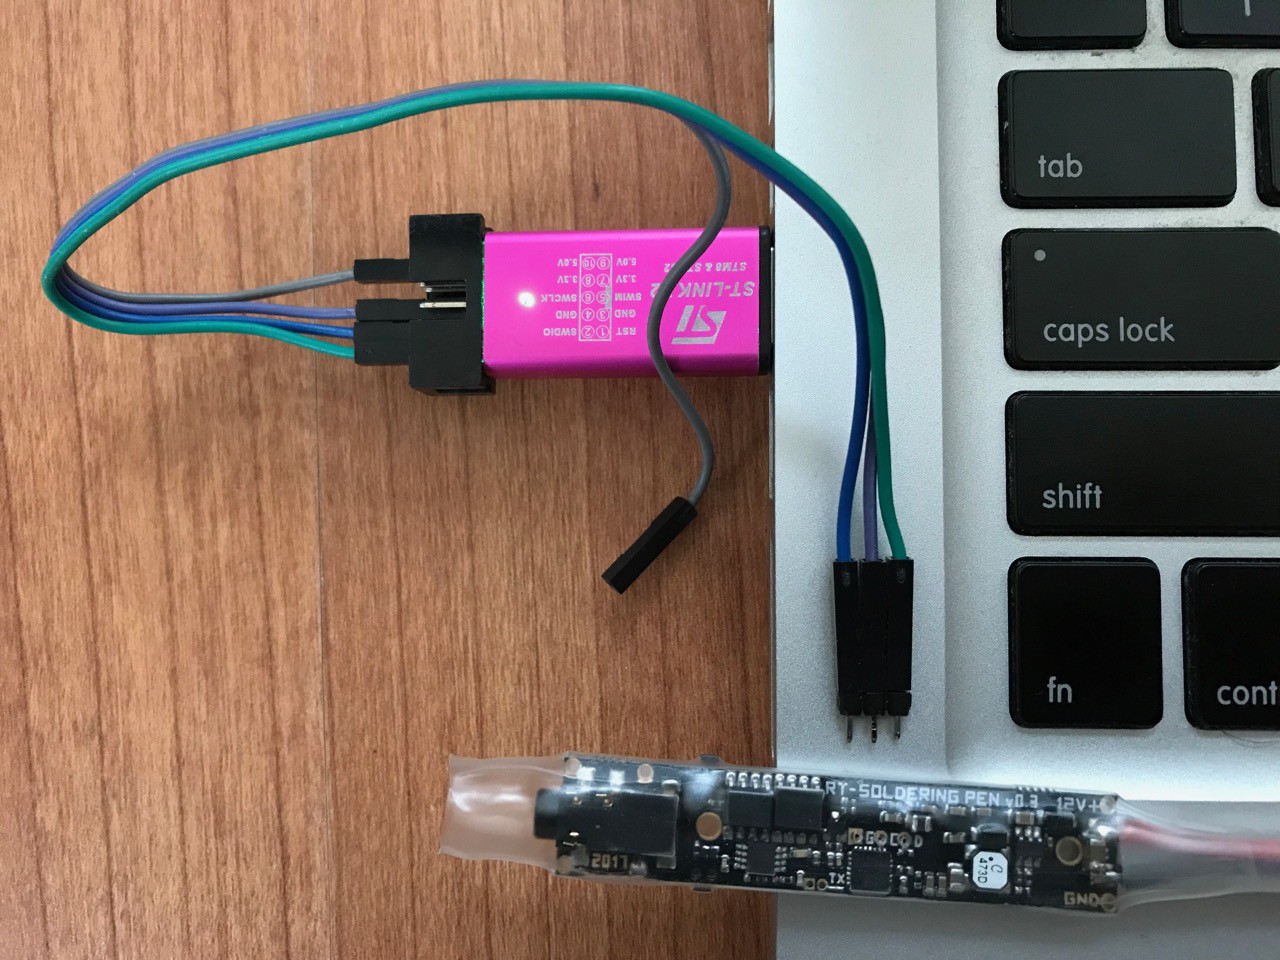
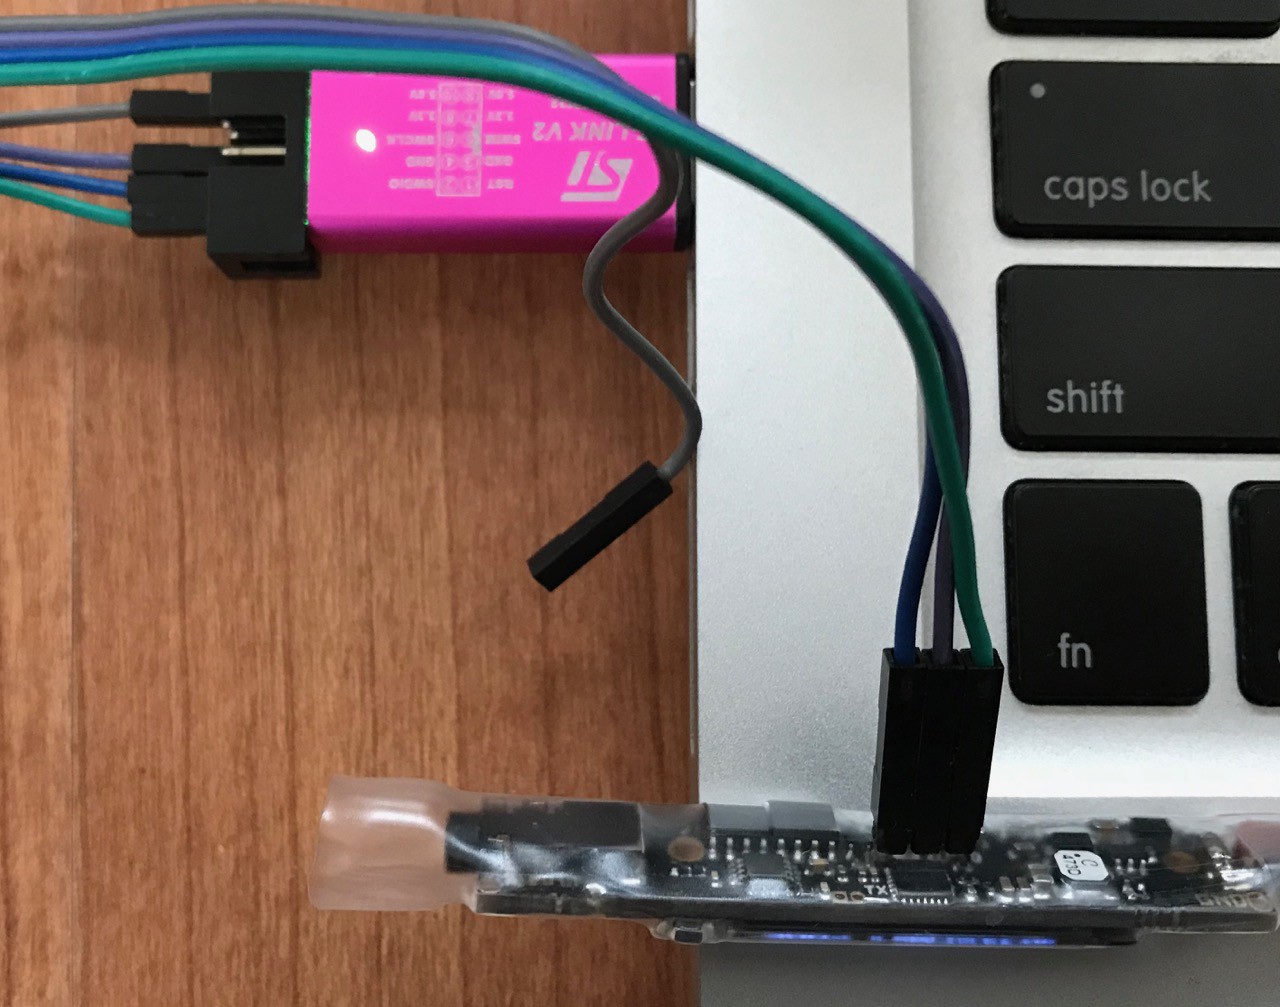
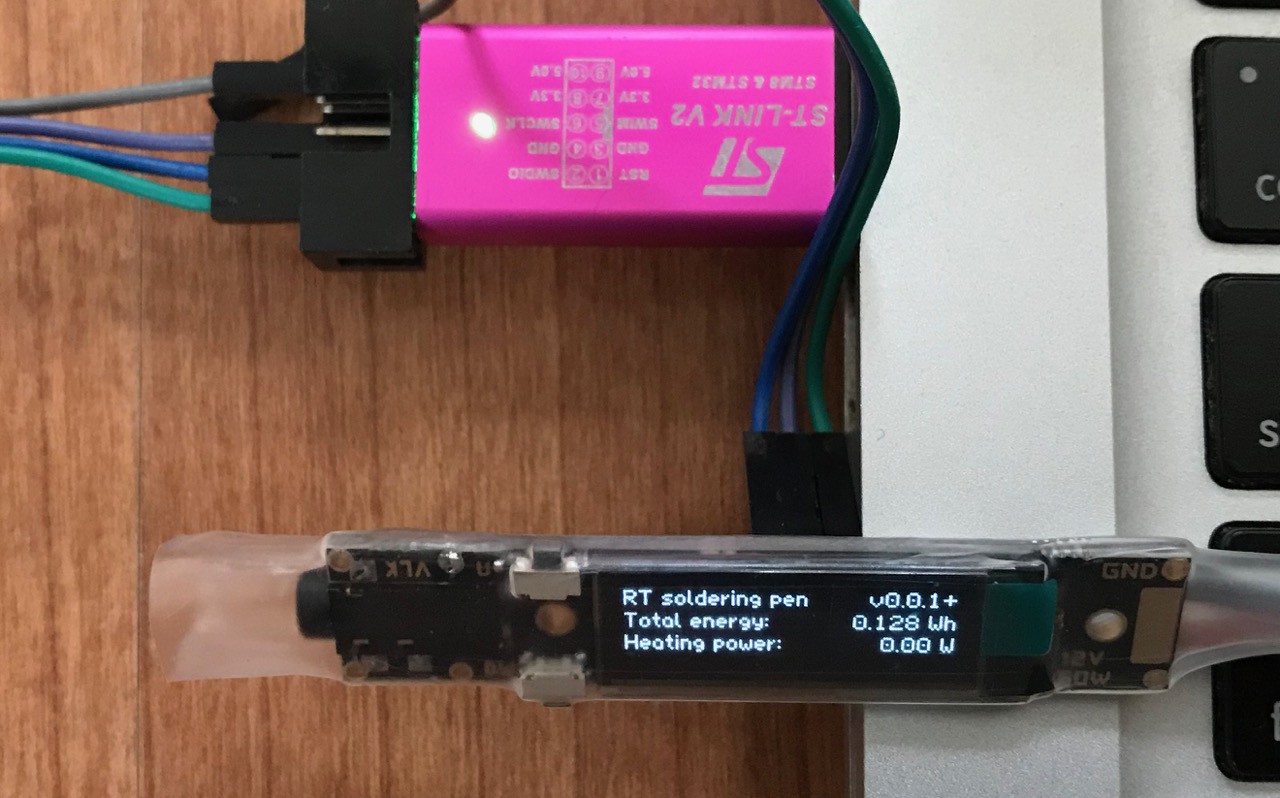 To program, use ST-Link utility from ST, or any other SW for Flashing STM32 micro-controllers (openocd, texane/stlink, pystlink, ...)


 Nathaniel VerLee
 Clara Hobbs
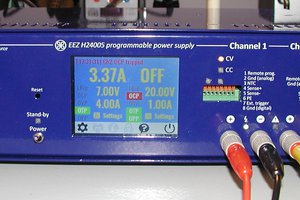
 Denis
Denis
 Markus Loeffler
Does anybody know if something happened to VLK? It's like he is disappeared..