 Thomas
Check out the full build video!
Parts and Tools
Parts:
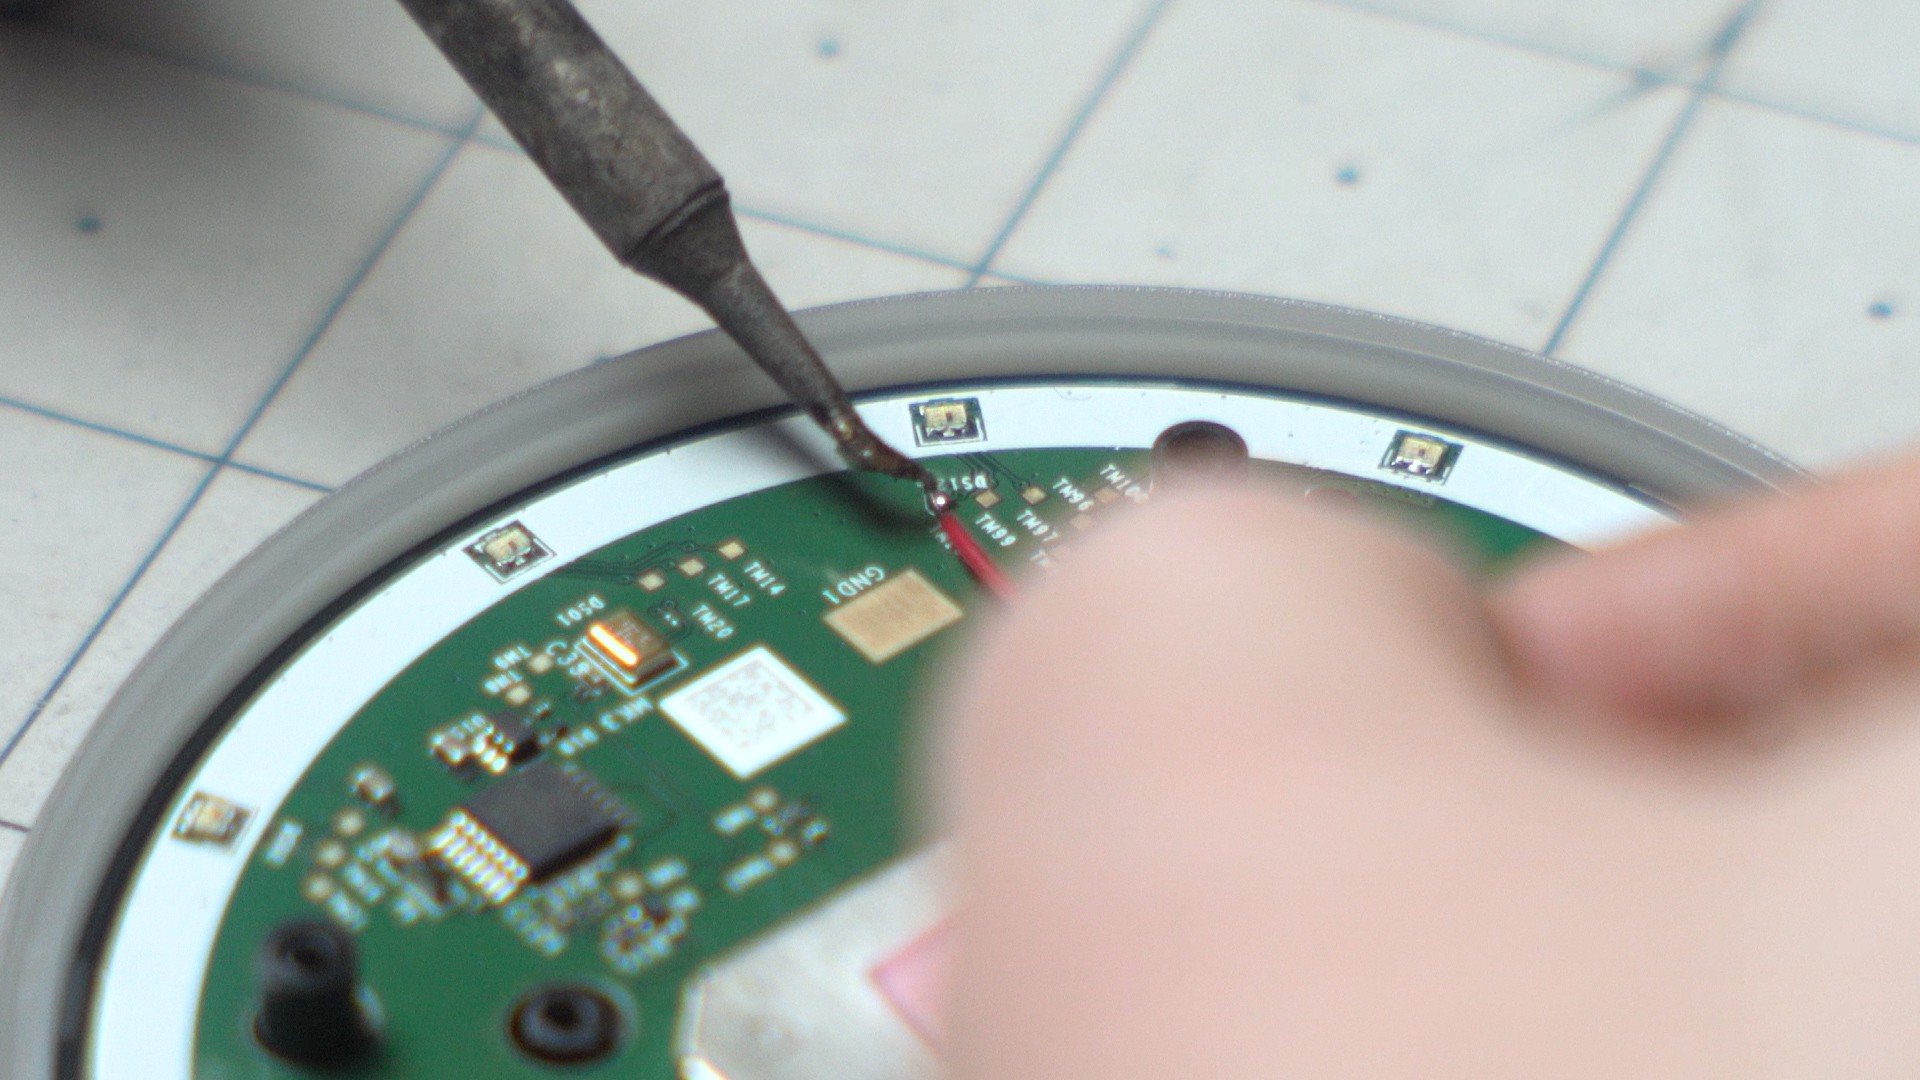
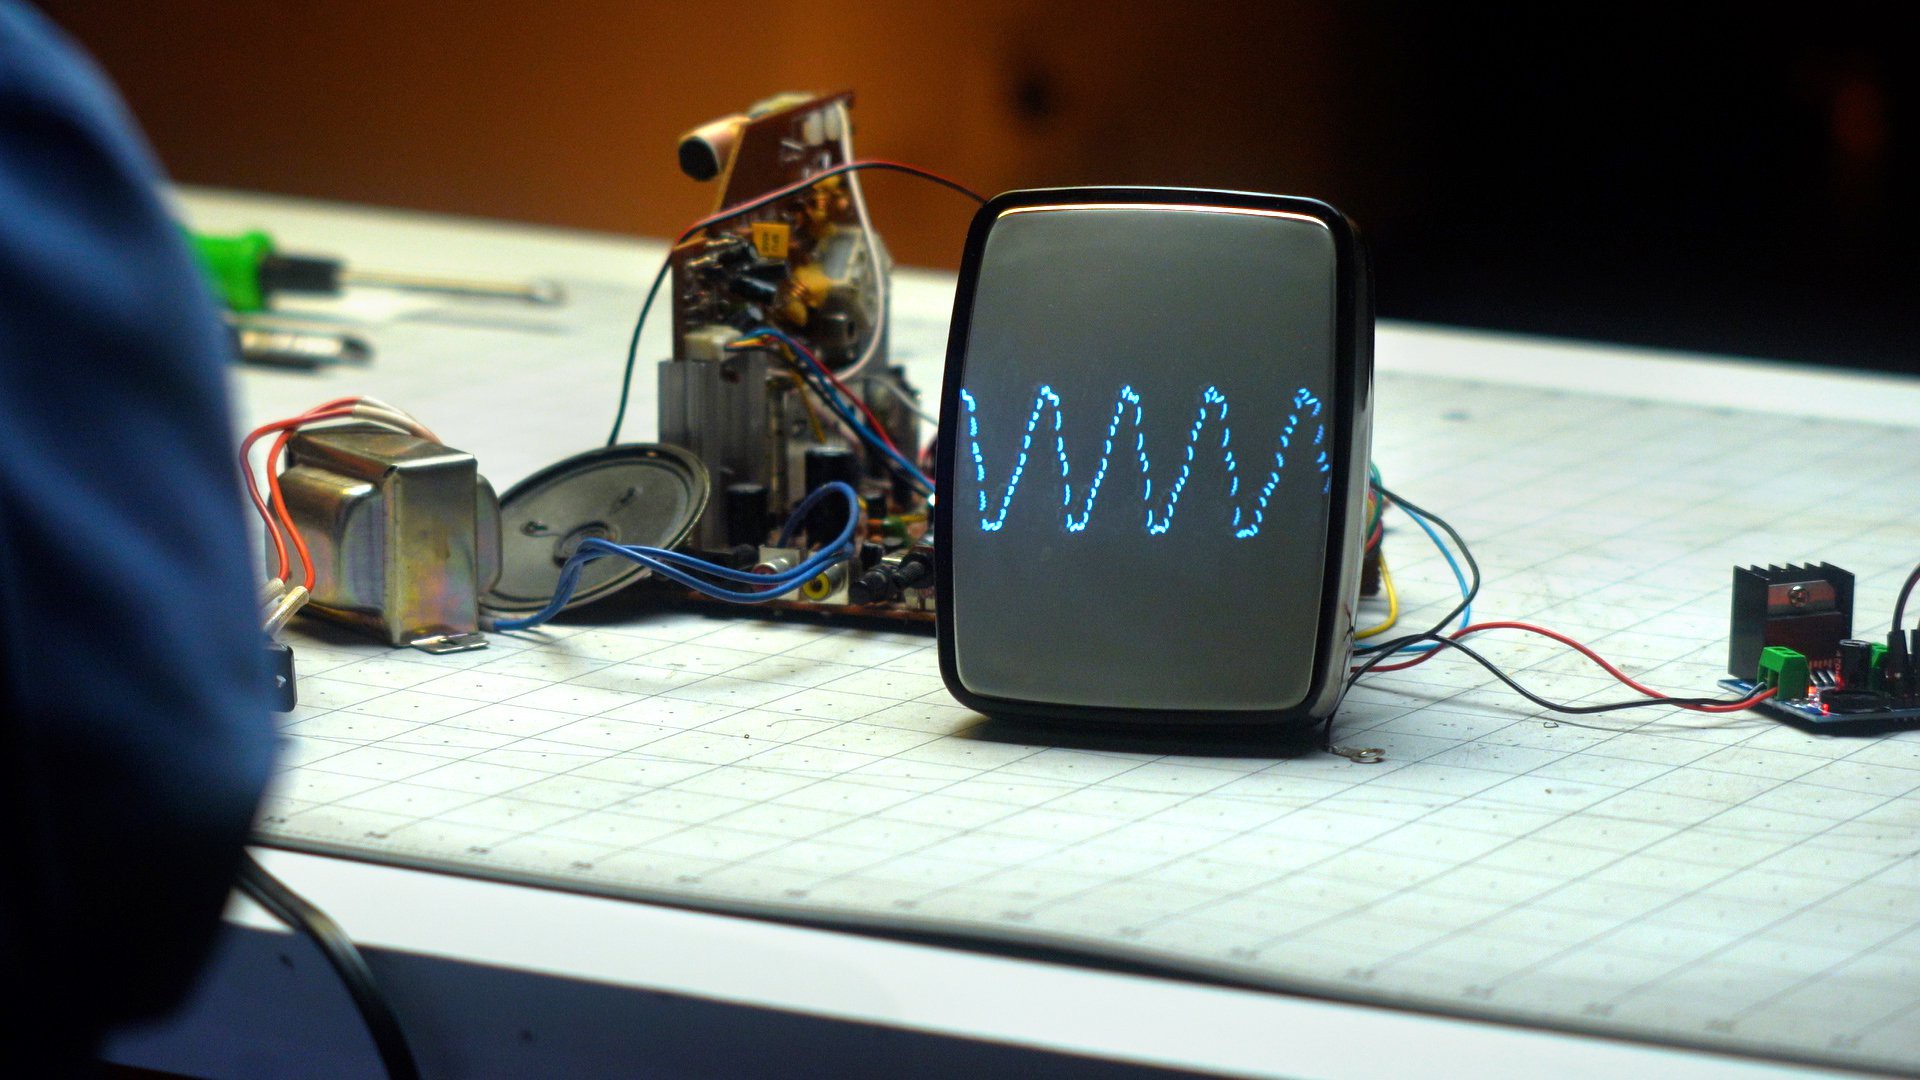
- 5" B&W CRT television
- Amazon Alexa Echo Dot (3rd gen)
- M2, M3, M4 screw assortment Amazon
- M3 and M4 brass standoff assortment Amazon
- 4x rubber feet Amazon
- 2x TDA7297 12V audio amplifier Amazon
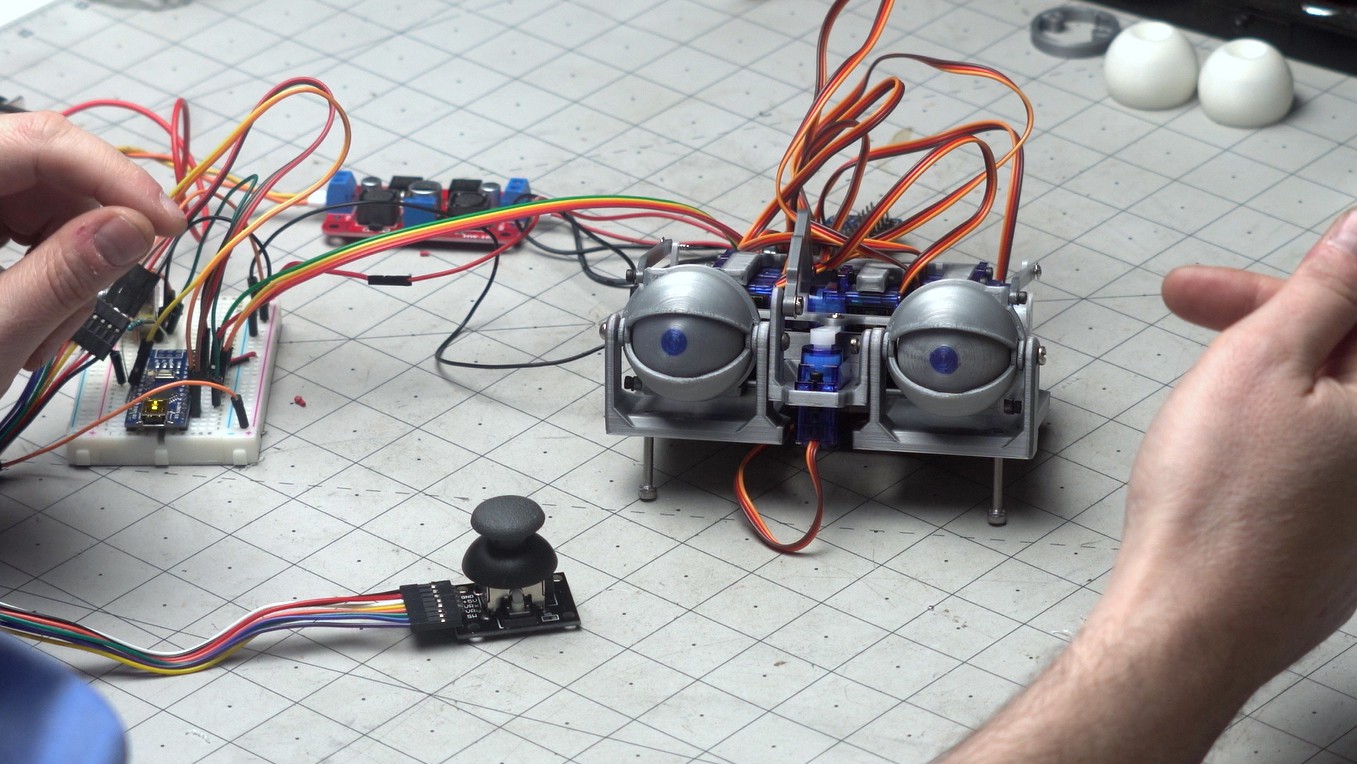
- Adafruit 16-Channel 12-bit PWM/Servo Driver Amazon
- 3.5mm audio splitter Amazon
- 3.5mm male-male audio cable Amazon
- Arduino Mega 2560 Amazon
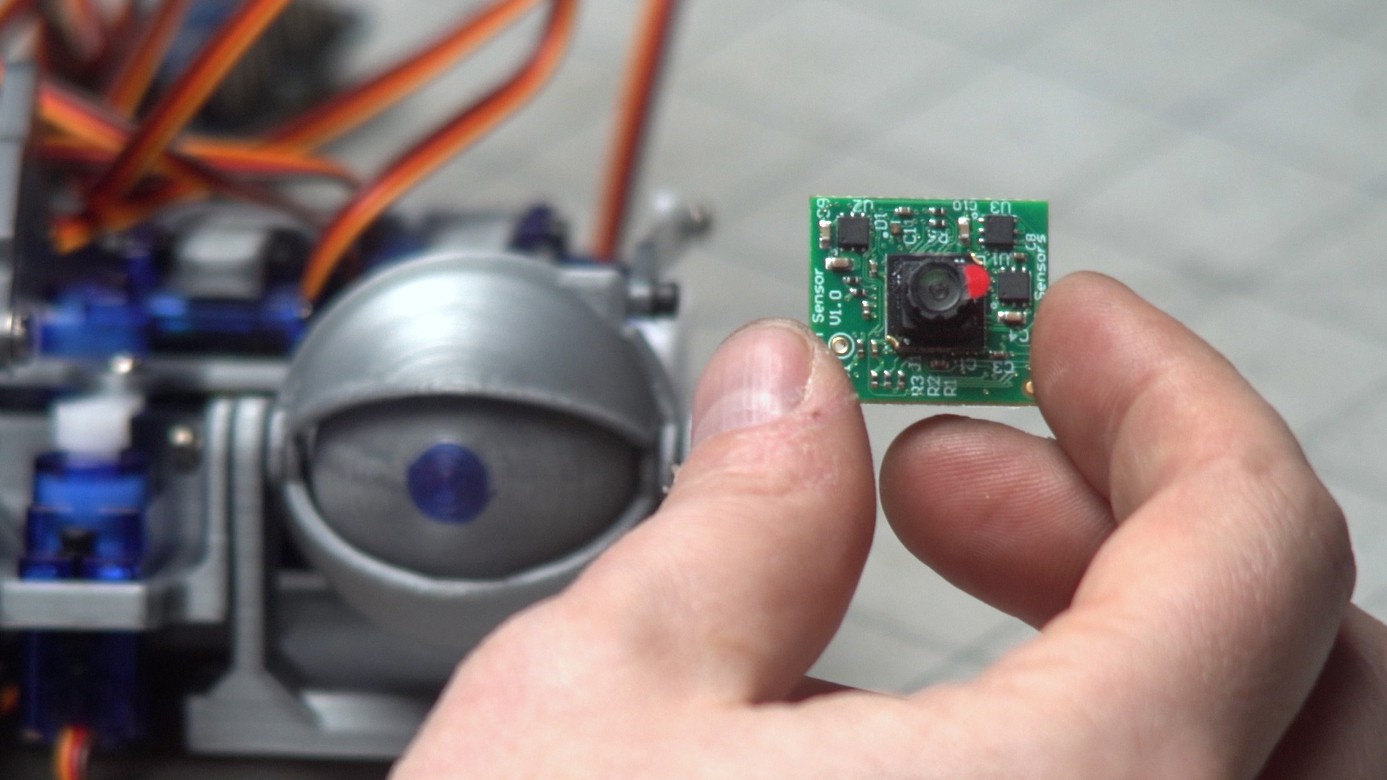
- Useful Sensor Sparkfun
- Sparkfun Qwiic I2C connectors assortment Amazon
- 4.5mm clear acrylic, laser cut to designs
- 5V 8A switch mode power supply
- 2x DC-DC Boost Converter (5V-to-8V and 5V-to-12V) Amazon
- C14 Male Power Socket with fuse and switch Amazon
- Acrylic paint set, 24 colors Amazon
- 3" speaker
- 2x 12V 5.5mm x 2.1mmfemale female plug jacks Amazon
- Elenco solid core hook-up wire kit Amazon
- Elegoo Dupont wire assortment Amazon
- Blu-Tack Reusable Adhesive Amazon
- 30awg copper wire, various colors Amazon
- 6x SG90 servos Amazon
- single-sided proto board, various sizes
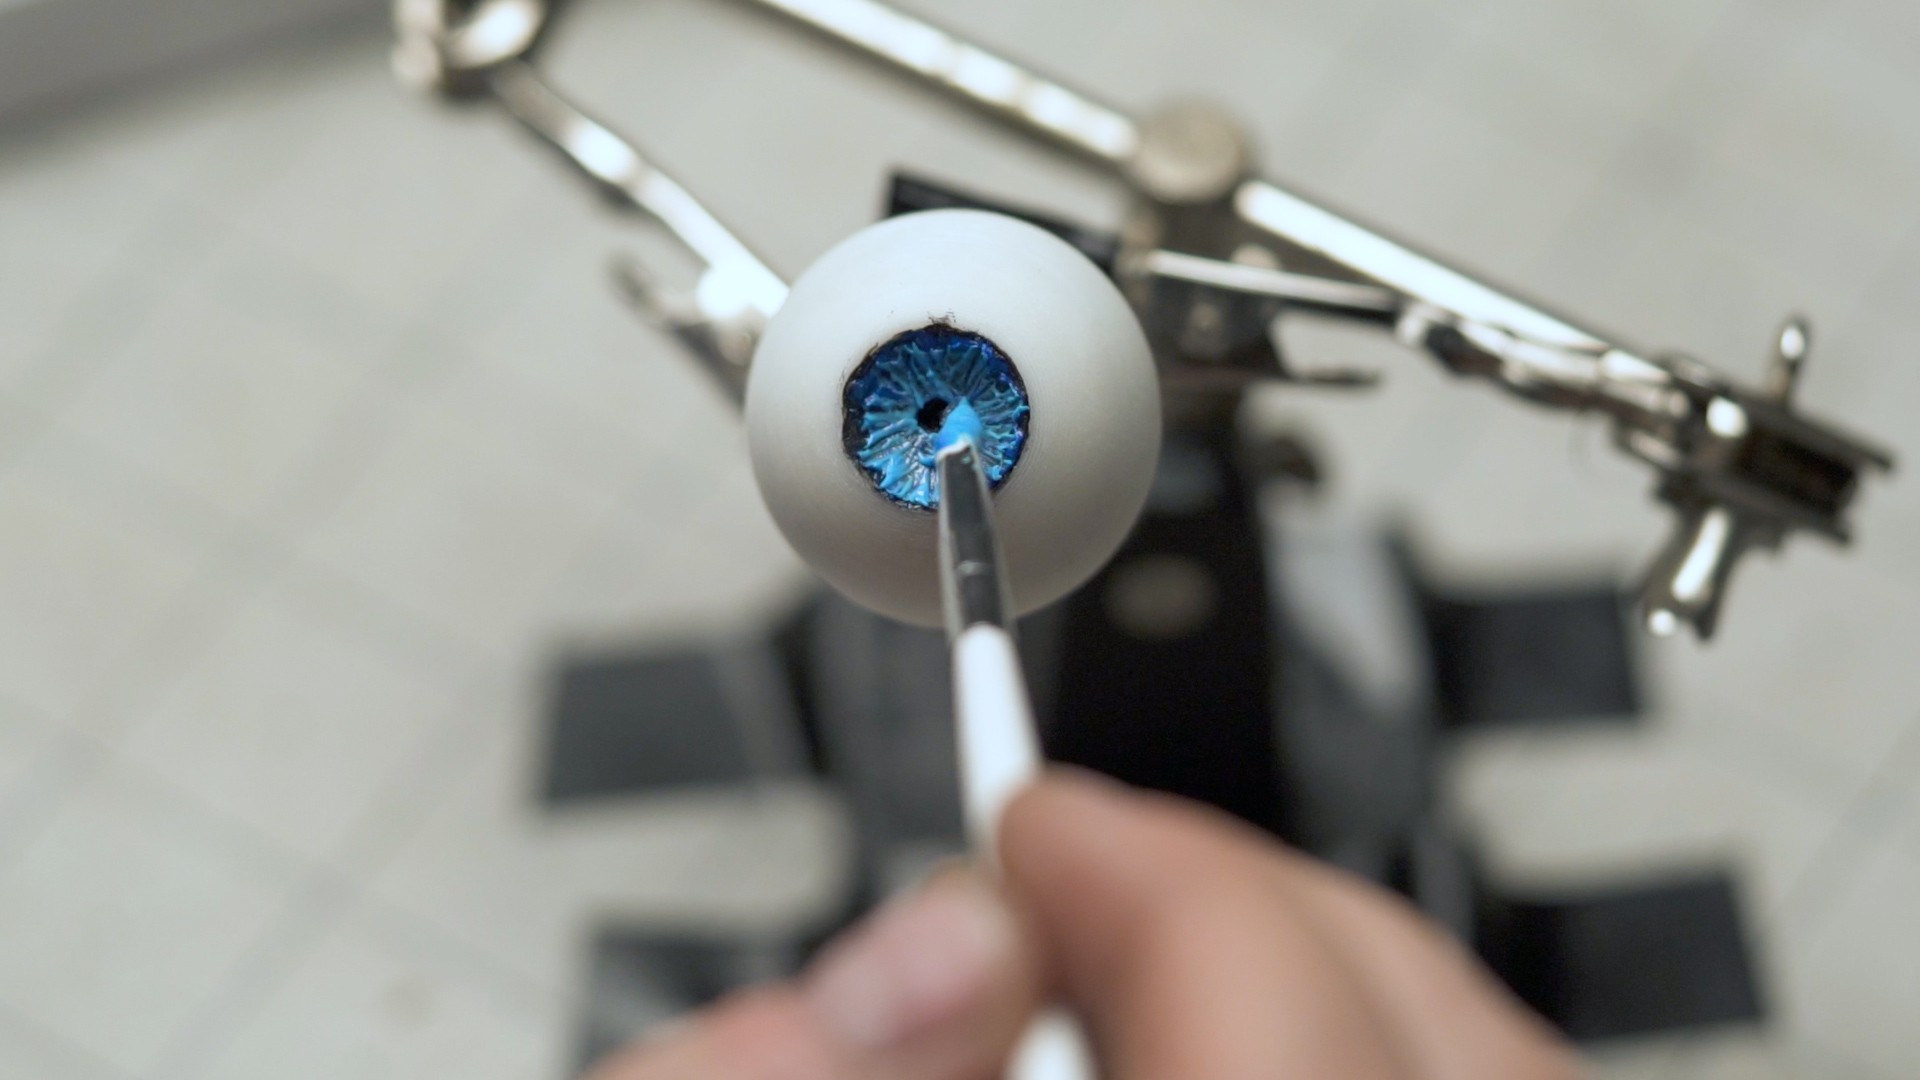
- Epoxy Resin for Clear Casting and Coating (for eyes) Amazon
- 3:1 Heat Shrink Tubing assortment Amazon
Tools:
- Soldering iron, solder, Amtech flux, and NTE soldering wick
- 3D printer
- Wire flush cutters Amazon
- Precision Wire Stripper, 30-20 AWG Amazon
- Dial calipers Amazon
- Wiha Master Technician Ratchet and MicroBits Set (I love this set!) Amazon
- Brymen BM235 Multimeter Amazon
- Test leads with alligator clips Amazon
- Hand Drill Bit Set Amazon
- Hand file set Amazon
- 99% Isopropyl Alcohol with syringe dispenser


 BaiLiping
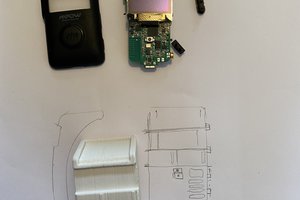
 Brett
Brett
 Tom
Tom
En el código de Arduino me están dando errores, no encuentro que librería hay que meter para el sensor de persona. Además de que hay cosas sin declarar y me dan como erro. ¿Podrías ayudarme con ello?